upgrading that old, yucky deck: Stair Rail and Fascia

h-upgrading-deck-stair-rail-fascia-h.jpg

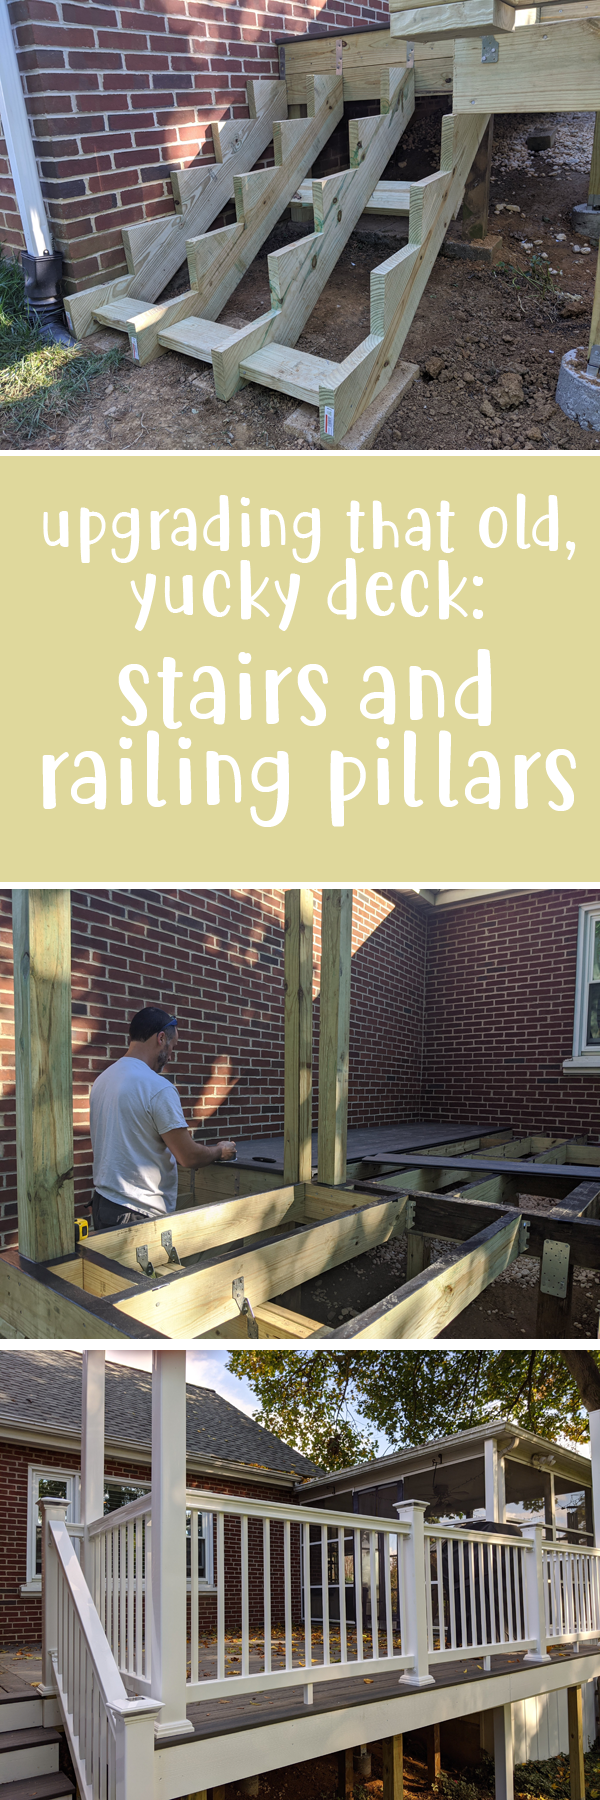
The stair fascia and rail really give this deck both a beautifully finished look and an extra notch of safety. Due to the weird construction of our old deck, there wasn’t a stair rail — just the back of the bench to grab if necessary.

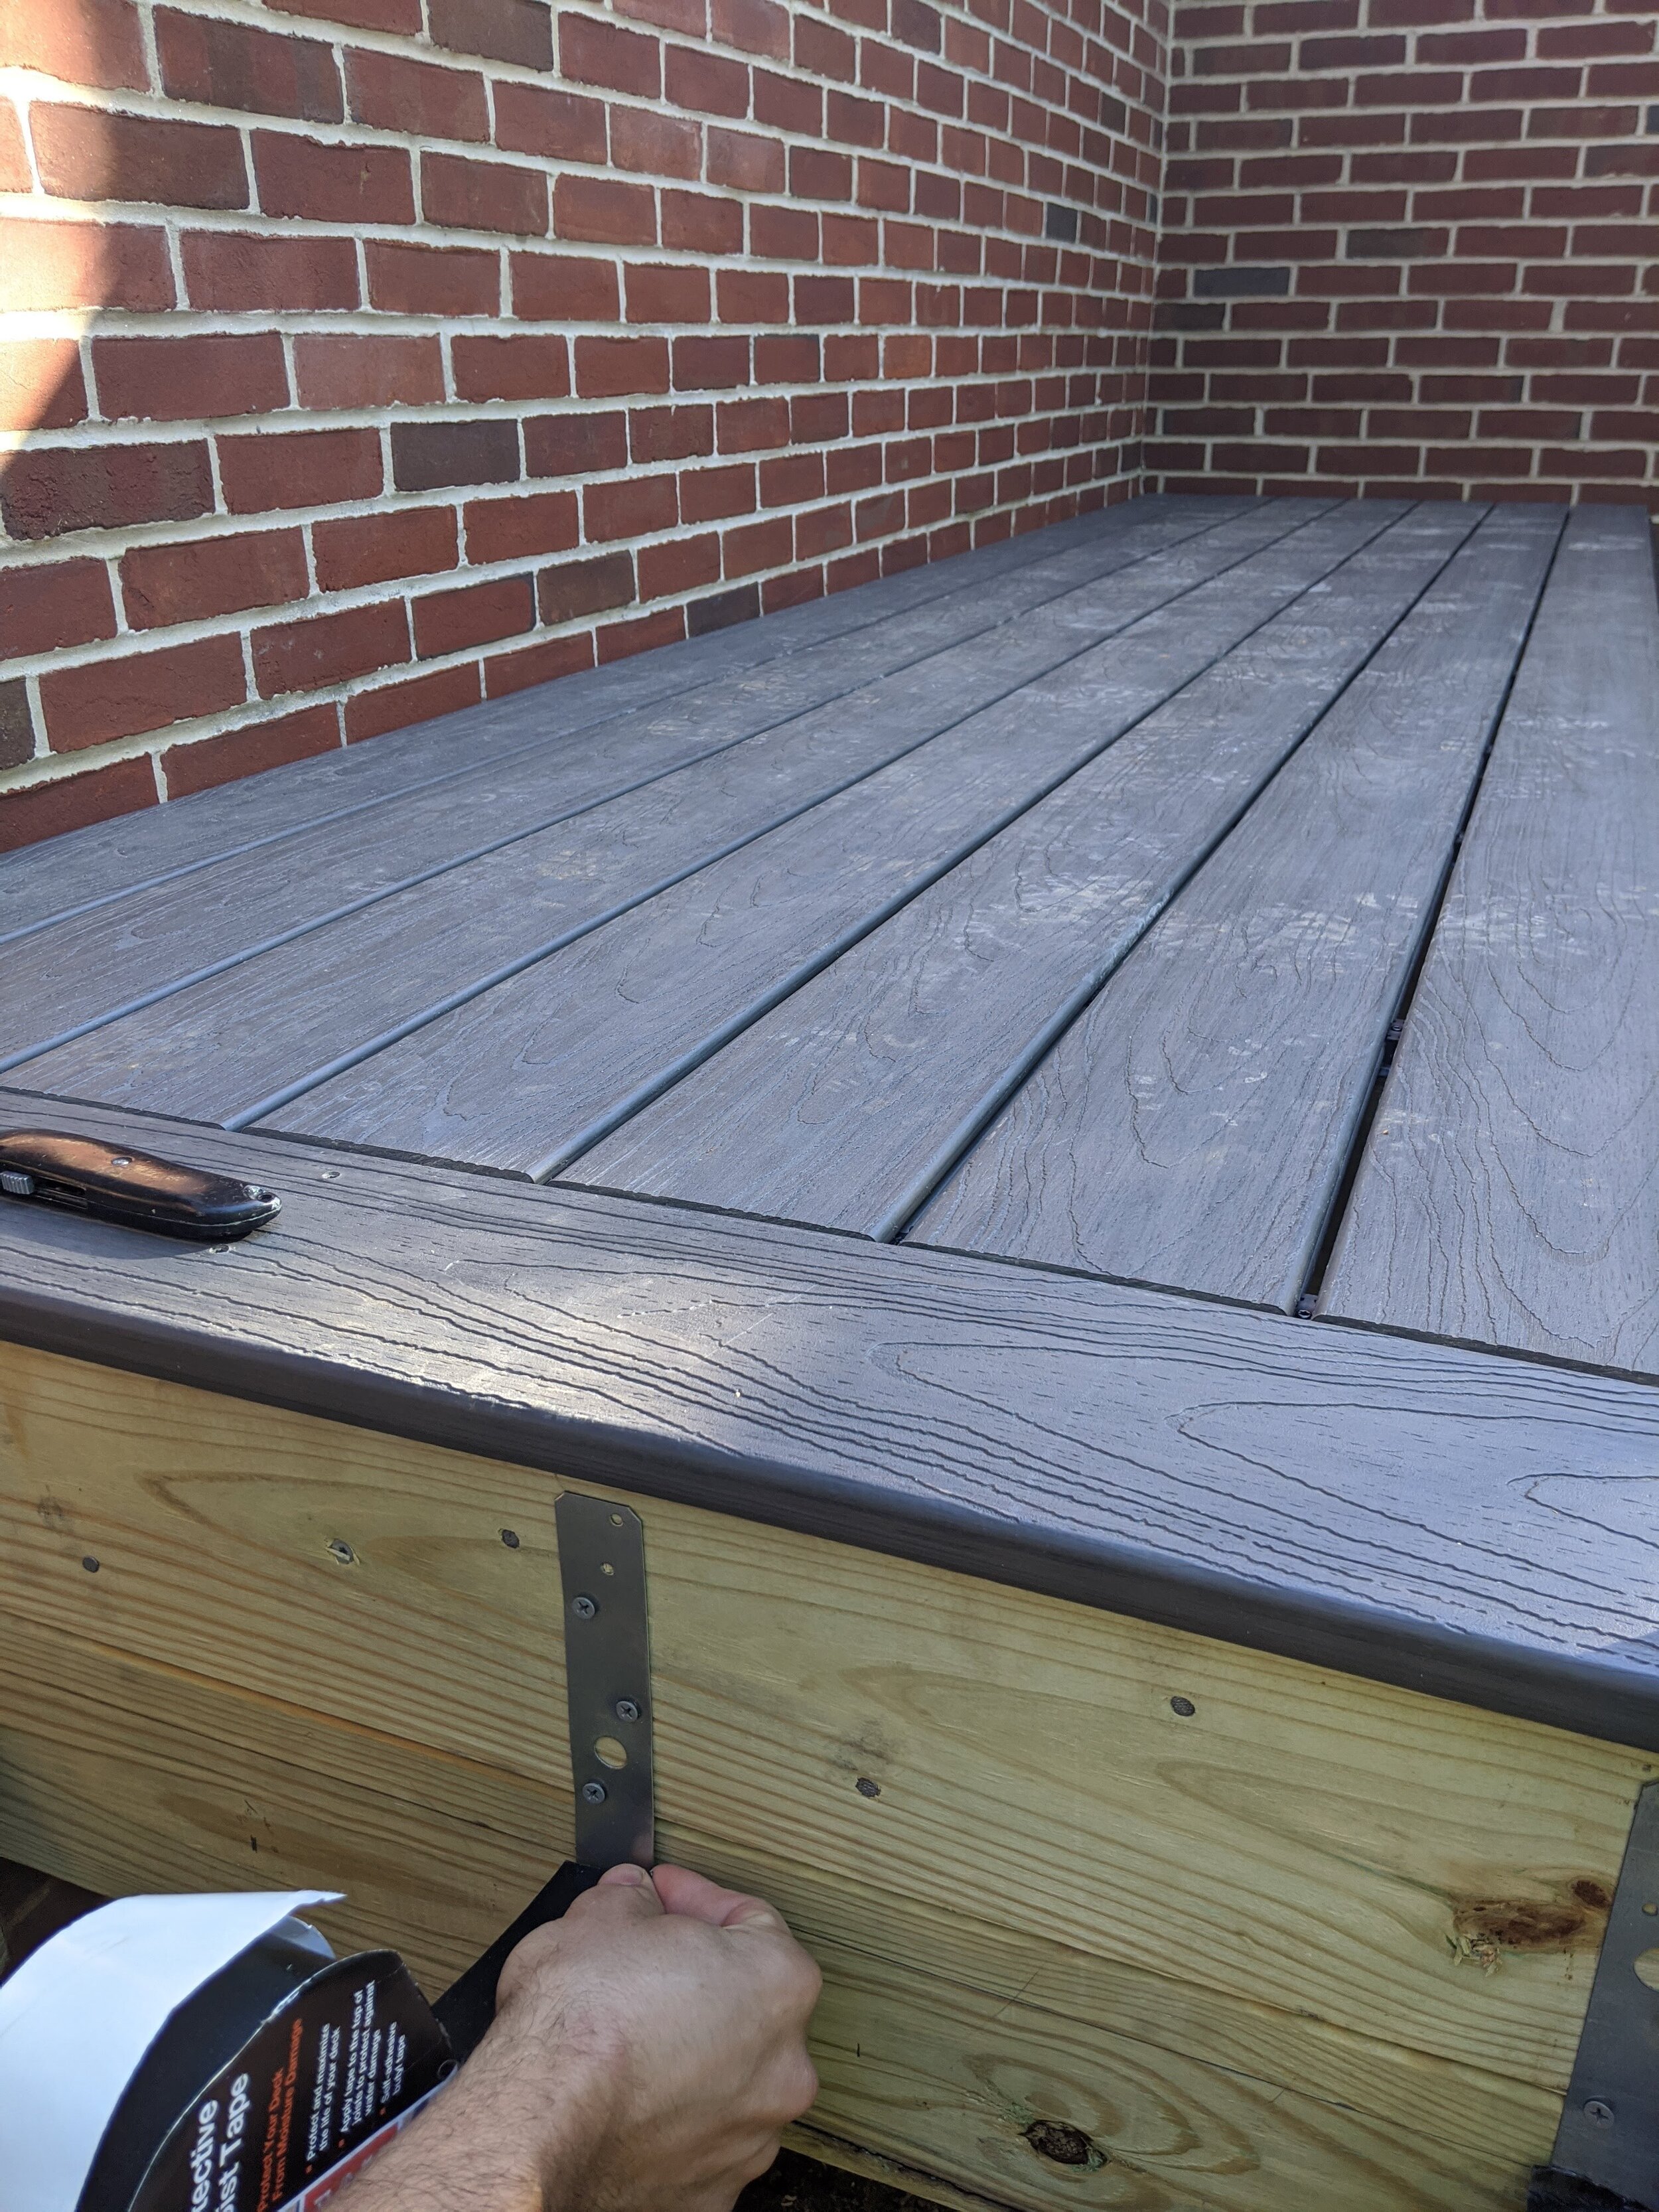
This is all the finishing touches!

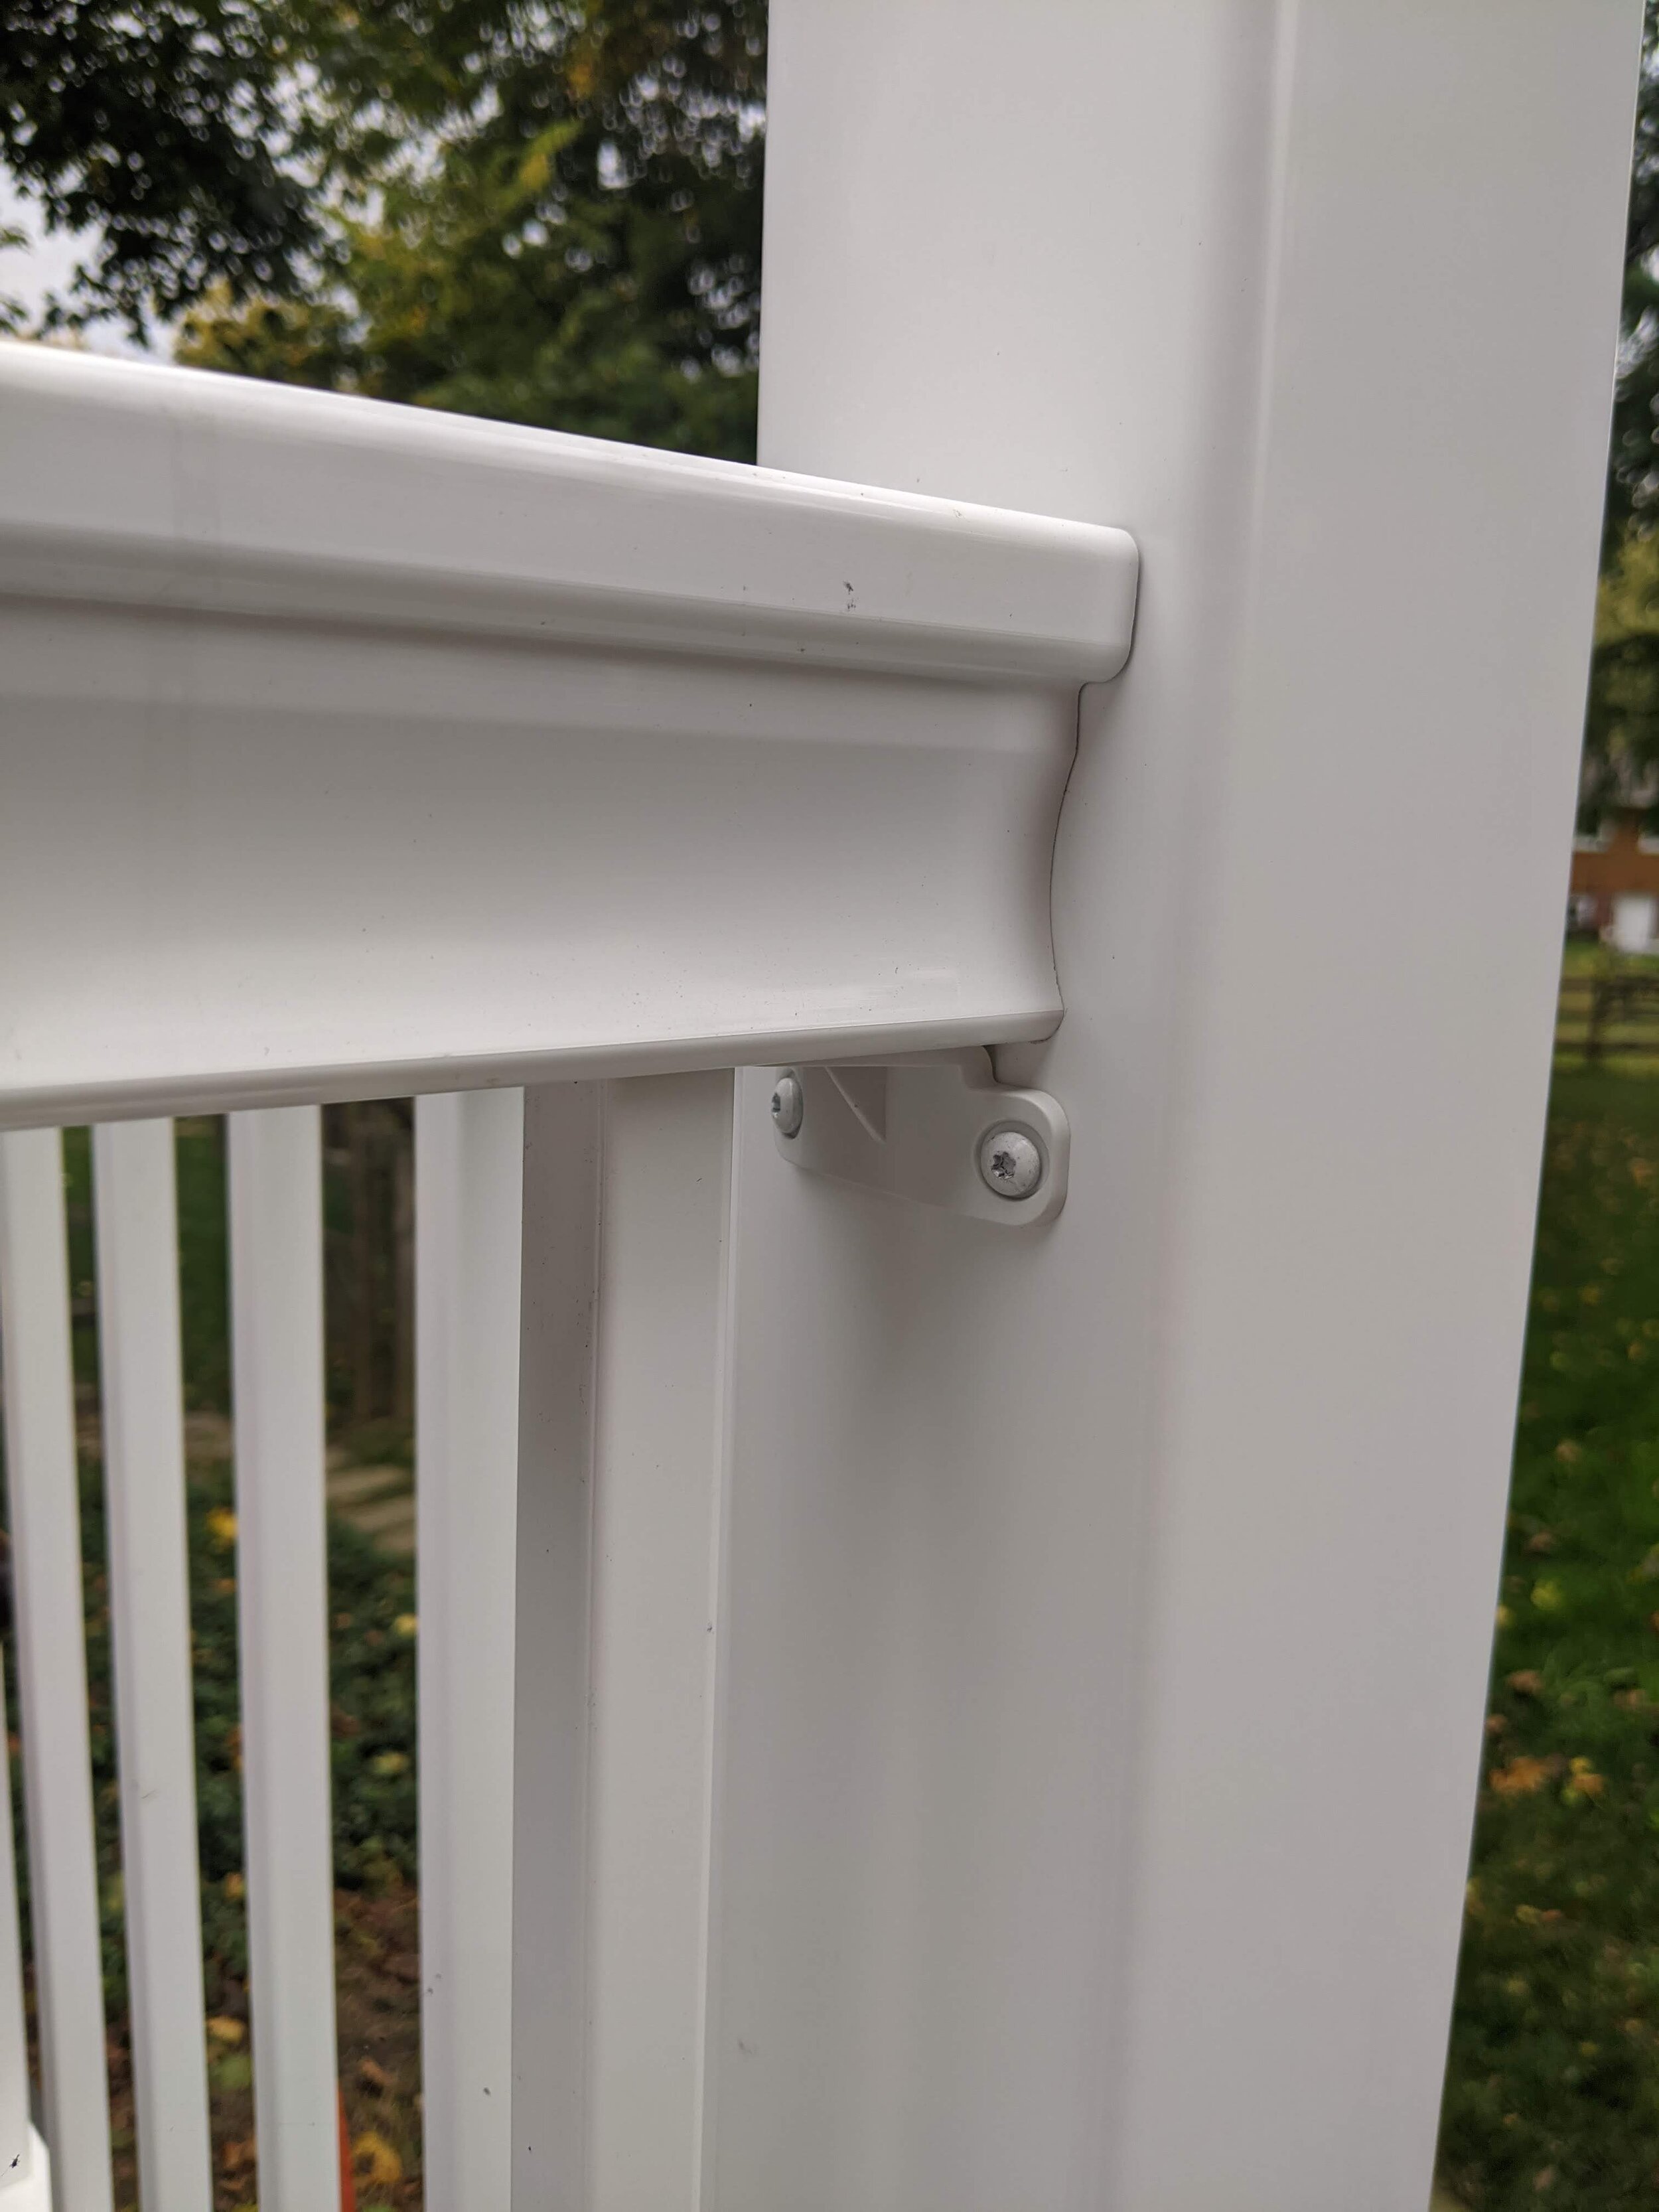
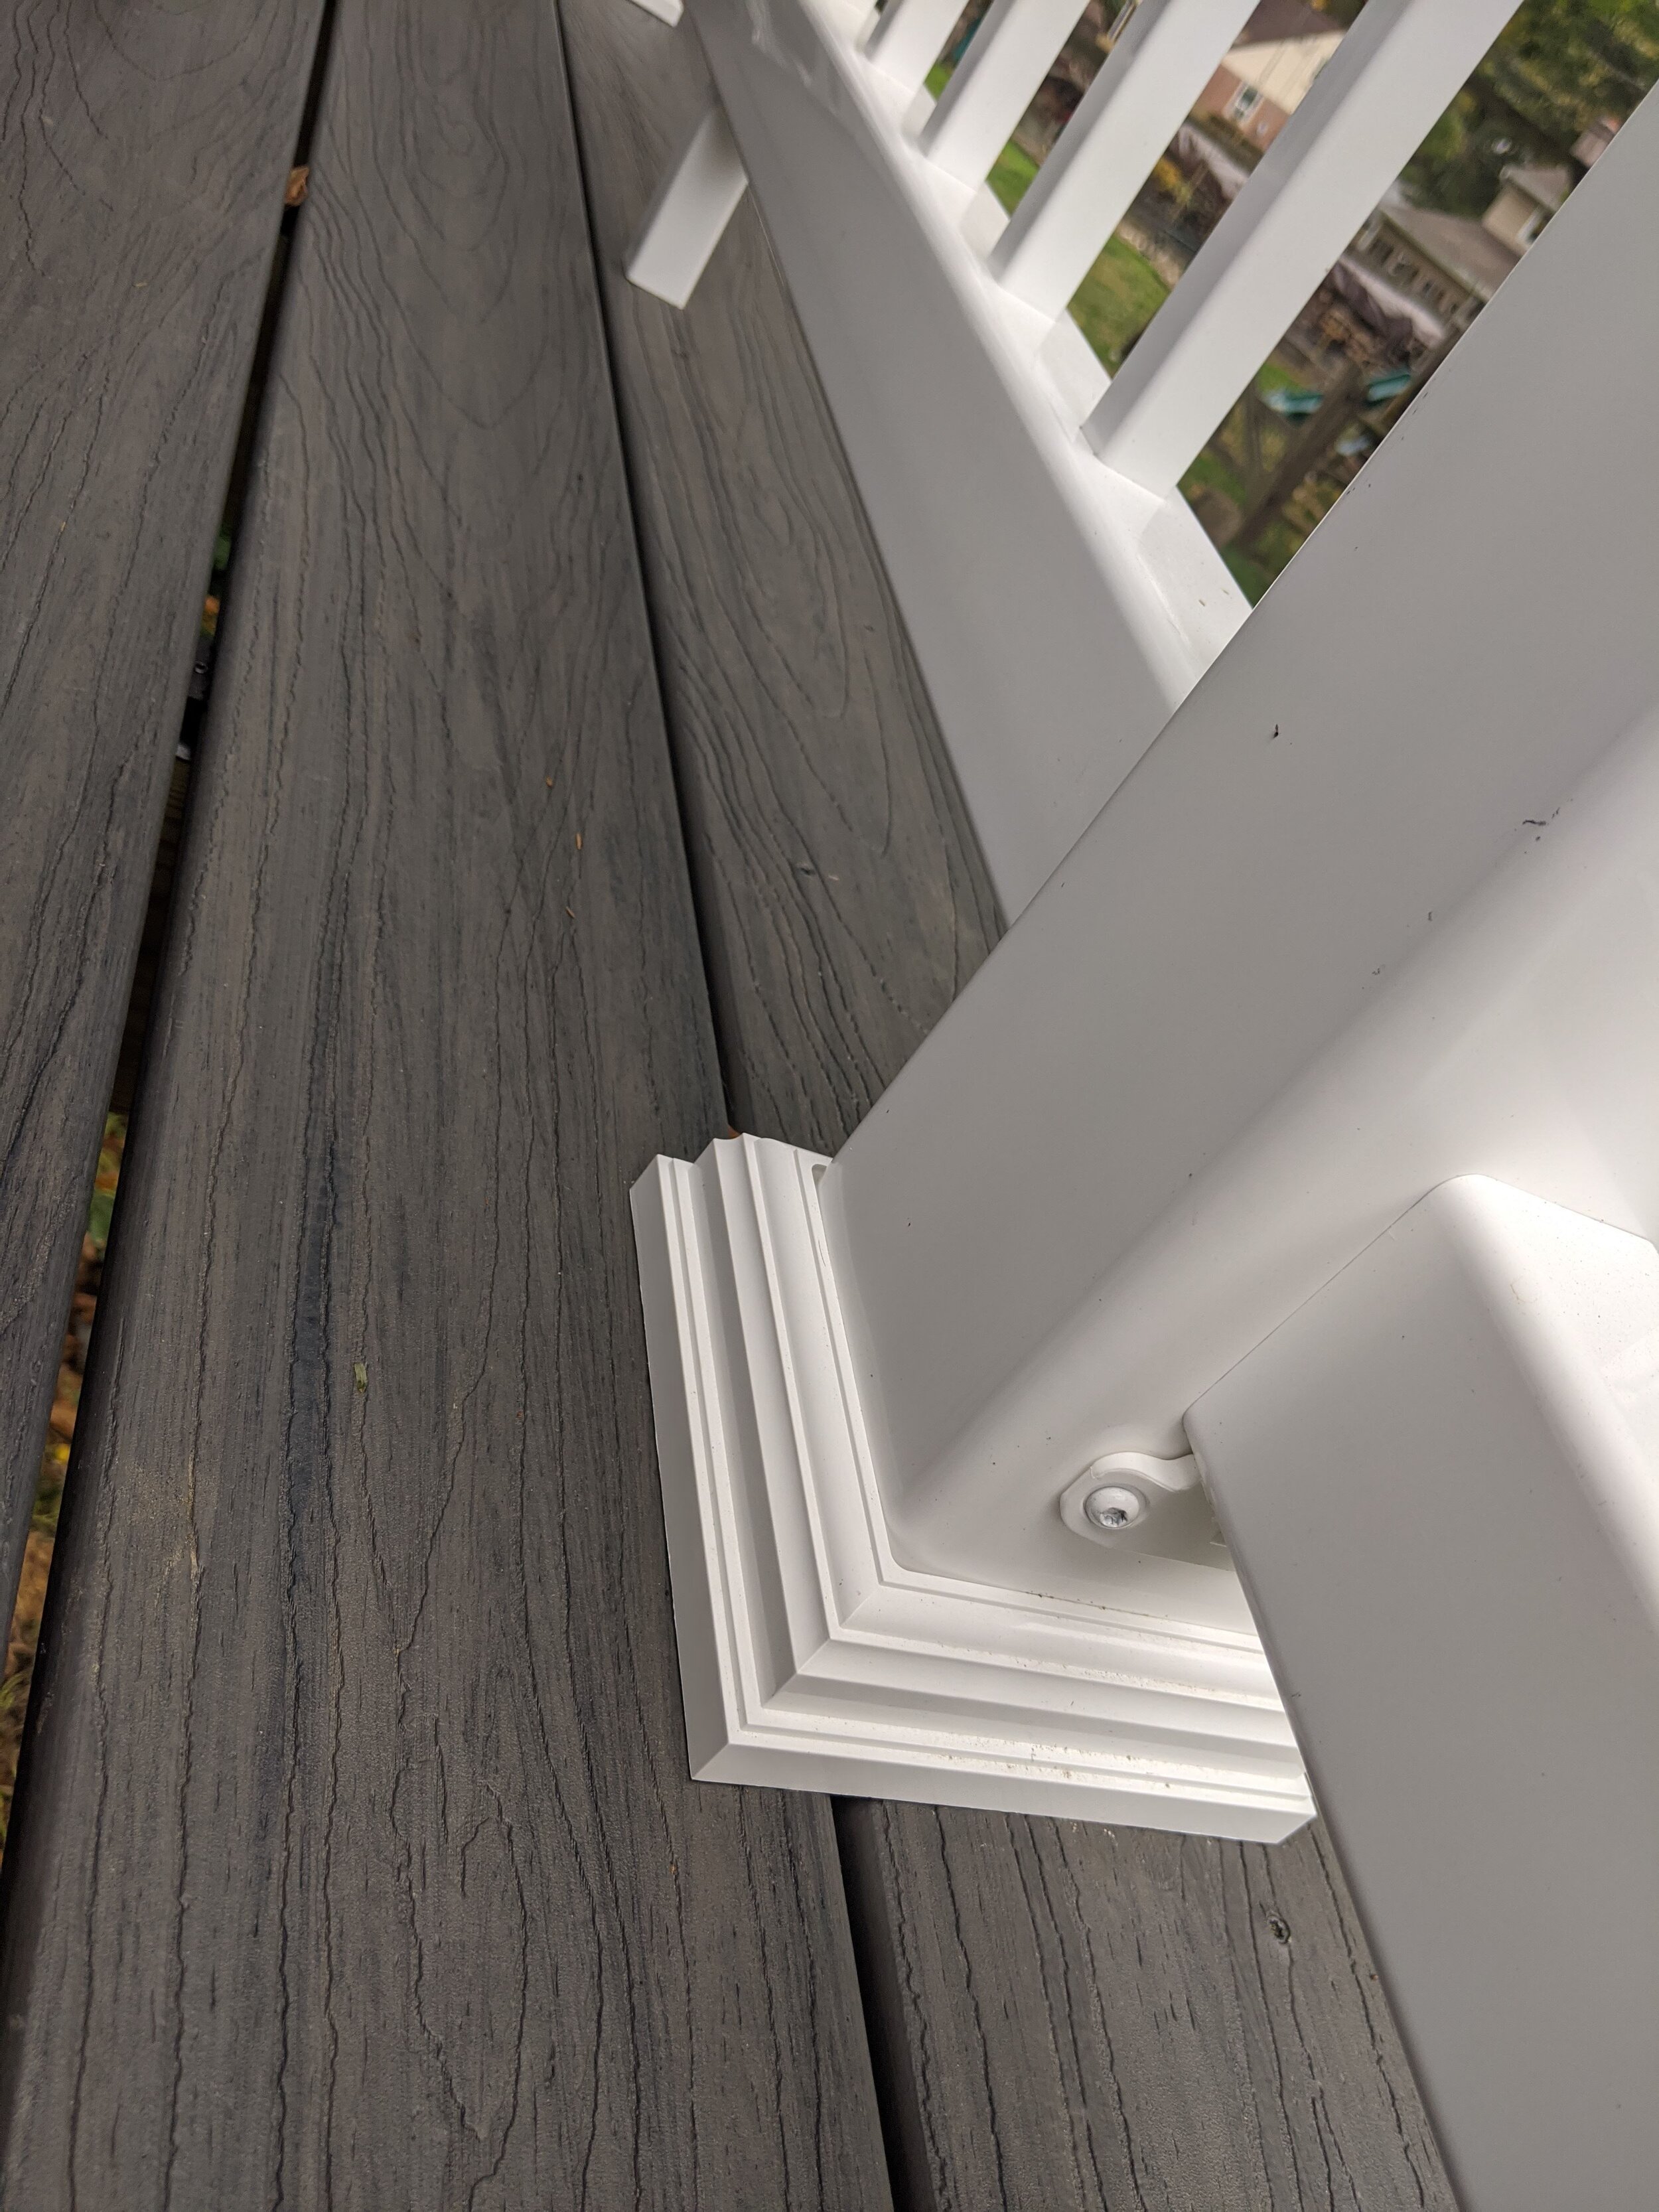
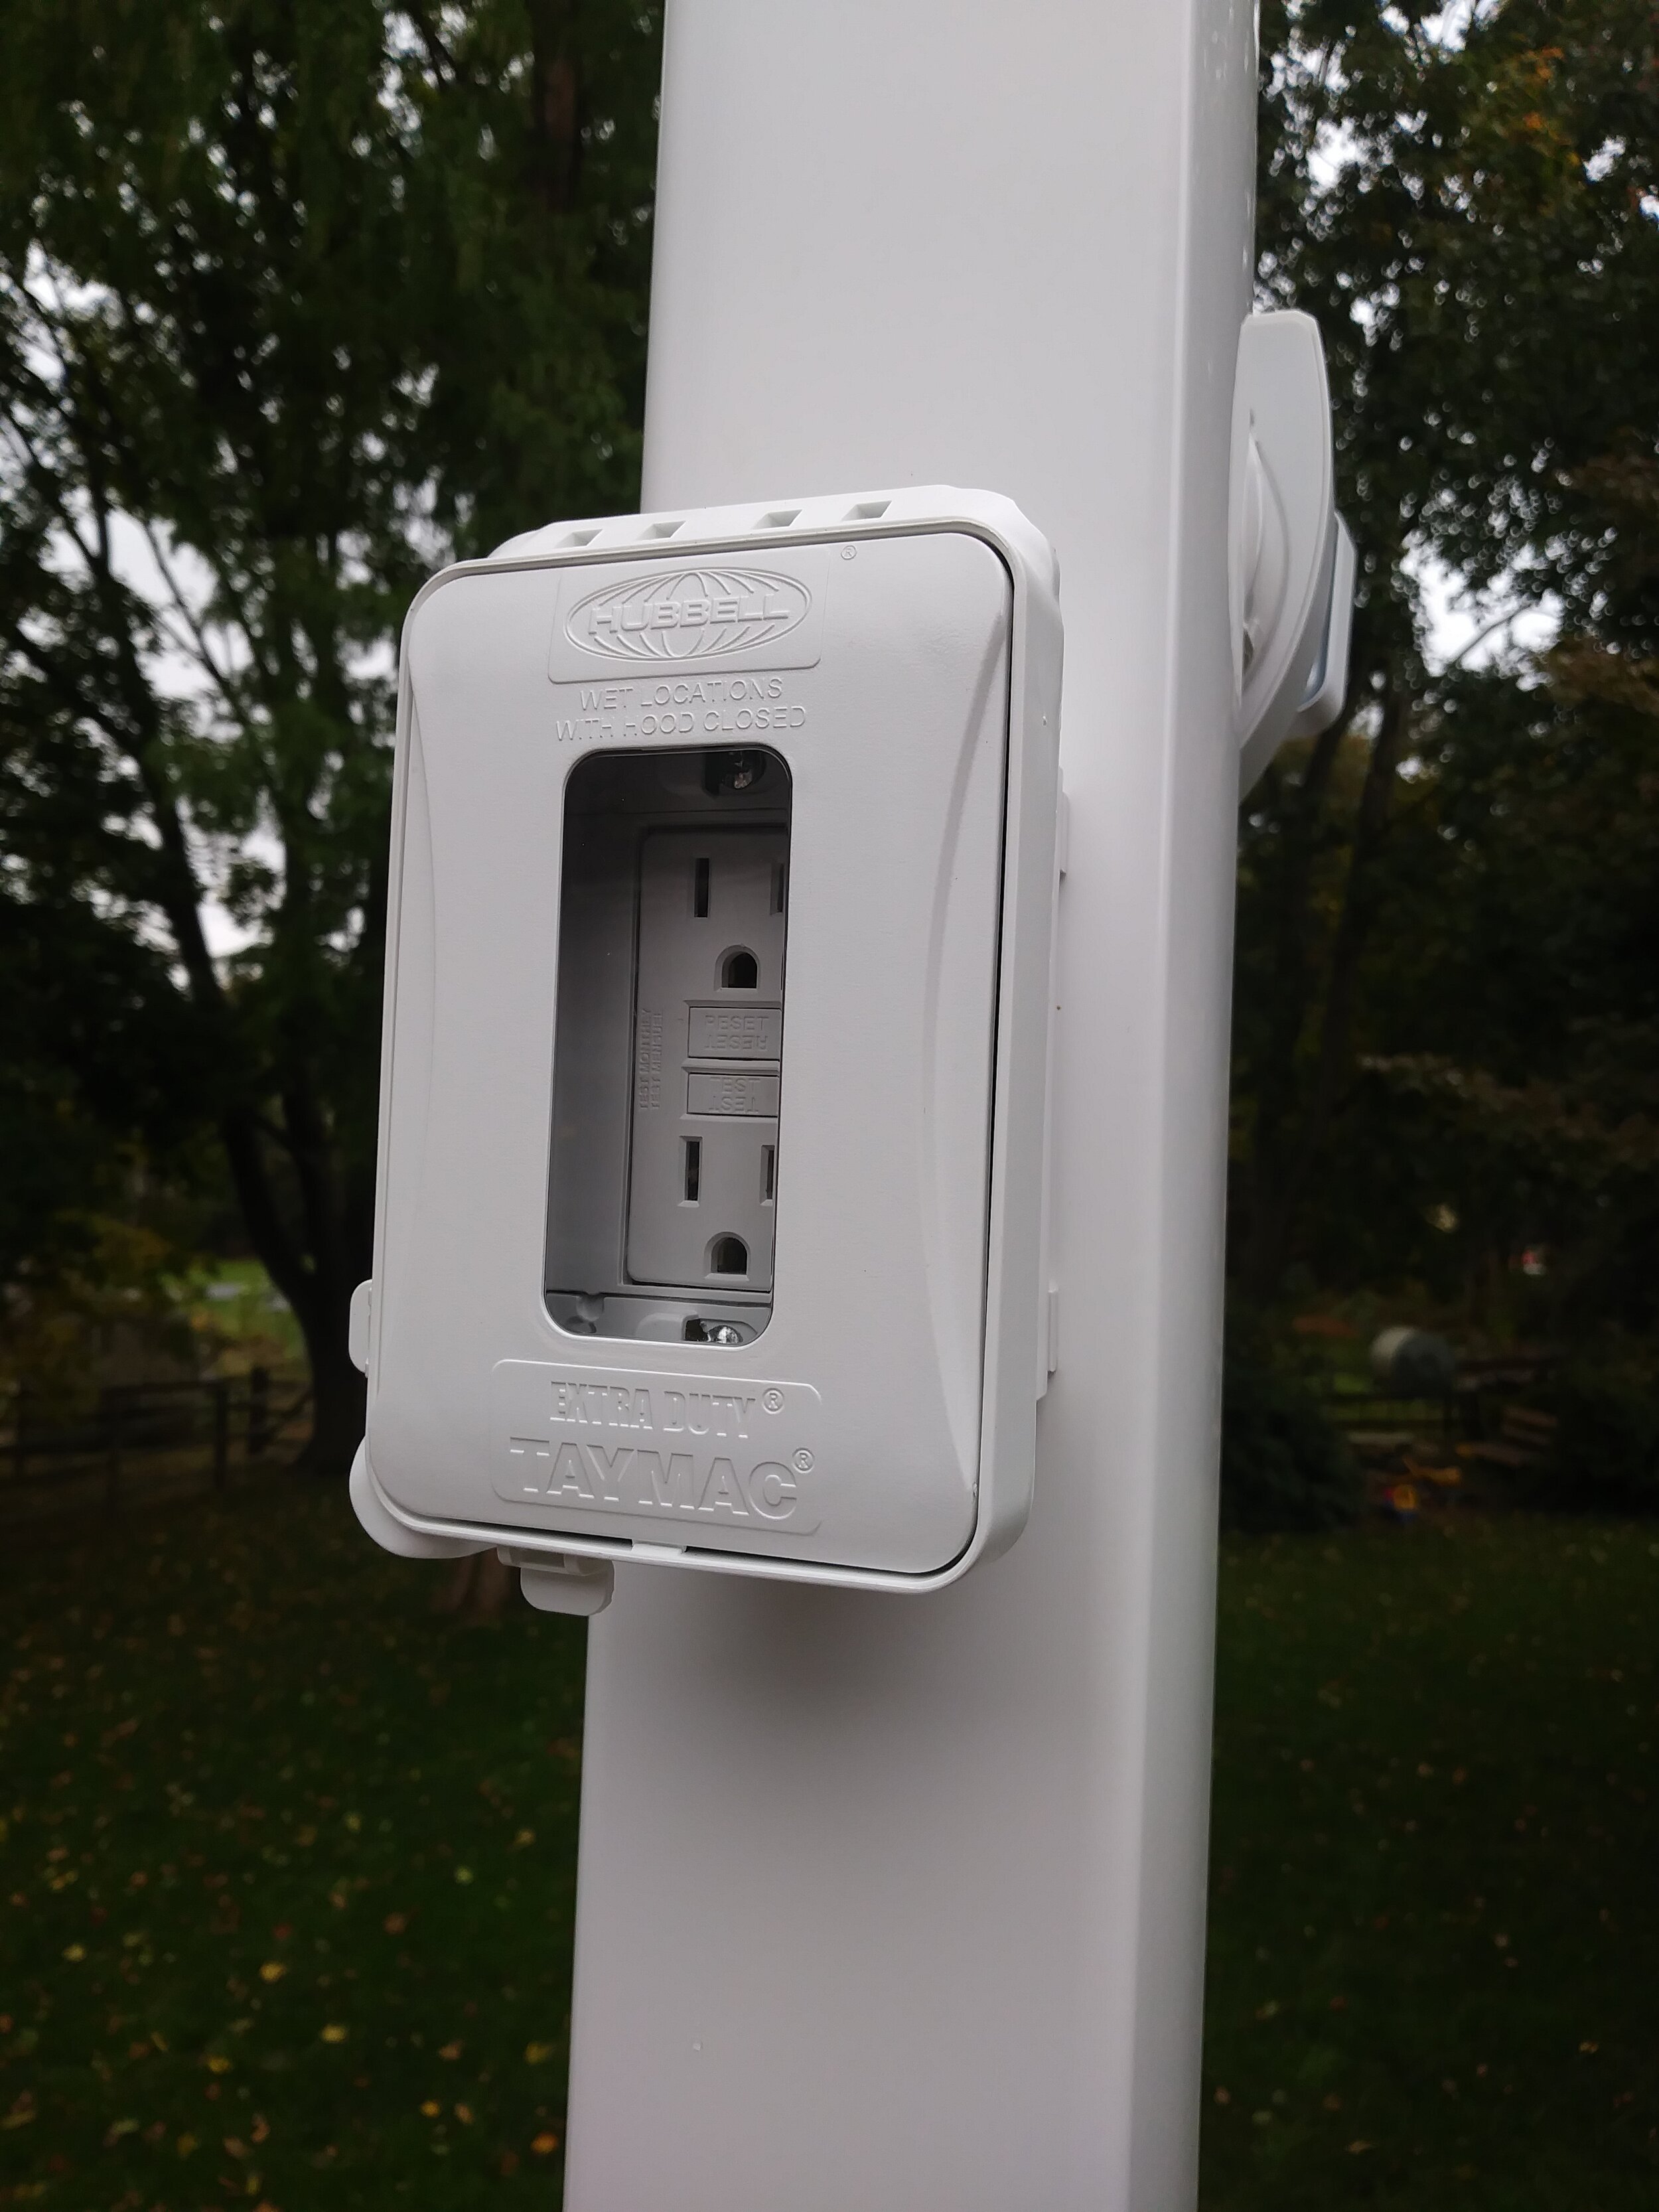
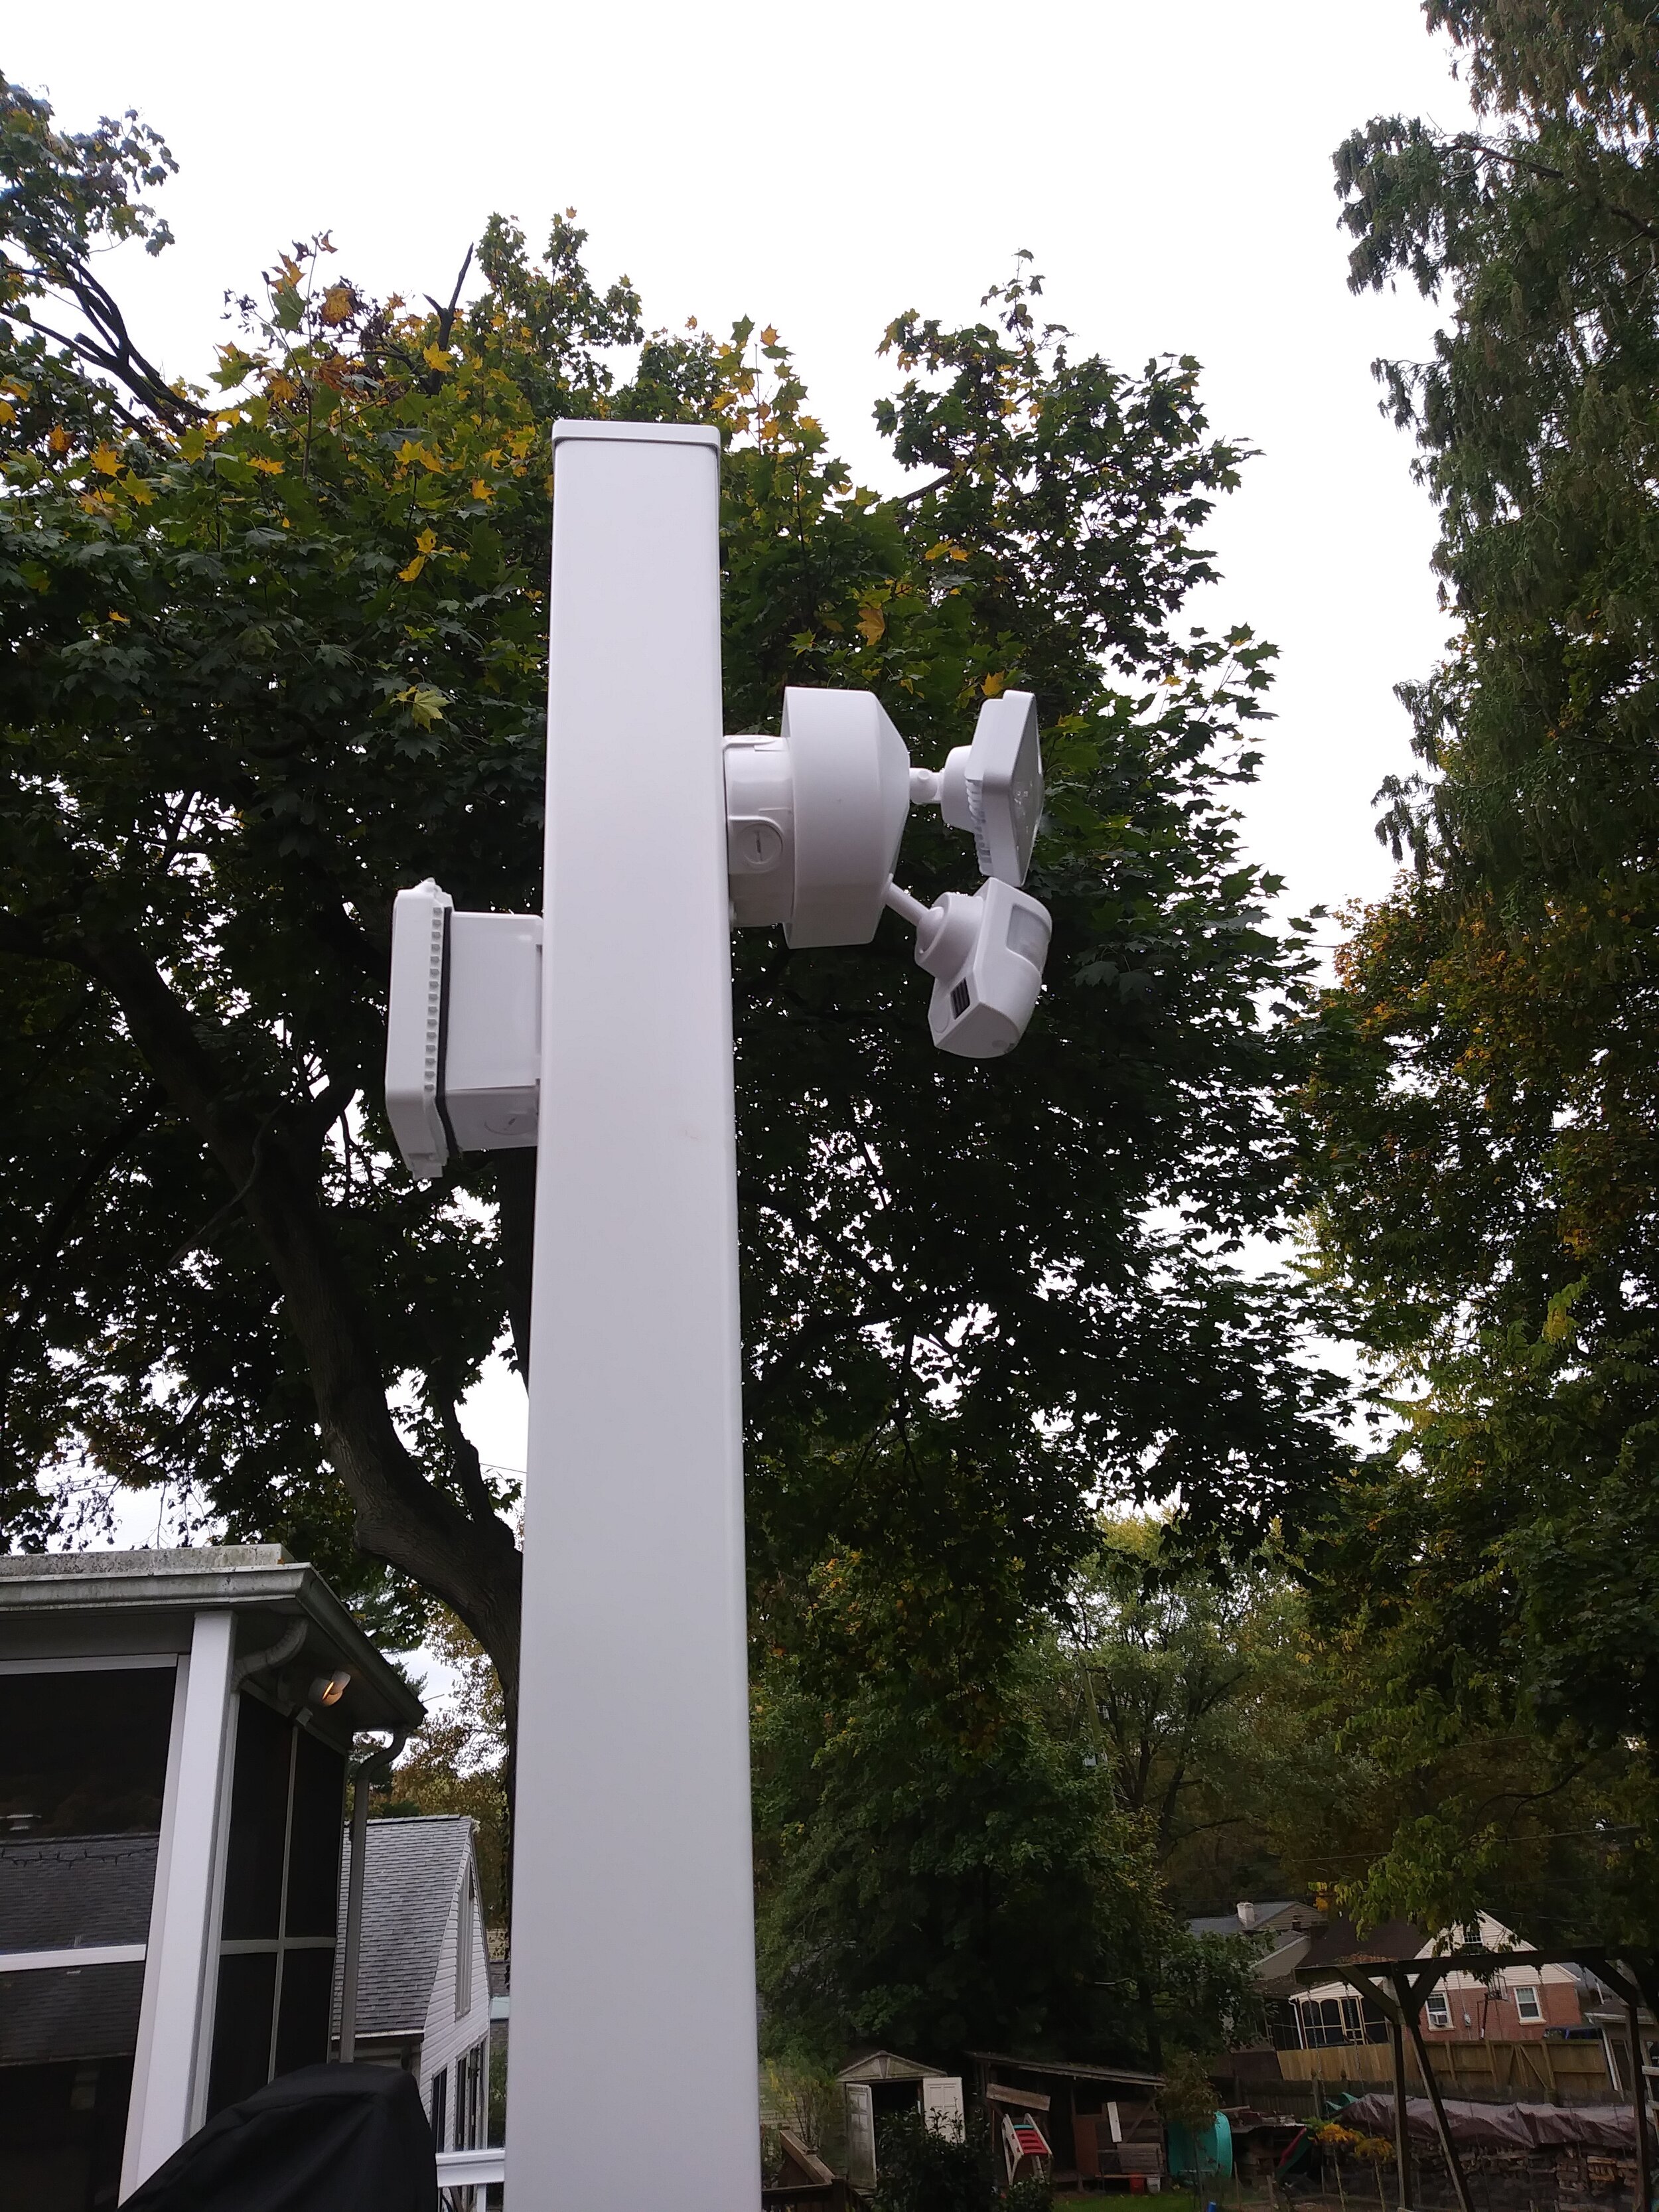
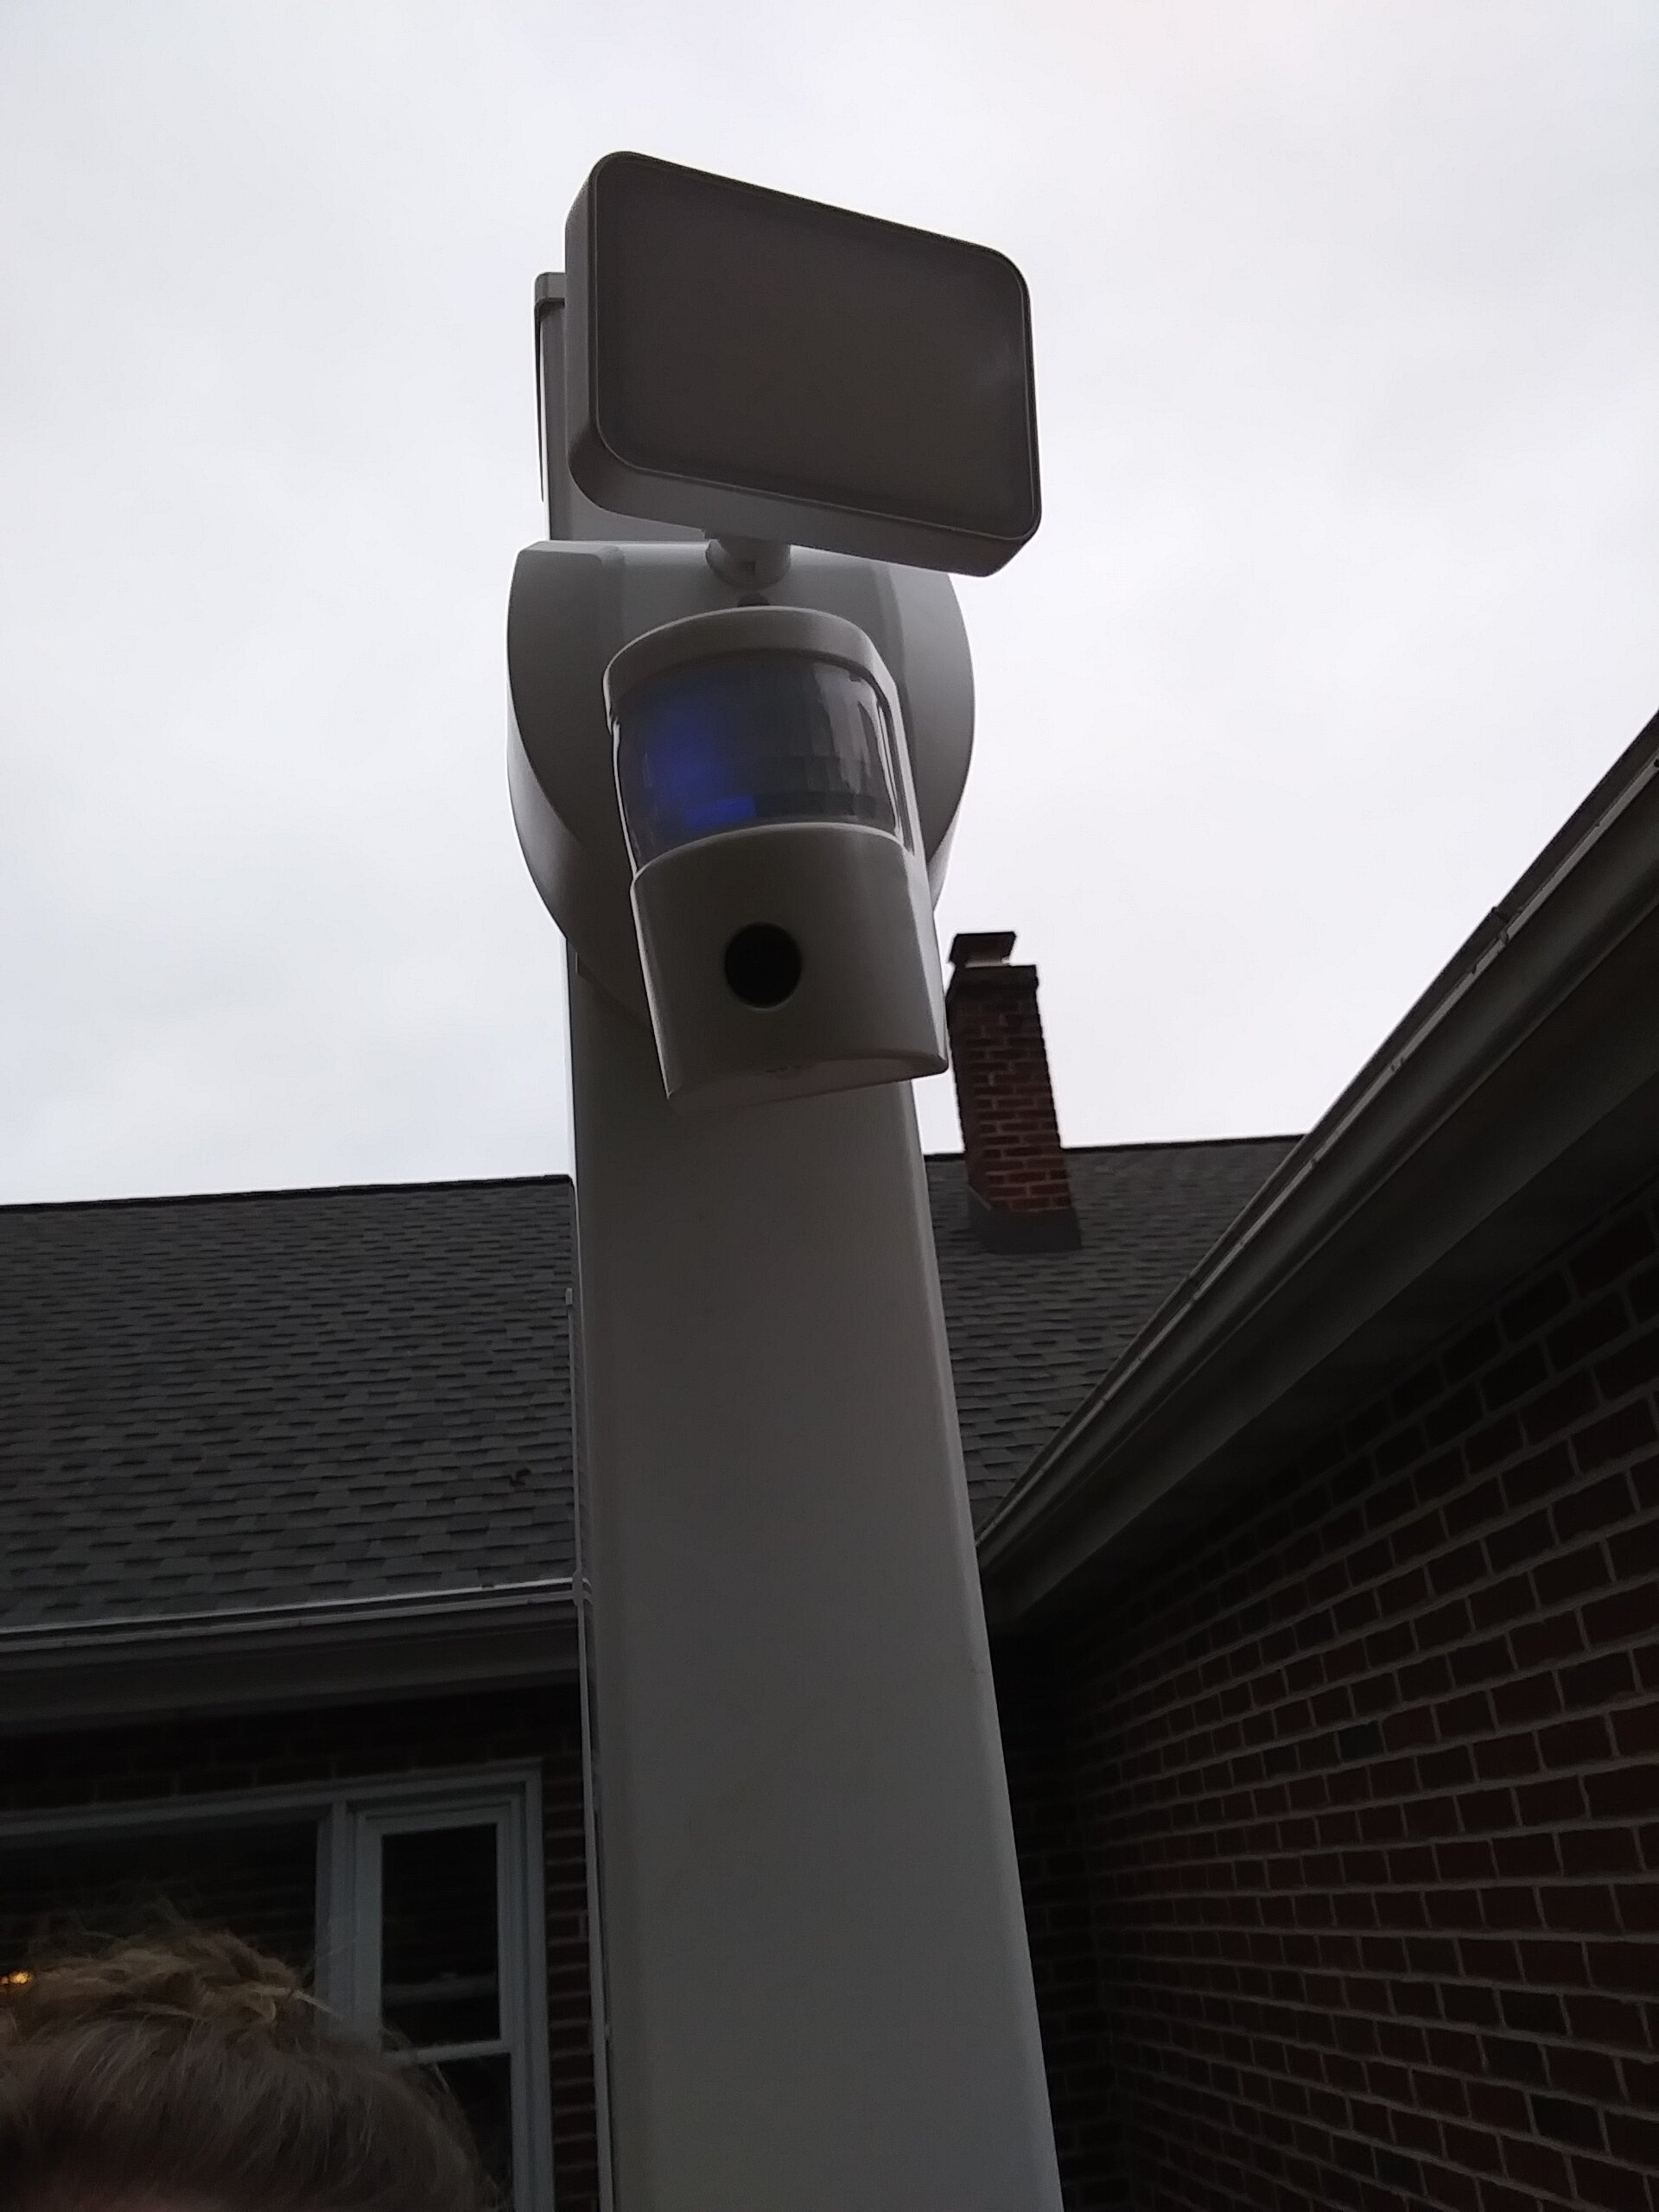
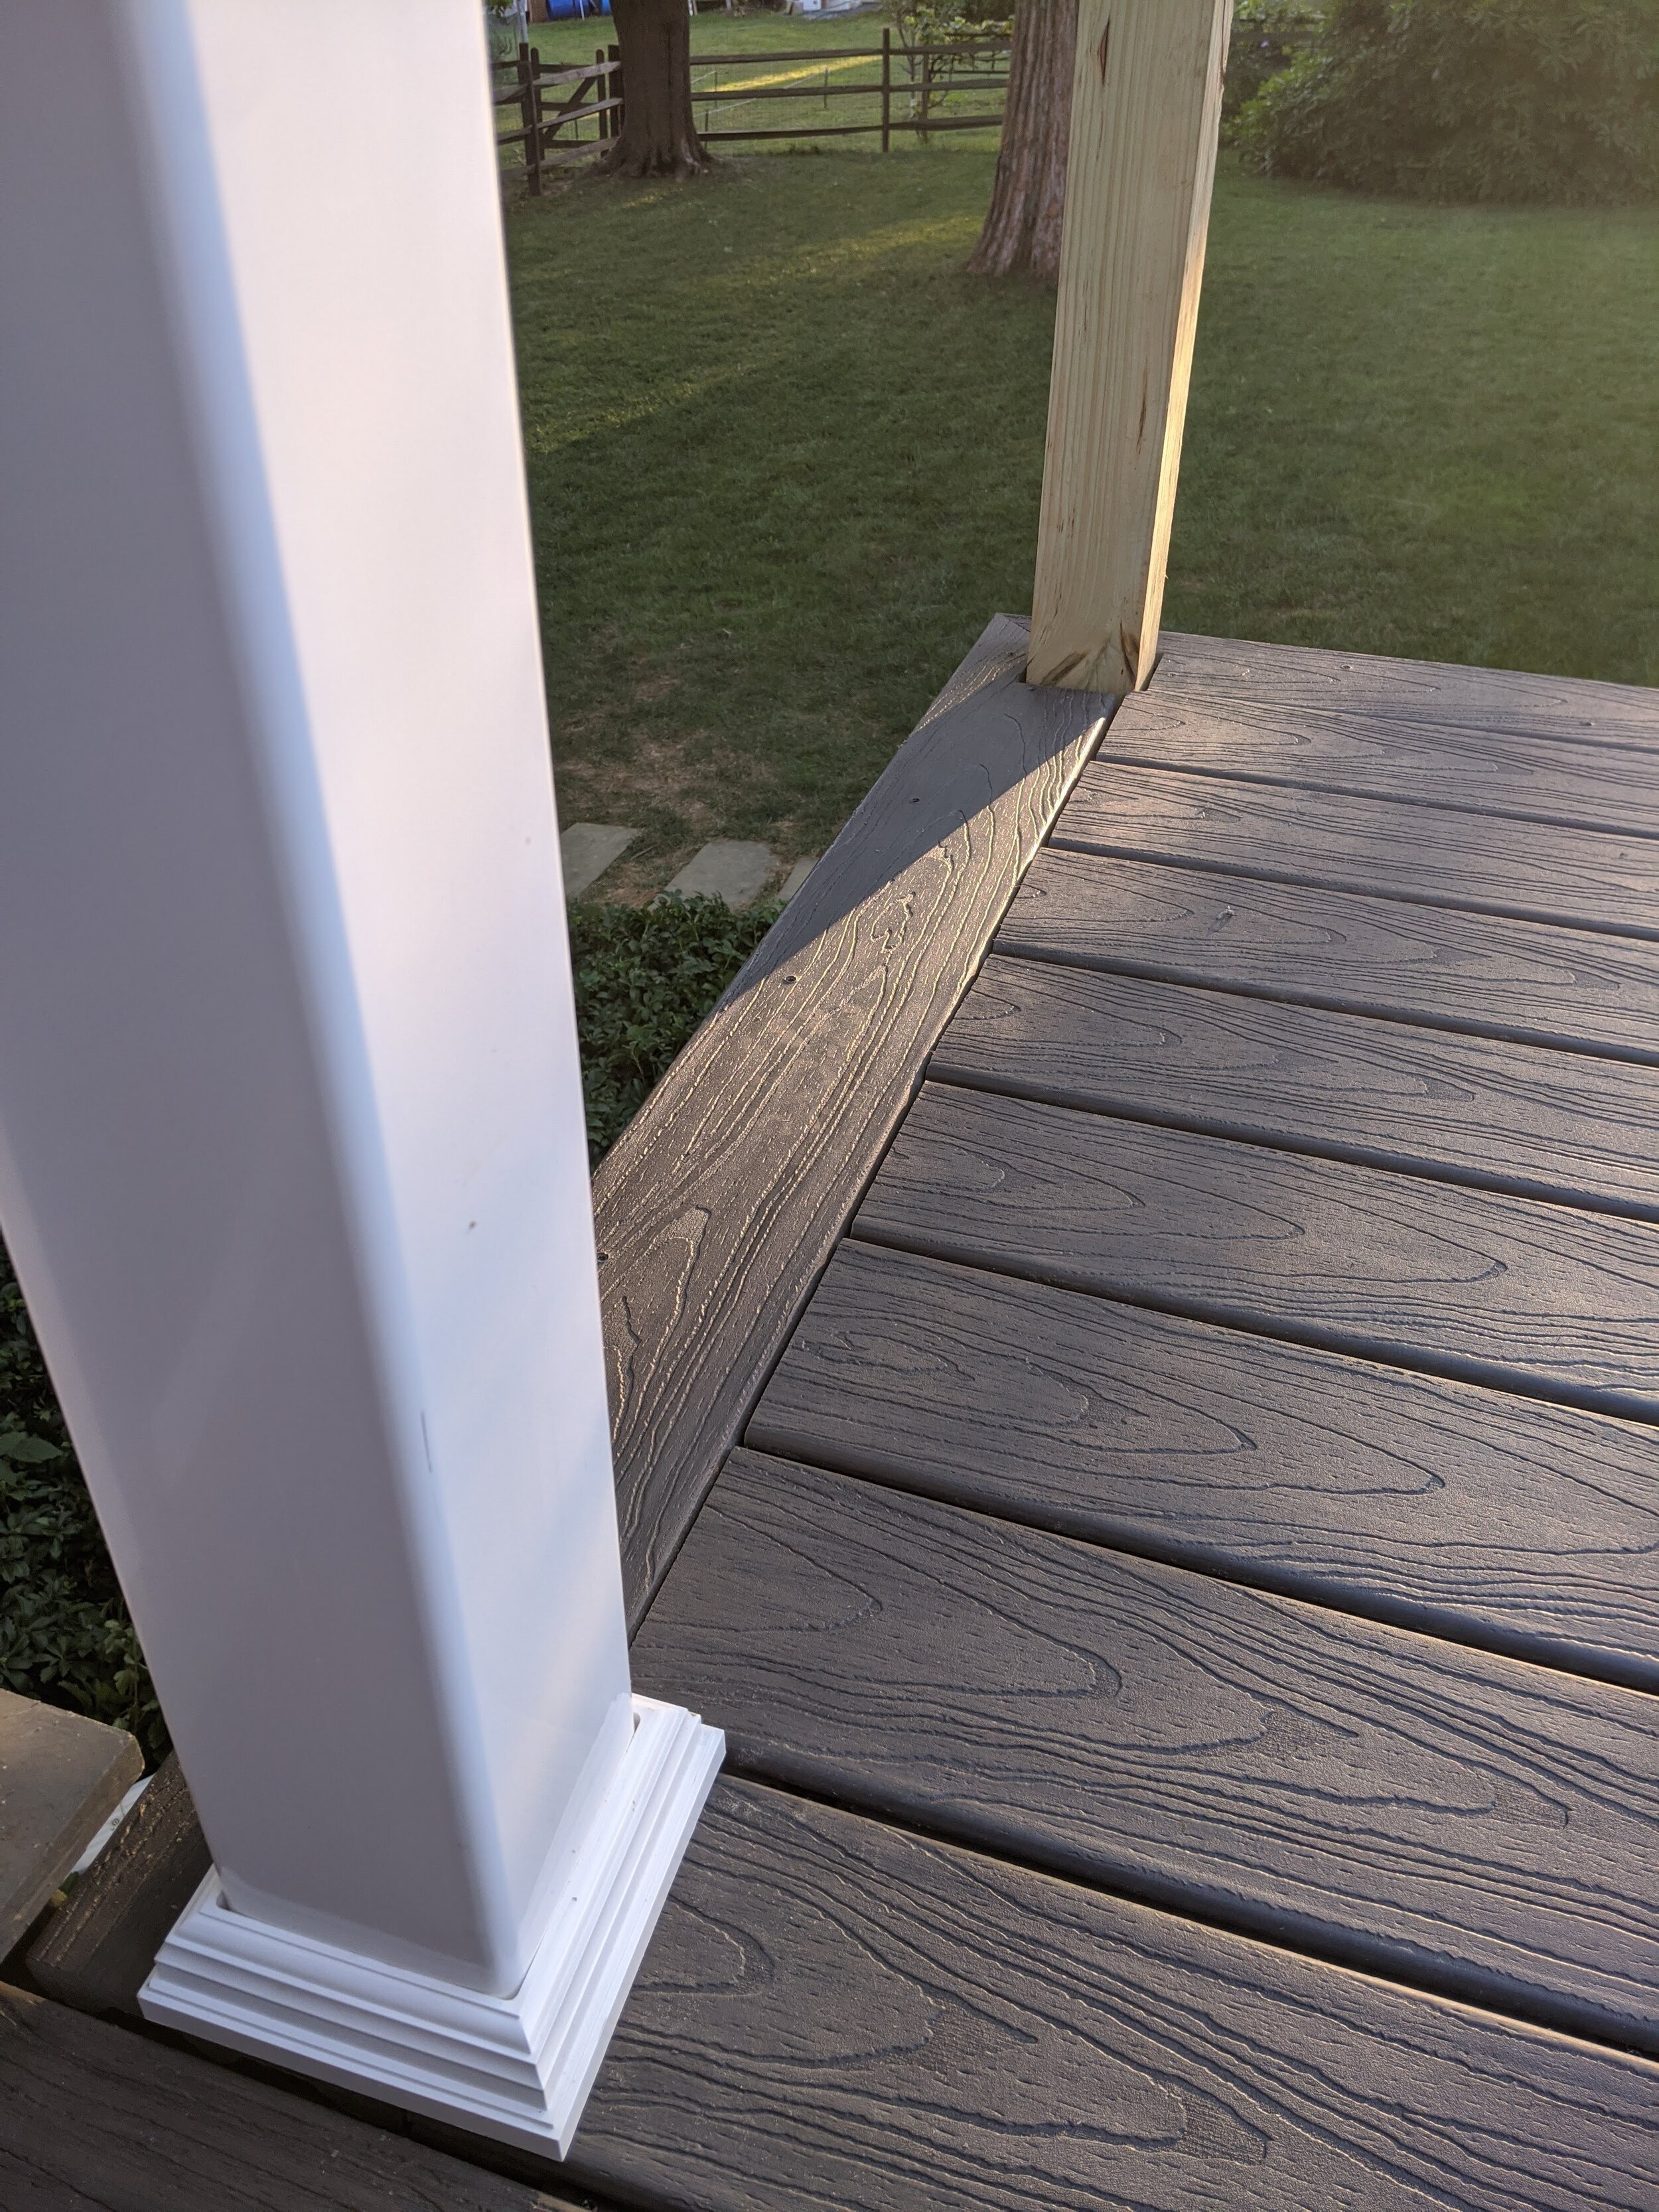
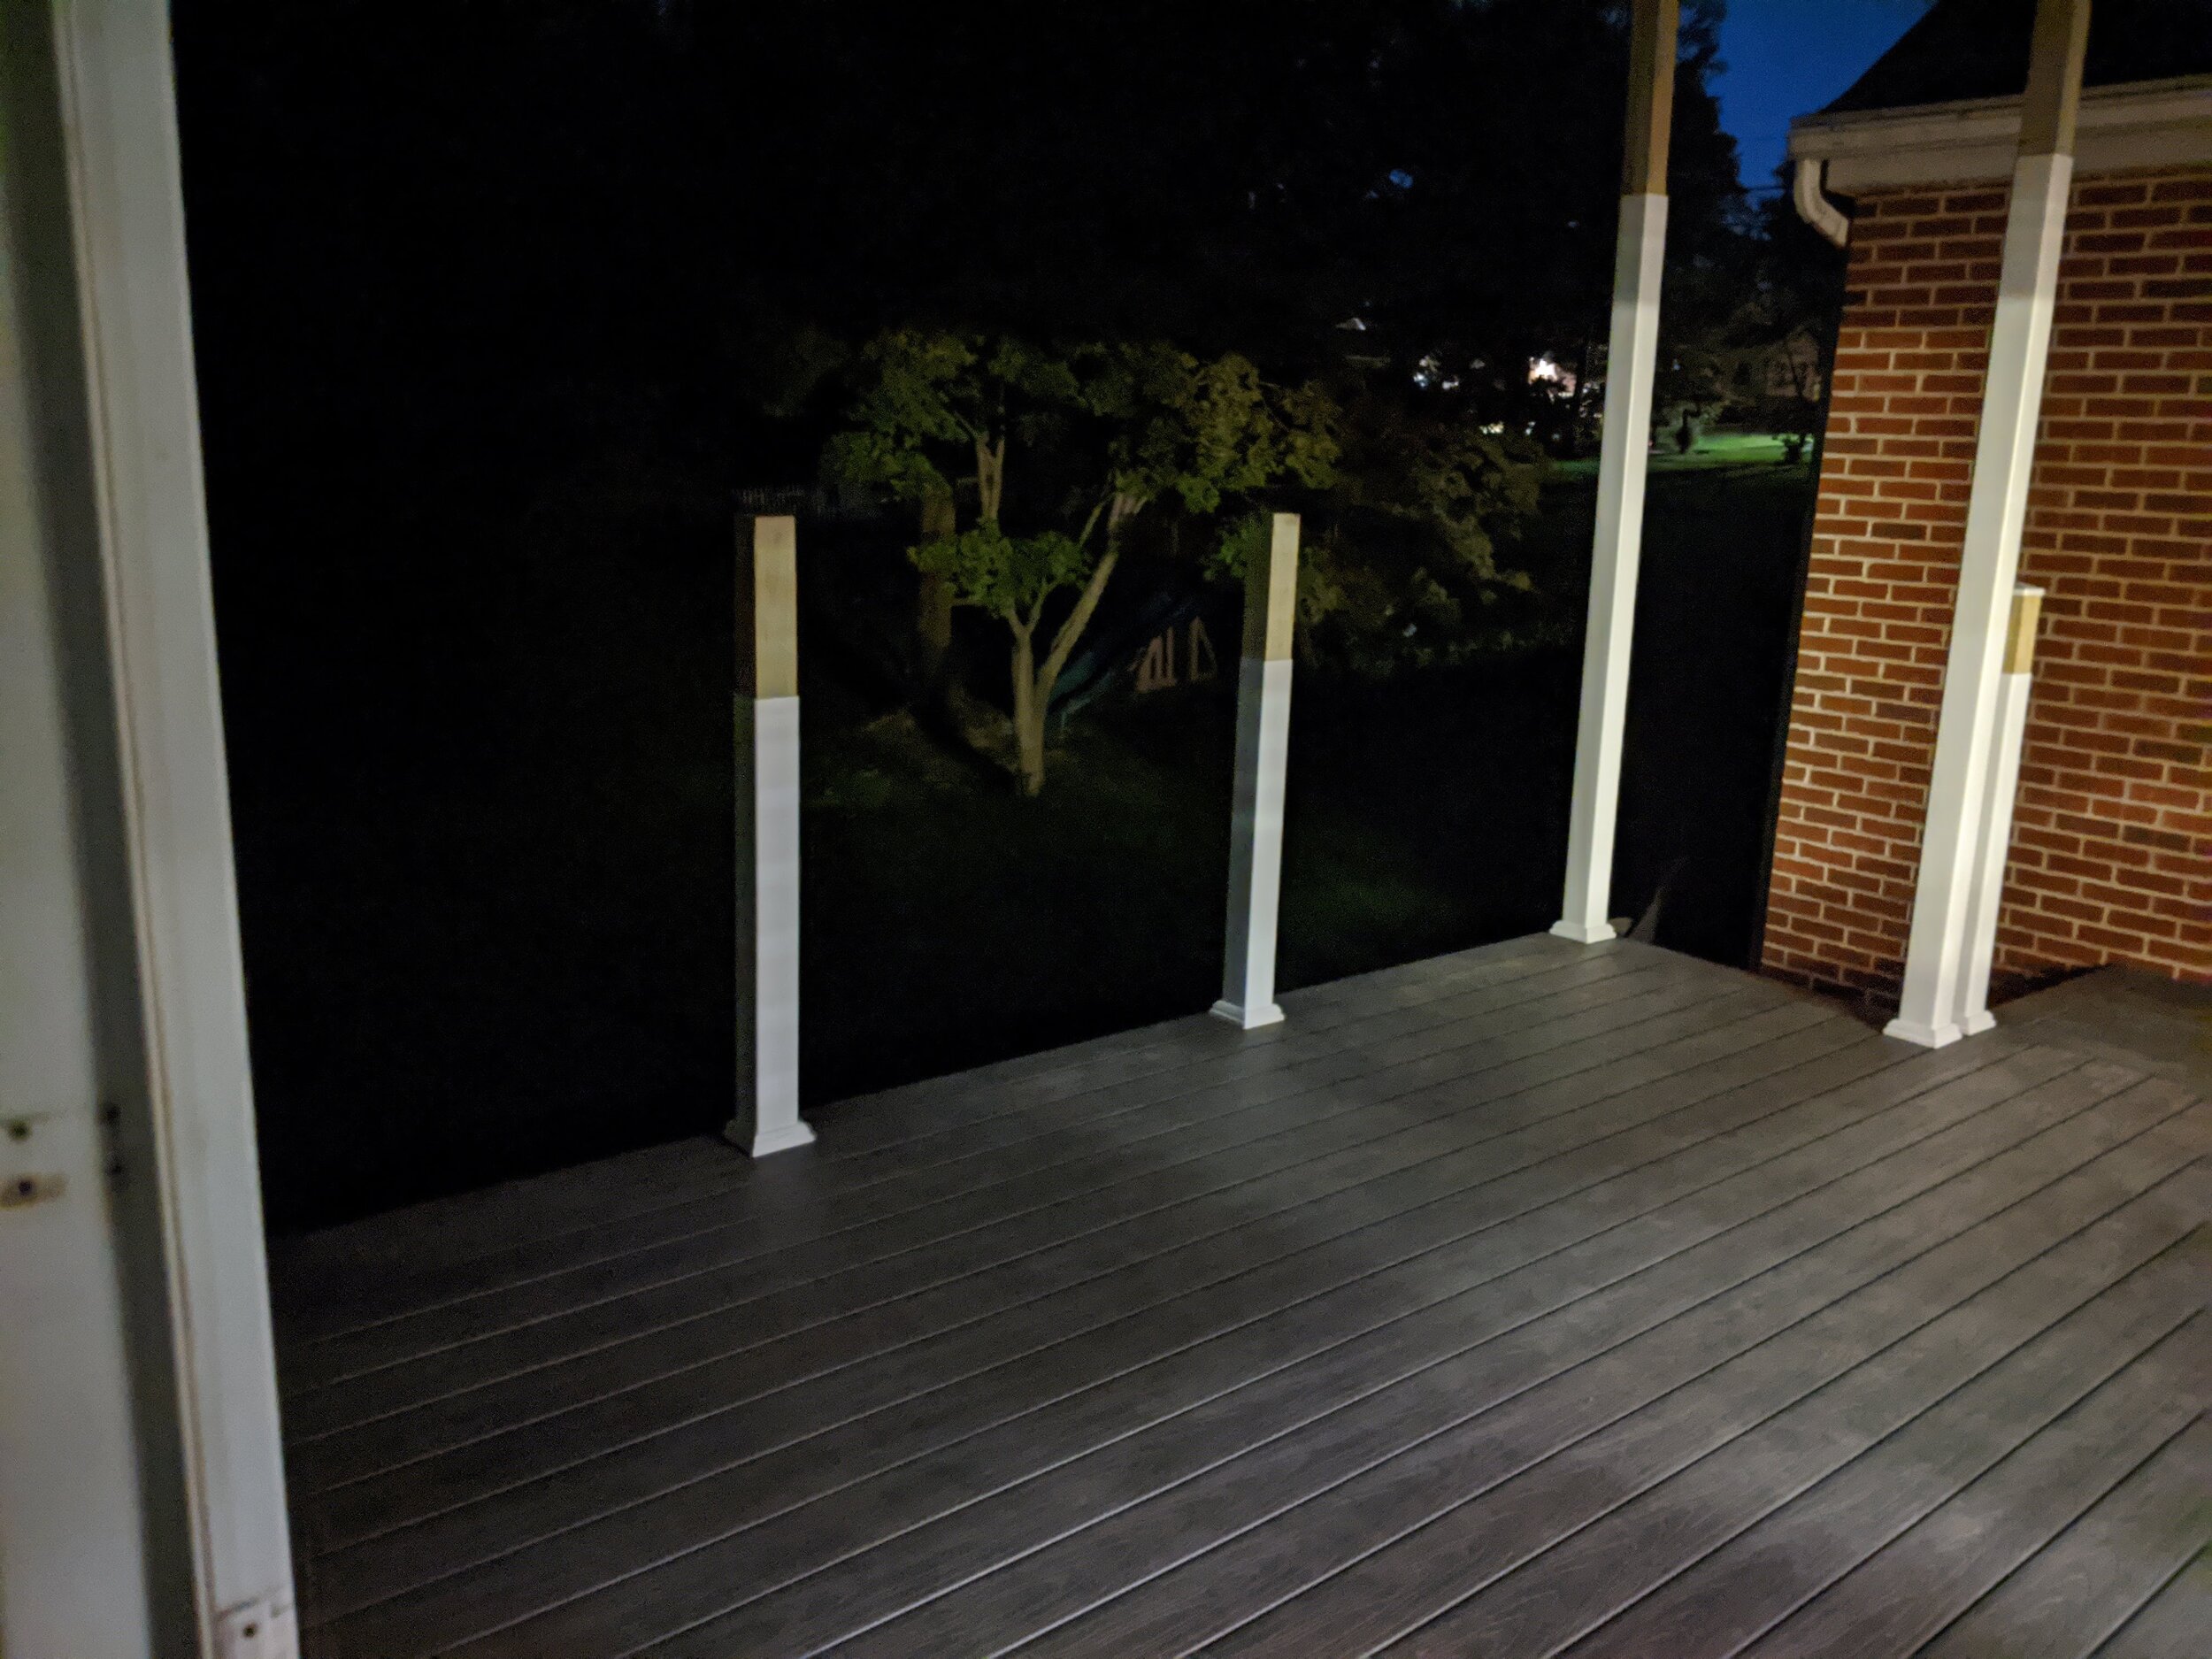
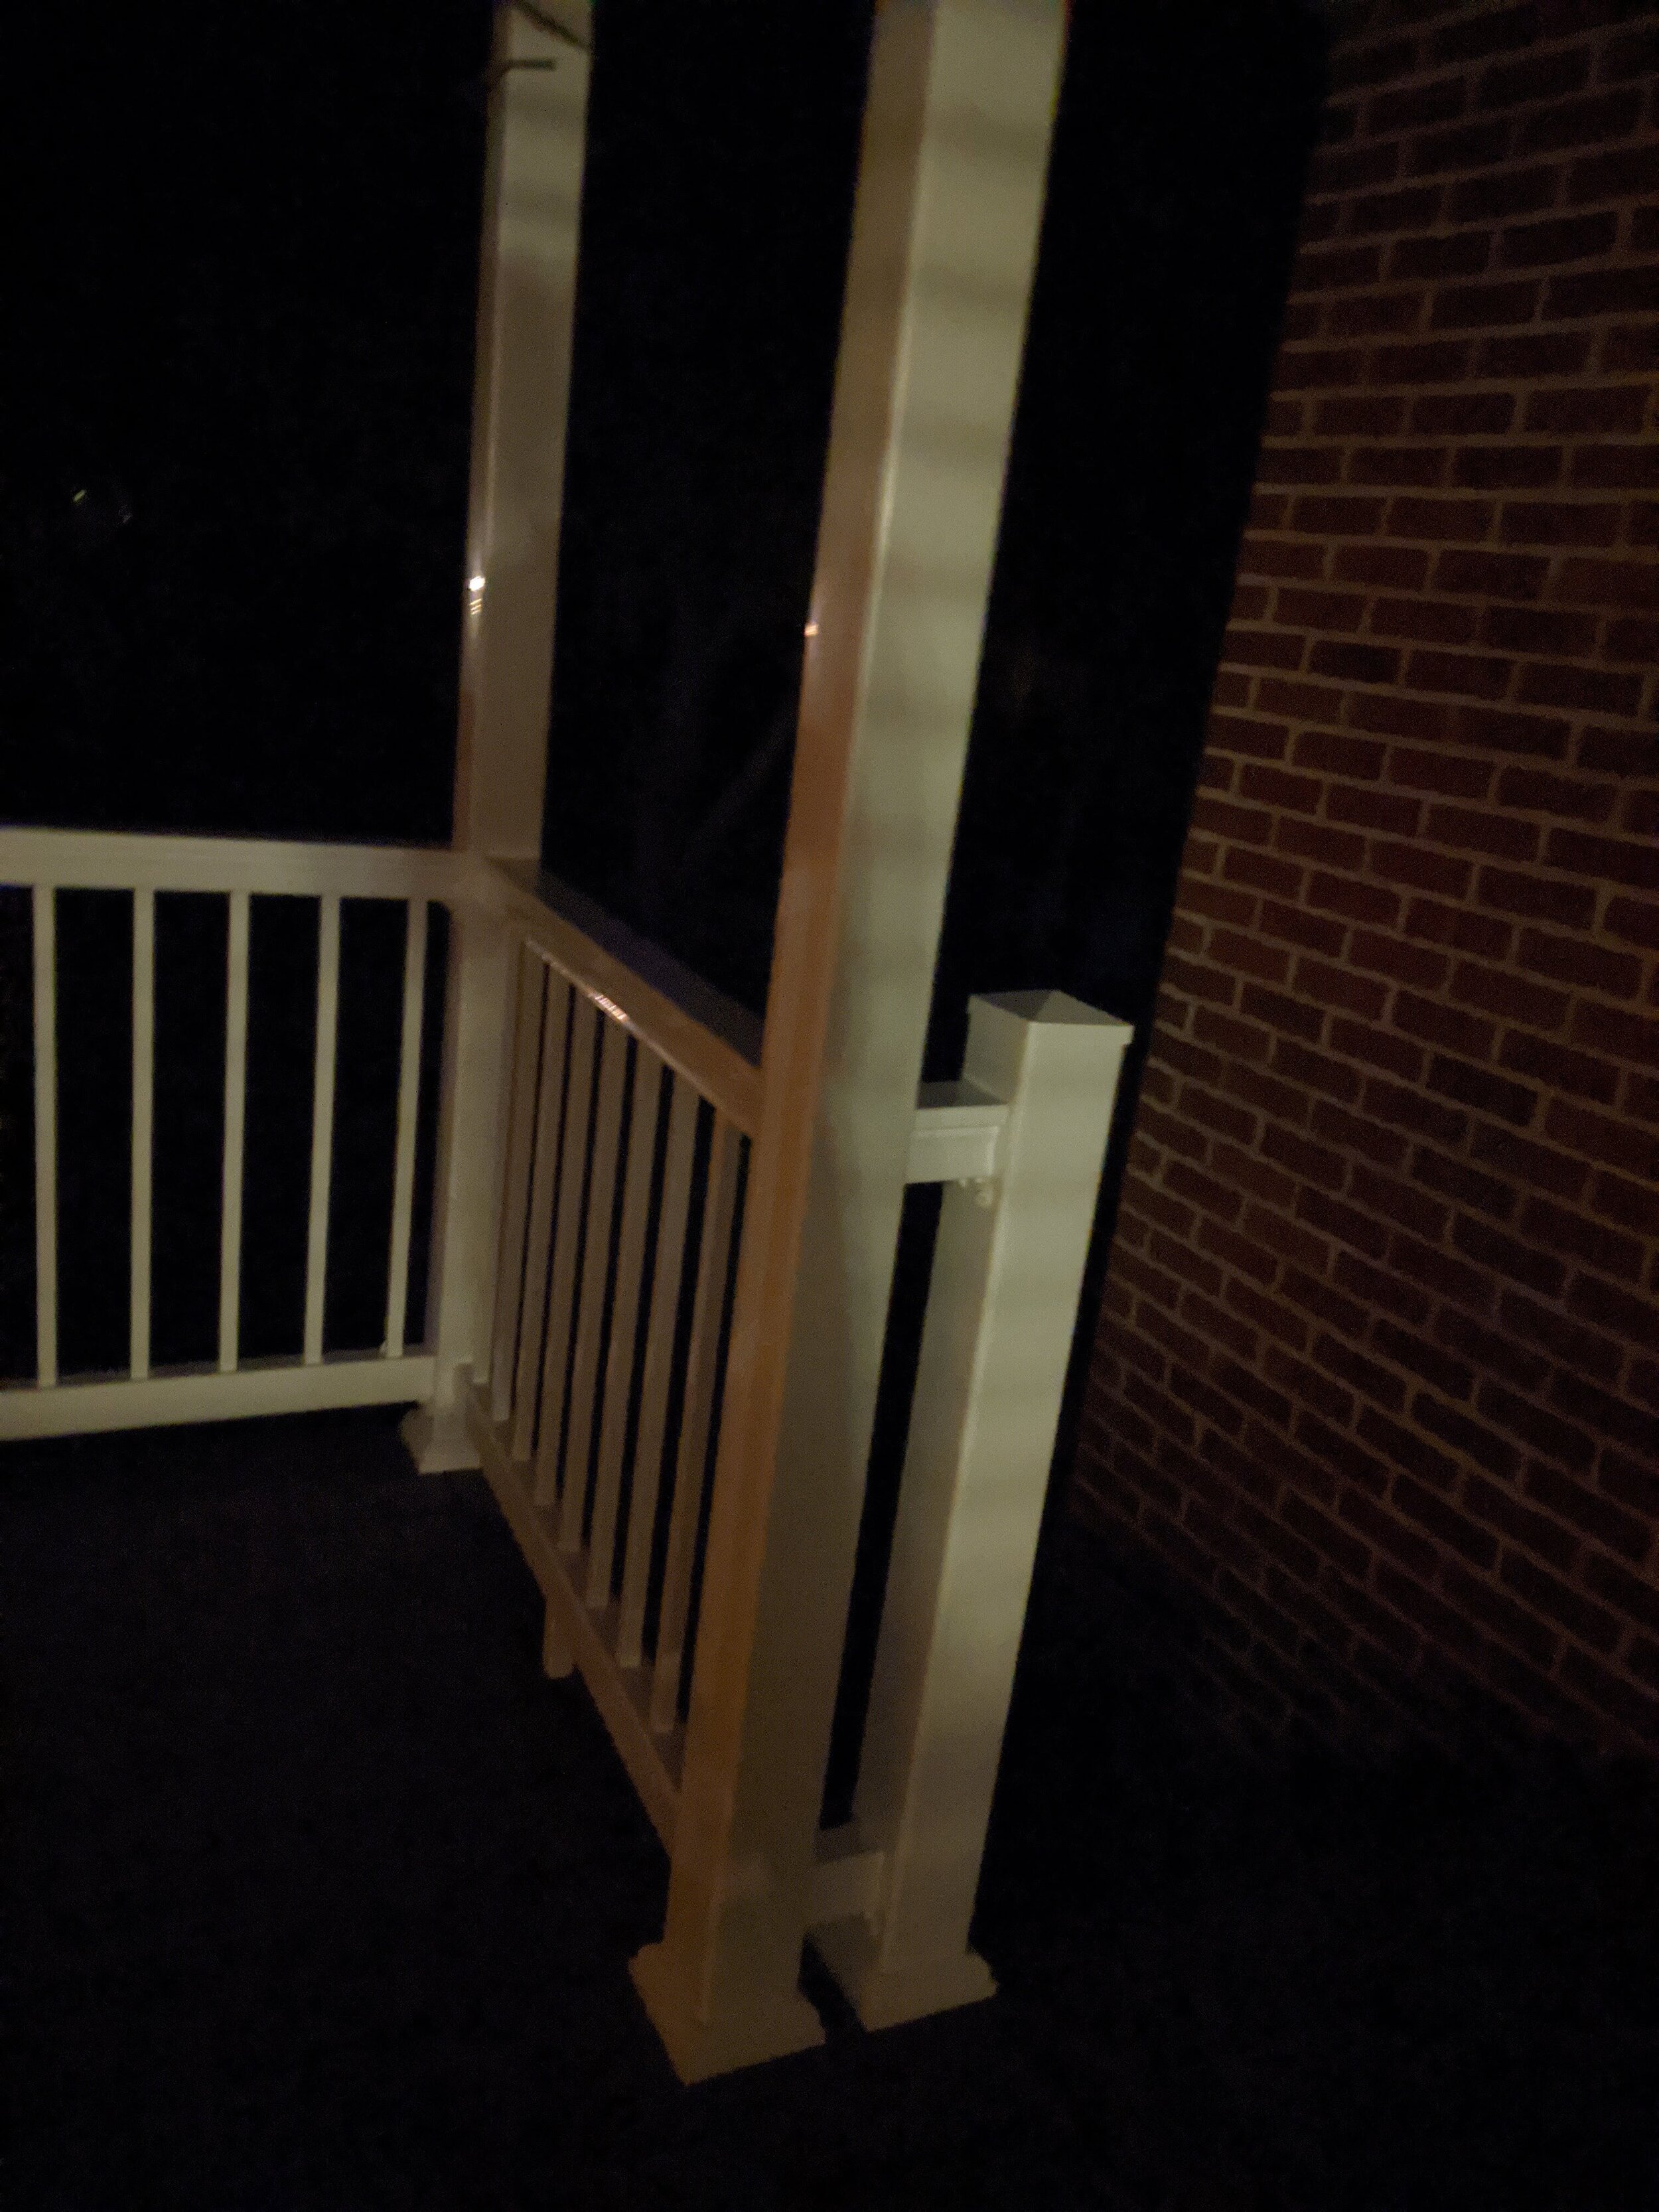
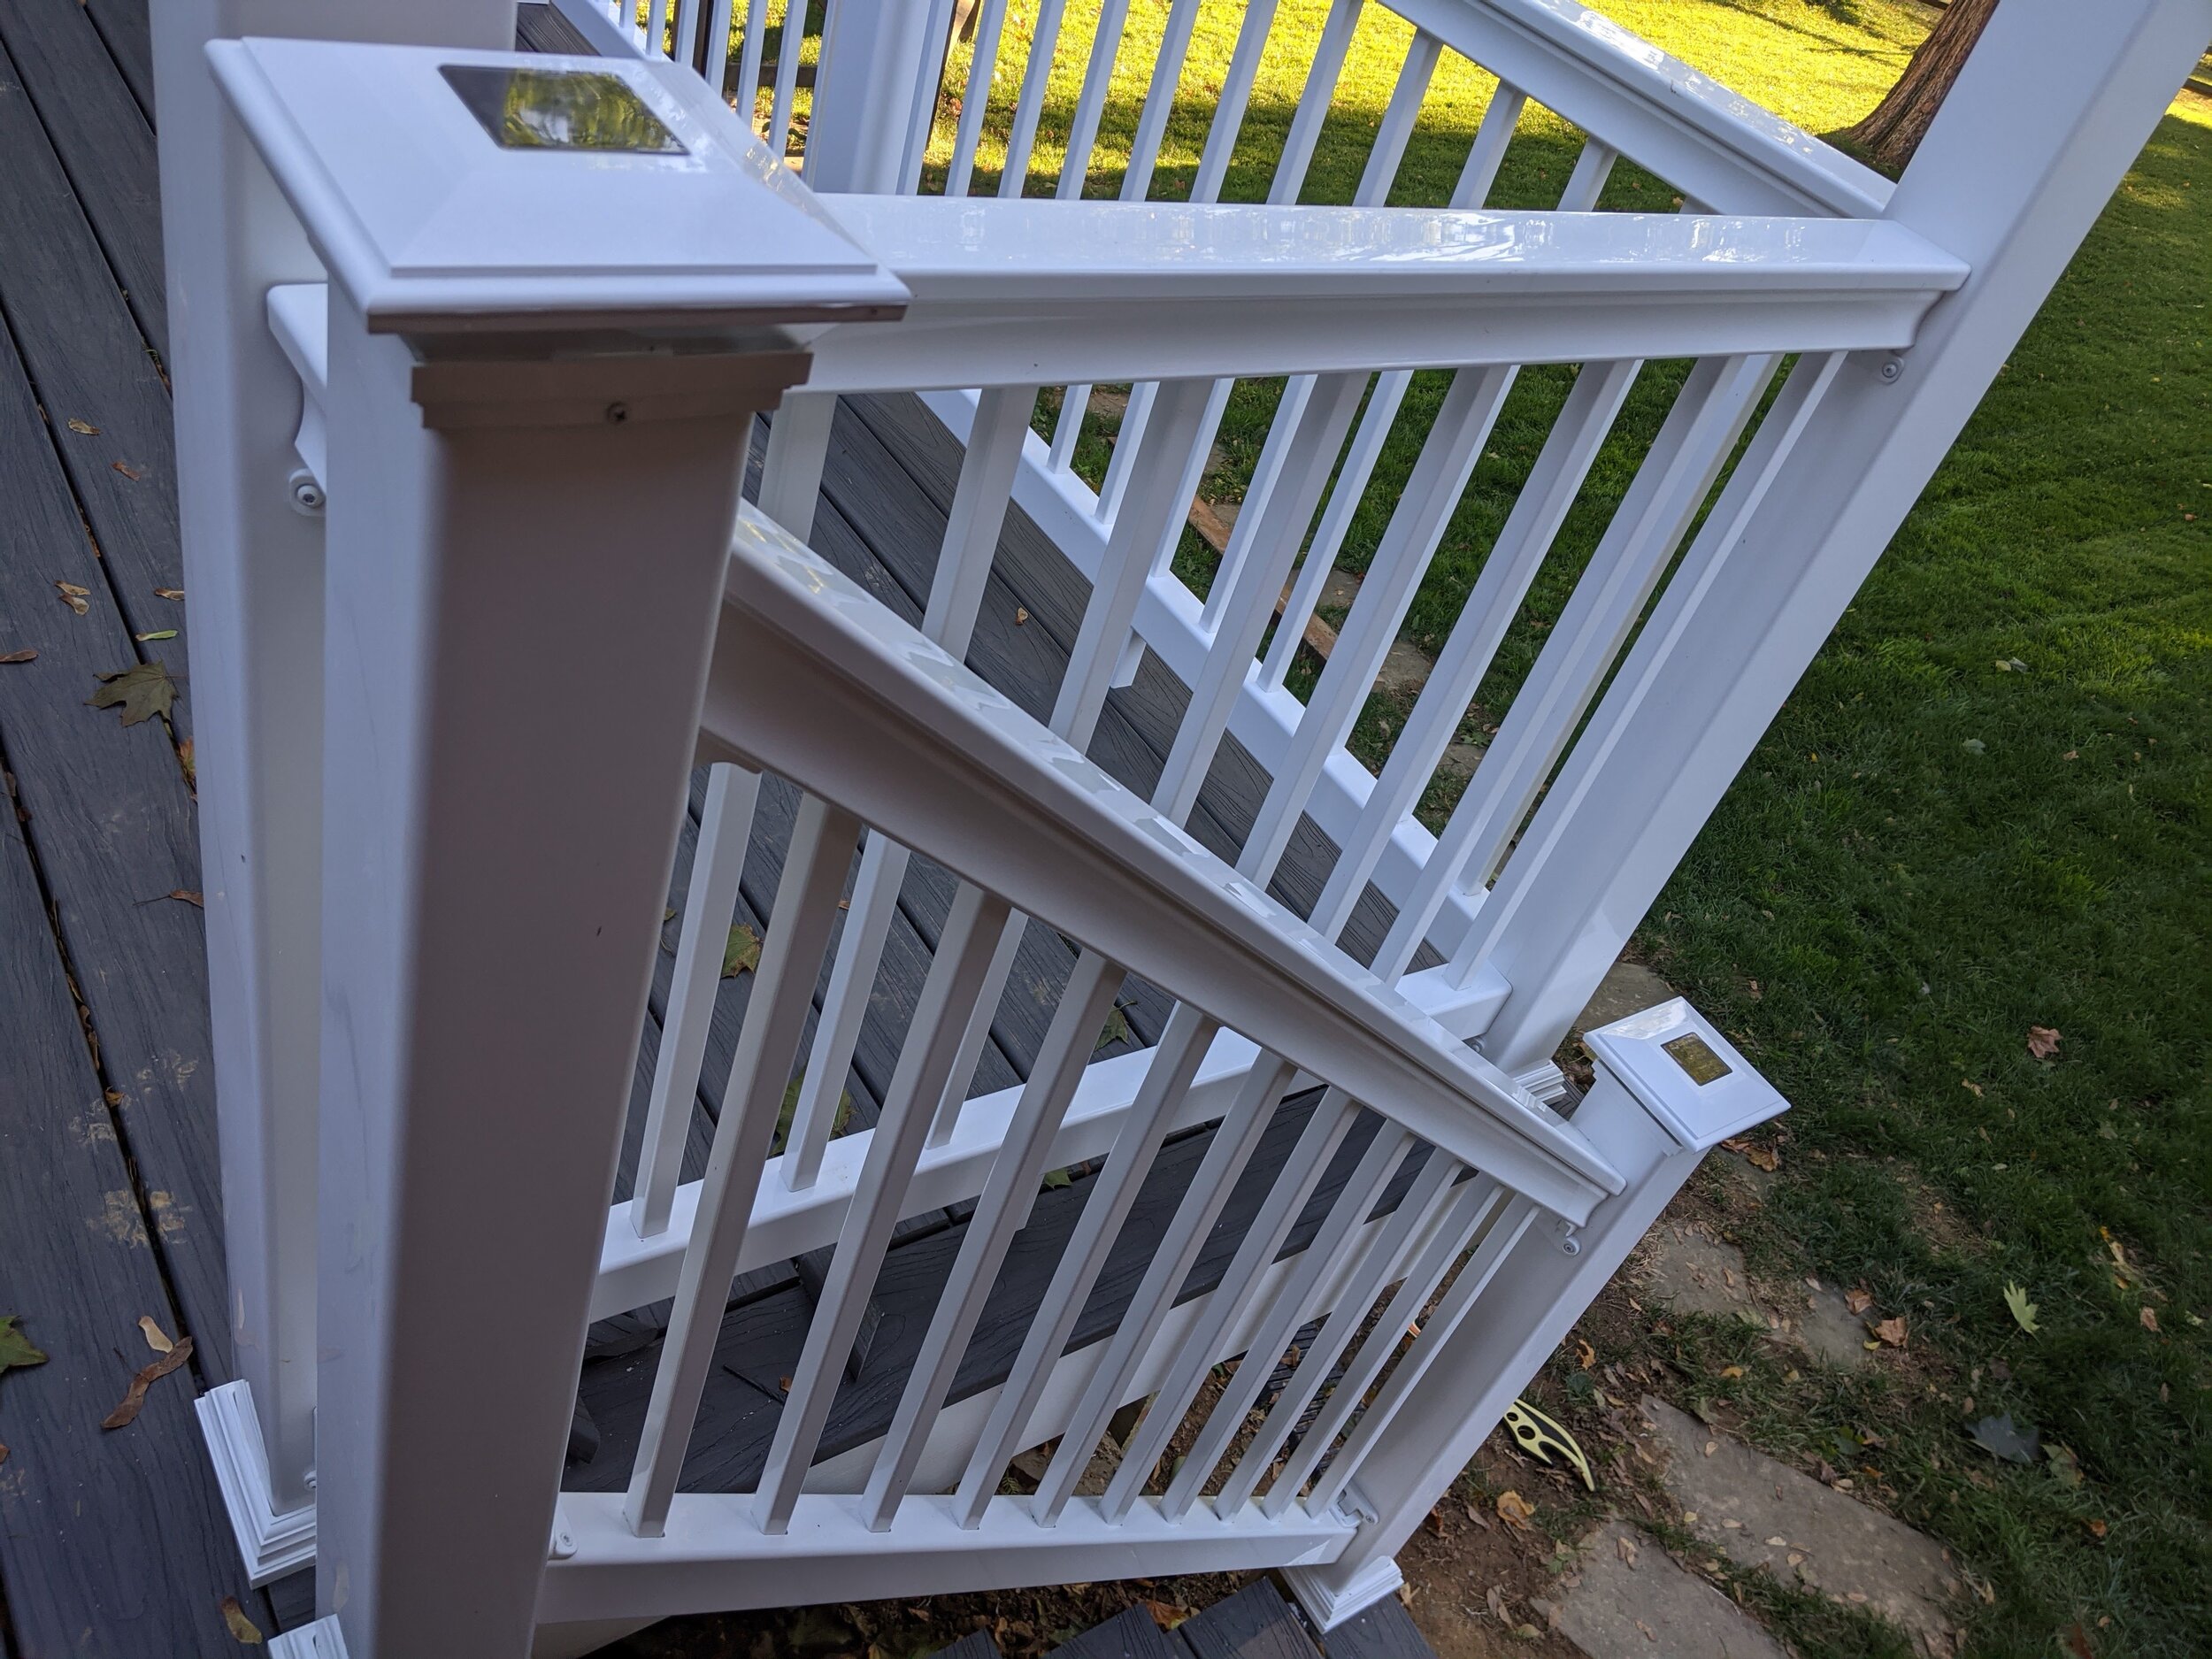
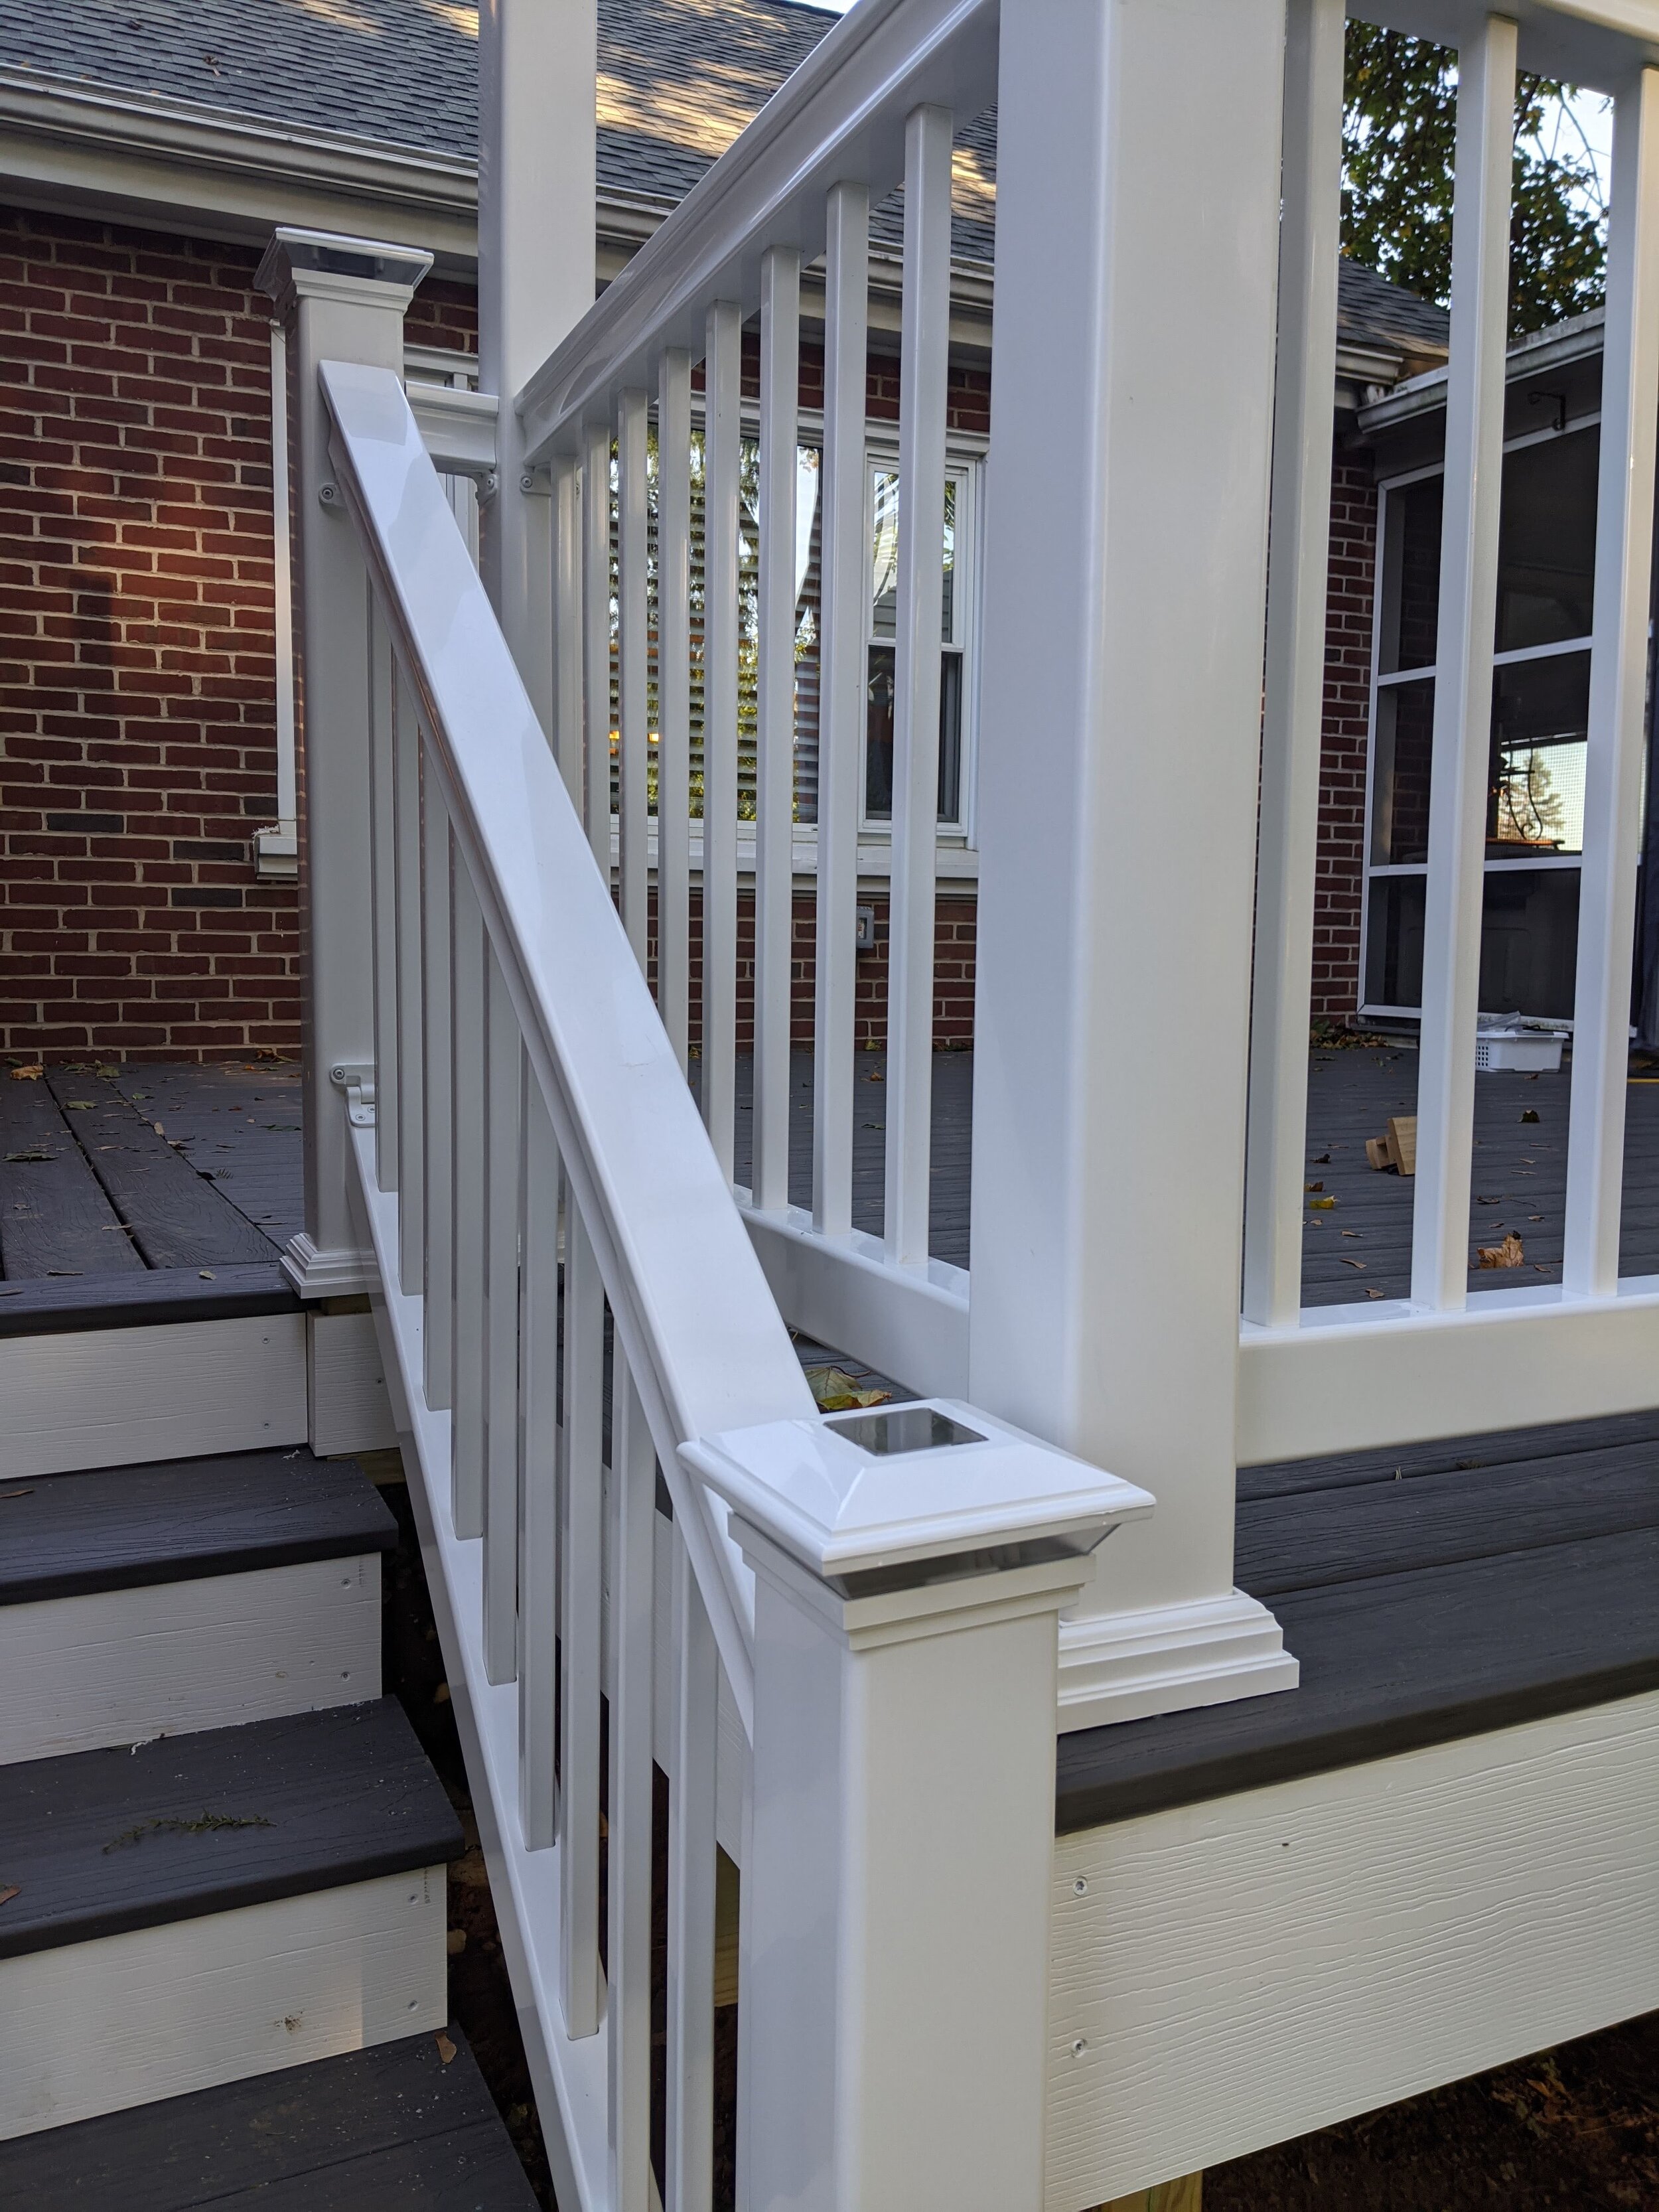
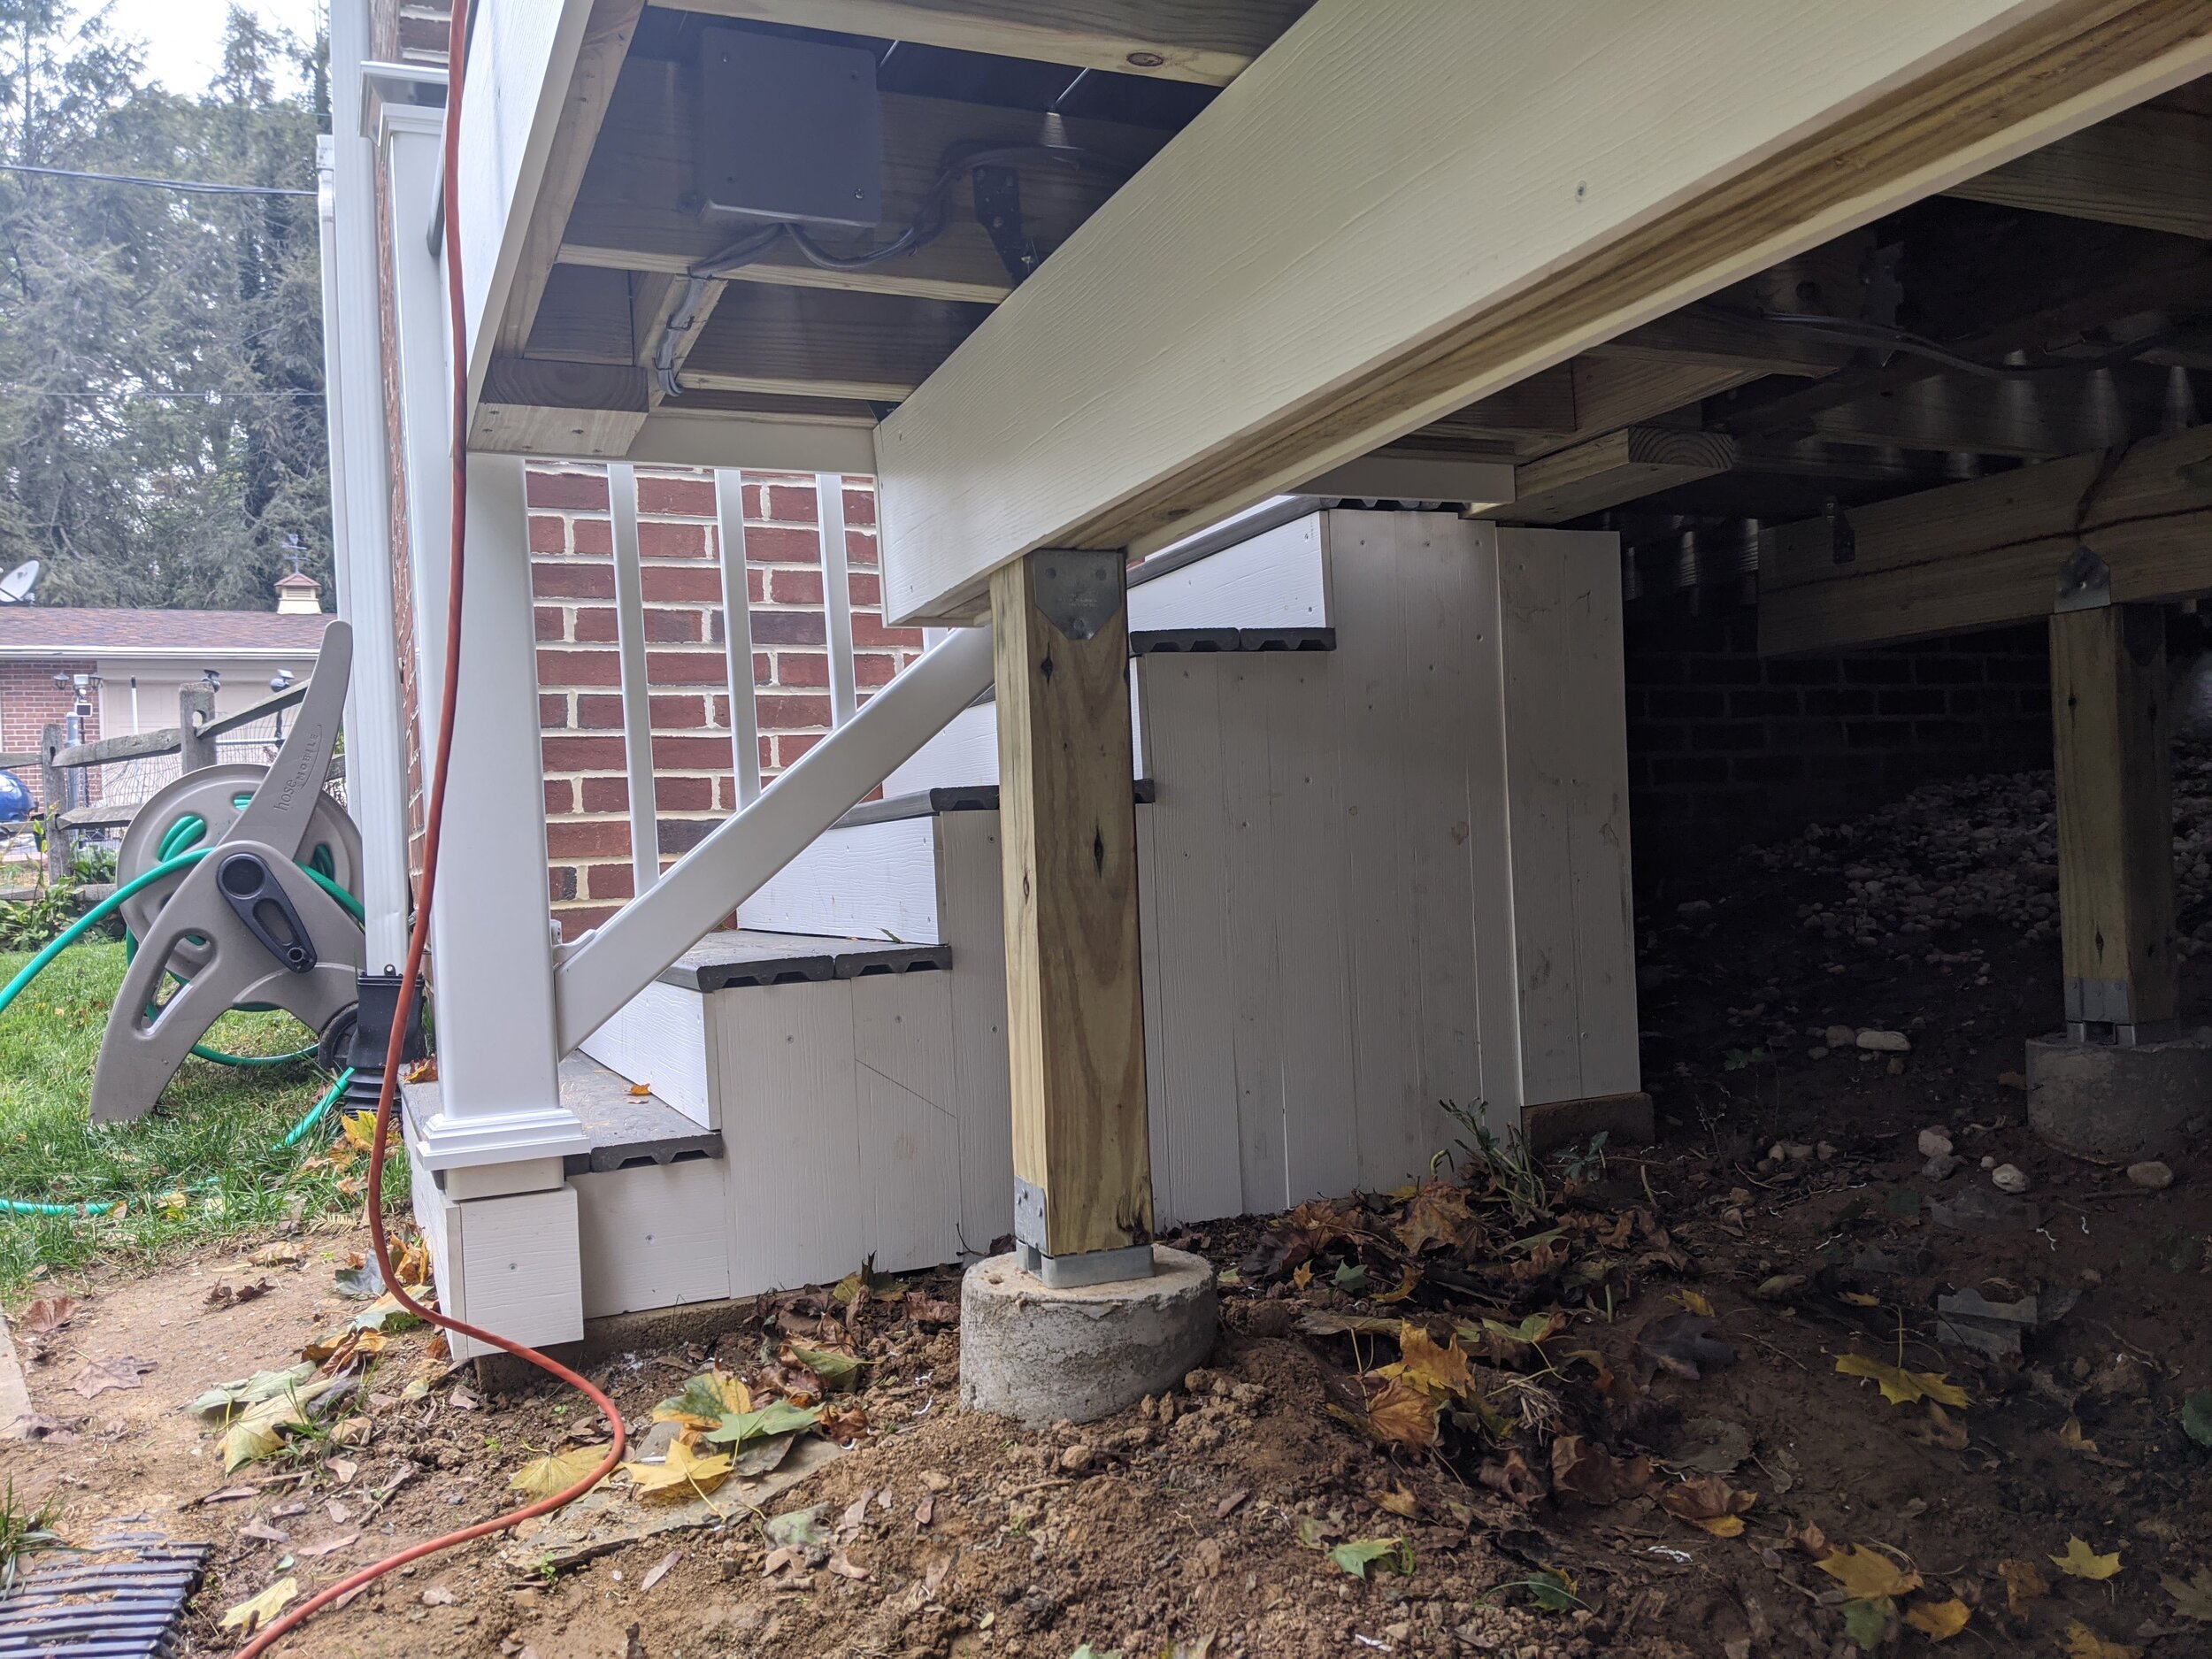
  • Small leftover railing pieces to connect the end of the deck railing with the top of the stair rail (you might notice this is one of the plain caps on the stair stair top pillar, but we replaced that with a solar light)

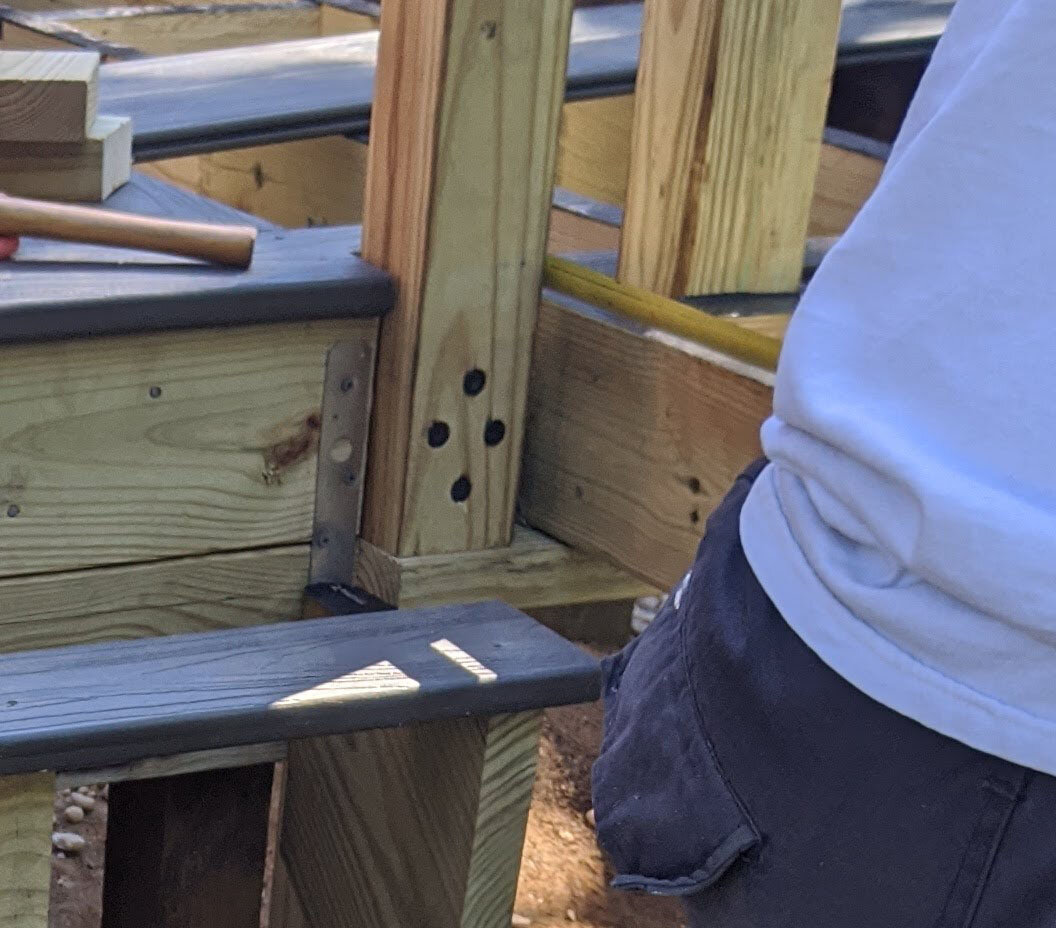
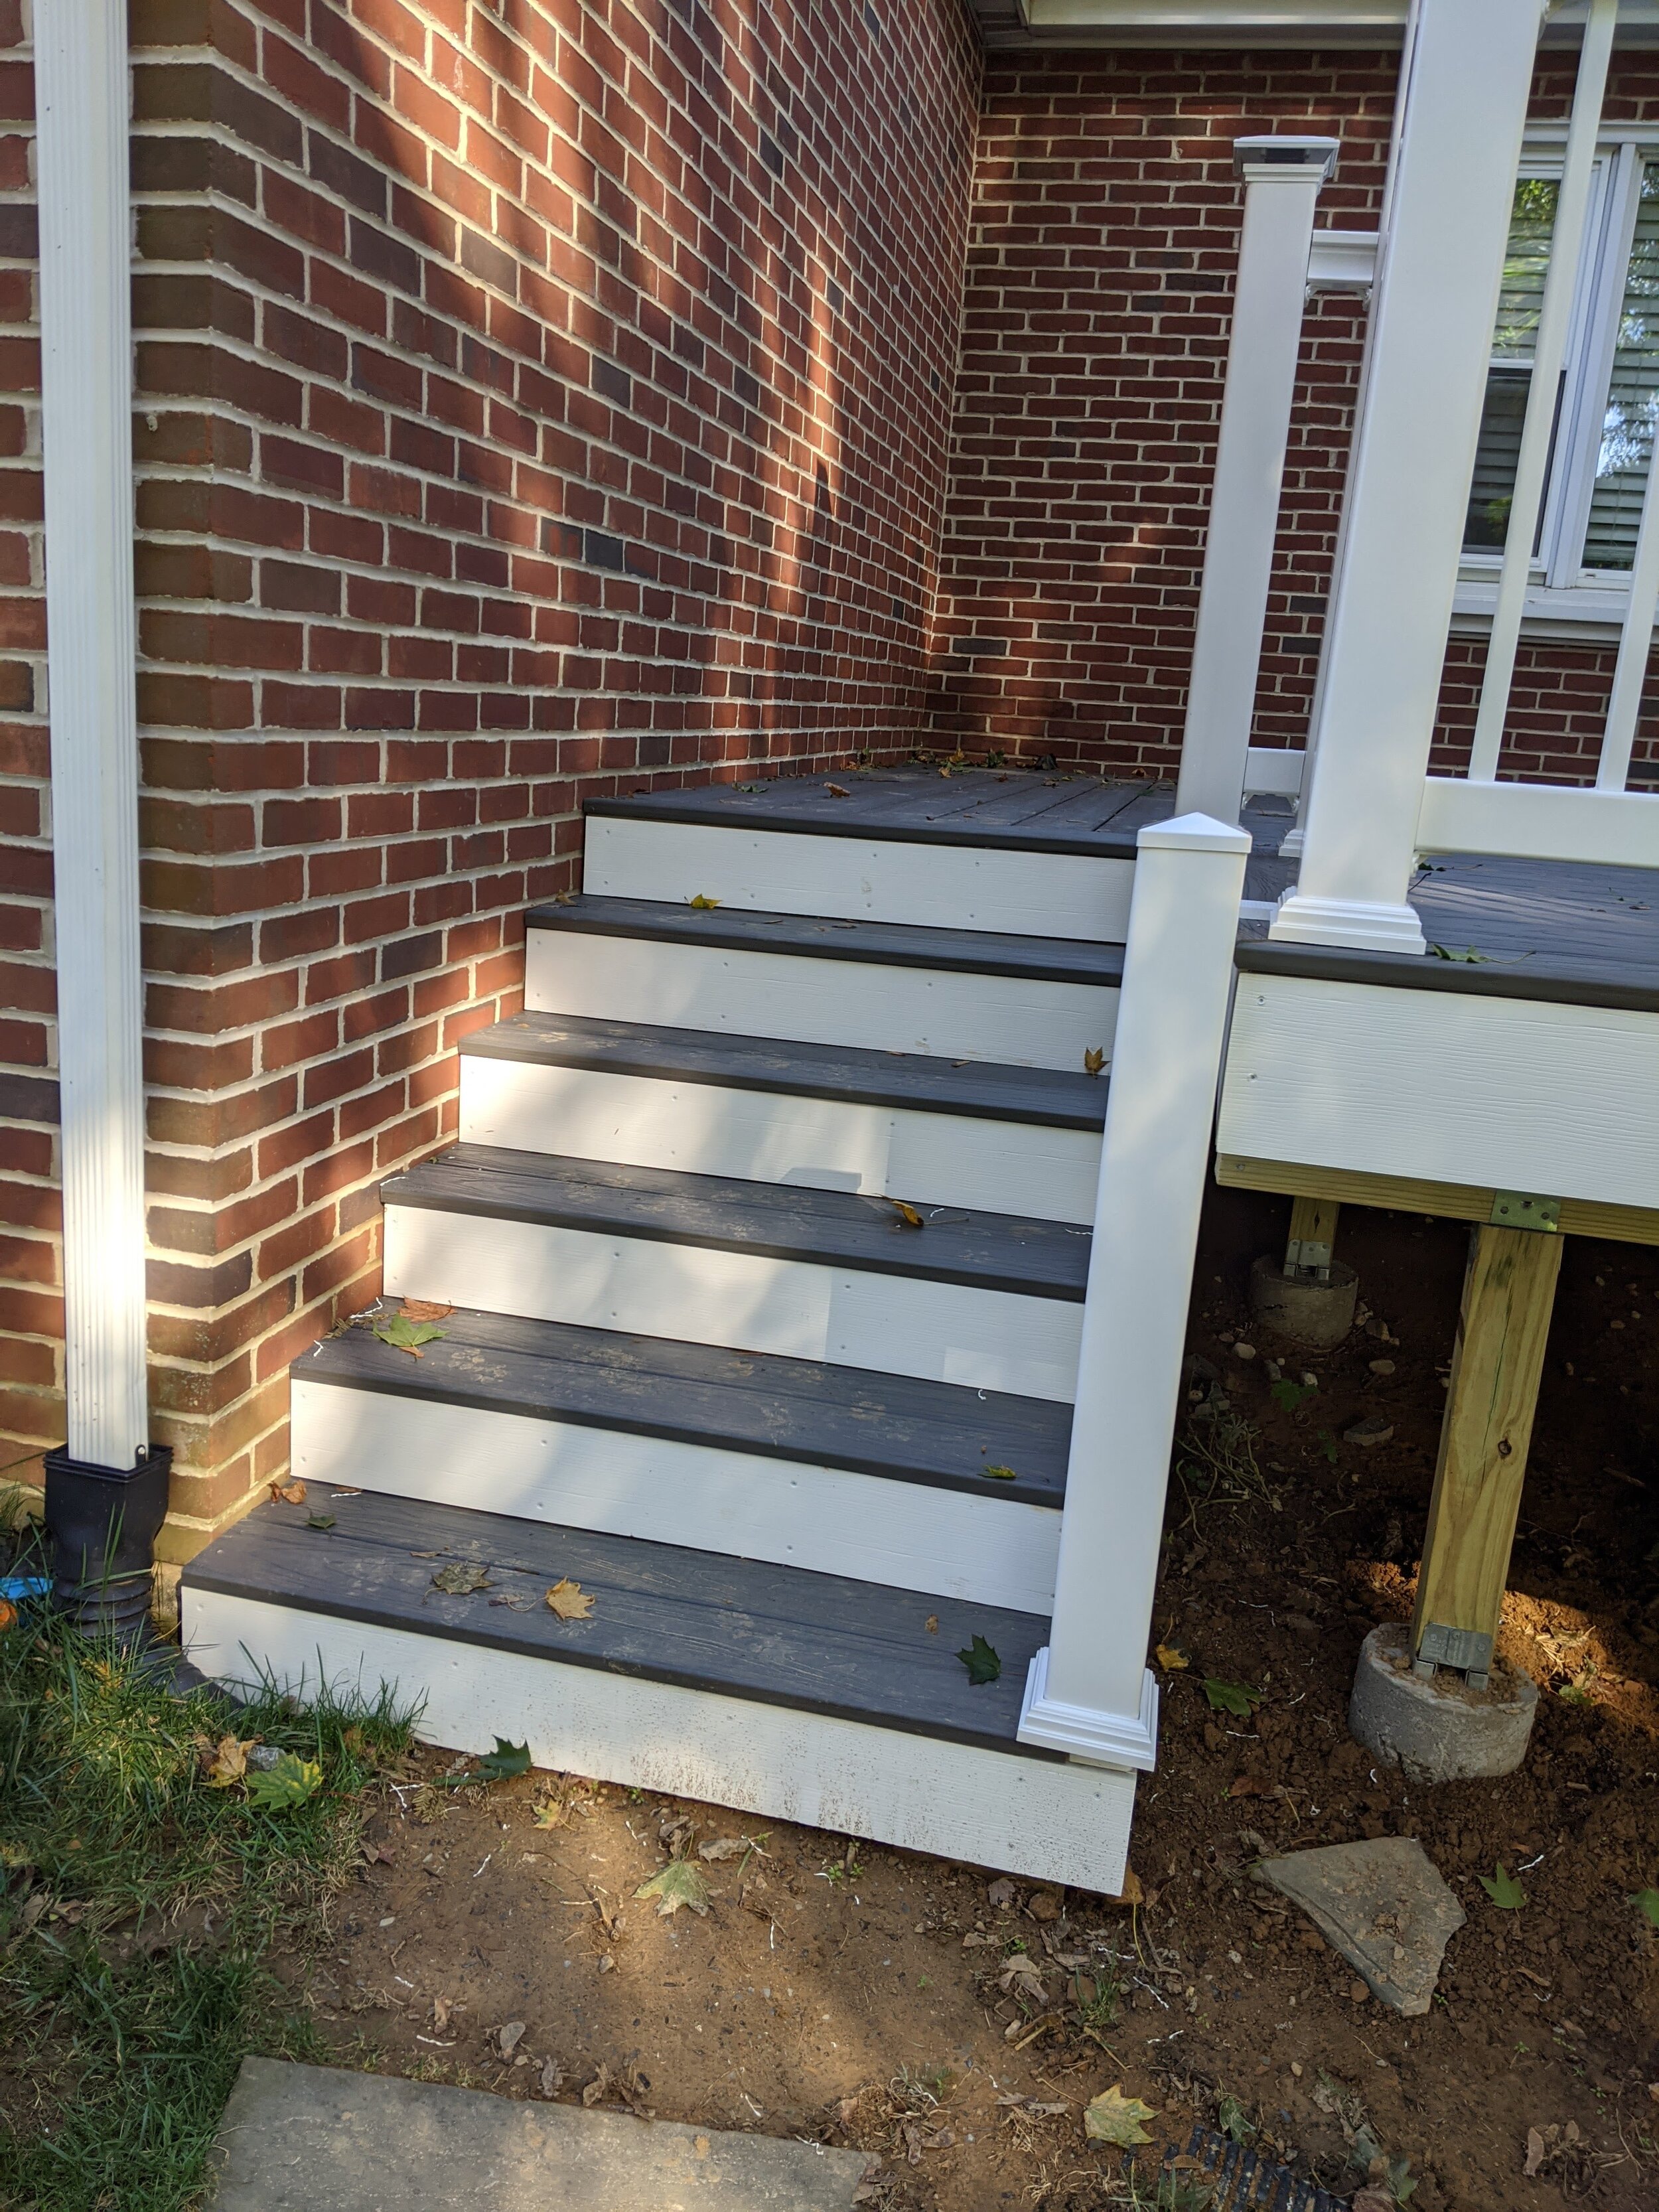
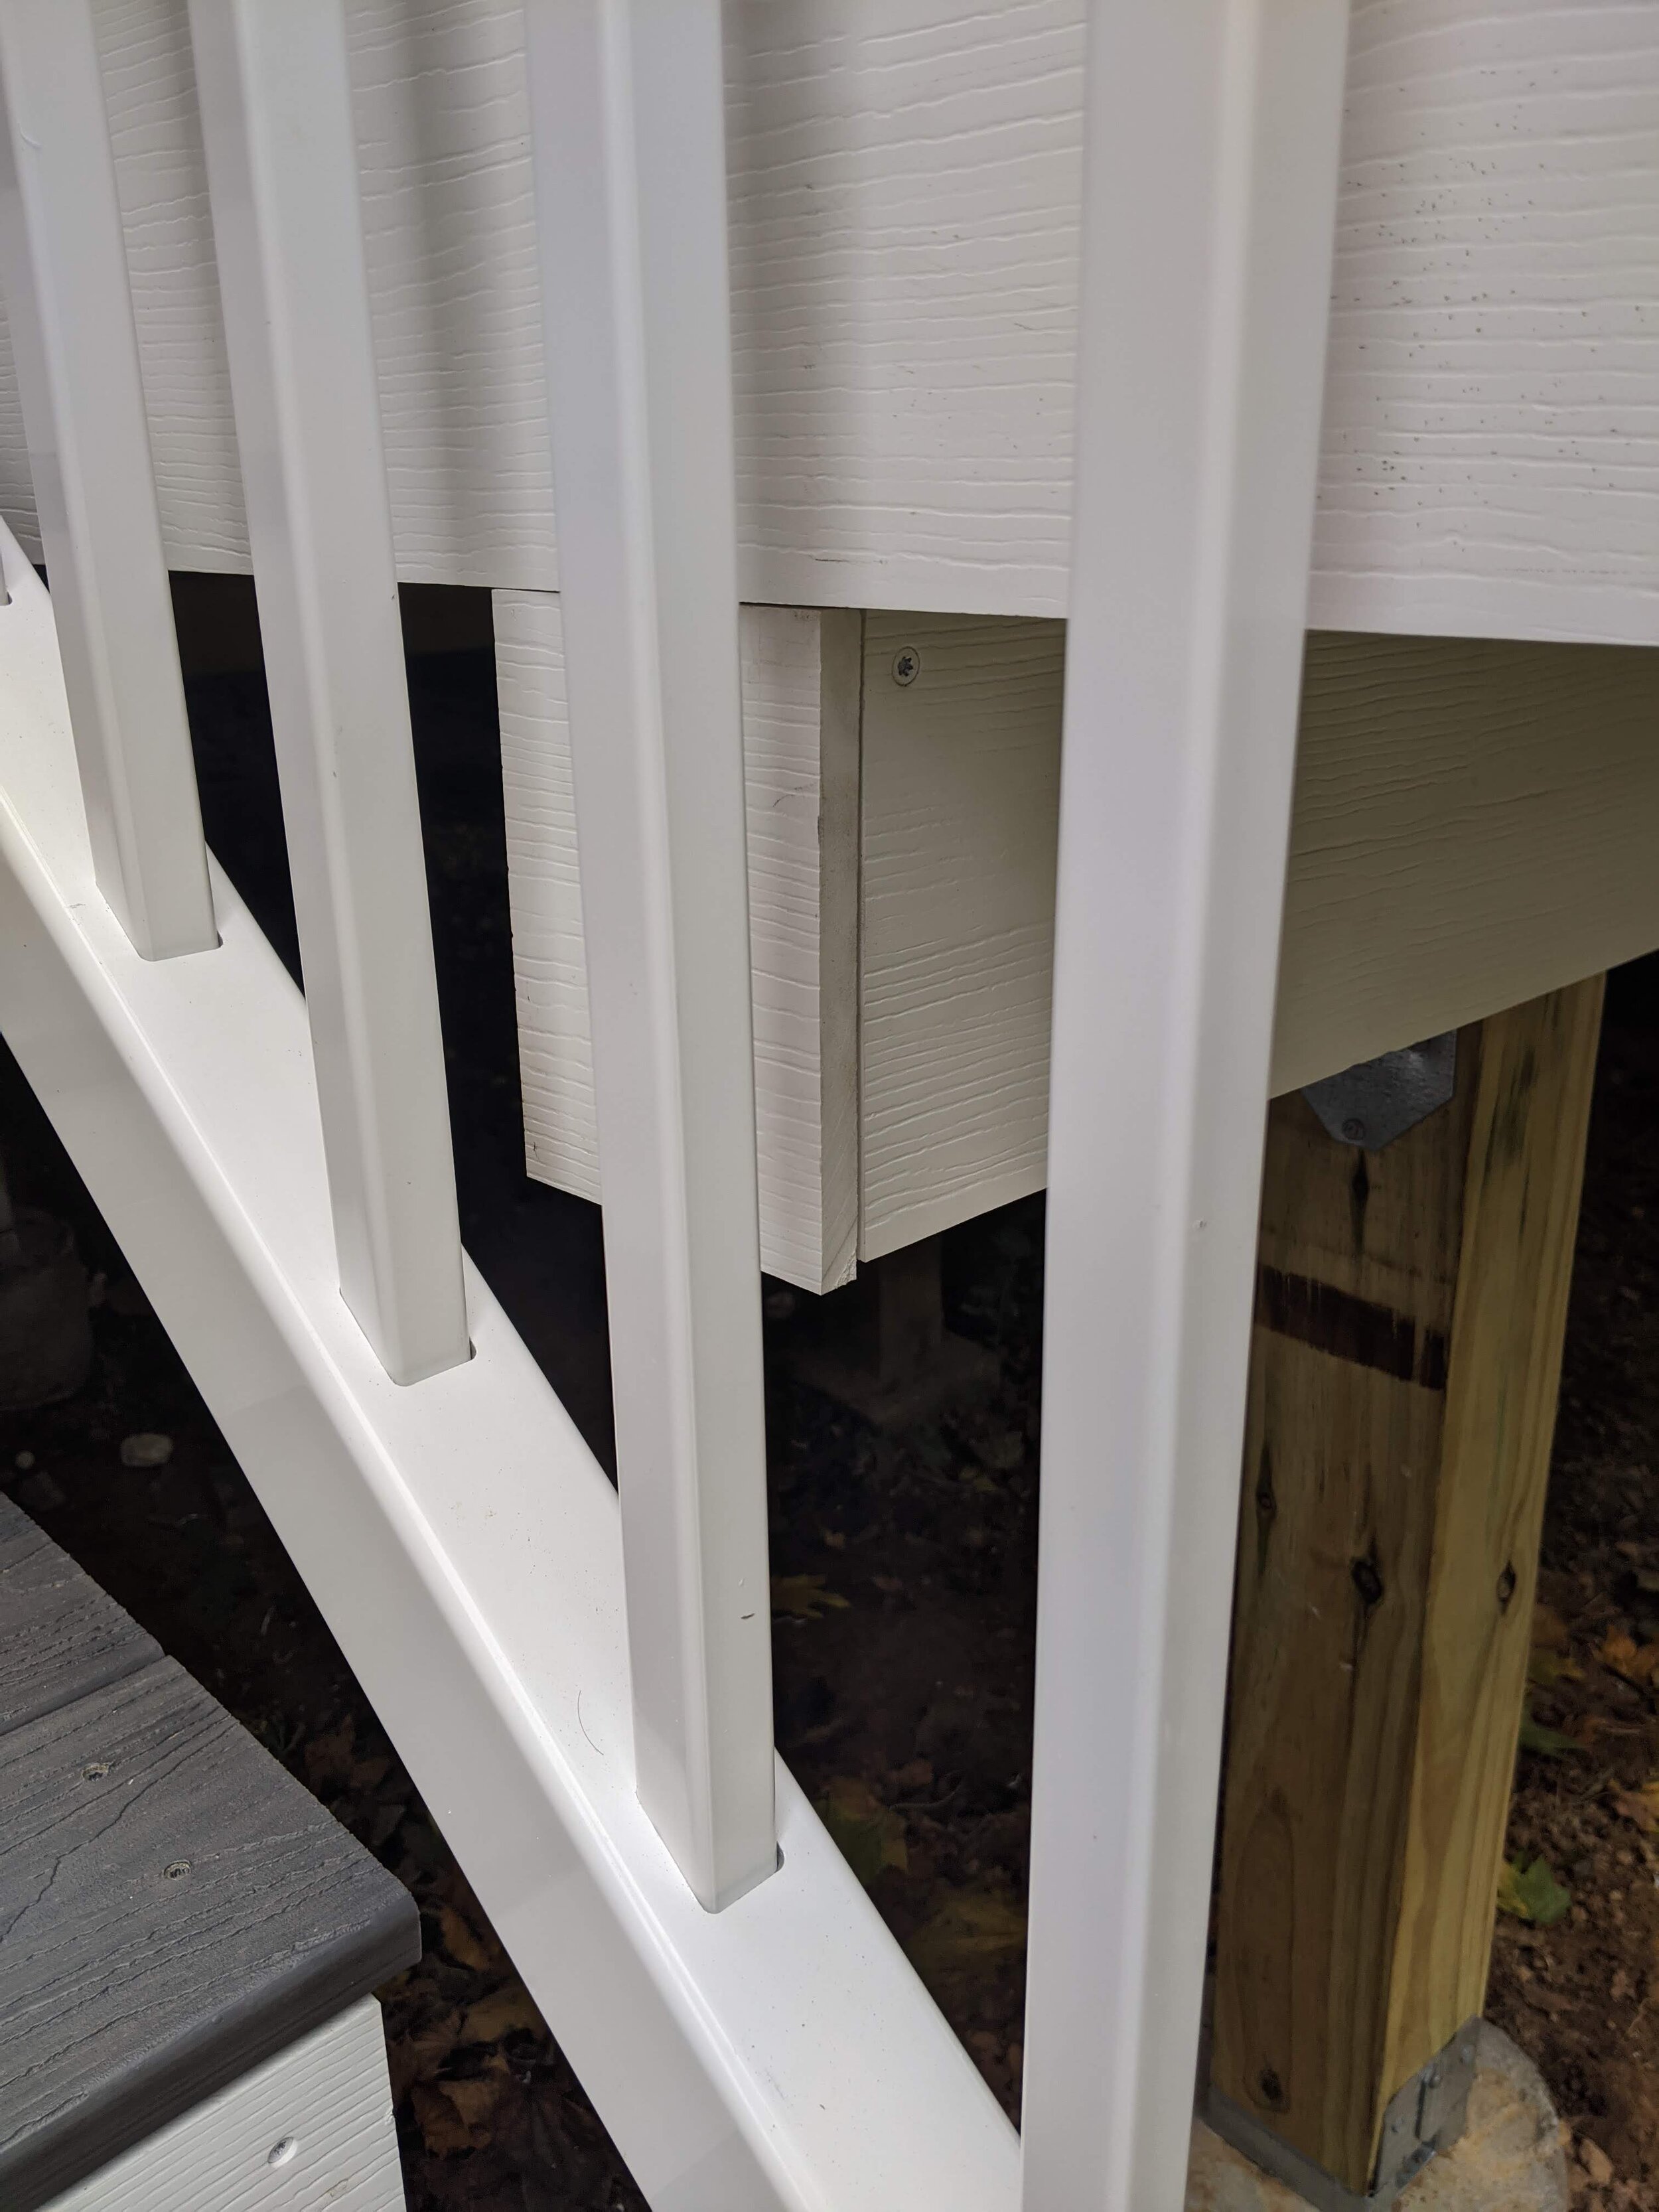
  • Back stair treads and front fascia

  • Stair kickboard fascia
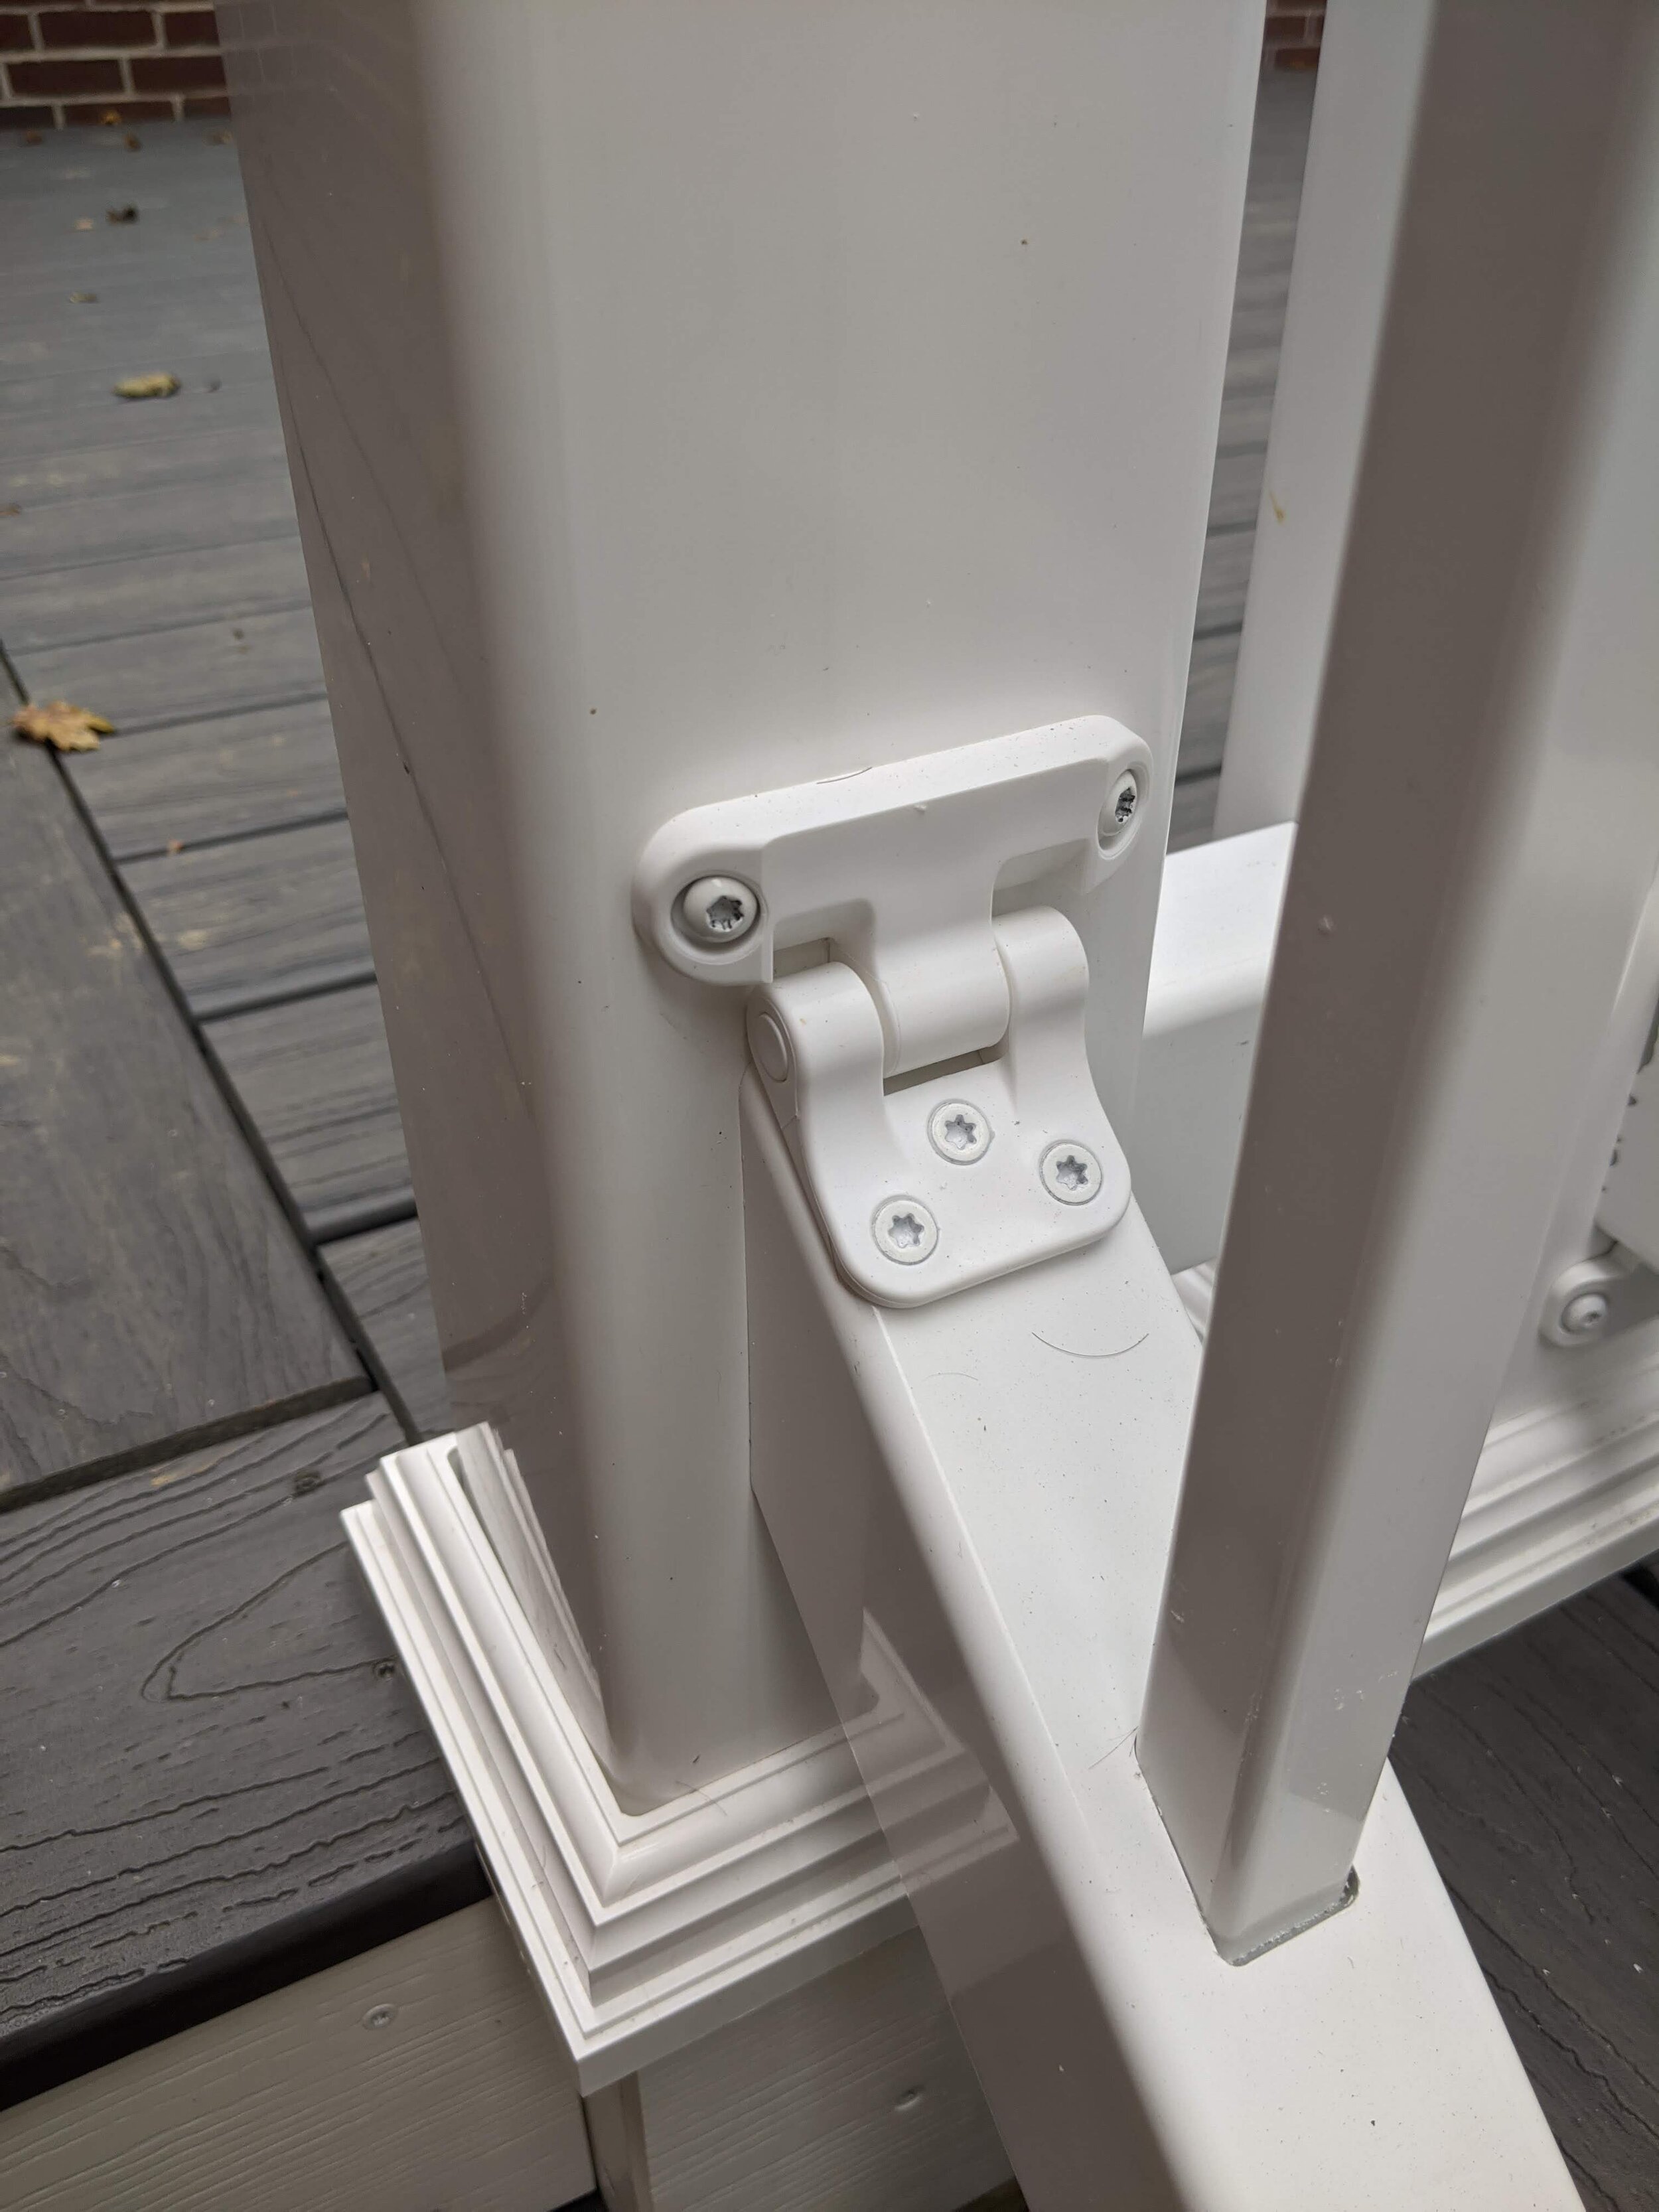
  • Stair handrail

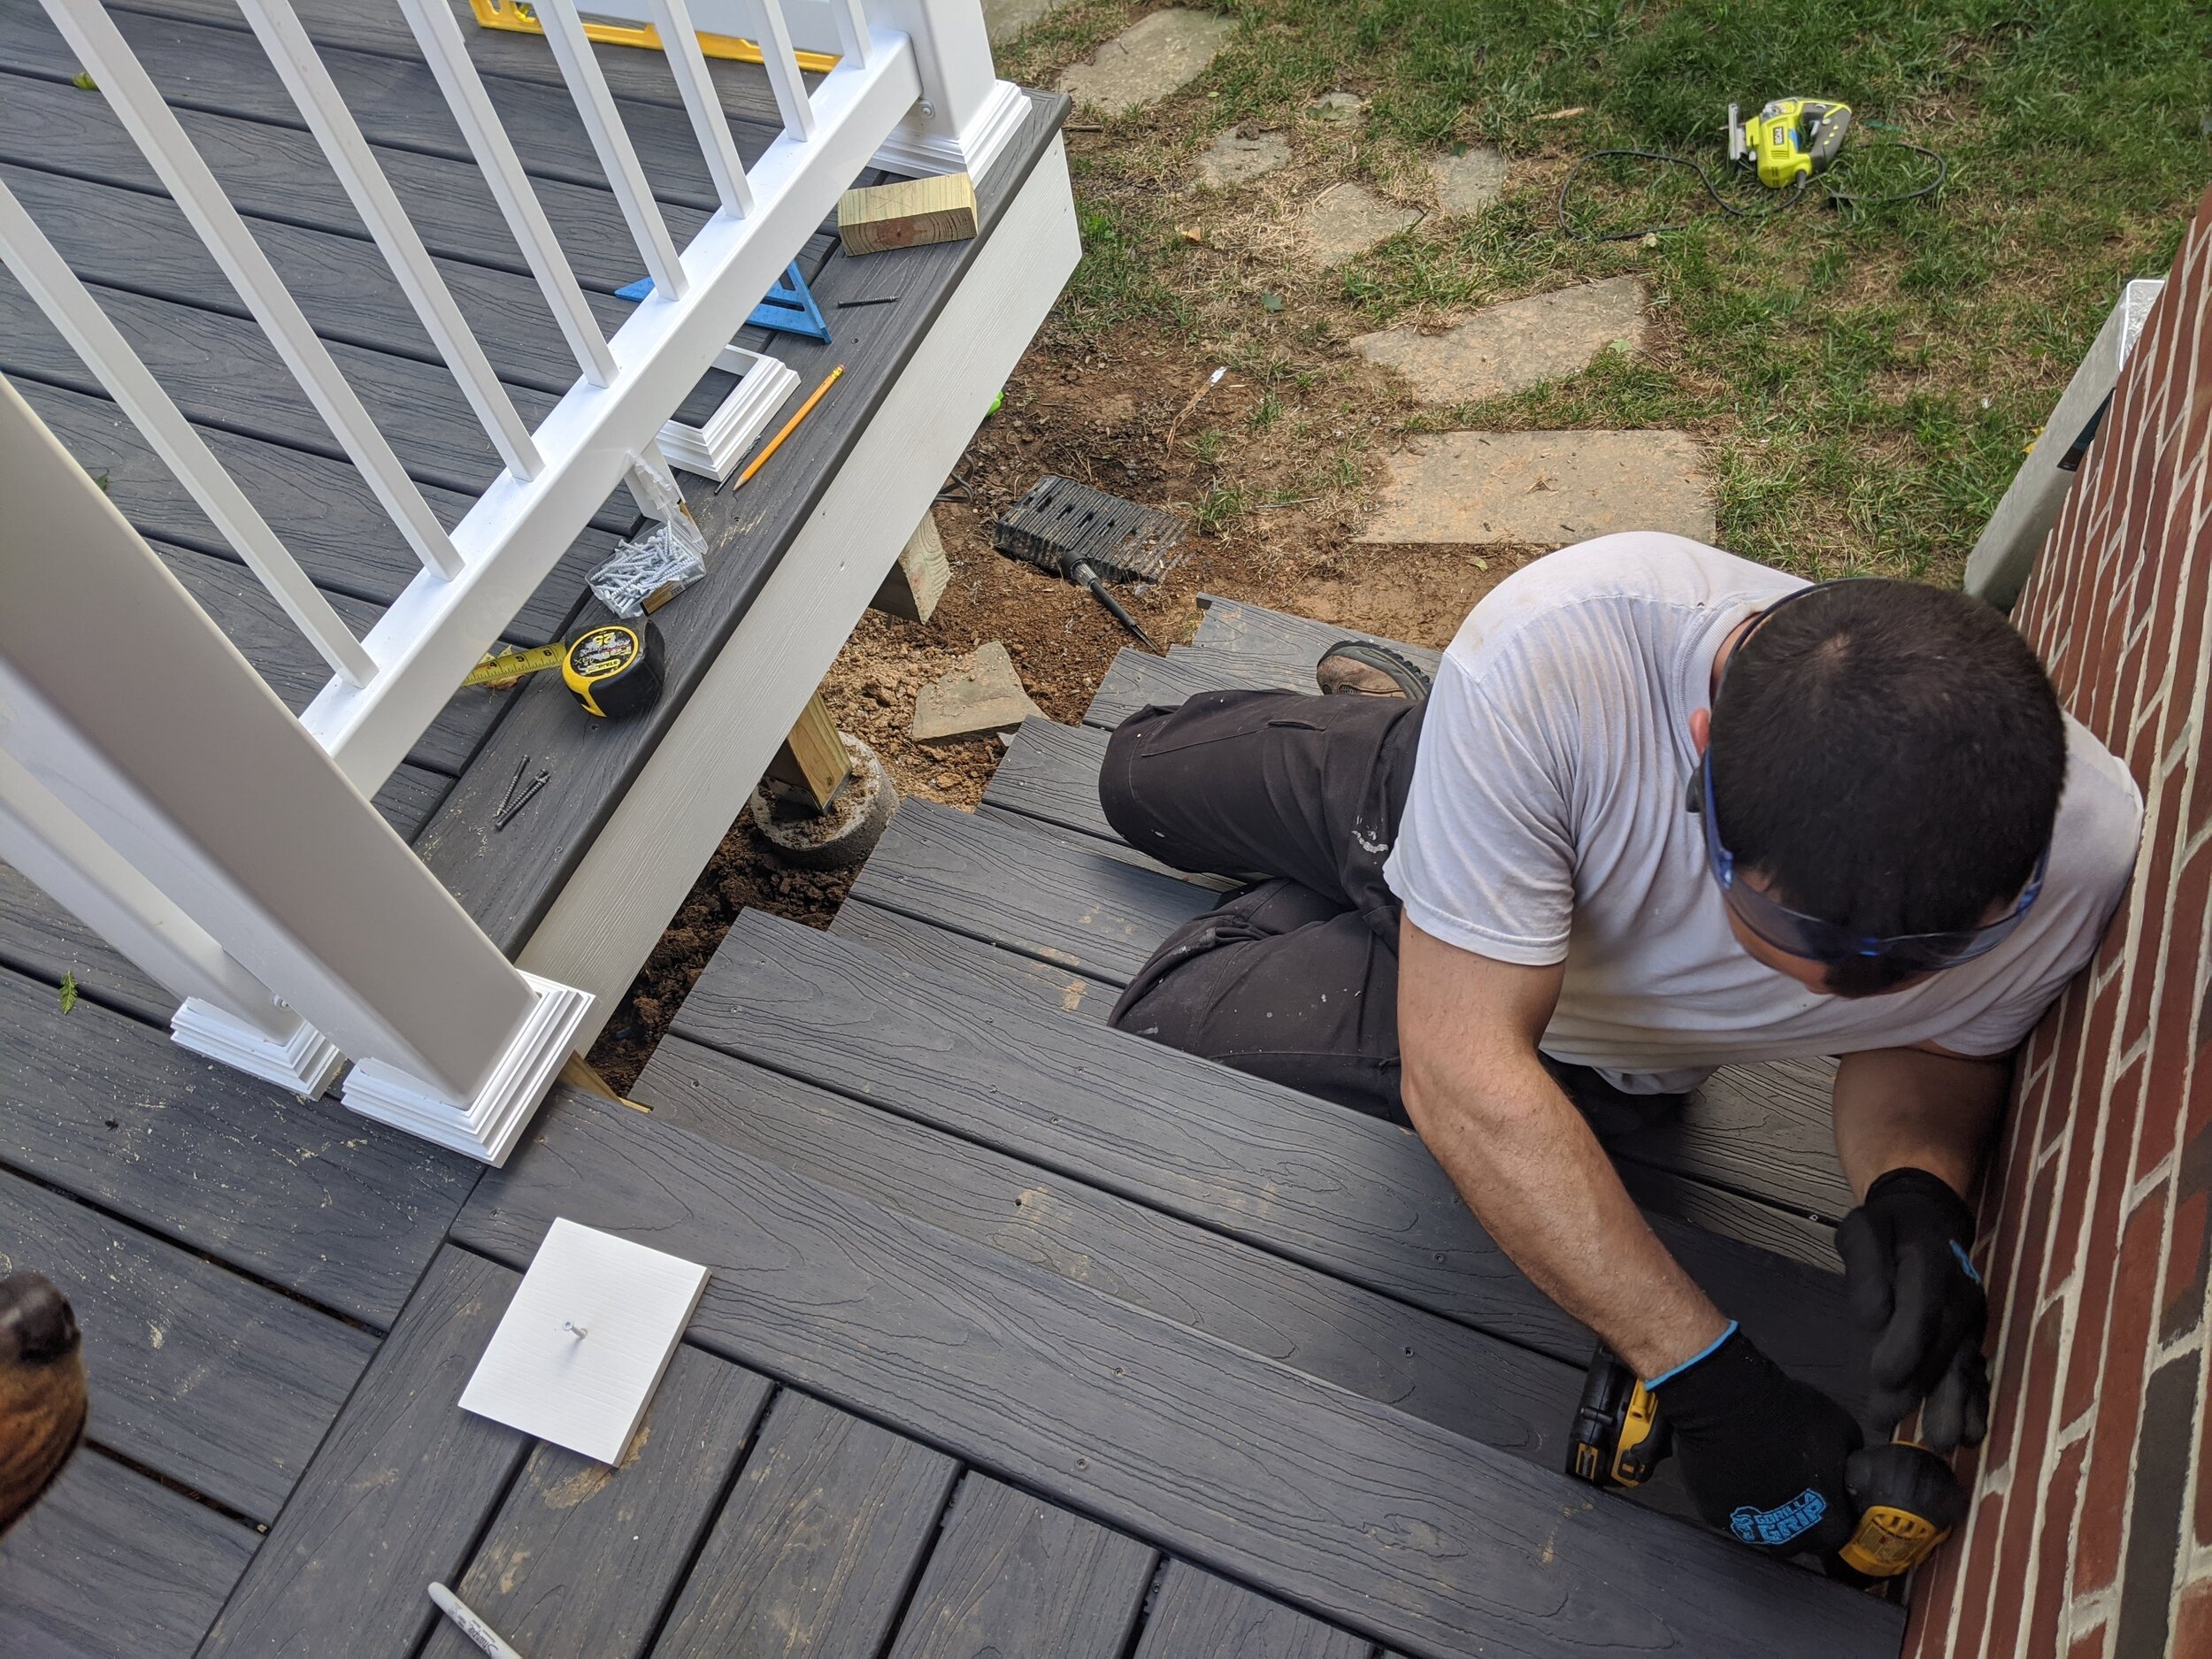
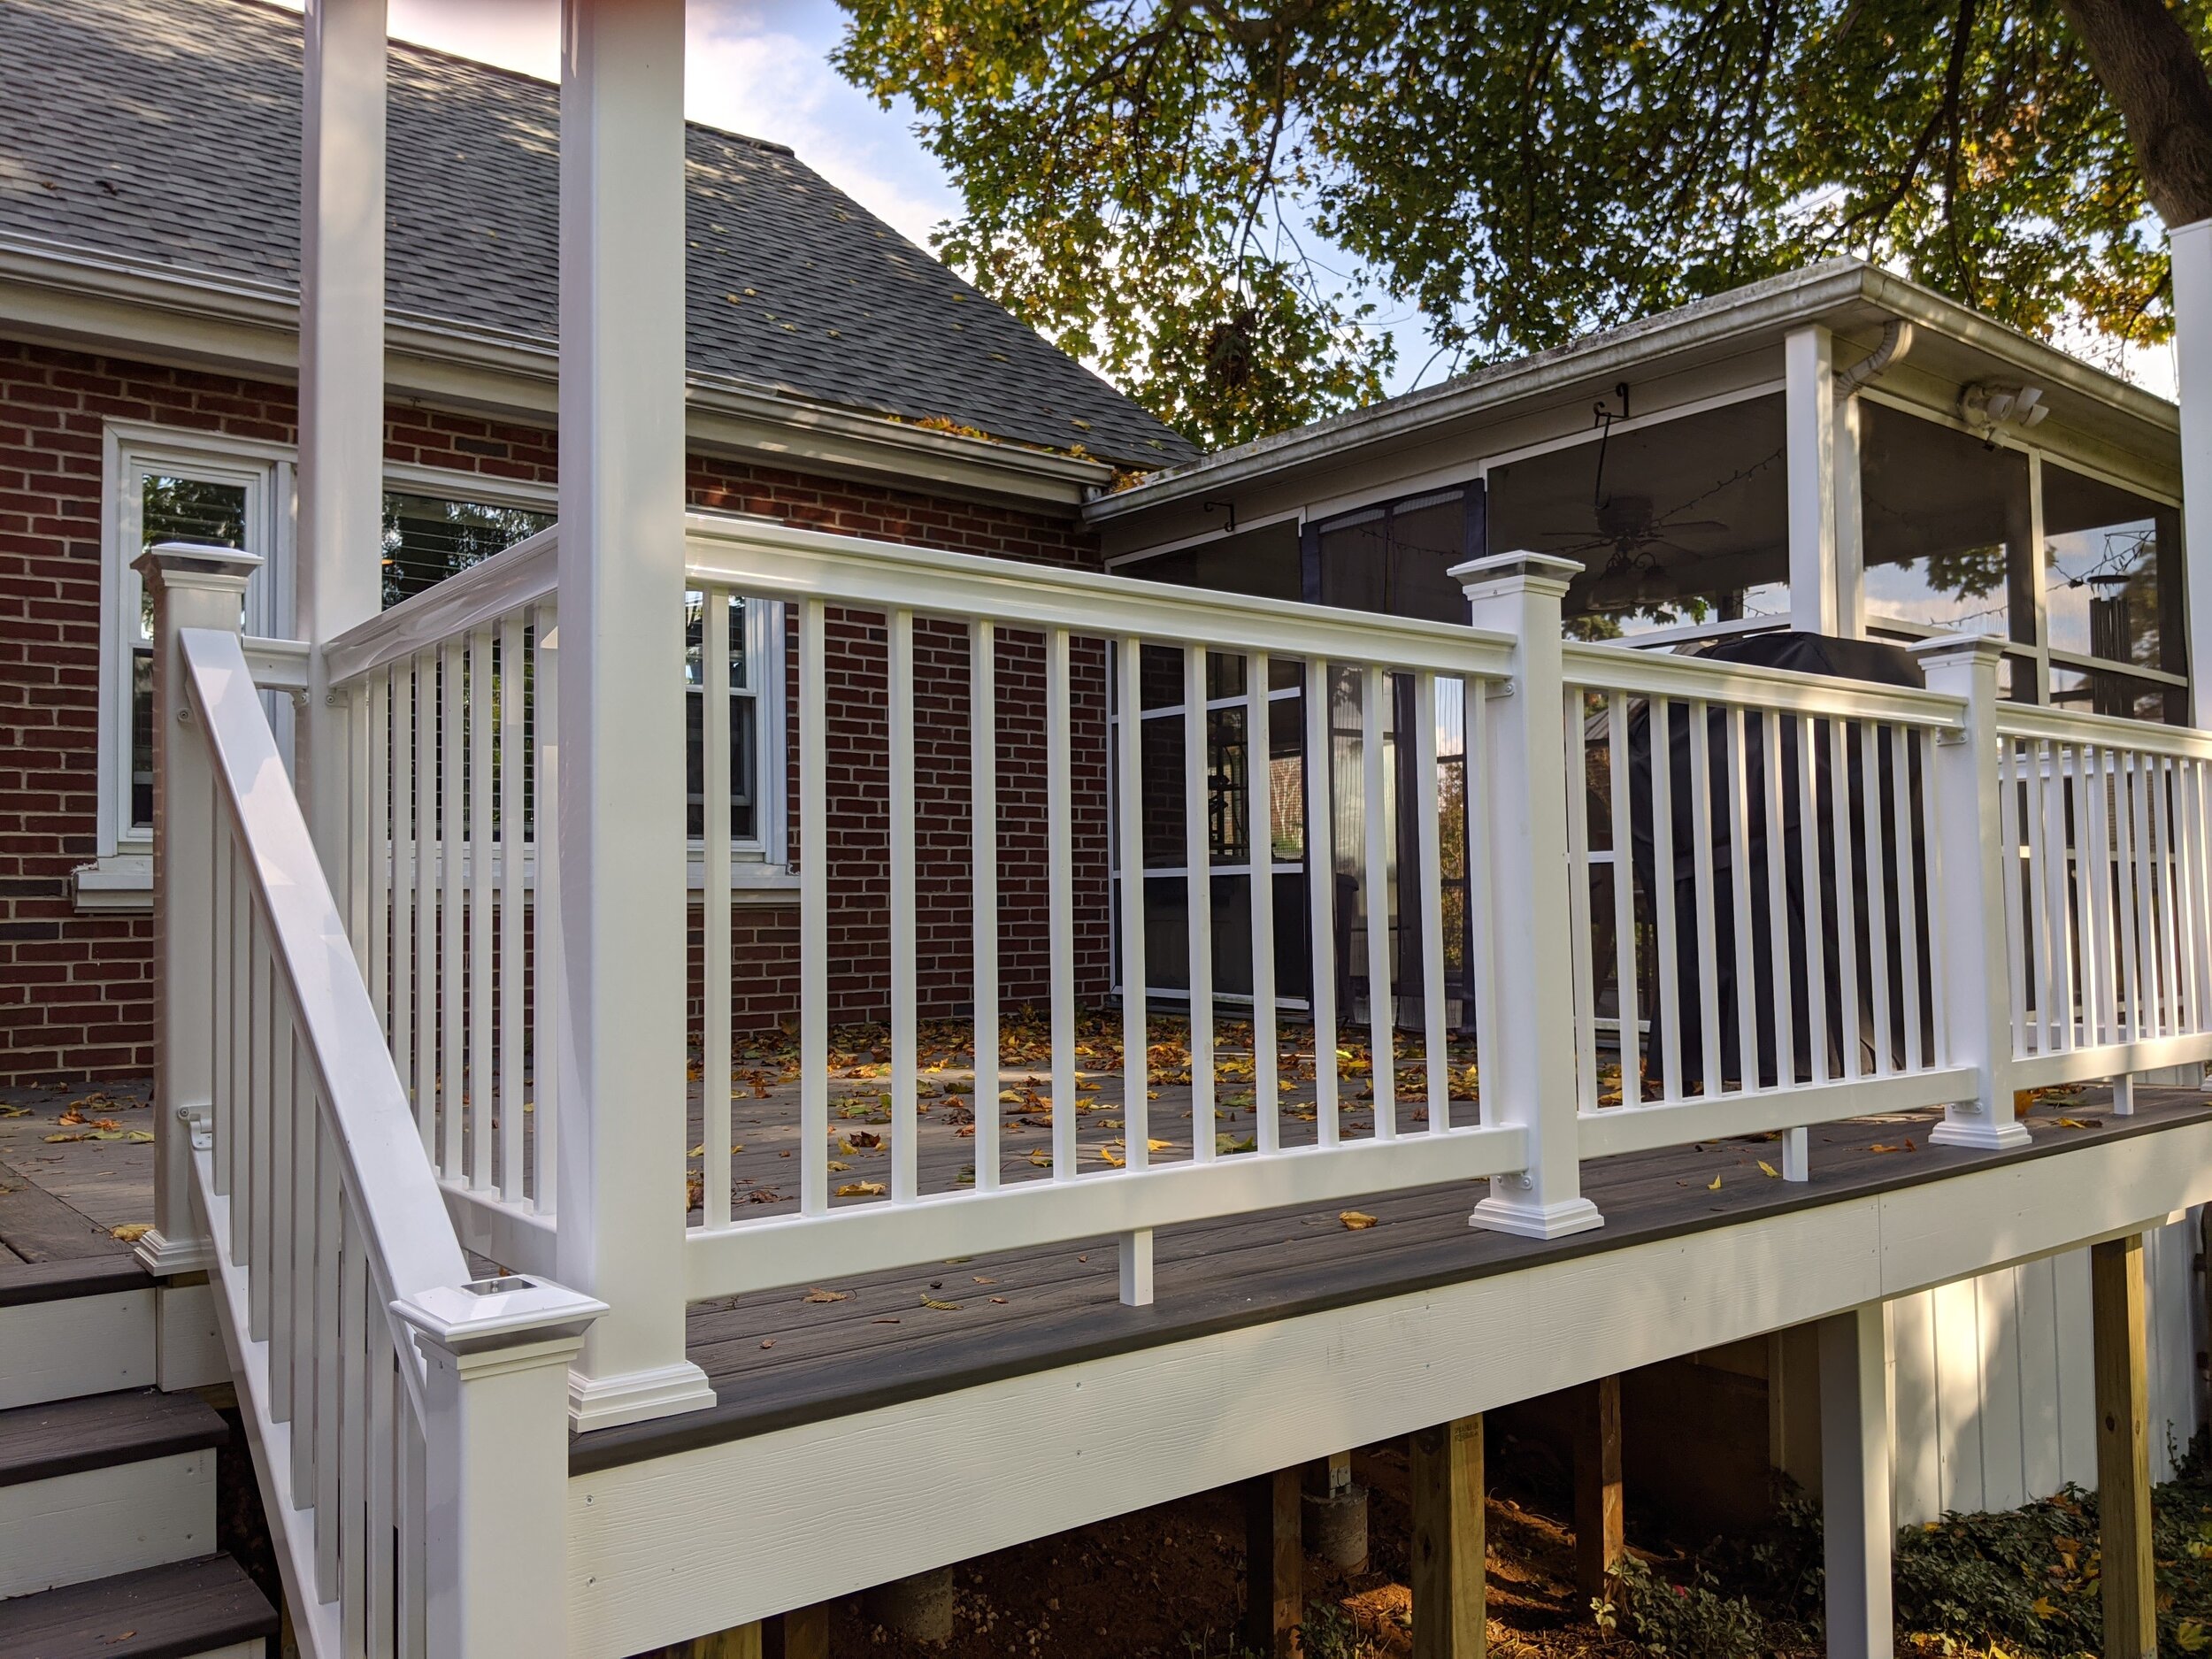
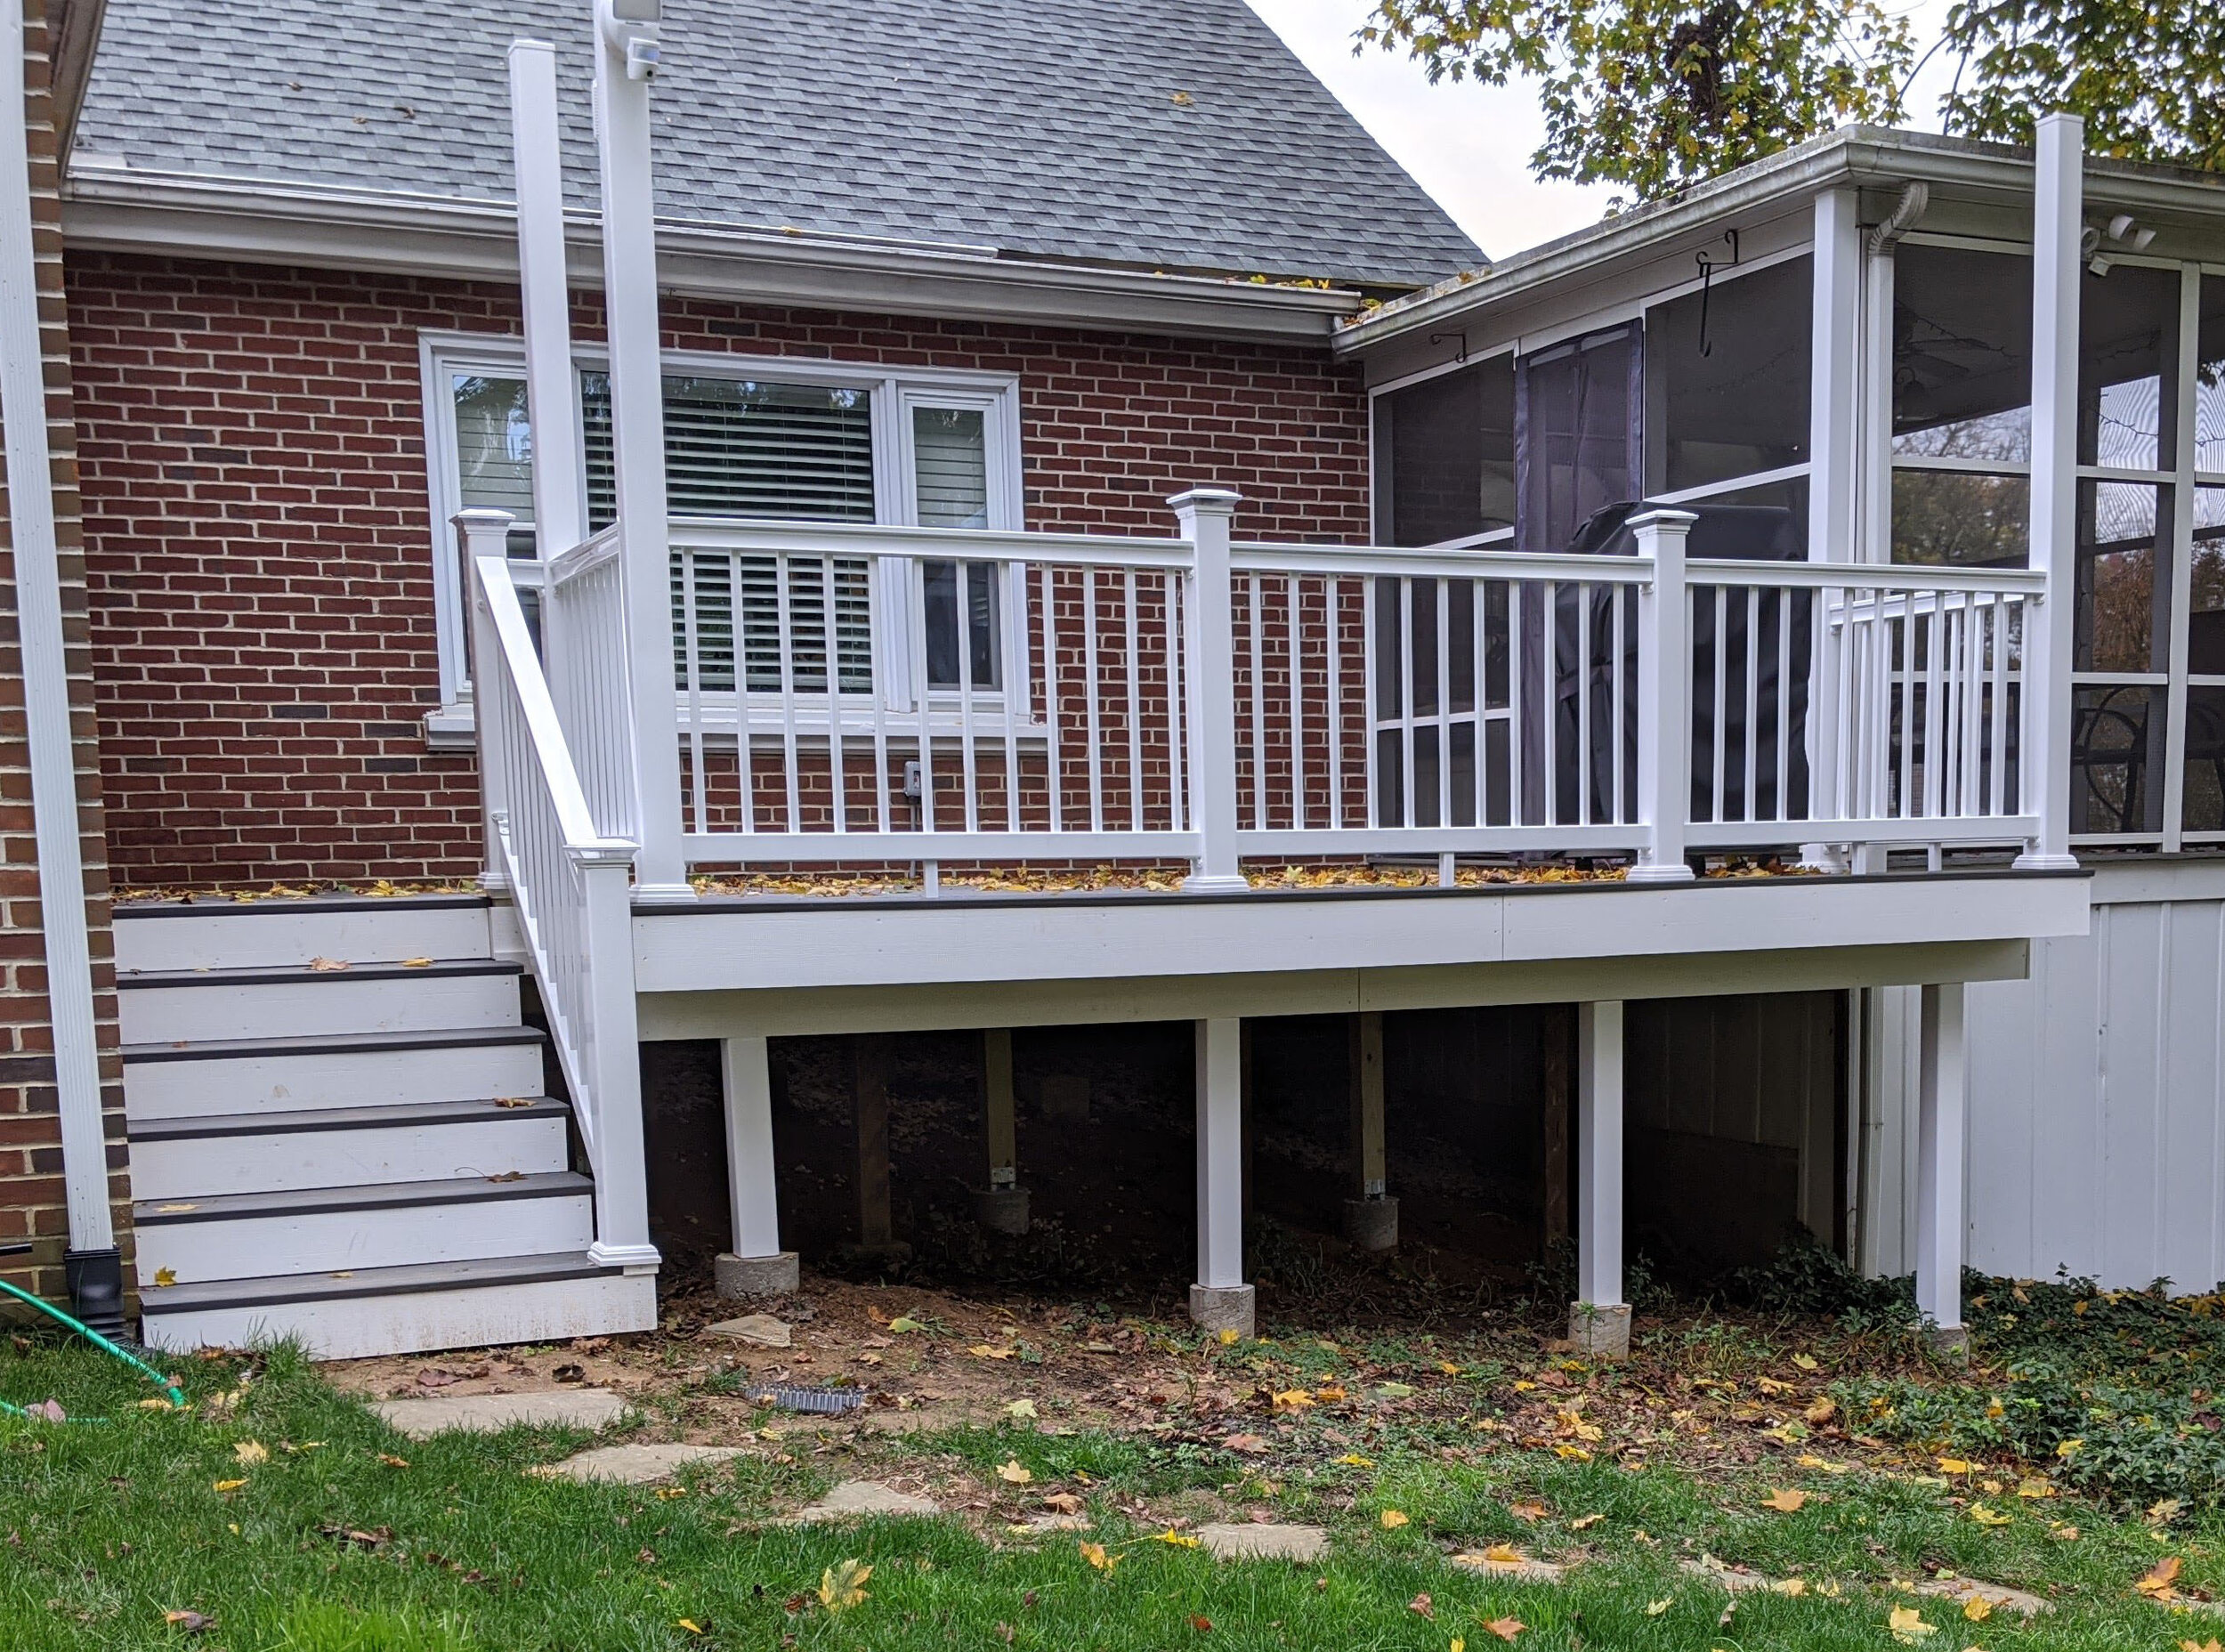
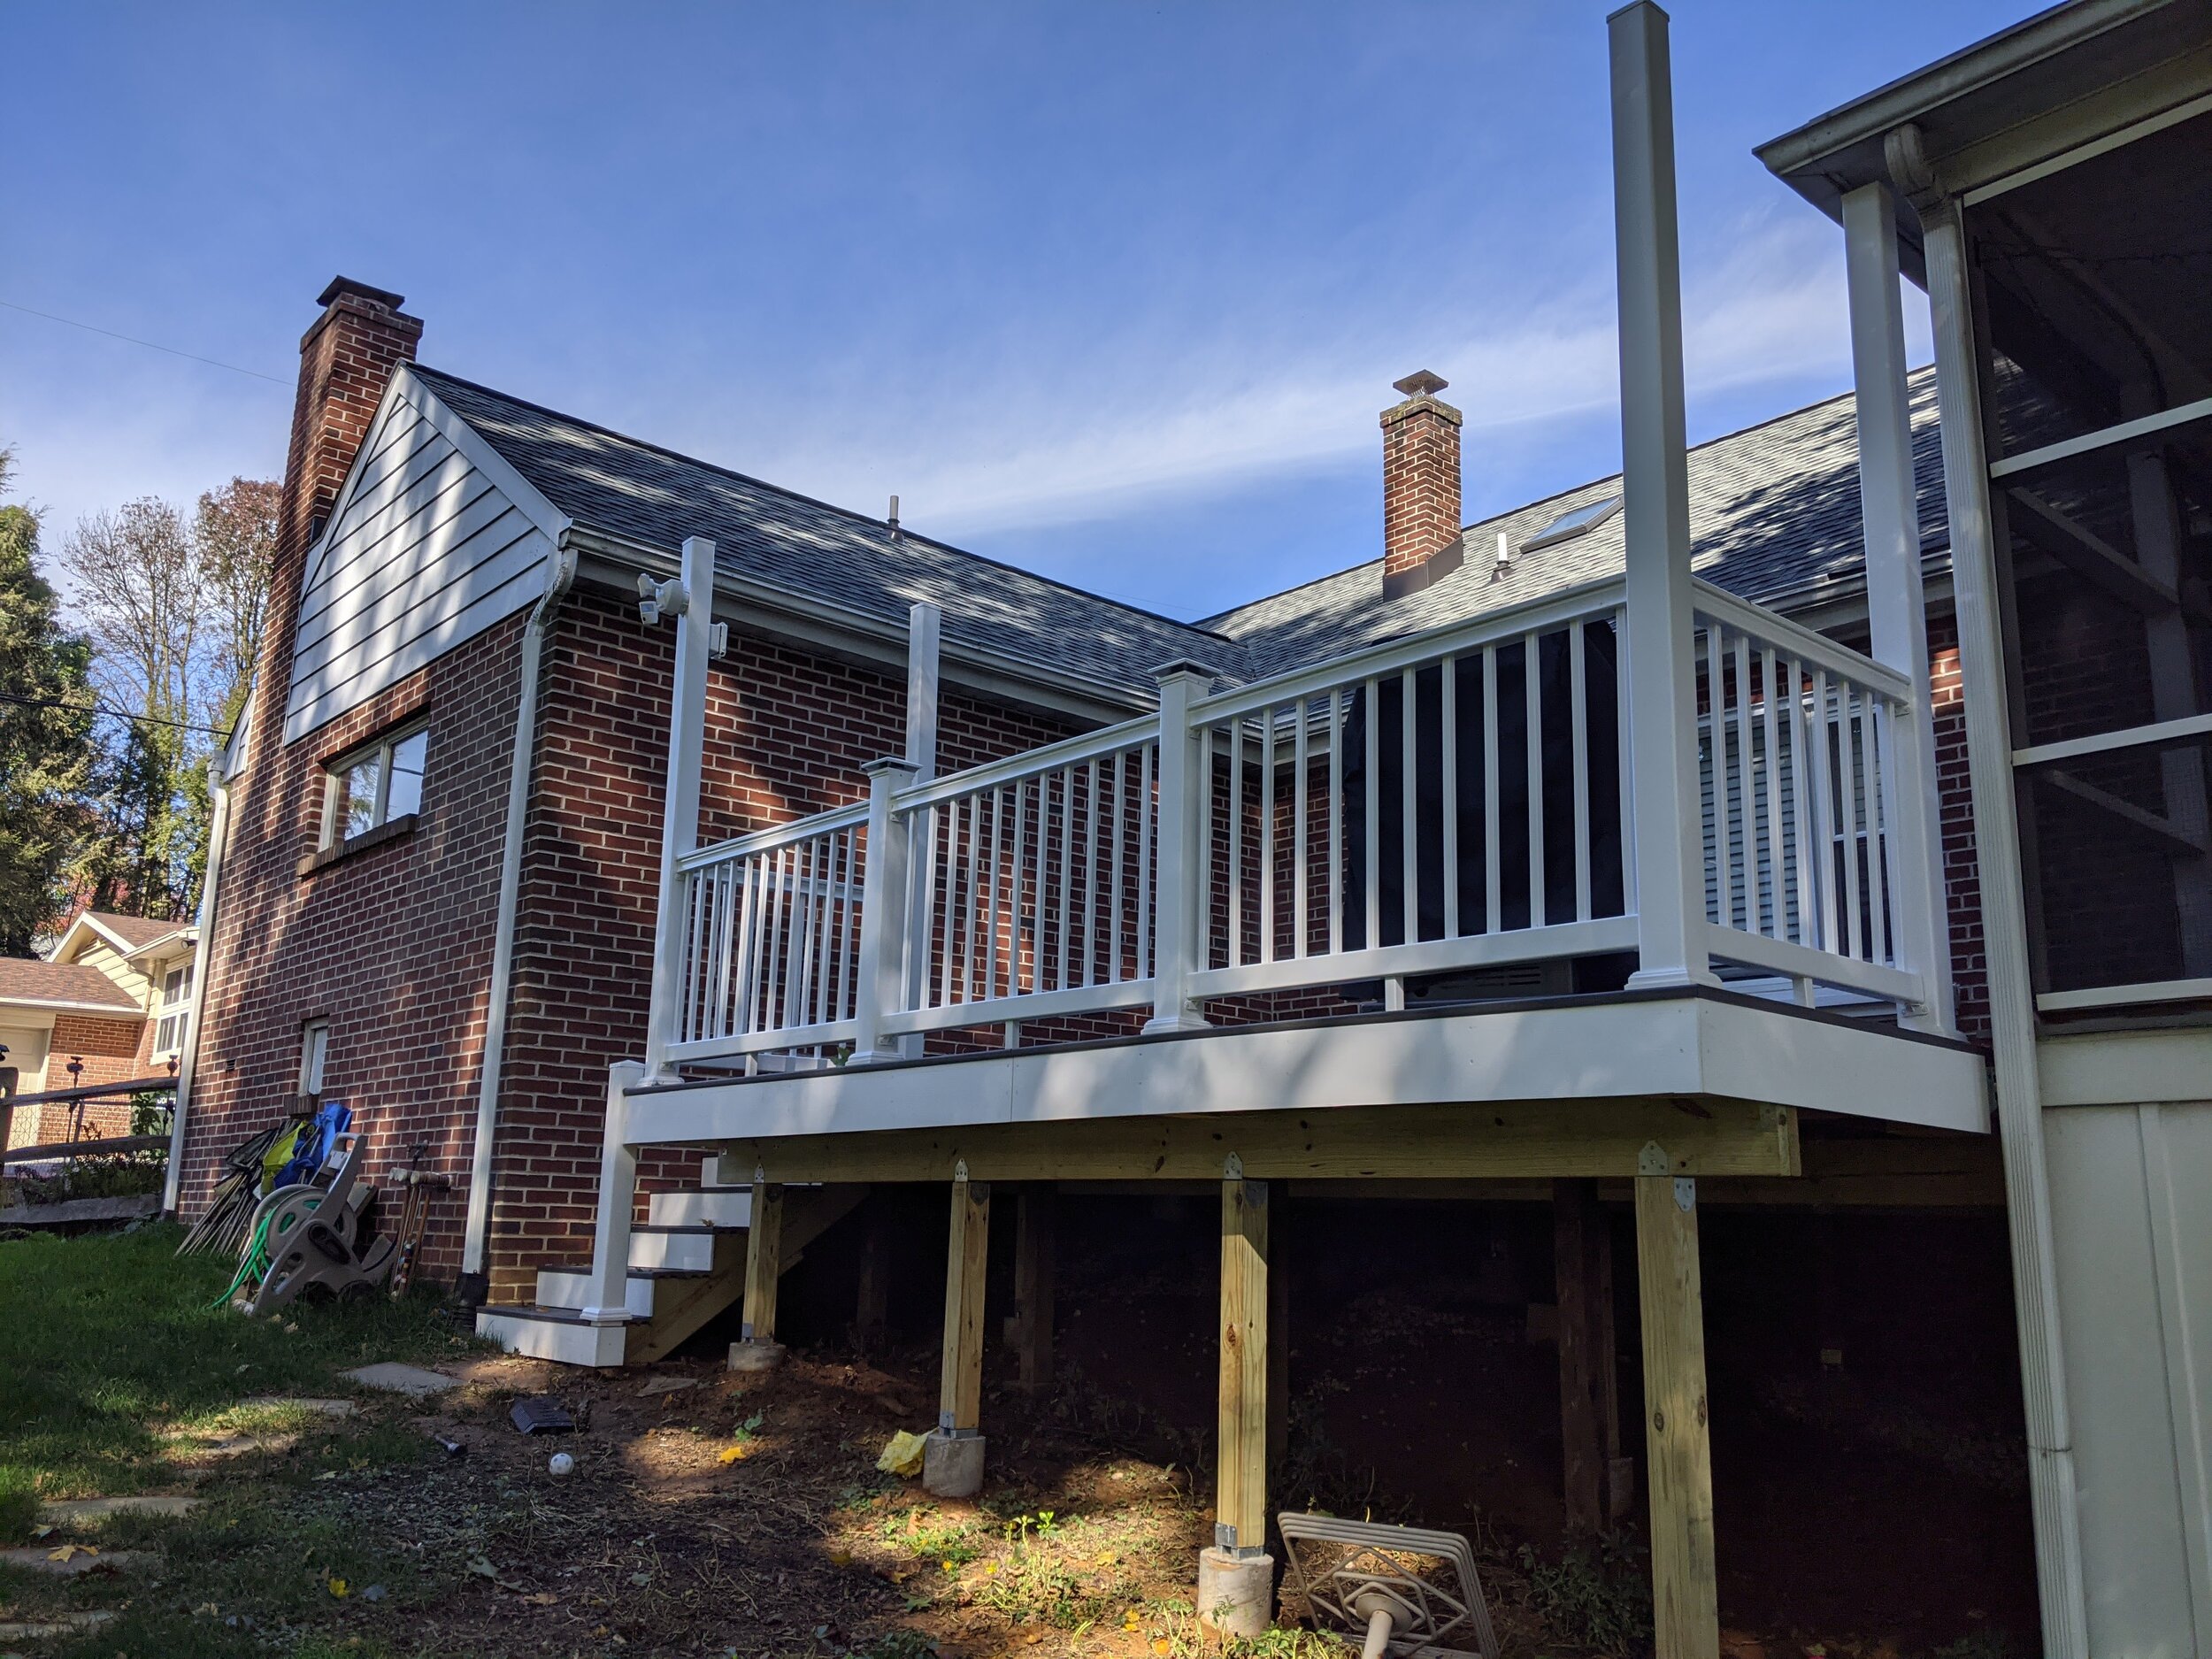
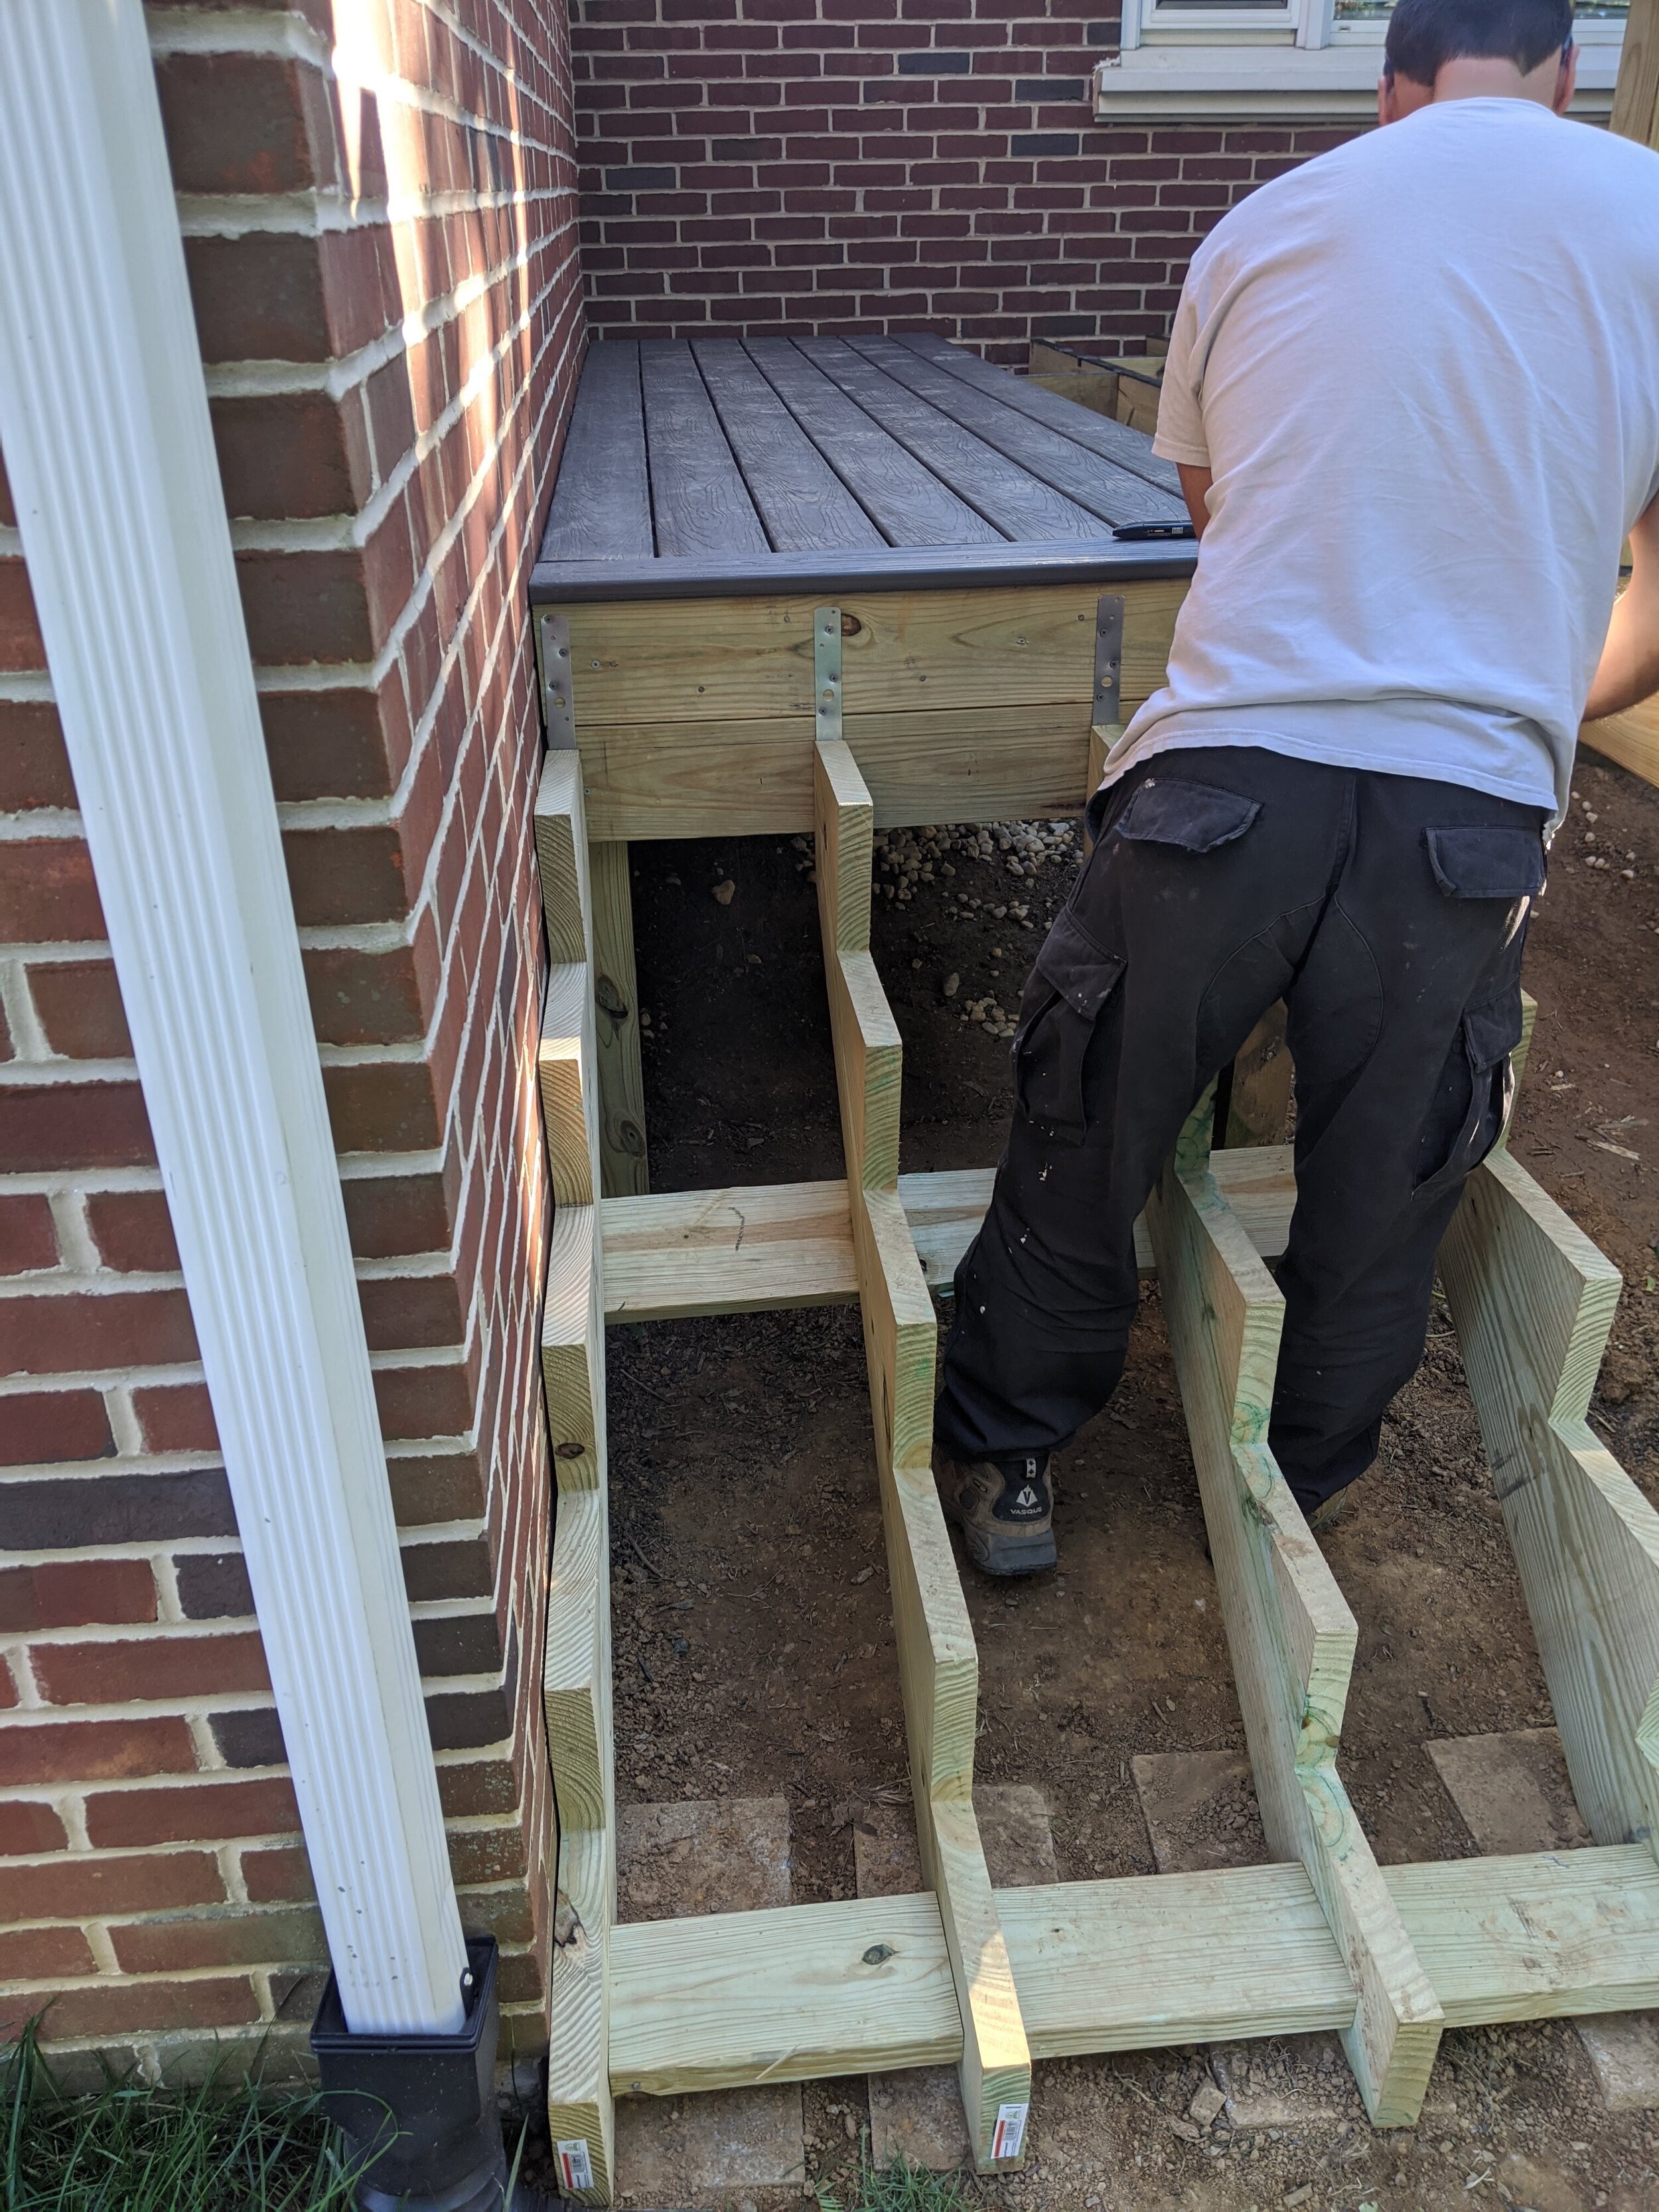
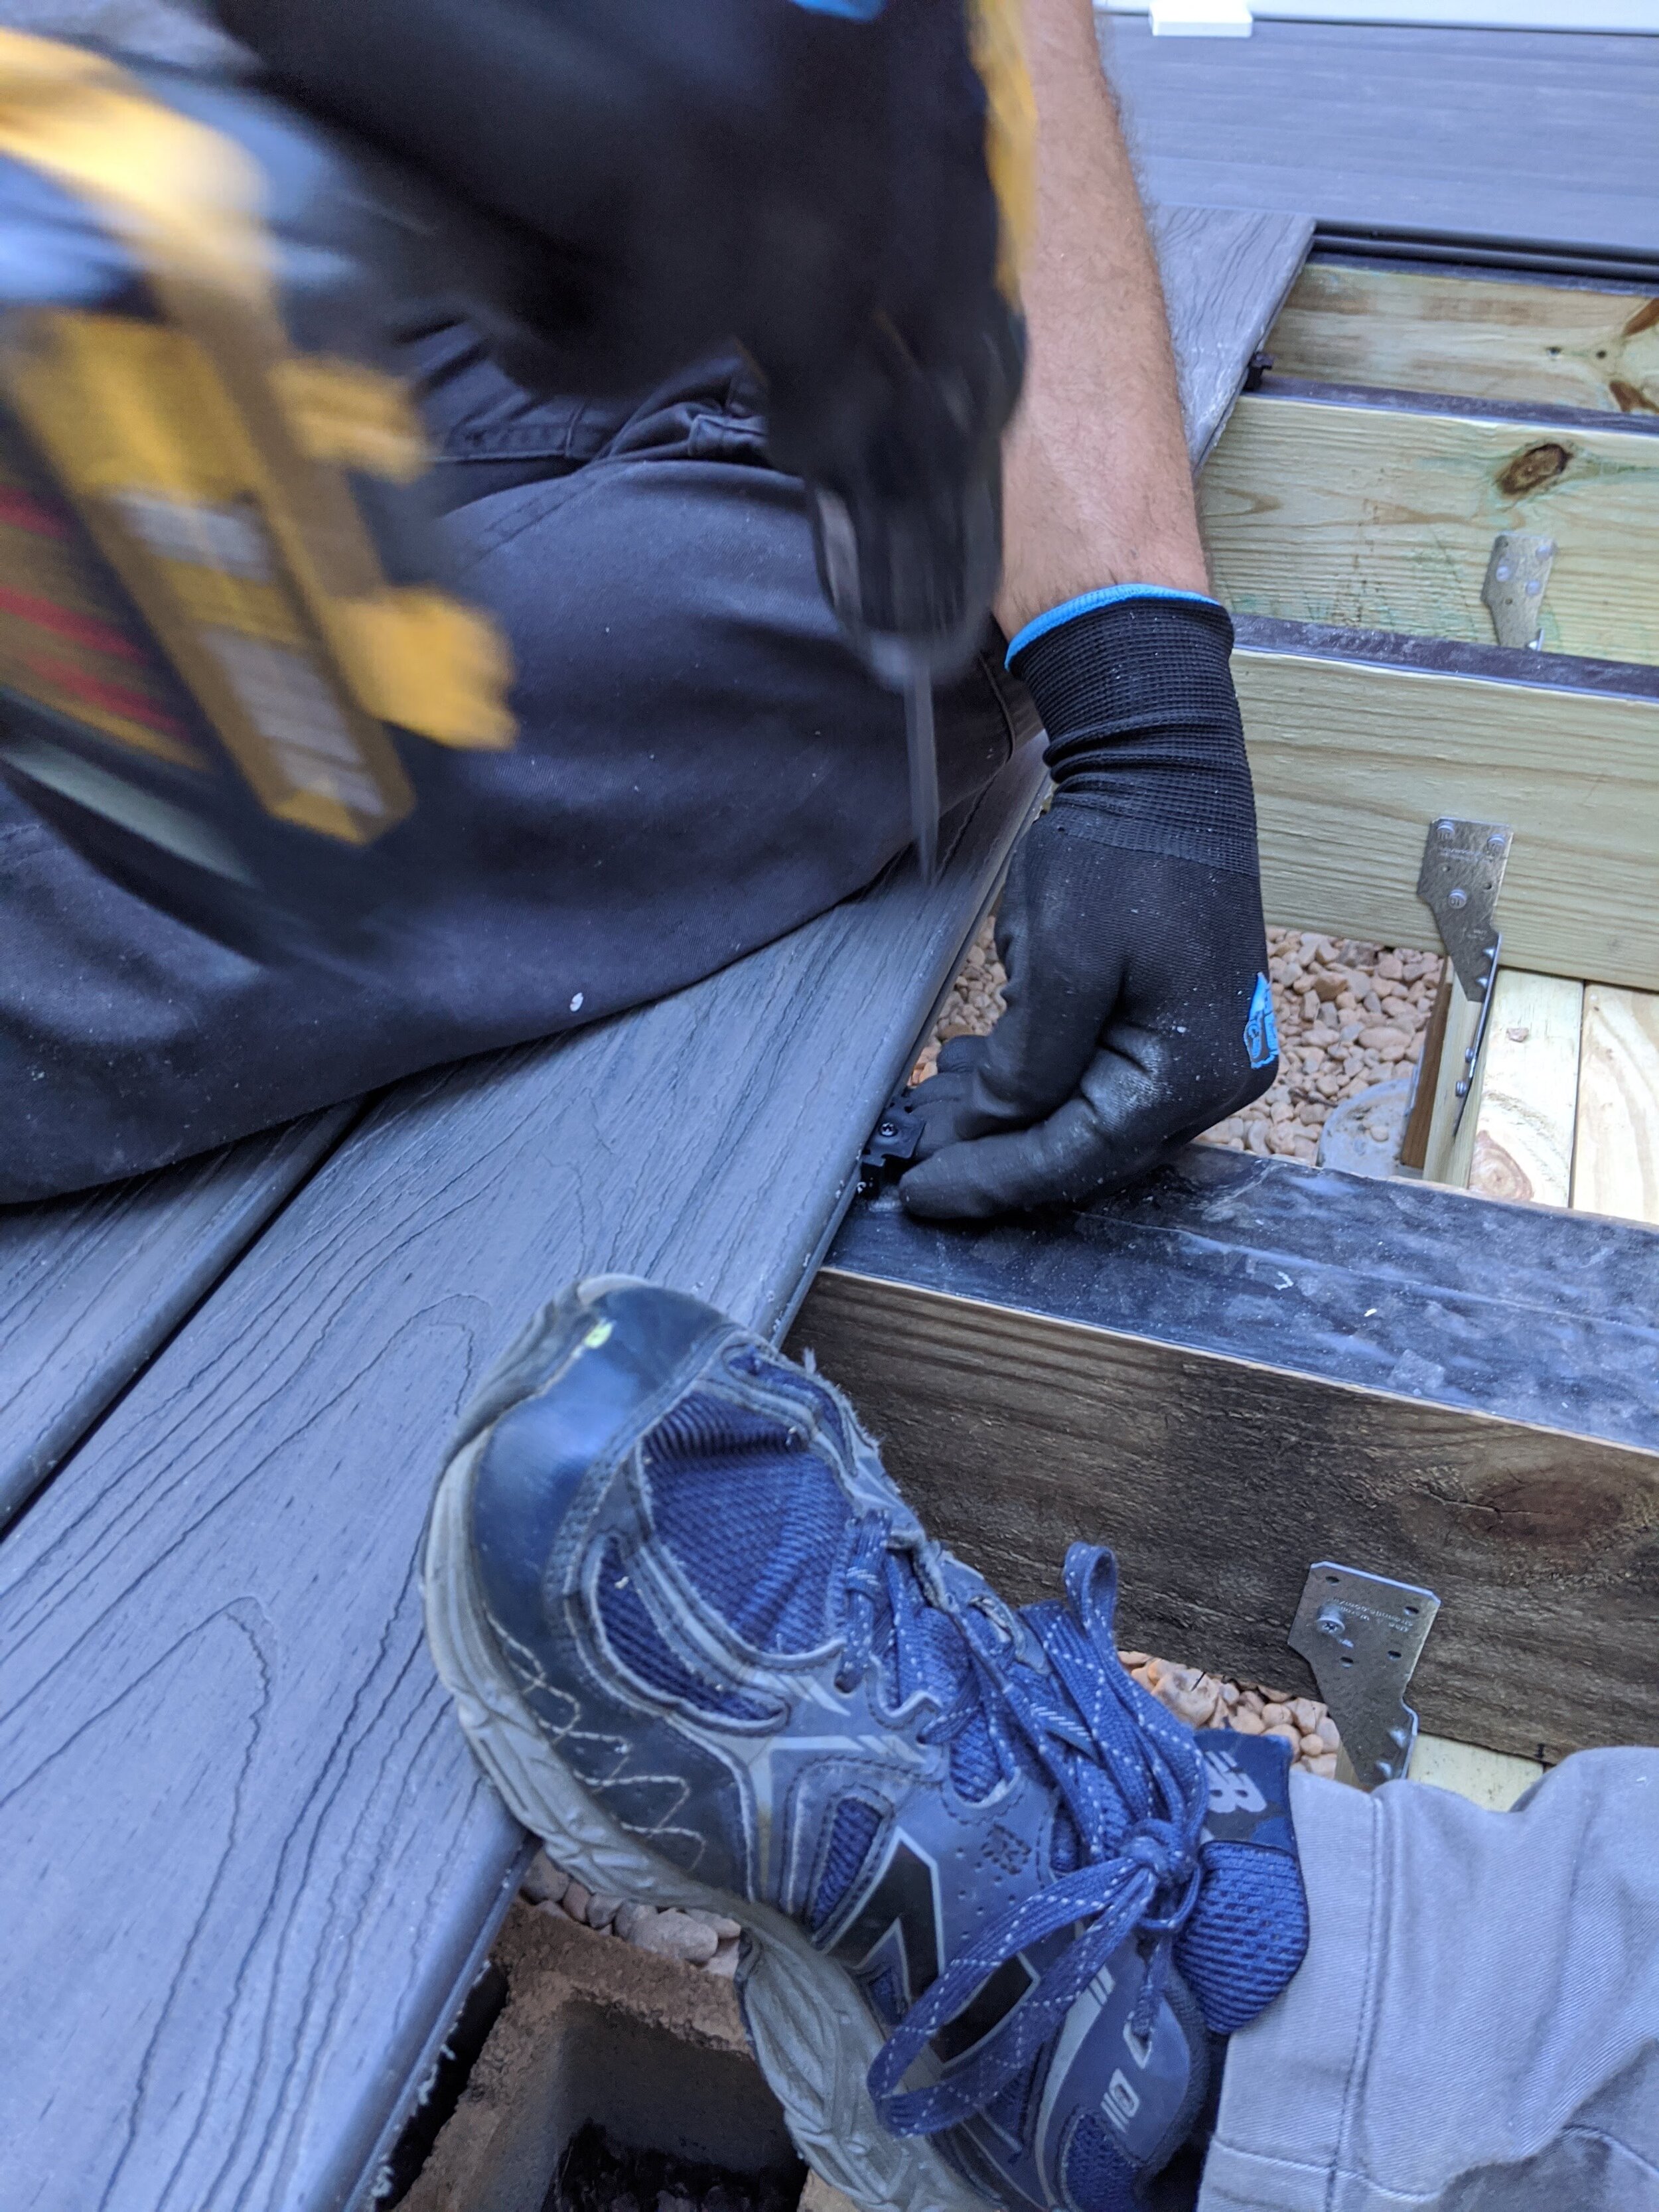
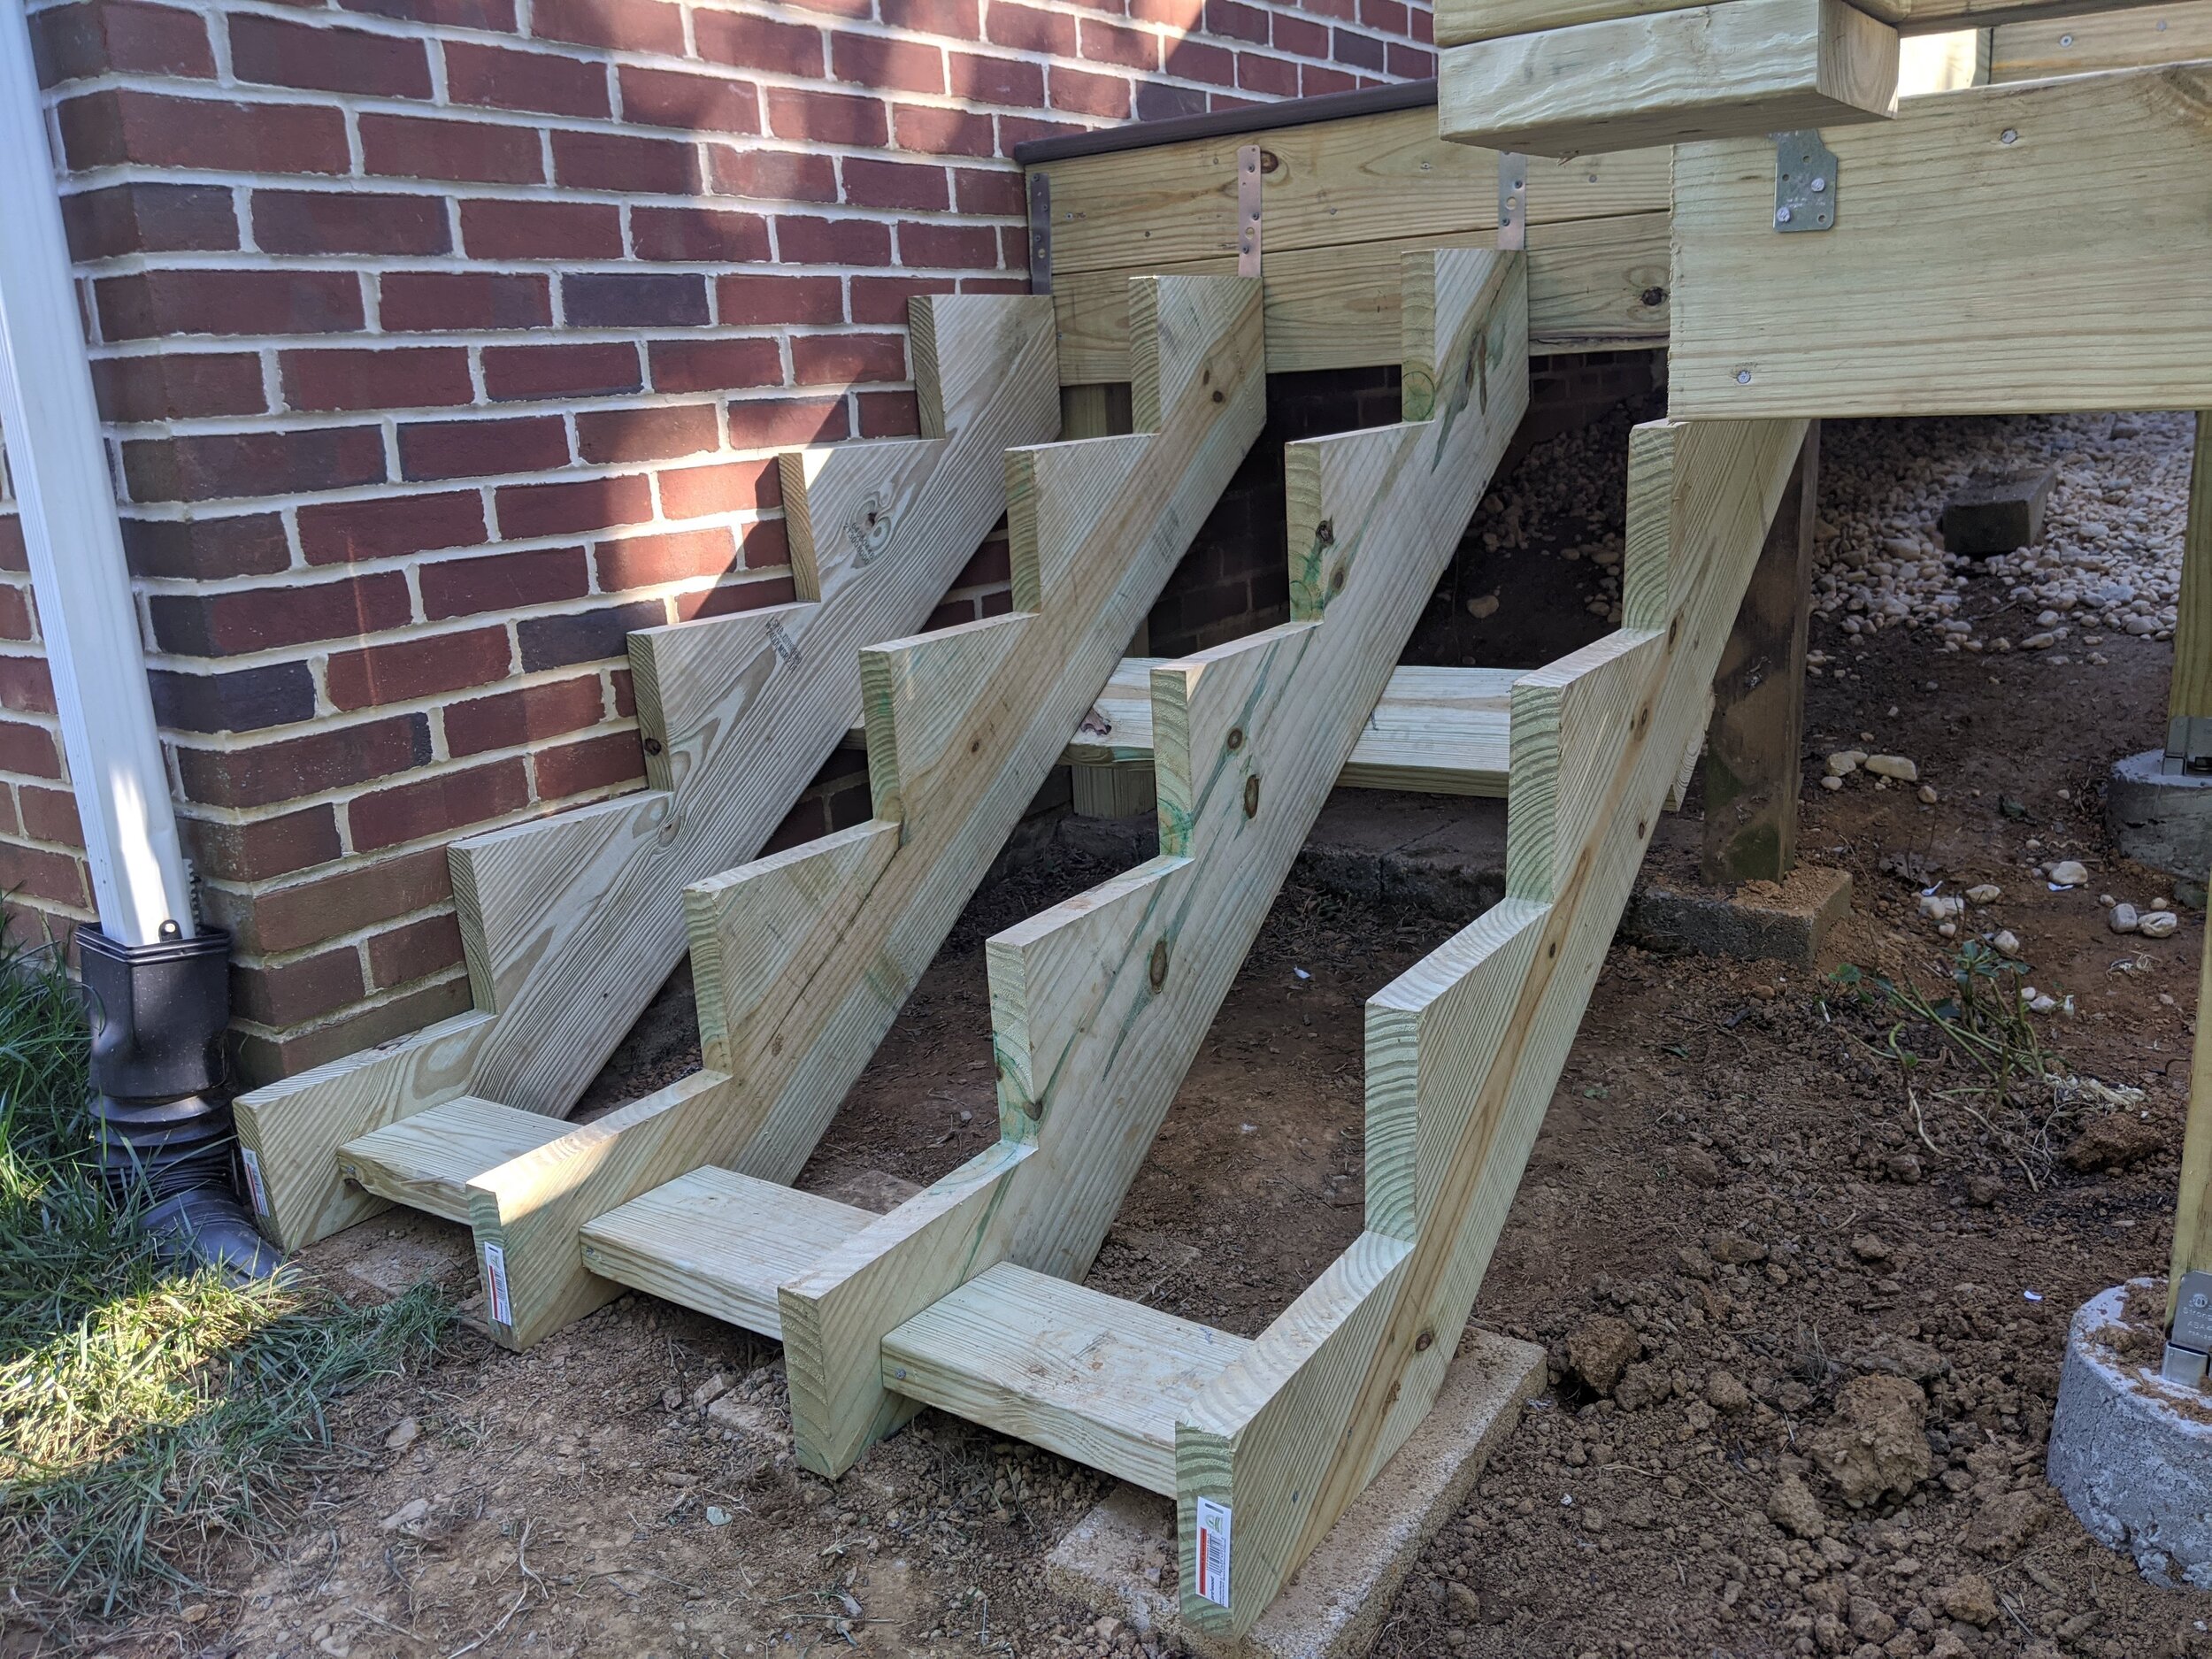
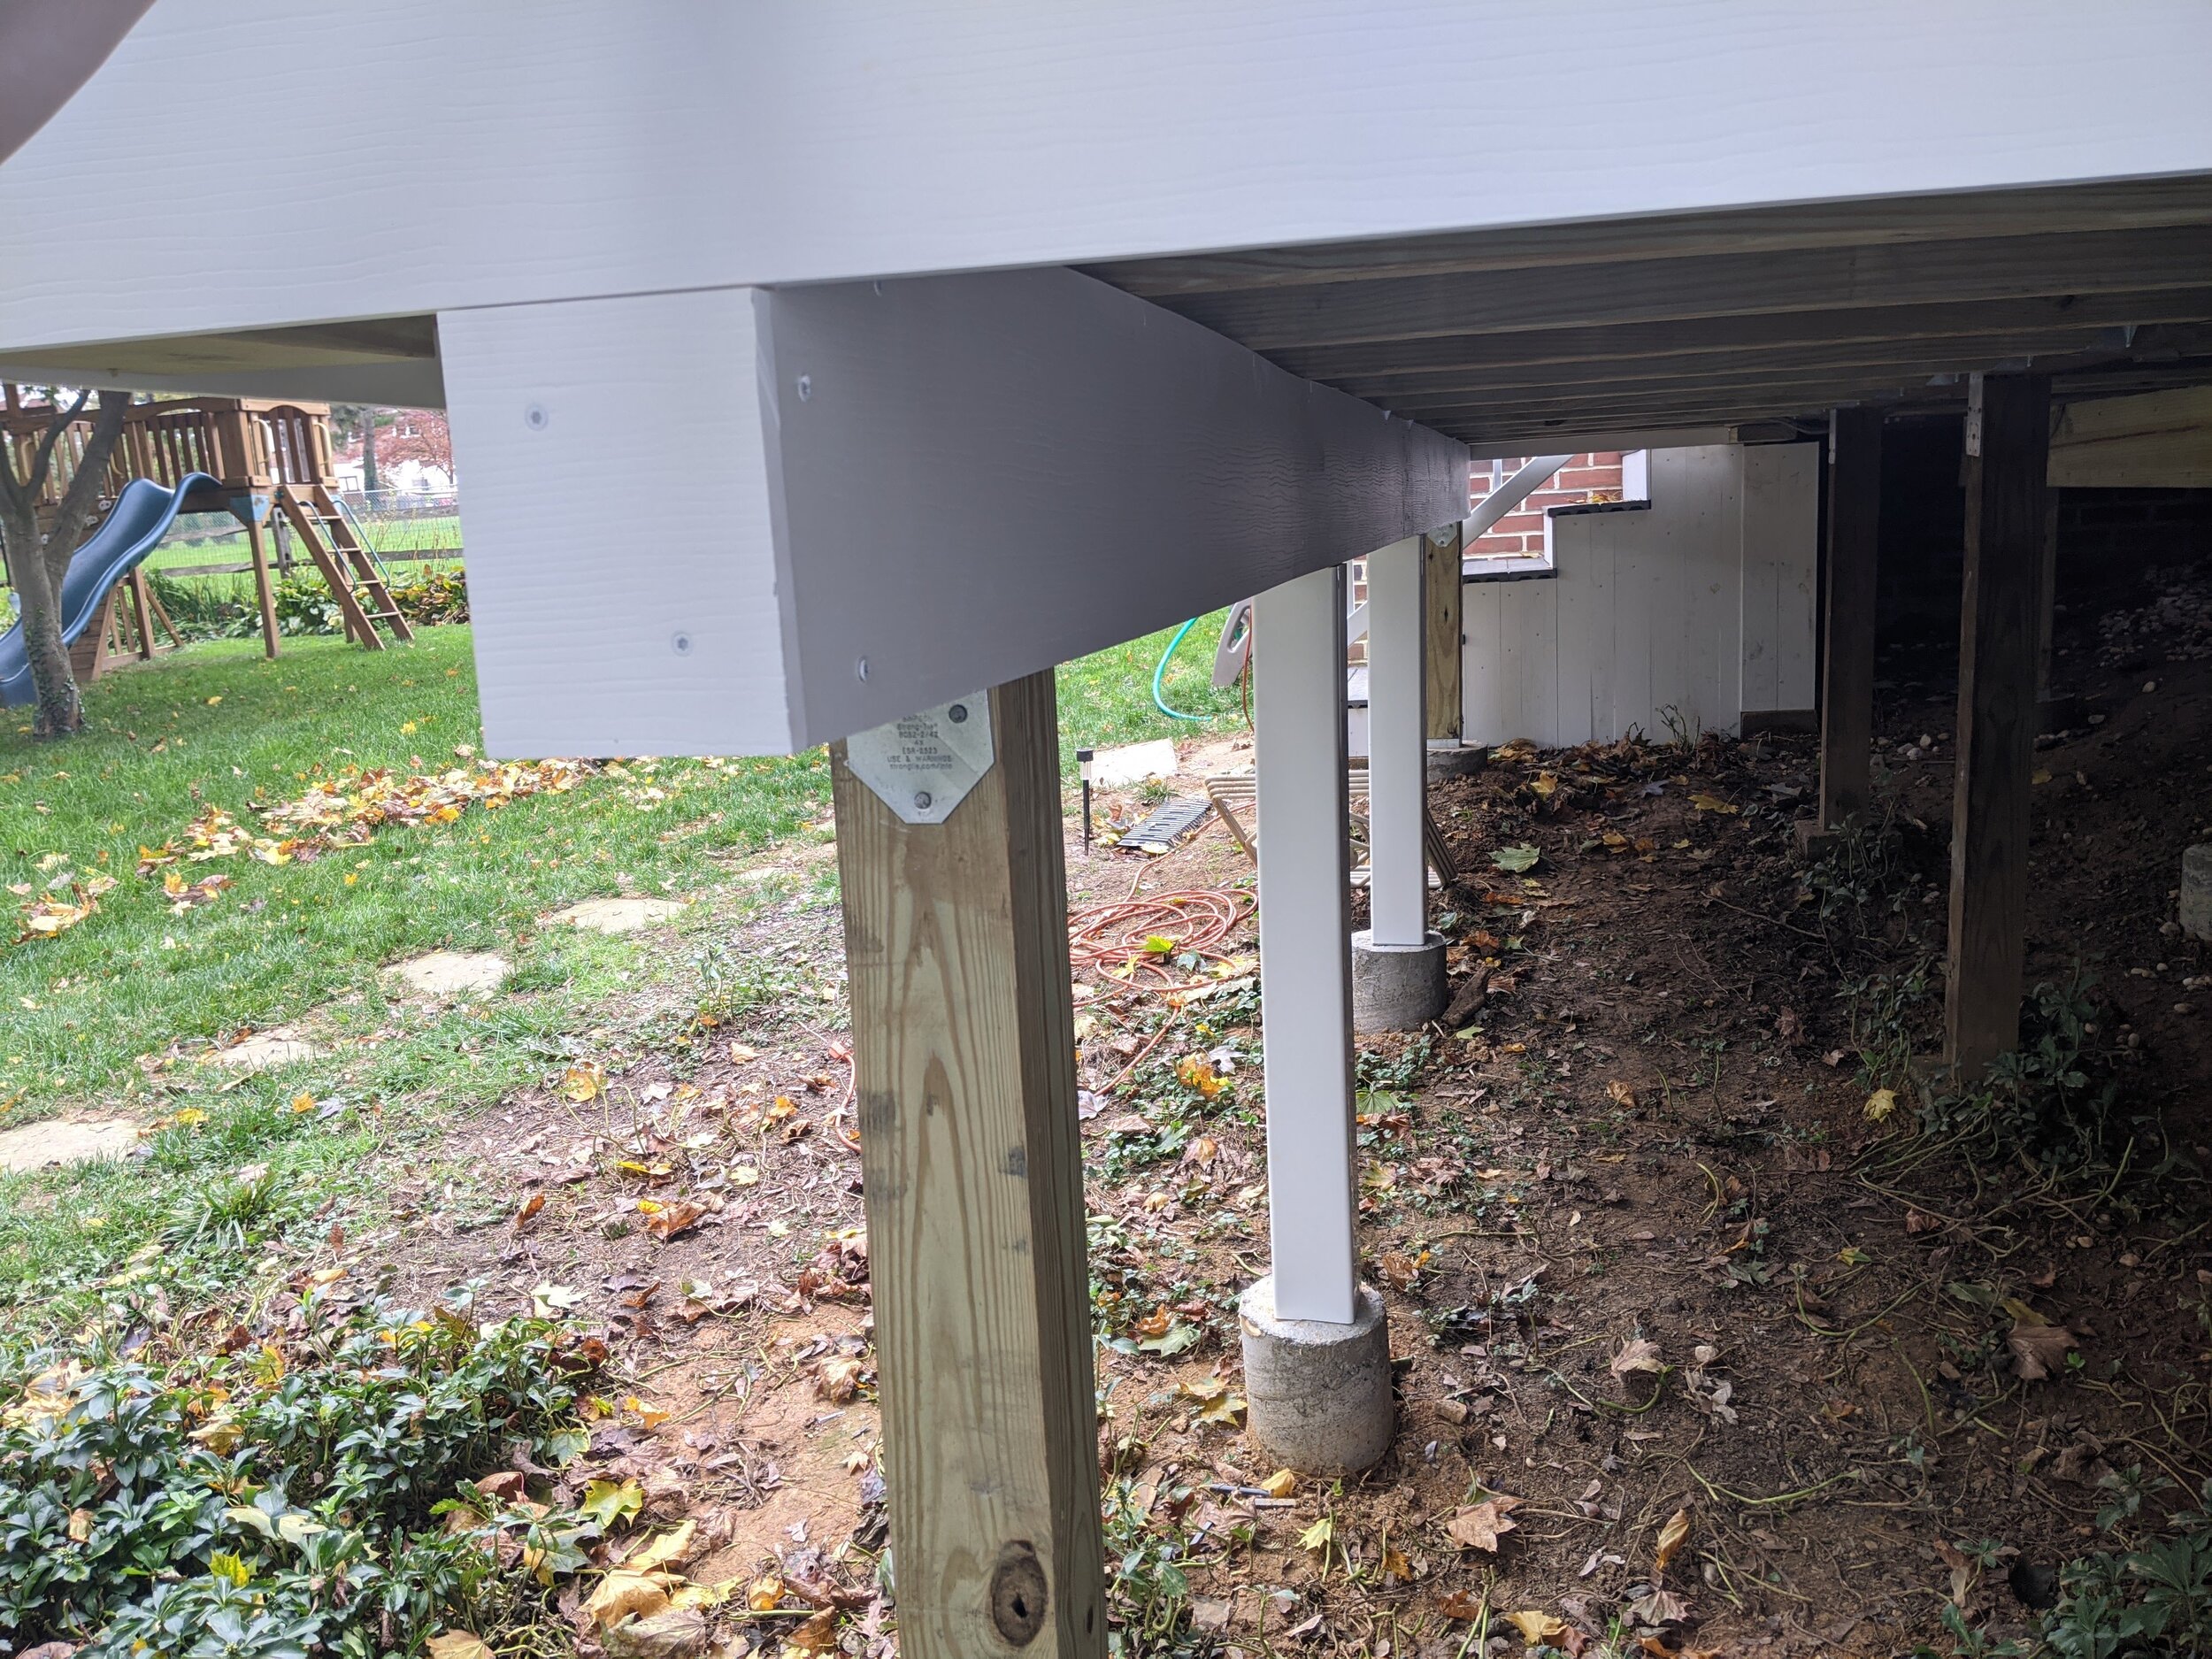
You can see we still had two pillars to sleeve at this point (and the lattice to add), but he’s covered the front beam and the side of the stairs.

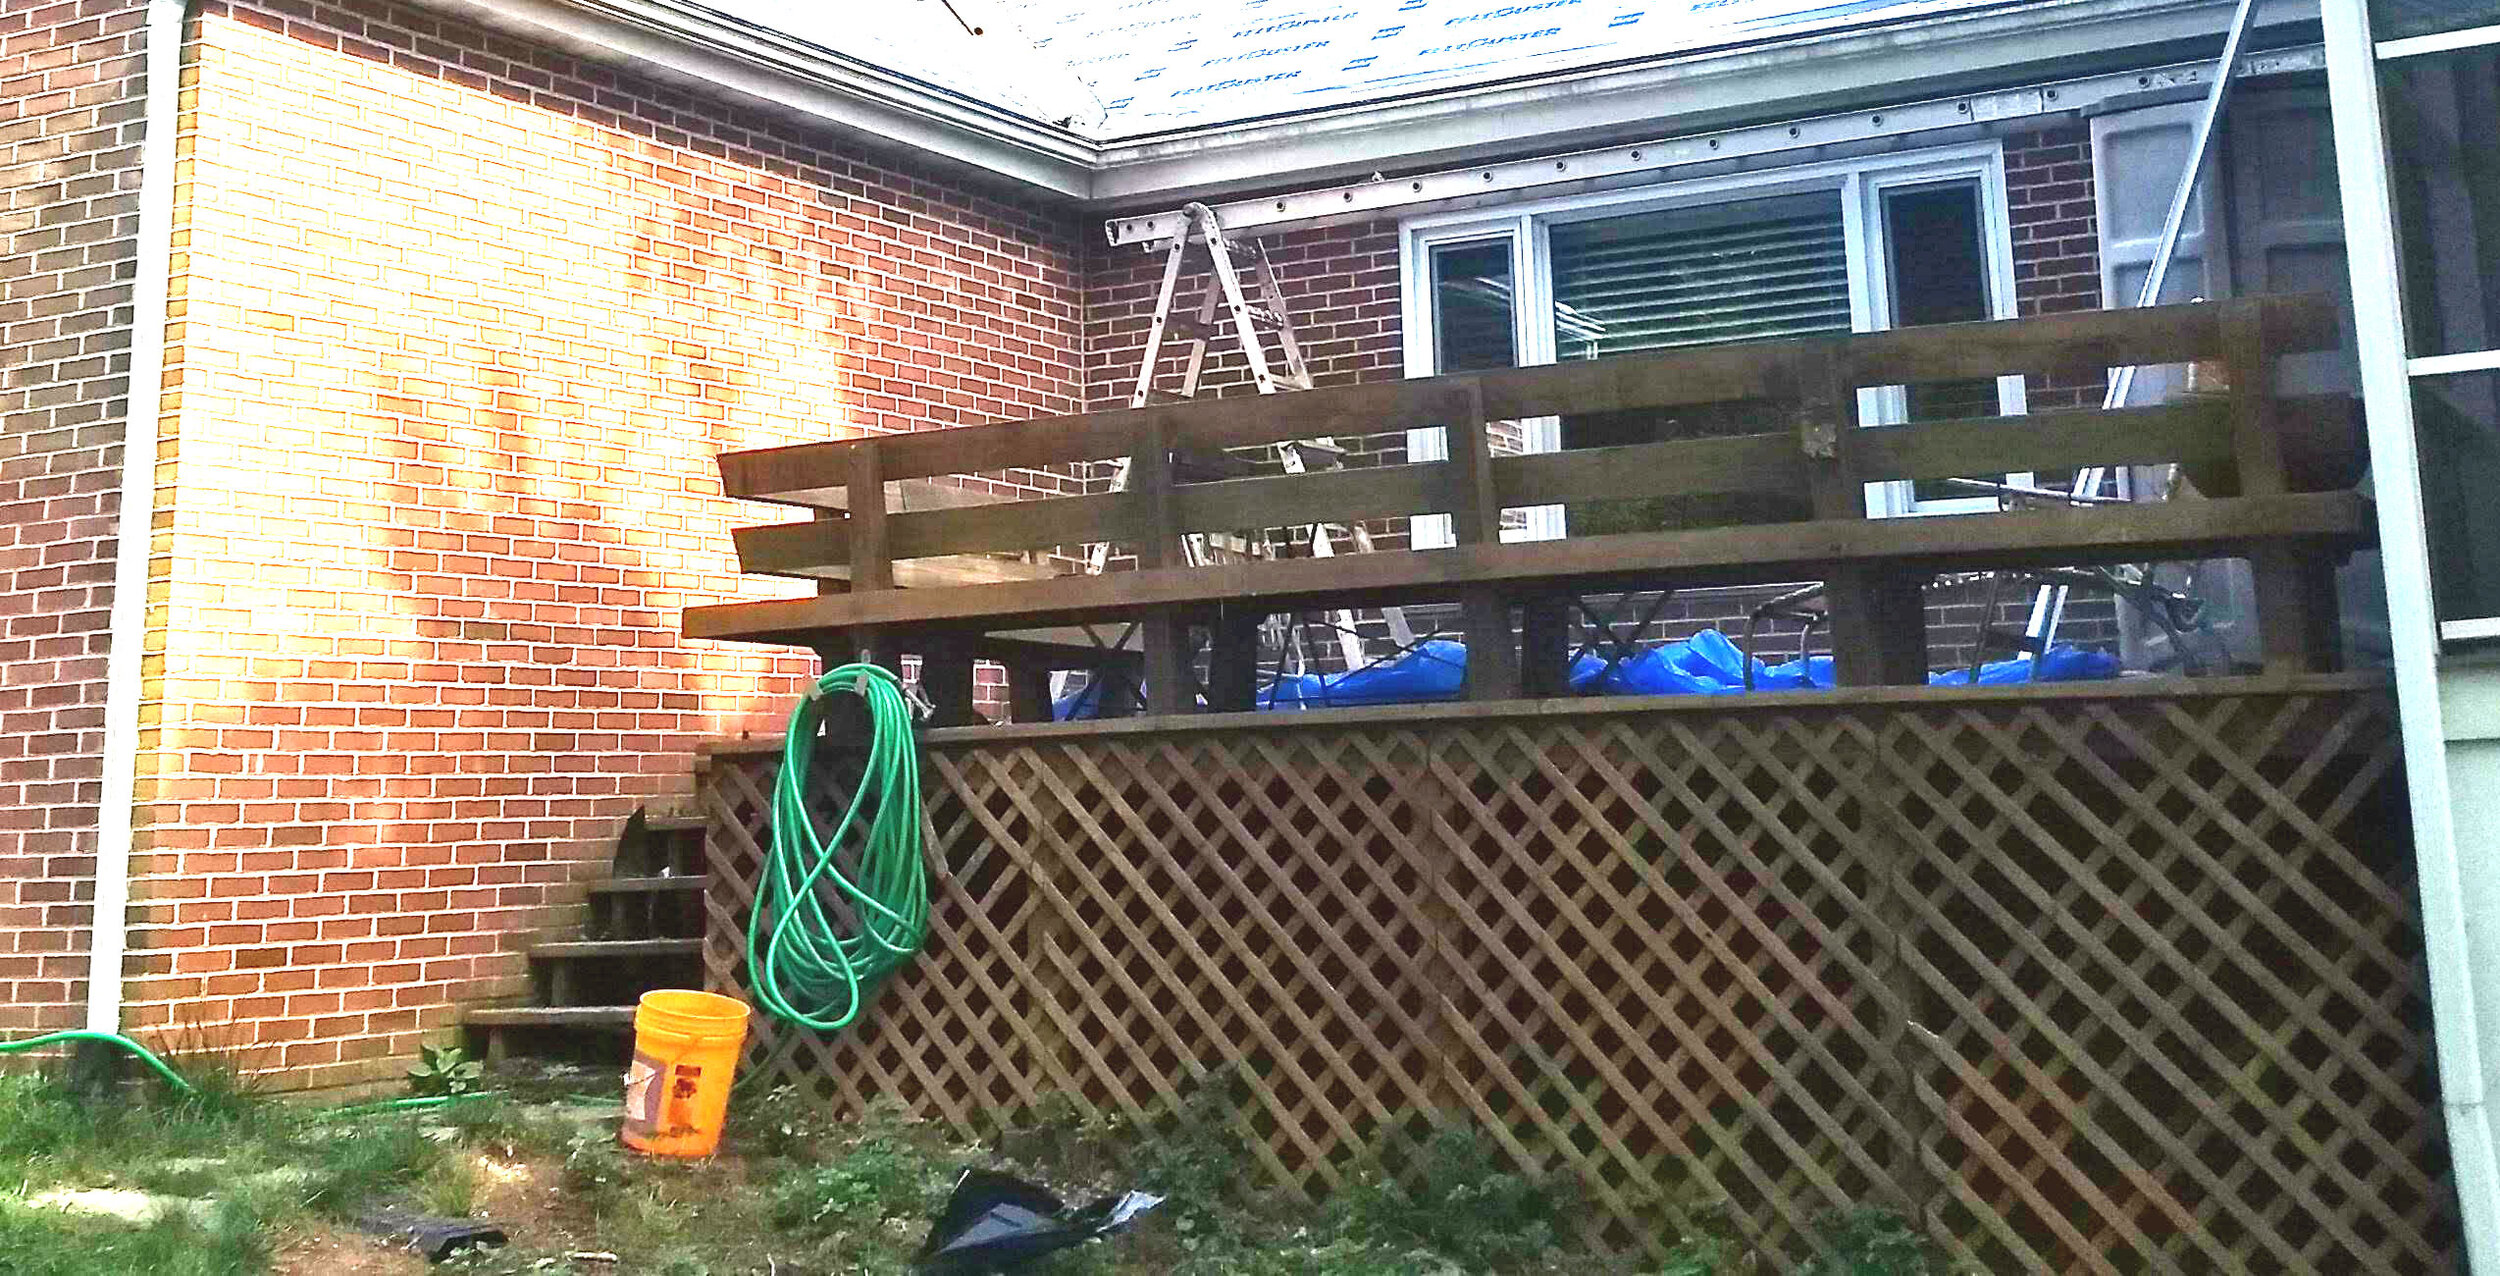
Here’s our final BEFORE and AFTER!

 
upgrading-deck-stair-rail-fascia.jpg


Click Here to View the Full Blog Archive.      


UPGRADING THAT OLD, YUCKY DECK: railings

h-upgrading-deck-railings.jpg

There are a ton of choices for deck railing. We ended up picking the Veranda polycomposite system with square ballusters. It was reasonably easy to install (Hubs definitely smashed my finger once which sucked), and there were several shape options to pick from. We liked the one that was flat on top.

At this point, all our pillars have the sleeves and the foot pieces, as well as caps. The tall ones that just simple $1 caps but the waist-height ones have built-in solar lights. They look really nice!

Steps:

  • Cut the top and bottom rails to the right length (unless you’re lucky enough to have 6’ gaps)

  • Make sure they fit (did you measure right?) and attach the provided brackets to those pieces

  • Attach the bottom rail to the pillars, using a level and making sure you have it an appropriate distance from the bottom.

  • Wedge all the ballusters into the pre-cut, pre-spaced holes

  • Replace the ballusters because the baby pulled them all out and it waving them around like weapons

  • Starting on one side, fit the ballusters into the top rail. (This was where the finger smashing occurred as Hubs thought I had the last one lined up and stomped on the top only to realize my hand was still in there. I’m ok.)

  • Use a level (USE THE LEVEL) and attach the top.

  • If you want, add the little center piece to the bottom. It’s just decorative.

  • Repeat for the next section.

(Remember, we are adding a pergola top to this in Phase 2, so that’s why the corner pillars are so tall.)

You can see he started a lot of the fascia already, but that’s because he was sneaking like a board at a time during down time rather than doing that all in one day.

I will cover that in its entirety next. Stair rail and fascia, and we’re almost done!

 
upgrading-deck-railings.jpg
 

Click Here to View the Full Blog Archive.      


UPGRADING THAT OLD, YUCKY DECK: electrical

h-upgrading-your-deck-electrical.jpg

So, why did we need electrical on our deck? For a crock pot at picnics? For a coffee pot? Well, yes, but also in the words of Hubs that I will never forget, “Don’t you wanna put twinkle lights up on the pergola?”

Hilarious.

I mean, of course, YES, I am a human so I love twinkle lights. But it’s these little touches that he thinks of that make the projects so special. Anyway, turned out he also wanted to add a motion light with a security camera BUT still. Ladies, get you a man who thinks of twinkle lights.

First, he had to cut off the top of the pillar because we’d somehow managed to only remember to cut three of the four to the right height.

The electrical wires did fit inside the tall pergola-height pillar, but it turned out to be REALLY hard to get Hubs’ man-sized hand into the sleeve. I would’ve helped but I get scared on ladders that are perched a quarter inch from the corner of a deck with no railings.

Anyway, he got it eventually. I took a lot of pictures.

At the top of that pillar, we have a very futuristic electrical box, plus a security camera and light.

P.S. DO NOT do electrical work if you don’t know what you’re doing. There are no second chances with shocking yourself or setting something on fire. Just don’t do it.

We also have an electrical box at the back near our house and one under the lip, underneath this pole.

You can see we put the composite sleeves on all the 4 x 4 pillars now, as well as the caps and foot pieces.

Railings are next! Keep reading…

 
upgrading-your-deck-electrical.jpg
 

Click Here to View the Full Blog Archive.      


UPGRADING THAT OLD, YUCKY DECK: laying composite deck boards

h-upgrading-deck-laying-composite-decking-boards.jpg

Ladies and gentlemen, welcome to THE MAIN EVENT! Actually, it isn’t. In the grand scheme of this deck reno process, this might have been the most exciting change. However, it actually was a reasonably fast process because of excellent tools and hardware.

ABOUT COMPOSITE DECKING

We wanted a low maintenance deck. We didn’t want to put this much effort in and have to sand and seal and re-stain next year. Plus there are a LOT of great products out there, in many colors and textures. This is Deckorators Tidal Gray. I’m very happy with the results.

However, this meant extra supports underneath because while a 2 x 4 of wood can span several feet, composite needs the supports closer. Don’t miss this step or your deck will sag.

PXL_20201023_230121879.jpg

LAYING THE PATTERN

Unless you want to special order, deck boards only come in lengths up to 16’. Our deck is 16’ x 20’, but due to the skeleton frame we were keeping, we decided to lay the boards the way they had previously gone. I actually think the pattern adds a little interest. I like the stair approach pointing you on your journey. Make sure you measure so that you aren’t going to end up with a weird gap or a 1” slide of a board at the end across from where you start.

You can see we toyed with a bunch of options, including angling the side at a 45, but we ultimately decided we liked the 90 so it was a contrast heading to the stairs.

START WITH THE FRAME/EDGE

We began with the edge, which meant a LOT of cutting to go around the pillars. But we wanted to be sure this very visible part was just right. As you can see, it turned out fantastic. After the edge, we did the short pieces heading up to the stairs.

Please note that we didn’t have to cut out the little skinny pieces because they’ll be covered by the pillar’s bottom composite decorative pieces, but Hubs is a perfectionist.

WHAT ARE THOSE CONNECTOR PIECES?

I absolutely love the seamless look of this — no screw holes (except on the edge pieces that don’t have grooves).

Basically, you screw the first plastic connectors into the beam (just lightly) in a row against your edge, then slide the deck board in and the connectors fit into the grooved side. Then you press the next board in and go back through and tighten the screws all the way down.

Whatever brand of decking boards you chose will have a coordinating set of connectors and tell you how many square feet they’ll cover.

You’ll see we finished REALLY late at night (classic us) and Hubs wanted credit for finishing in a headlamp, so I took the picture. Then the next morning to add a gorgeous touch, I slid on the composite sleeves and feet just so I could jump around and clap at how truly beautiful it was going to be.

IMG_20200920_084546.jpg

Keep reading! Electrical and railings are on deck… (lol that’s a baseball decking pun)

 
upgrading-deck-laying-composite-decking-boards.jpg
 

Click Here to View the Full Blog Archive.      


UPGRADING THAT OLD, YUCKY DECK: stairs and railing pillars

upgrading-deck-stairs-pil-h.png

Old deck had 3’ wide stairs, and we wanted these wider. They are 4’ now. This was a multi-step process.

STAIRS

First, as you can see, we reinforced the area where the steps were going to hang. We also prepped the ground here to make sure the bottom was going to land where we wanted.

IMG_20200915_072959.jpg
IMG_20200919_093213.jpg

Next step was to hang the stair treads. Because we are using composite decking, we wanted to make sure they didn’t bow. That’s why they are four treads. Previously, we had four steps but now, there’s more of a drop because we moved everything four feet out. So we’re at five steps.

Hubs dug in concrete blocks to make sure the front didn’t dip over time, one under each tread. The cross pieces are used like the studs on the deck, to make sure nothing twists or slides side-to-side.

Then, we put joist tape on the skyward surfaces to make sure there was no rot from rainwater. Finally, we started putting on deck boards! We only put on the front at this time (so that no one was walking on the stair treads) and because these were a special kind of composite board with no groove in the side. (Different than what goes on the rest of the deck.)

Now…there is a LOT of trim/fascia work that got done on the stairs (plus the rest of the treads of course) but I’m putting that at a later step because we finished that up at the end.

IMG_20200919_104328.jpg

RAILING PILLARS

Deck railing comes in 6’ sections, which means if you’re doing a deck that 6, 12, or 18 feet, you’re in luck! But if you’re doing any other size deck, you’re doing a lot of cutting. We had planned ahead of time what our pillar placement would be so we could build the space into the framing and footers. Everything worked out according to plan (that dirty fingerprint plan)!

This is from later in the process, but I wanted you to be able to see the ‘boxes’ we built around the pillars with framing wood so that when we screwed in, we had lots of layers to go through.

We are planning a Phase 2 that’s a pergola top for this, so four of the pillars are much taller than others because they will be supports for that.

These pillars are all going to get white composite sleeves over them, and one’s going to get electric. But for now, the important thing was to make sure they’re stable since they are the base for the railing. And if the railing doesn’t support you, it’s more of a hazard than anything else!

Make SURE you check the level on both vertical directions (N/S and E/W) before you screw these in. Your eye might not notice a single pillar is off a smidge, but you will for sure notice if the entire railing wants to lift off the ground because it’s leaning out.

In these pictures, the two close together are for the end of the deck rail and the top of the stair rail.

Stay tuned because next time, we’re finally putting down the actual deck boards!

IMG_20200919_093149.jpg
 
upgrading-deck-stairs-pilla.png
 

Click Here to View the Full Blog Archive.      


UPGRADING THAT OLD, YUCKY DECK: Trusses and Supports

upgrading-your-deck-supports-trusses.jpg

Let’s take a look at my plan again:

  • We kept the skeleton of the old frame (purple lines)

  • We’ve done the footers (all the numbers)

  • We’ve expanded the frame (green line)

  • So now it’s time to move onto the orange support beams and the blue beams that support the actual flooring.

  • What I didn’t draw on here is all the cross-pieces that you always see in framing to keep anything from twisting. (I didn’t draw them on, but you’ll see them in the pictures)

PXL_20201023_230134784.jpg

Our three main support beams (marked in orange above) were doubled up/sandwiched 2 x8s.

You can see them here, so nice with the straight lines. Yes, that appeals to me visually so much. The steps in this process were:

  • Attach the top hardware to the 4 x 4s if you haven’t done that let. They look like little crowns.

  • A note: Make sure all your vertical 4 x 4s are attached at the bottom — this should have happened in the last step but trust me, you don’t want to march over this beam that weighs like three elephants and find out you missed something.

  • Get the beam in place. Attach it with hurricane ties (the silver twisty pieces you see)

  • We placed our end beam 1 foot from the edge of the deck, obviously right over the footers.

  • (Again, if you didn’t see my note before, we left some of the old vertical supports because it was more work to remove them.)

IMG_20200912_141143.jpg

Once those beams were in place, it was a whole new ballgame. The frame could support us and it was easier to move around.

We started putting in the next set of beams — blue on my drawing above.

This was A LOT of hardware. But I once again found my drawing helpful at the store because I could count the exact number of intersections and ended up with the right number of pieces.

For composite decking, you can go with gaps between 12 and 18 inches (otherwise the boards will sag) but our math worked out best with 12 inch gaps so that’s what we did (since we kept some of the old skeleton as you recall).

My dad was such a good sport and helped us day after day of hammering and cutting. Hi Dad! (waves)

Two things to point out here: hardware on all the intersections that bear weight, but we just nailed in the little studs to keep anything from twisting.

Second key thing — JOIST TAPE. To avoid the wood rotting when it rains, you have to cover all the sky-facing surfaces with joist tape. This stuff feels like something you’d use to roof (kind of tarry) and it serves that purpose. It comes in rolls with a peel-off part on the sticky side. This stuff is expensive but will increase the life of your deck.

Next steps are the stairs and pillars, so keep reading…

IMG_20200917_204959.jpg
 
upgrading-your-deck-supports-trusses-V.jpg
 

Click Here to View the Full Blog Archive.