You saw my list of kitchen issues on the last post, so here are our steps, start to finish.
We knew when we bought our house, built in 1955, that the kitchen was far less than ideal. The grand plans for it took a few years to bear fruit, but it’s been worth it. By my estimation, the steps of kitchen renovation are as follows:
I’m just glad our new house in a great neighborhood. The kitchen will be fine for a few years.
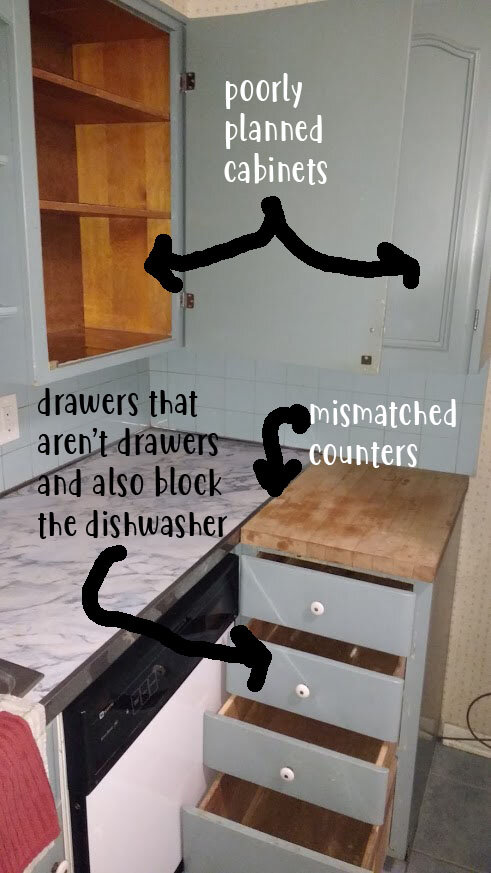
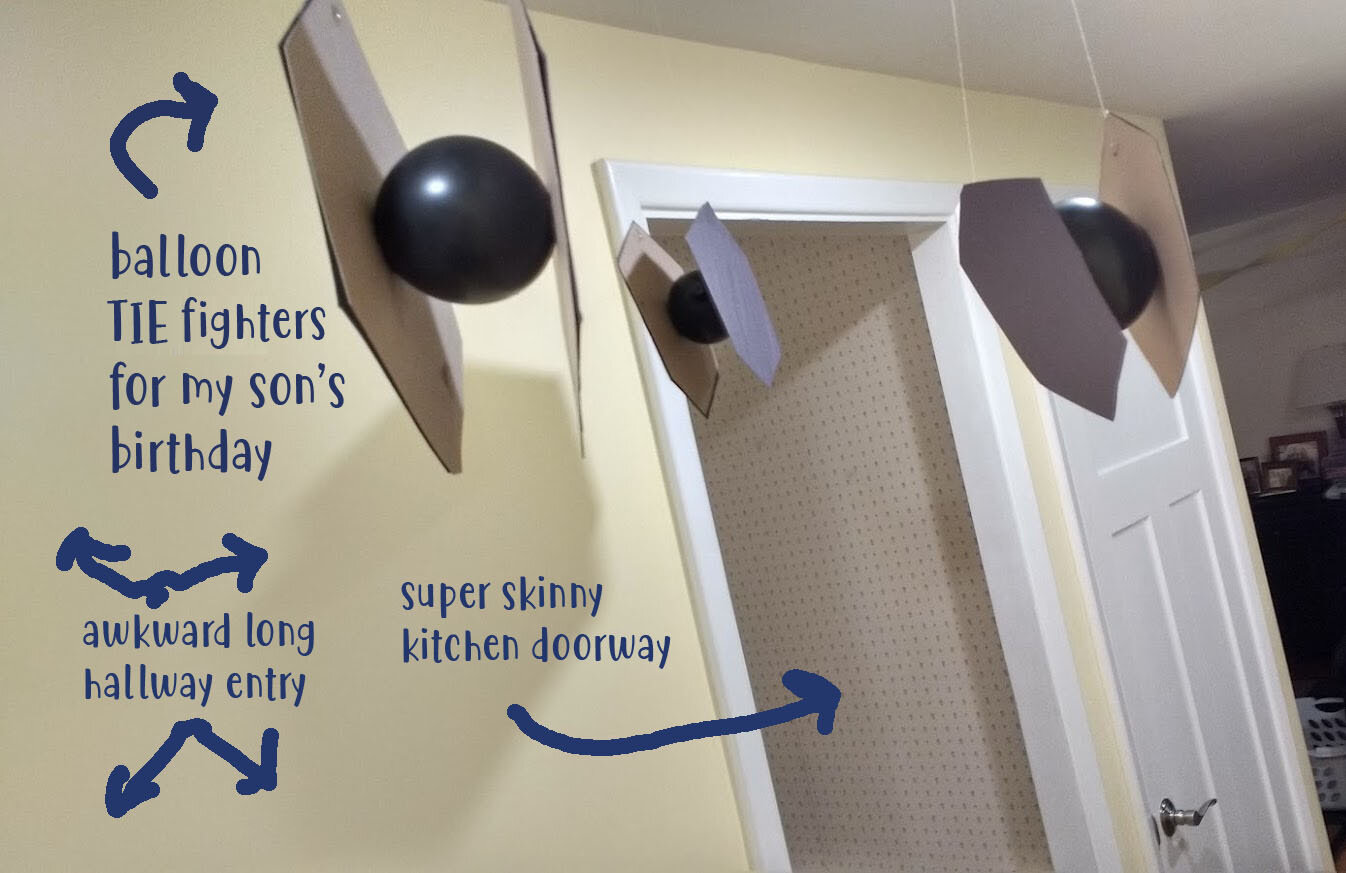
Boy, this space was planned poorly. You can only have one thing open at a time. And I can’t carry a 9x13 tray length-wise through these narrow doorways.
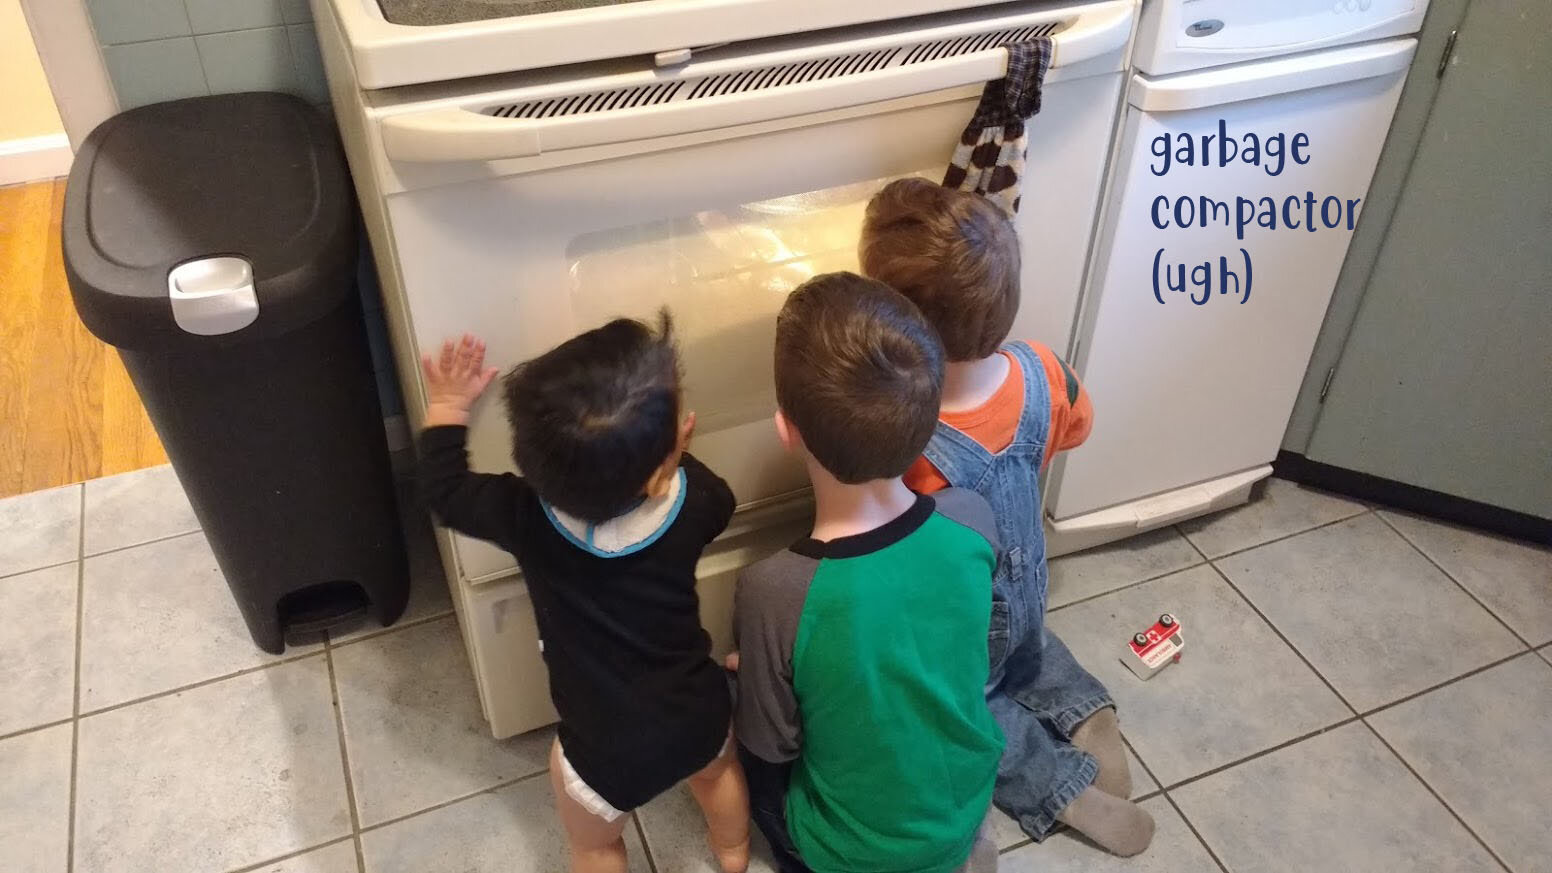
Your. Mom. Put. A. Diaper. In. The. Garbage. Compactor. WHO HAS A GARBAGE COMPACTOR
Nothing ever looks clean in here! ARGHHHHHHHHHH
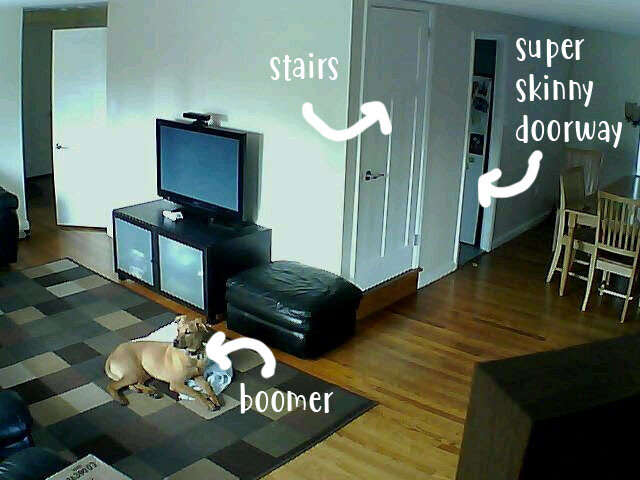
I can’t stand being cut off from everyone inside this cave with its tiny, skinny doorways. And I smashed my toe AGAIN on the one-inch height difference between the floors.
Finally reach our (first) savings goal, and plan a kitchen with very trendy styles. Decide that’s not what you want.
Wait until the next year to actually build the new kitchen and be very pleased with the results.
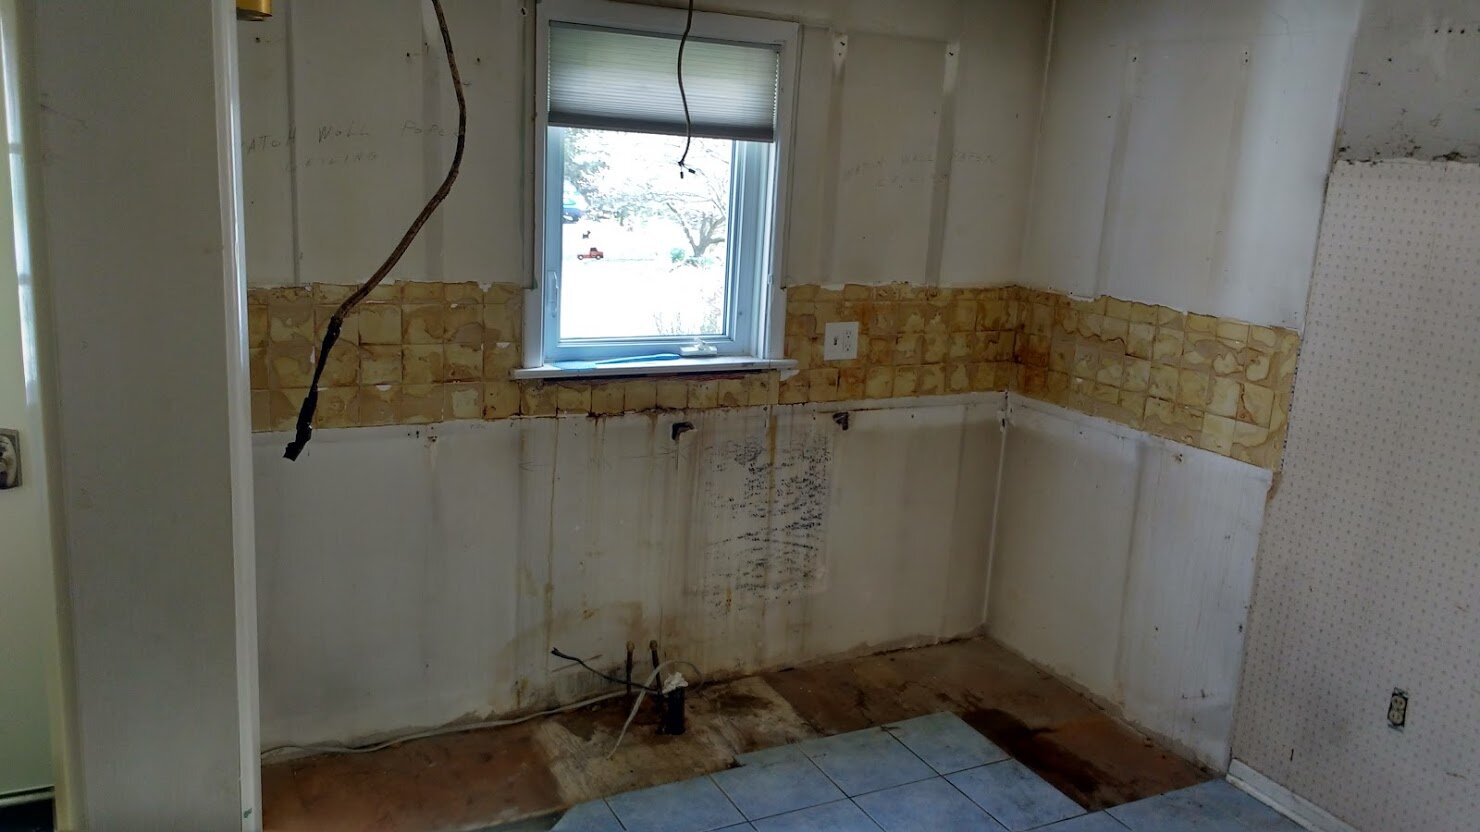
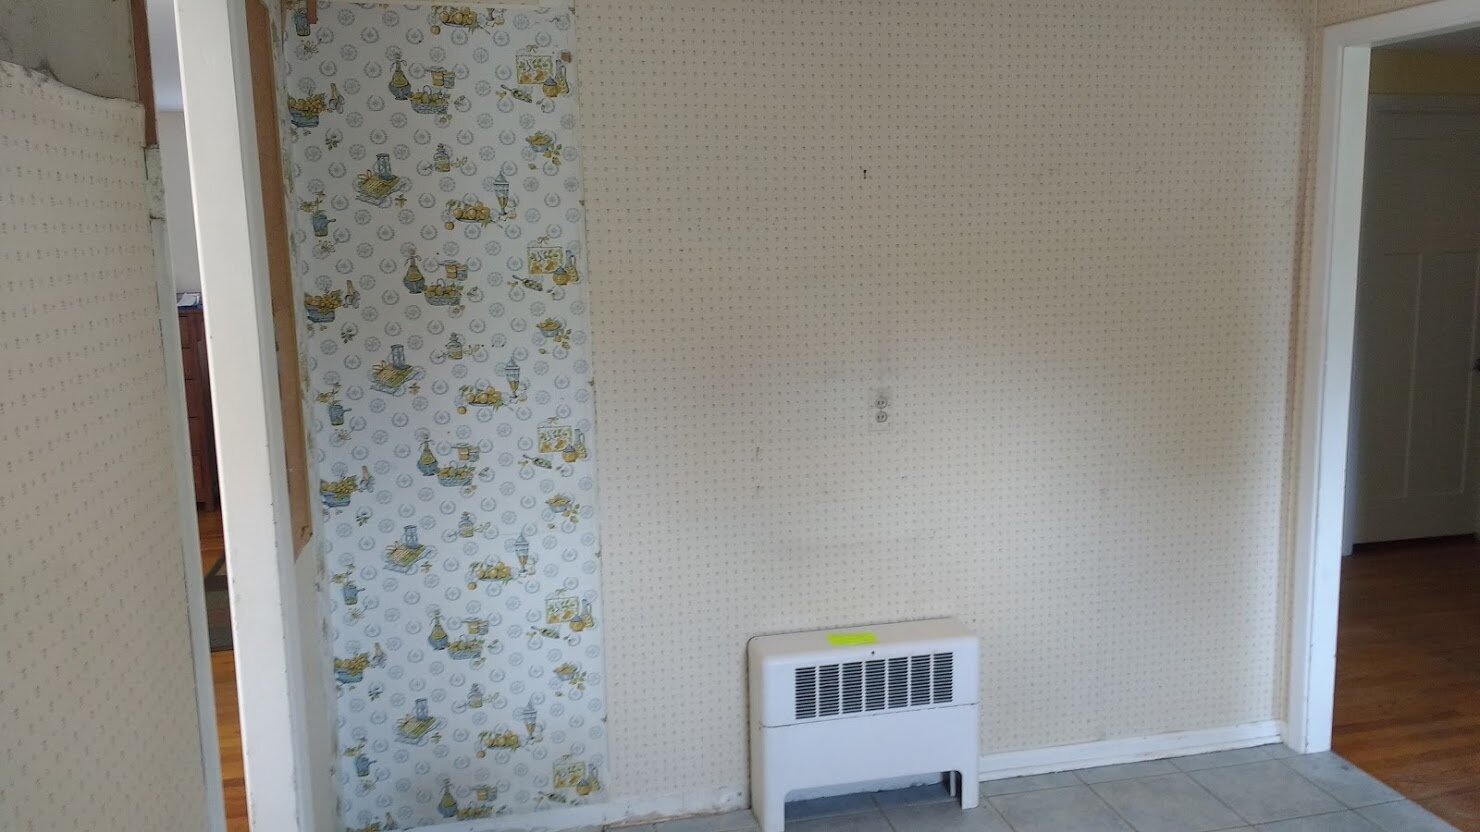
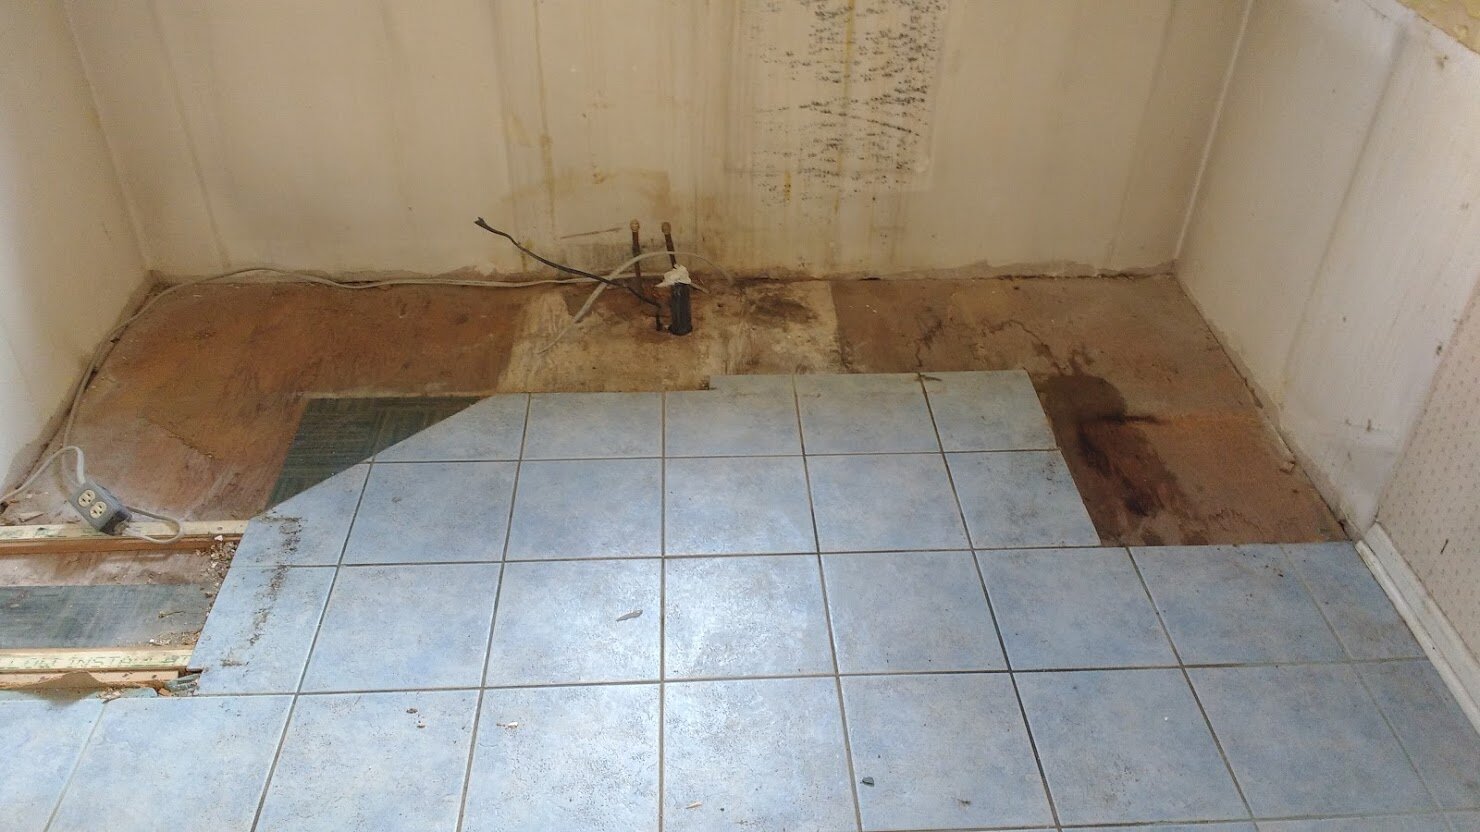
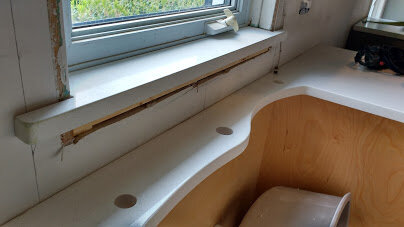
Before (where we started)

And here are the steps to “After”…
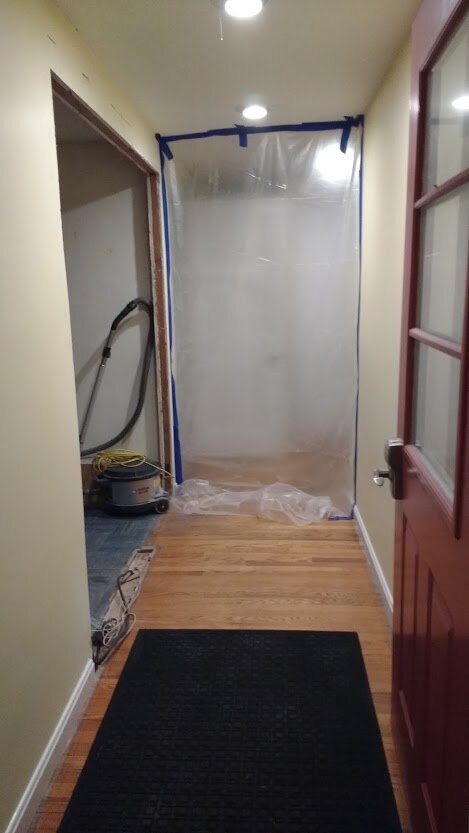
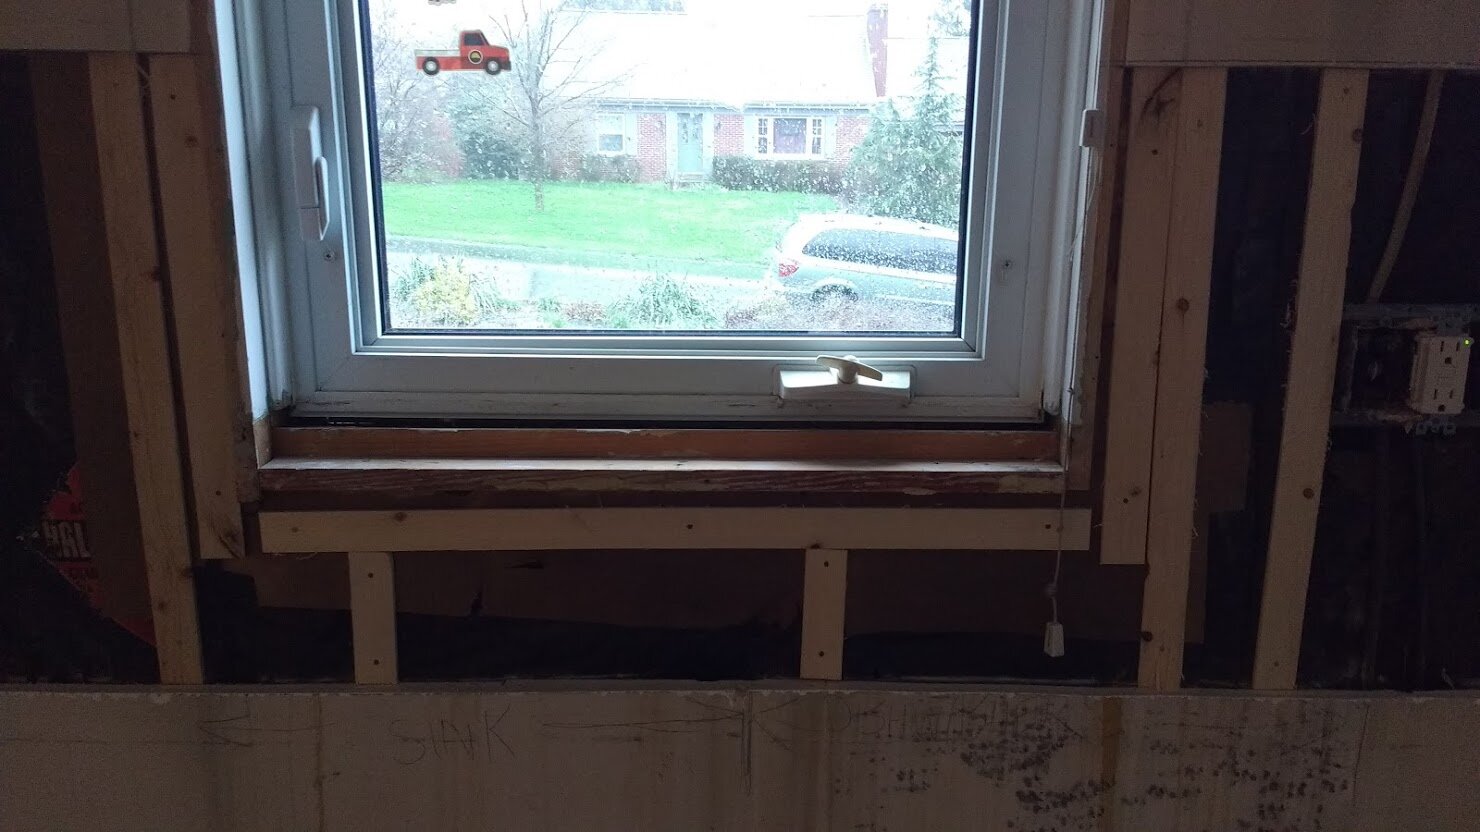
Demolition
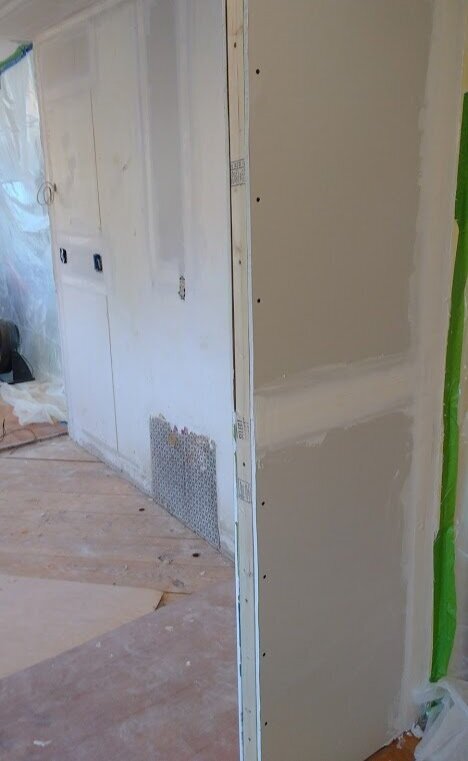
Open the Walls

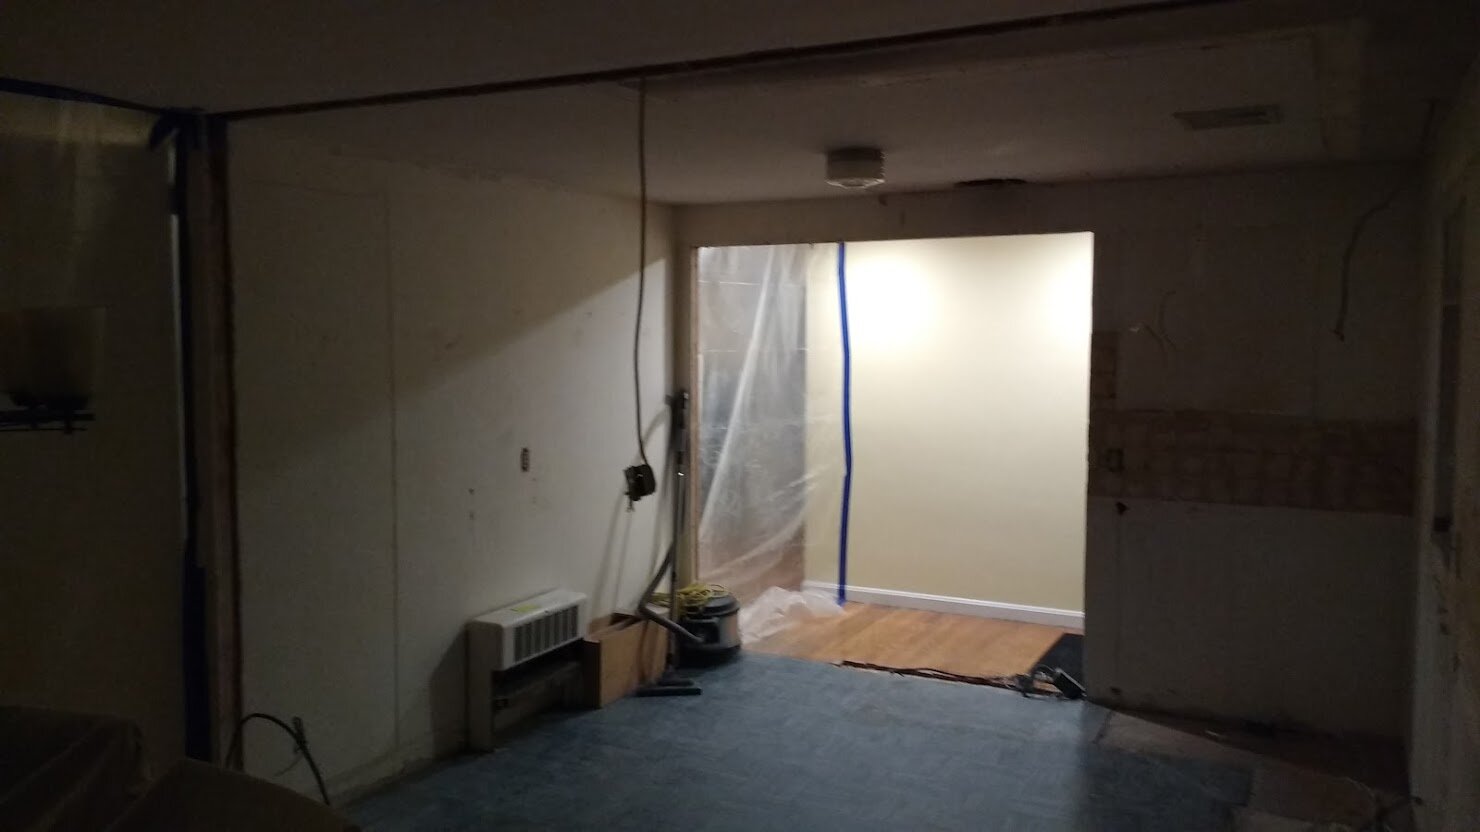
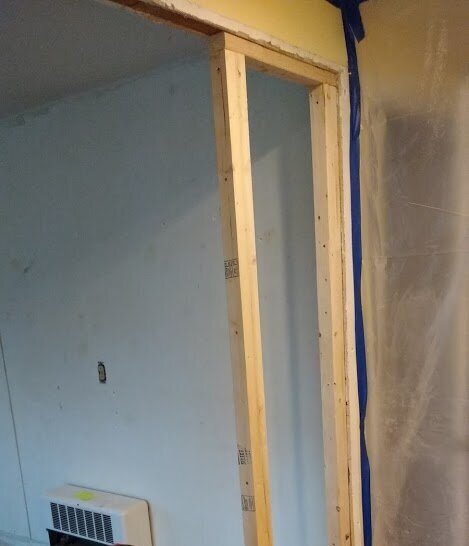
New Framing
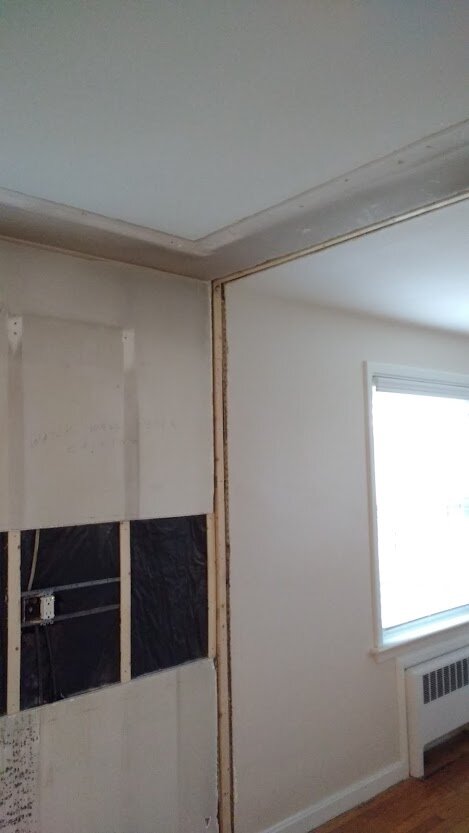
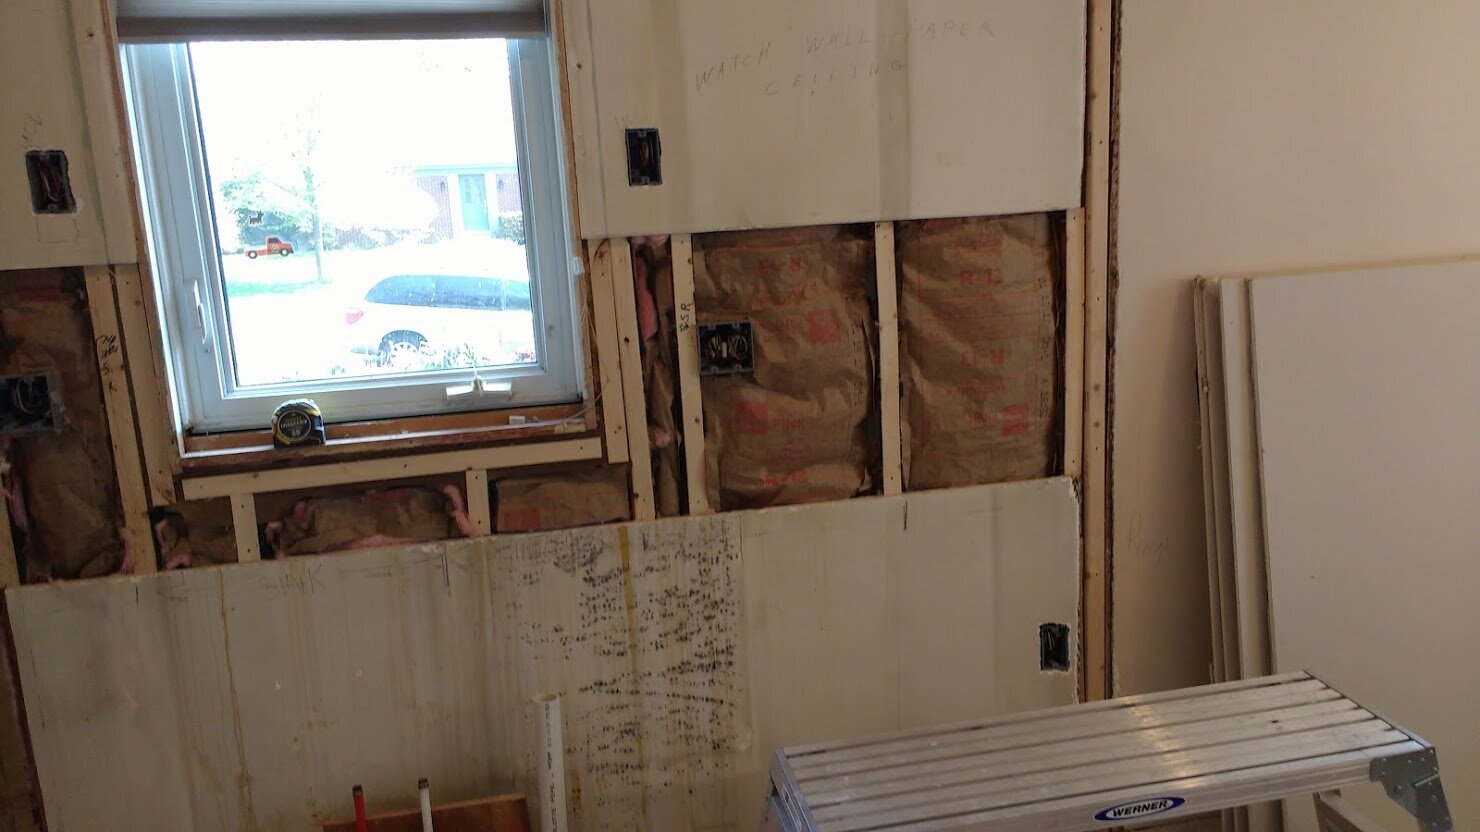
Electrical and Insulation


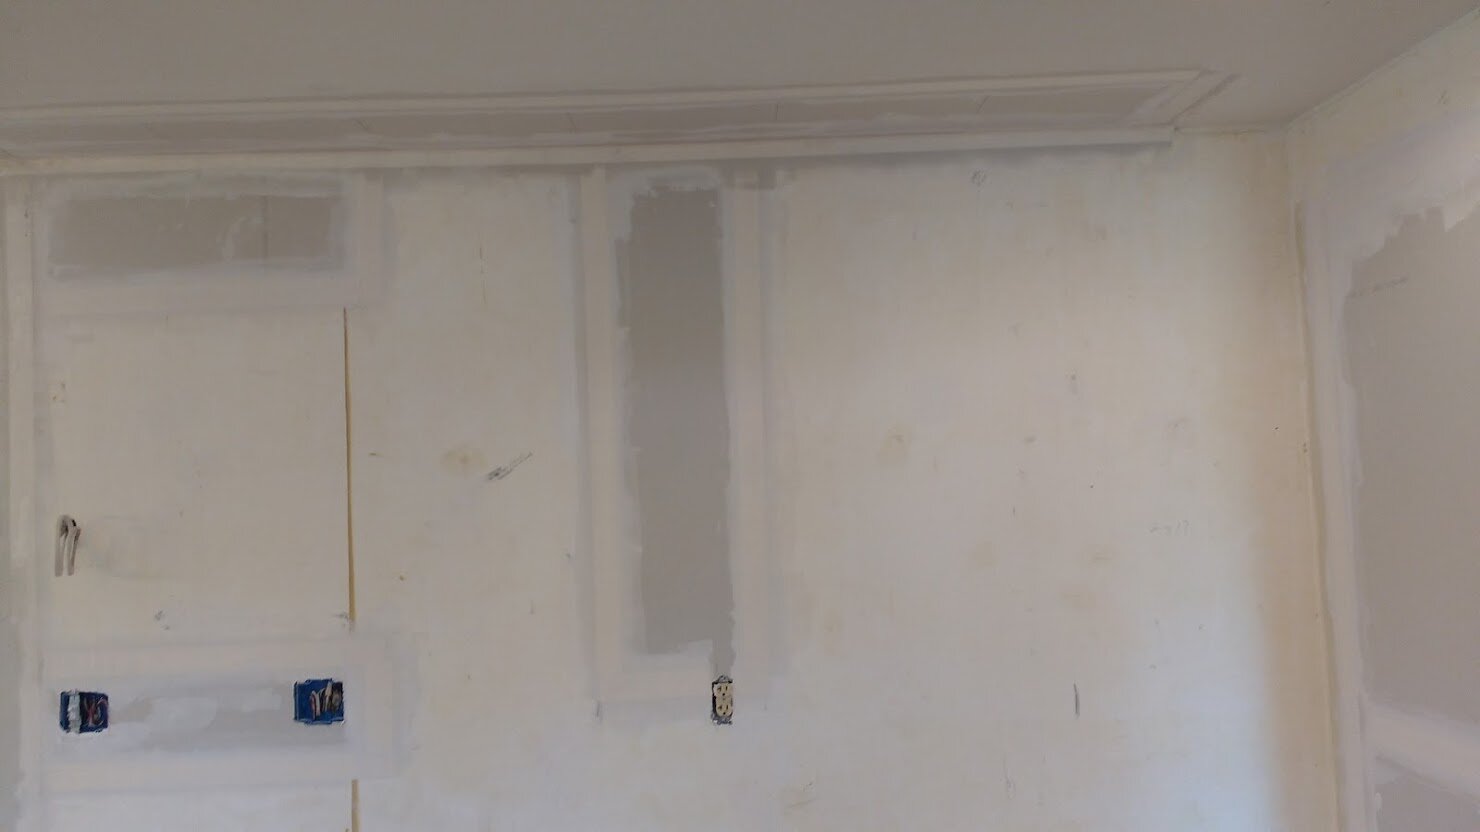
Drywall

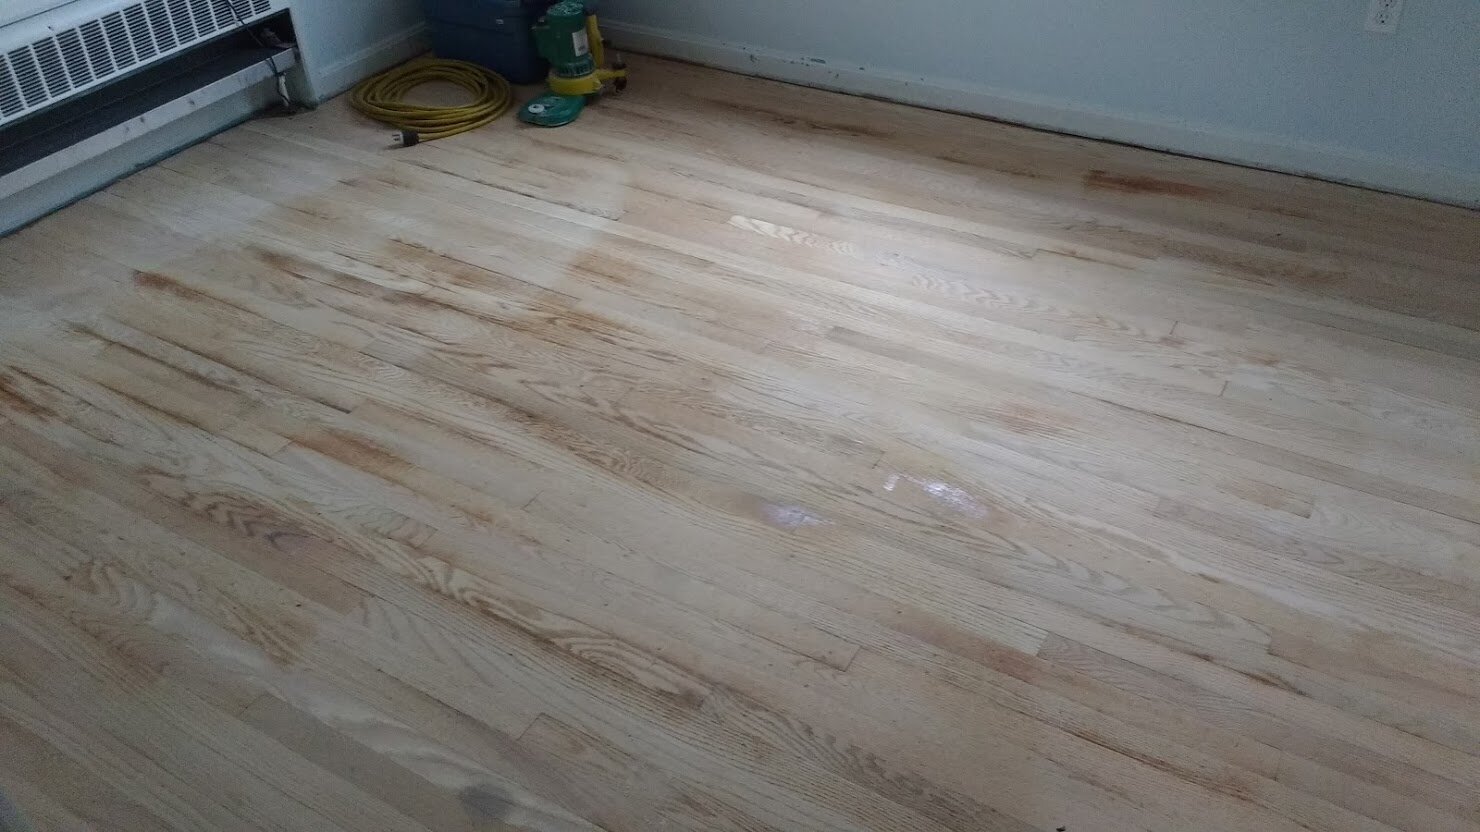
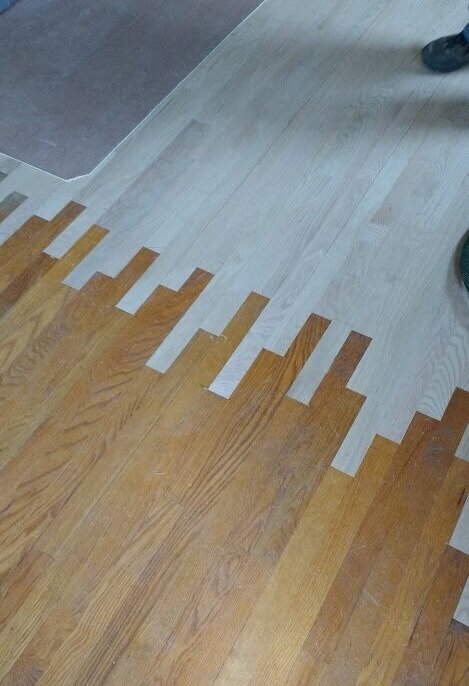
Floor (redo old, seam in new)

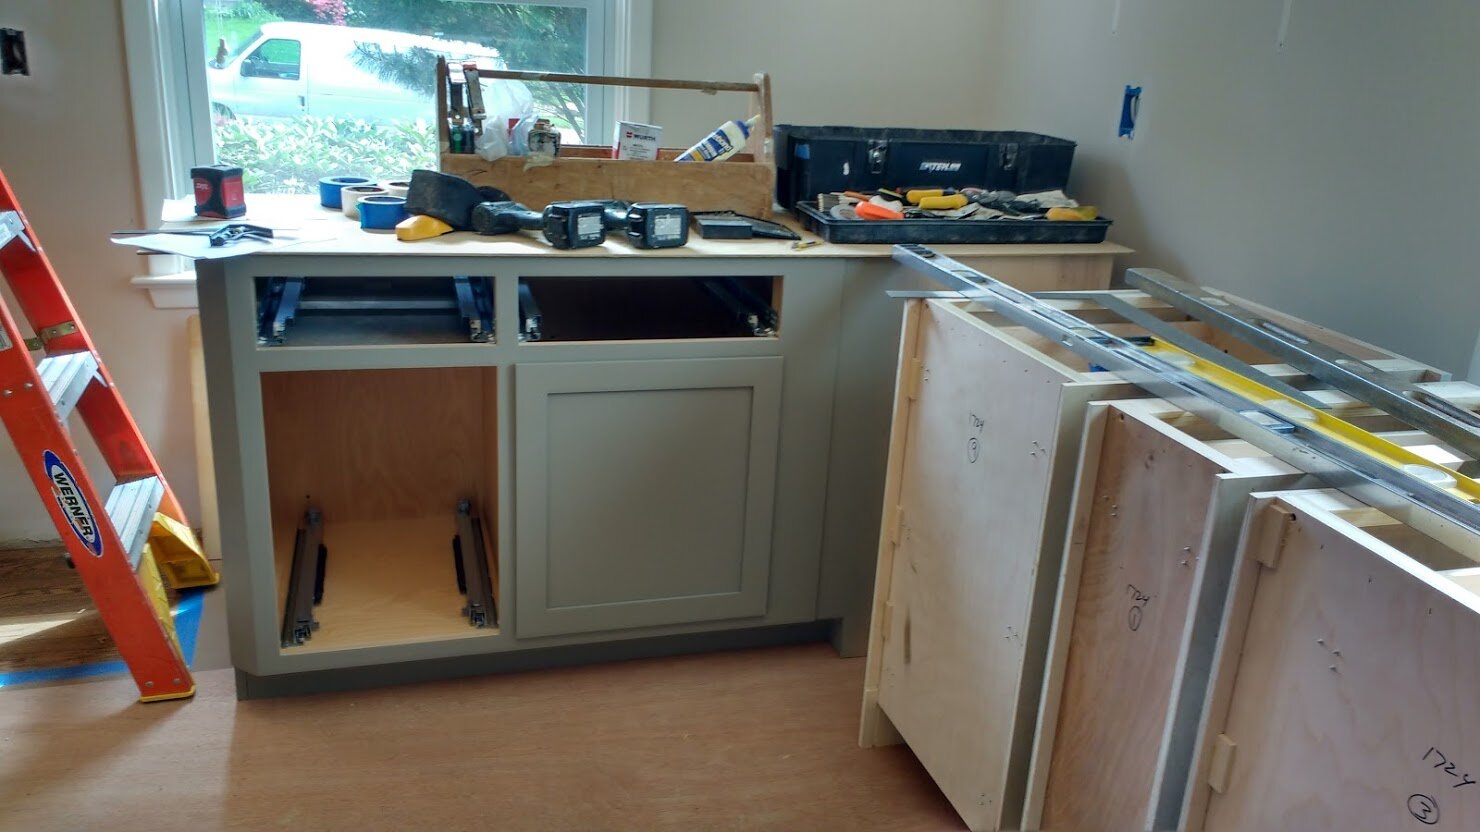
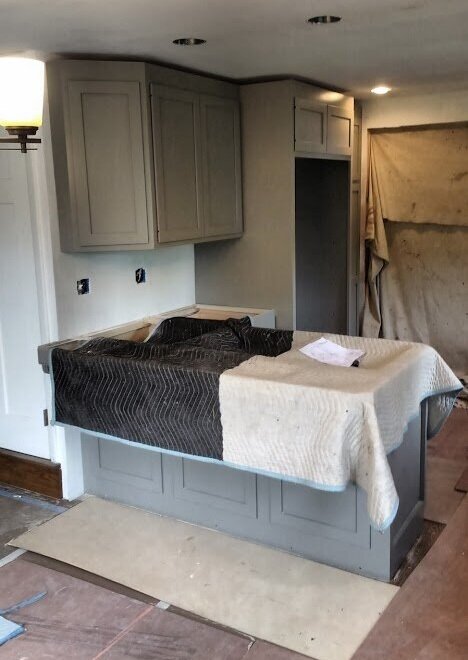
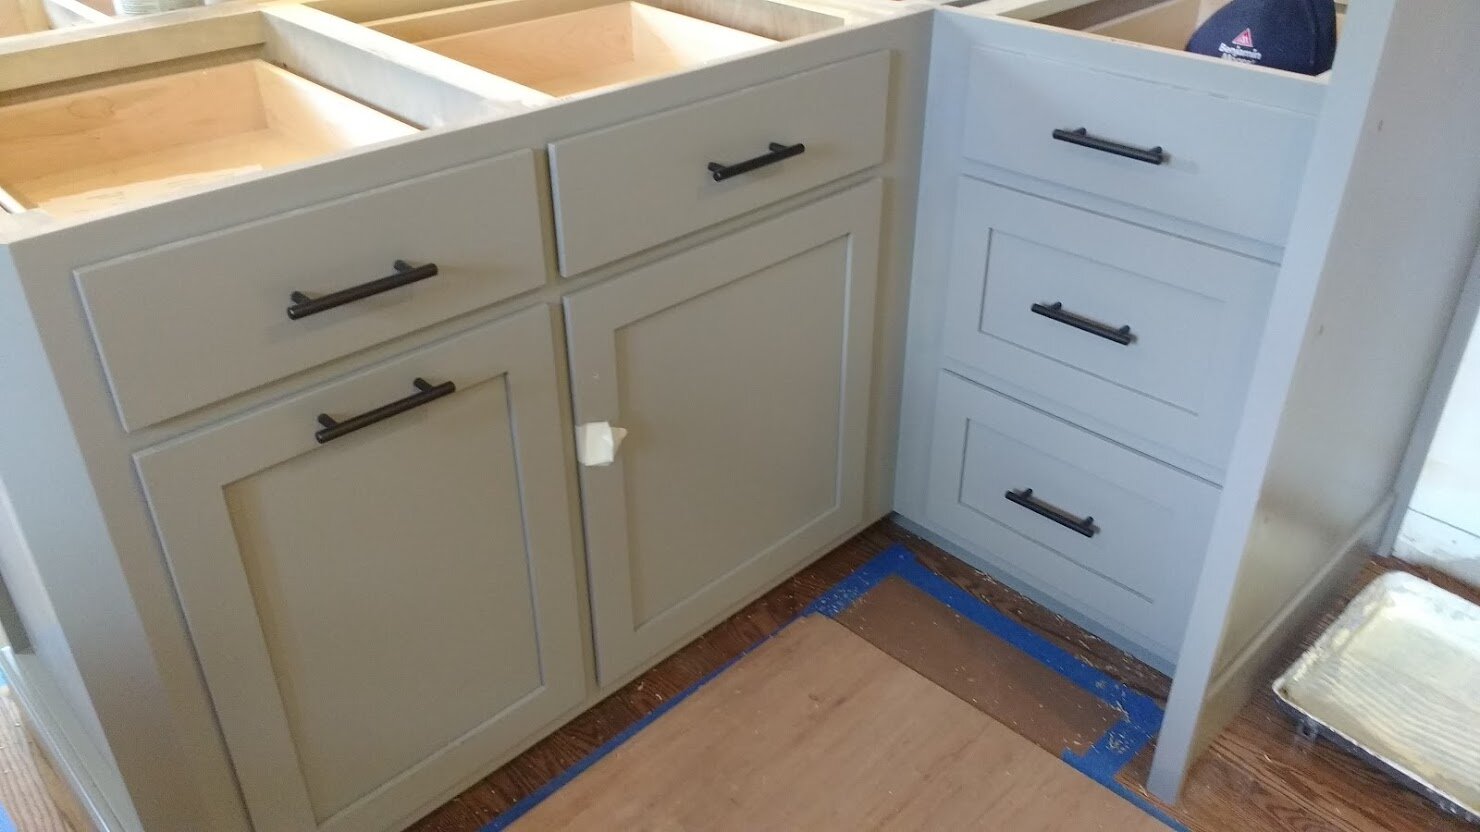
Cabinets
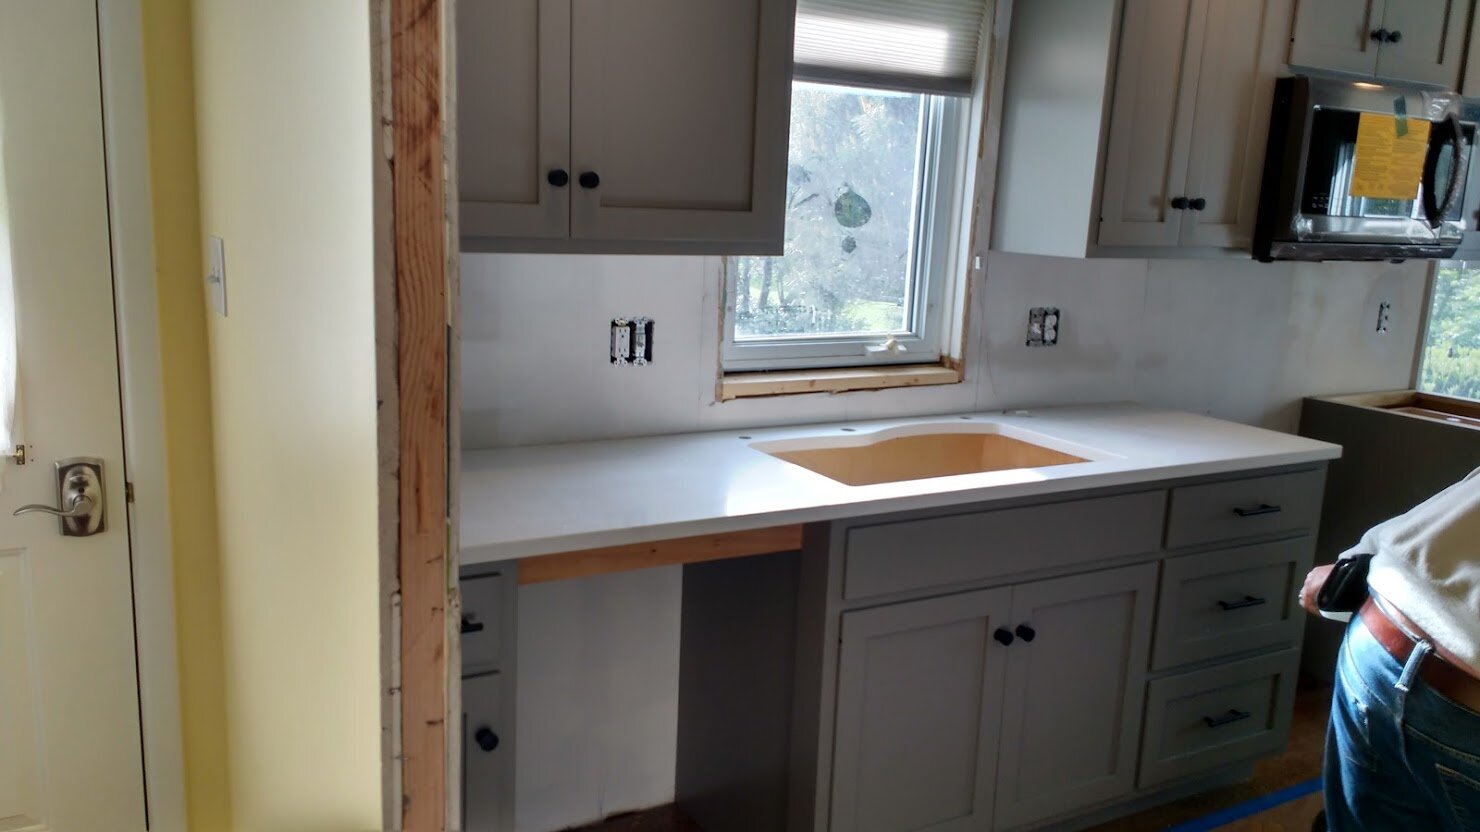
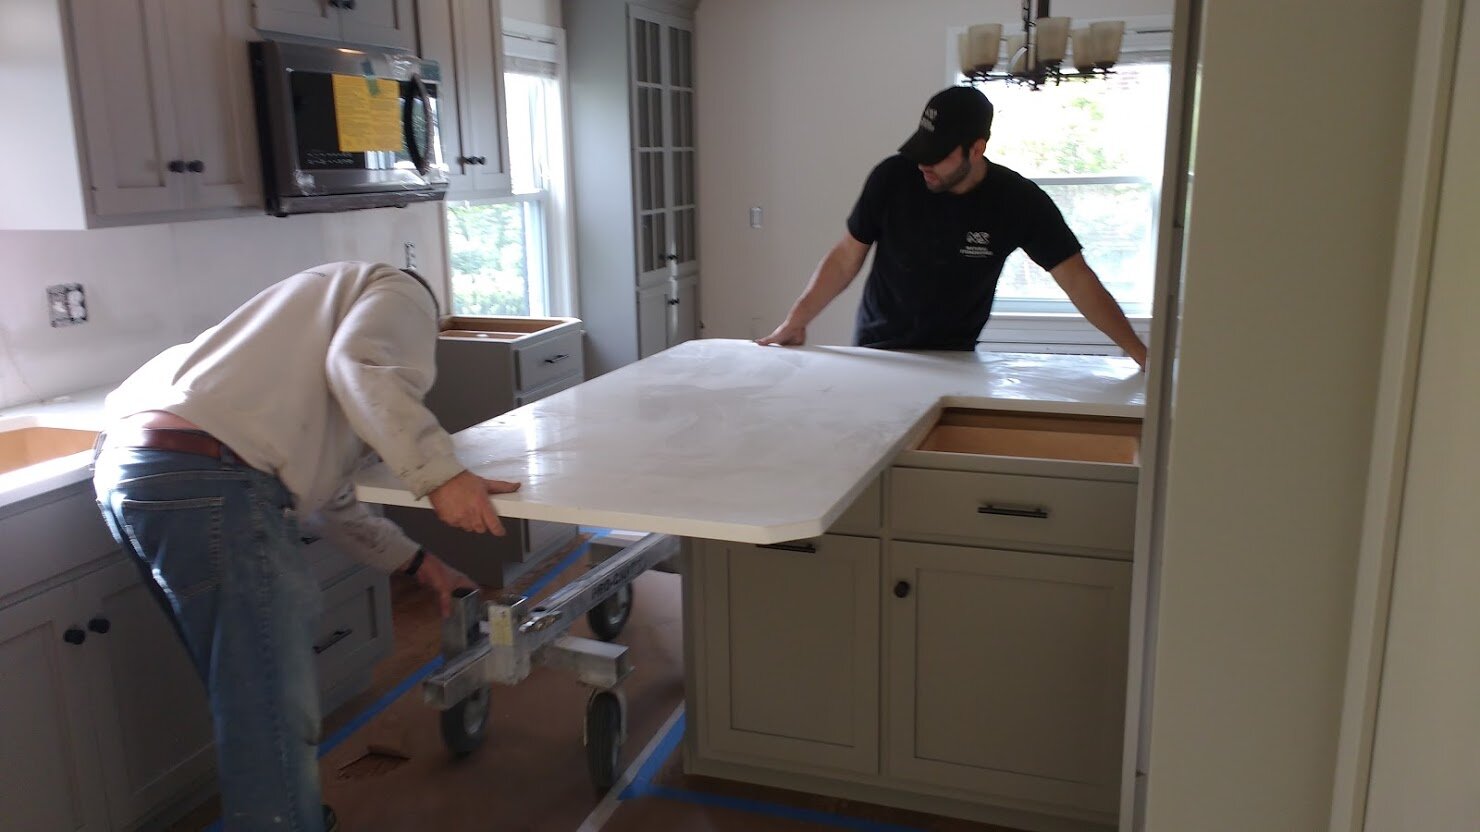
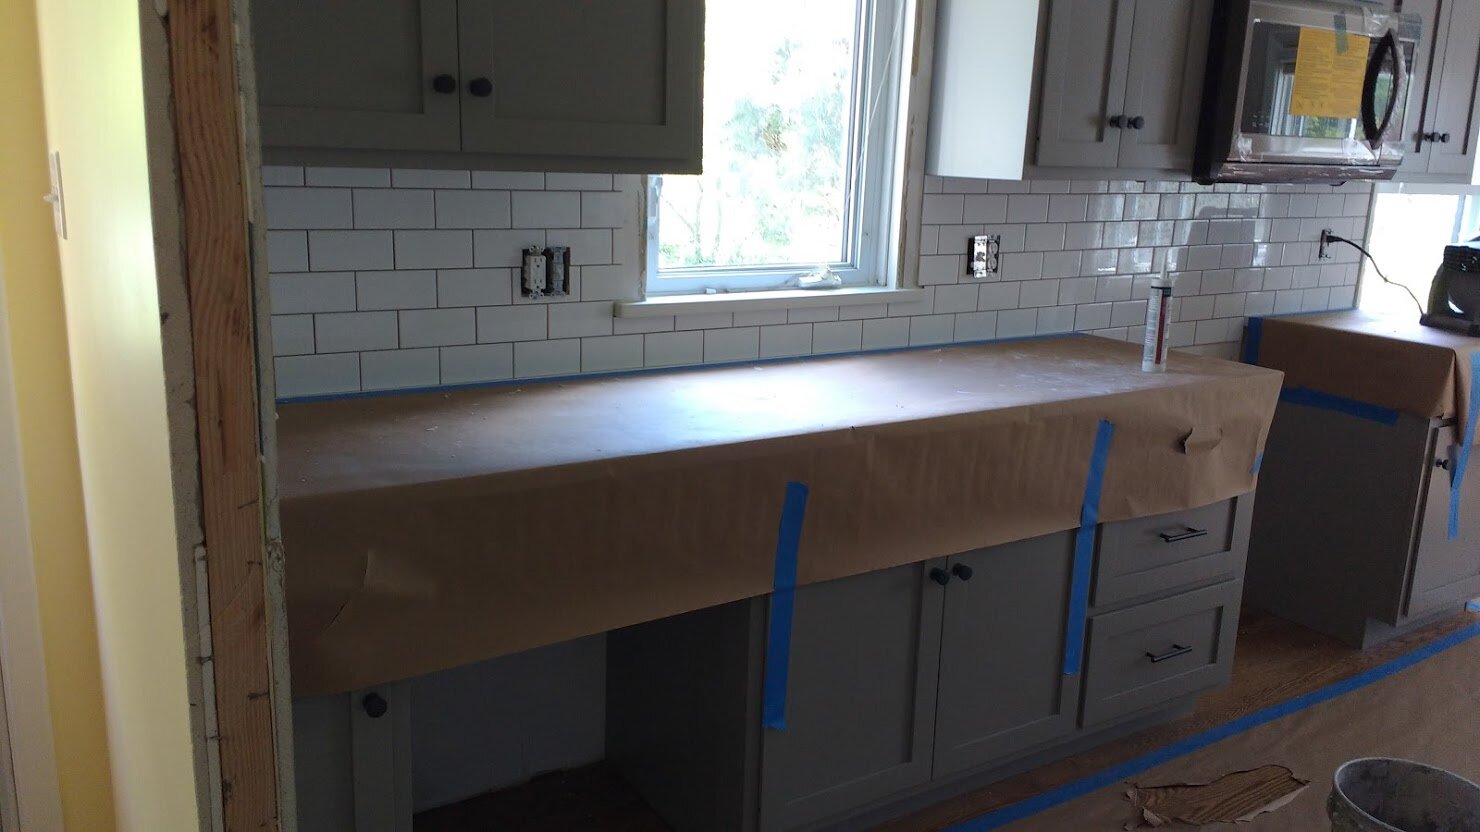
Countertops
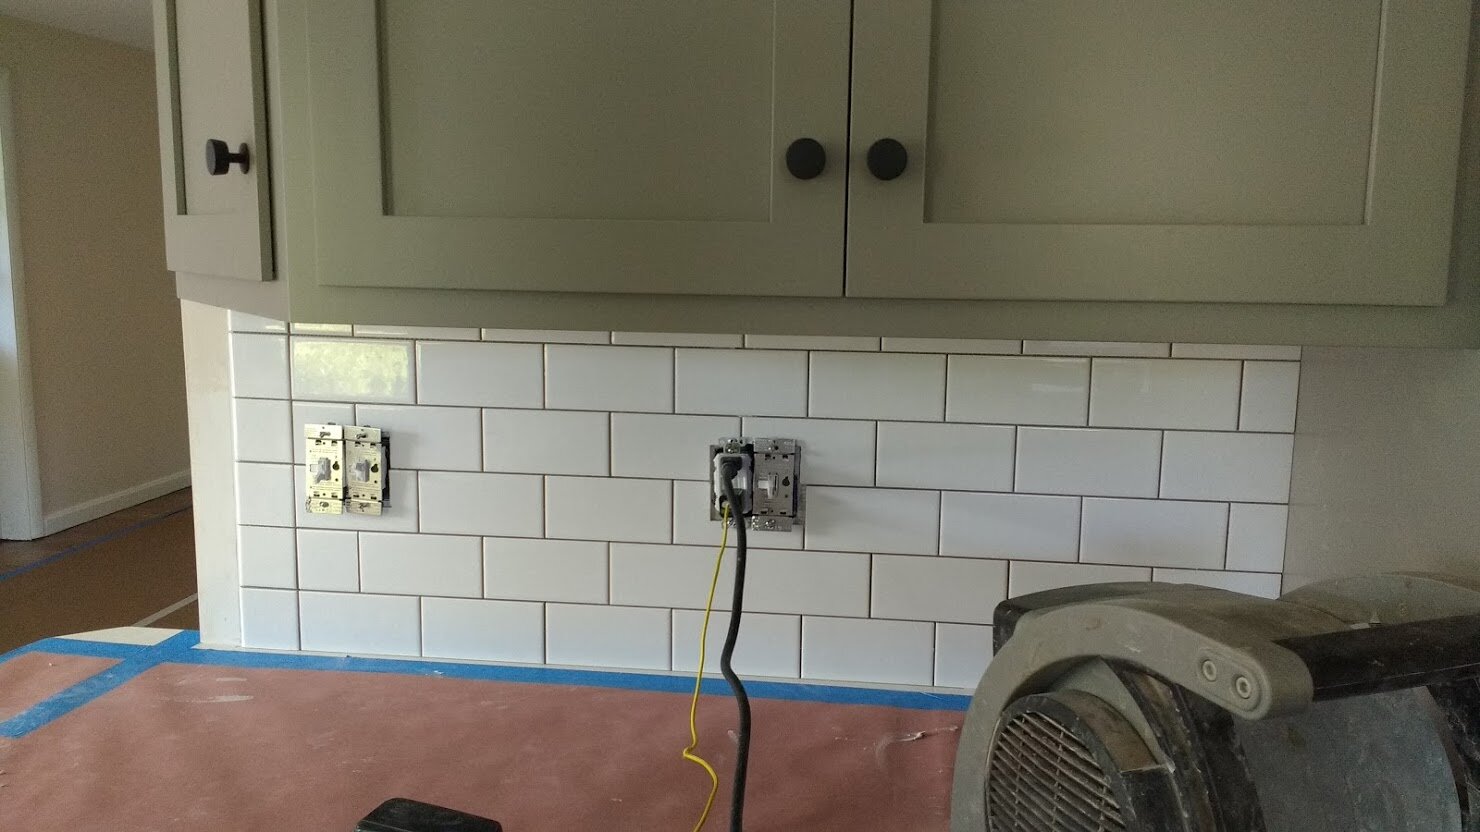
Backsplash
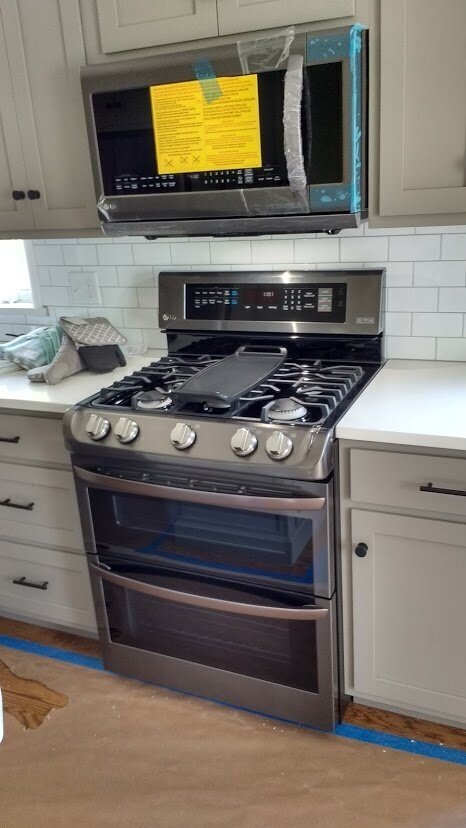
Appliances
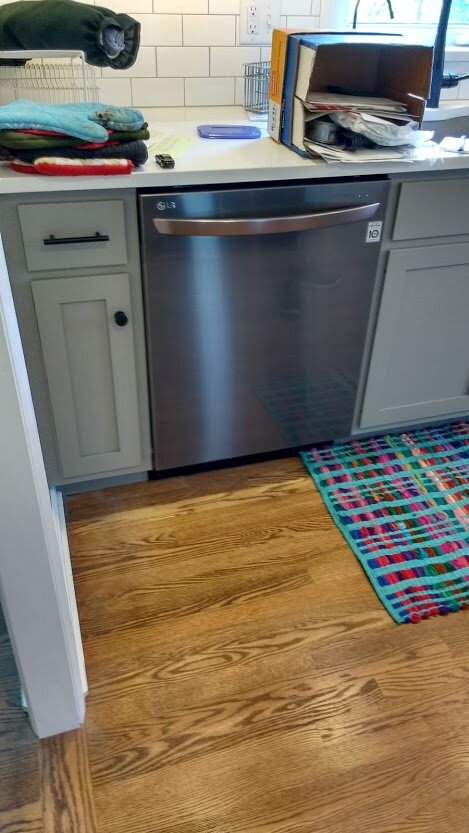

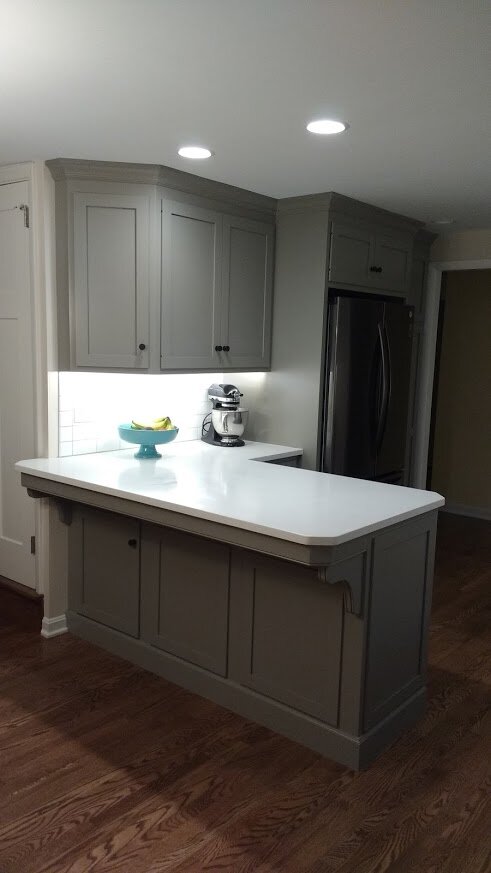
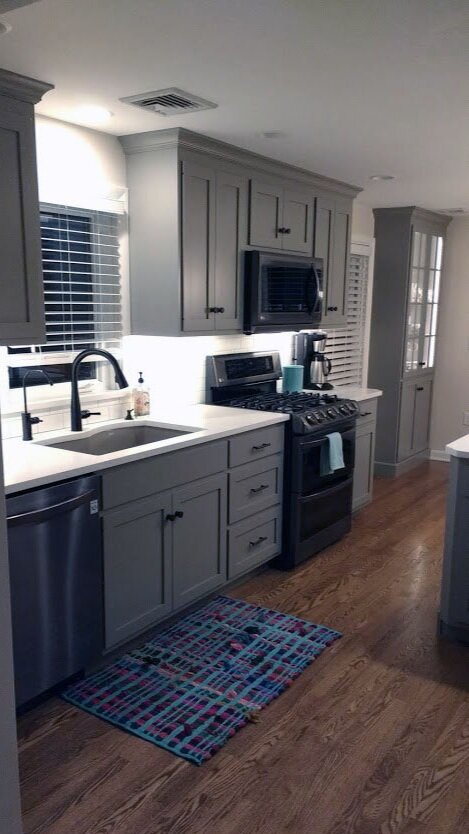
Finished!