

Ladies and gentlemen, welcome to THE MAIN EVENT! Actually, it isn’t. In the grand scheme of this deck reno process, this might have been the most exciting change. However, it actually was a reasonably fast process because of excellent tools and hardware.
ABOUT COMPOSITE DECKING
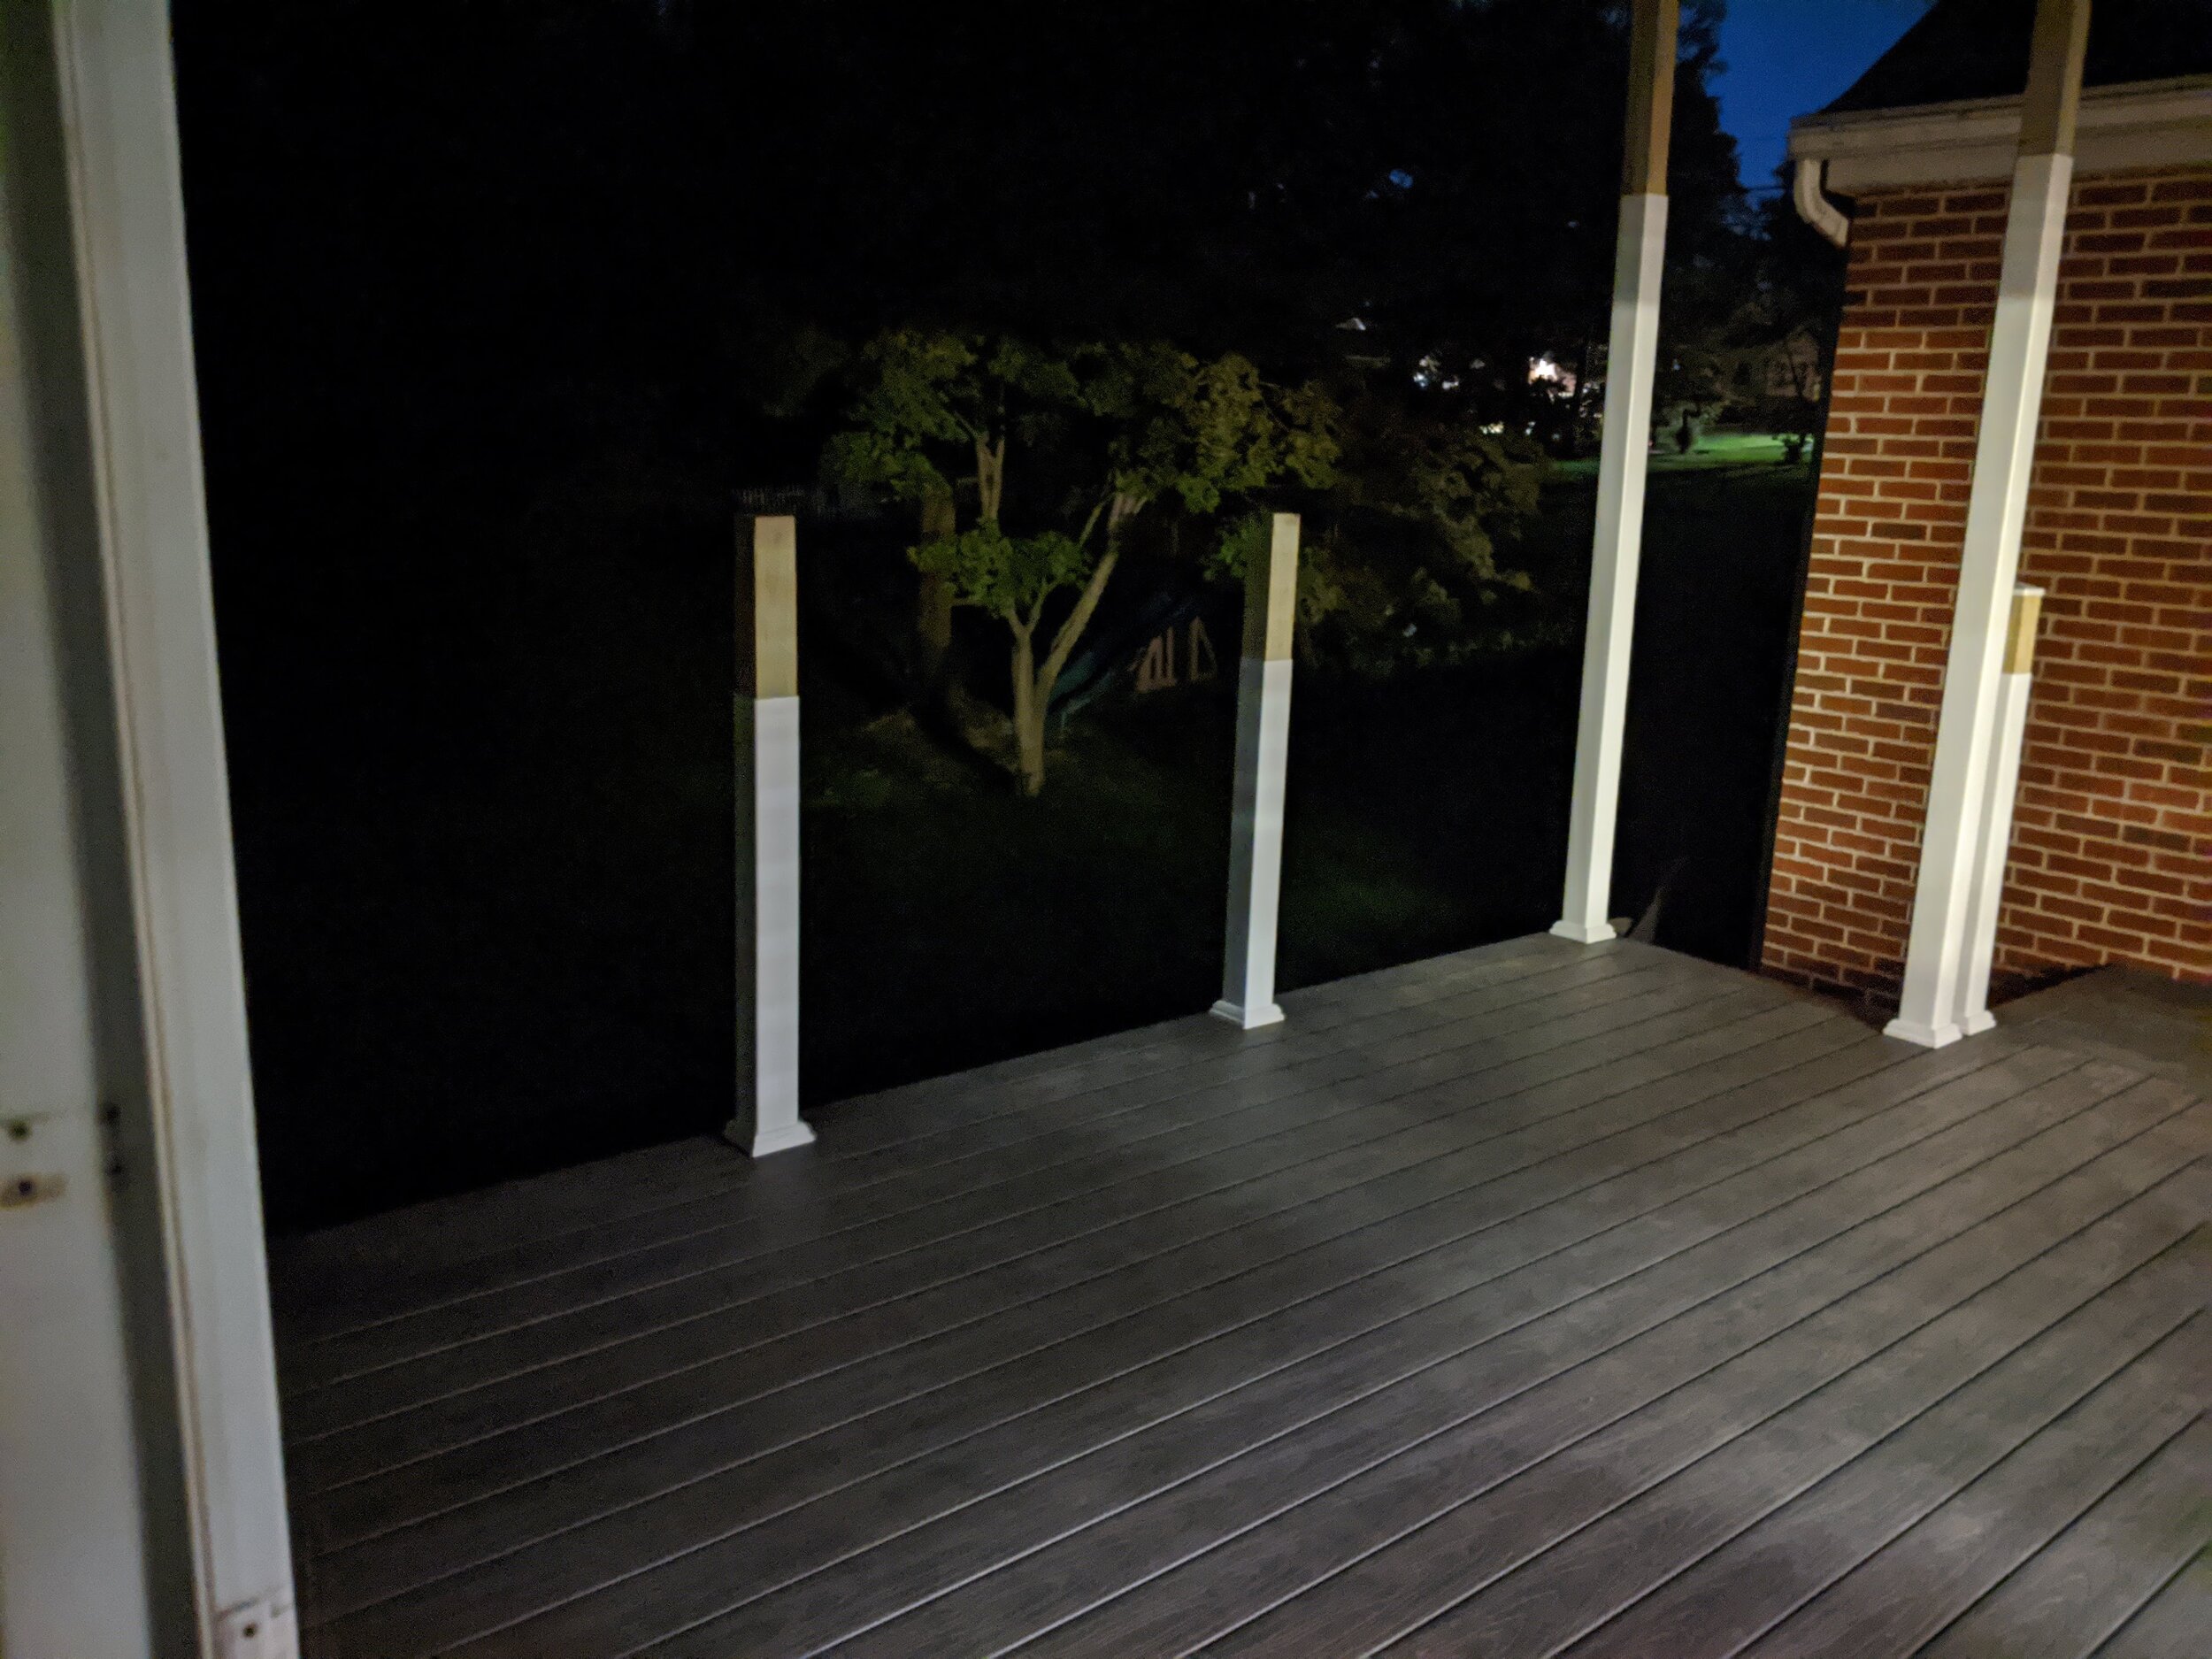
We wanted a low maintenance deck. We didn’t want to put this much effort in and have to sand and seal and re-stain next year. Plus there are a LOT of great products out there, in many colors and textures. This is Deckorators Tidal Gray. I’m very happy with the results.
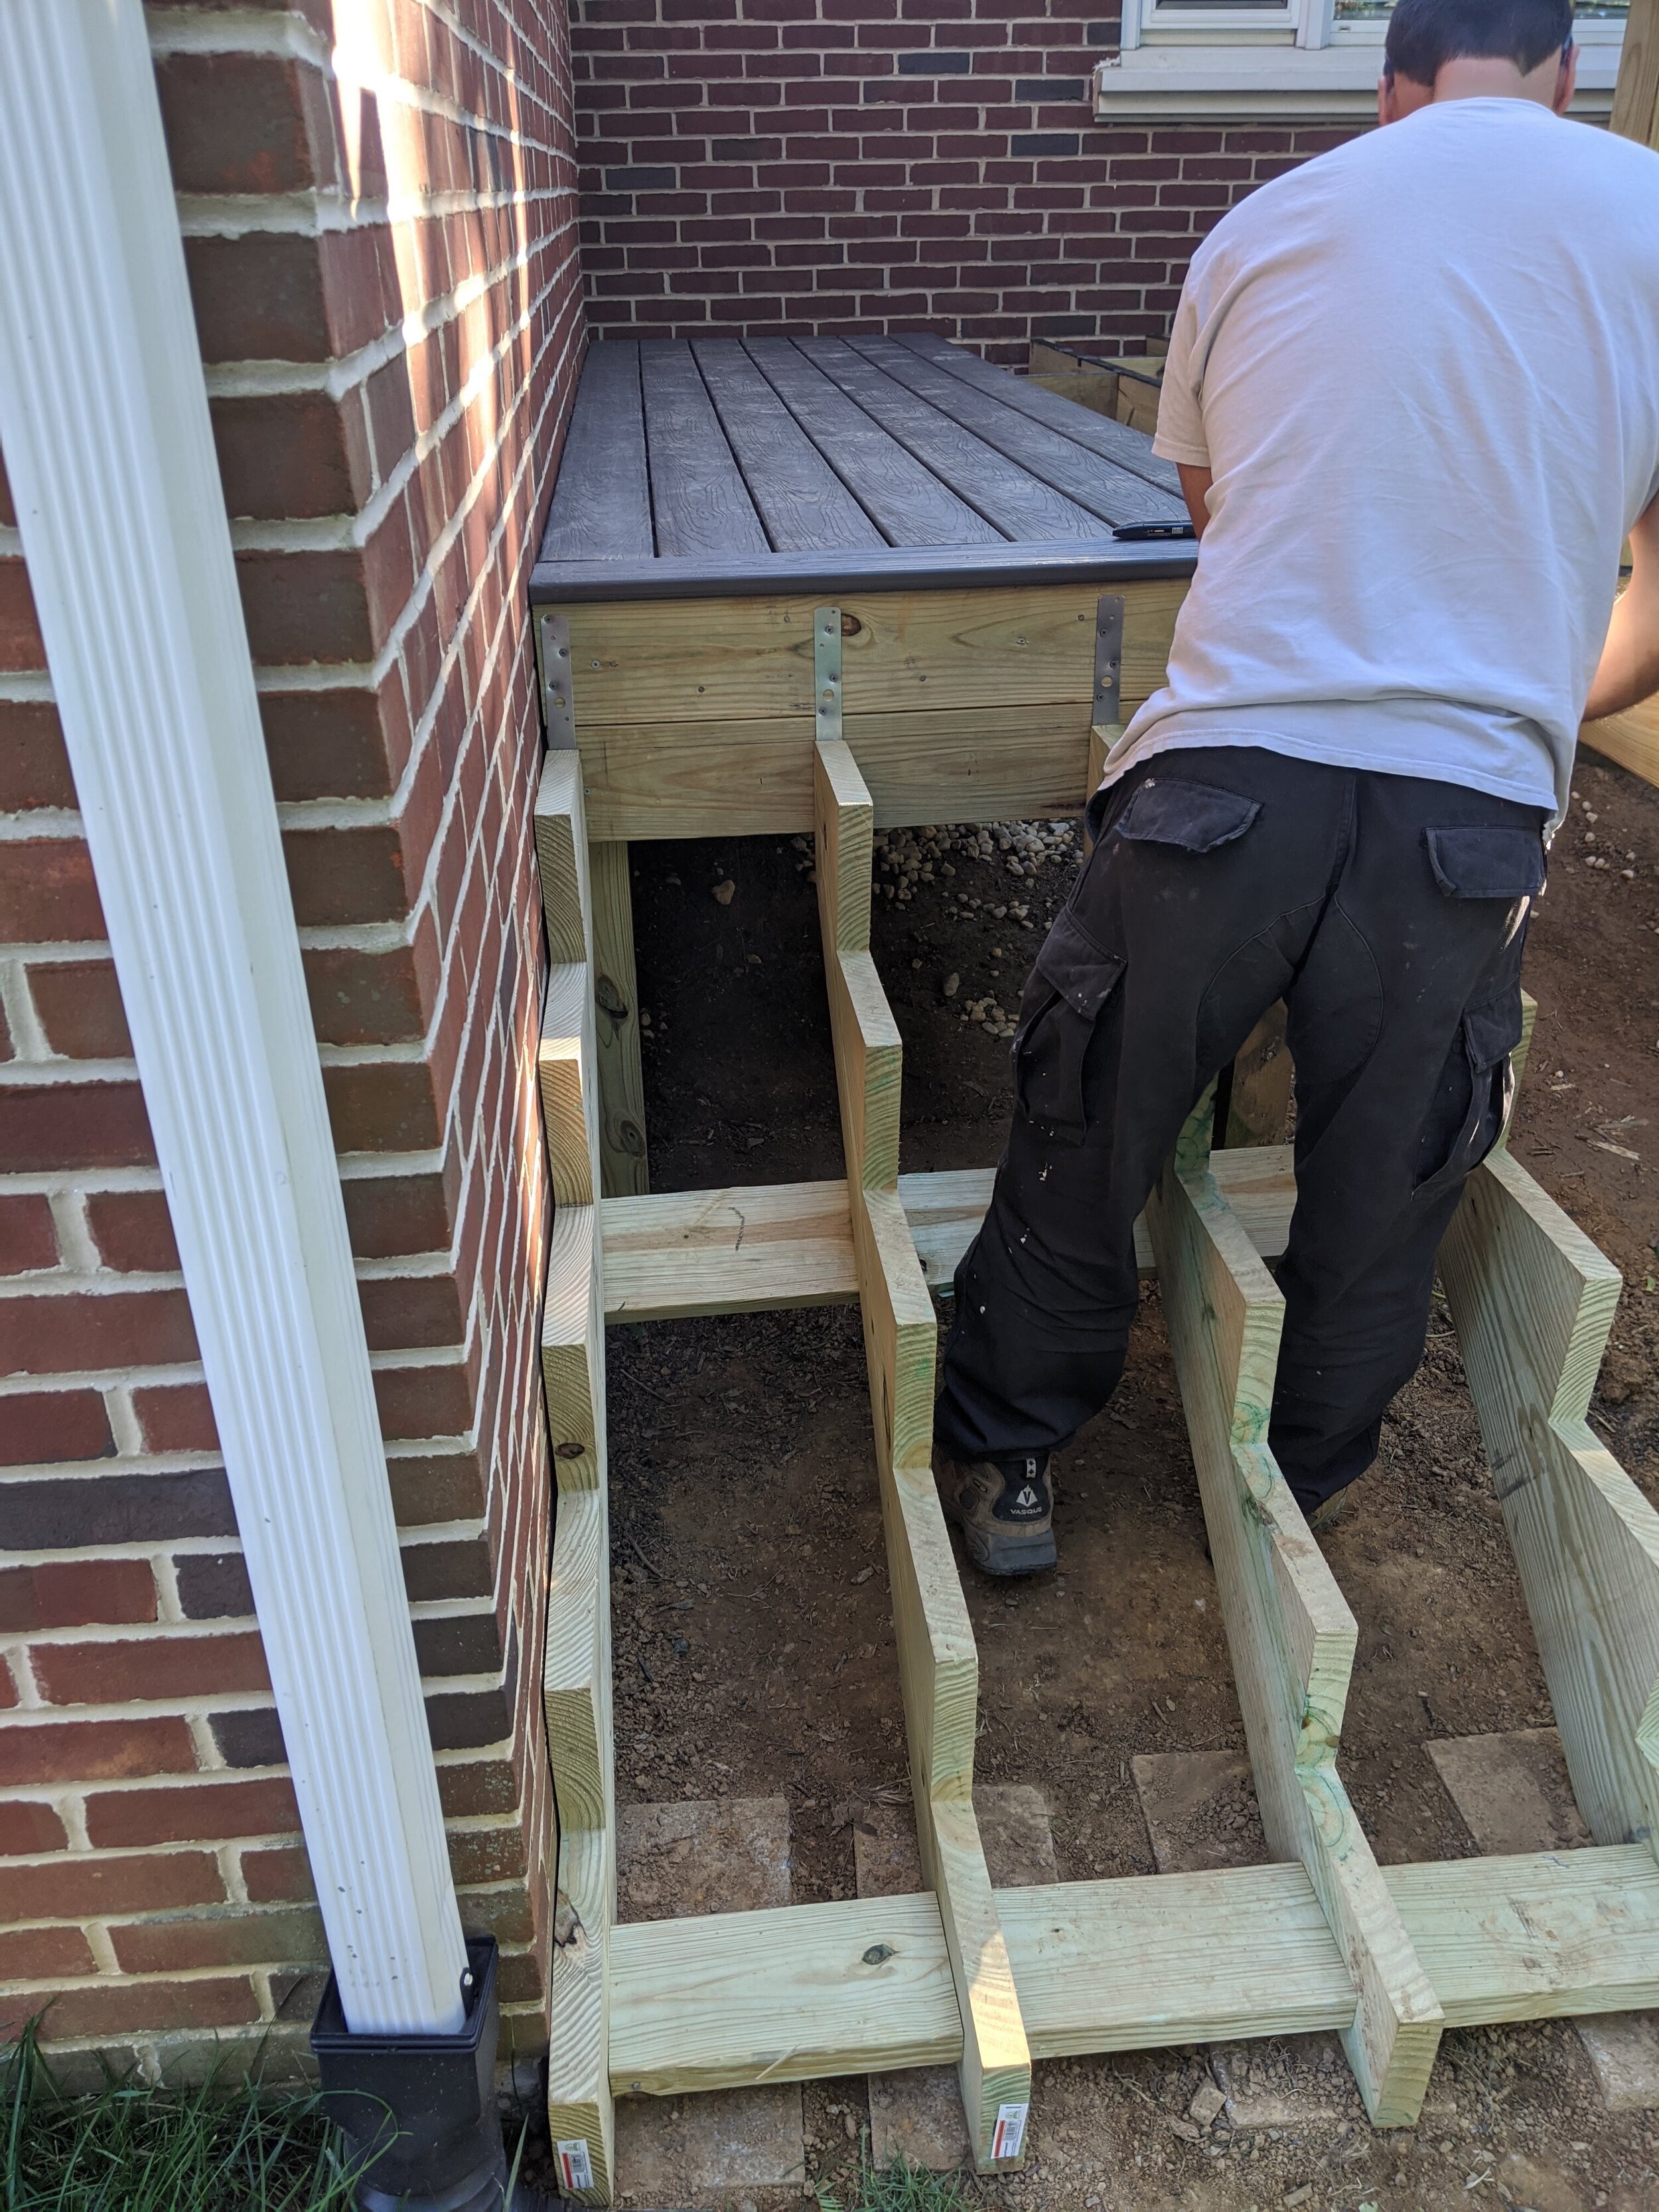
However, this meant extra supports underneath because while a 2 x 4 of wood can span several feet, composite needs the supports closer. Don’t miss this step or your deck will sag.

LAYING THE PATTERN
Unless you want to special order, deck boards only come in lengths up to 16’. Our deck is 16’ x 20’, but due to the skeleton frame we were keeping, we decided to lay the boards the way they had previously gone. I actually think the pattern adds a little interest. I like the stair approach pointing you on your journey. Make sure you measure so that you aren’t going to end up with a weird gap or a 1” slide of a board at the end across from where you start.
You can see we toyed with a bunch of options, including angling the side at a 45, but we ultimately decided we liked the 90 so it was a contrast heading to the stairs.
START WITH THE FRAME/EDGE
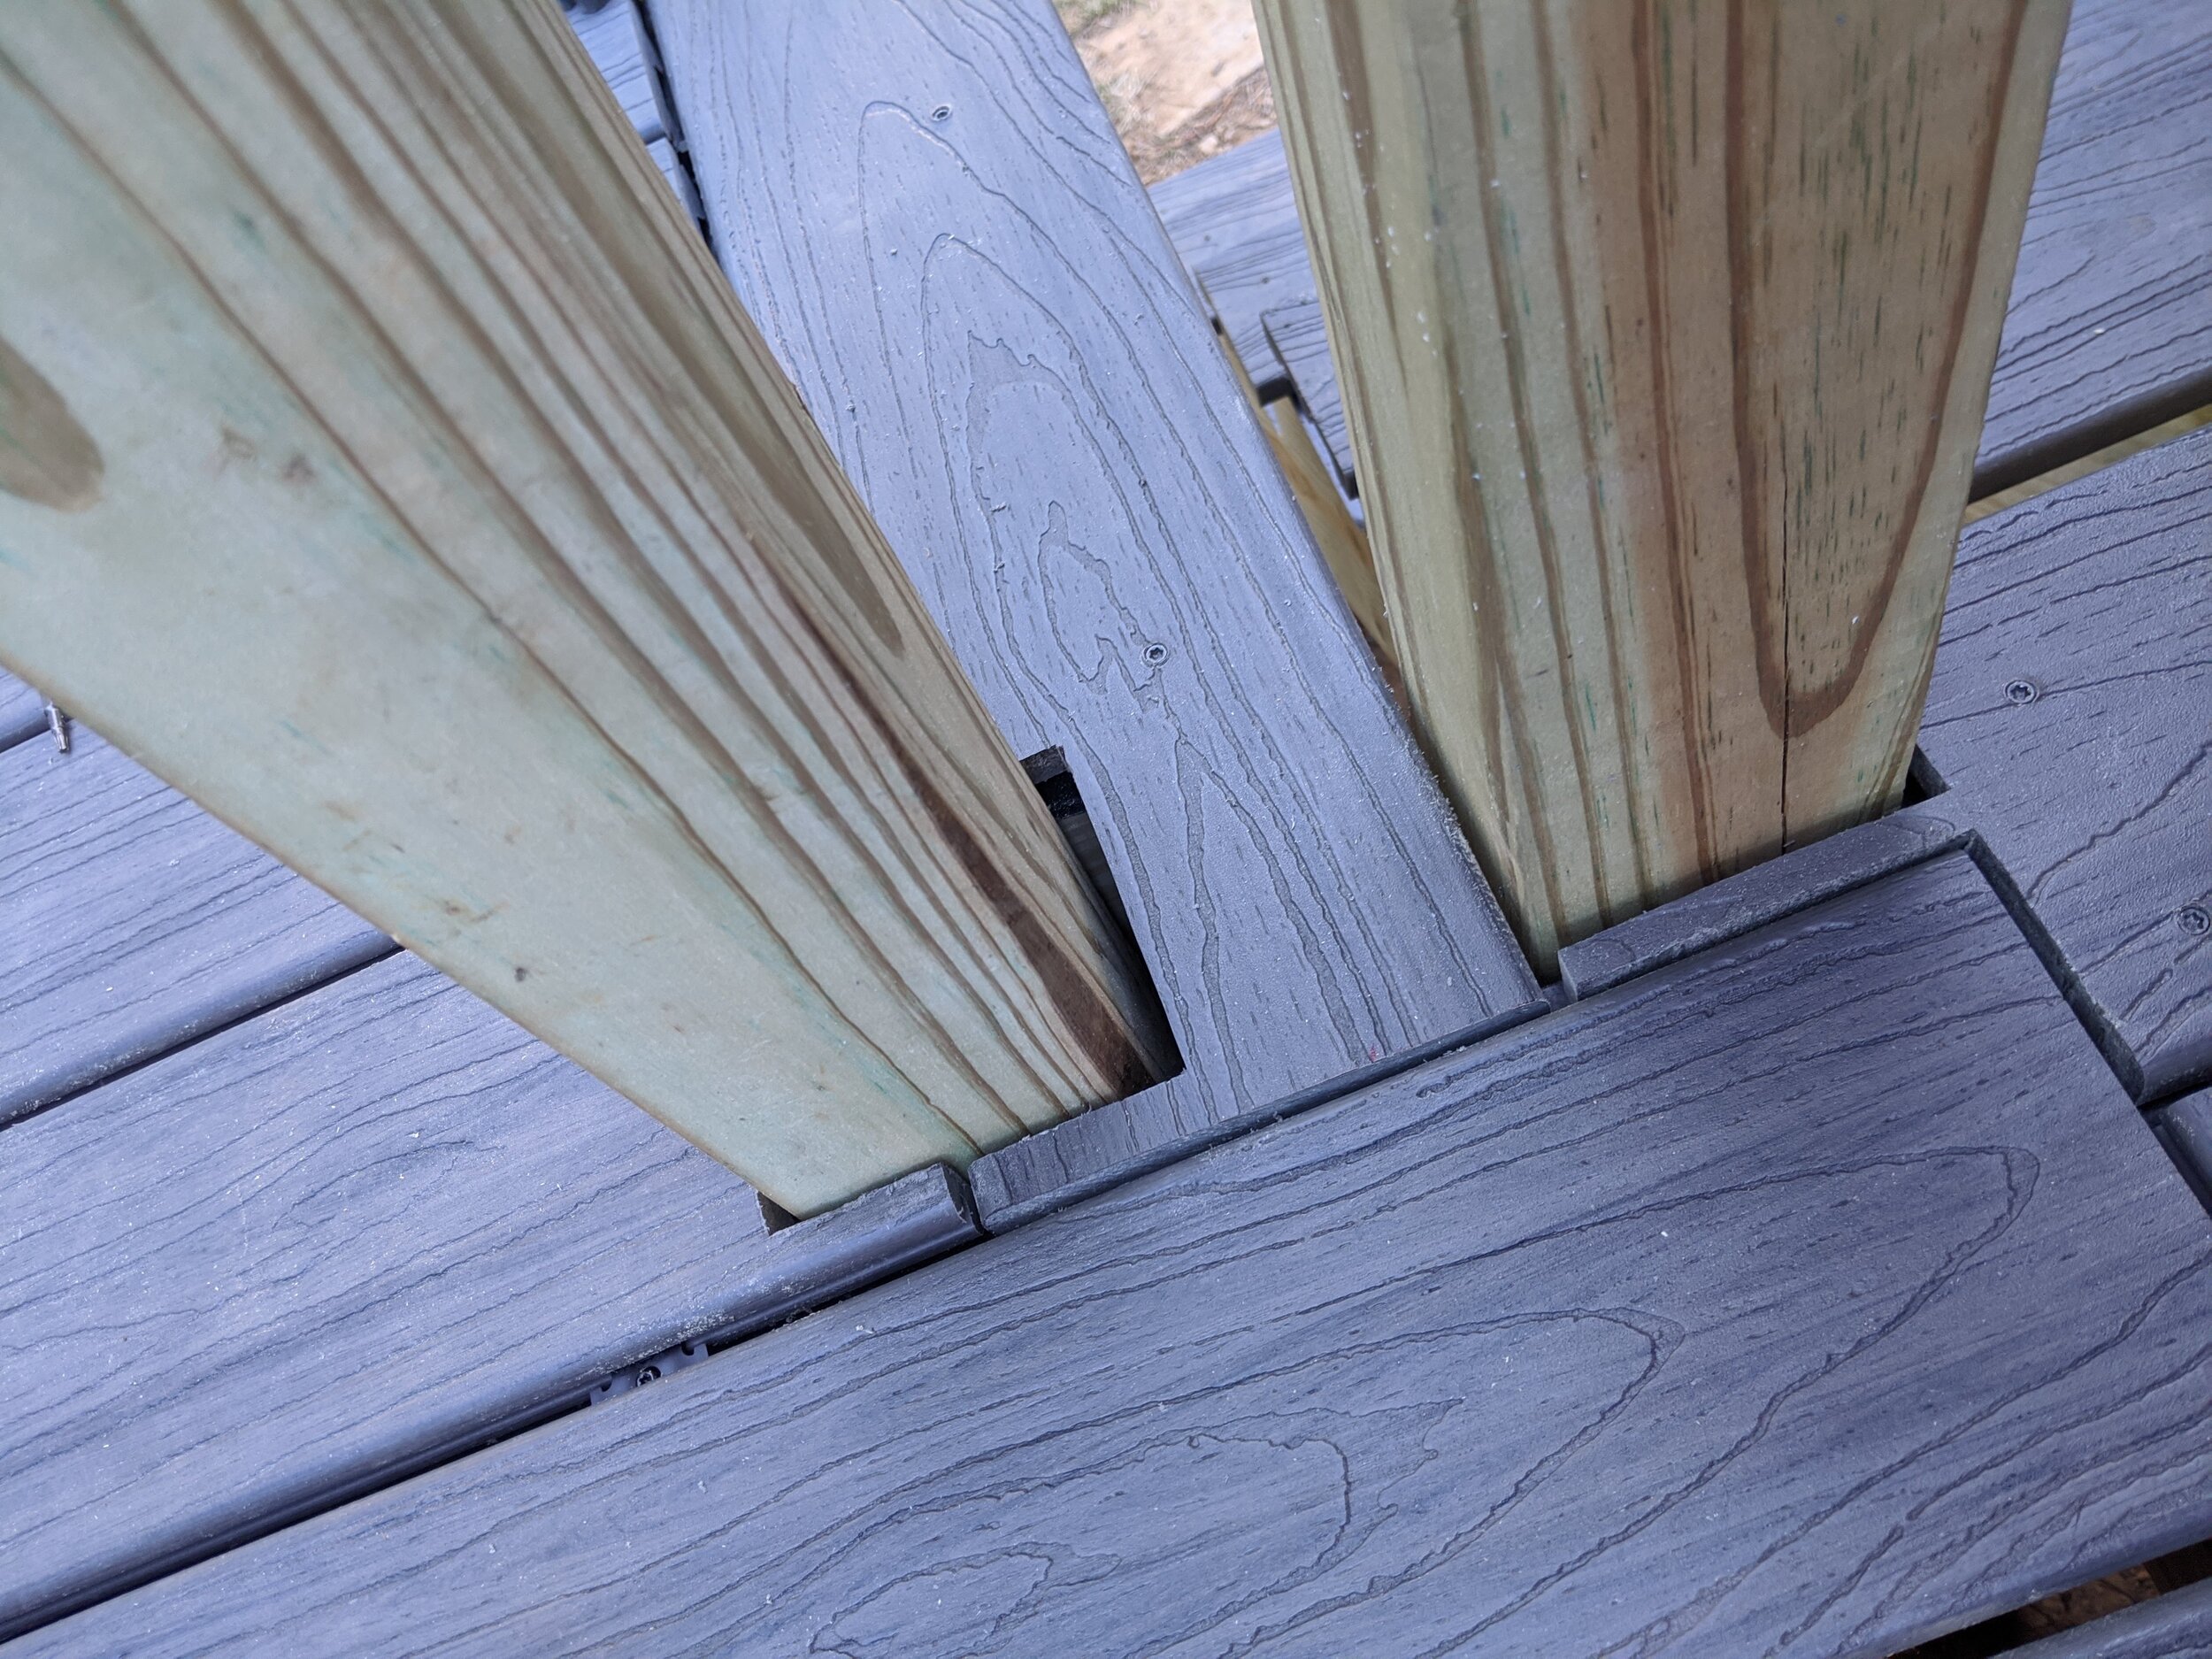
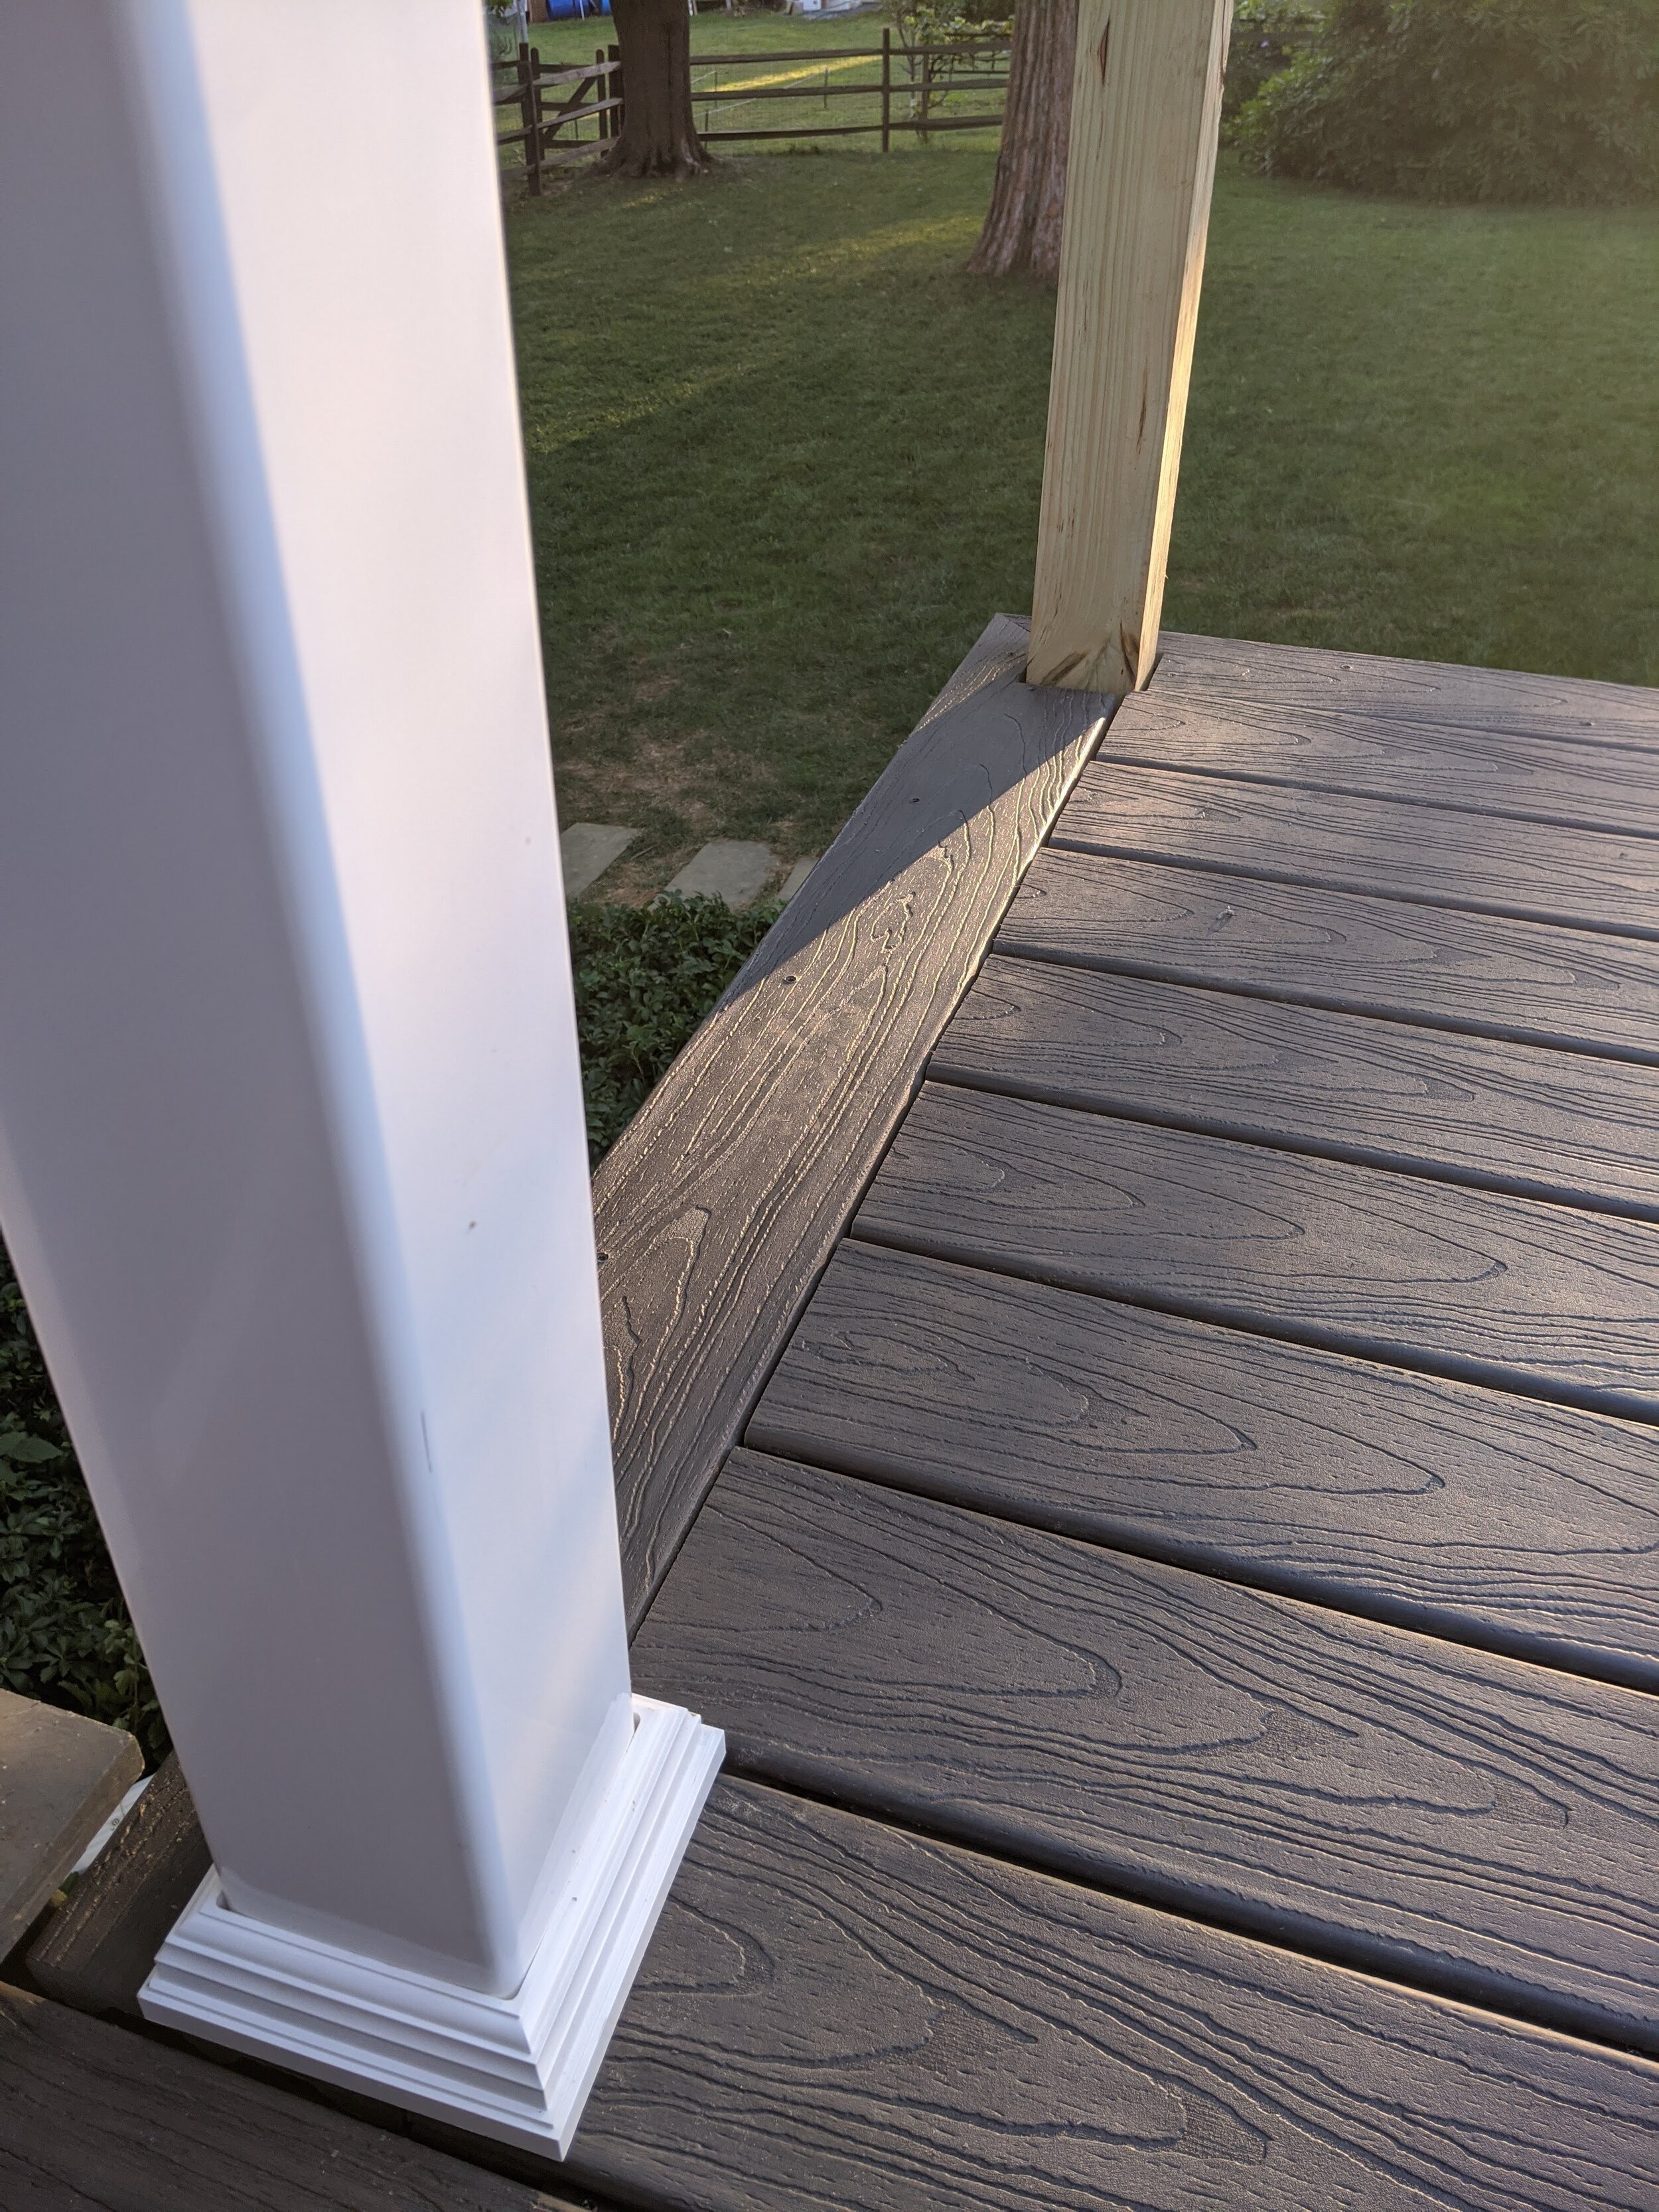
We began with the edge, which meant a LOT of cutting to go around the pillars. But we wanted to be sure this very visible part was just right. As you can see, it turned out fantastic. After the edge, we did the short pieces heading up to the stairs.
Please note that we didn’t have to cut out the little skinny pieces because they’ll be covered by the pillar’s bottom composite decorative pieces, but Hubs is a perfectionist.
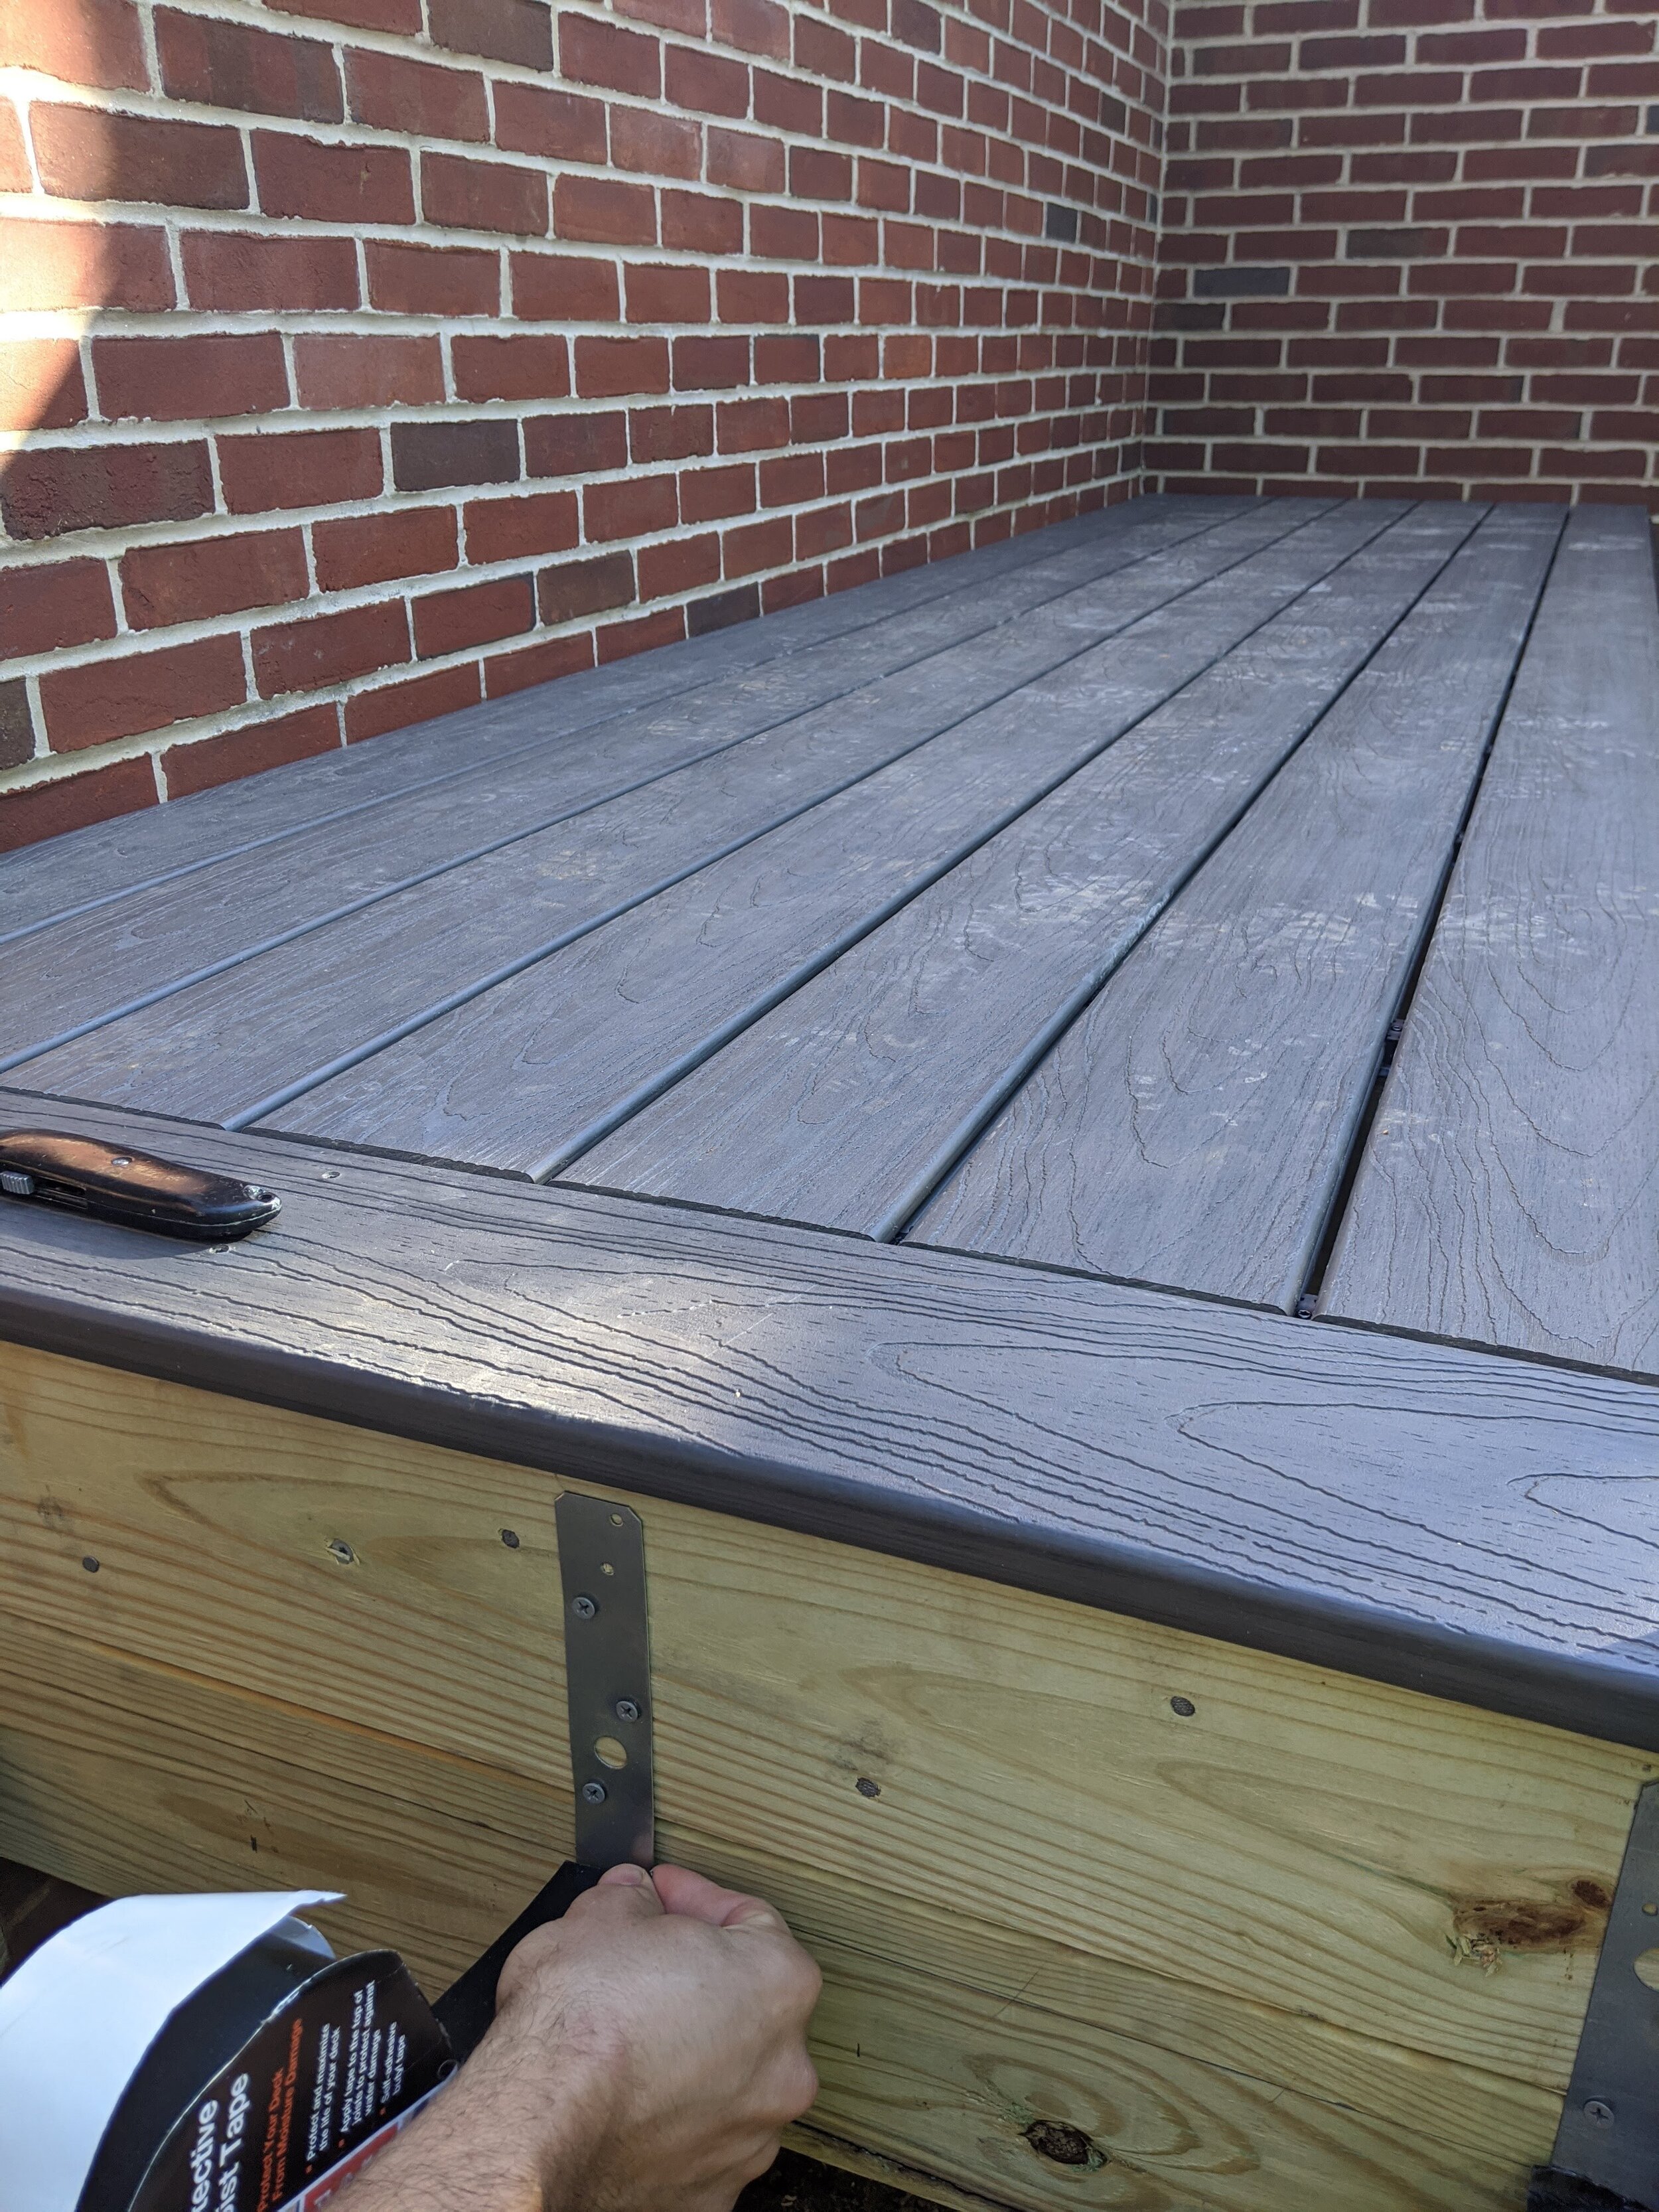
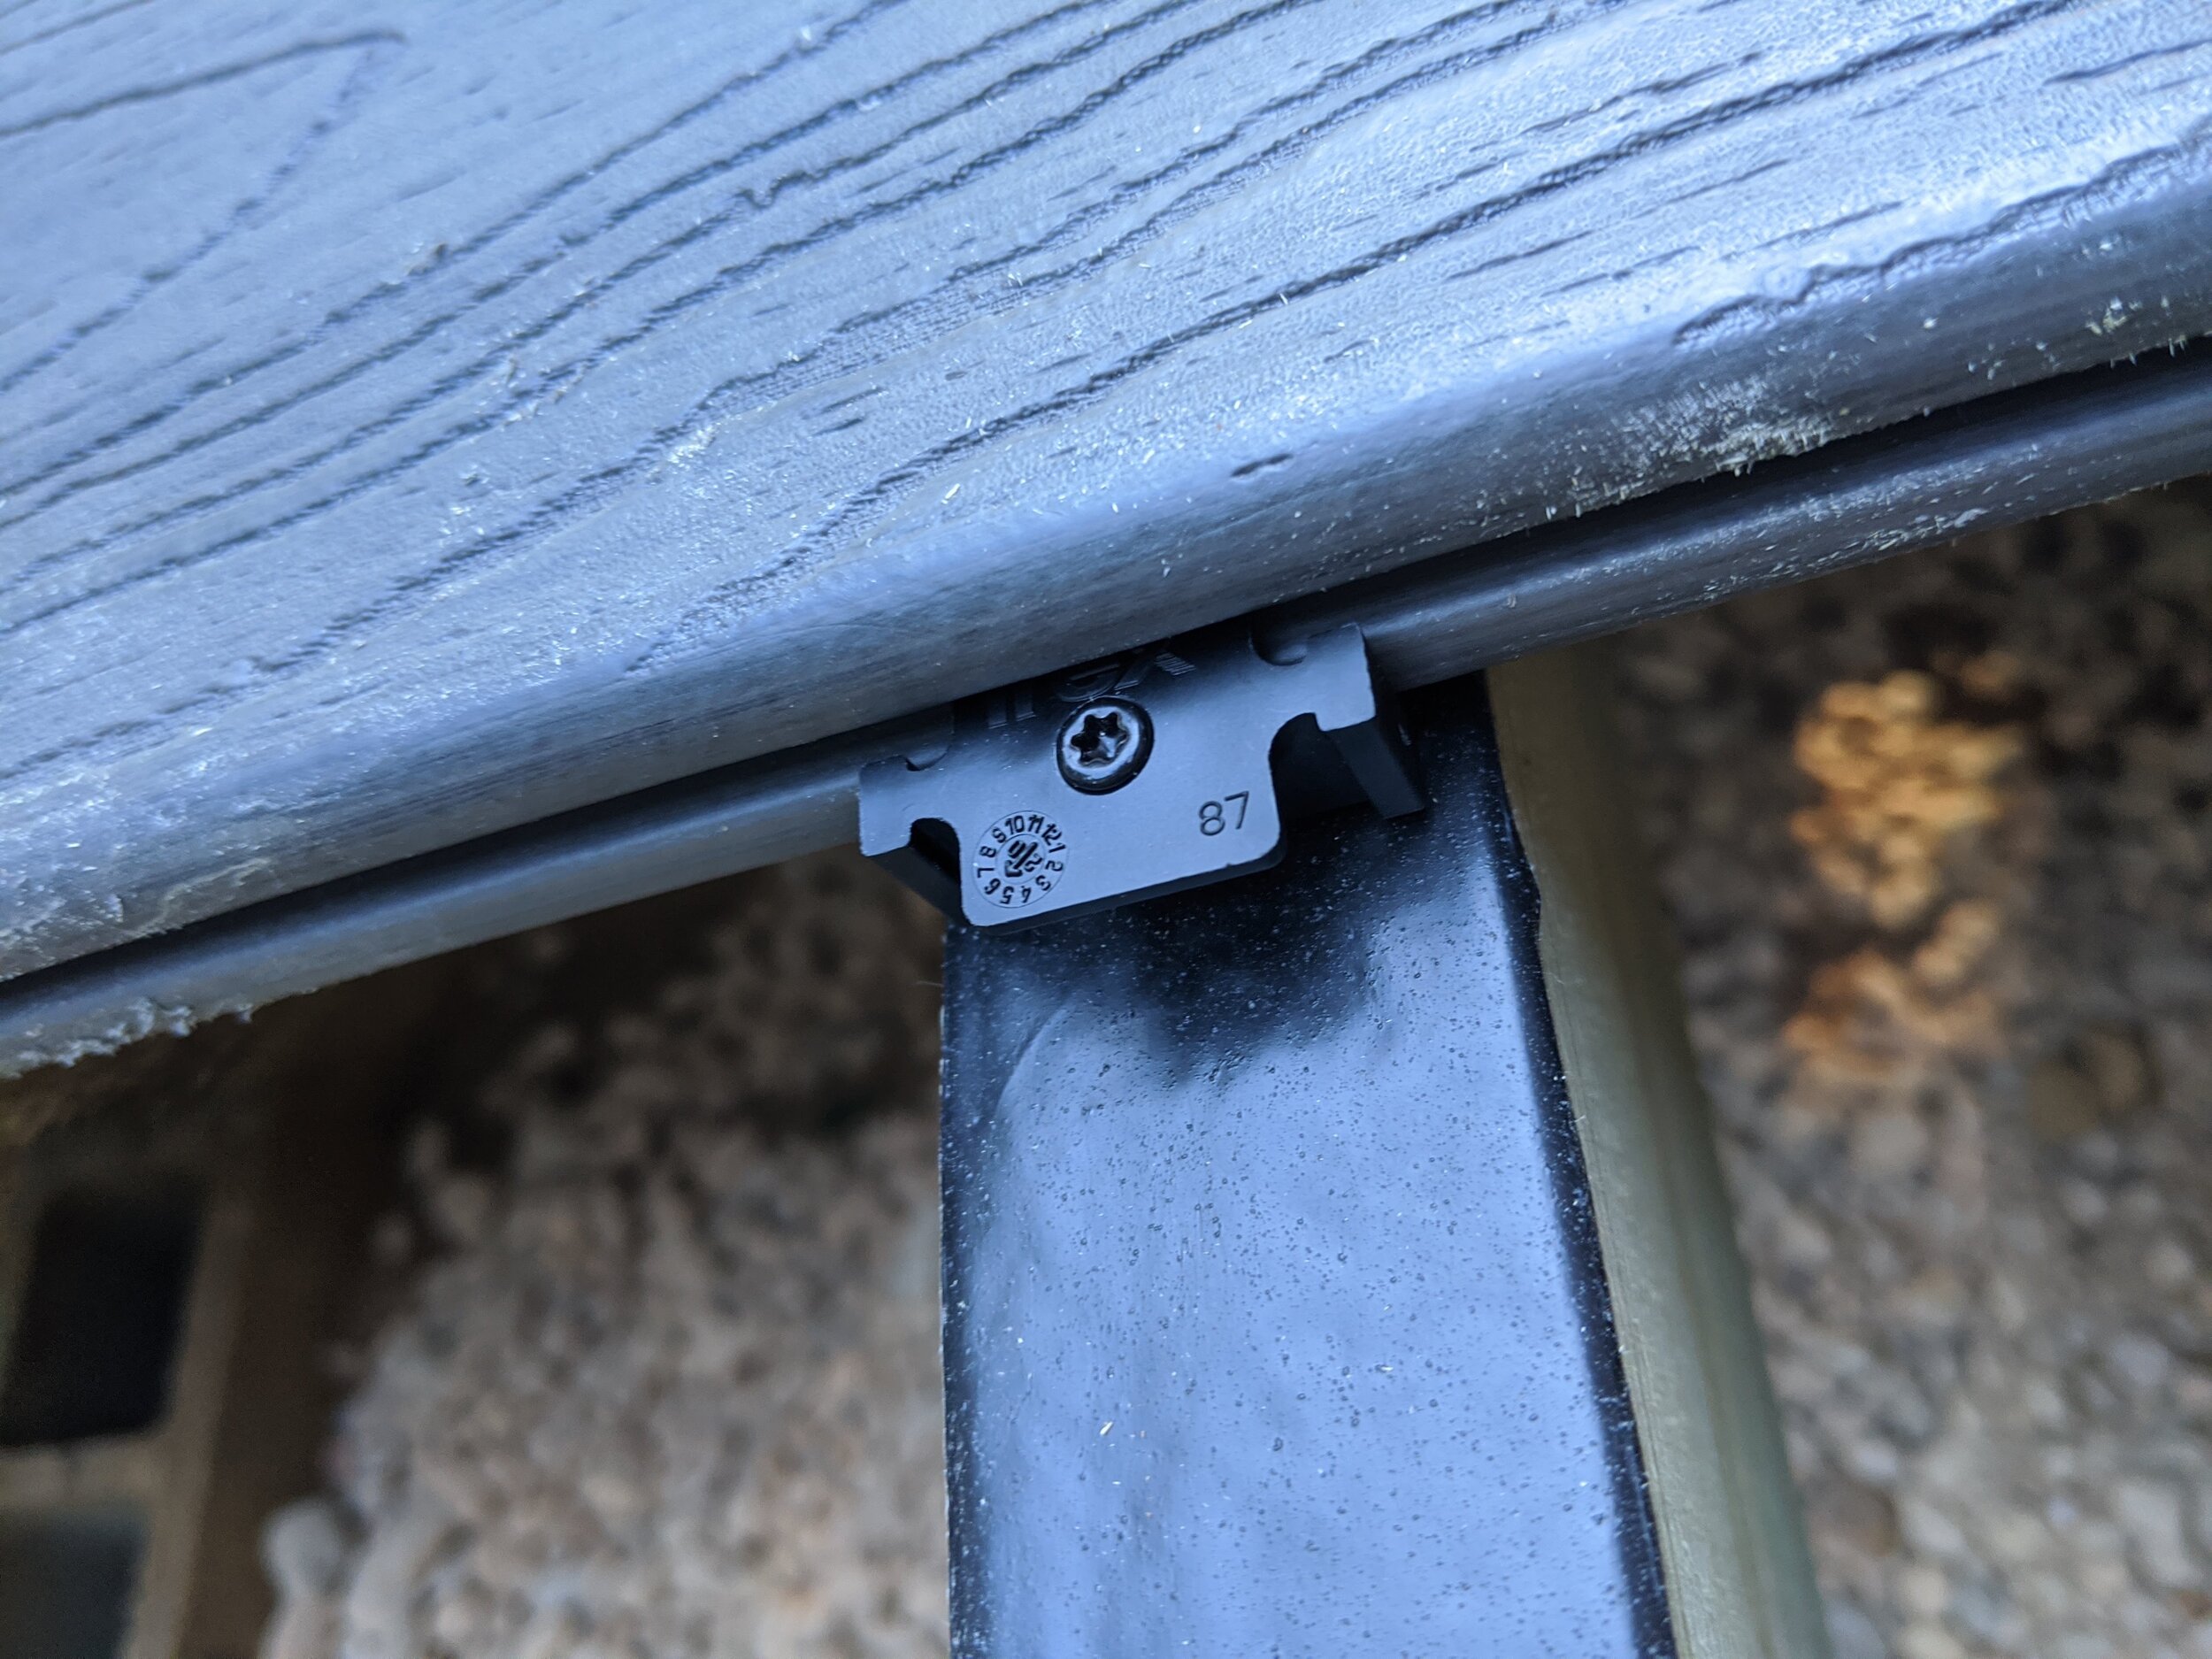
WHAT ARE THOSE CONNECTOR PIECES?
I absolutely love the seamless look of this — no screw holes (except on the edge pieces that don’t have grooves).
Basically, you screw the first plastic connectors into the beam (just lightly) in a row against your edge, then slide the deck board in and the connectors fit into the grooved side. Then you press the next board in and go back through and tighten the screws all the way down.
Whatever brand of decking boards you chose will have a coordinating set of connectors and tell you how many square feet they’ll cover.
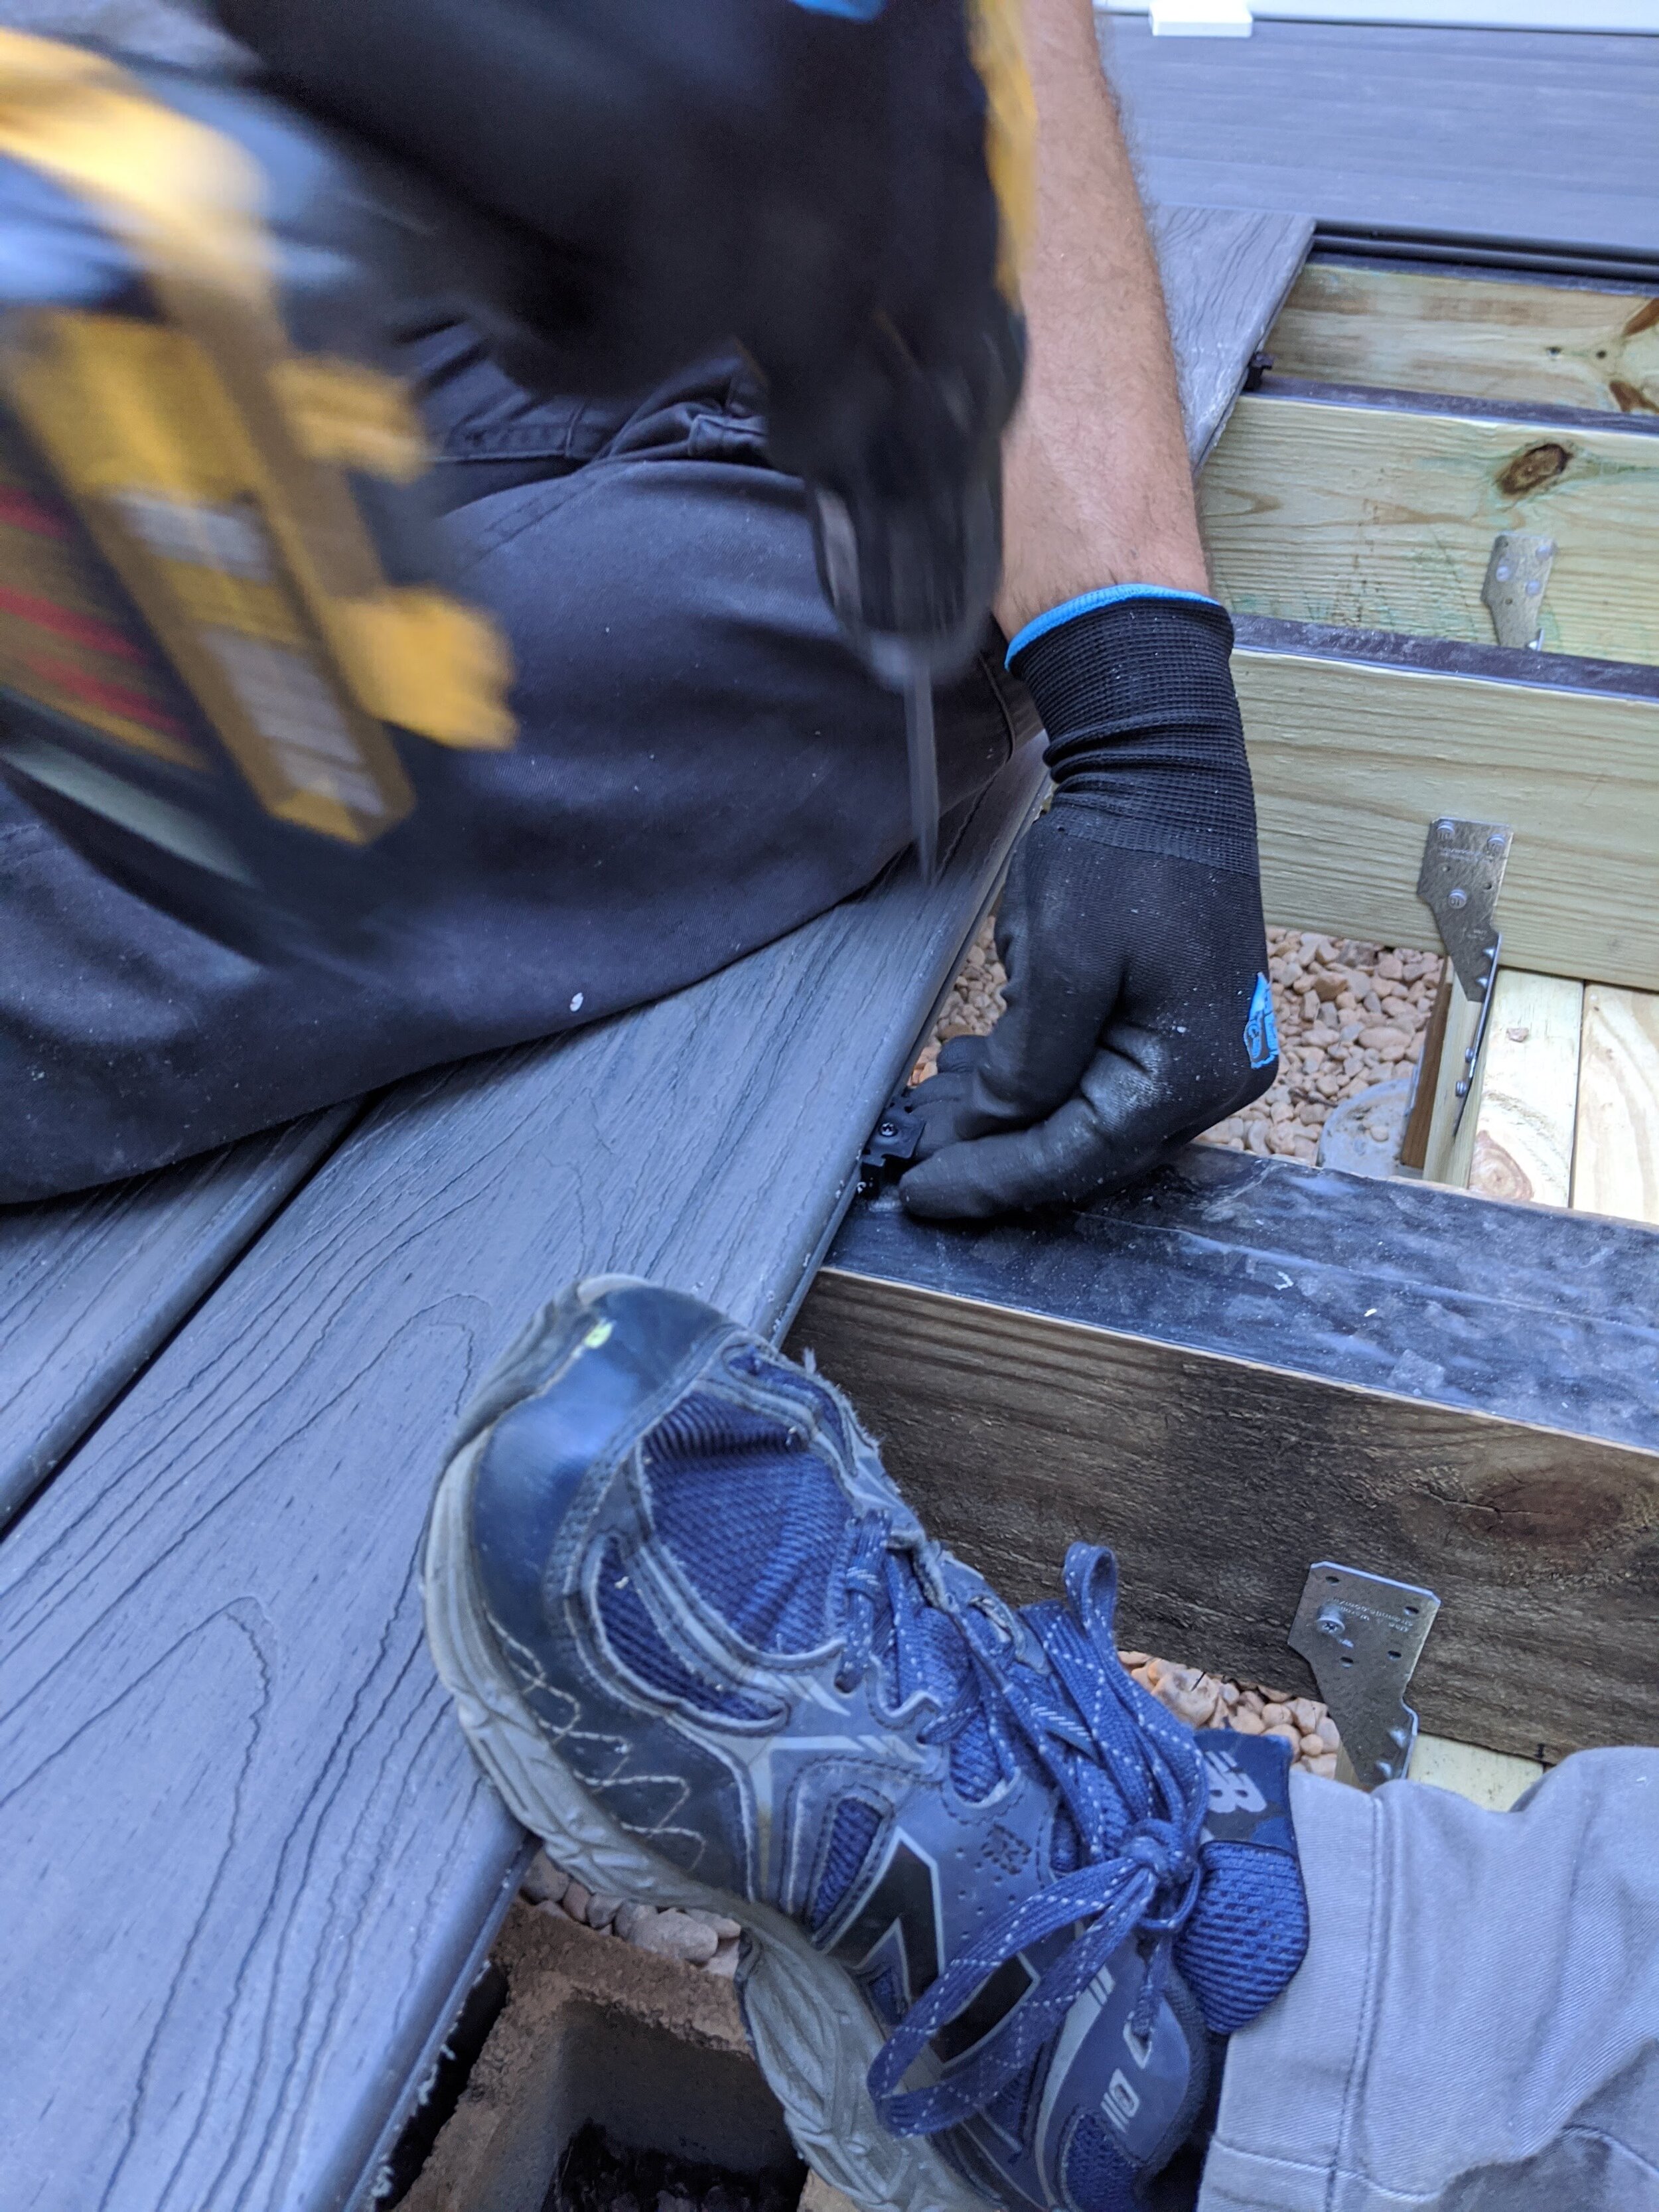
You’ll see we finished REALLY late at night (classic us) and Hubs wanted credit for finishing in a headlamp, so I took the picture. Then the next morning to add a gorgeous touch, I slid on the composite sleeves and feet just so I could jump around and clap at how truly beautiful it was going to be.


Keep reading! Electrical and railings are on deck… (lol that’s a baseball decking pun)


