

There are a ton of choices for deck railing. We ended up picking the Veranda polycomposite system with square ballusters. It was reasonably easy to install (Hubs definitely smashed my finger once which sucked), and there were several shape options to pick from. We liked the one that was flat on top.
At this point, all our pillars have the sleeves and the foot pieces, as well as caps. The tall ones that just simple $1 caps but the waist-height ones have built-in solar lights. They look really nice!
Steps:
Cut the top and bottom rails to the right length (unless you’re lucky enough to have 6’ gaps)
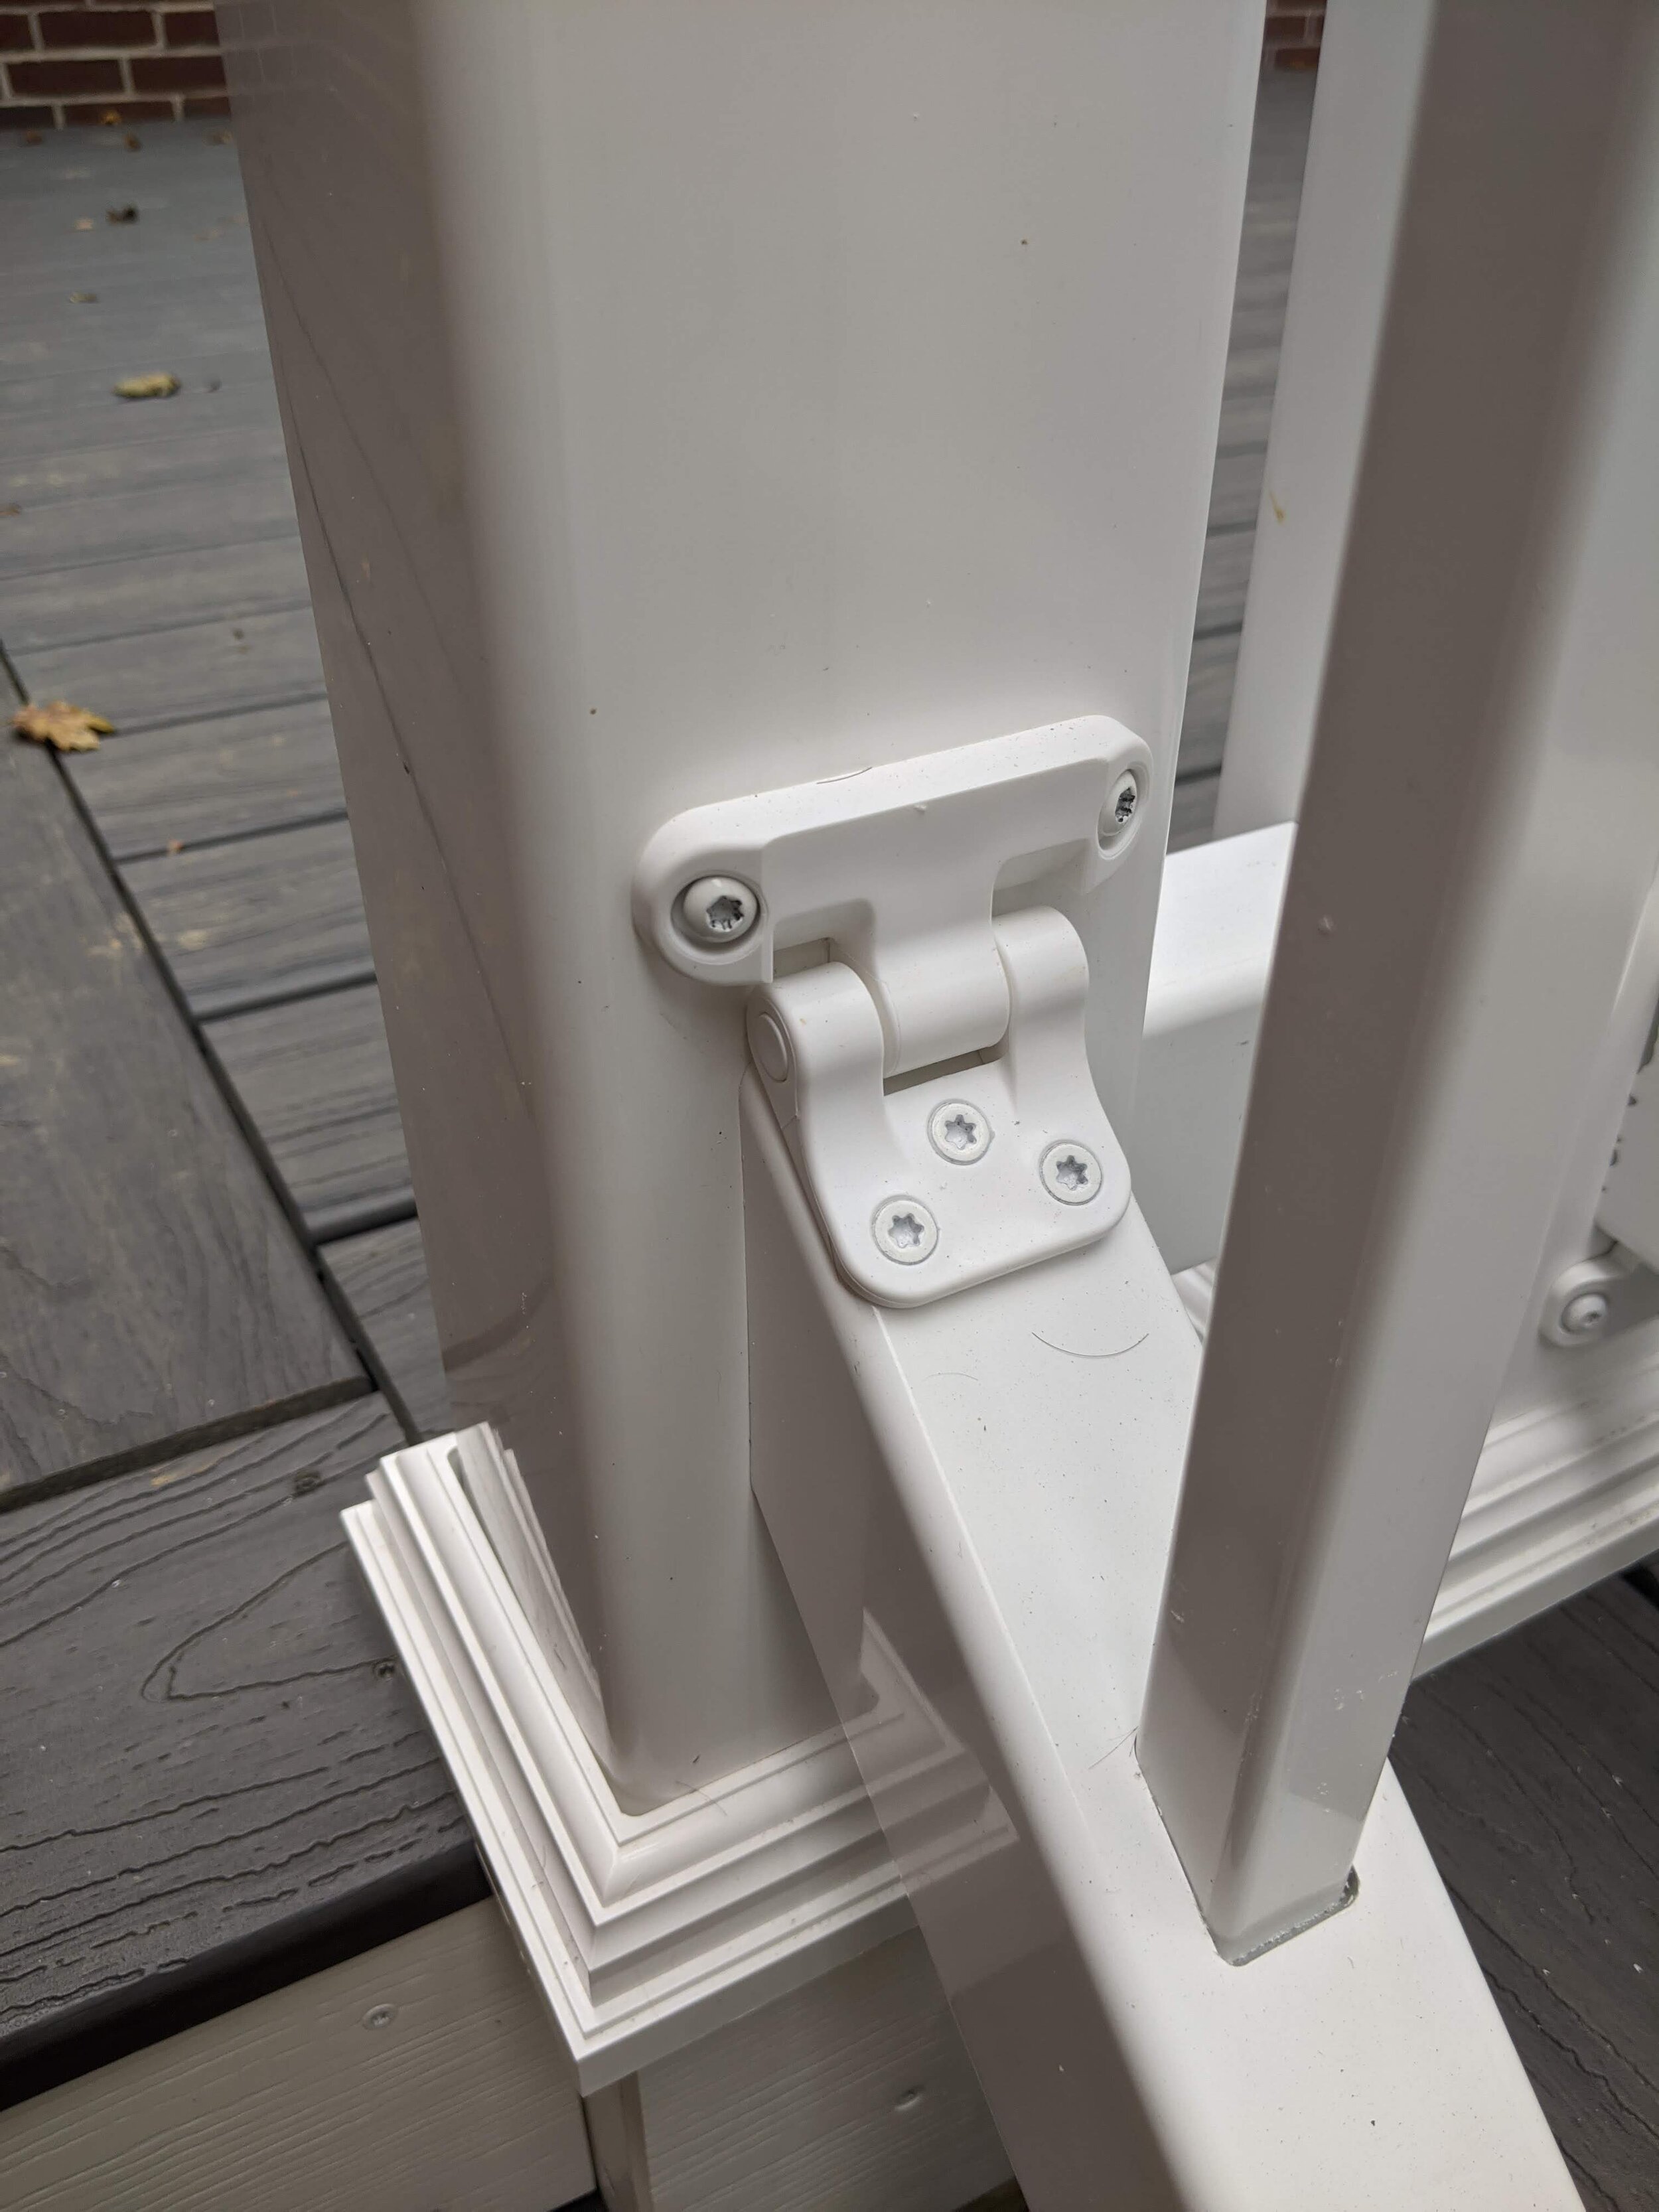
Make sure they fit (did you measure right?) and attach the provided brackets to those pieces
Attach the bottom rail to the pillars, using a level and making sure you have it an appropriate distance from the bottom.
Wedge all the ballusters into the pre-cut, pre-spaced holes
Replace the ballusters because the baby pulled them all out and it waving them around like weapons
Starting on one side, fit the ballusters into the top rail. (This was where the finger smashing occurred as Hubs thought I had the last one lined up and stomped on the top only to realize my hand was still in there. I’m ok.)
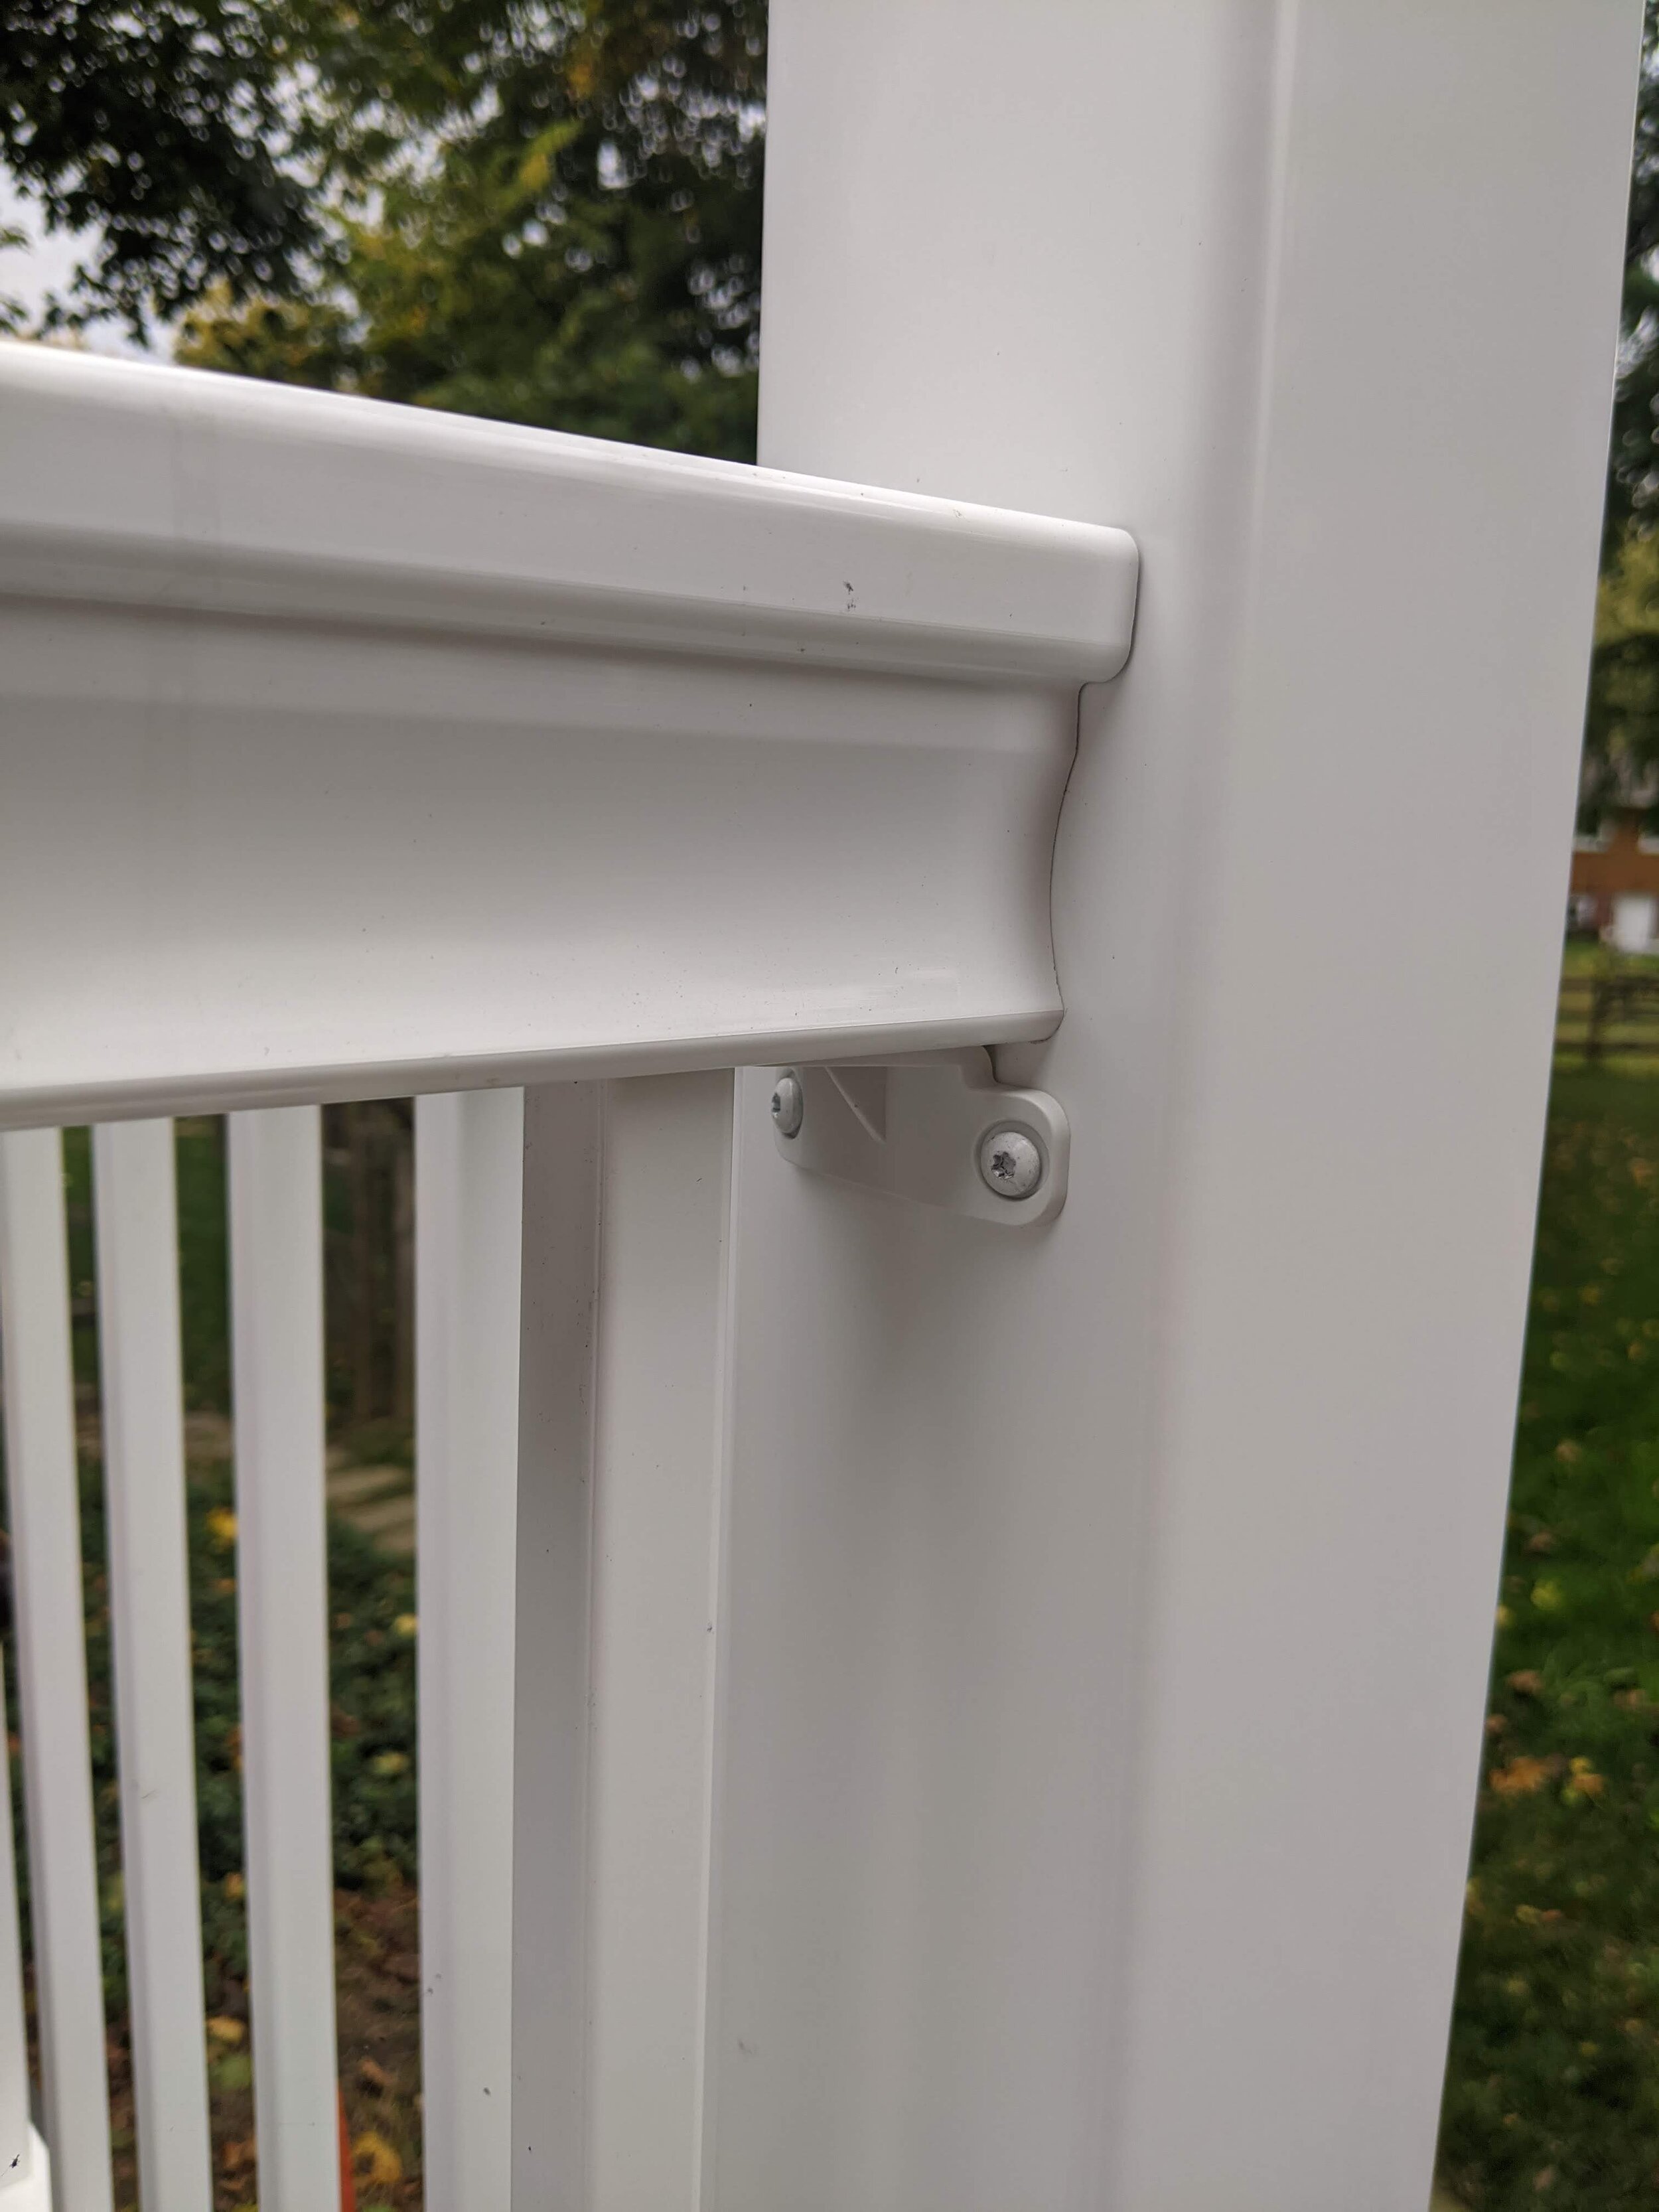
Use a level (USE THE LEVEL) and attach the top.
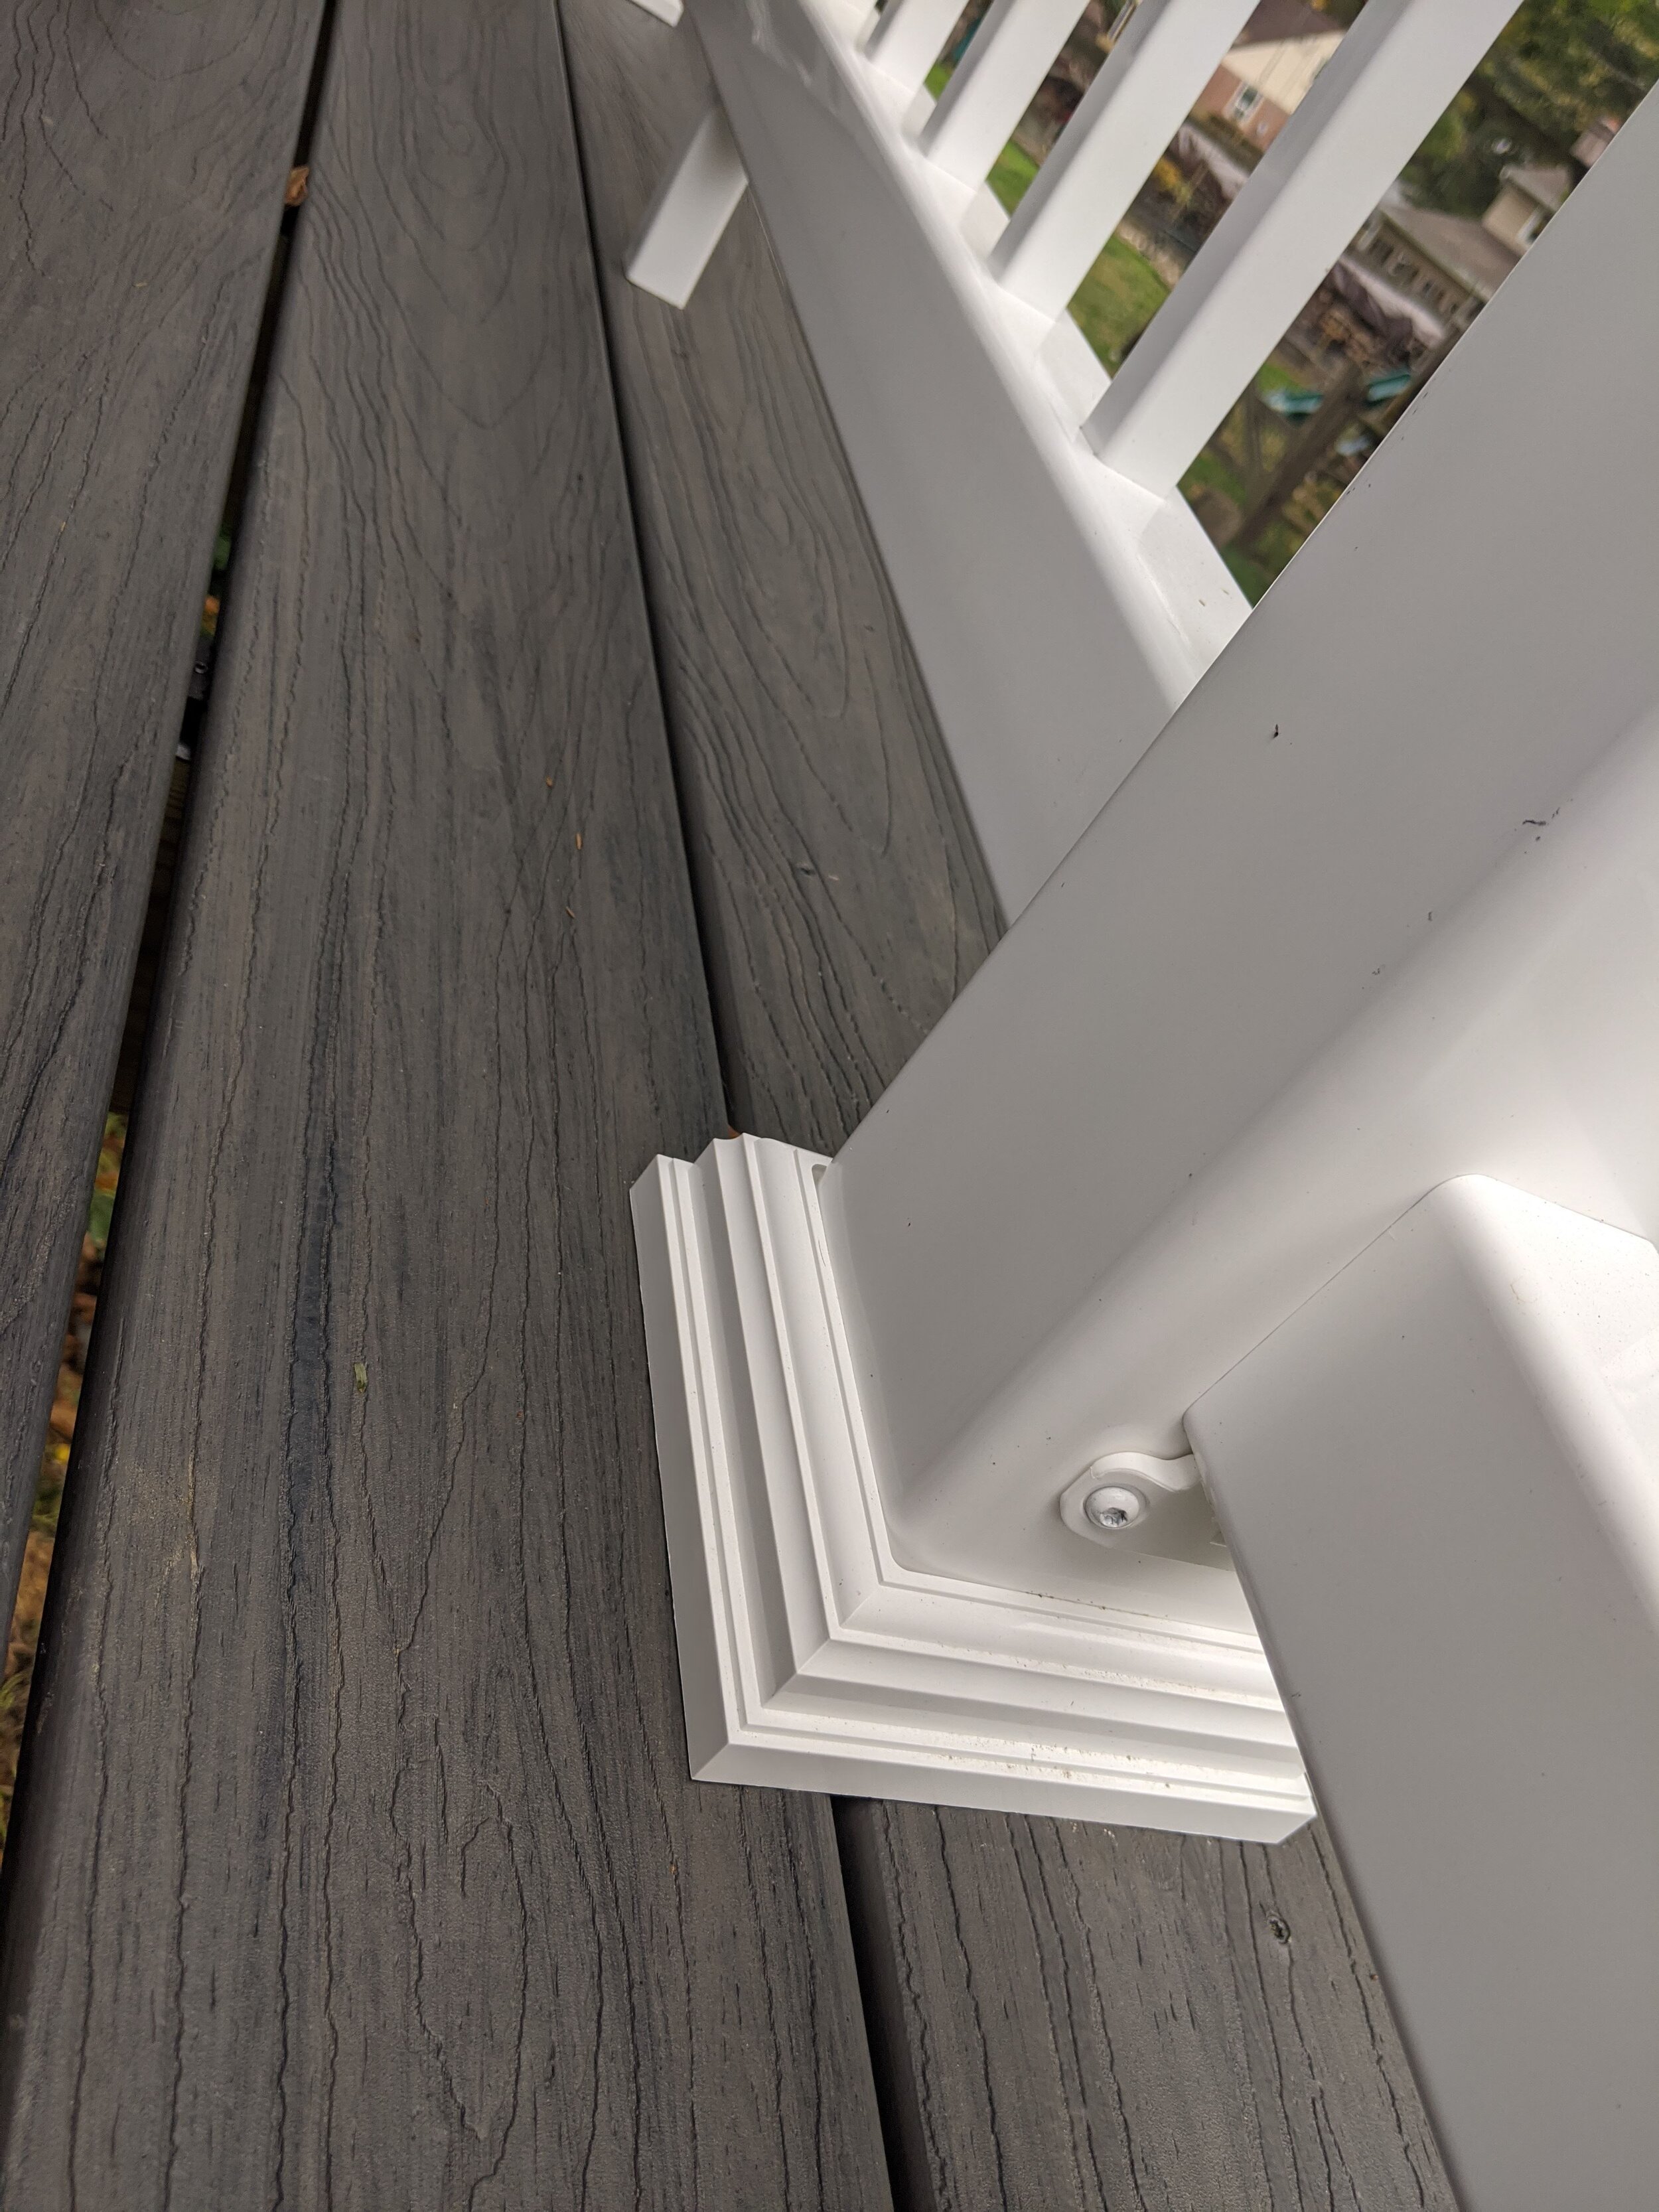
If you want, add the little center piece to the bottom. It’s just decorative.
Repeat for the next section.

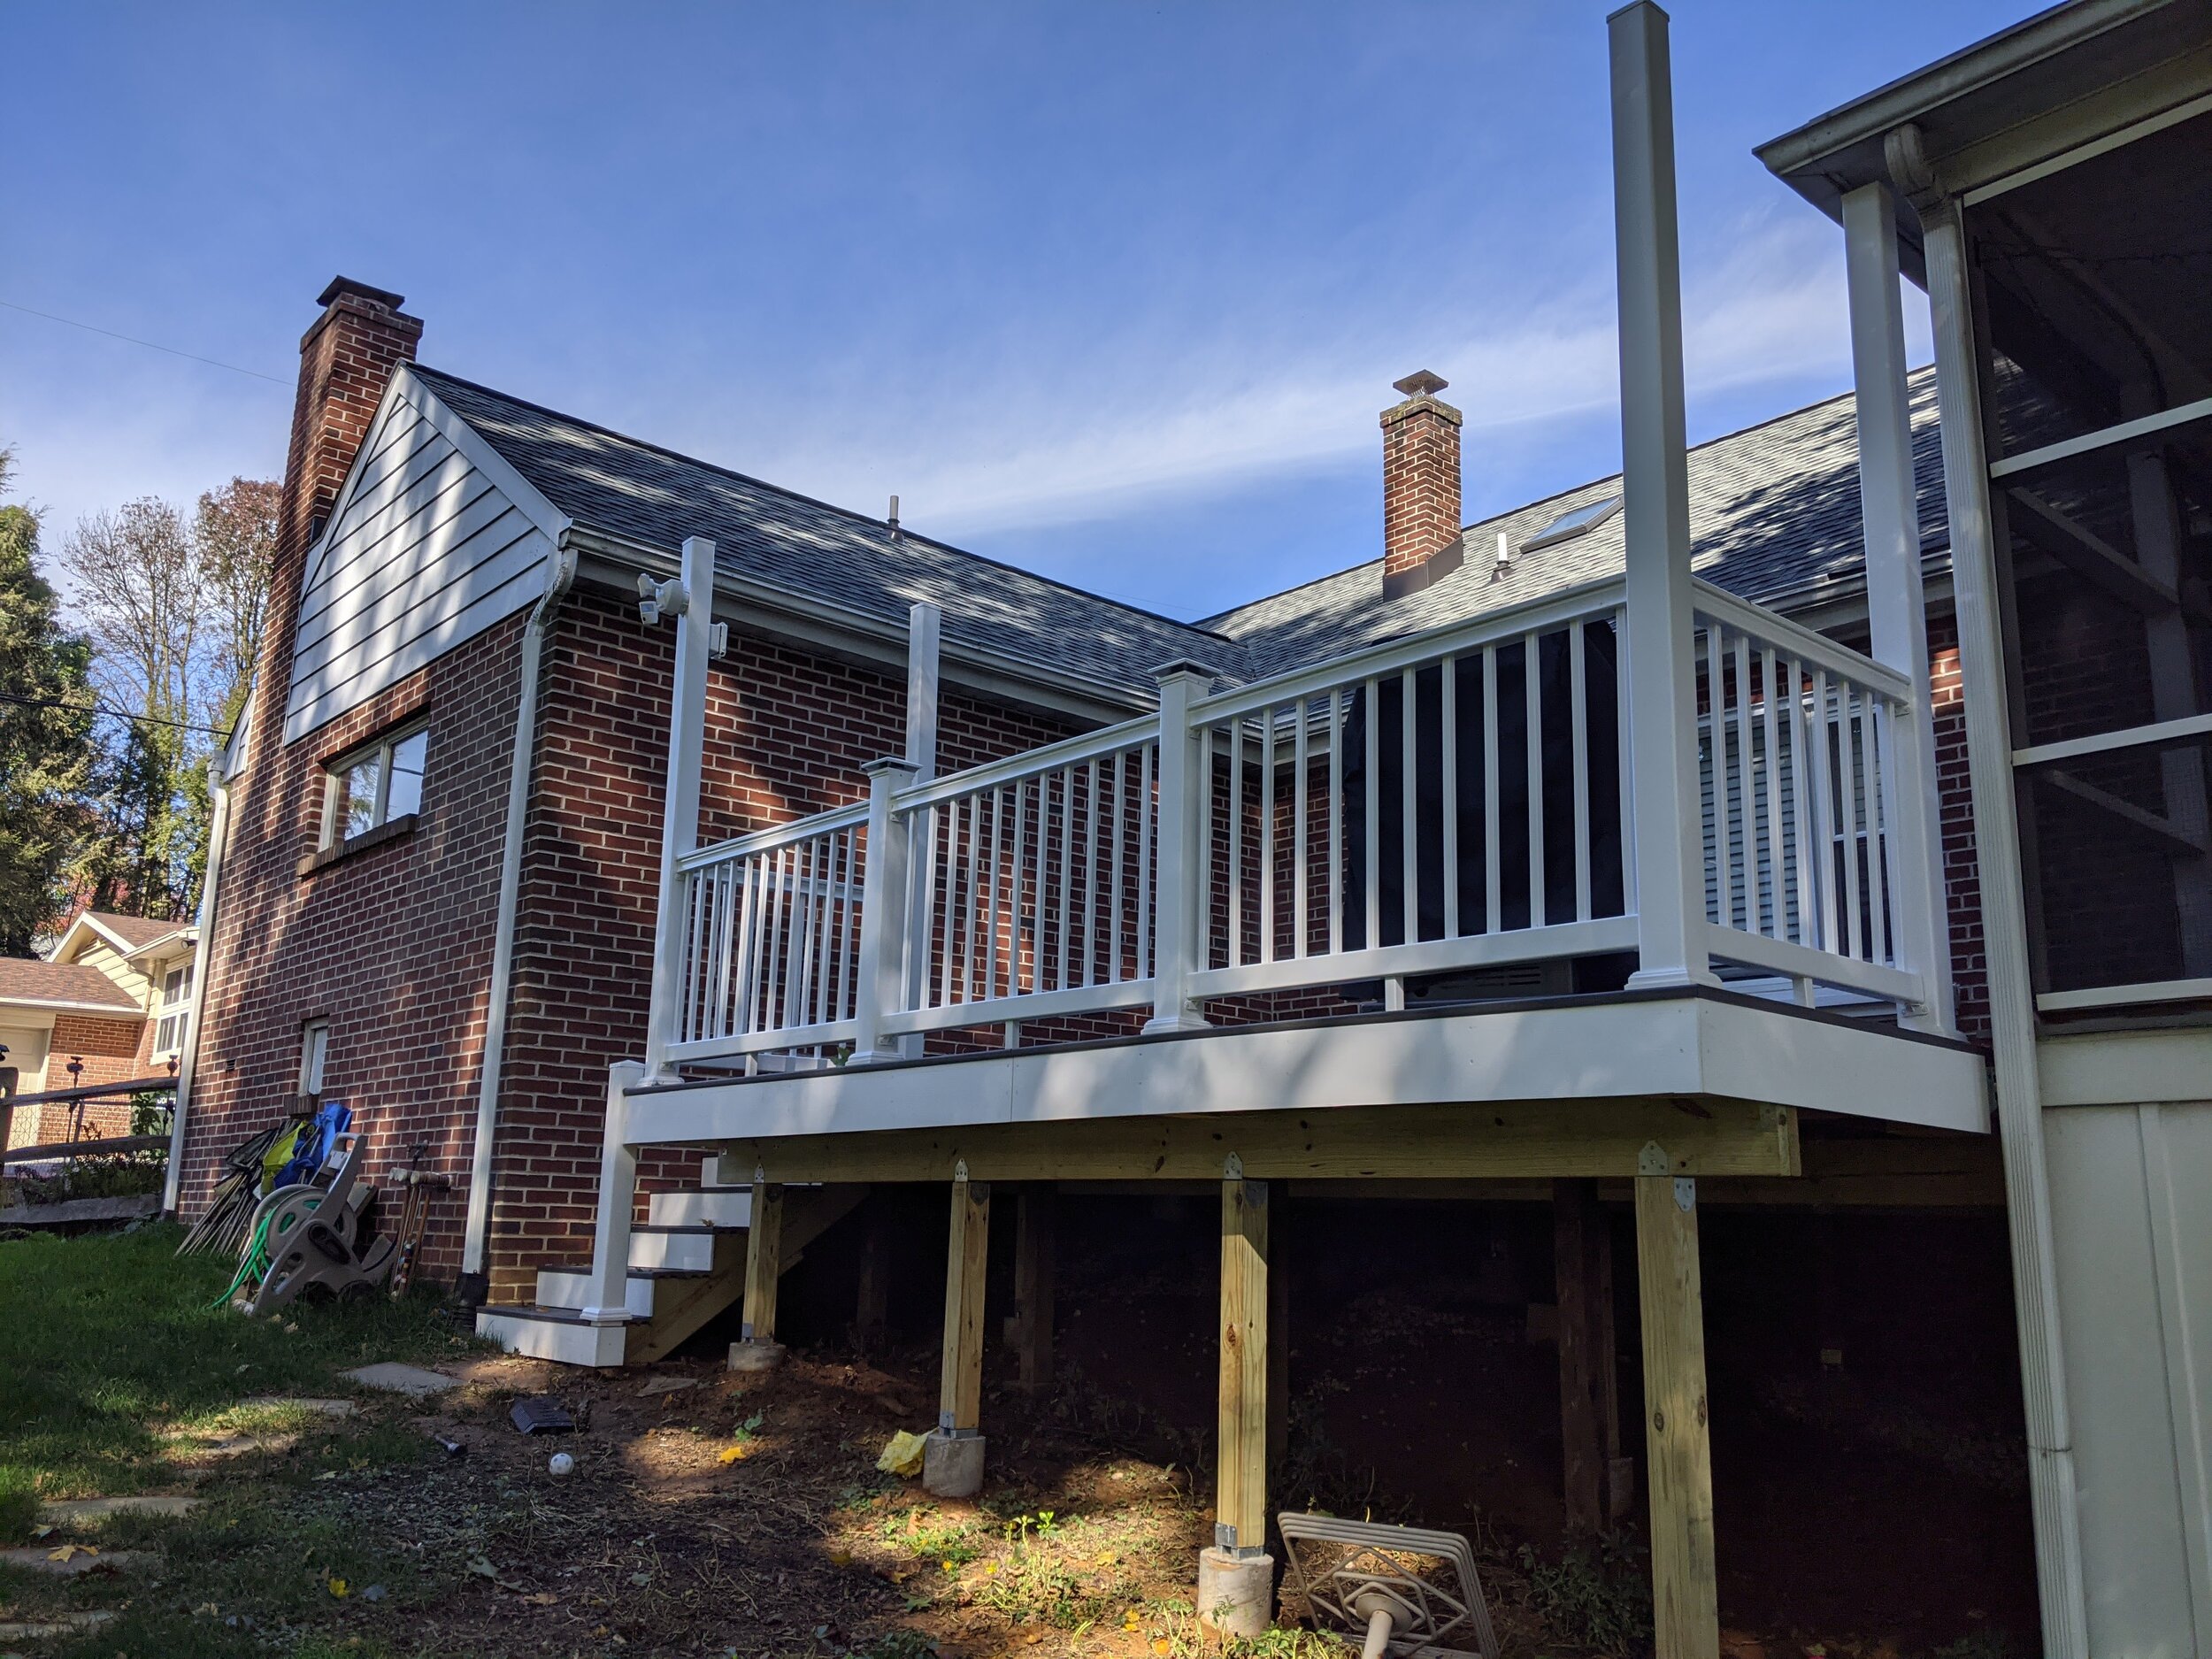

(Remember, we are adding a pergola top to this in Phase 2, so that’s why the corner pillars are so tall.)
You can see he started a lot of the fascia already, but that’s because he was sneaking like a board at a time during down time rather than doing that all in one day.
I will cover that in its entirety next. Stair rail and fascia, and we’re almost done!


