
You might already know we documented the step-by-step renovation of our upstairs bathroom last year. This spring, we tackled the downstairs bathroom. The pink bathroom. Oye. Very glad to see this gone!
When we bought the house, it had wall-to-wall fuscia carpet in the entire first floor, which included this bathroom. That came out right away, and we replaced it with very cheap, quick linoleum which has remained for about 8 years. We also peeled down patterned wallpaper above chair-rail level to add some solid grey and replaced the light fixture. The dark shower curtain also helped tone down the color. A bit.
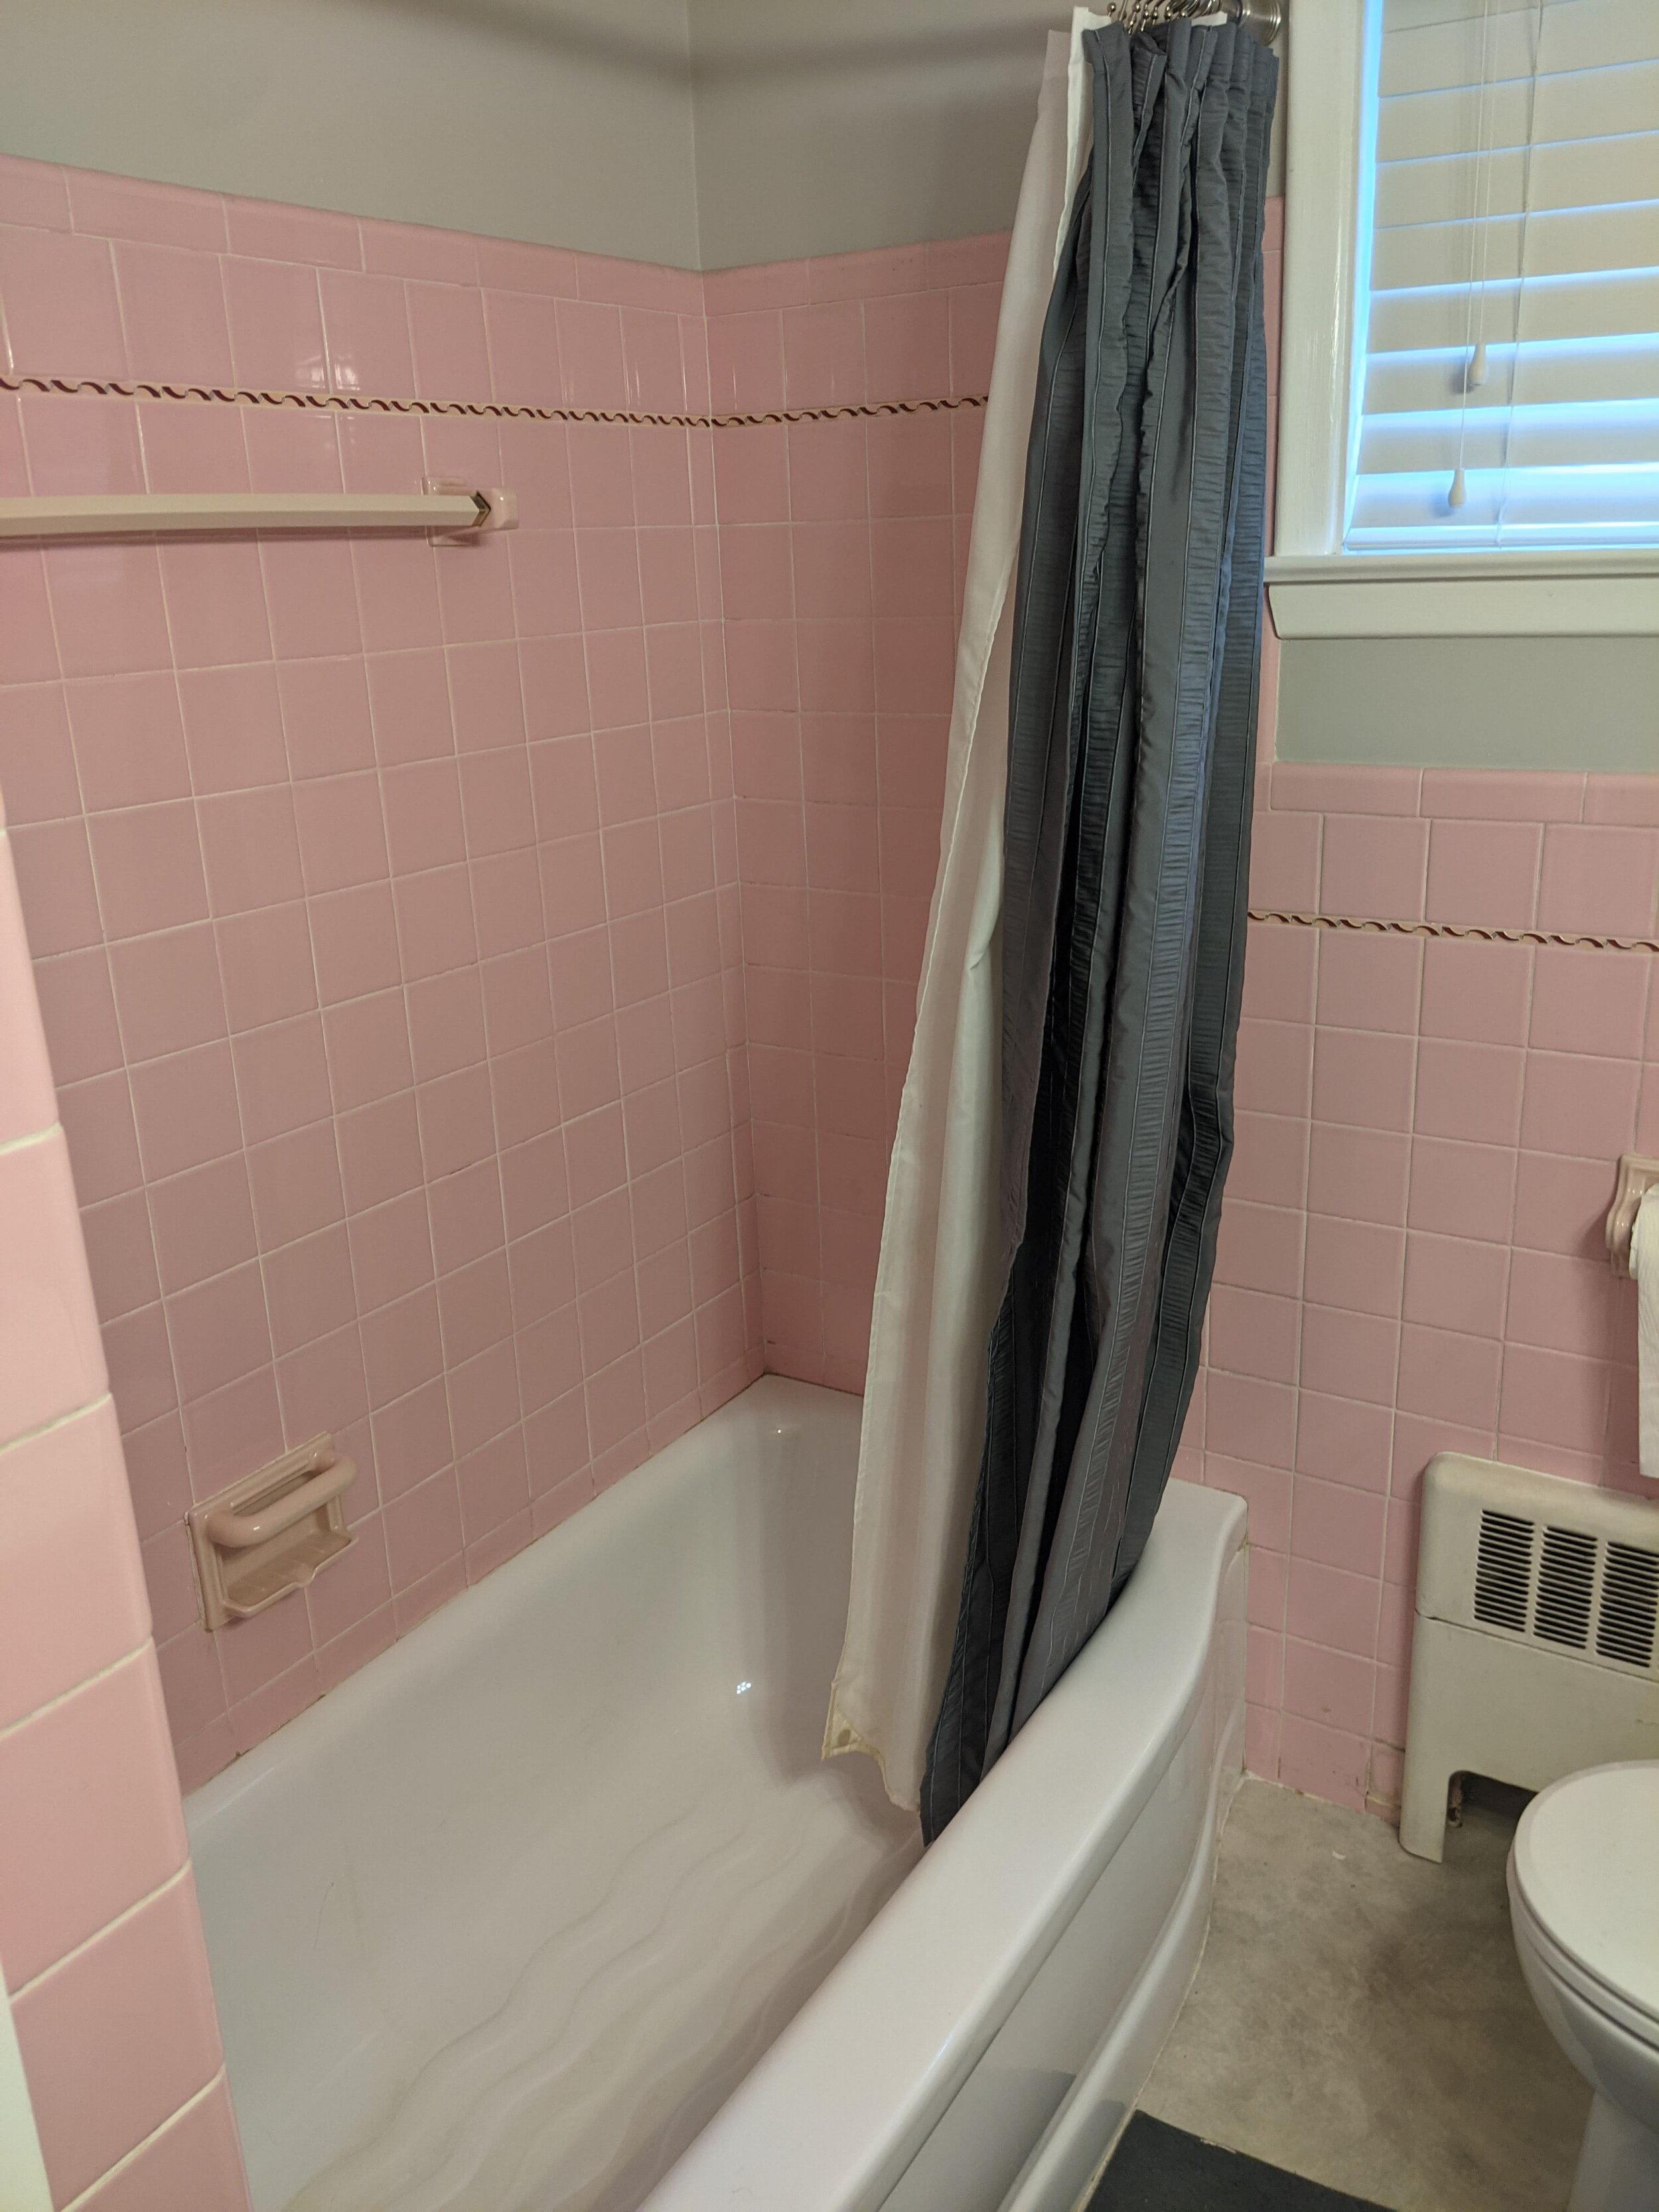
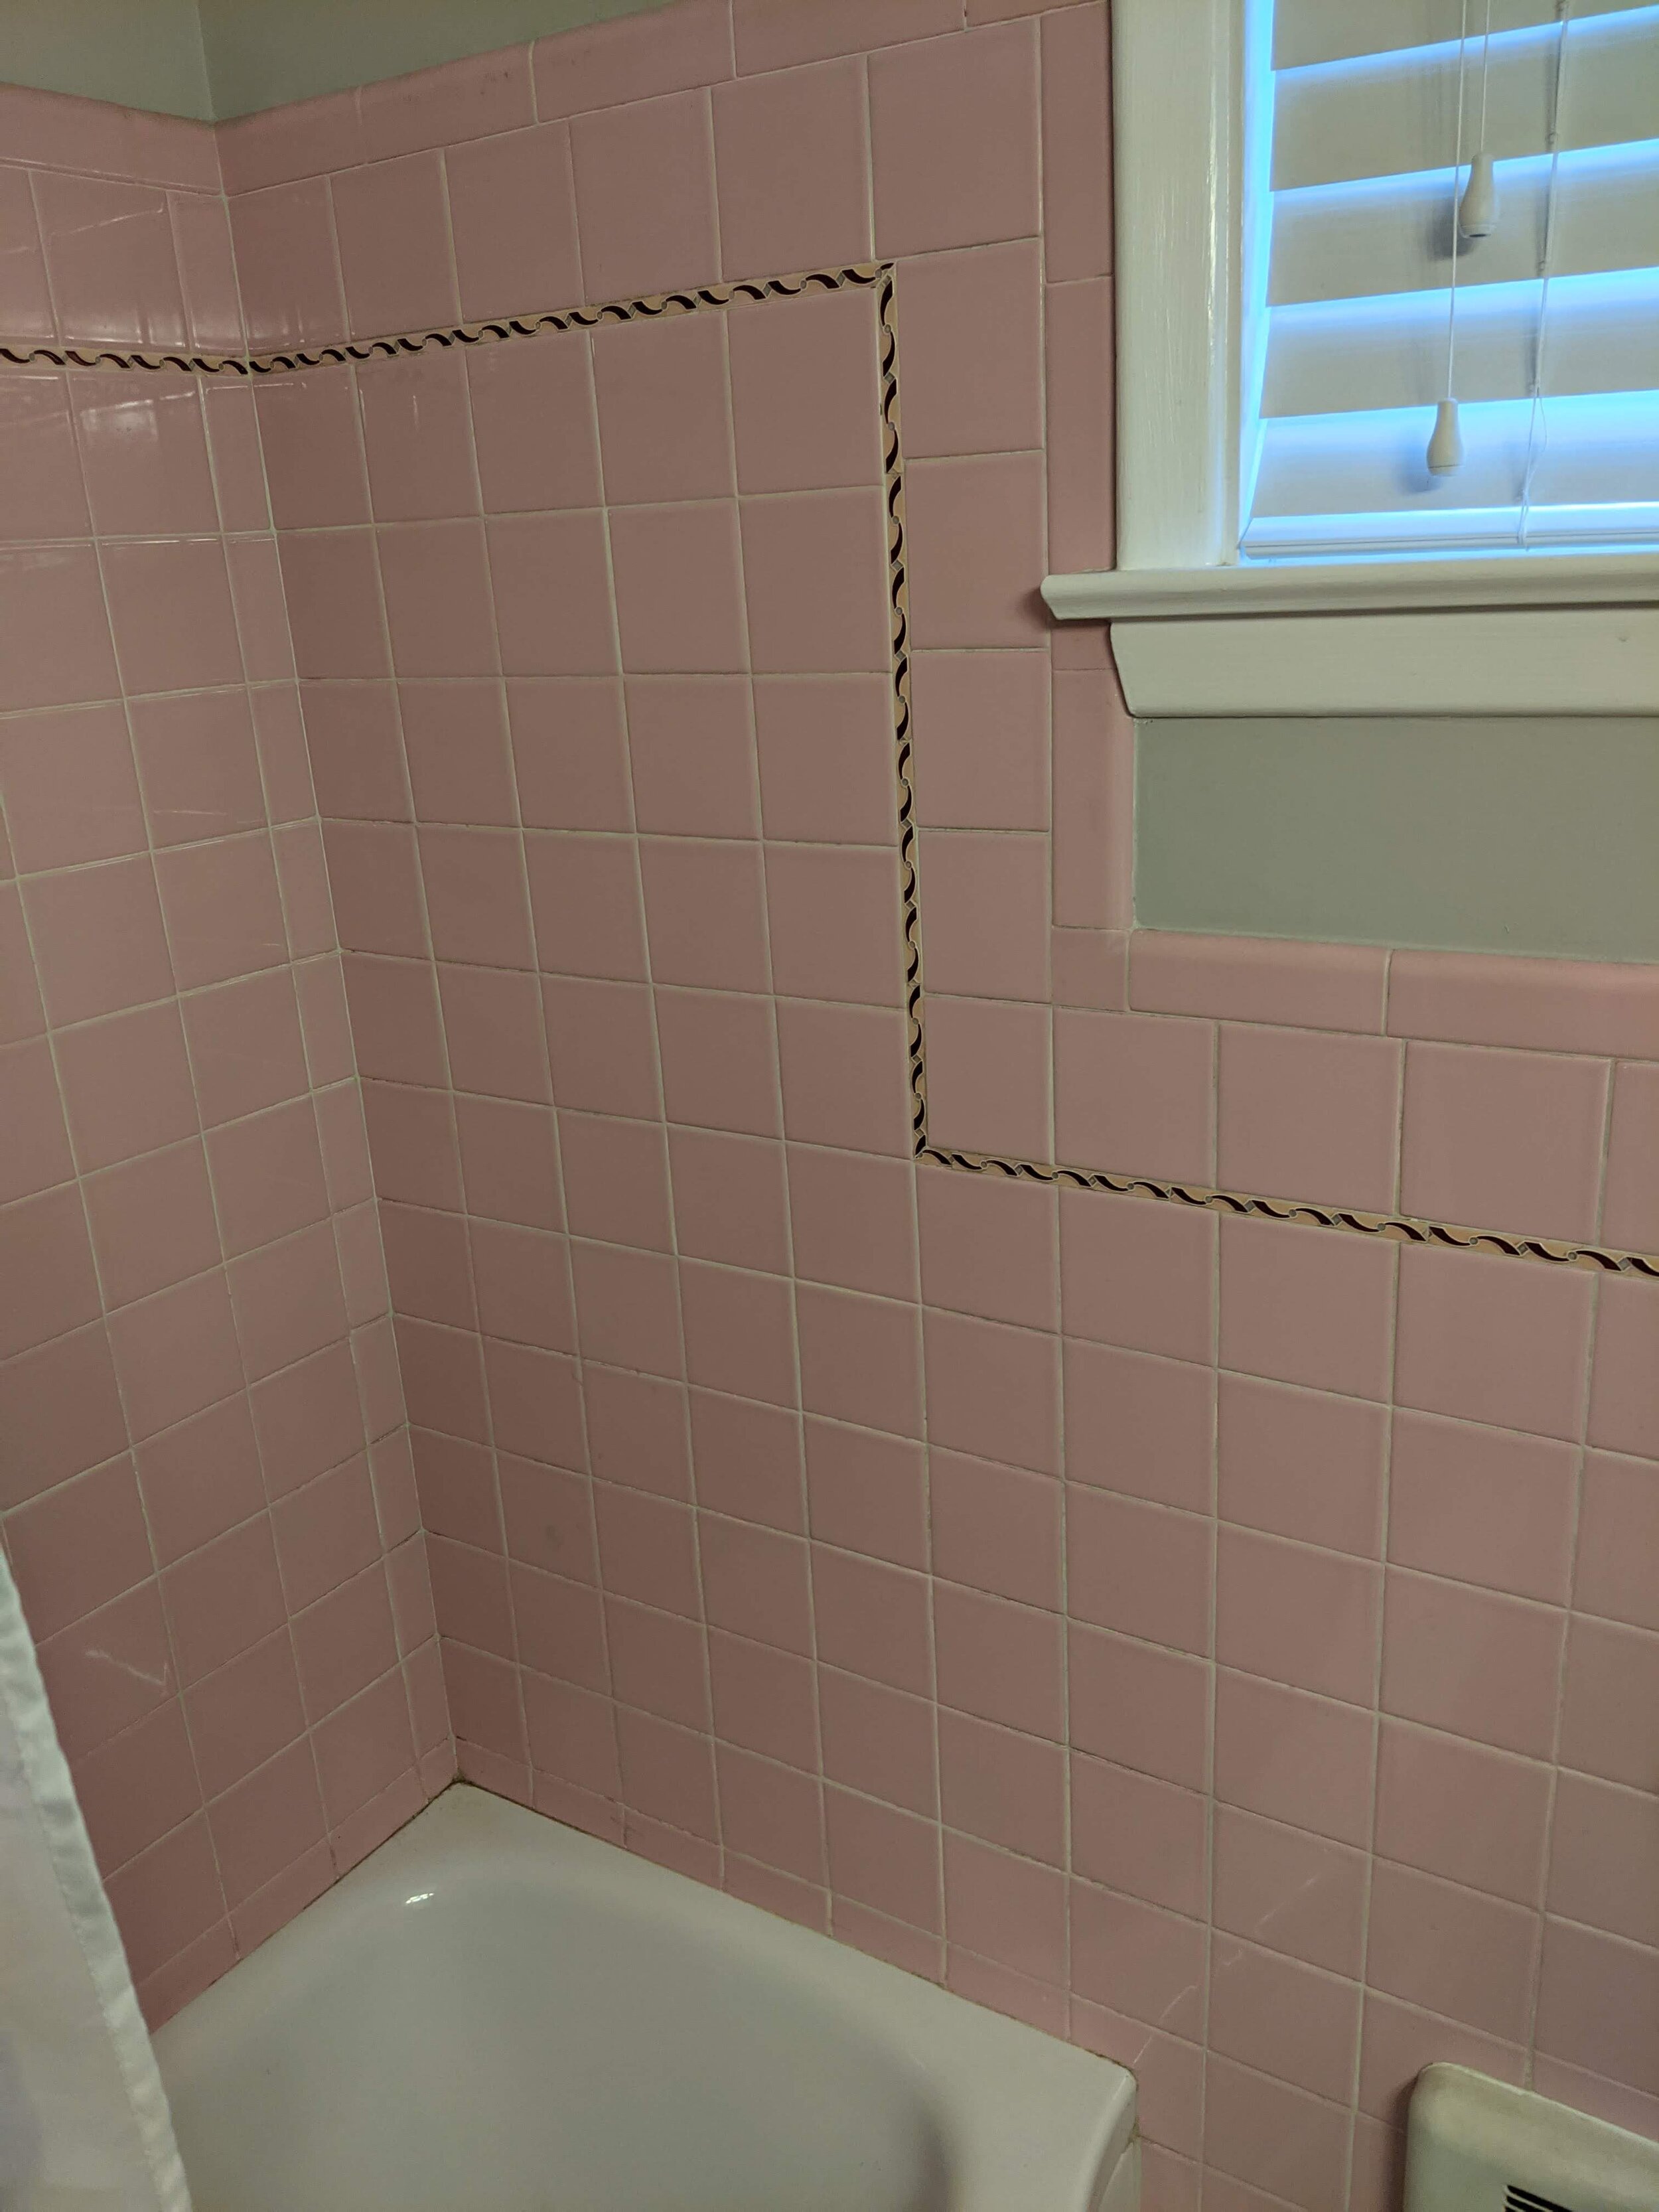
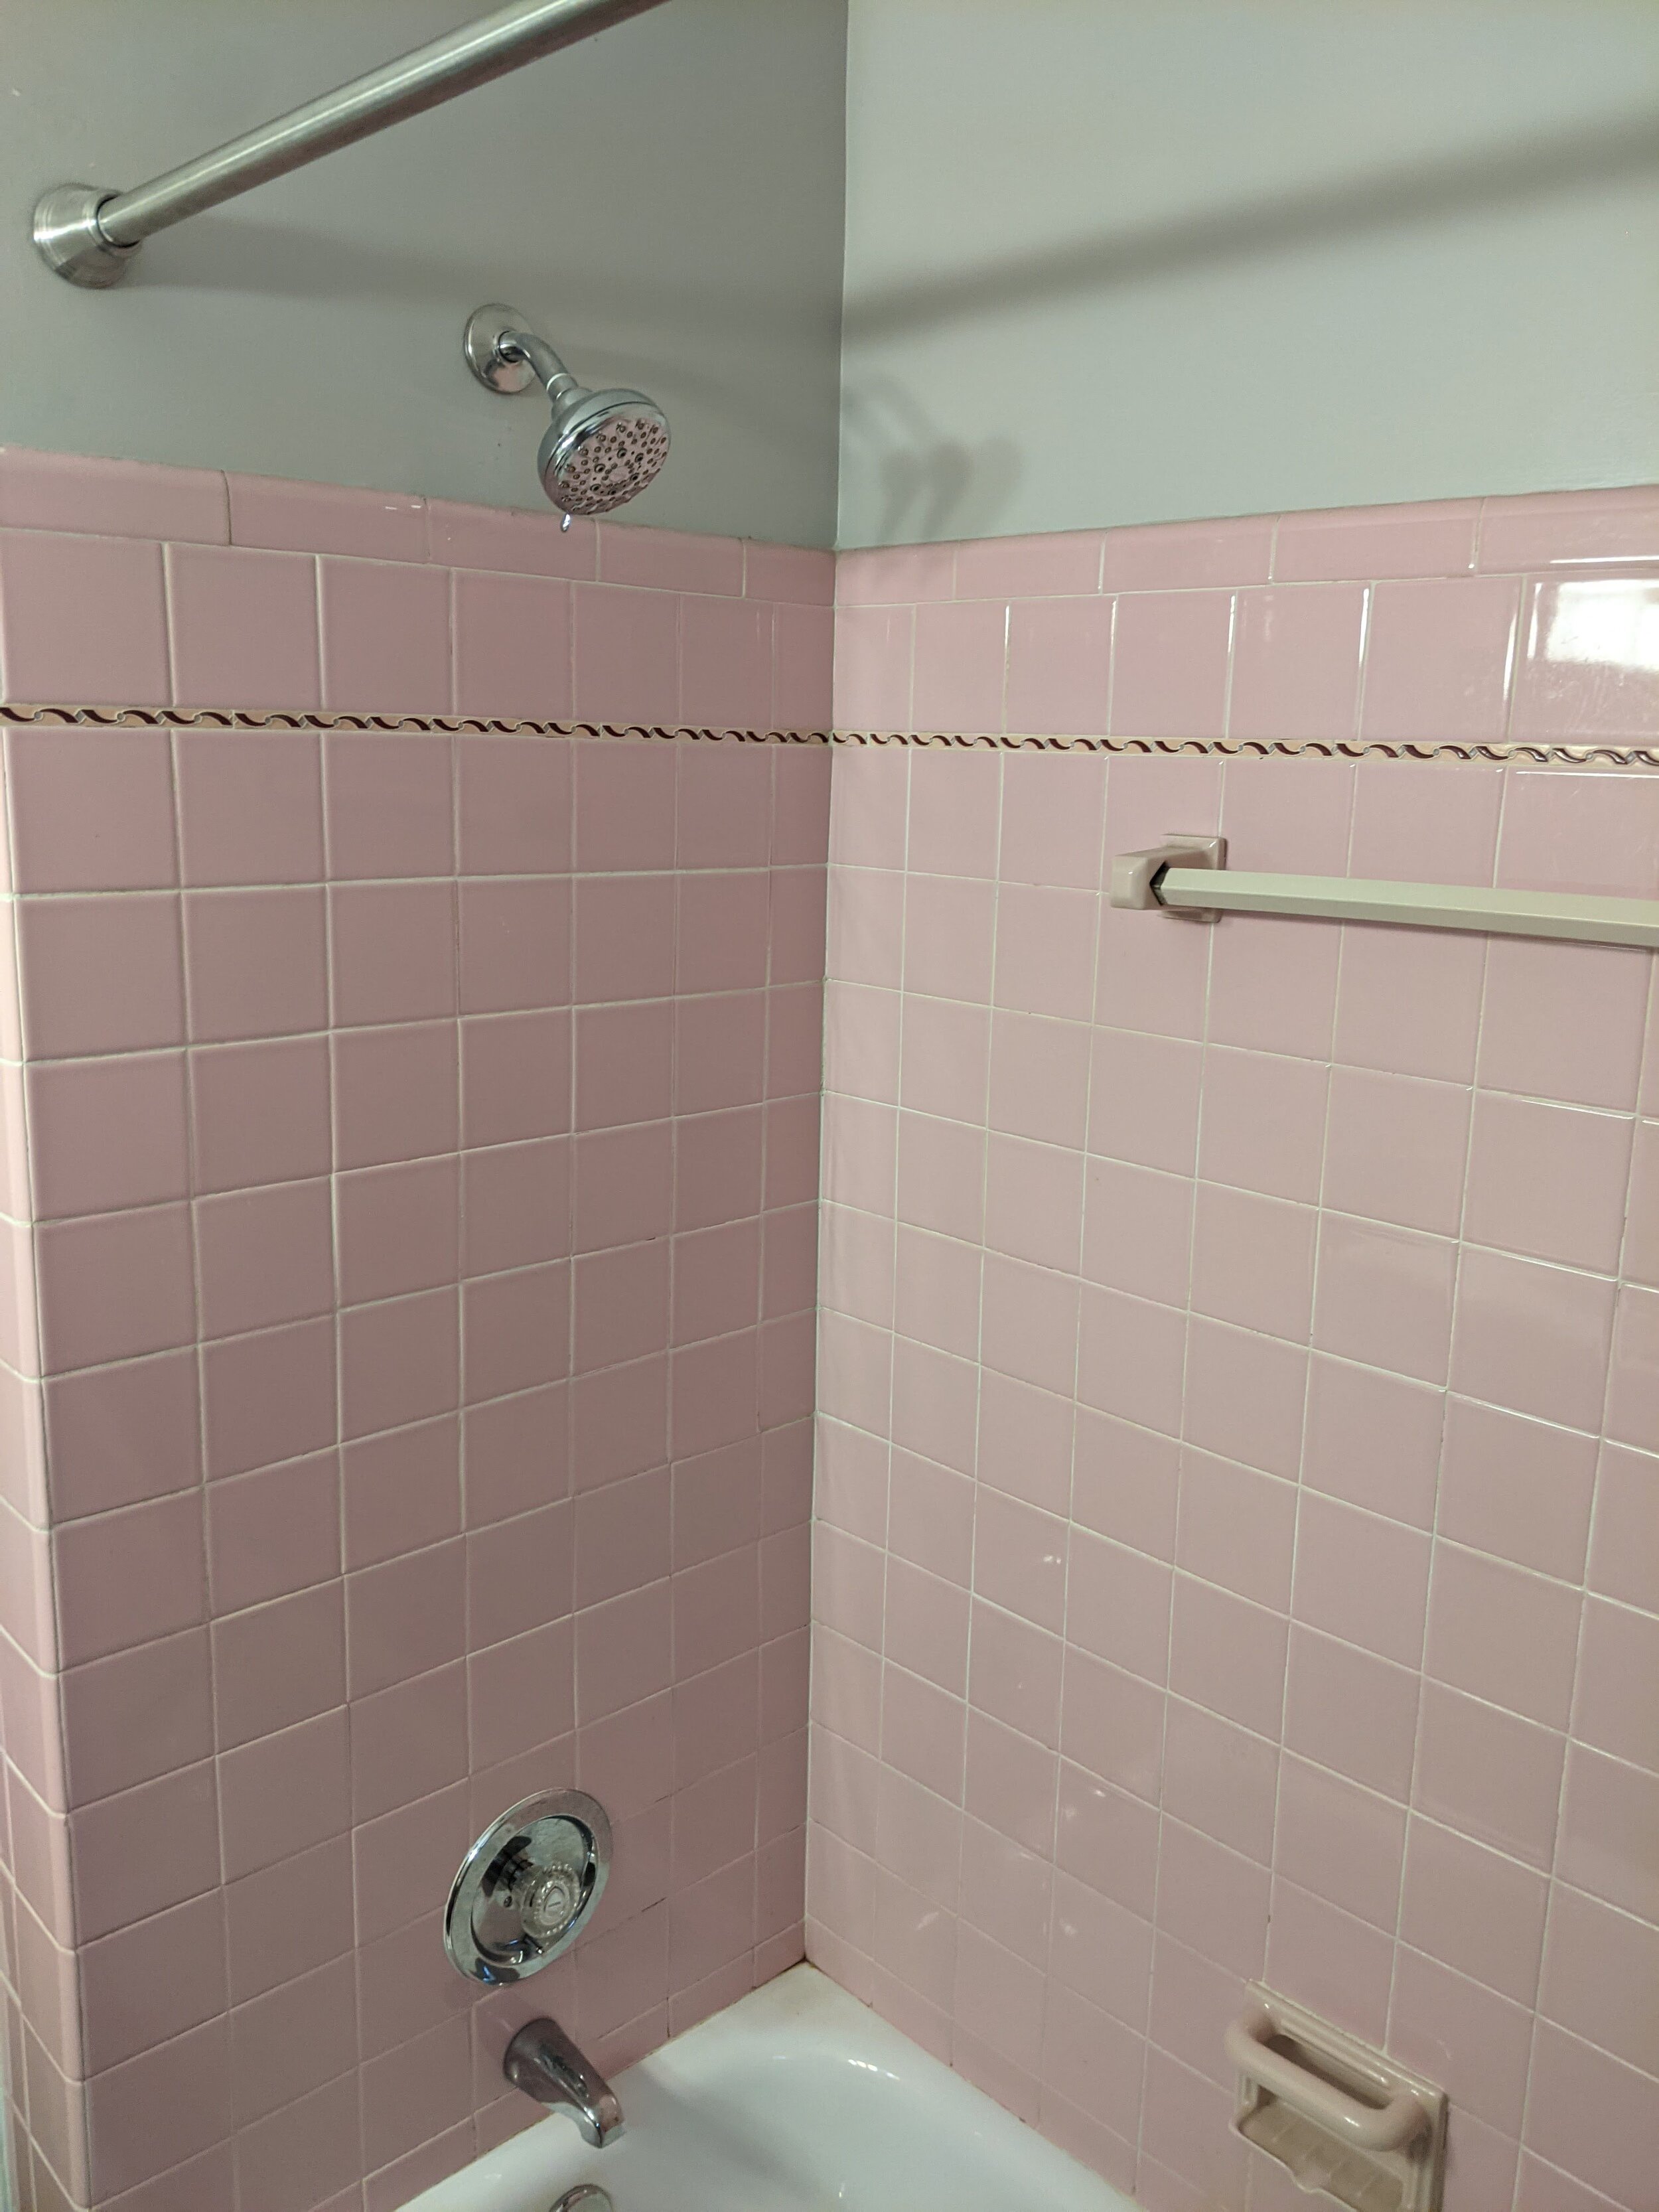
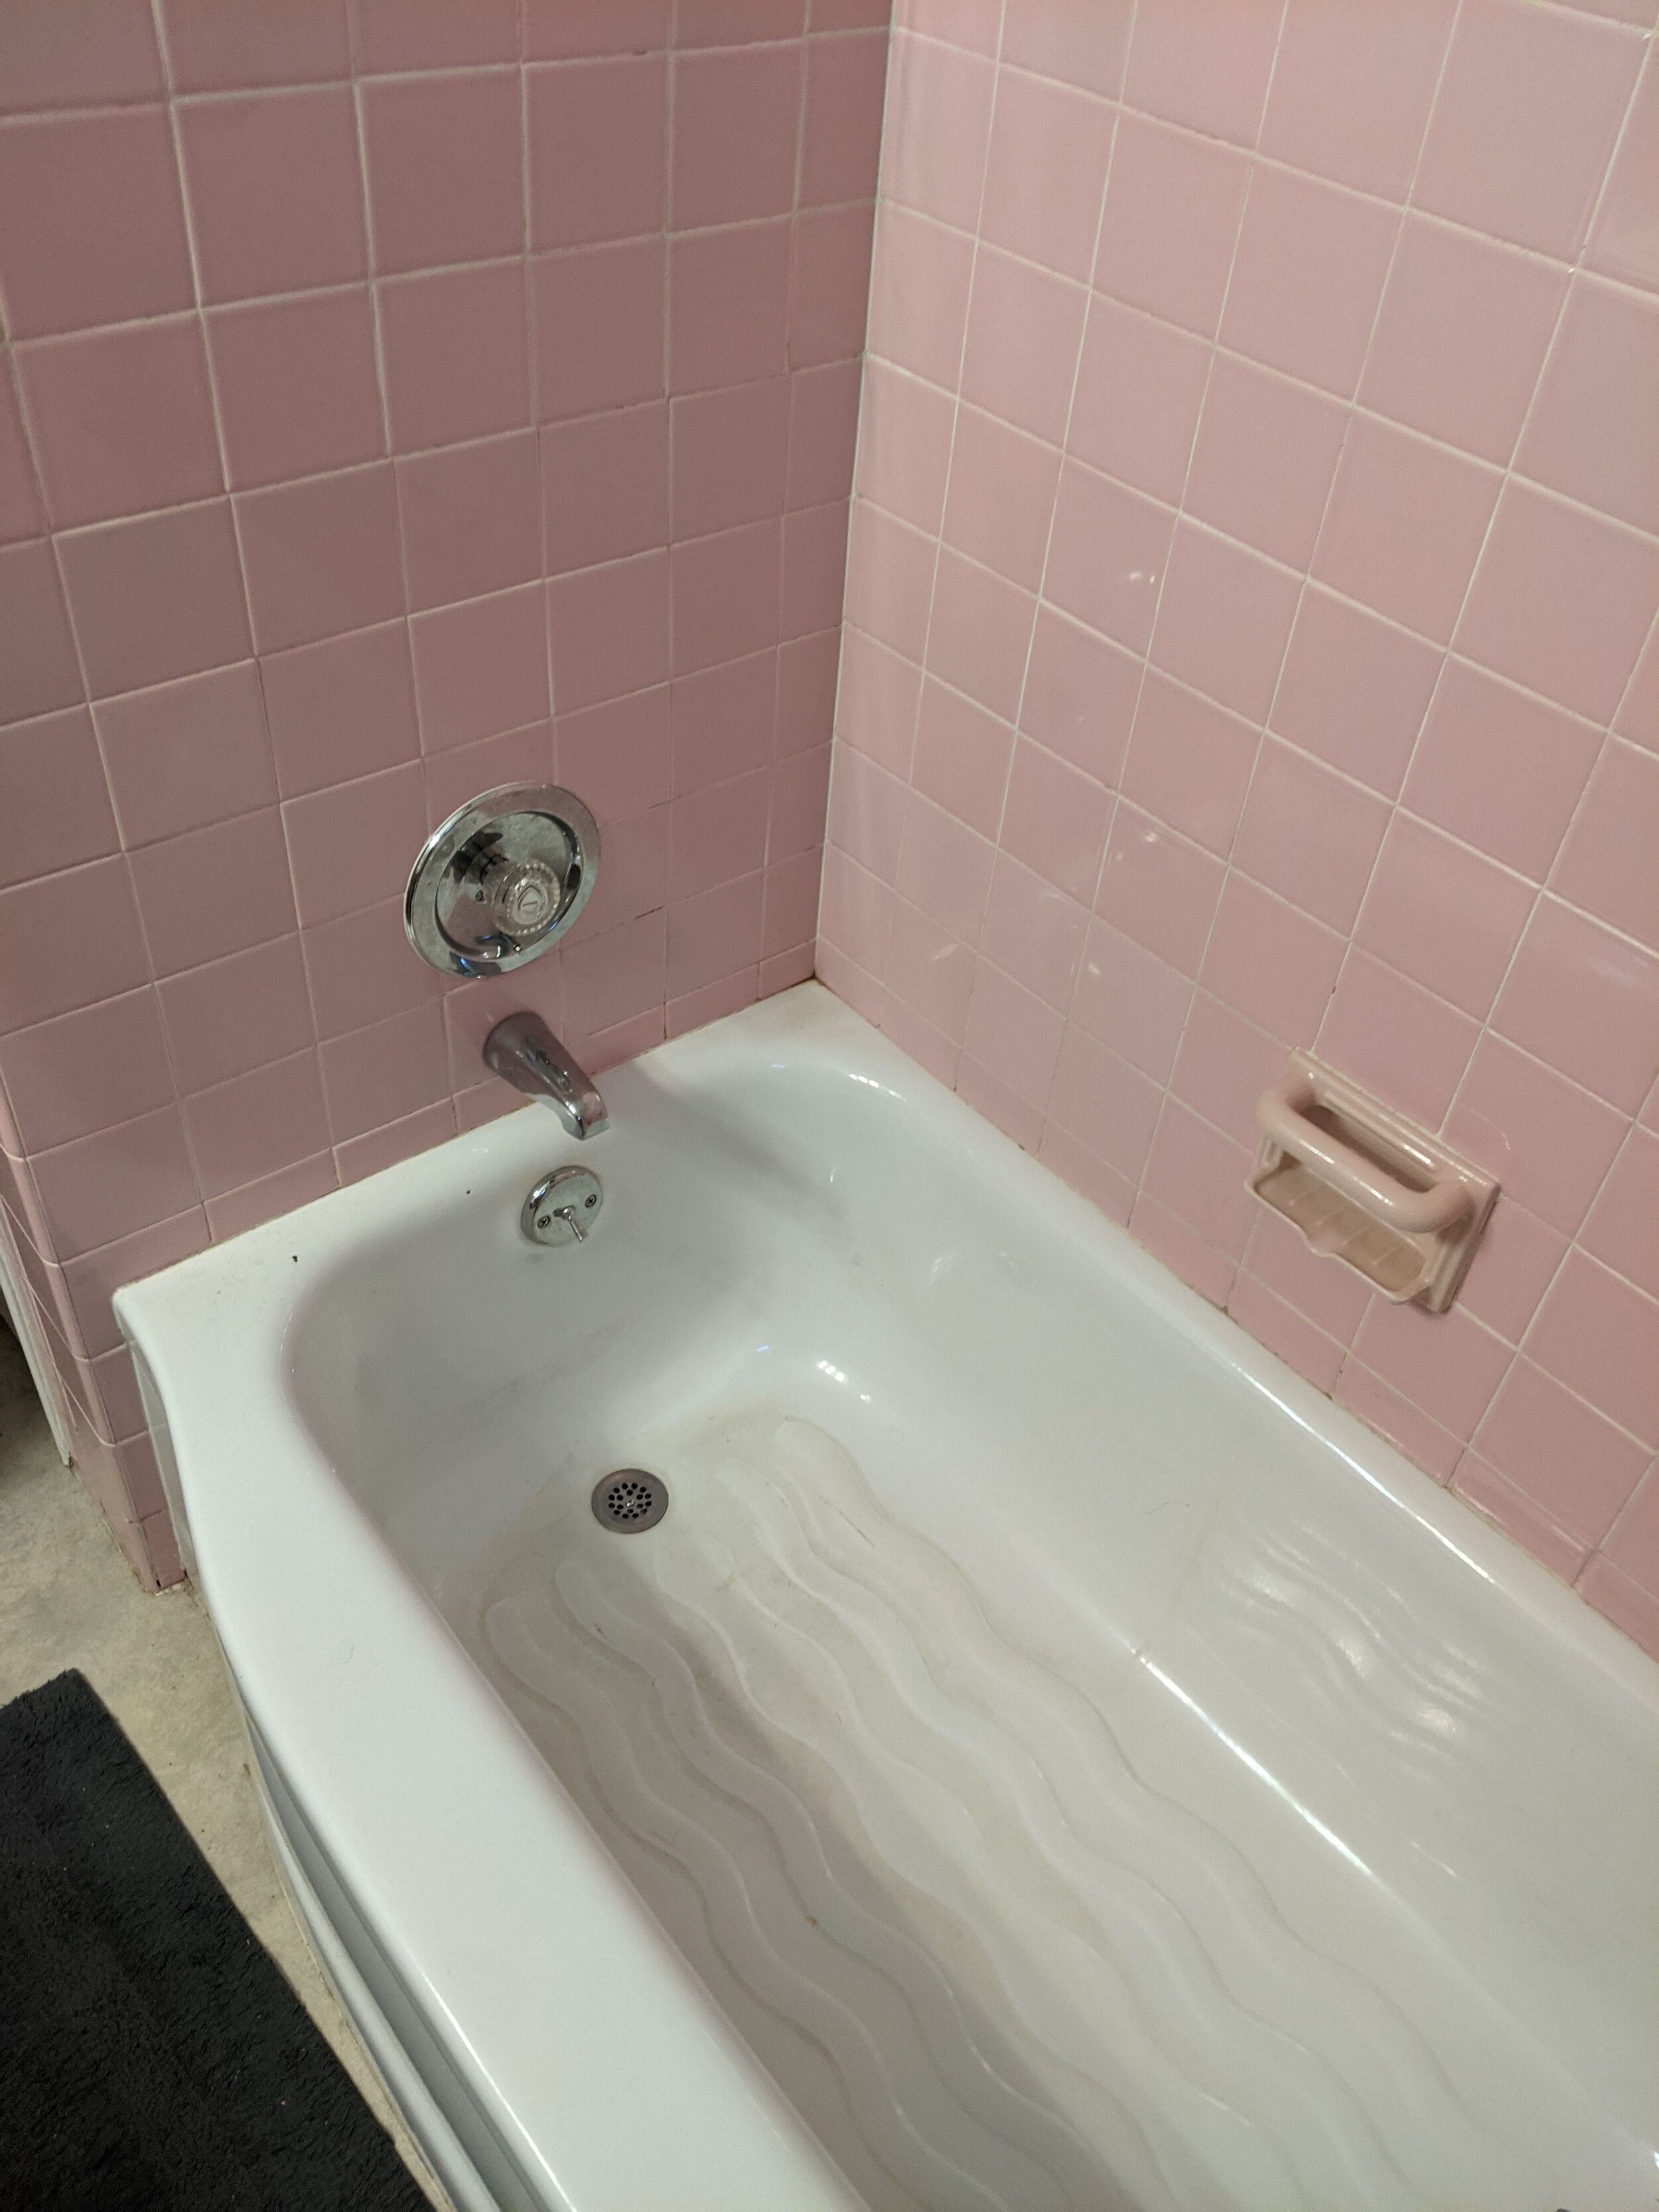
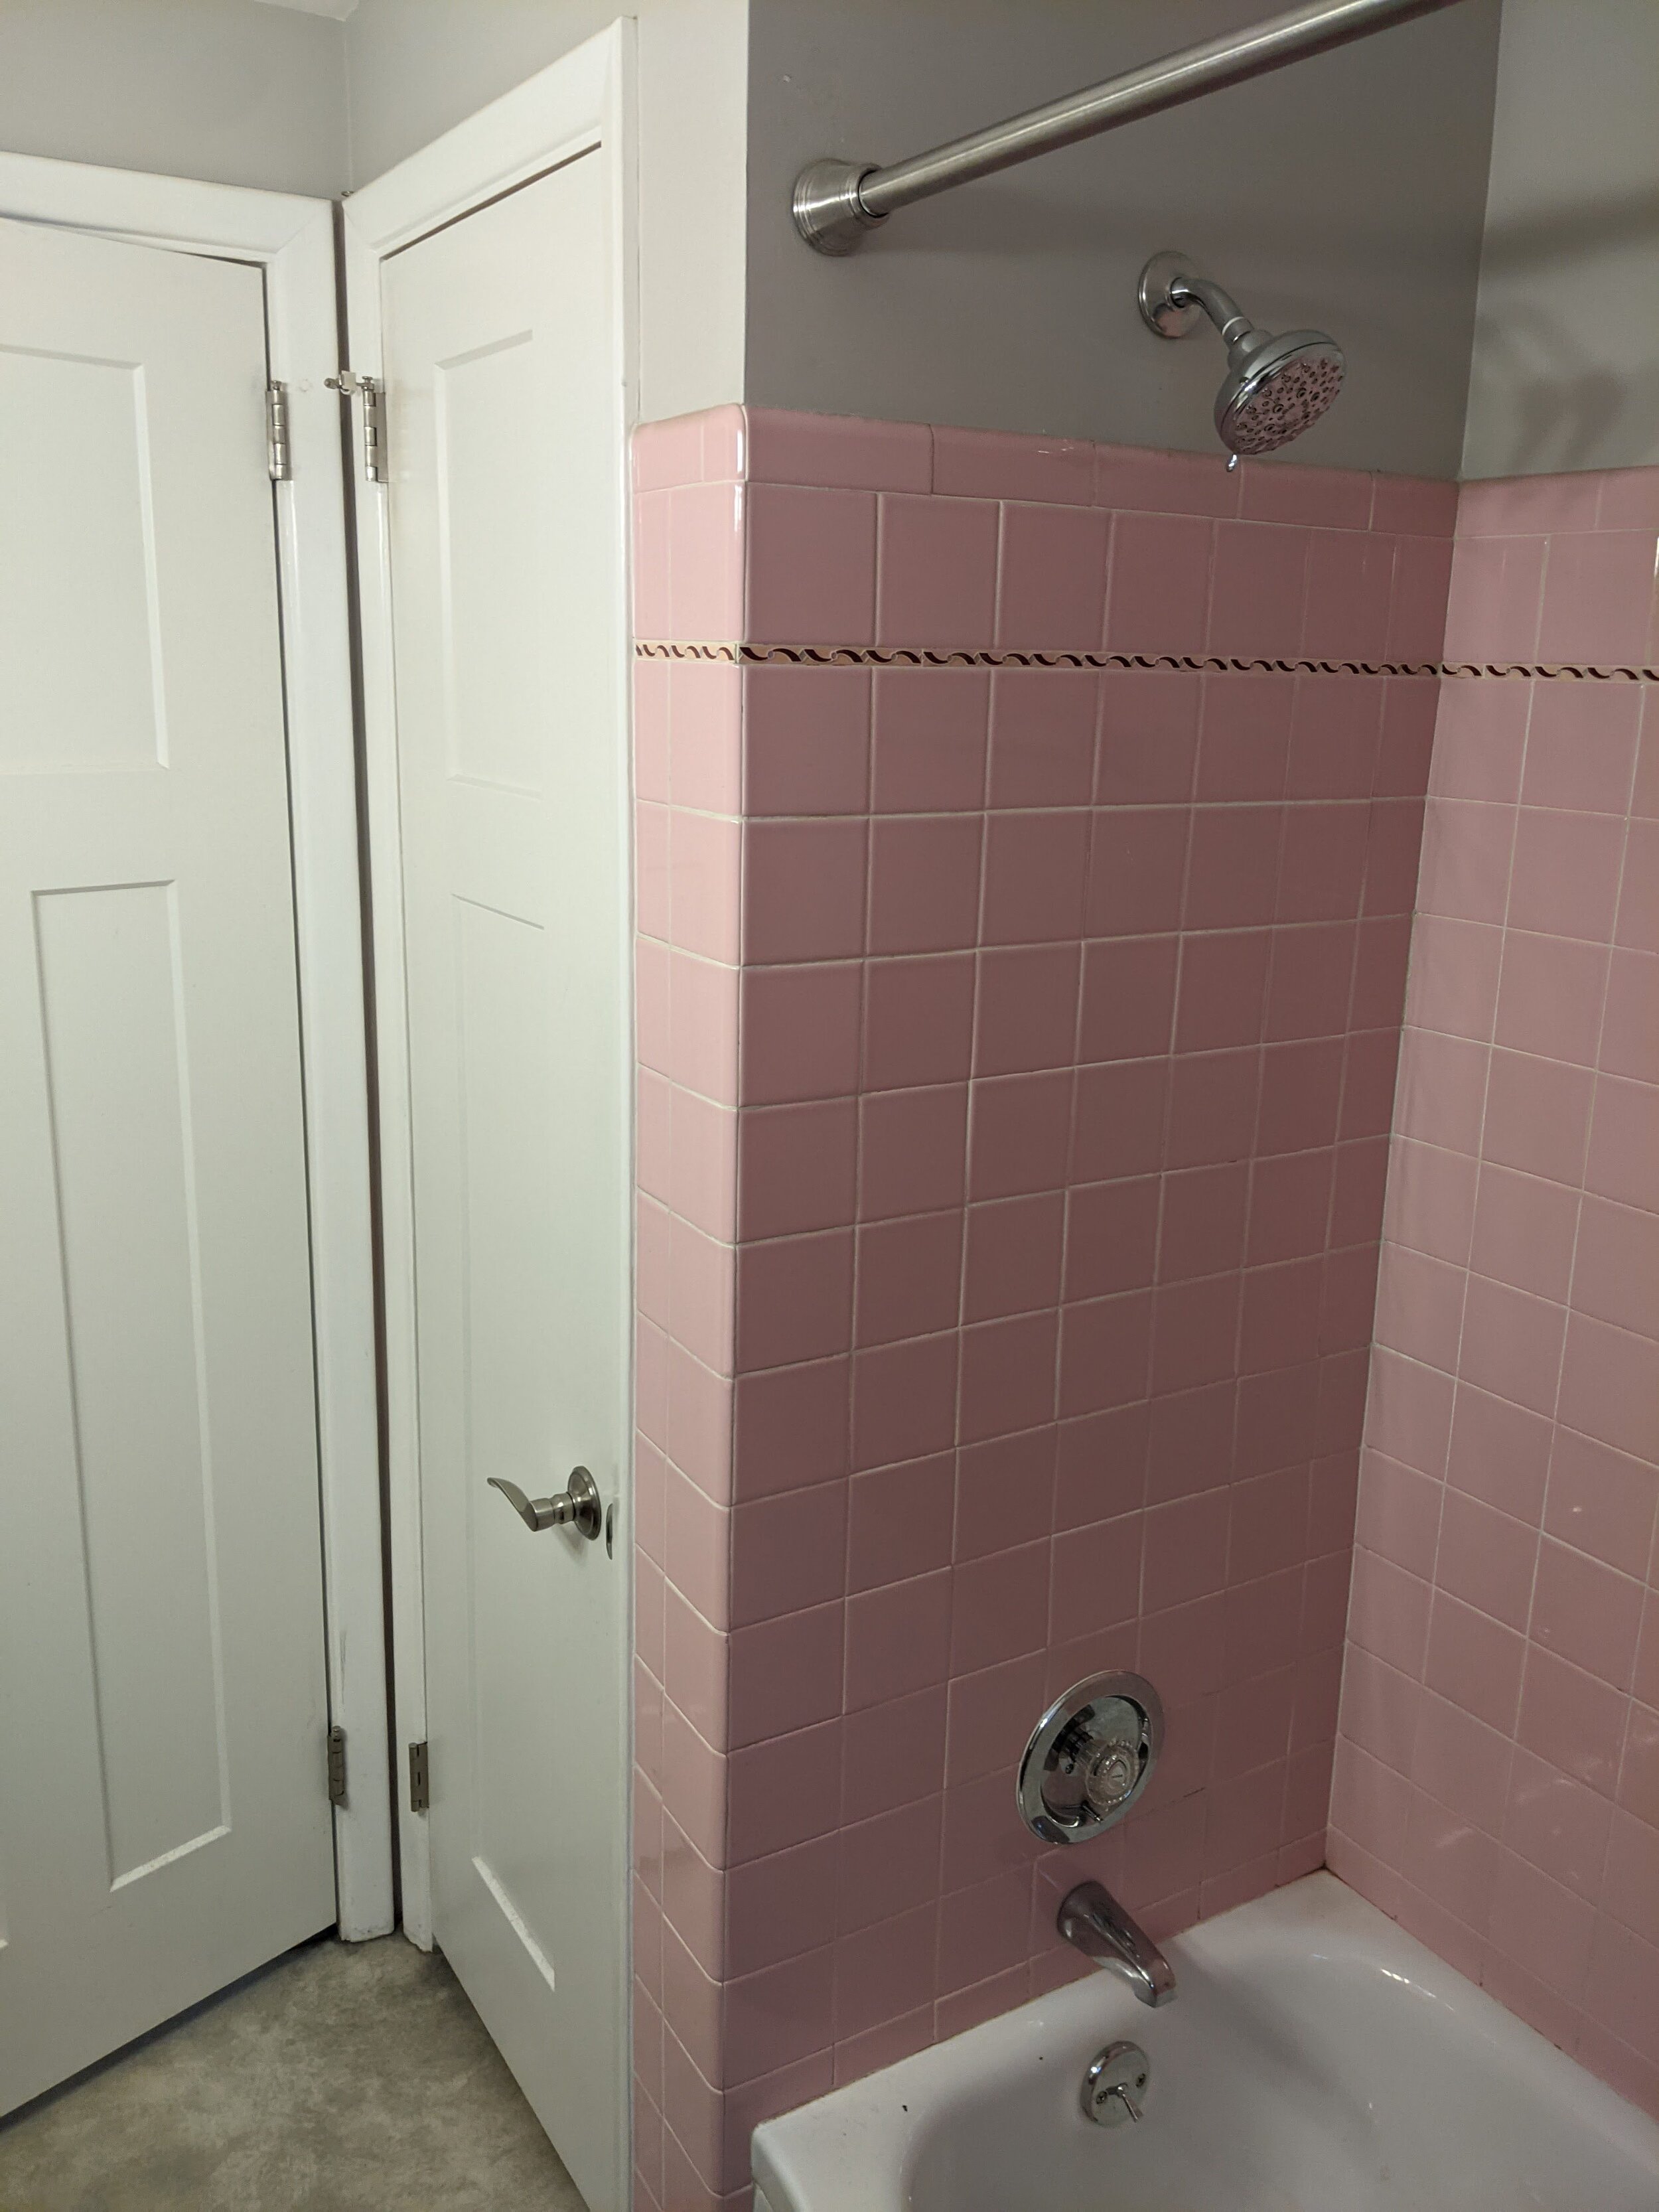
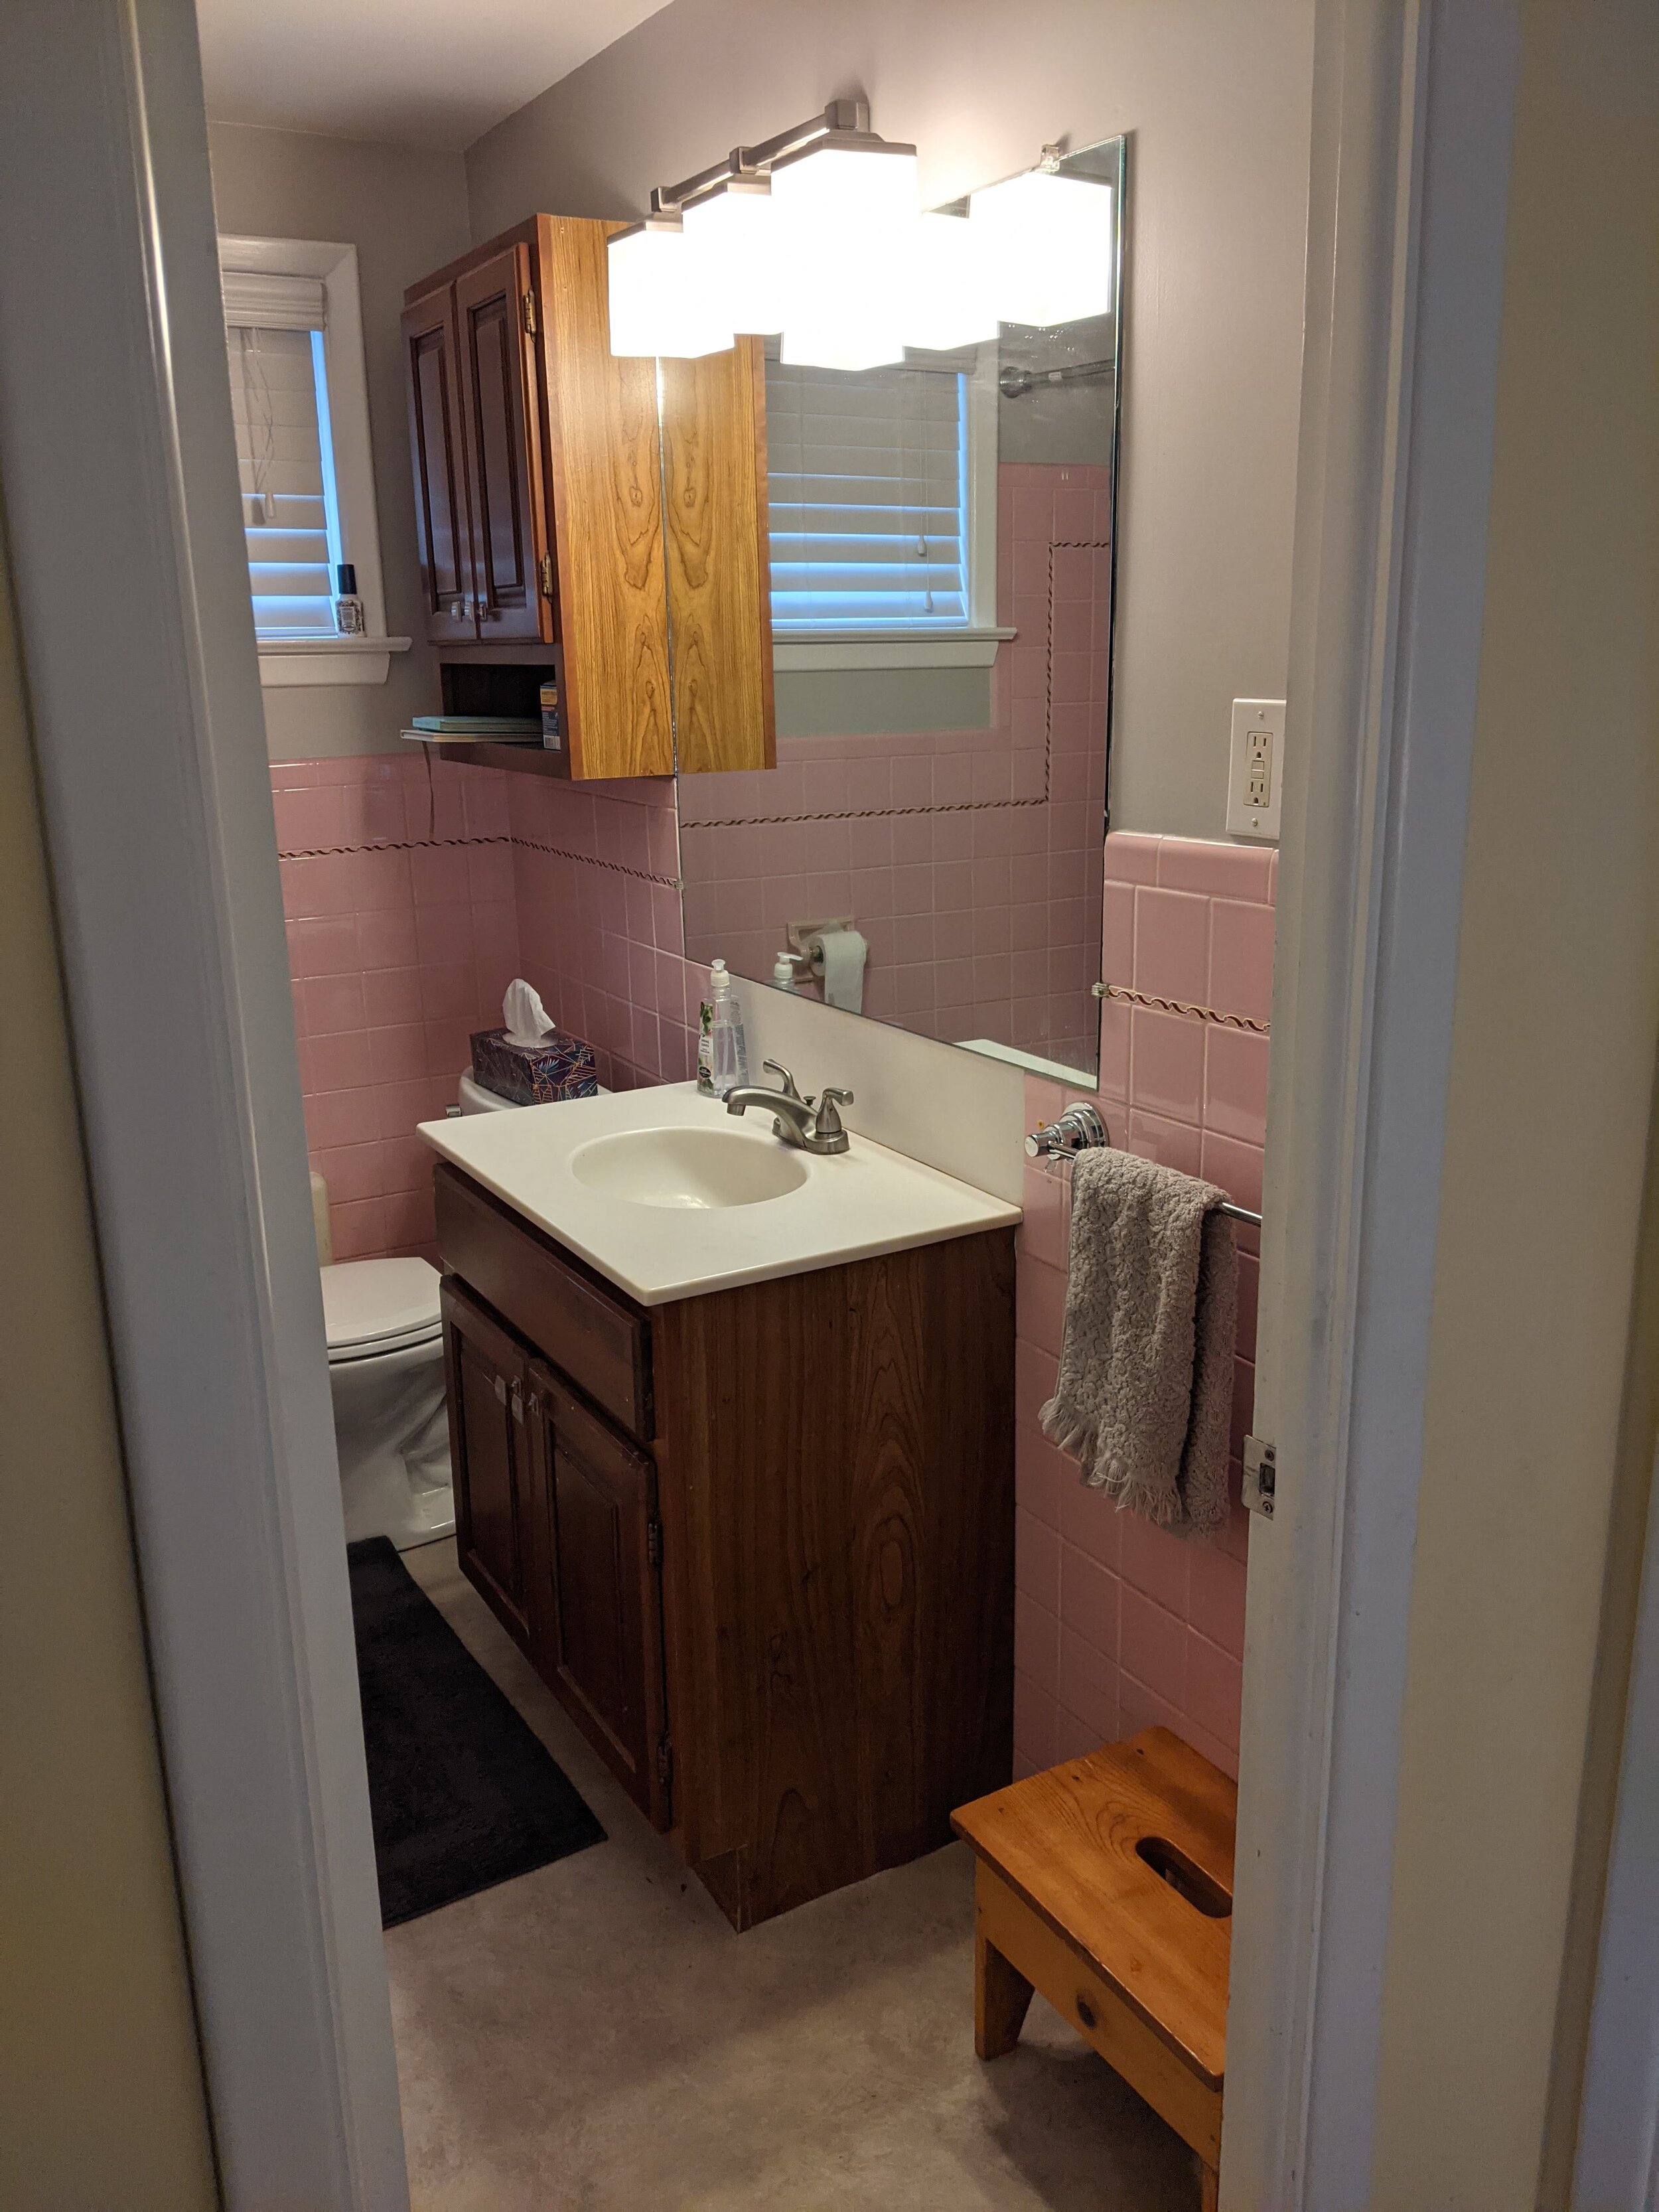
Here’s a good overview of the before issues:
Pink.
Vanity was too big and didn’t match the shelf (different shades of wood).
Heater was old and difficult to clean.
We have three full bathrooms, including a tub upstairs, so we didn’t need a second bathtub.
The kids had pulled off the built-in towel rack so we were using a suction cup one.
The toilet was too long and your knees bumped the shower when you sat down, even though it was a smaller, round toilet bowl.
Did I mention it was pink?


The first hands-on step (after careful planning) in any construction project, DIY or otherwise, is demolition. Keep reading to see if we can demo a project (the right way) with two elementary schoolers, a toddler, and a dog in the house — plus a flight of stairs to the dumpster.


