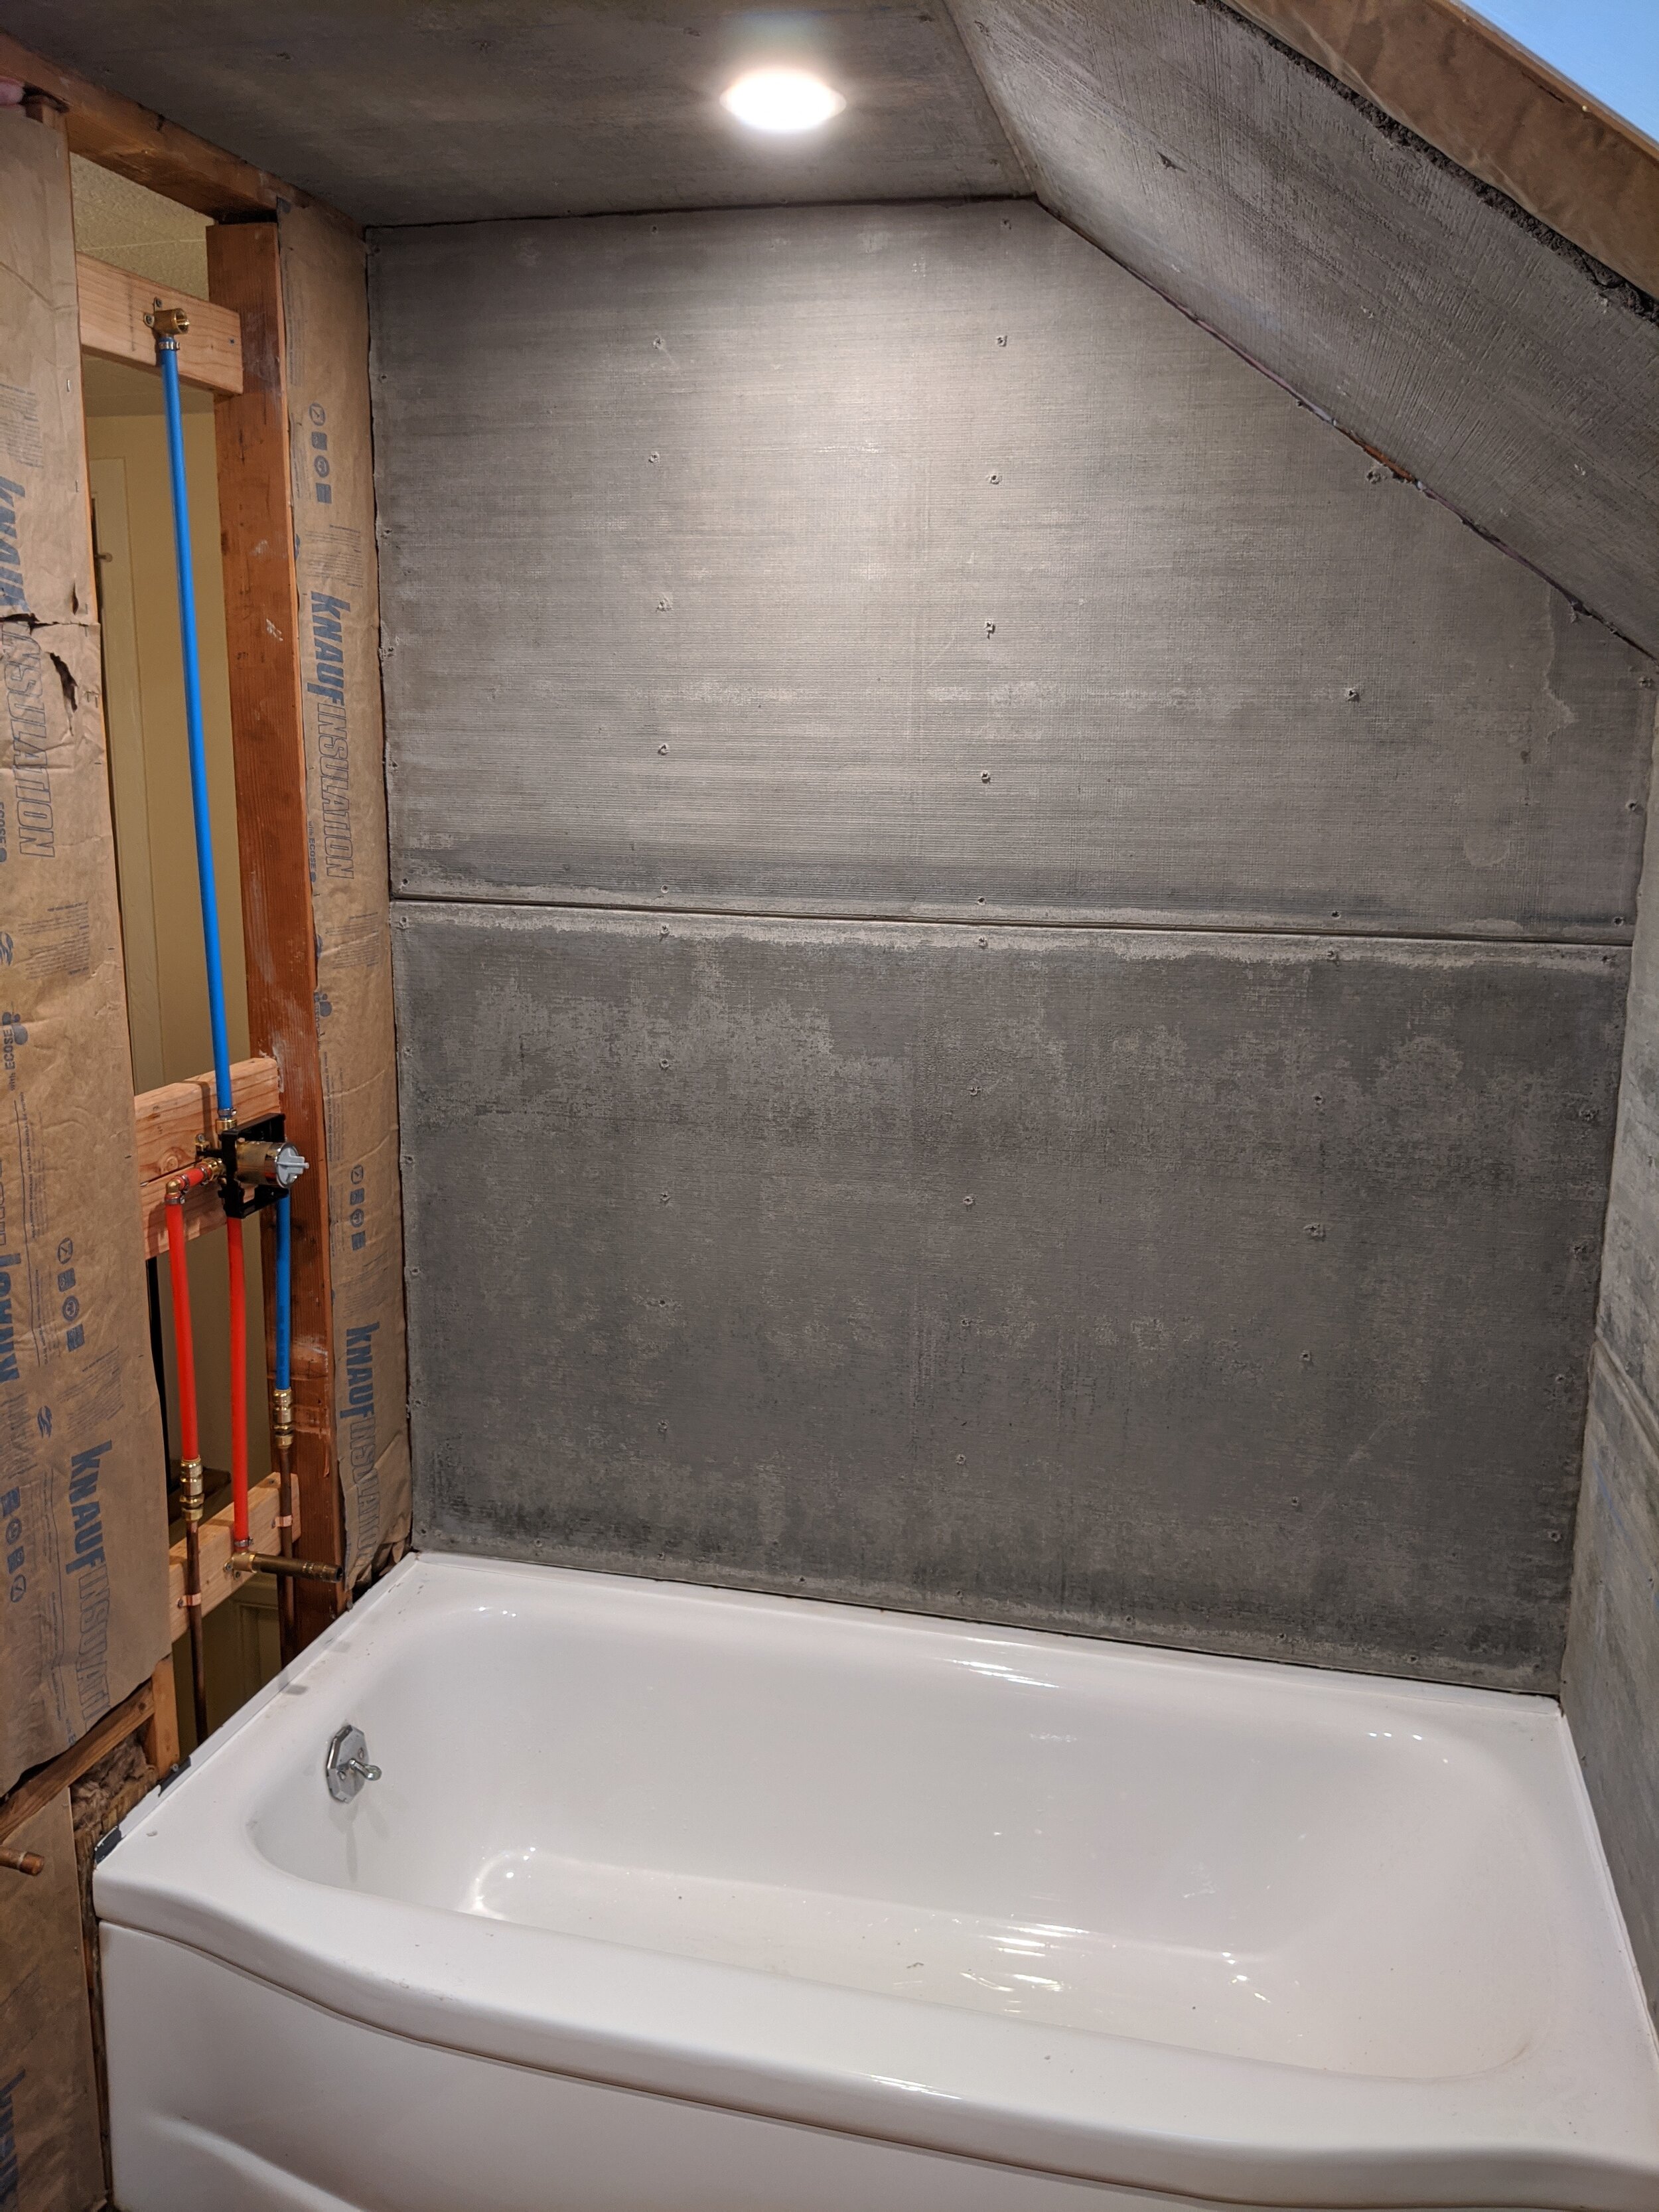
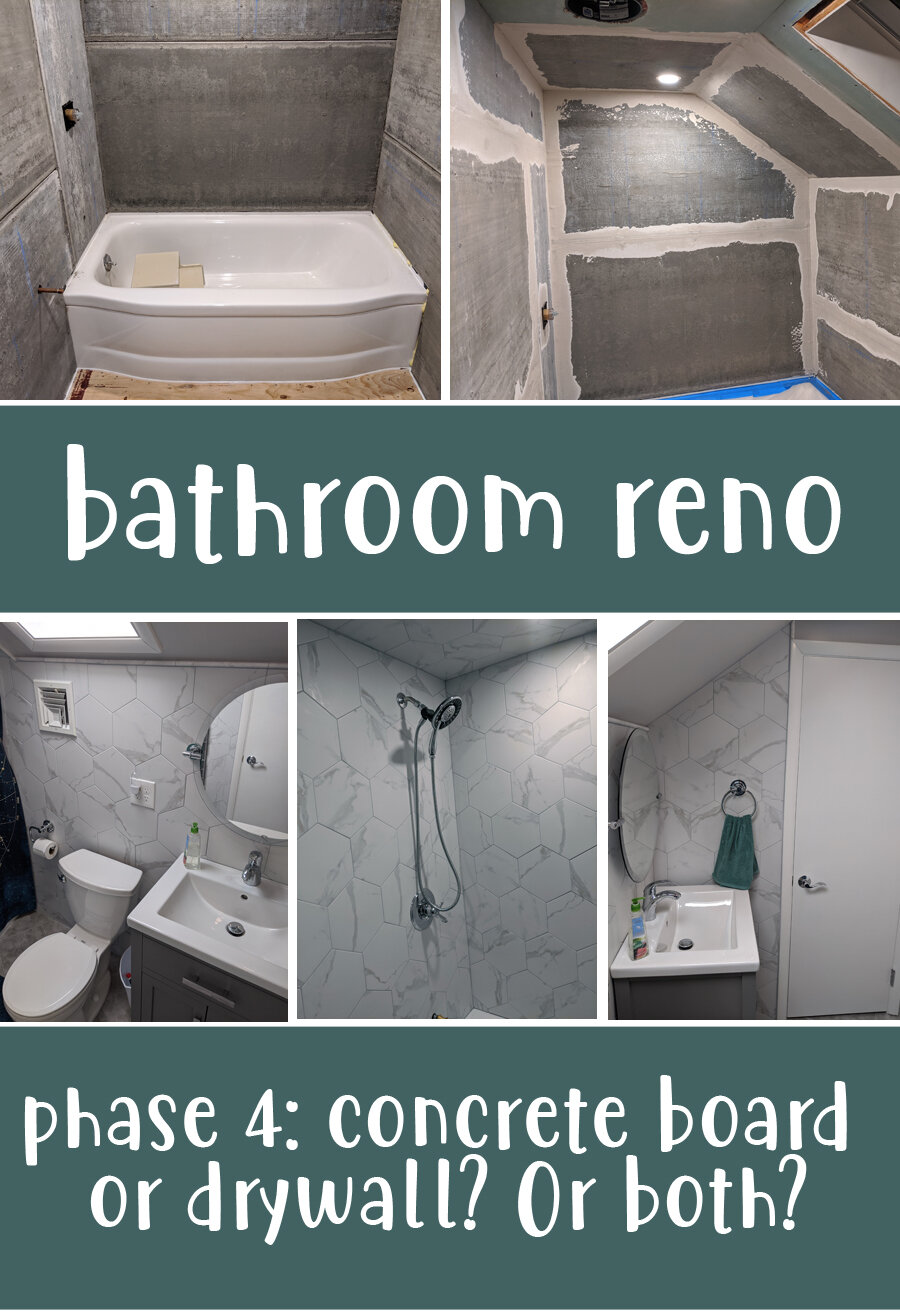
Finally, things are starting to look like a room again! Concrete board is brittle nonsense: hard to cut, easy to accidentally snap, difficult to write lines on… ugh. Drywall, on the other hand, is generally lovely. But you need both to really do it right.
NOTE: Skip back if you want to see an overview (including “the before”) or previous steps we’ve already completed, or skip ahead if you’re looking for a different step in the process.
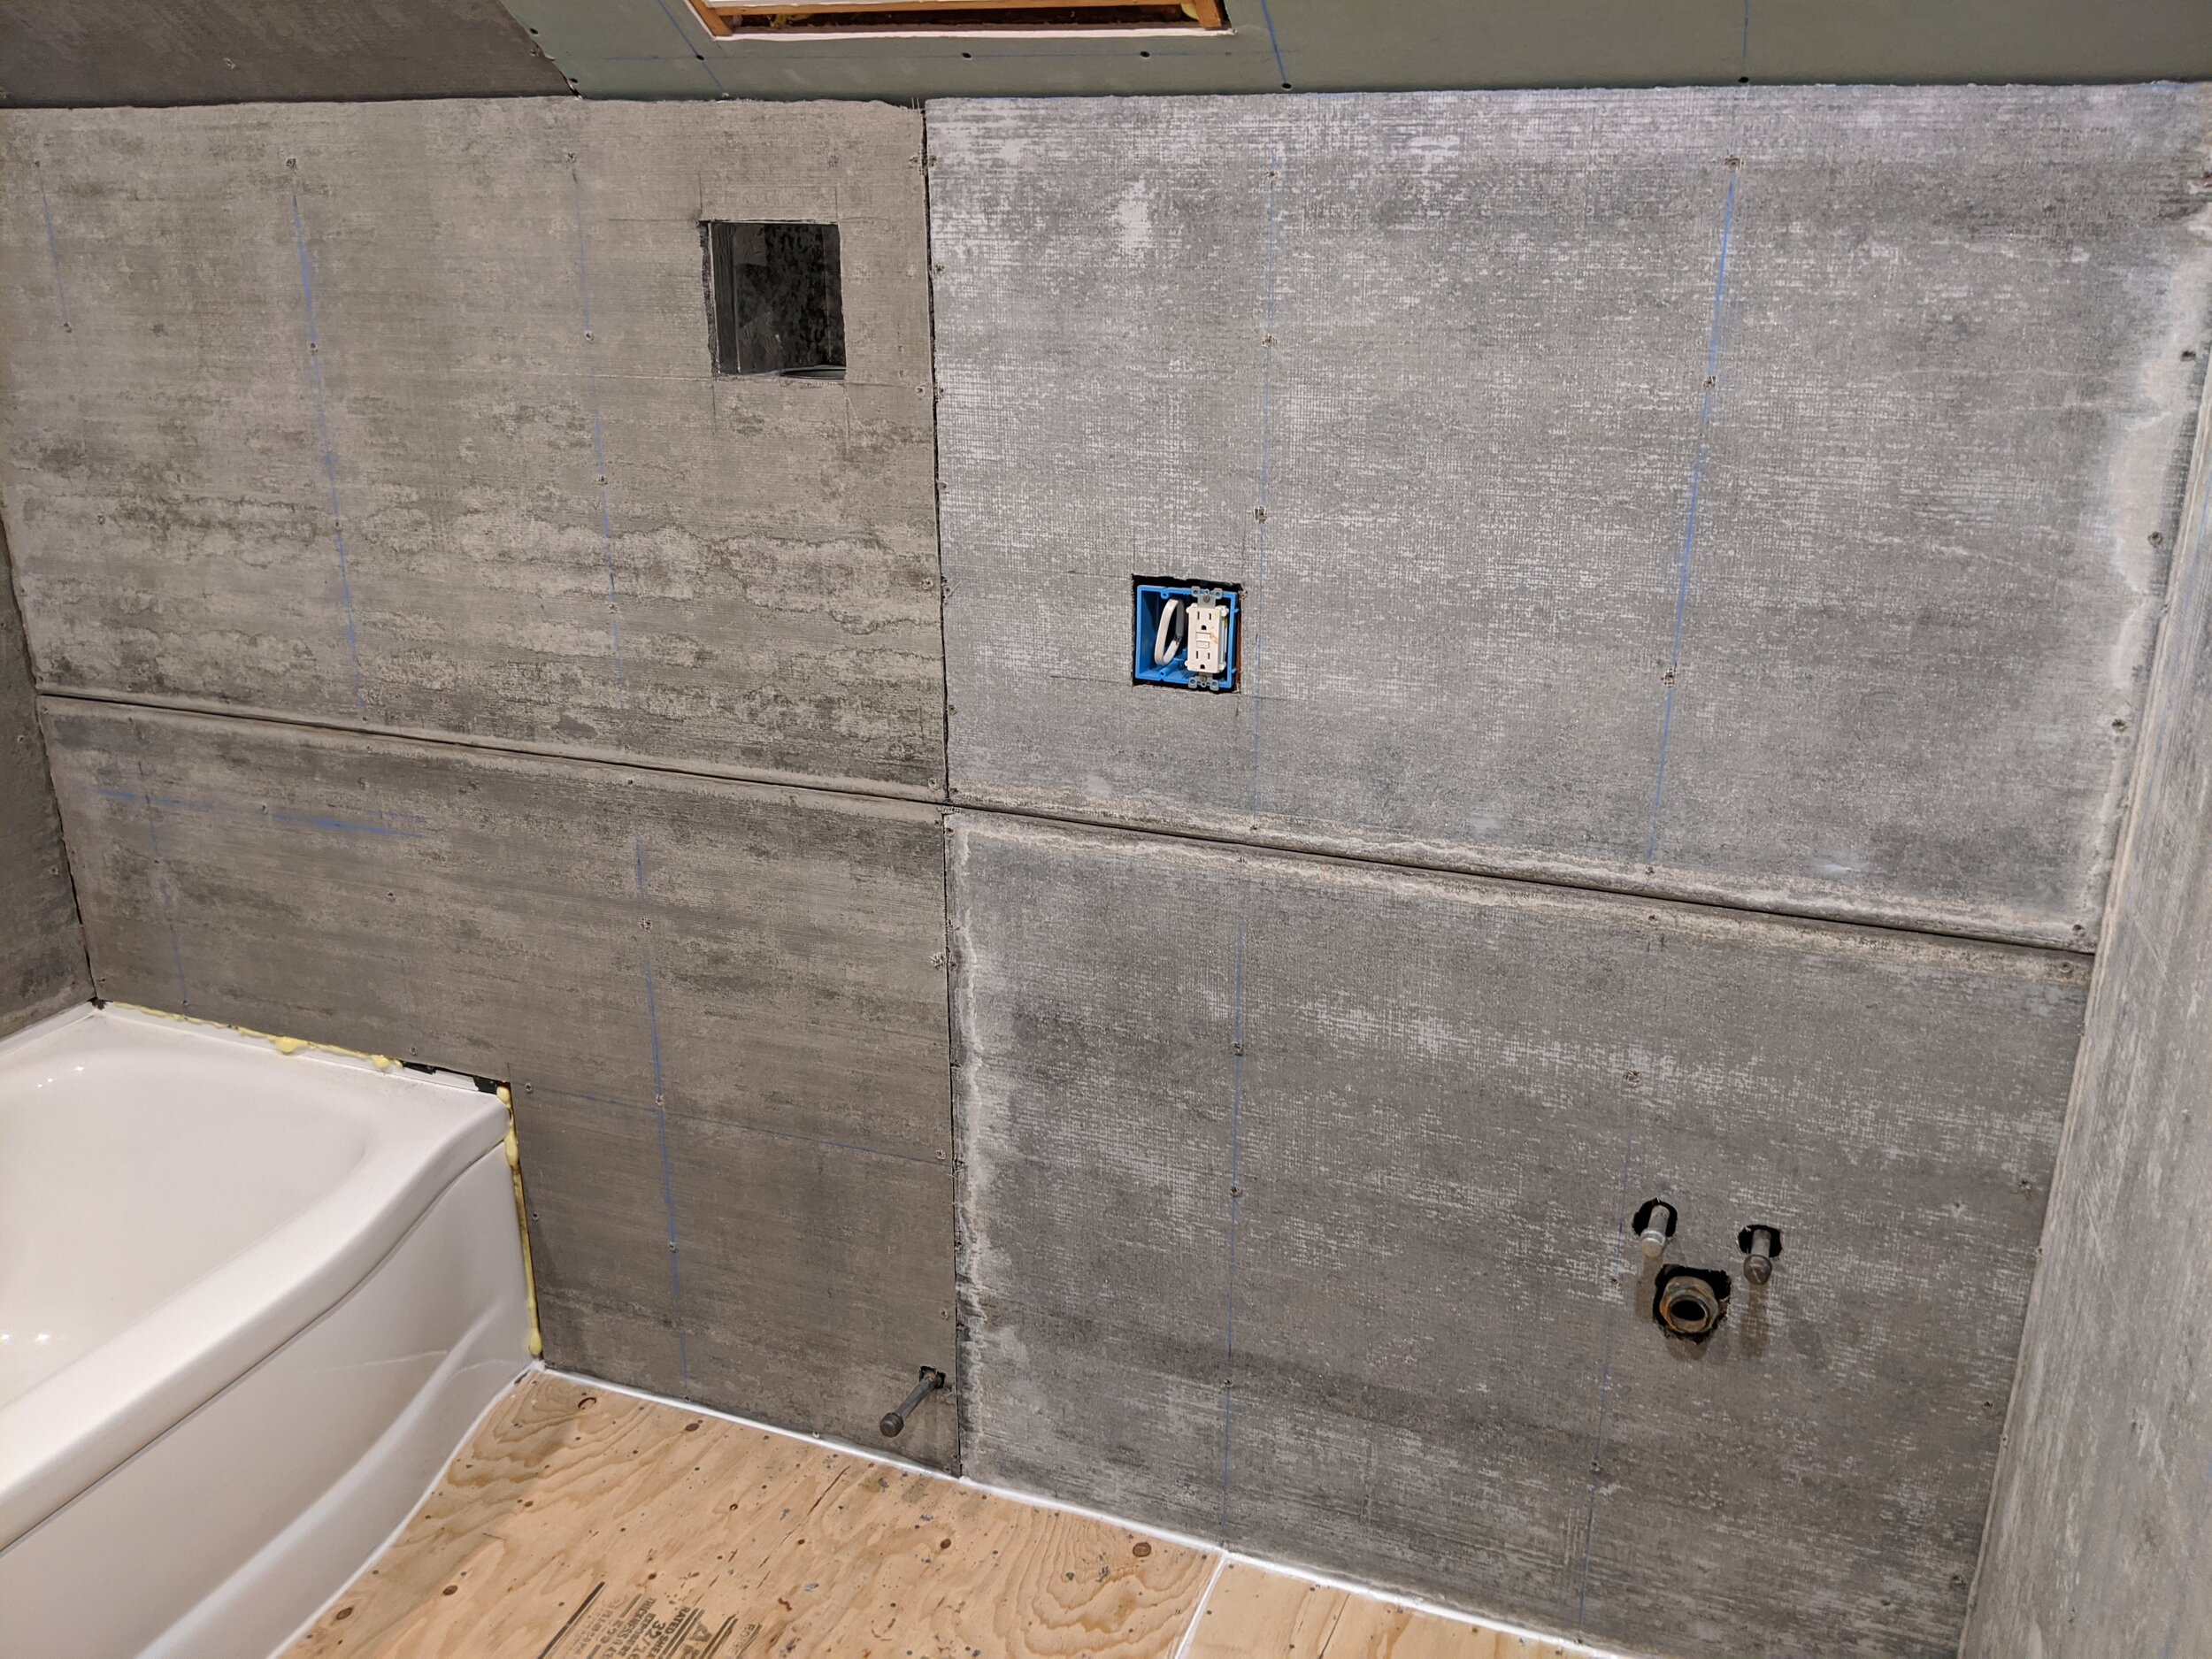
Concrete board is best for its waterproof magical power, and great for tiling over over in a shower.
Drywall is best for its power to be super-smooth, so good for being painted in the areas that aren’t going to be regularly bombarded by water.
Hanging the walls means cutting out a lot of little holes. Holes for the plumbing pipes, holes for the electrical outlets, holes for the lights. It’s a lot of measuring and sawing!
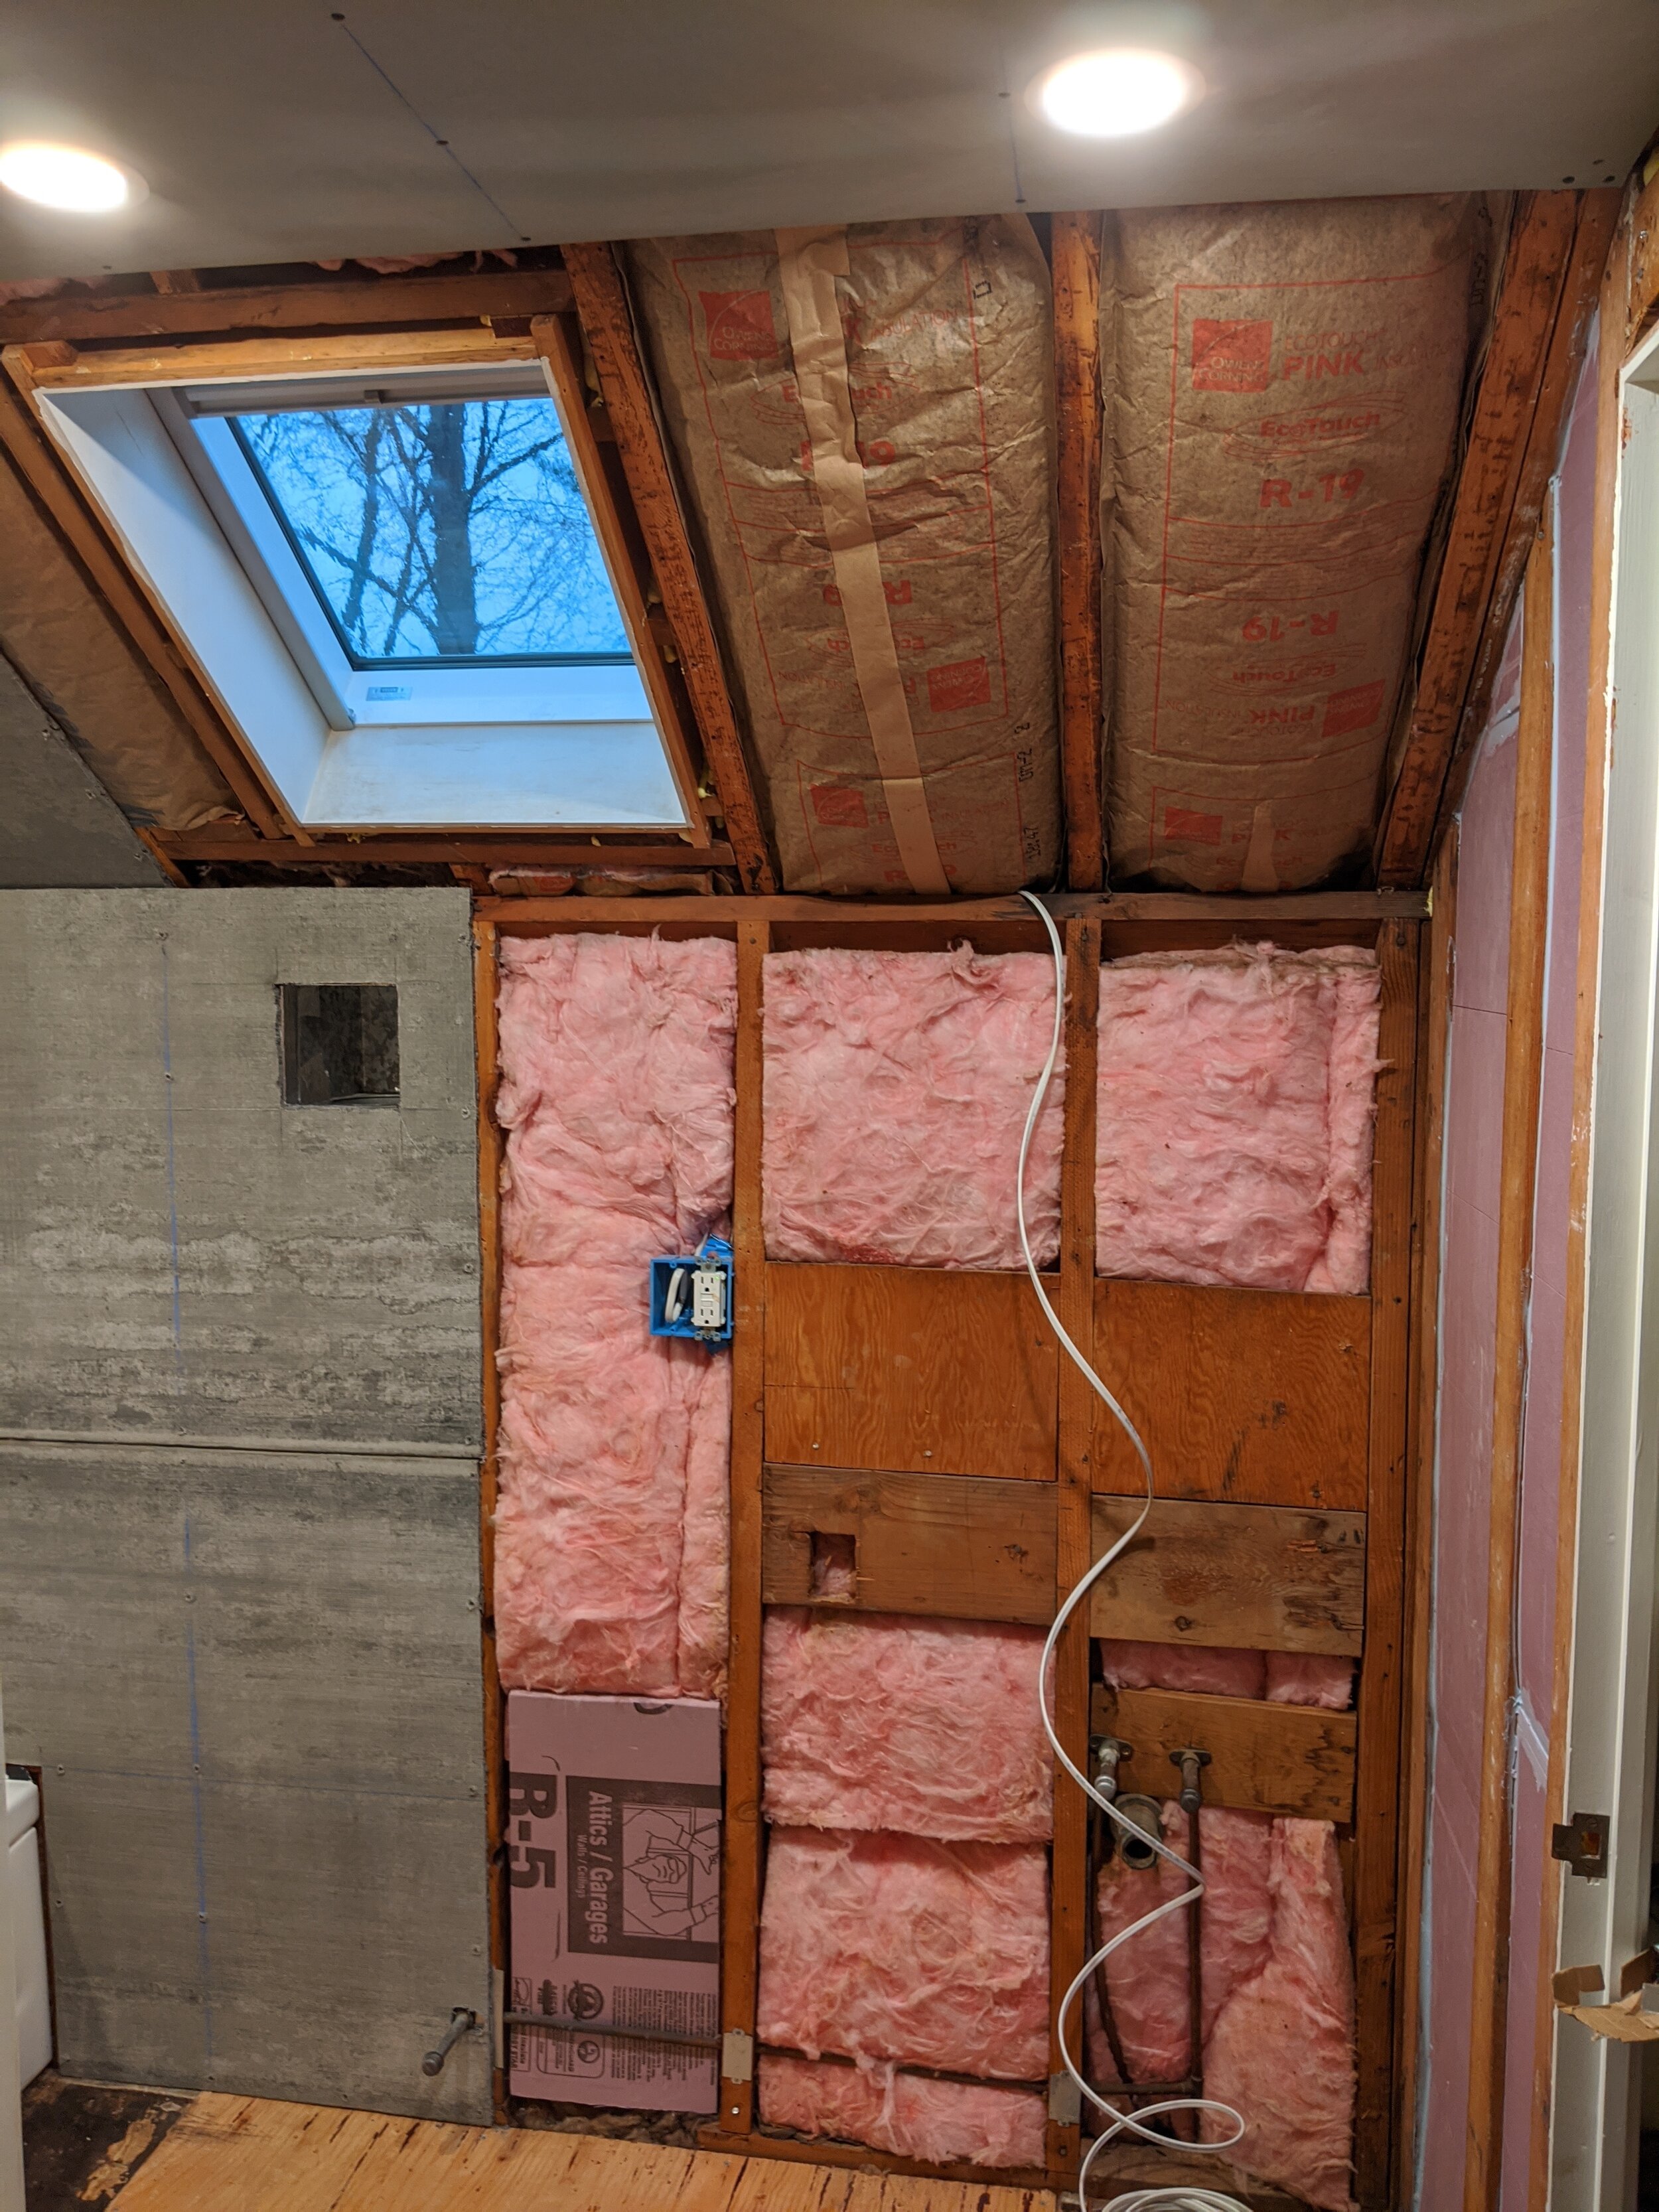
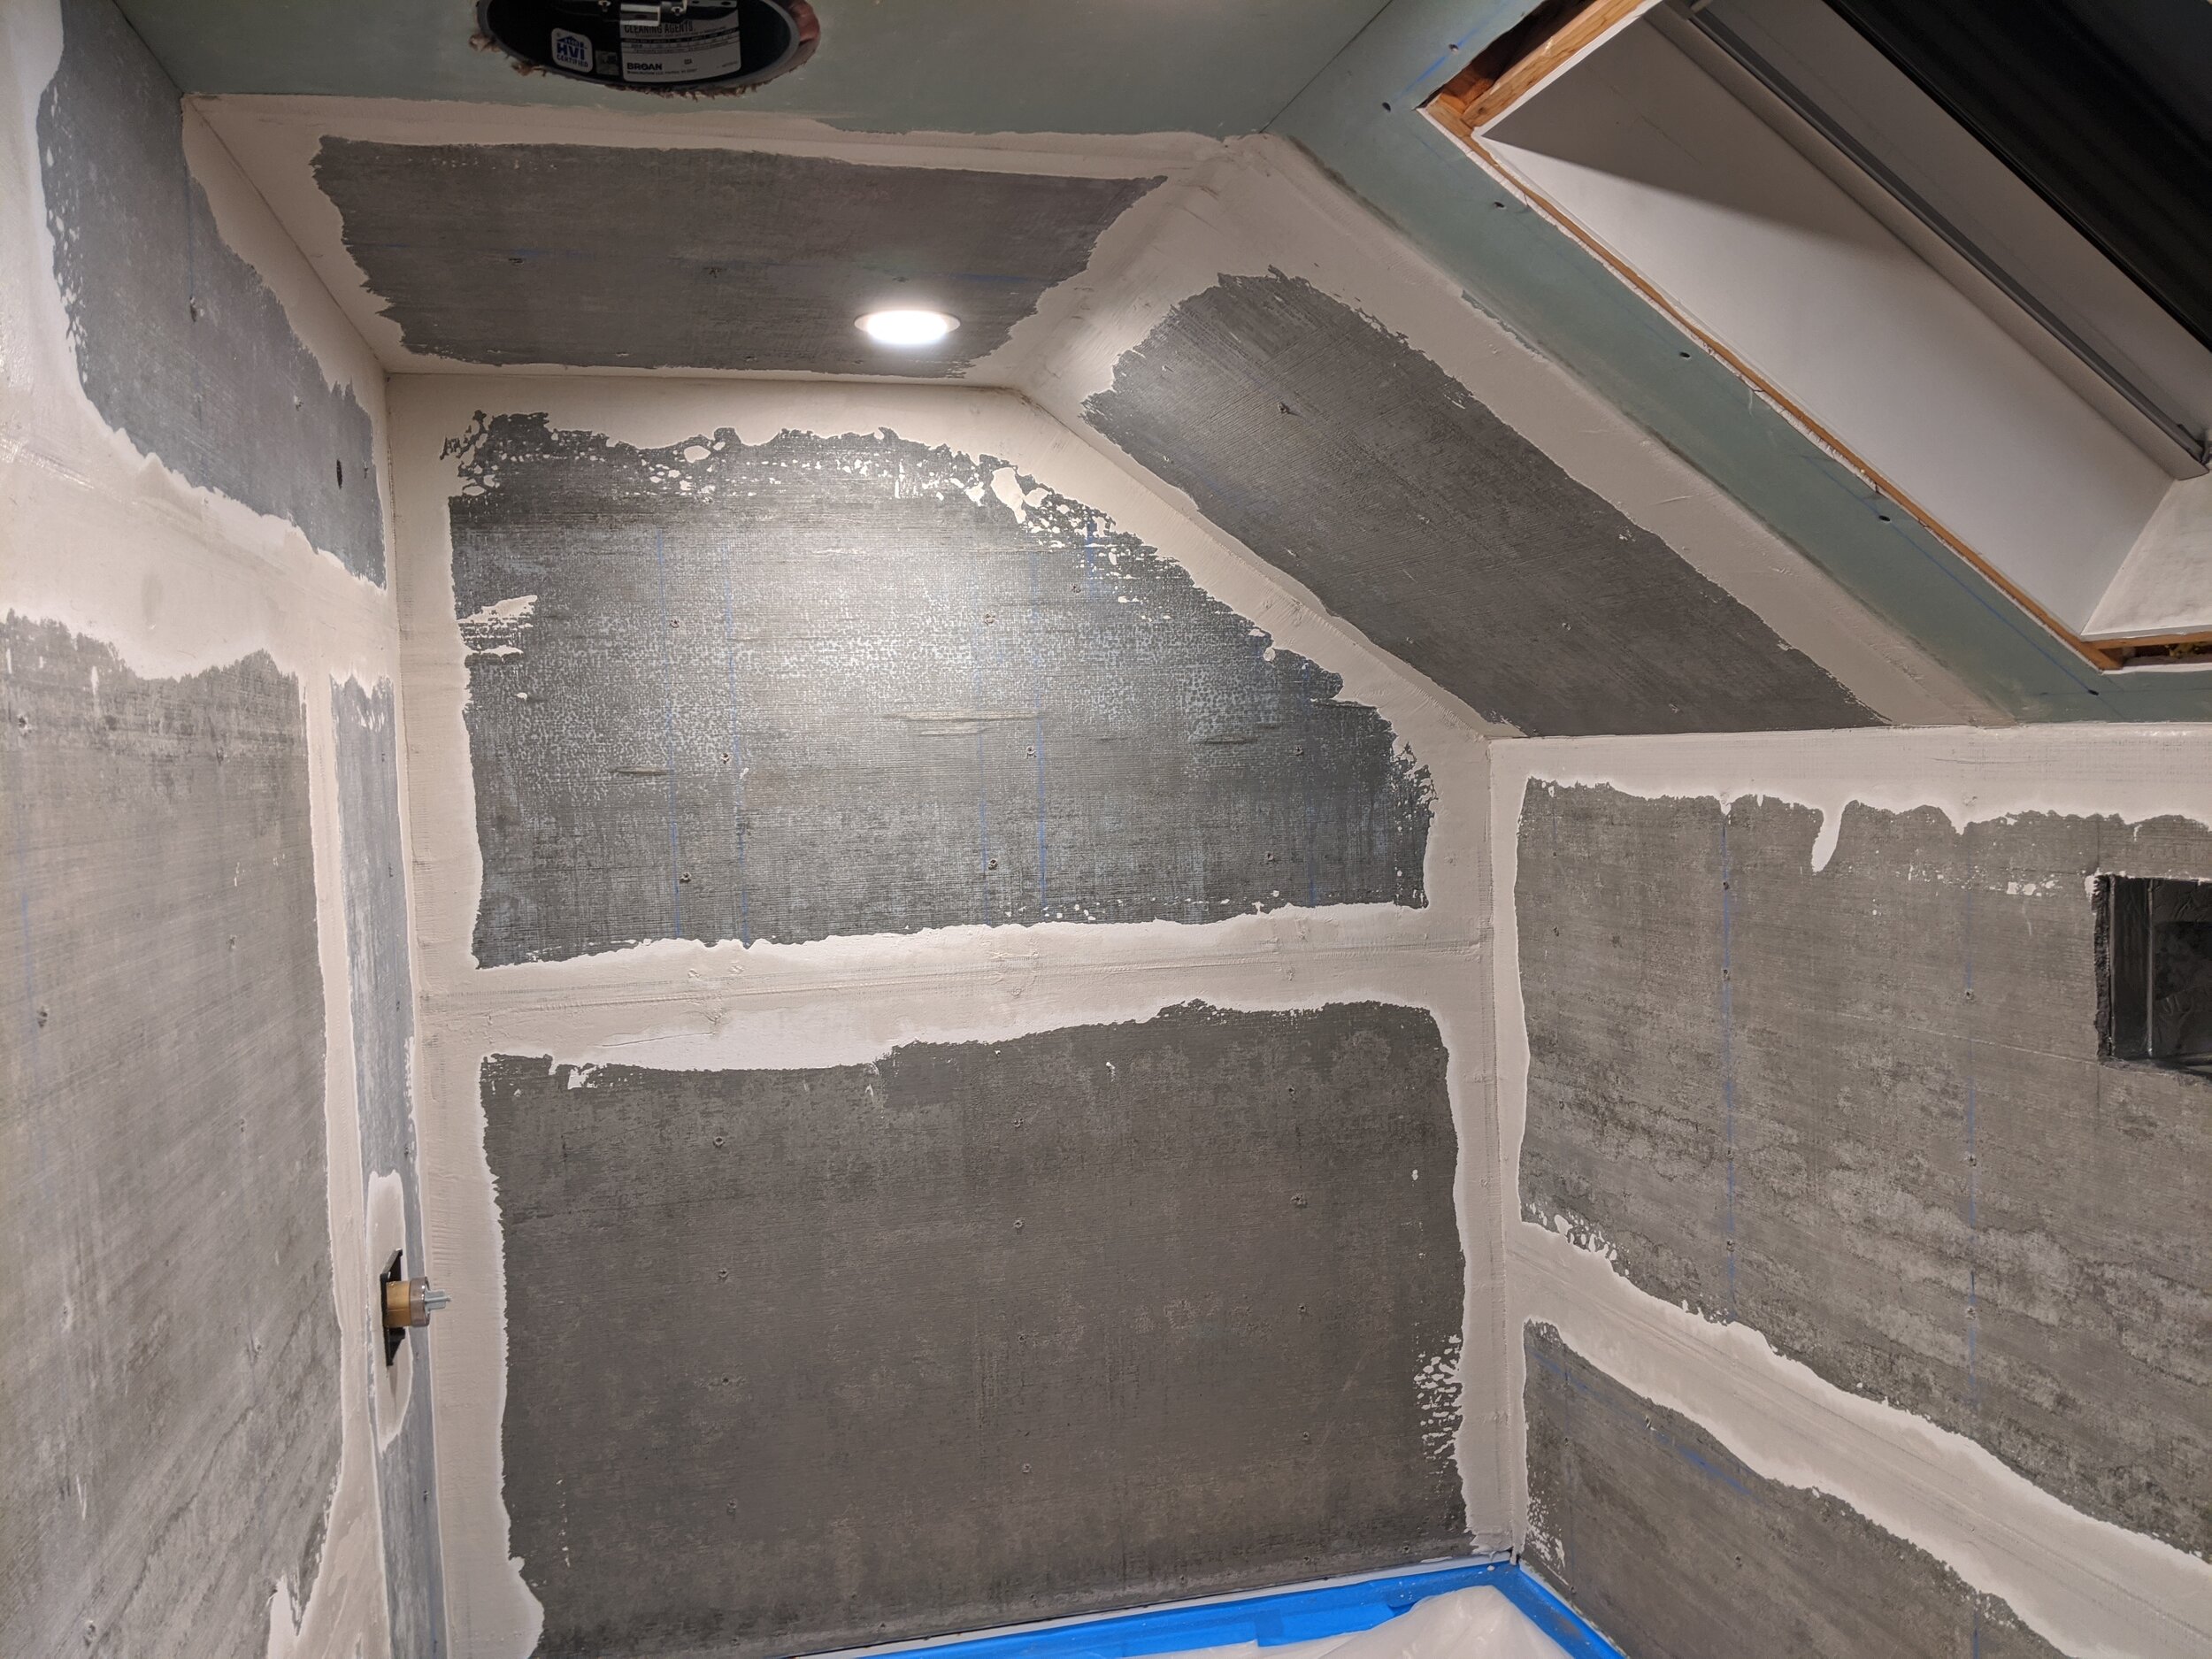
We have, as you’ve likely noticed from my pictures, an oddly shaped room. The upstairs is caped in this portion, and there’s a skylight. So we had a LOT of cutting to do. After everything is cut (and cut again, then trimmed, then doesn’t fit because you’re holding it upside down, then FINALLY gets screwed in, you’re ready to ‘mud’ — which really just means taping and putting special mortar and drywall joint compound on the seams.
STEP 8: Concrete board and drywall
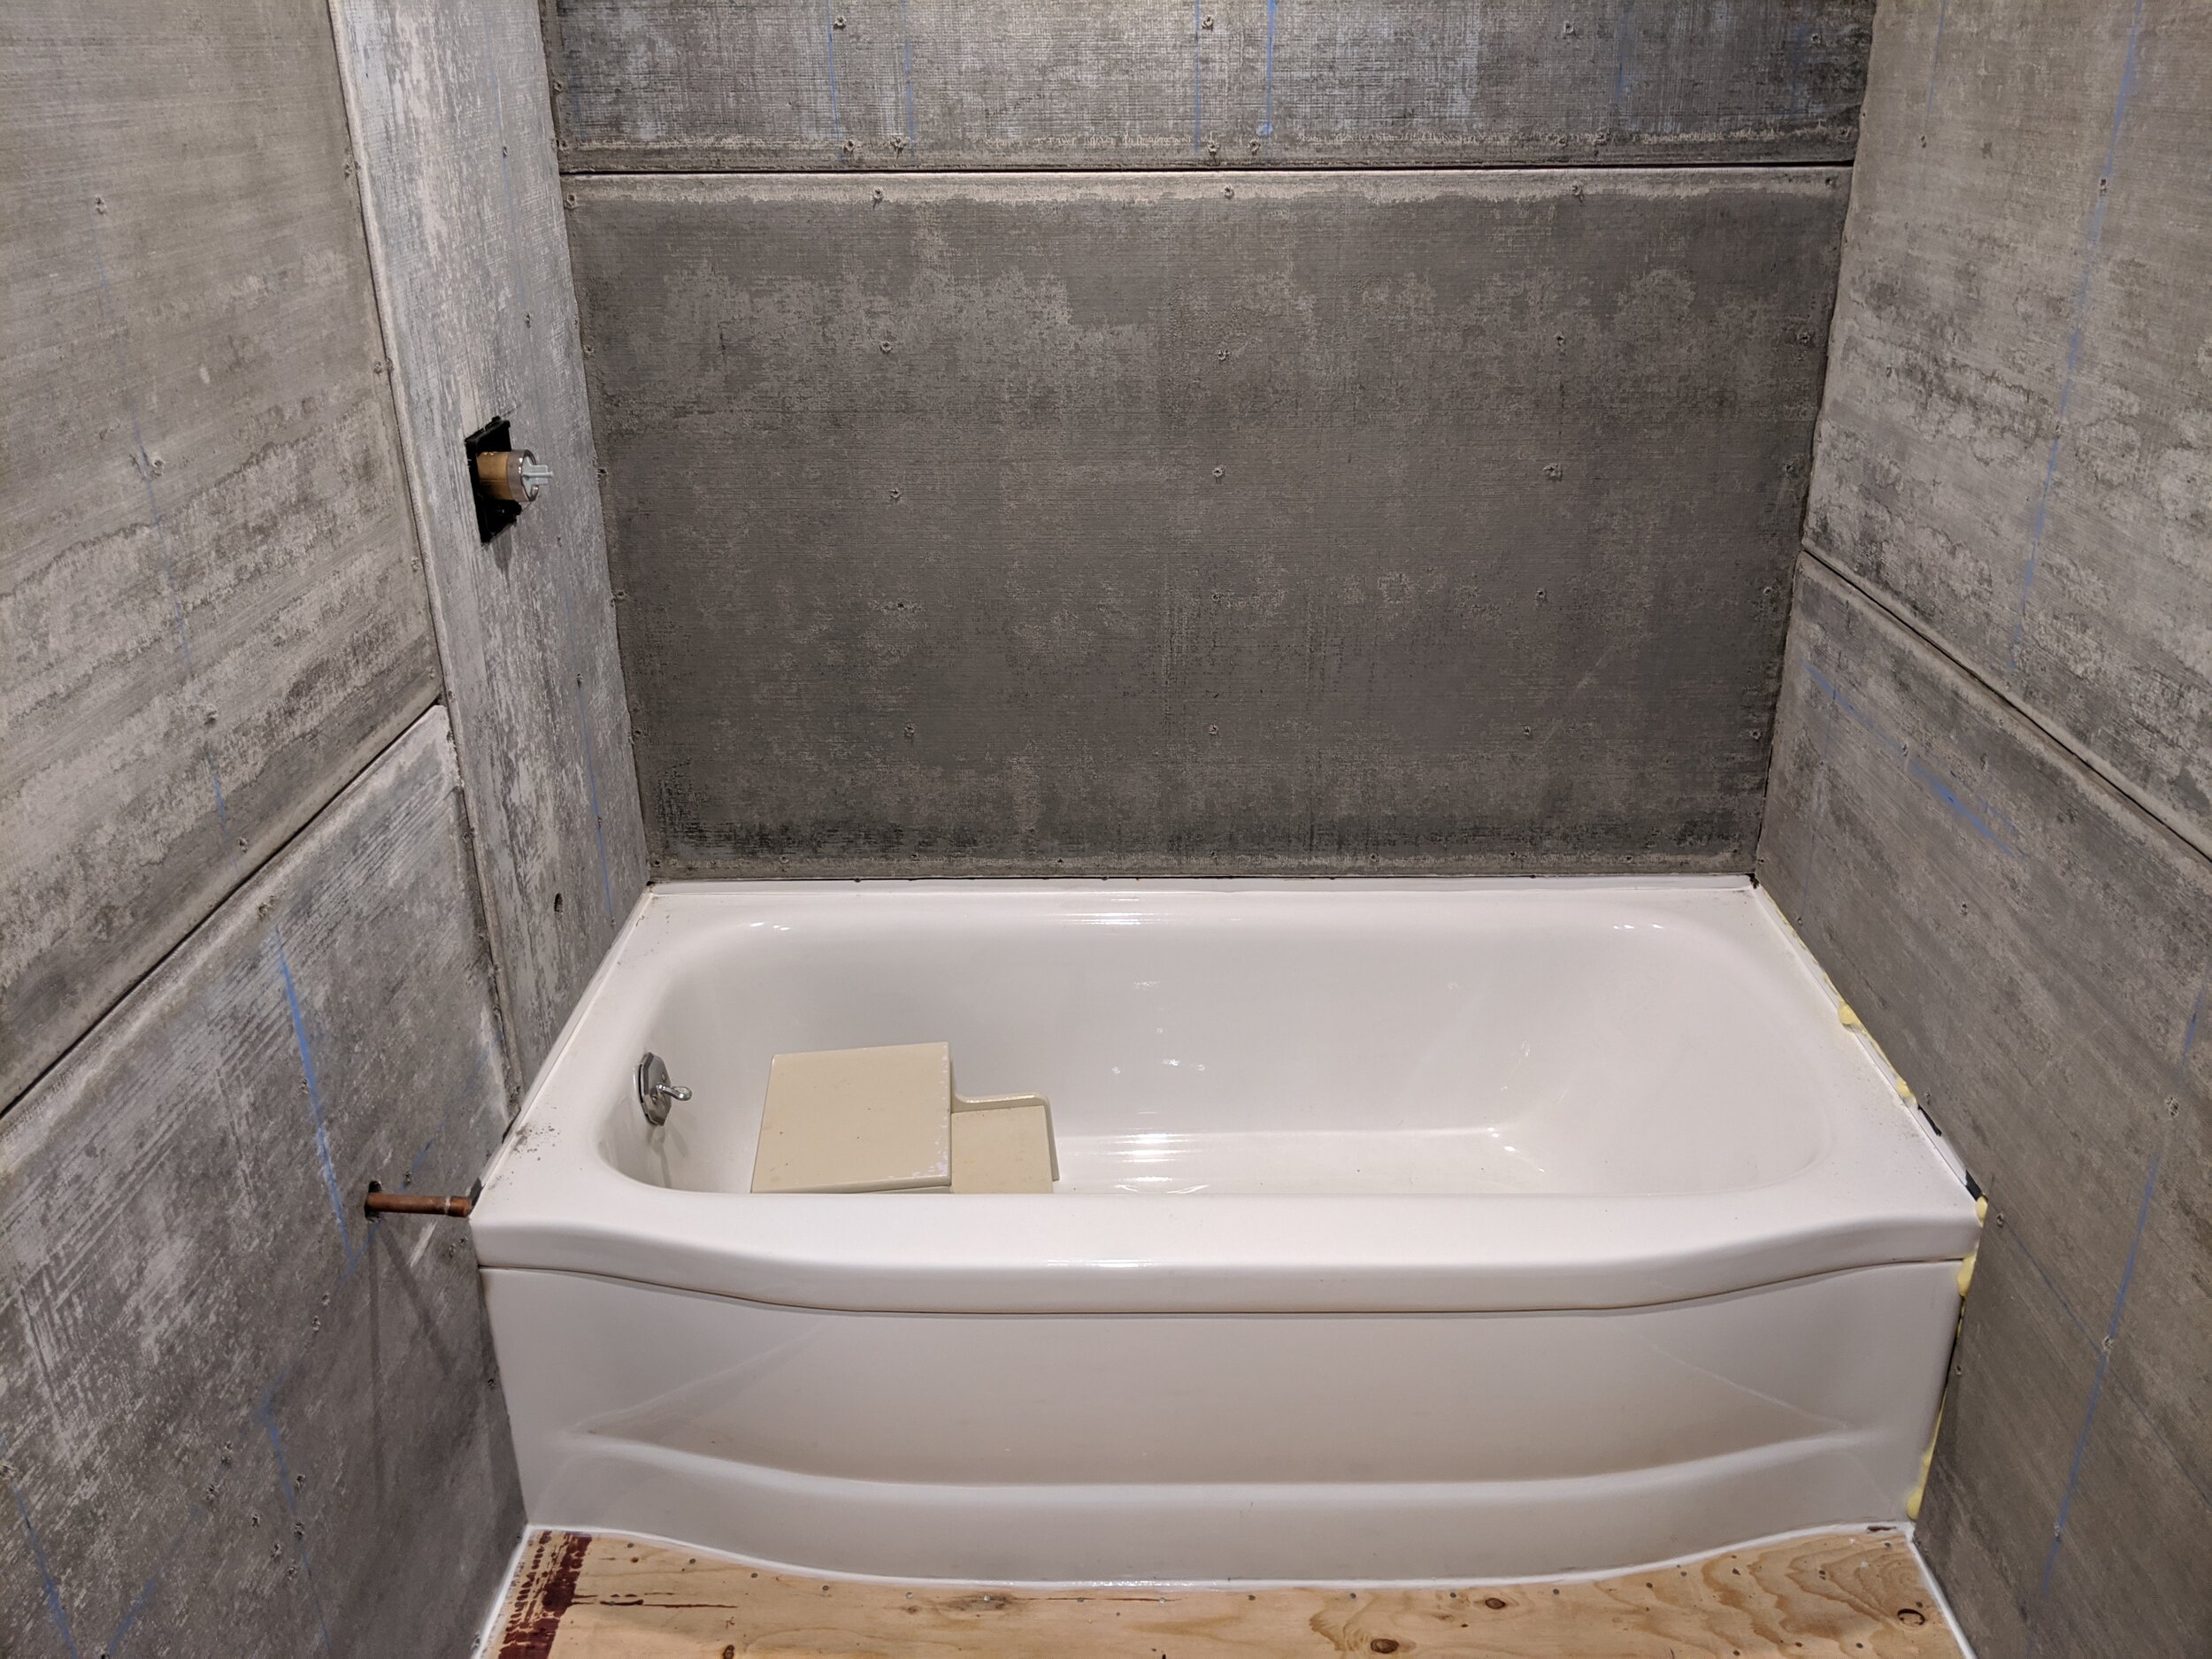
Once everything is cut and screwed in place, you tape and mud, sand, tape and mud, sand, tape and mud, sand, I think until you grow grey hair. Just kidding — two coats will likely do it. You want to be sure you cover all the screw holes. I don’t want to call Hubs out, but he thought some of the screws were going to be hidden until window and door trim and didn’t mud them, then had to get all that stuff out again when he was at the painting step. (Hey, if it’s his only mistake, surely he’d want me to share it so you can do things perfectly.)
You can also see we’re already using the new lights (see the electrical phase, previous step) to guide our work because you just can’t beat those snap-in wafer lights.
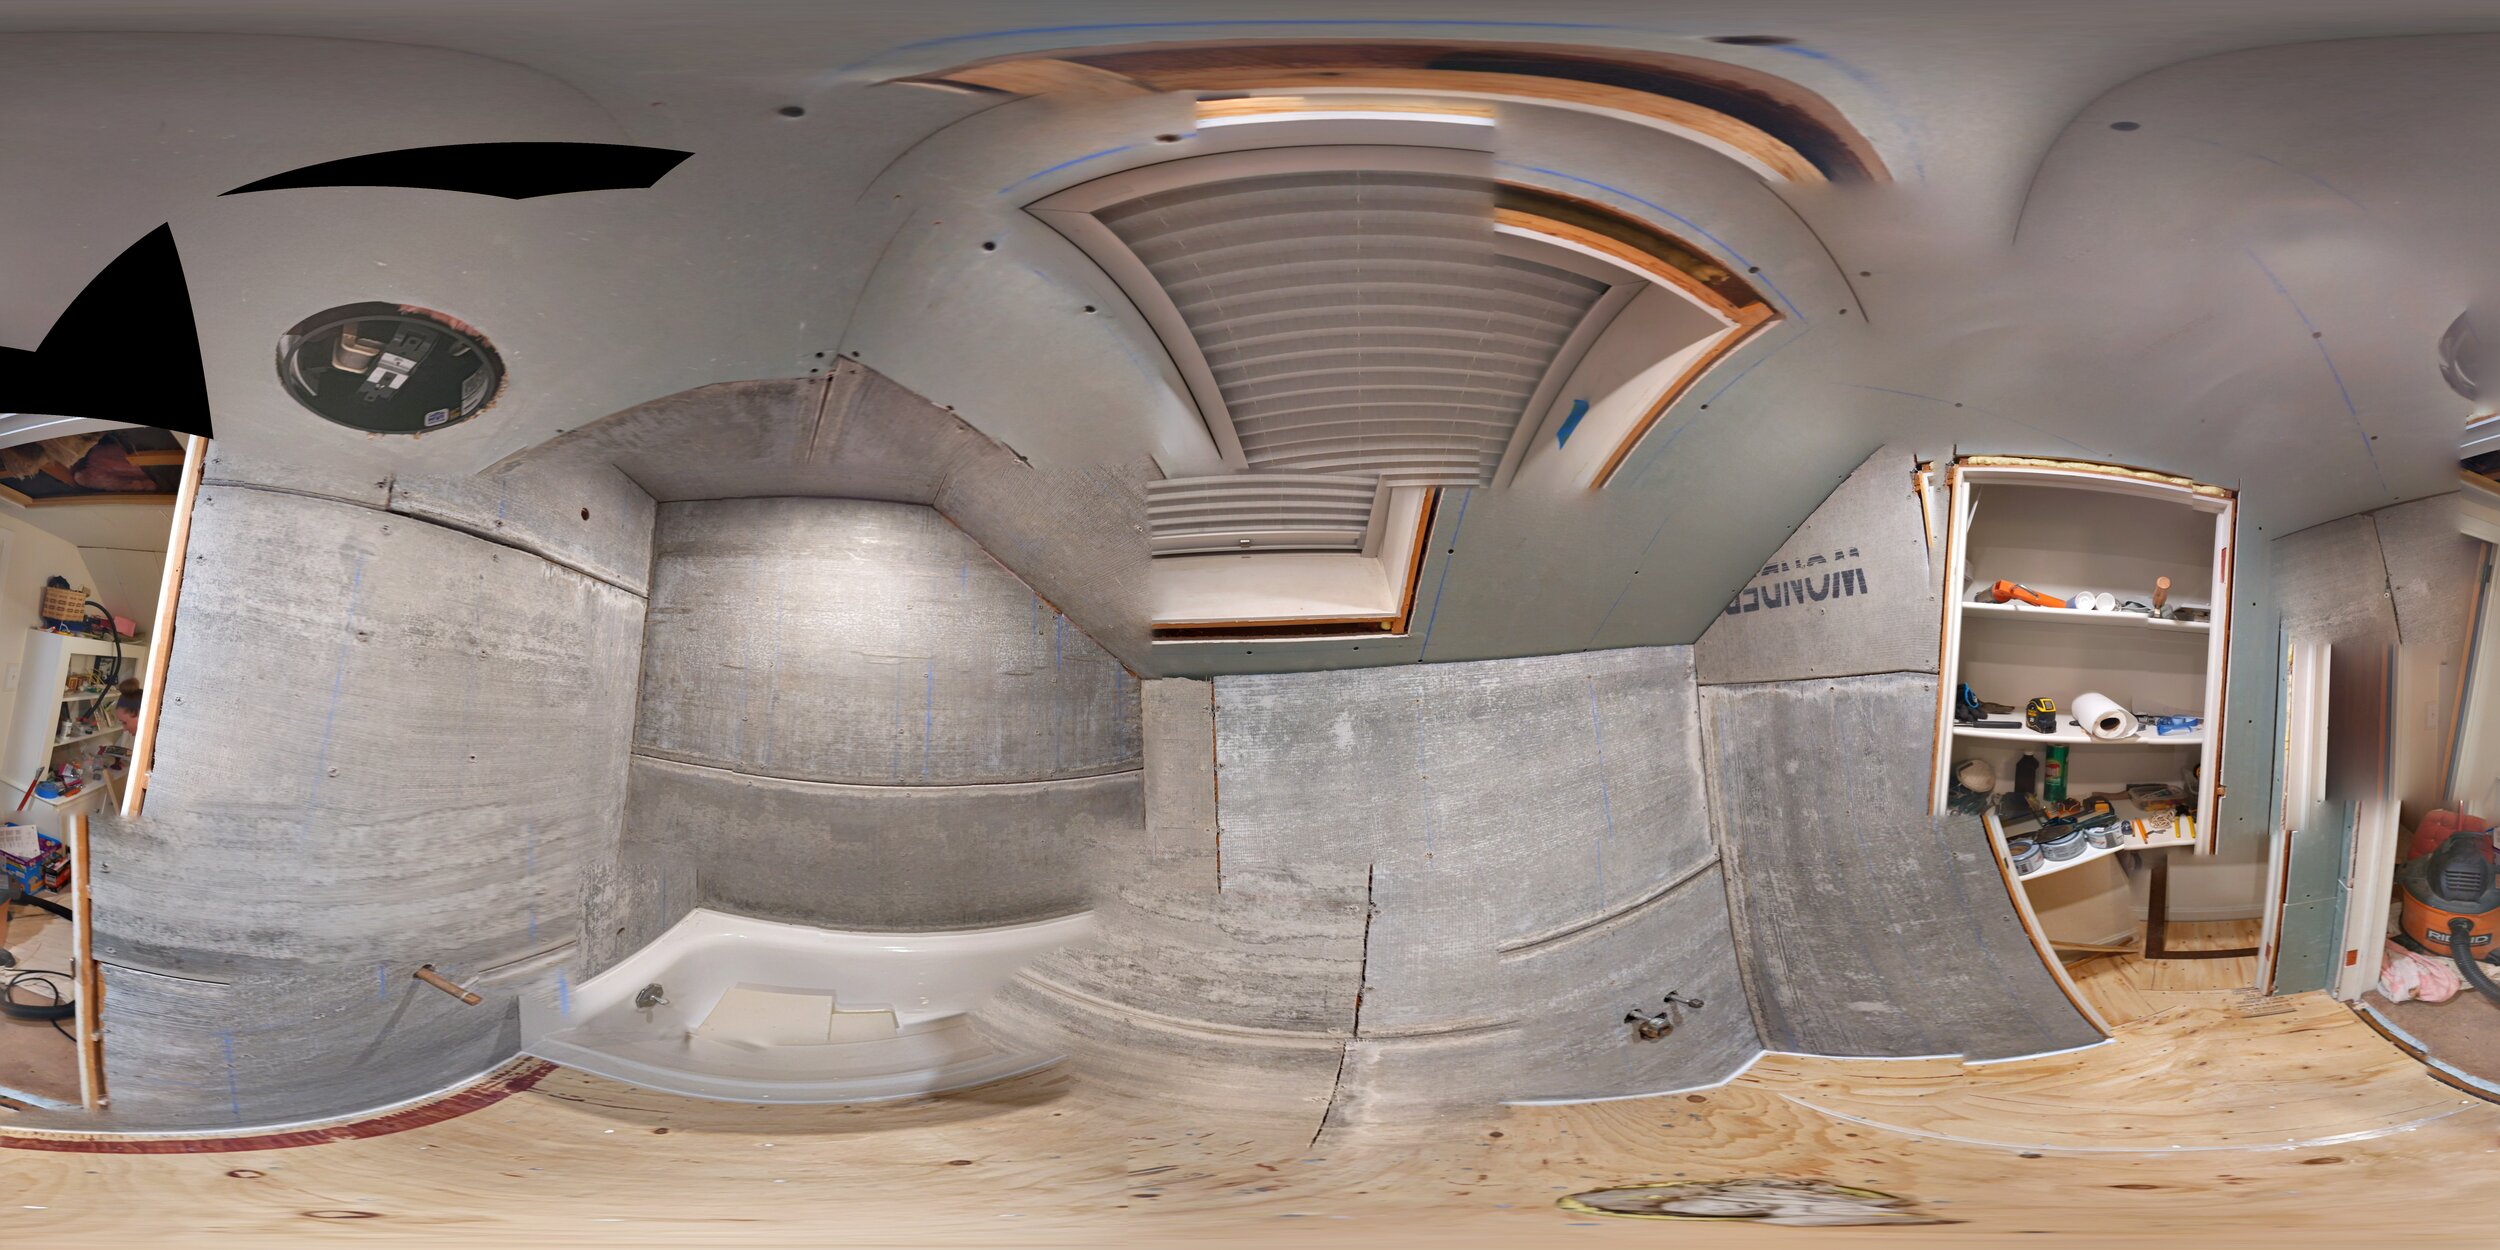
I think this panorama Hubs took is ridiculous, so of course I’m posting it. It’s like a paper doll house that hasn’t been built yet. This is post-hanging, pre-mudding obviously. You can see the blinds on the skylight in the middle, as well as the beautiful new subfloor he built. (See the earlier unsexy phase 2 for that.)
You can also see the large hole for the exhaust fan in the ceiling, which was wired in the electrical phase, and the square hole for the AC vent.
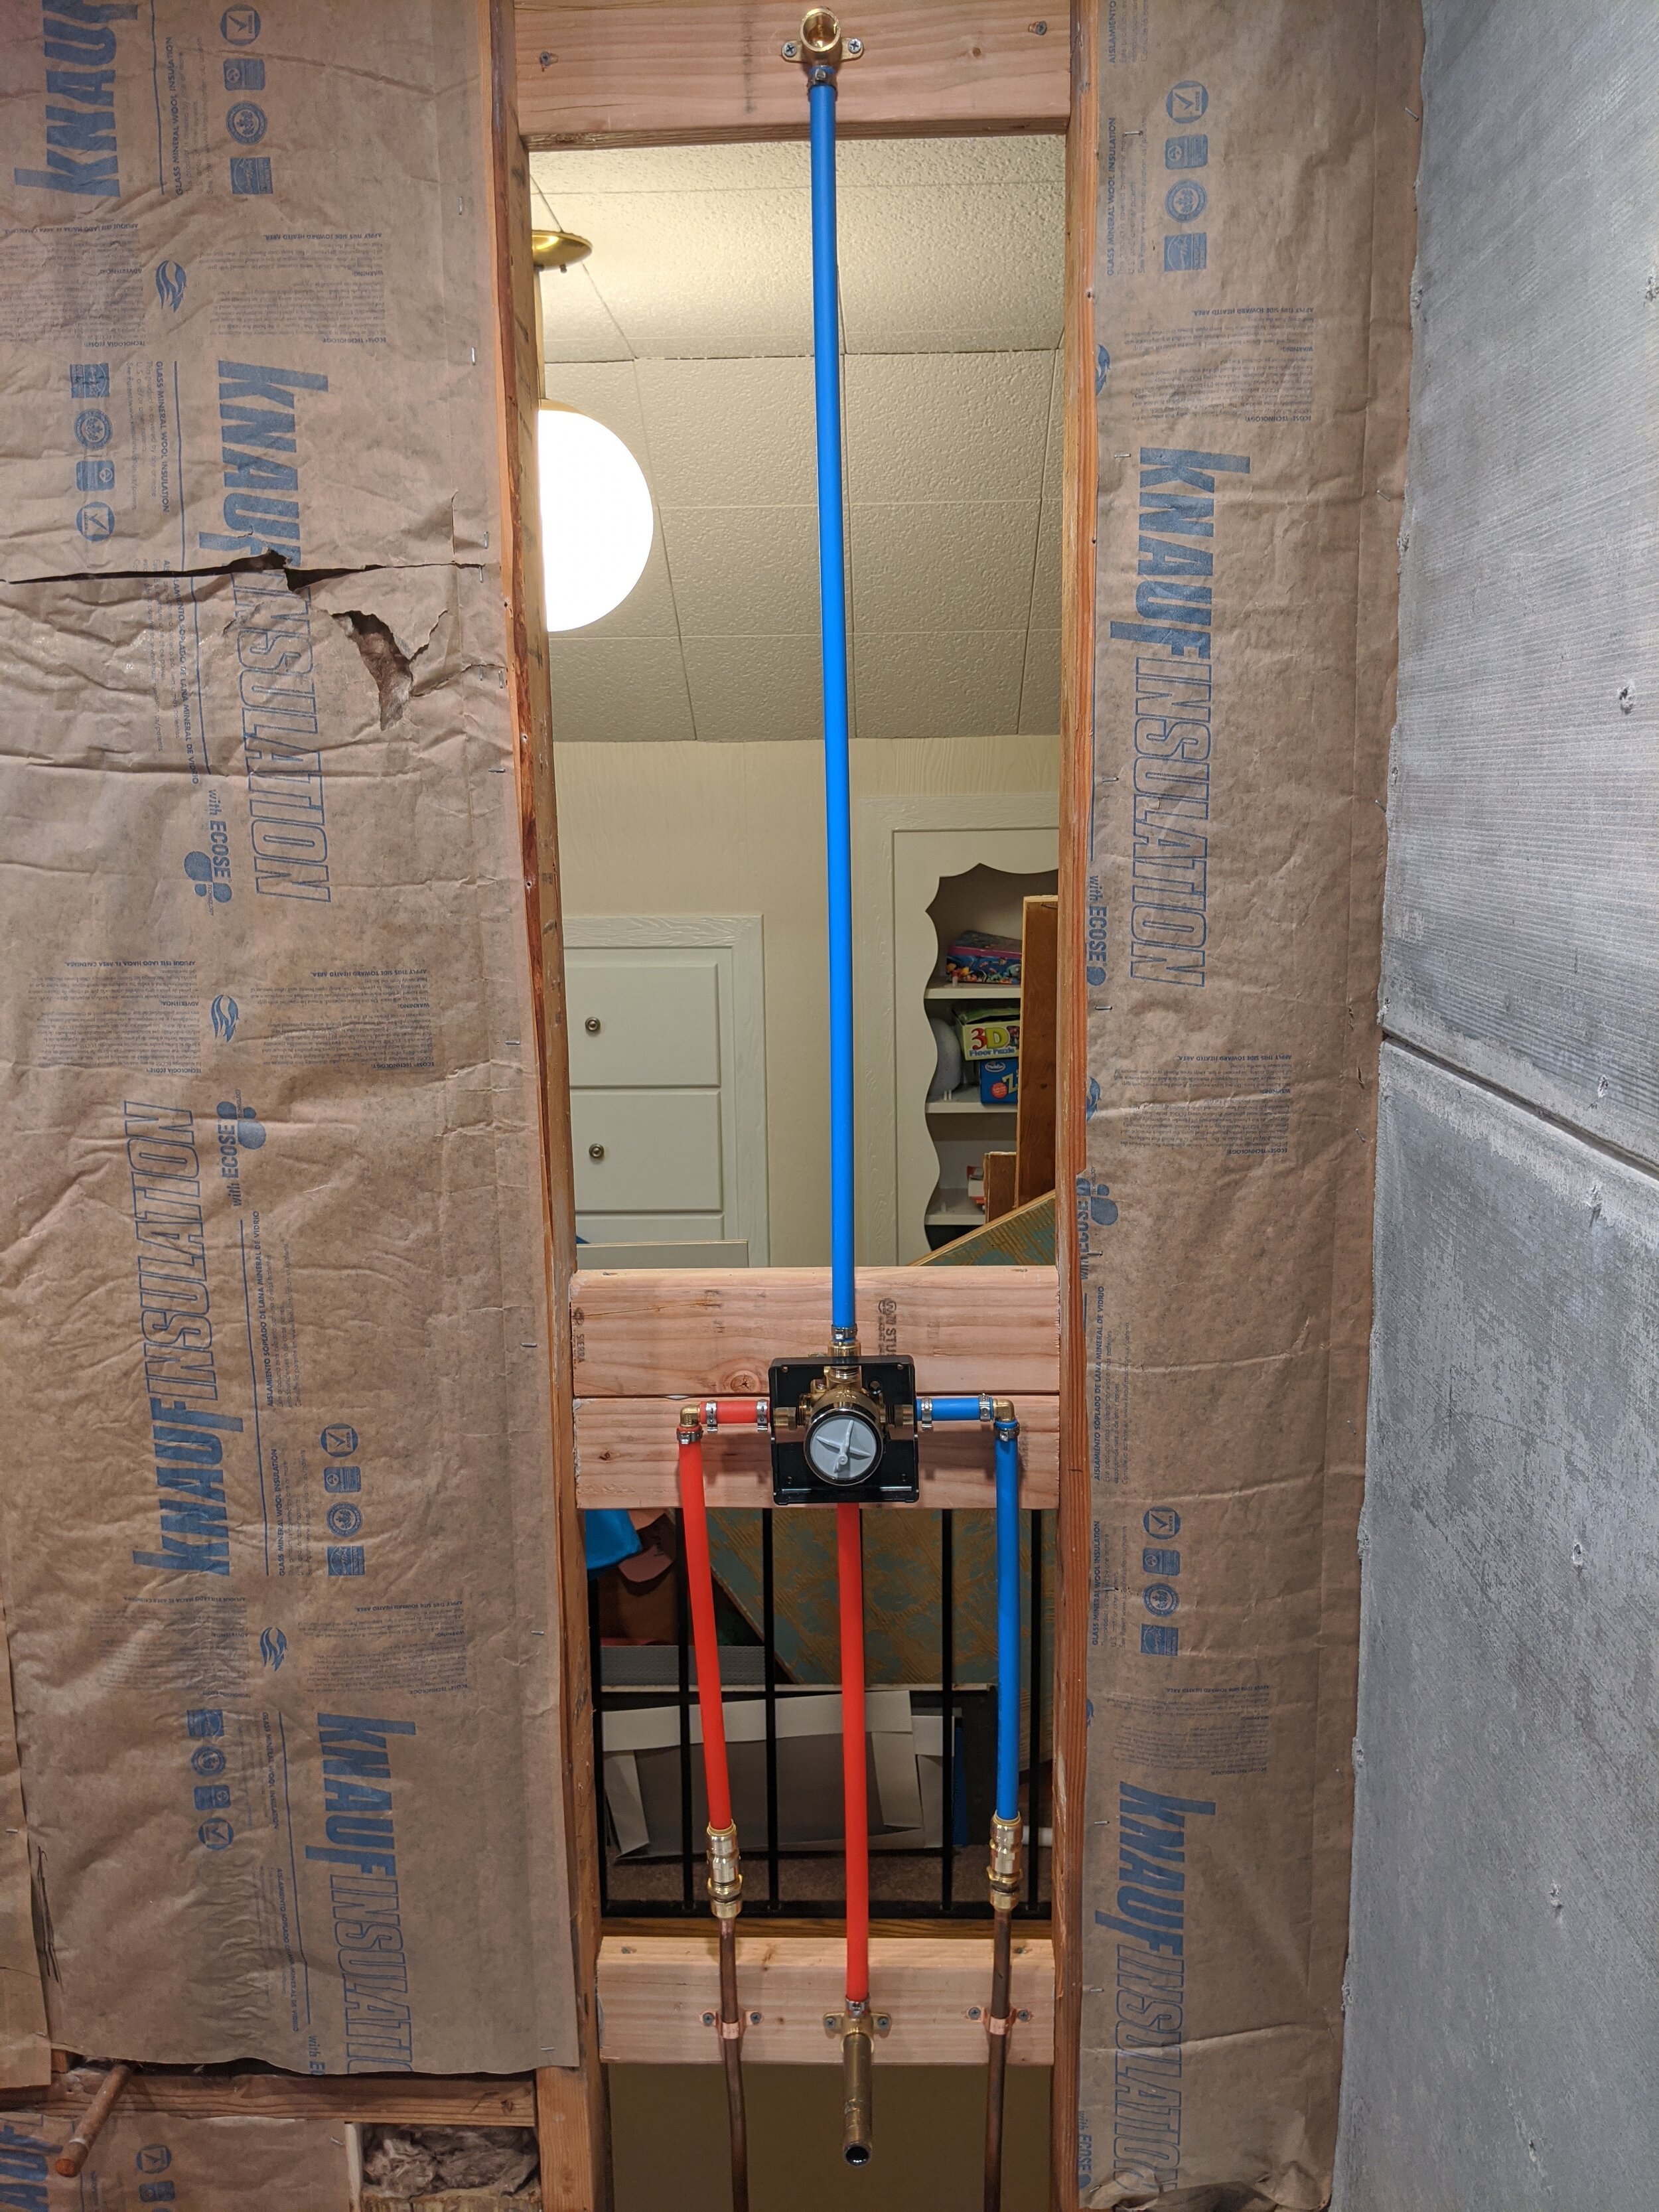
At this point, you can see into the hallway from the shower (not great for the modest!). This is because we still need access to the plumbing for when the fixtures get put in. We actually ended up adding a hallway access panel to make sure we could get into the shower plumbing in the future, should that ever be necessary.
You can also see the small white stool I bought for my youngest to be able to reach the sink to brush his teeth (in the tub) — the very same stool that has since been thrown away because Hubs broke it by using it like a construction ladder.