diy

DIY bathroom early stages - insulation, rough plumbing, subfloor, and plaster patches

Bathroom renovation is more than knocking down the old tiles and putting up new ones. There are a lot of unexciting steps in between that have to be done right. You know the old adage, build your house on a solid foundation…

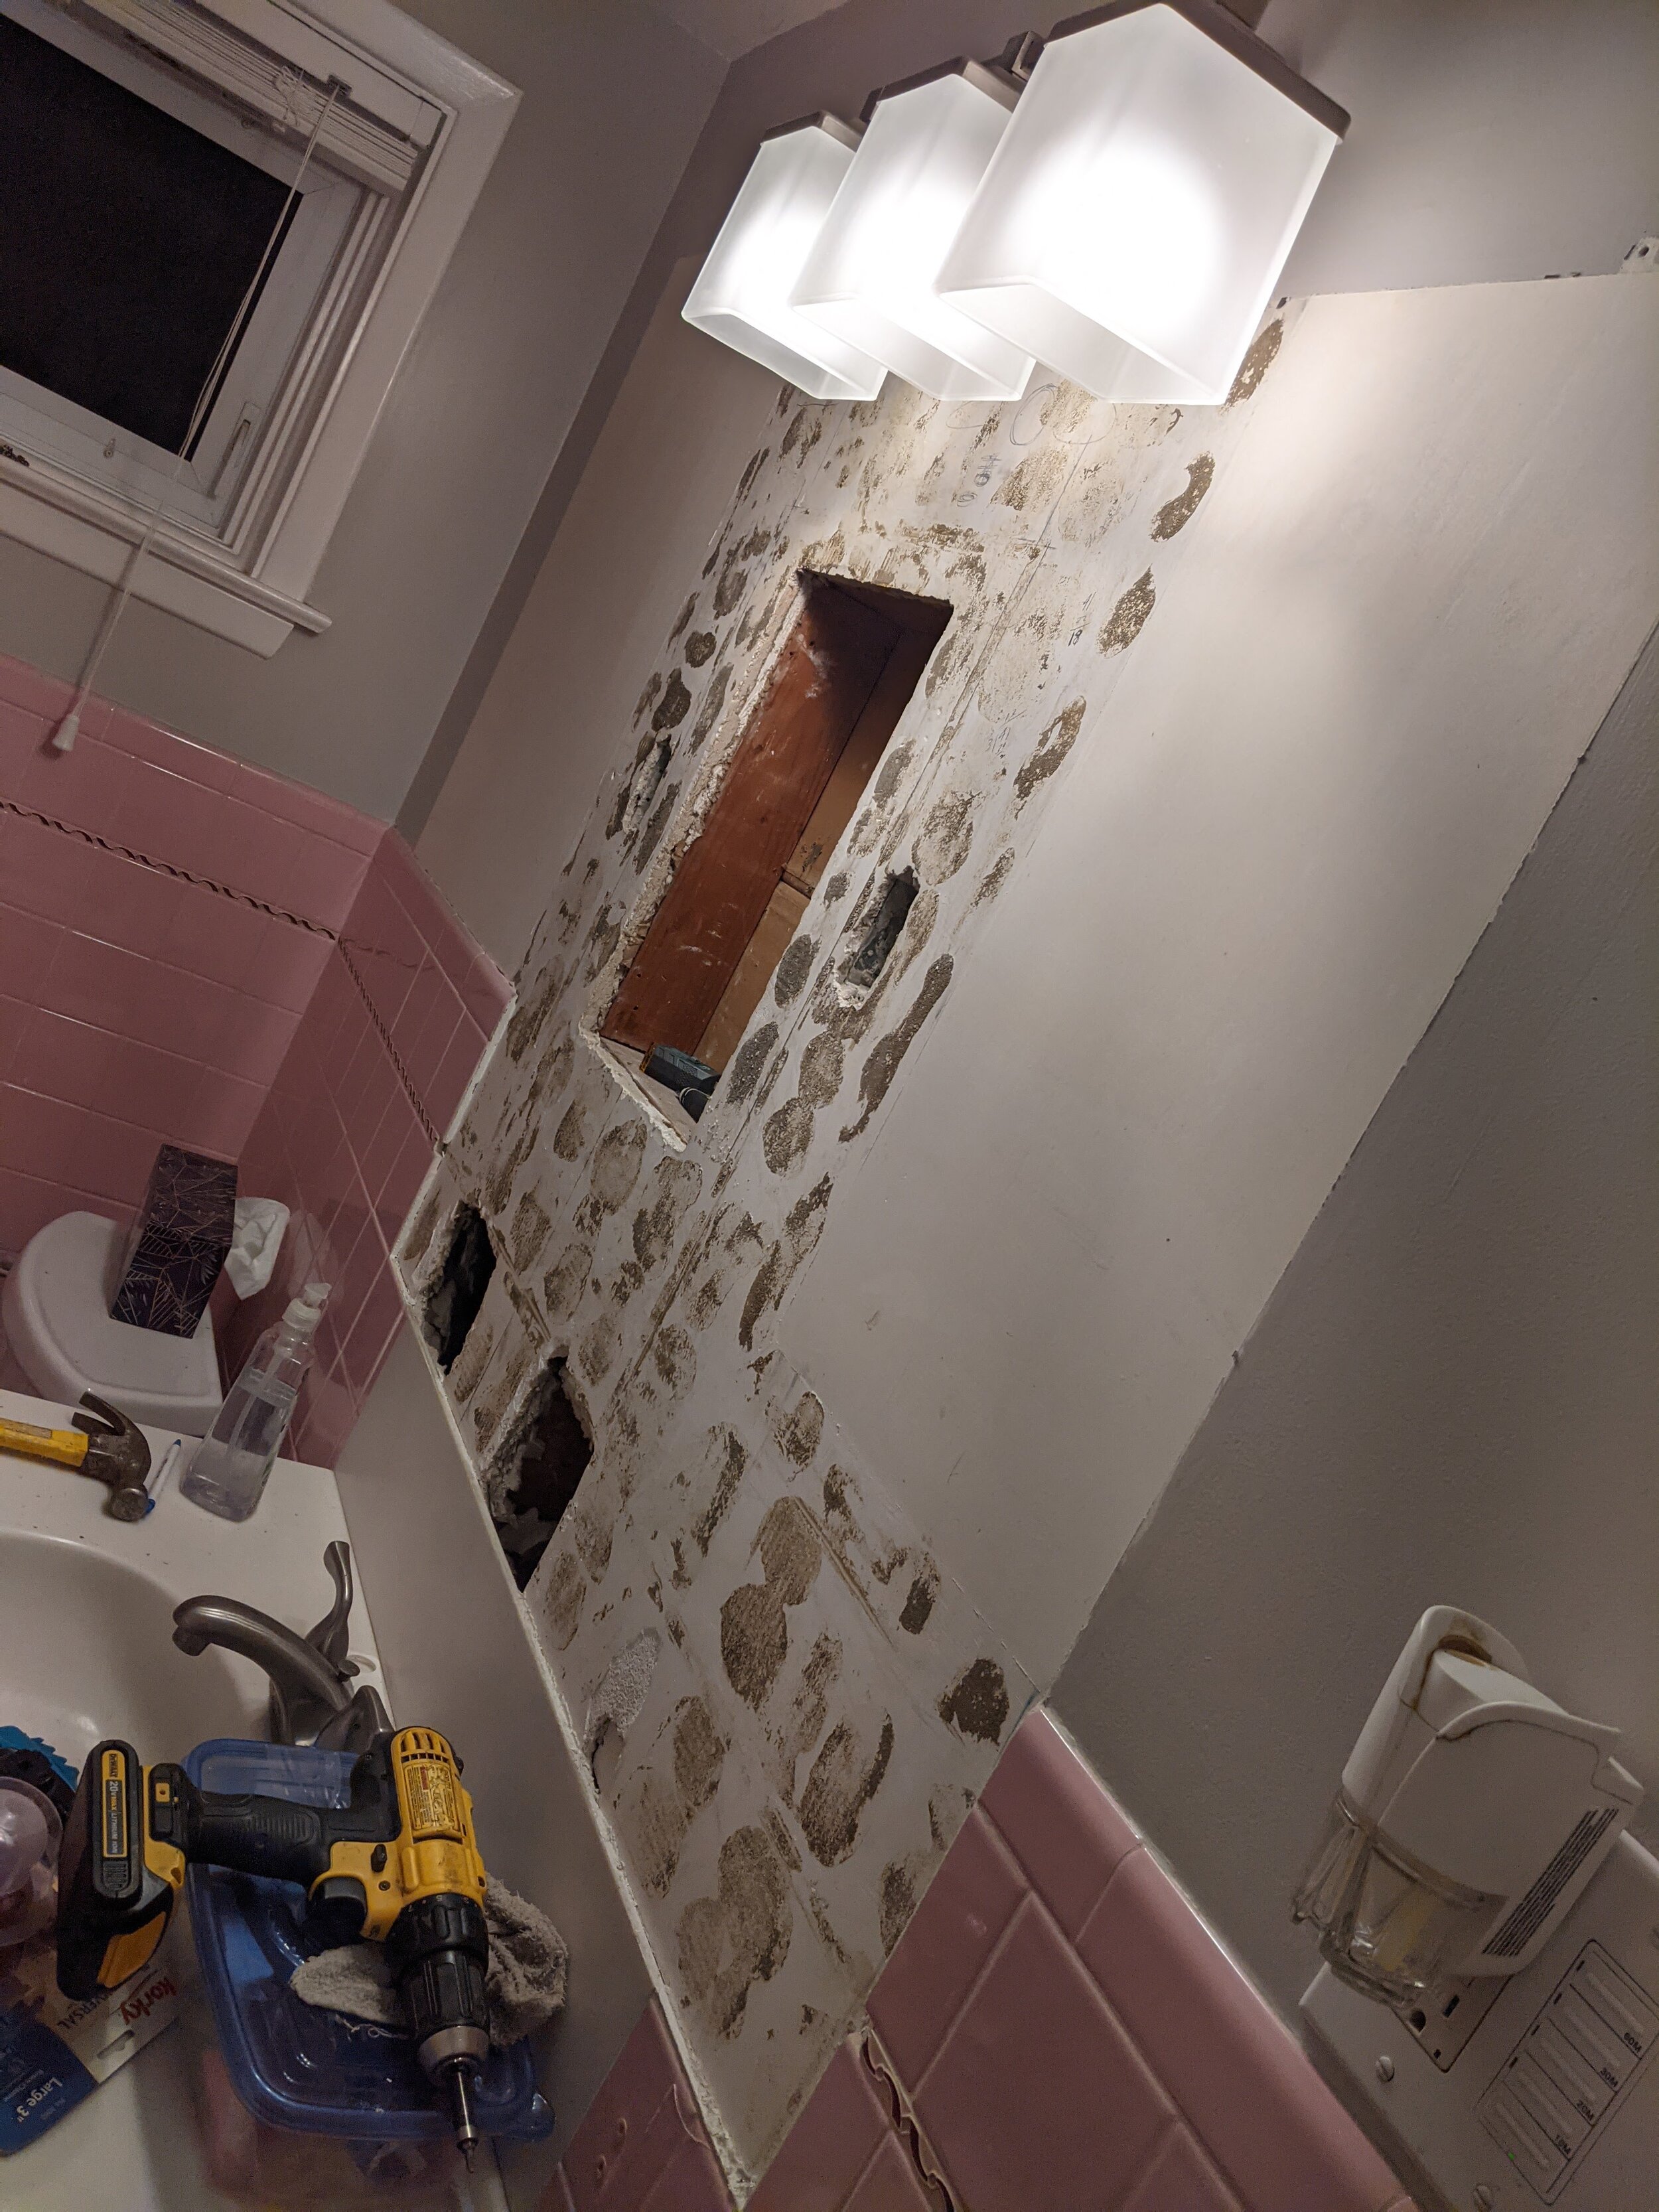
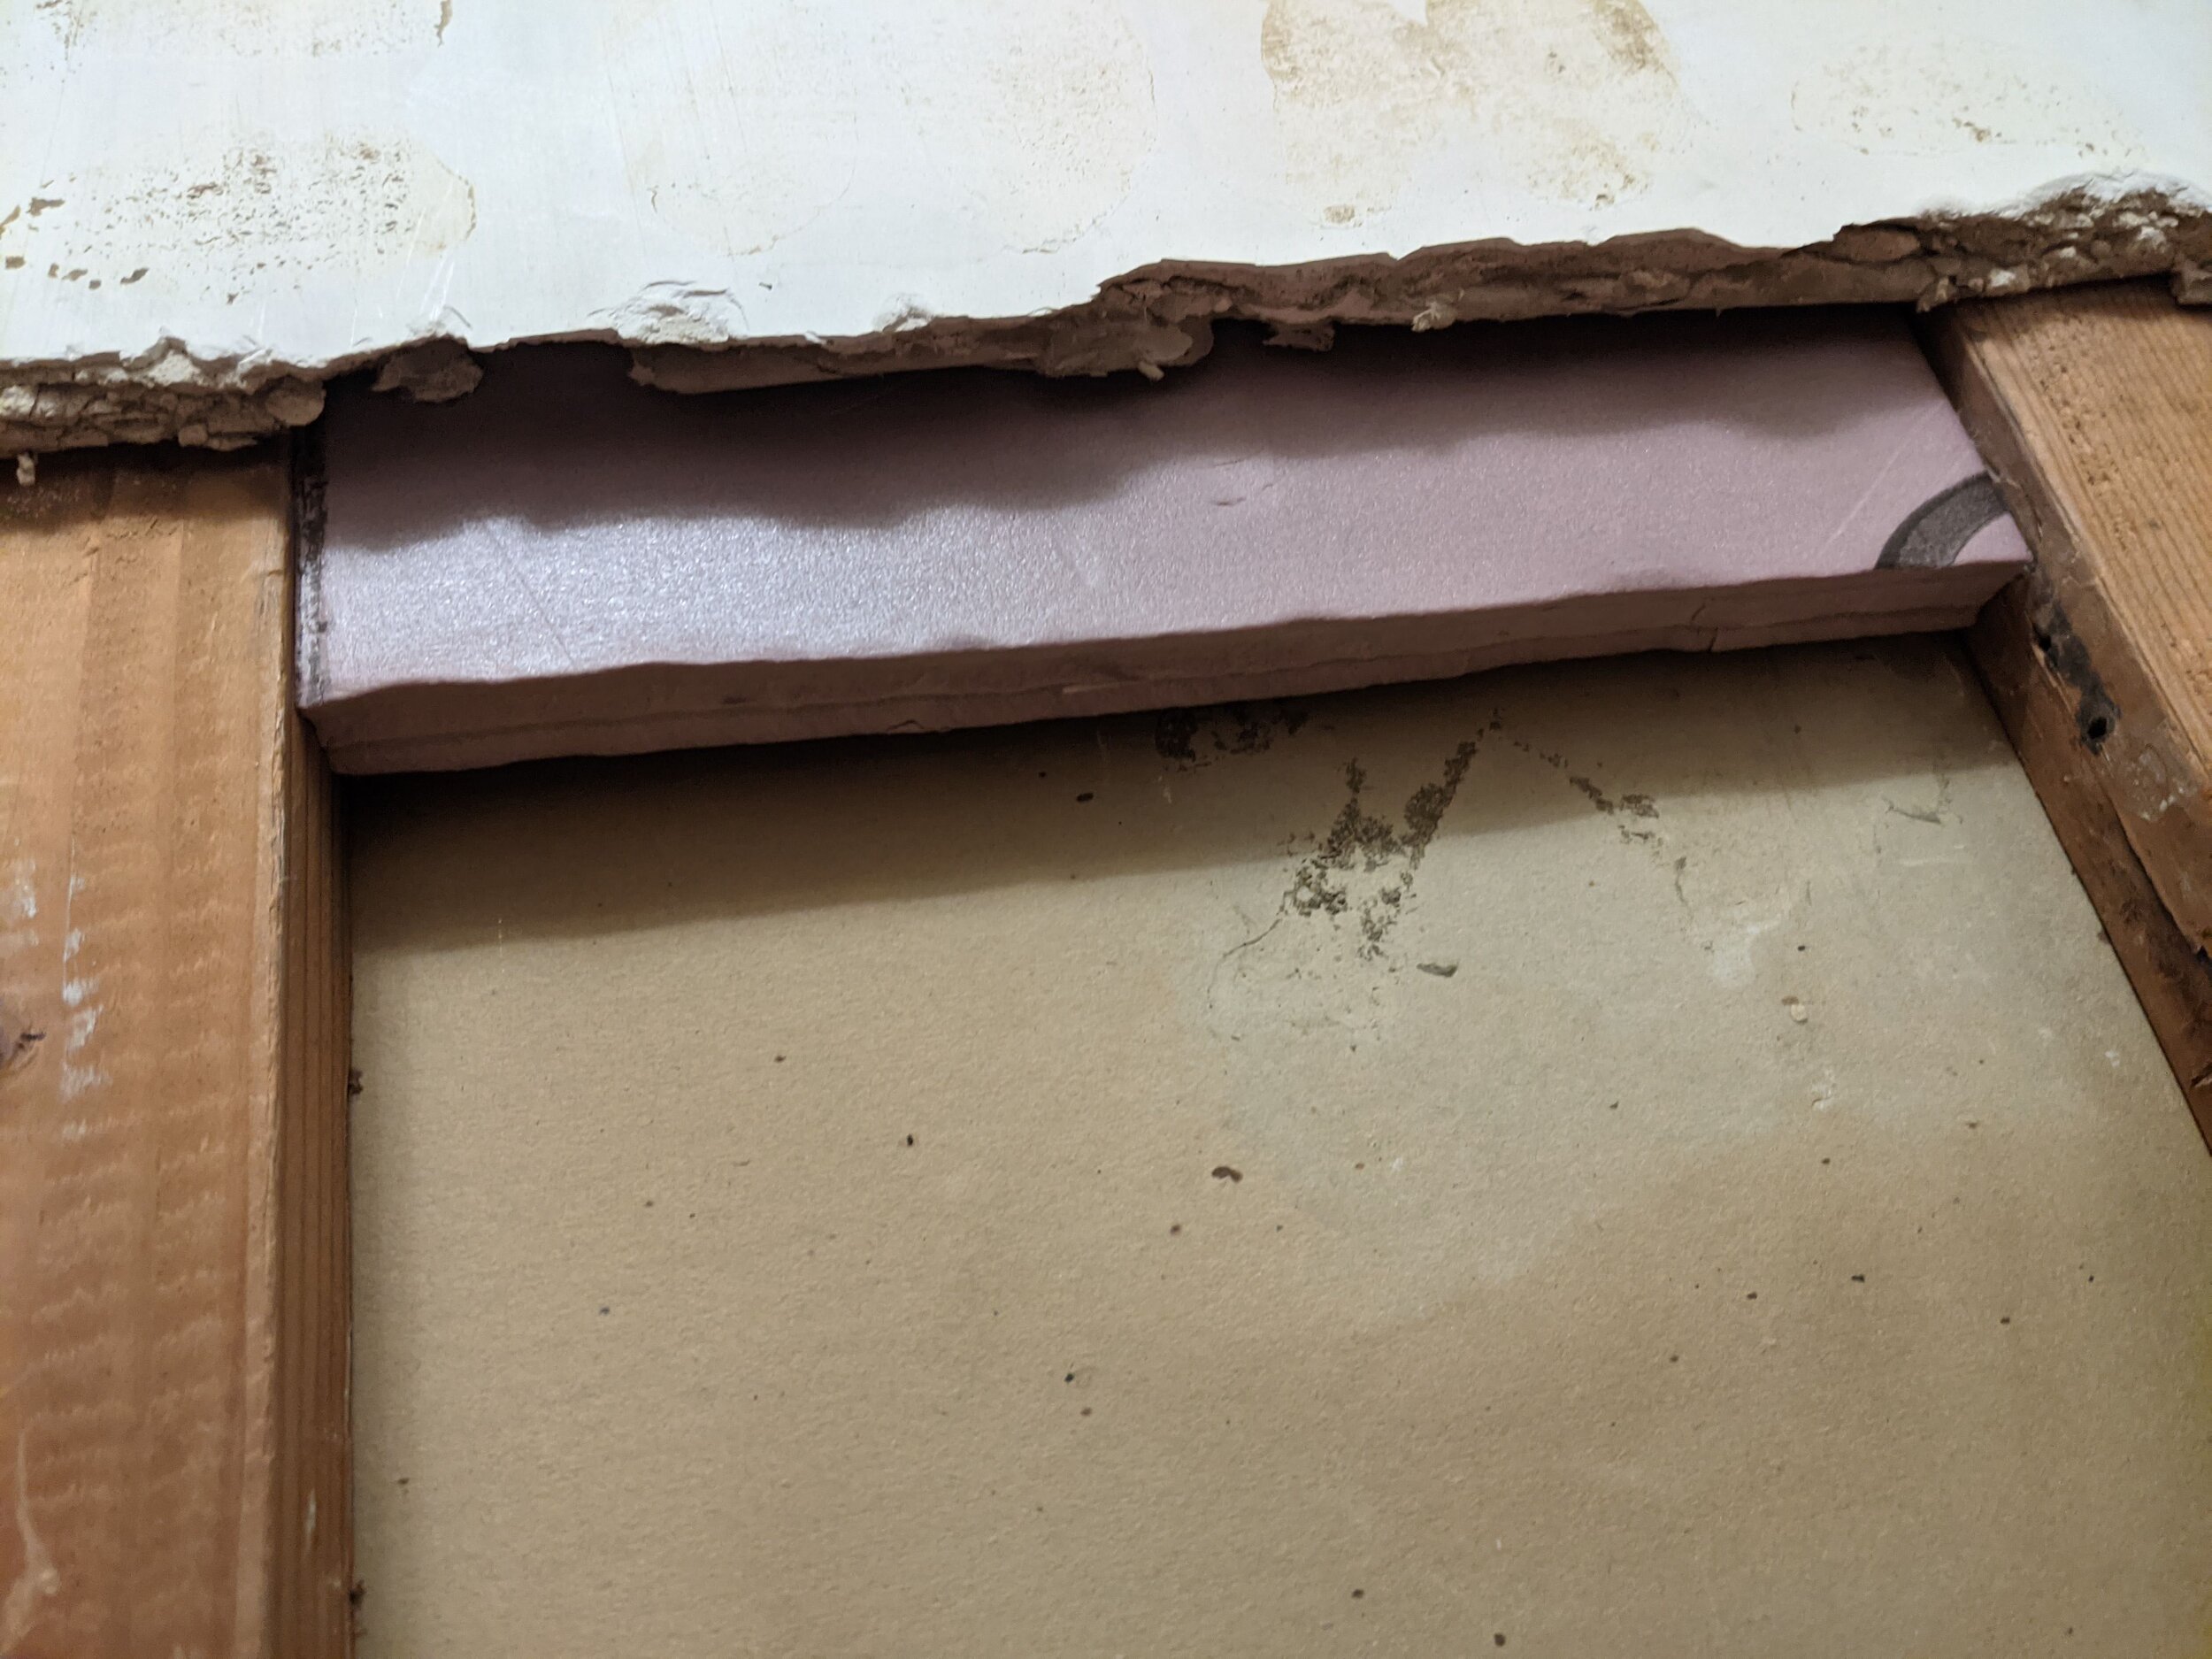
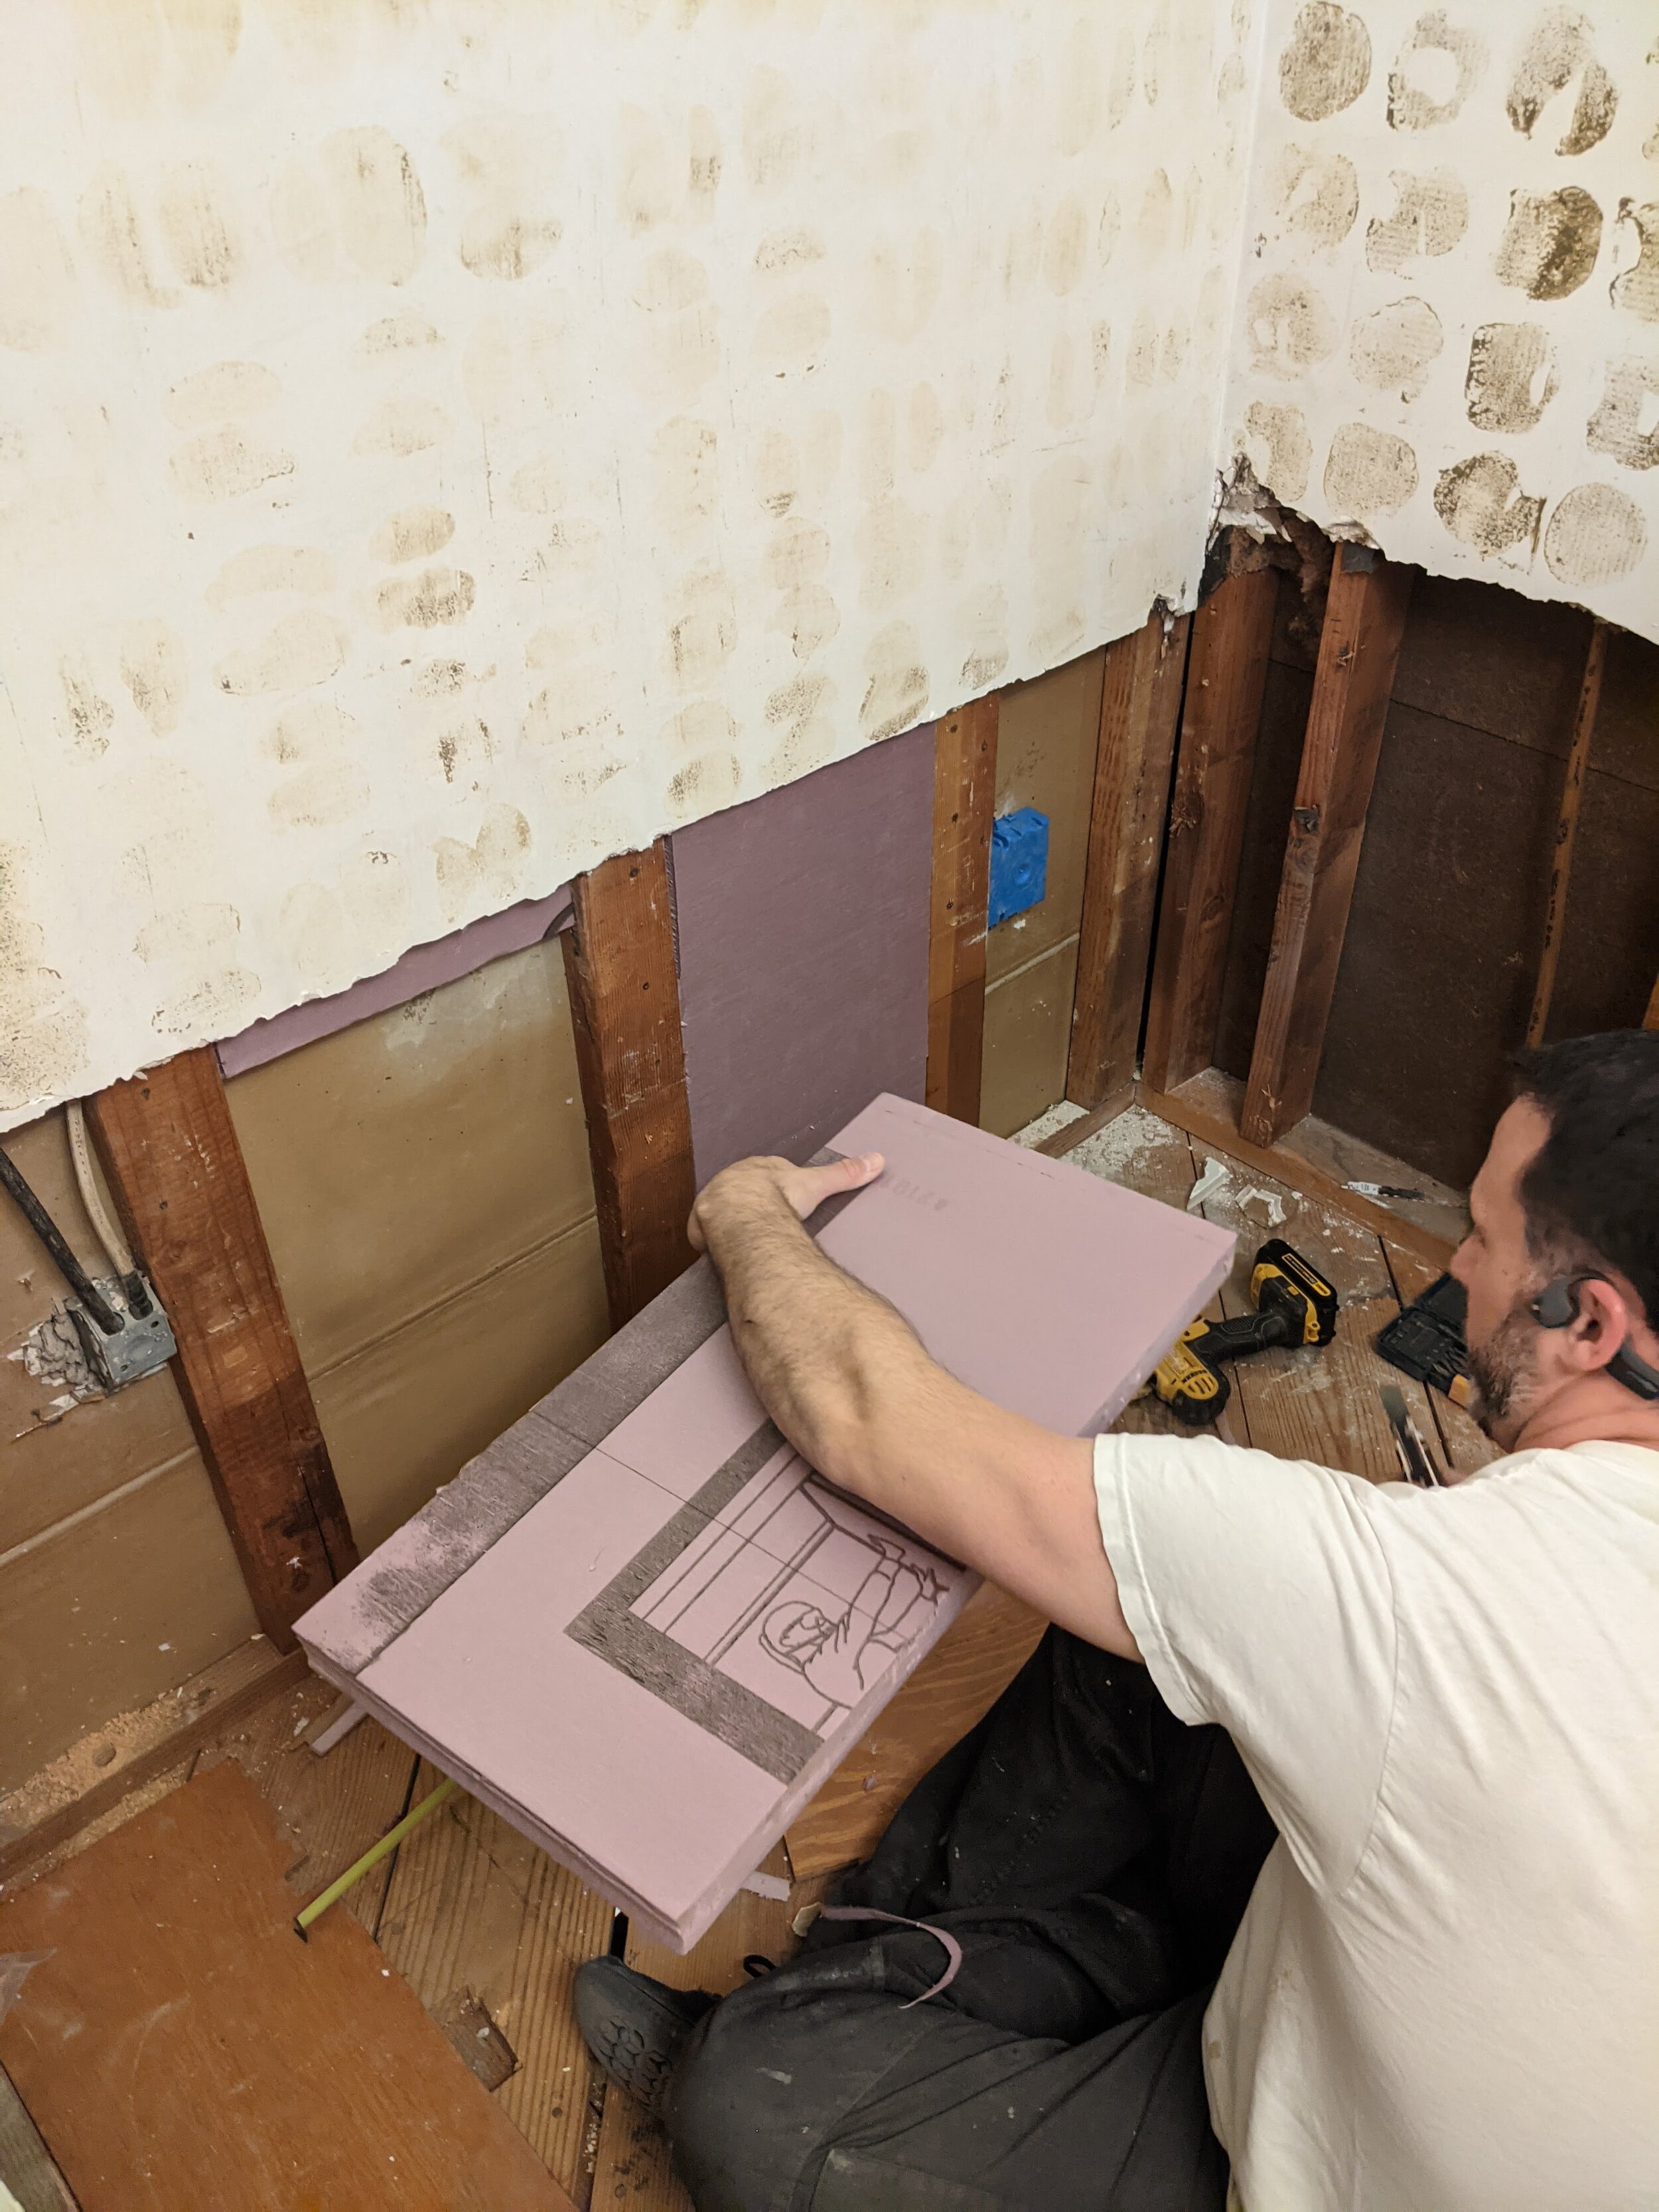
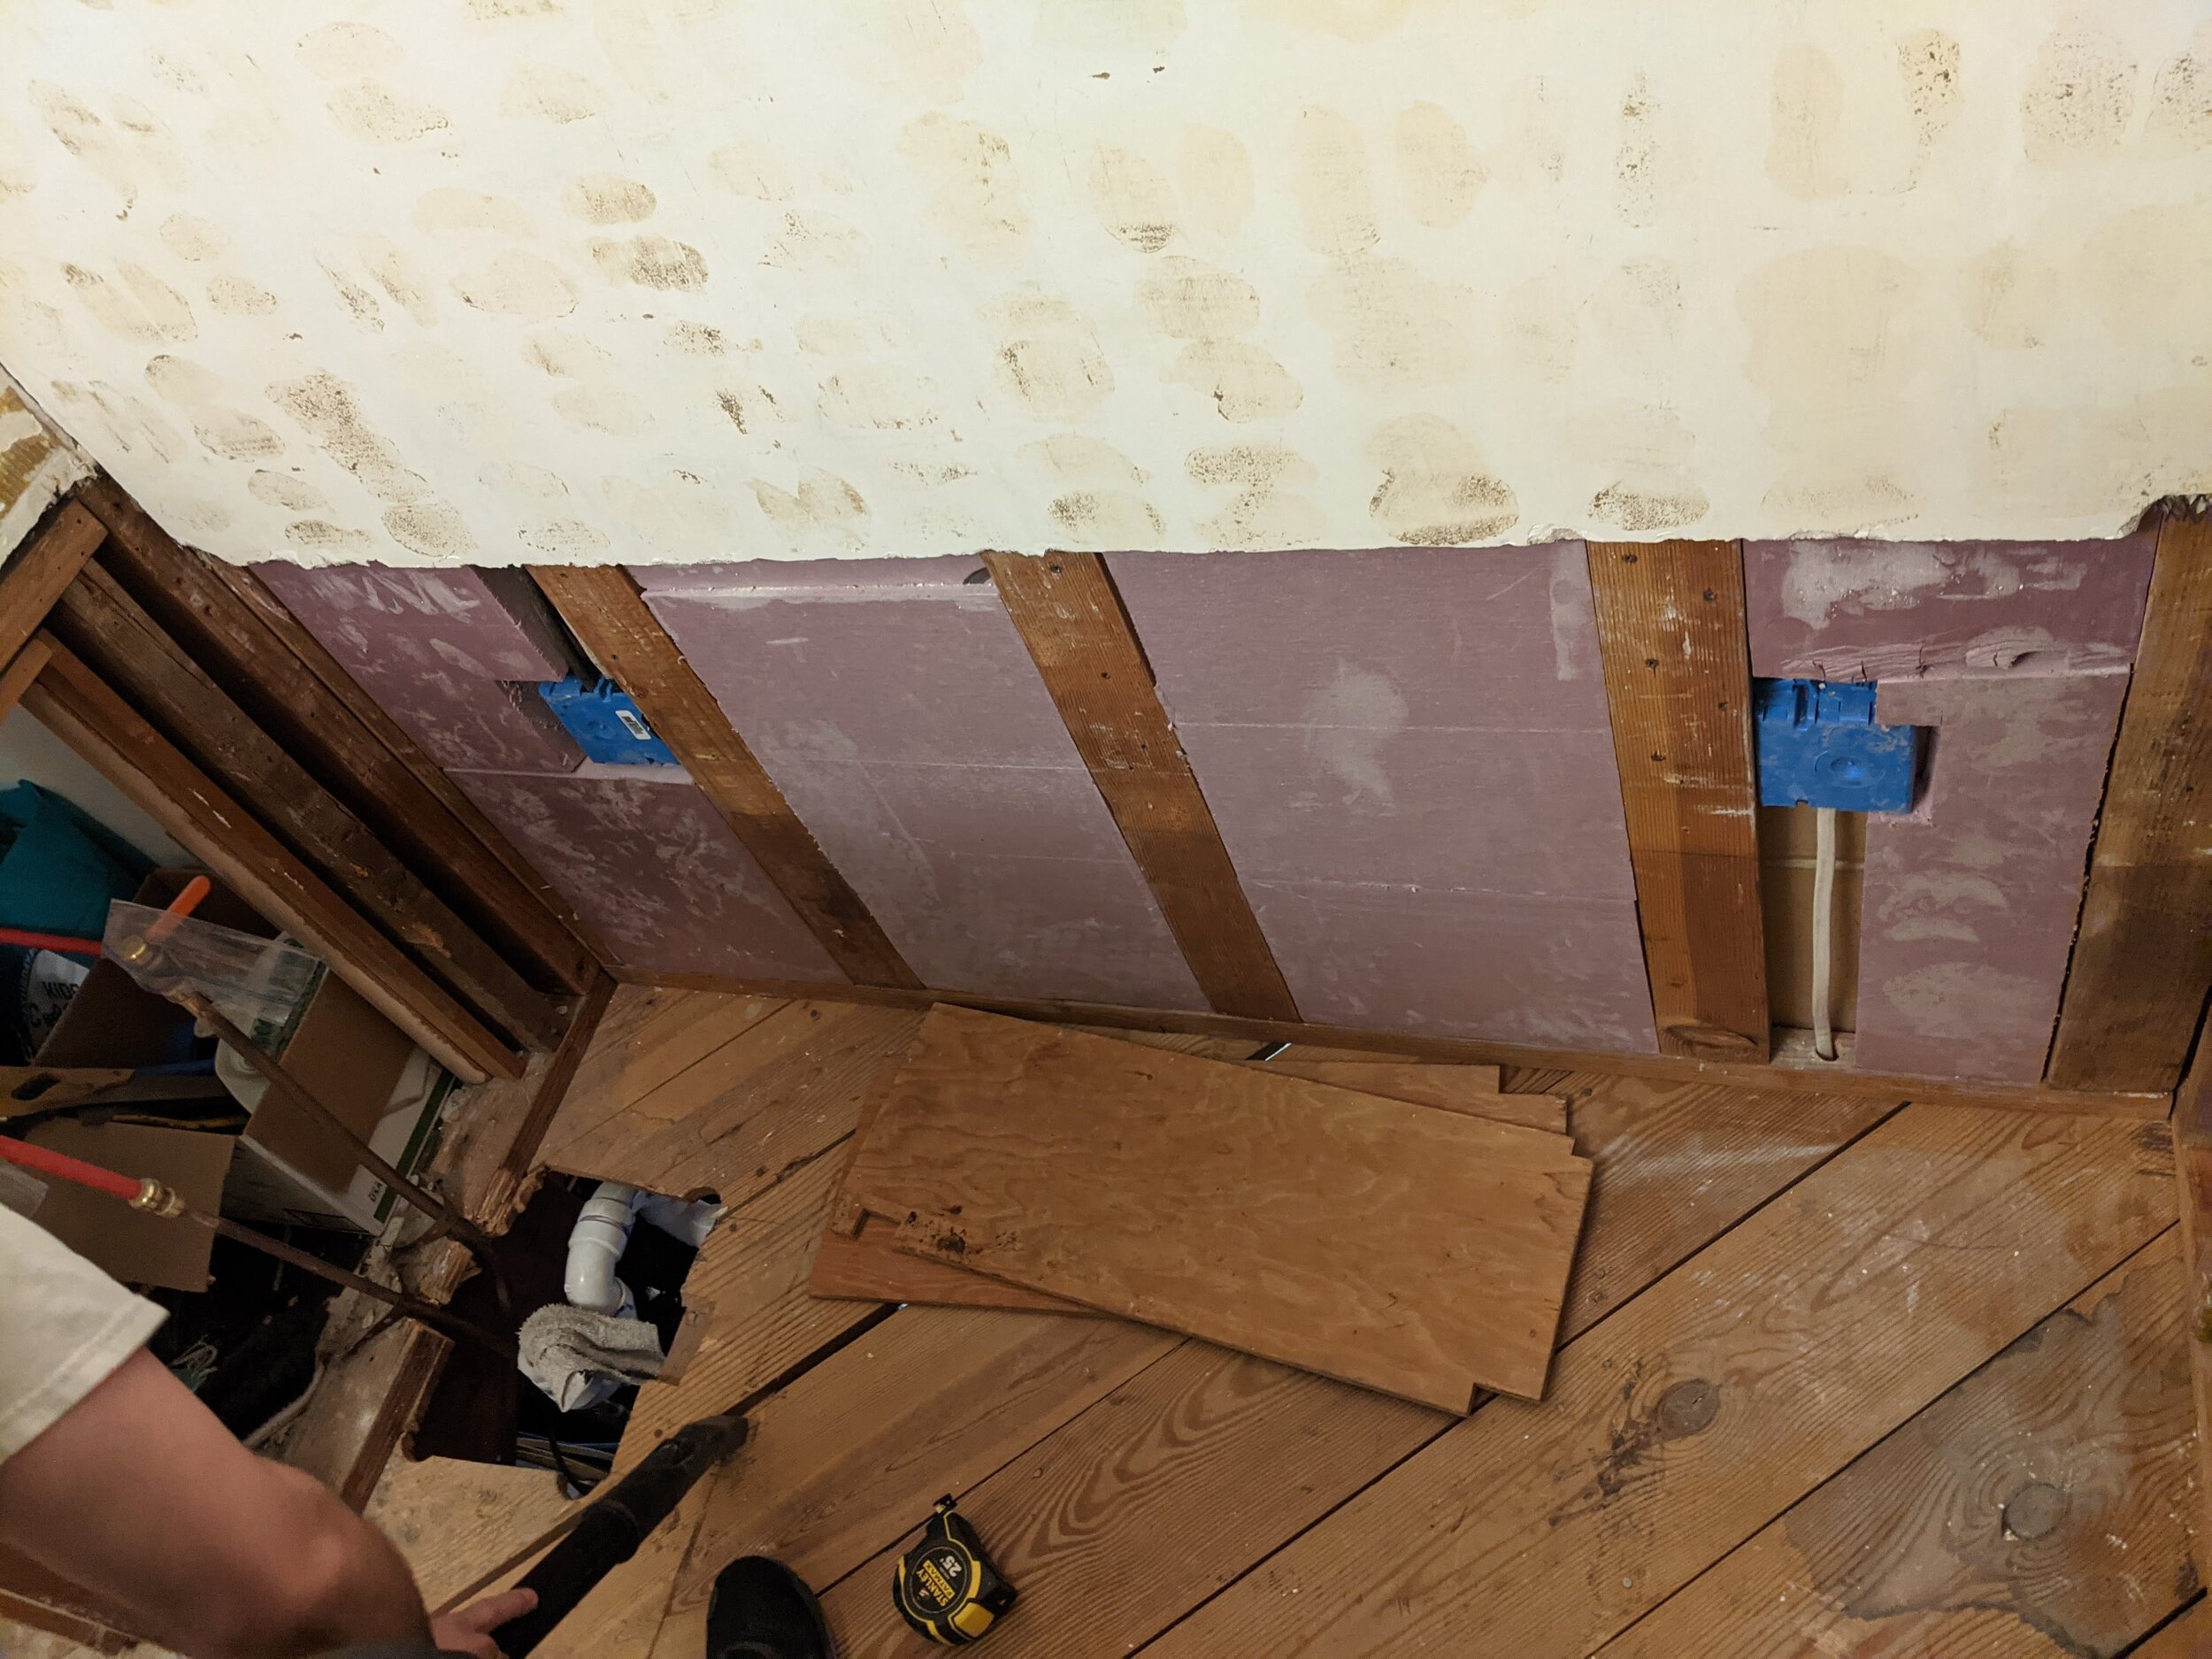
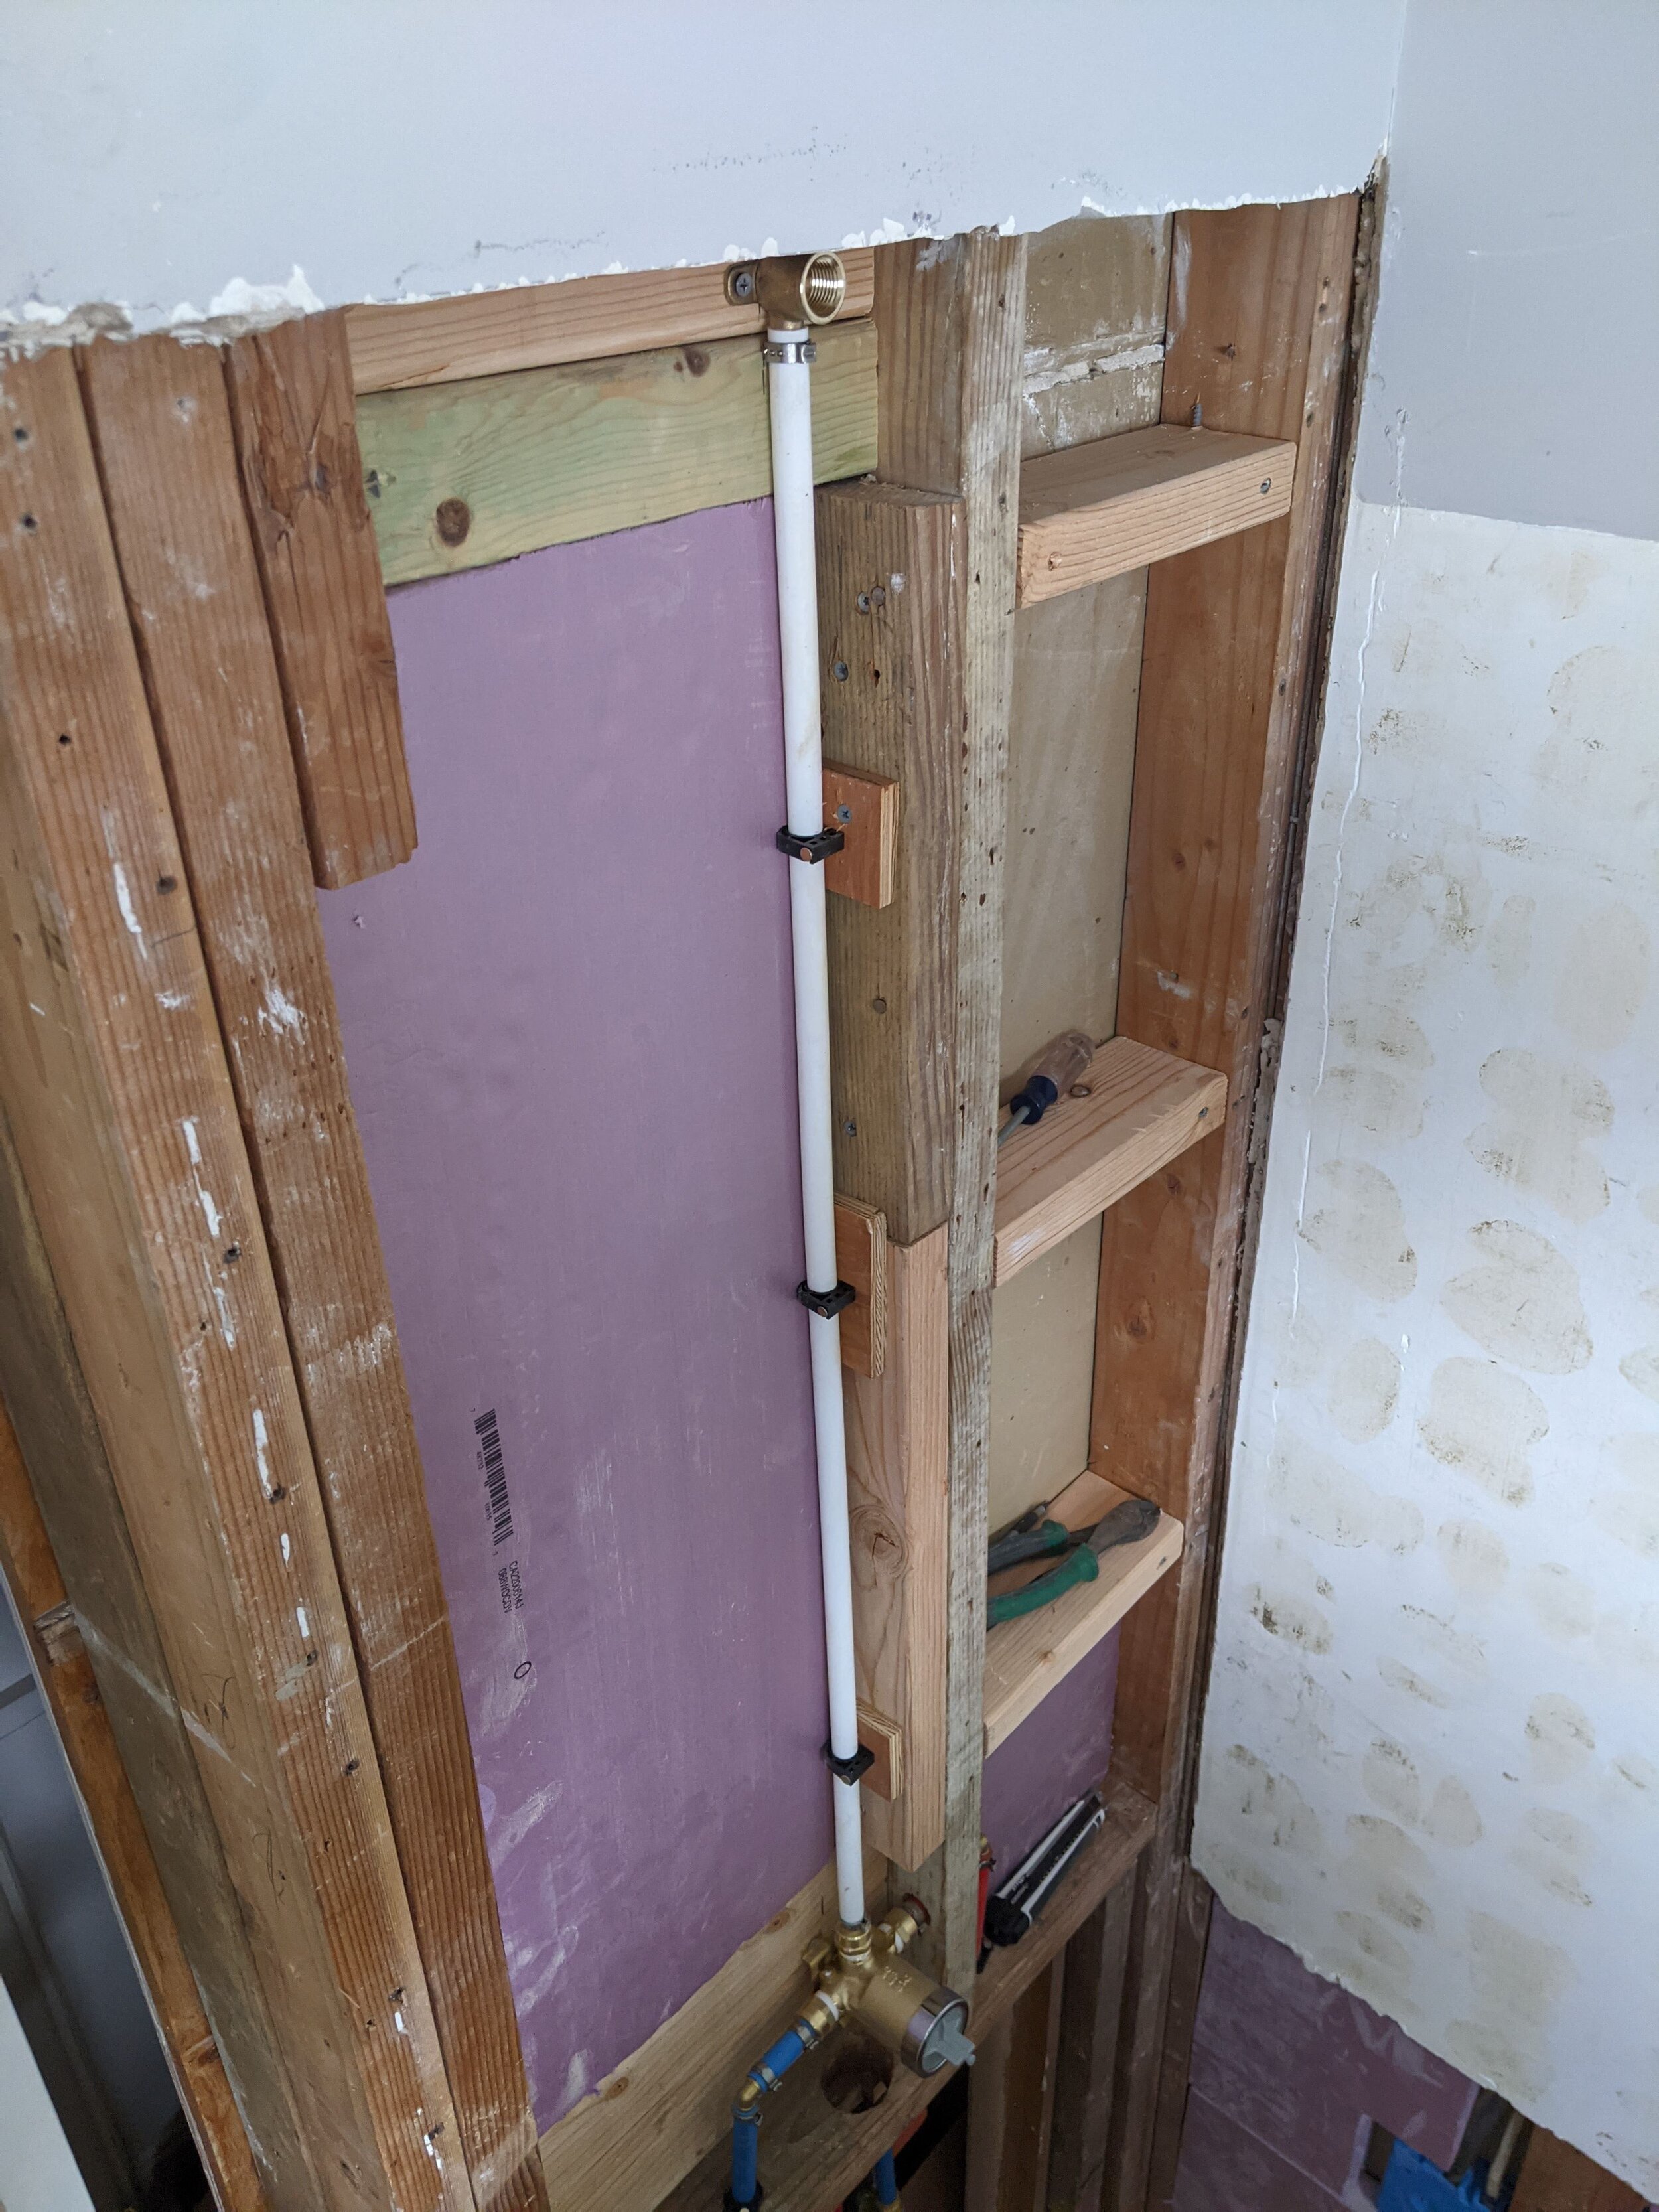
Insulation is important for many reasons - temperature control and noise reduction being prime benefits. In our case, it also helped shore up a thin wall to give the concrete board something to press against to create the very solid backing we wanted for our new tiles.

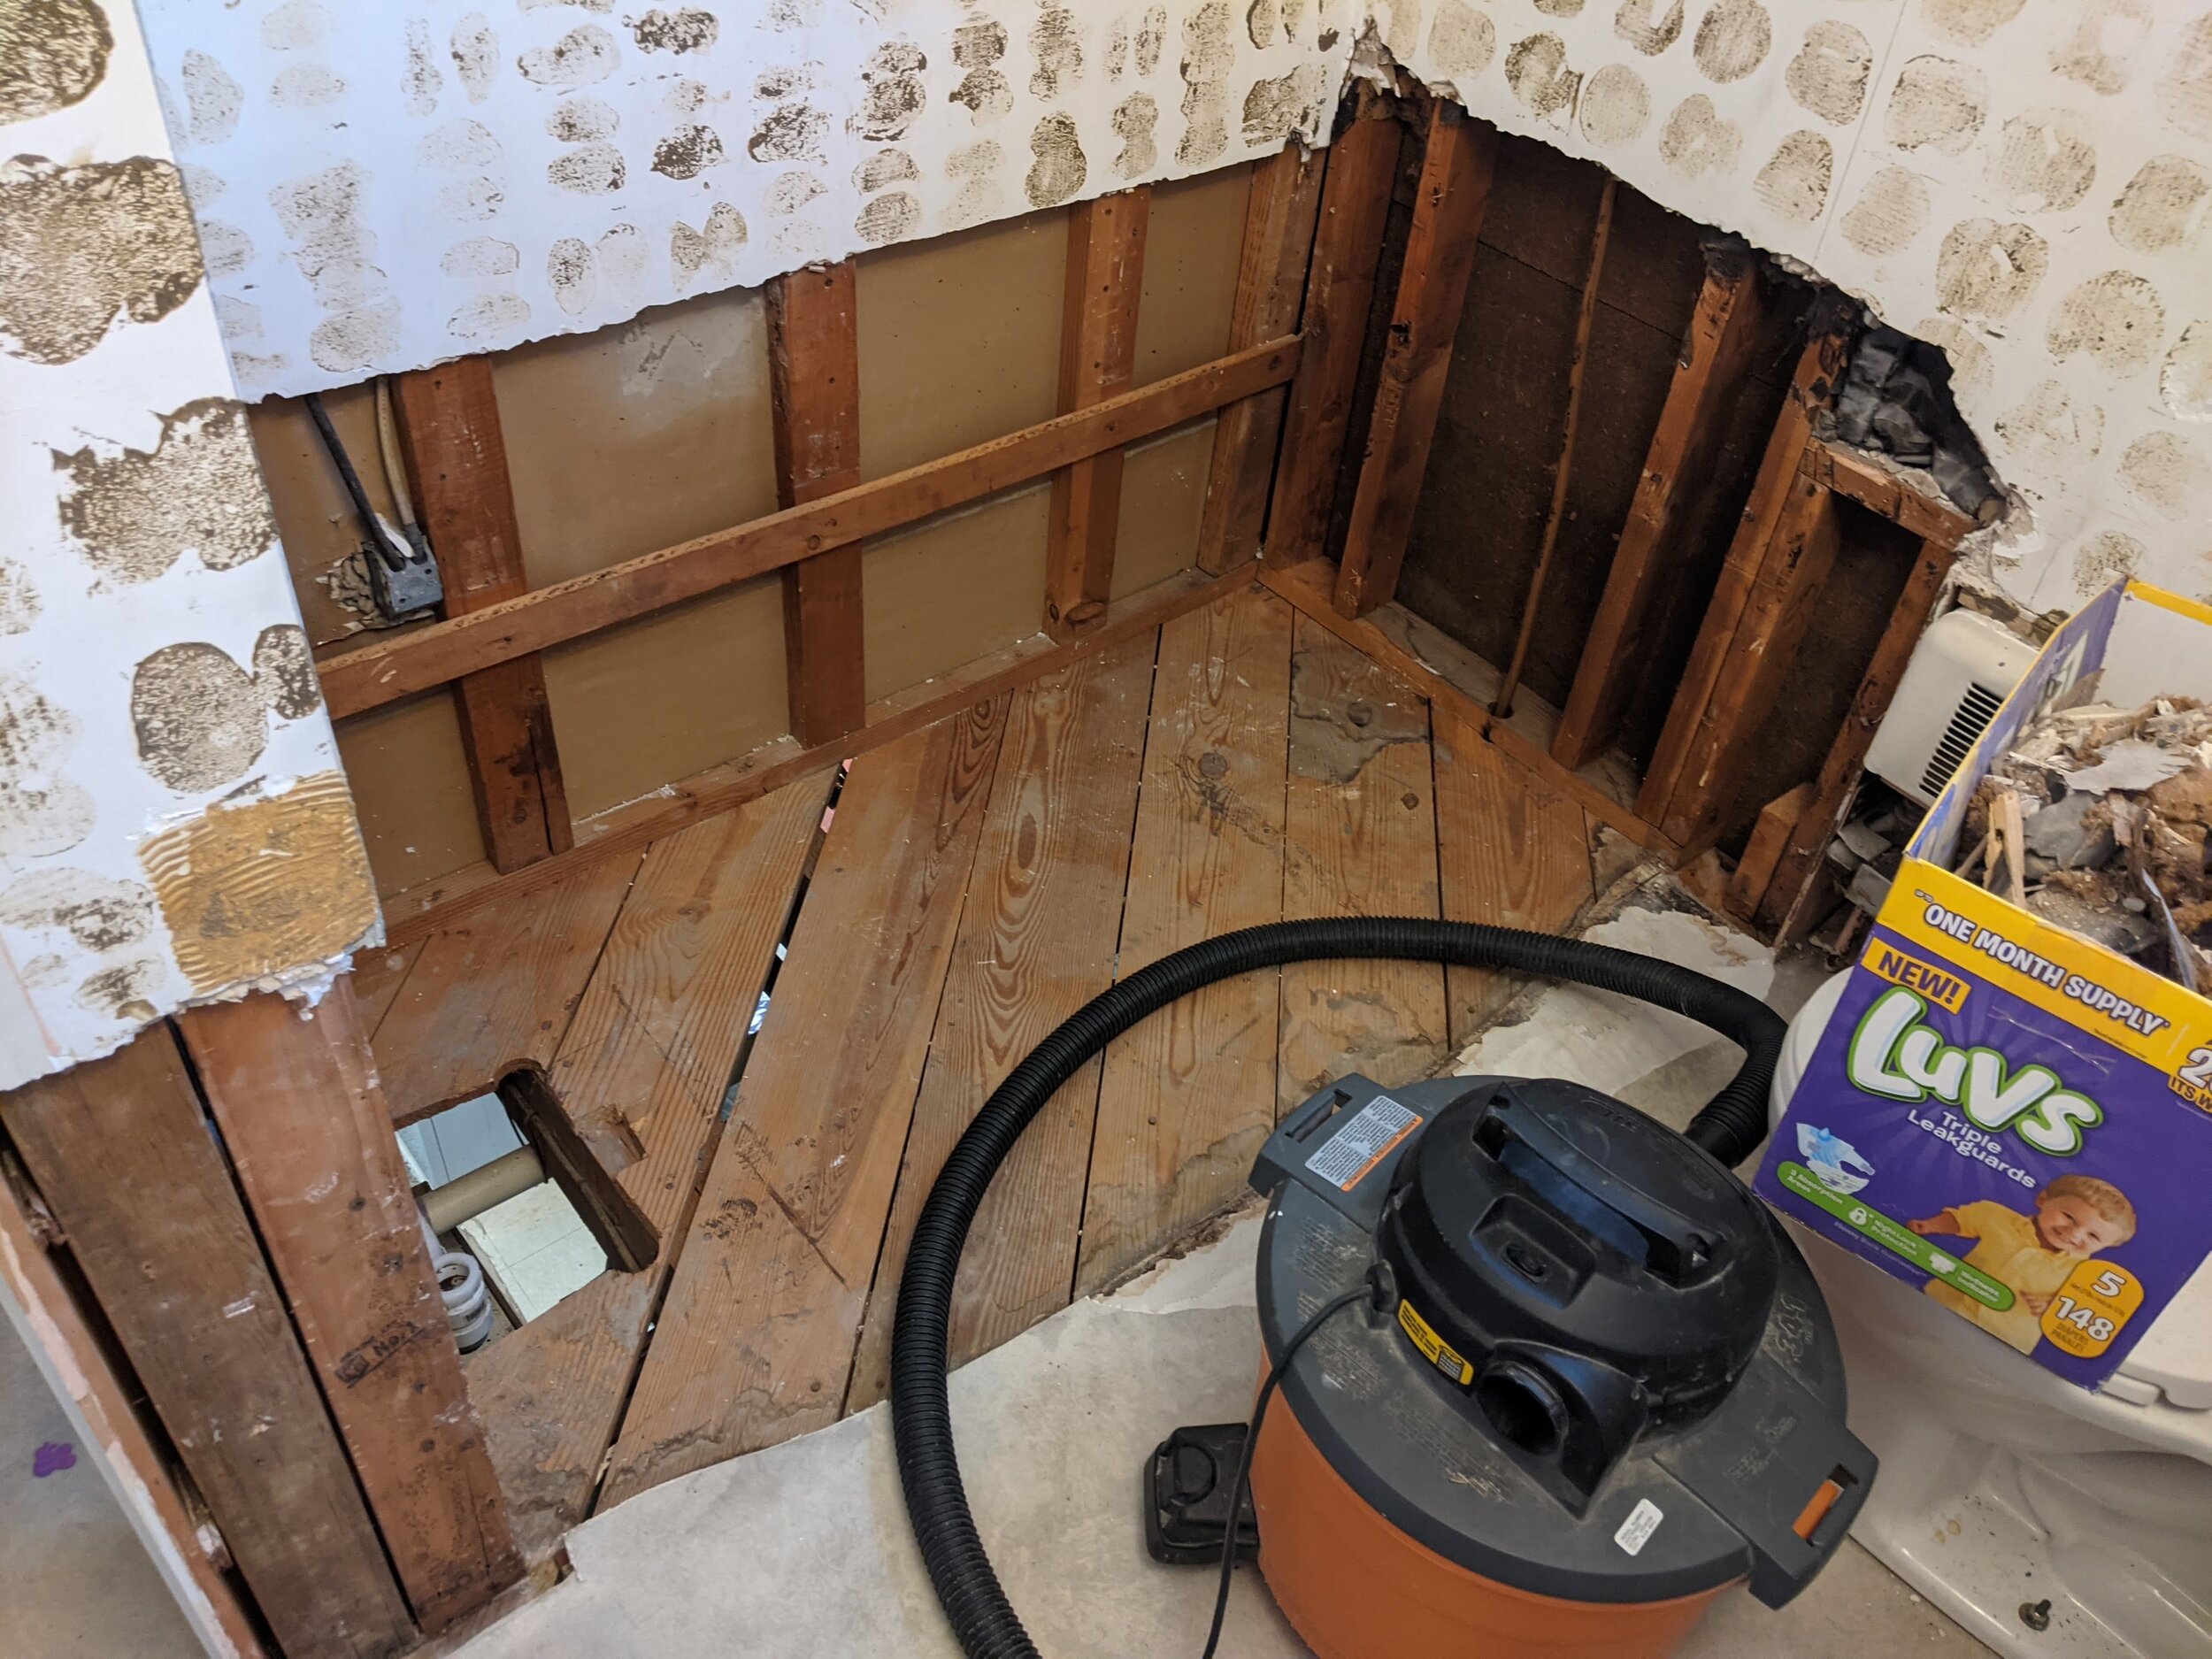
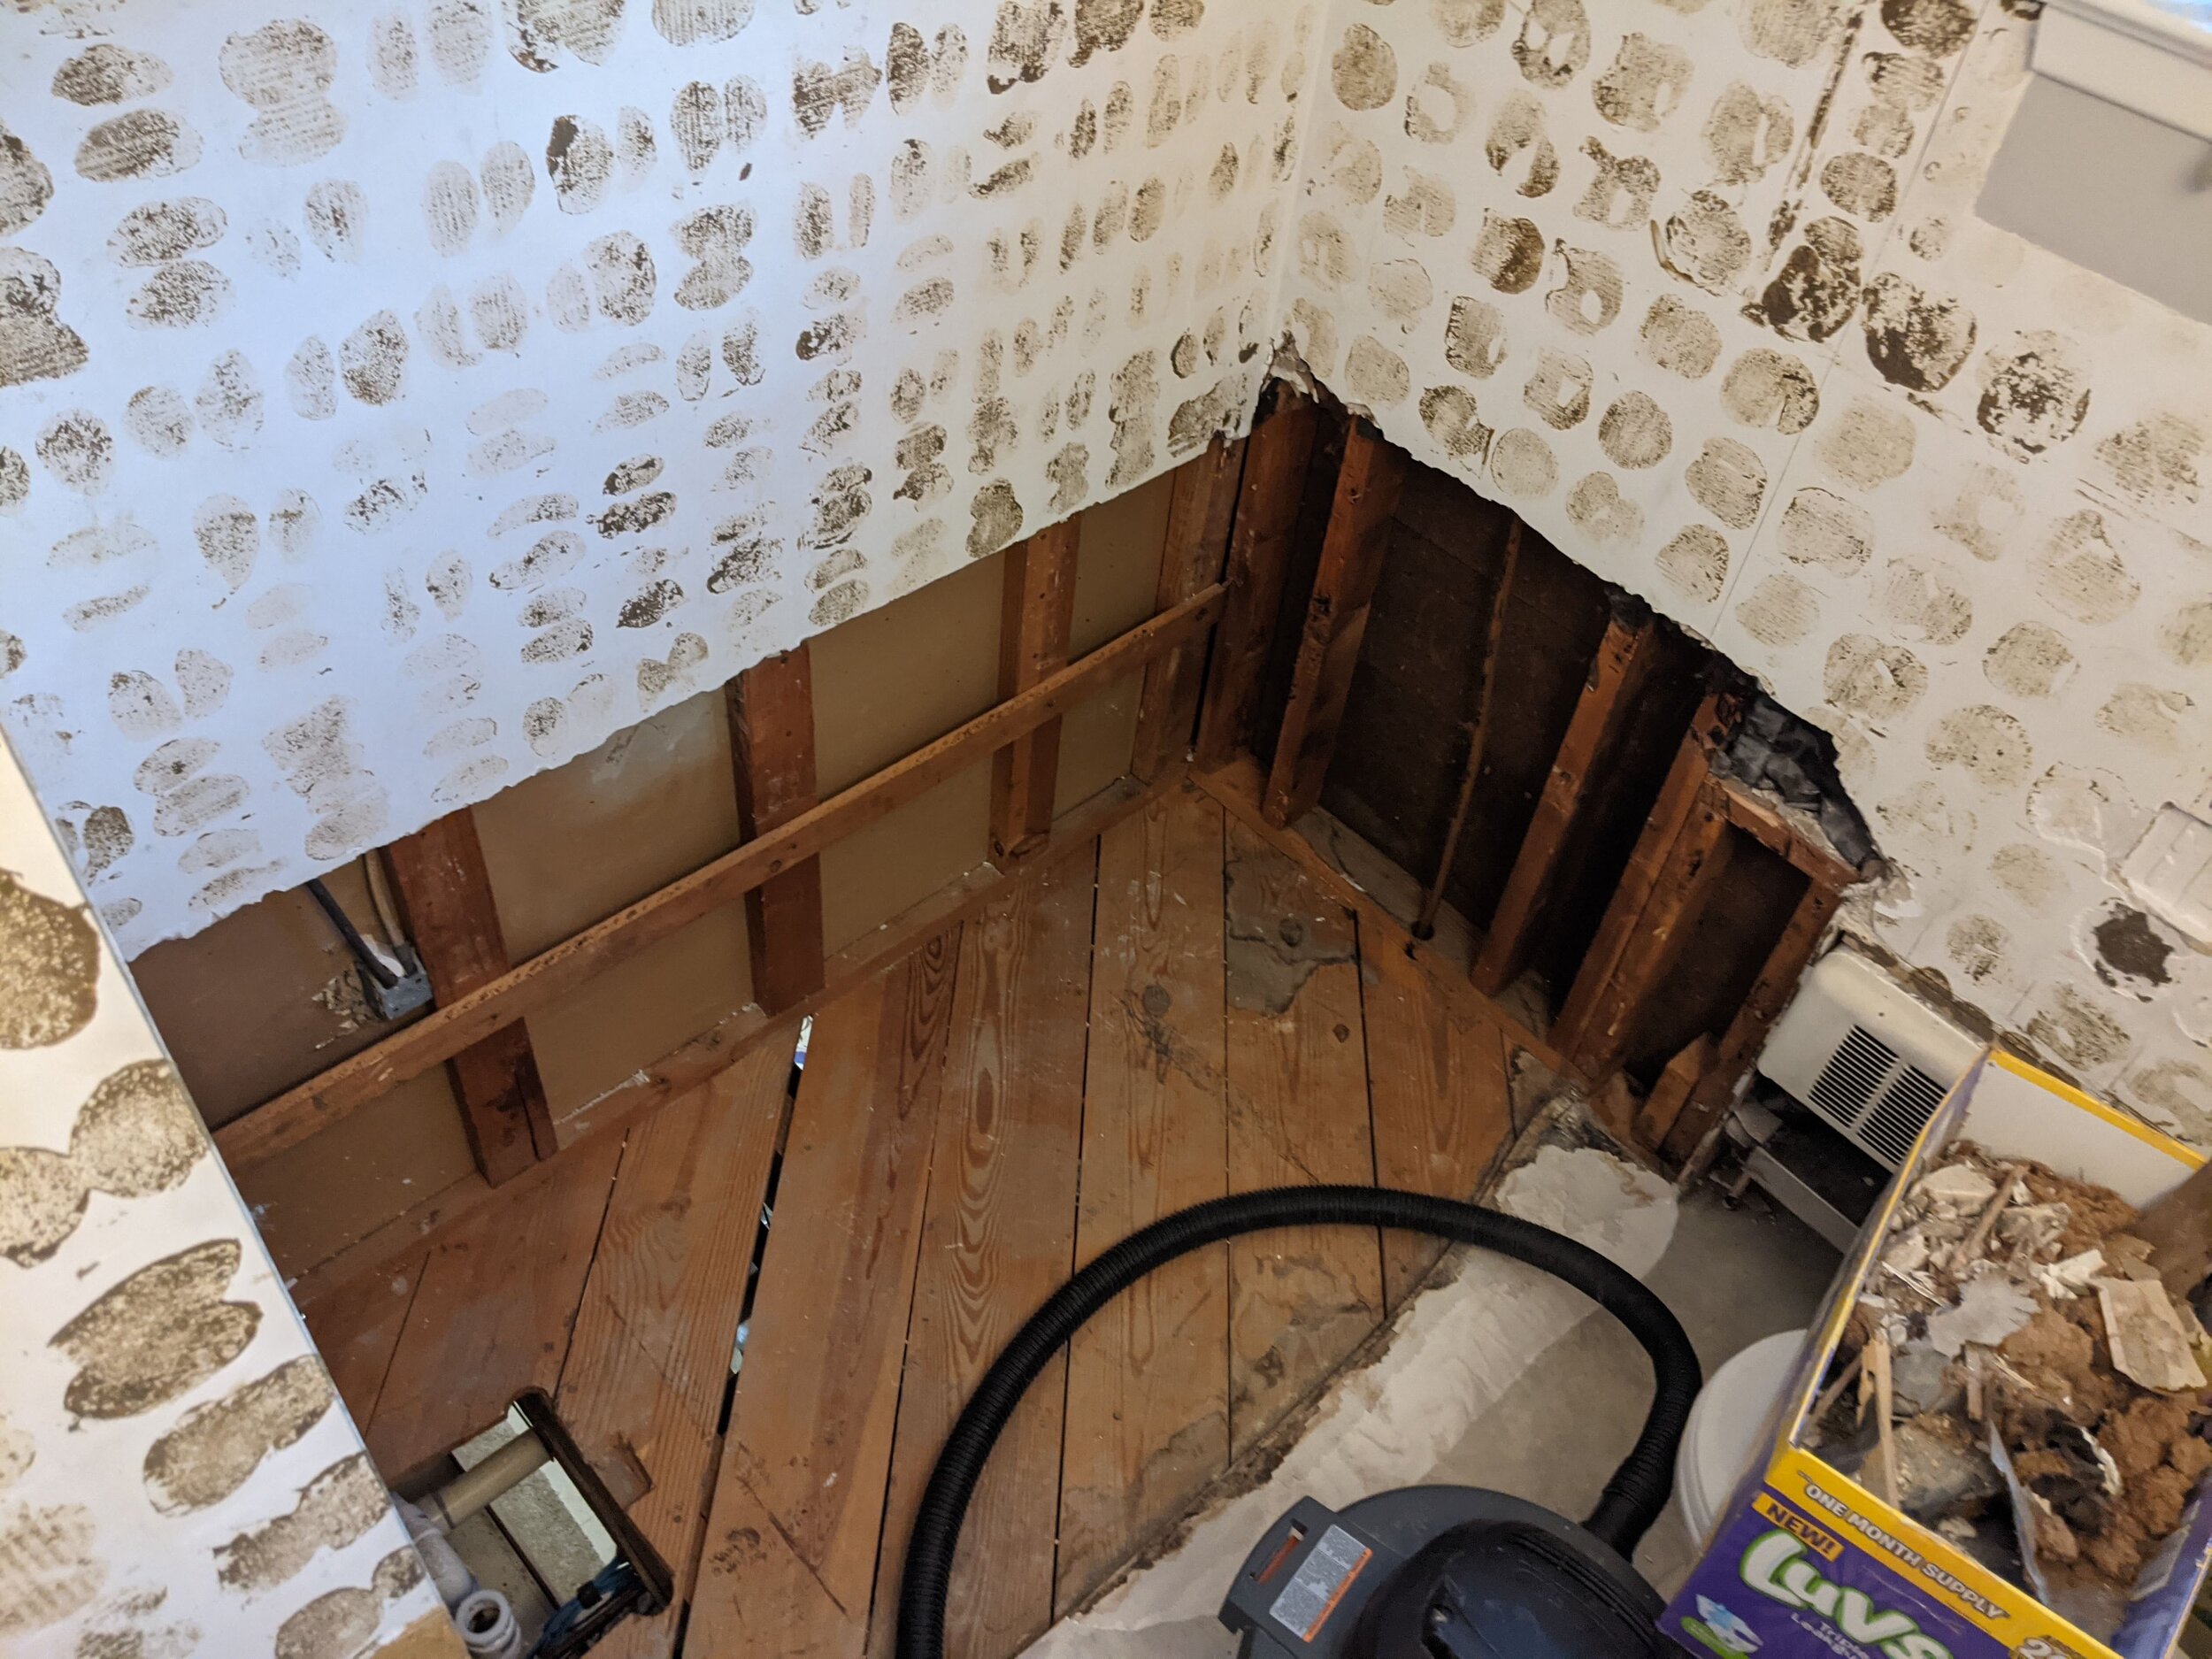
We used solid purple foam insulation that we slid up the gaps between the studs as far as possible in small increments. We toyed with tearing down all the plaster, but it was in such good shape, we decided to keep it. Plus, we were lucky and that’s an interior wall. So our bedroom on the other side is fully temperature controlled so a little co-mingling of temps would be a-ok.

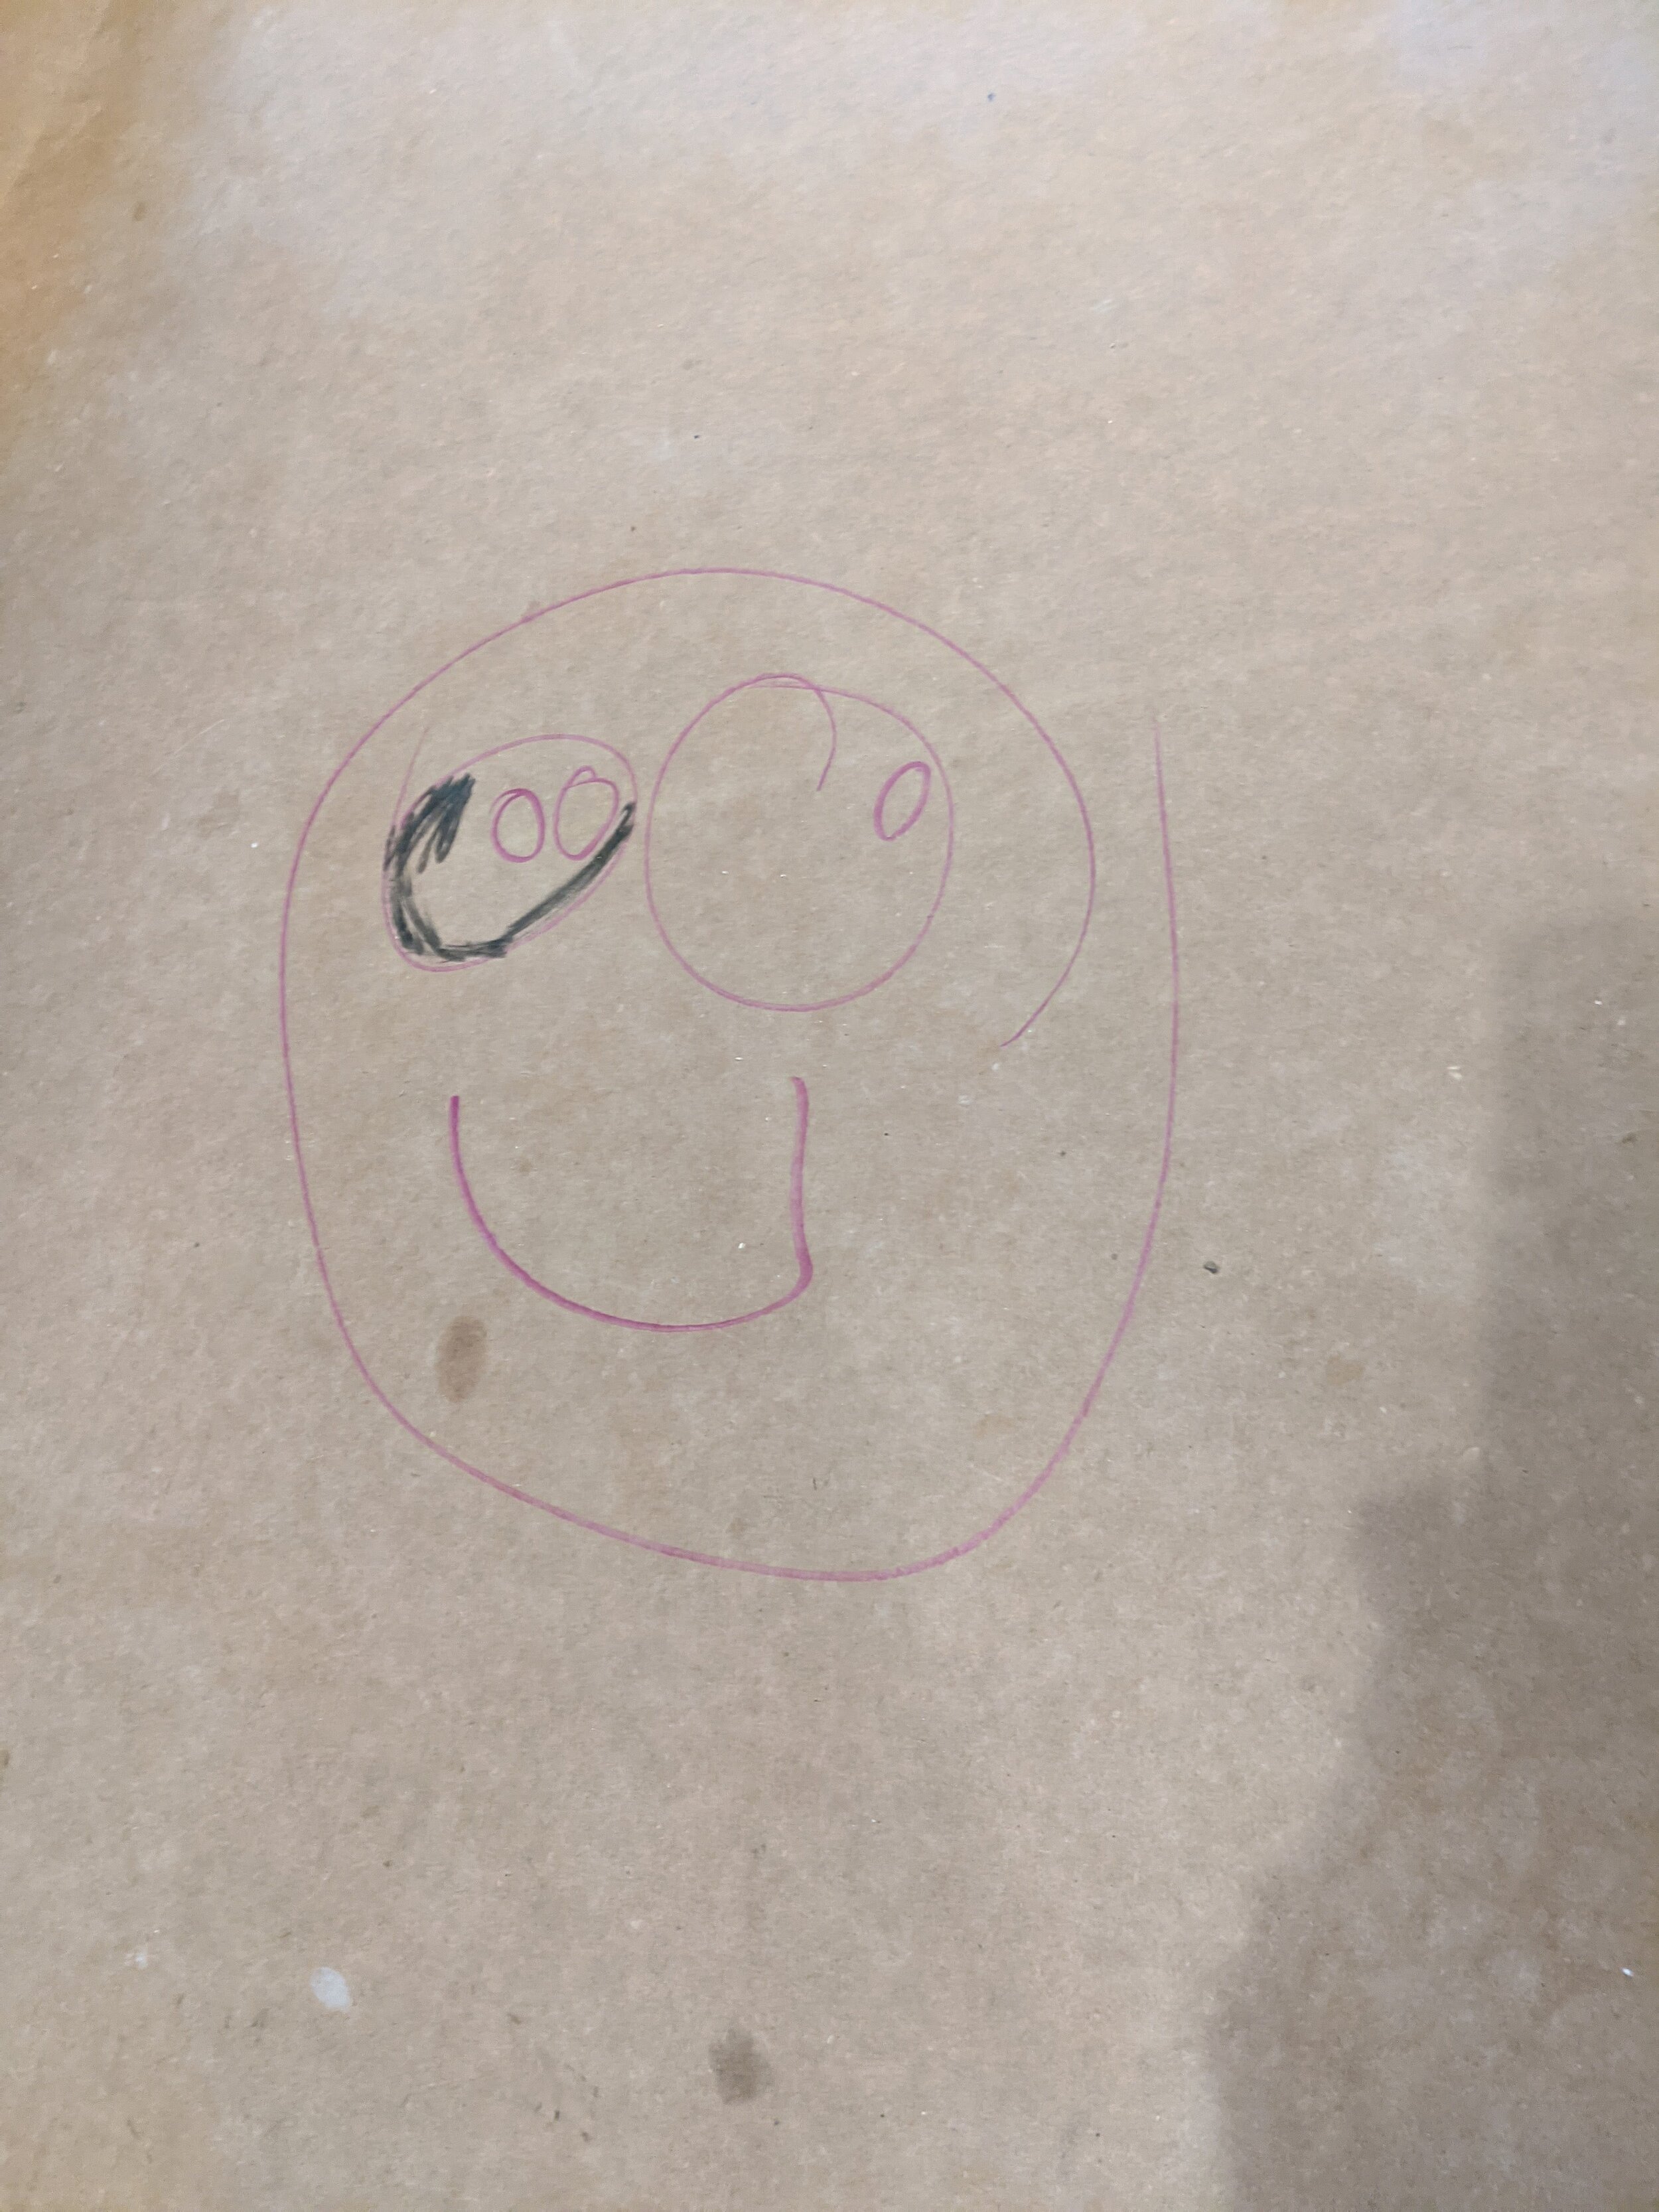
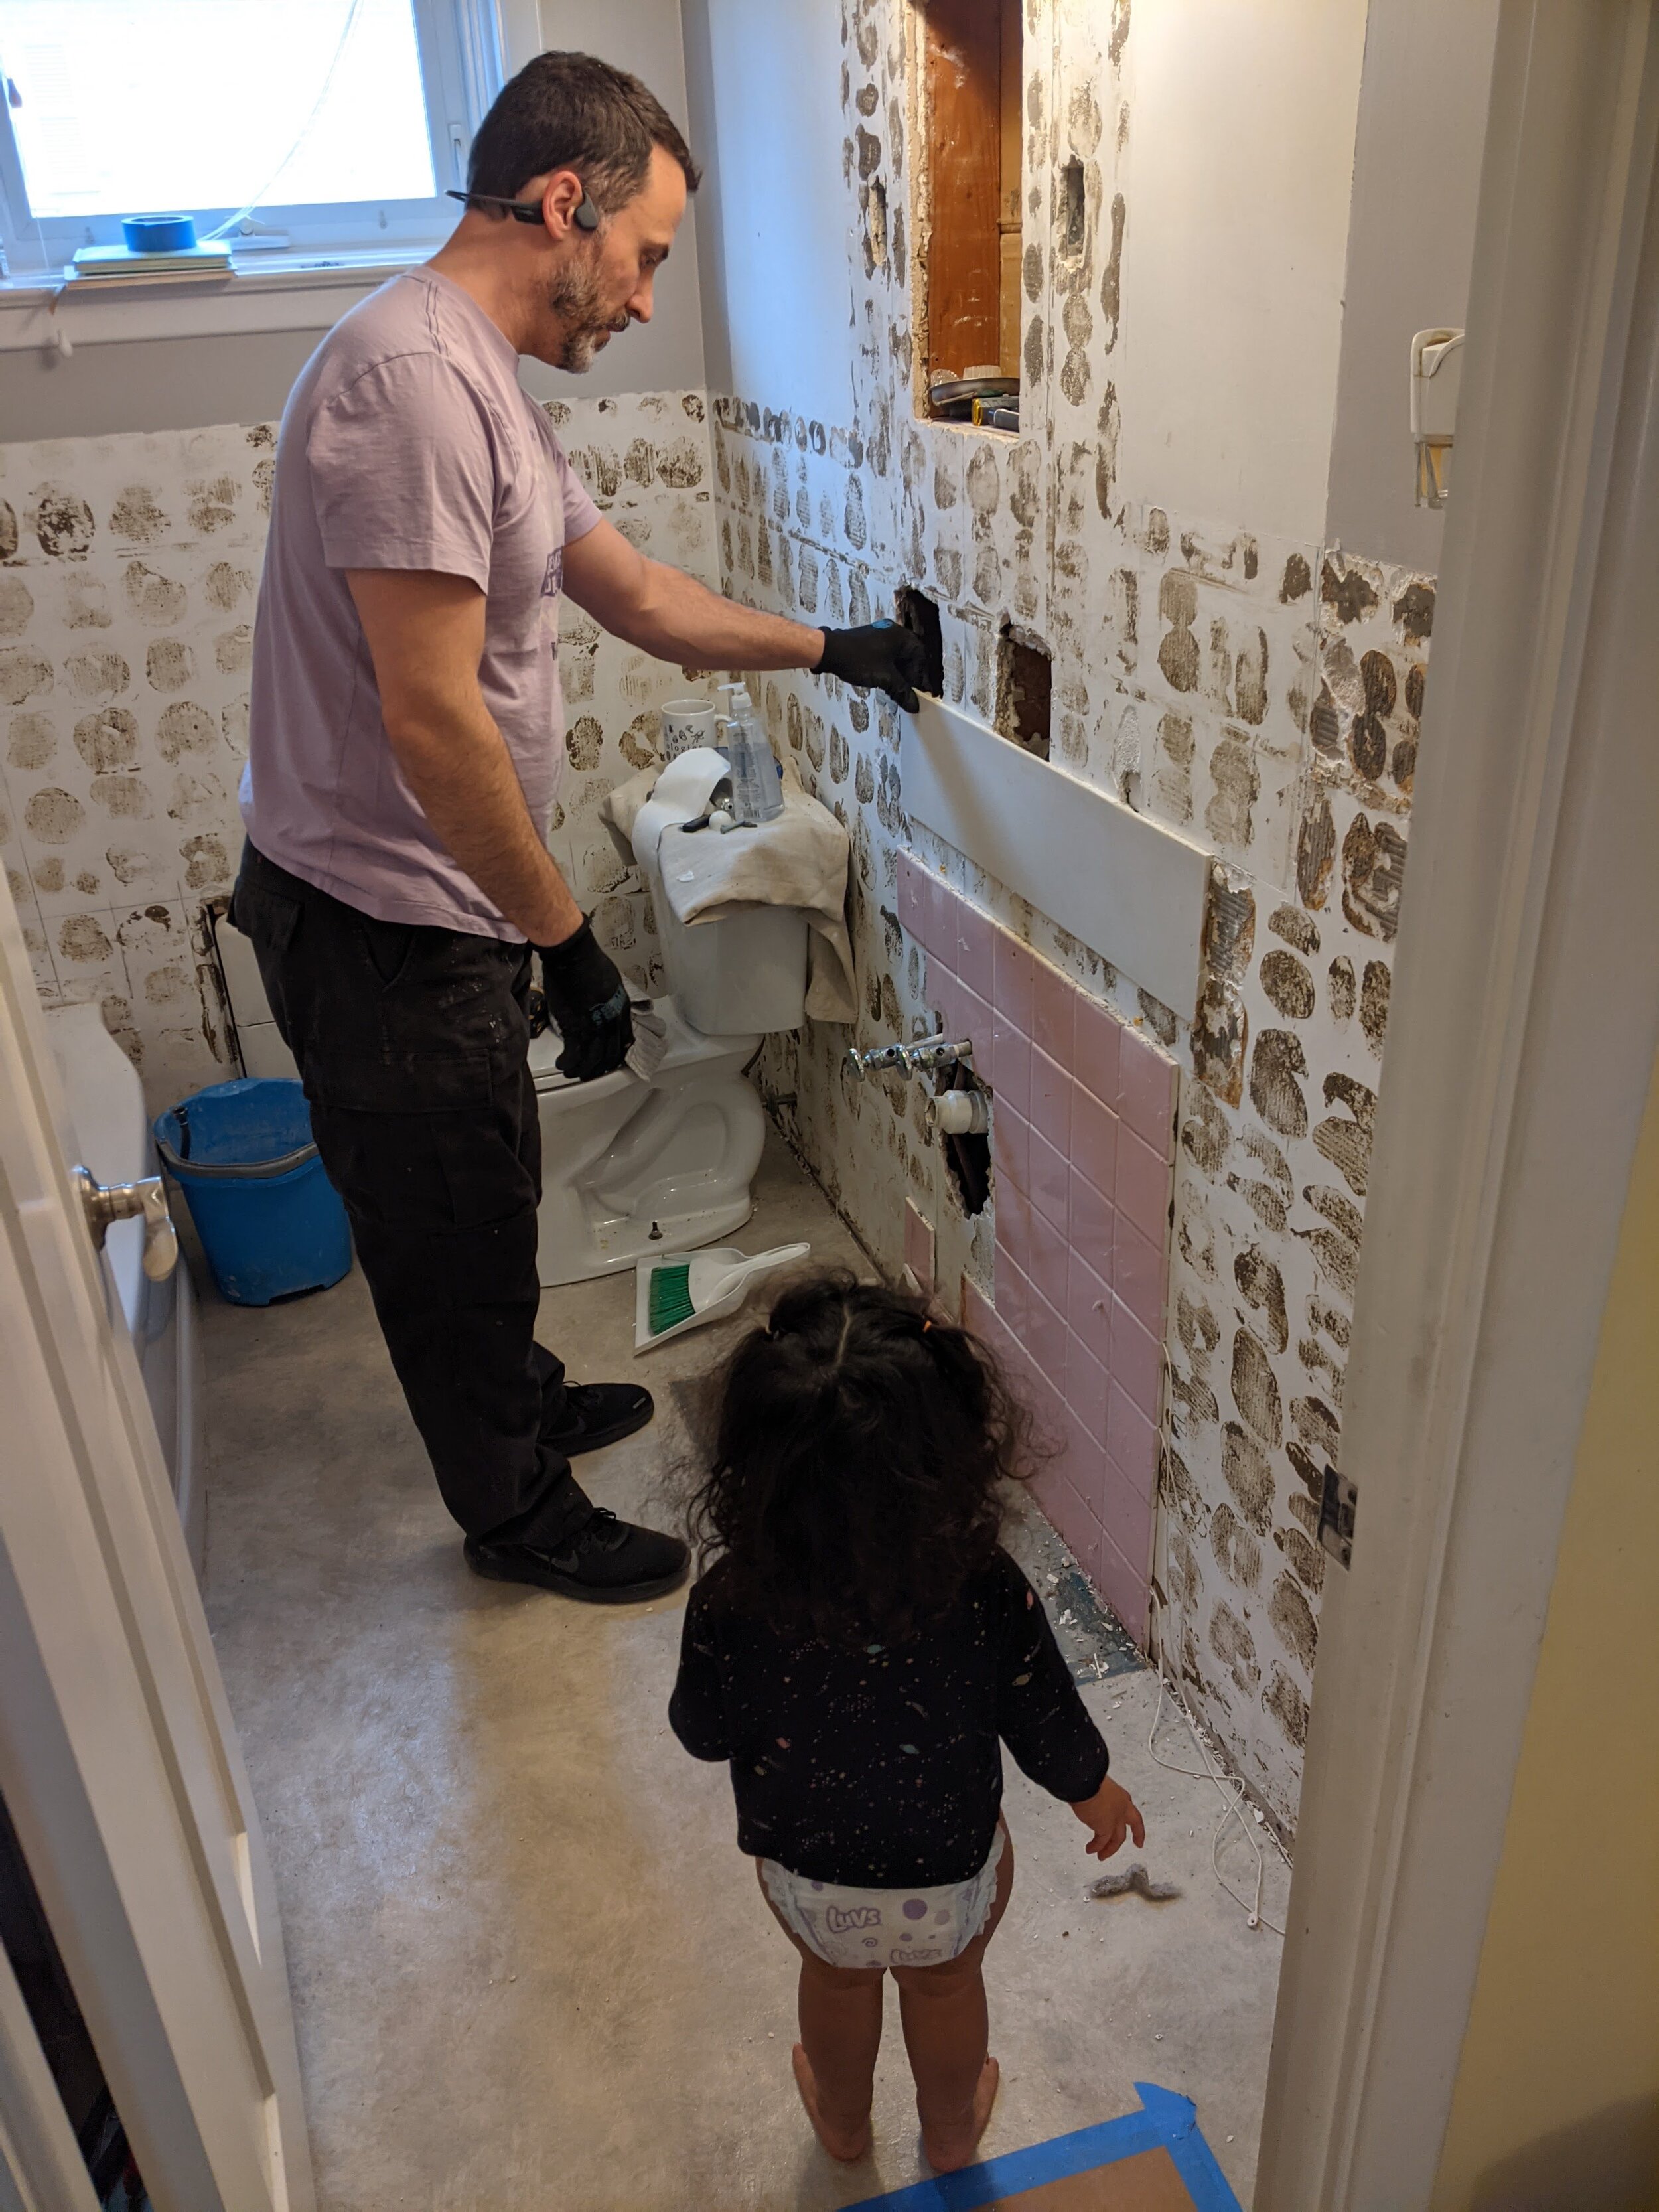
Also — our son thinks Dady did a gOOd joB!

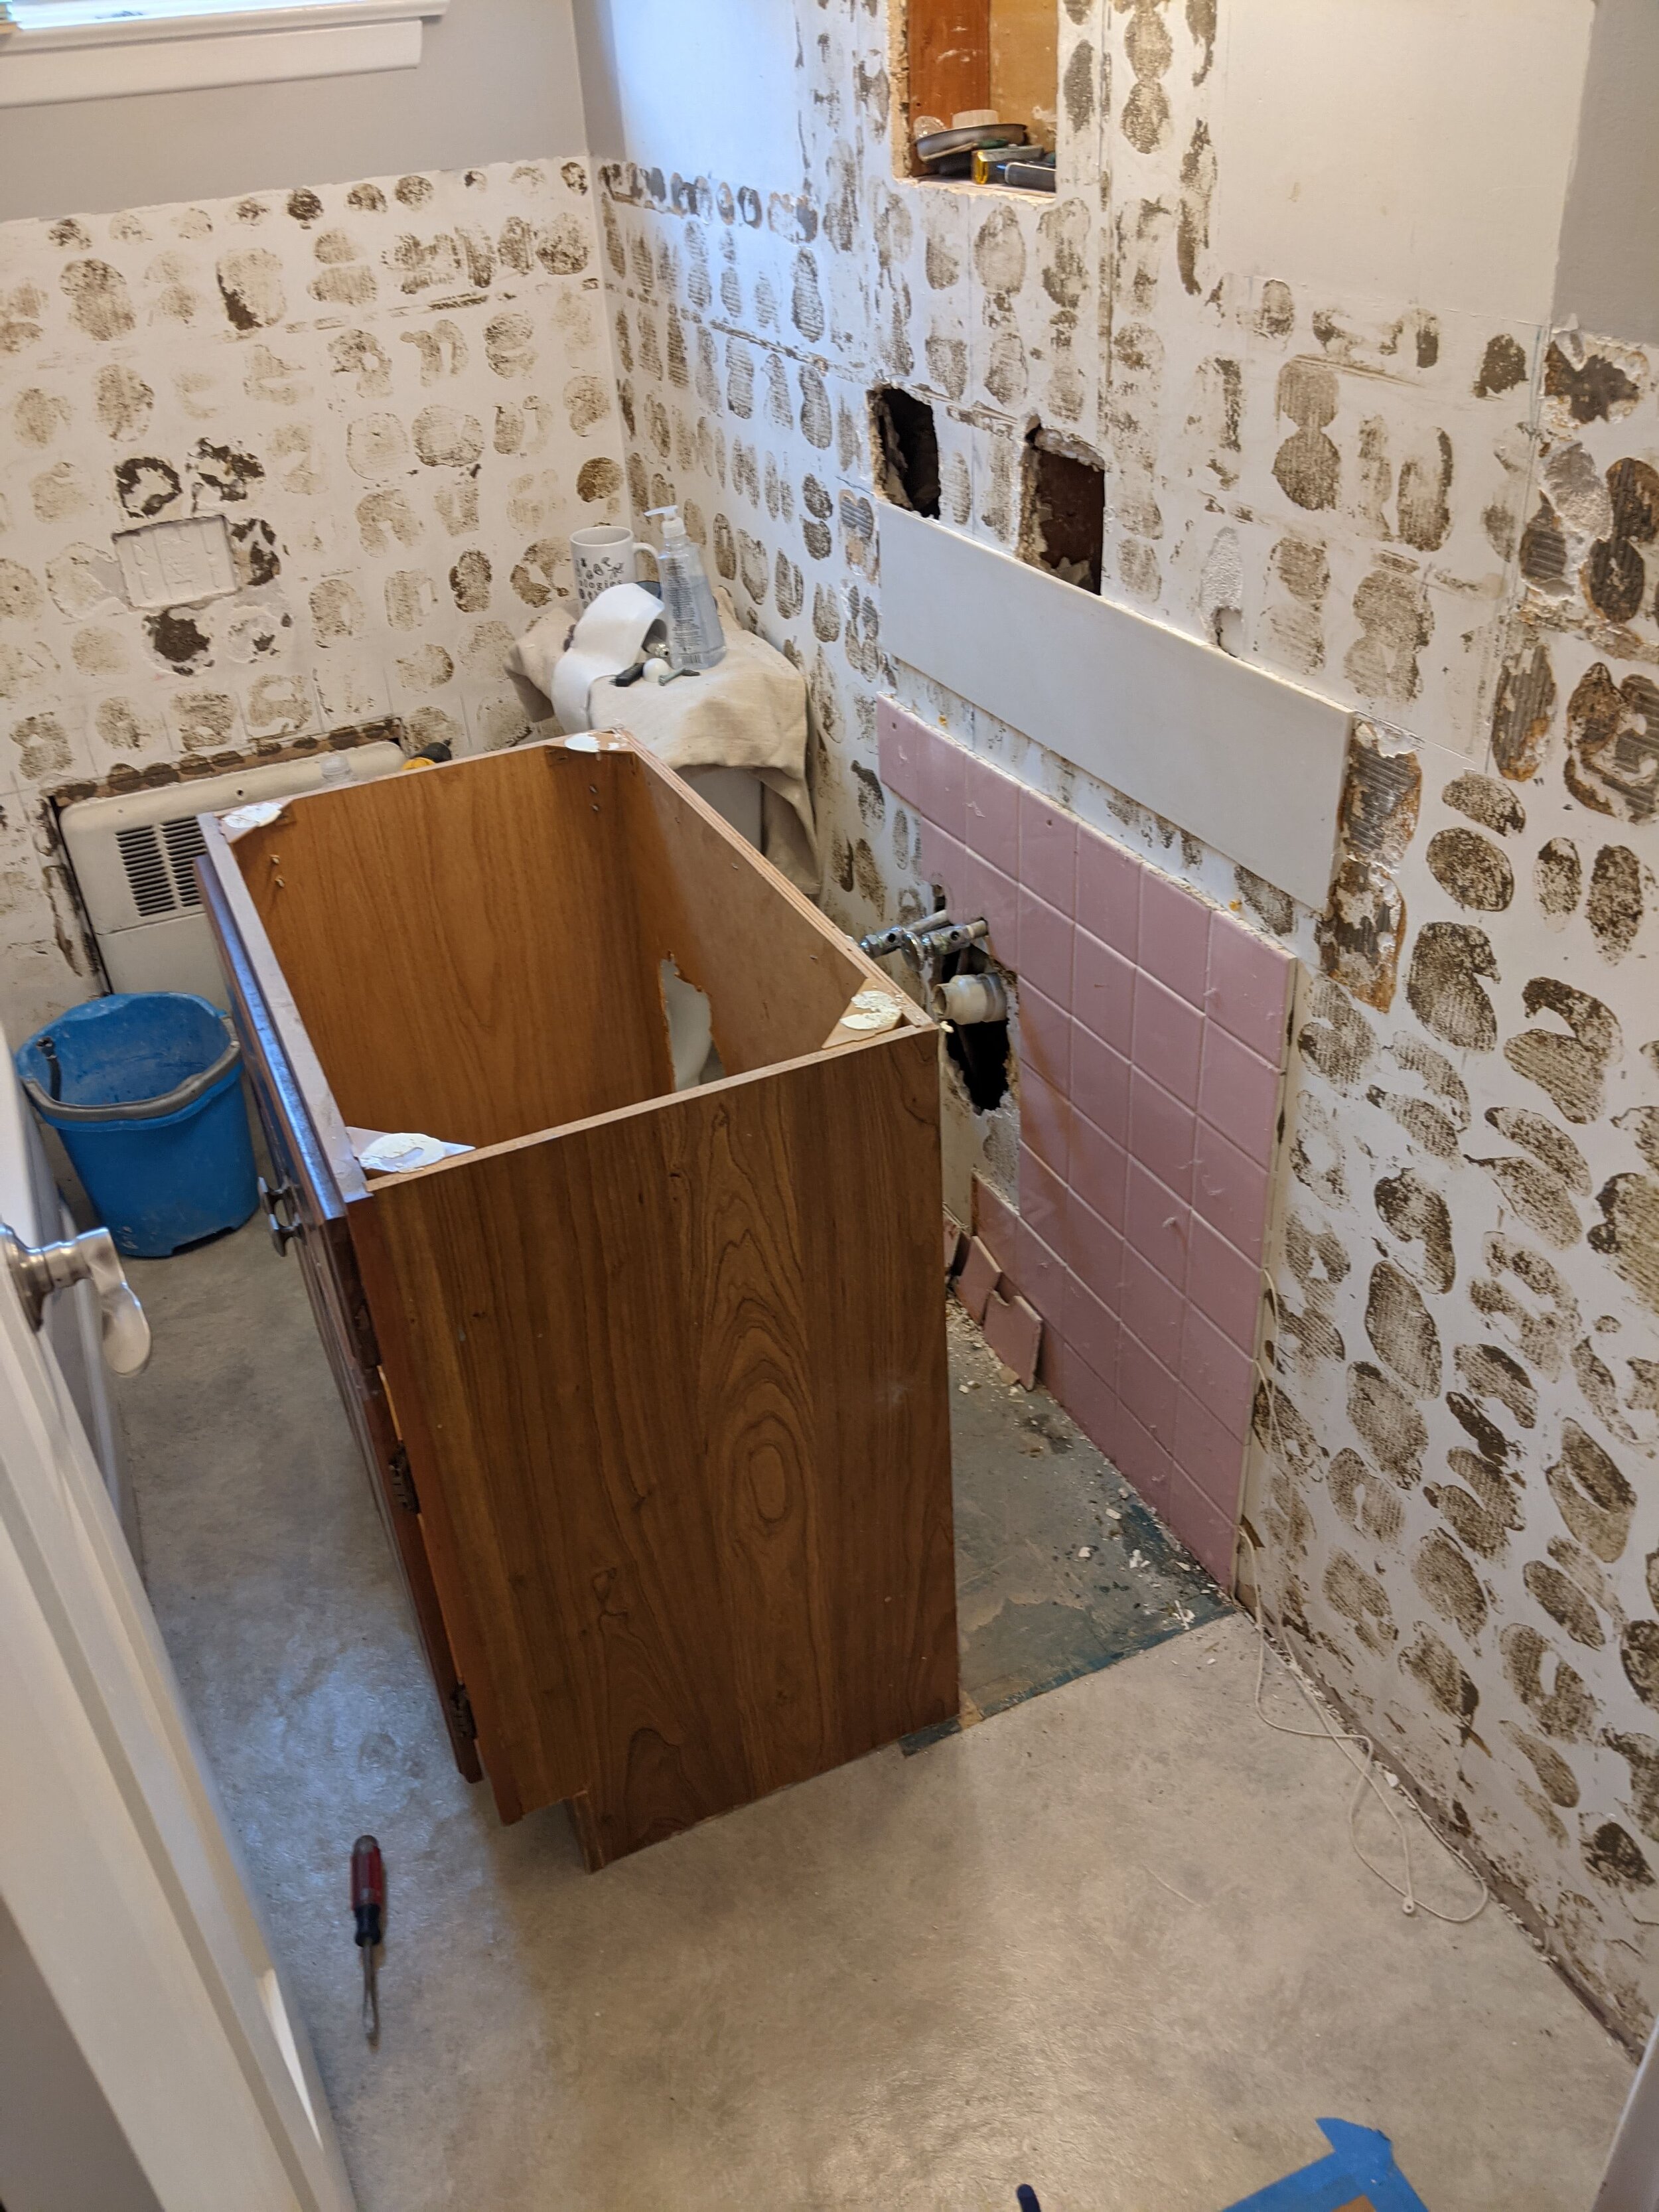
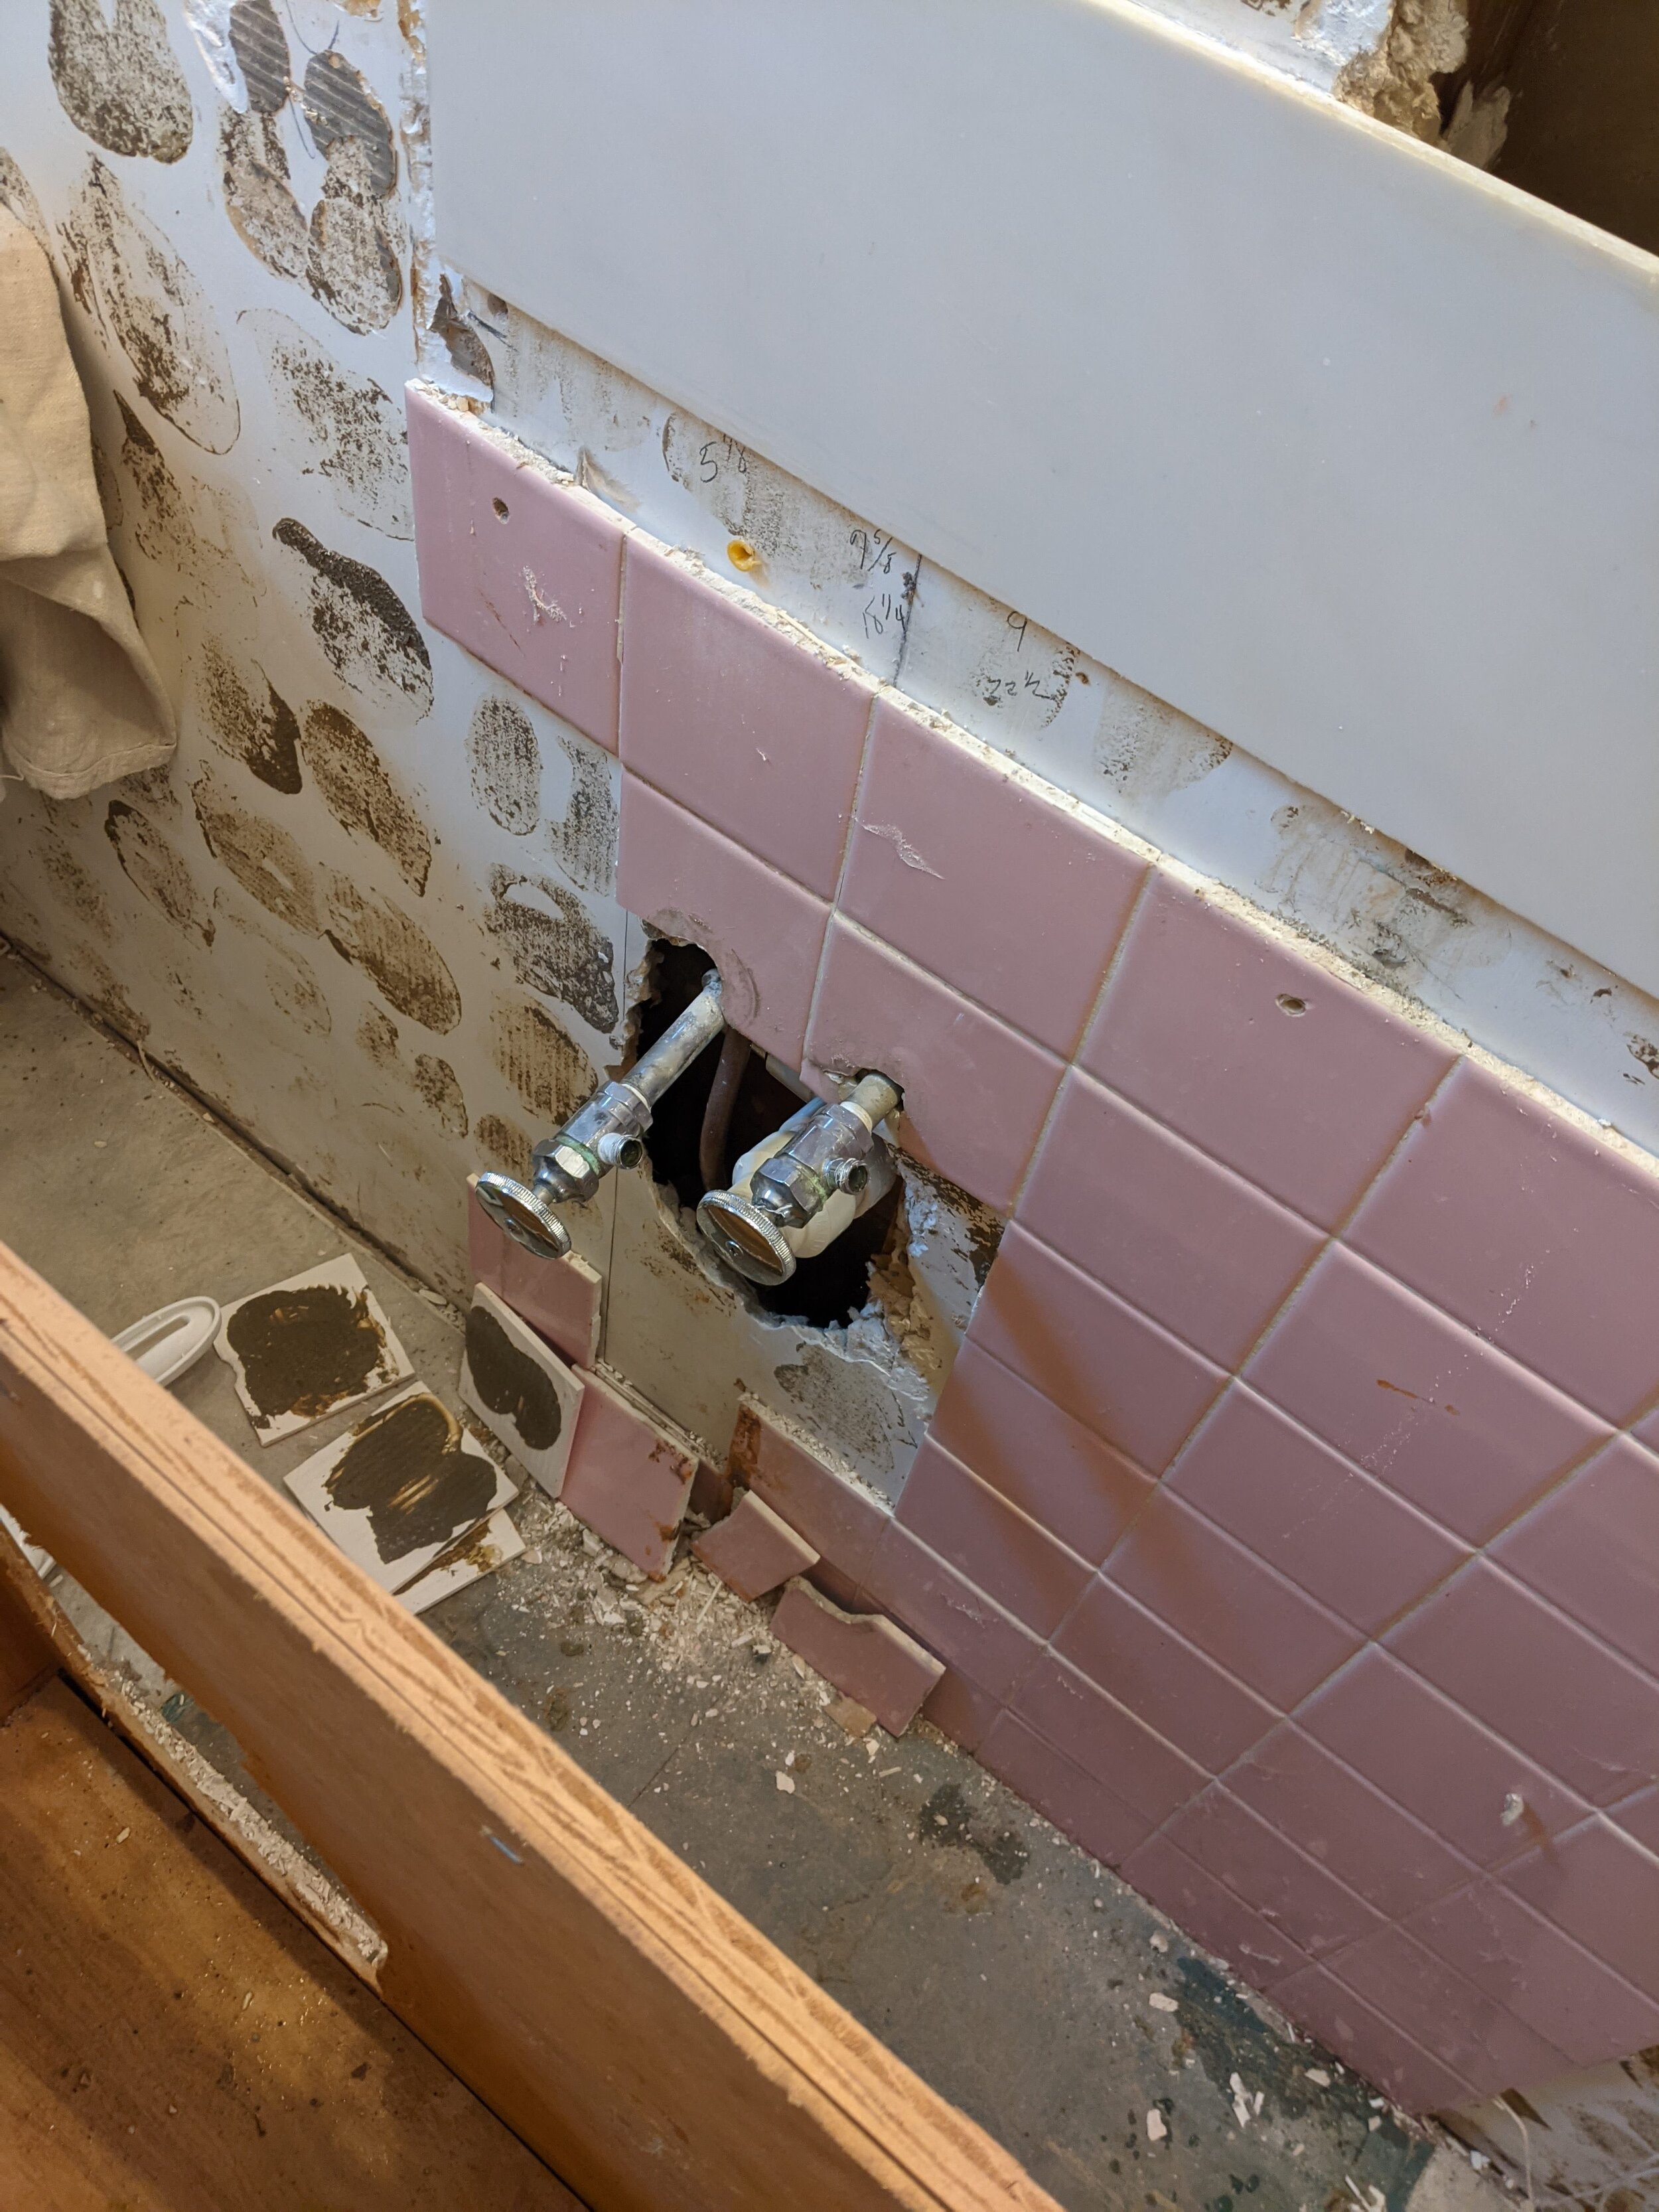
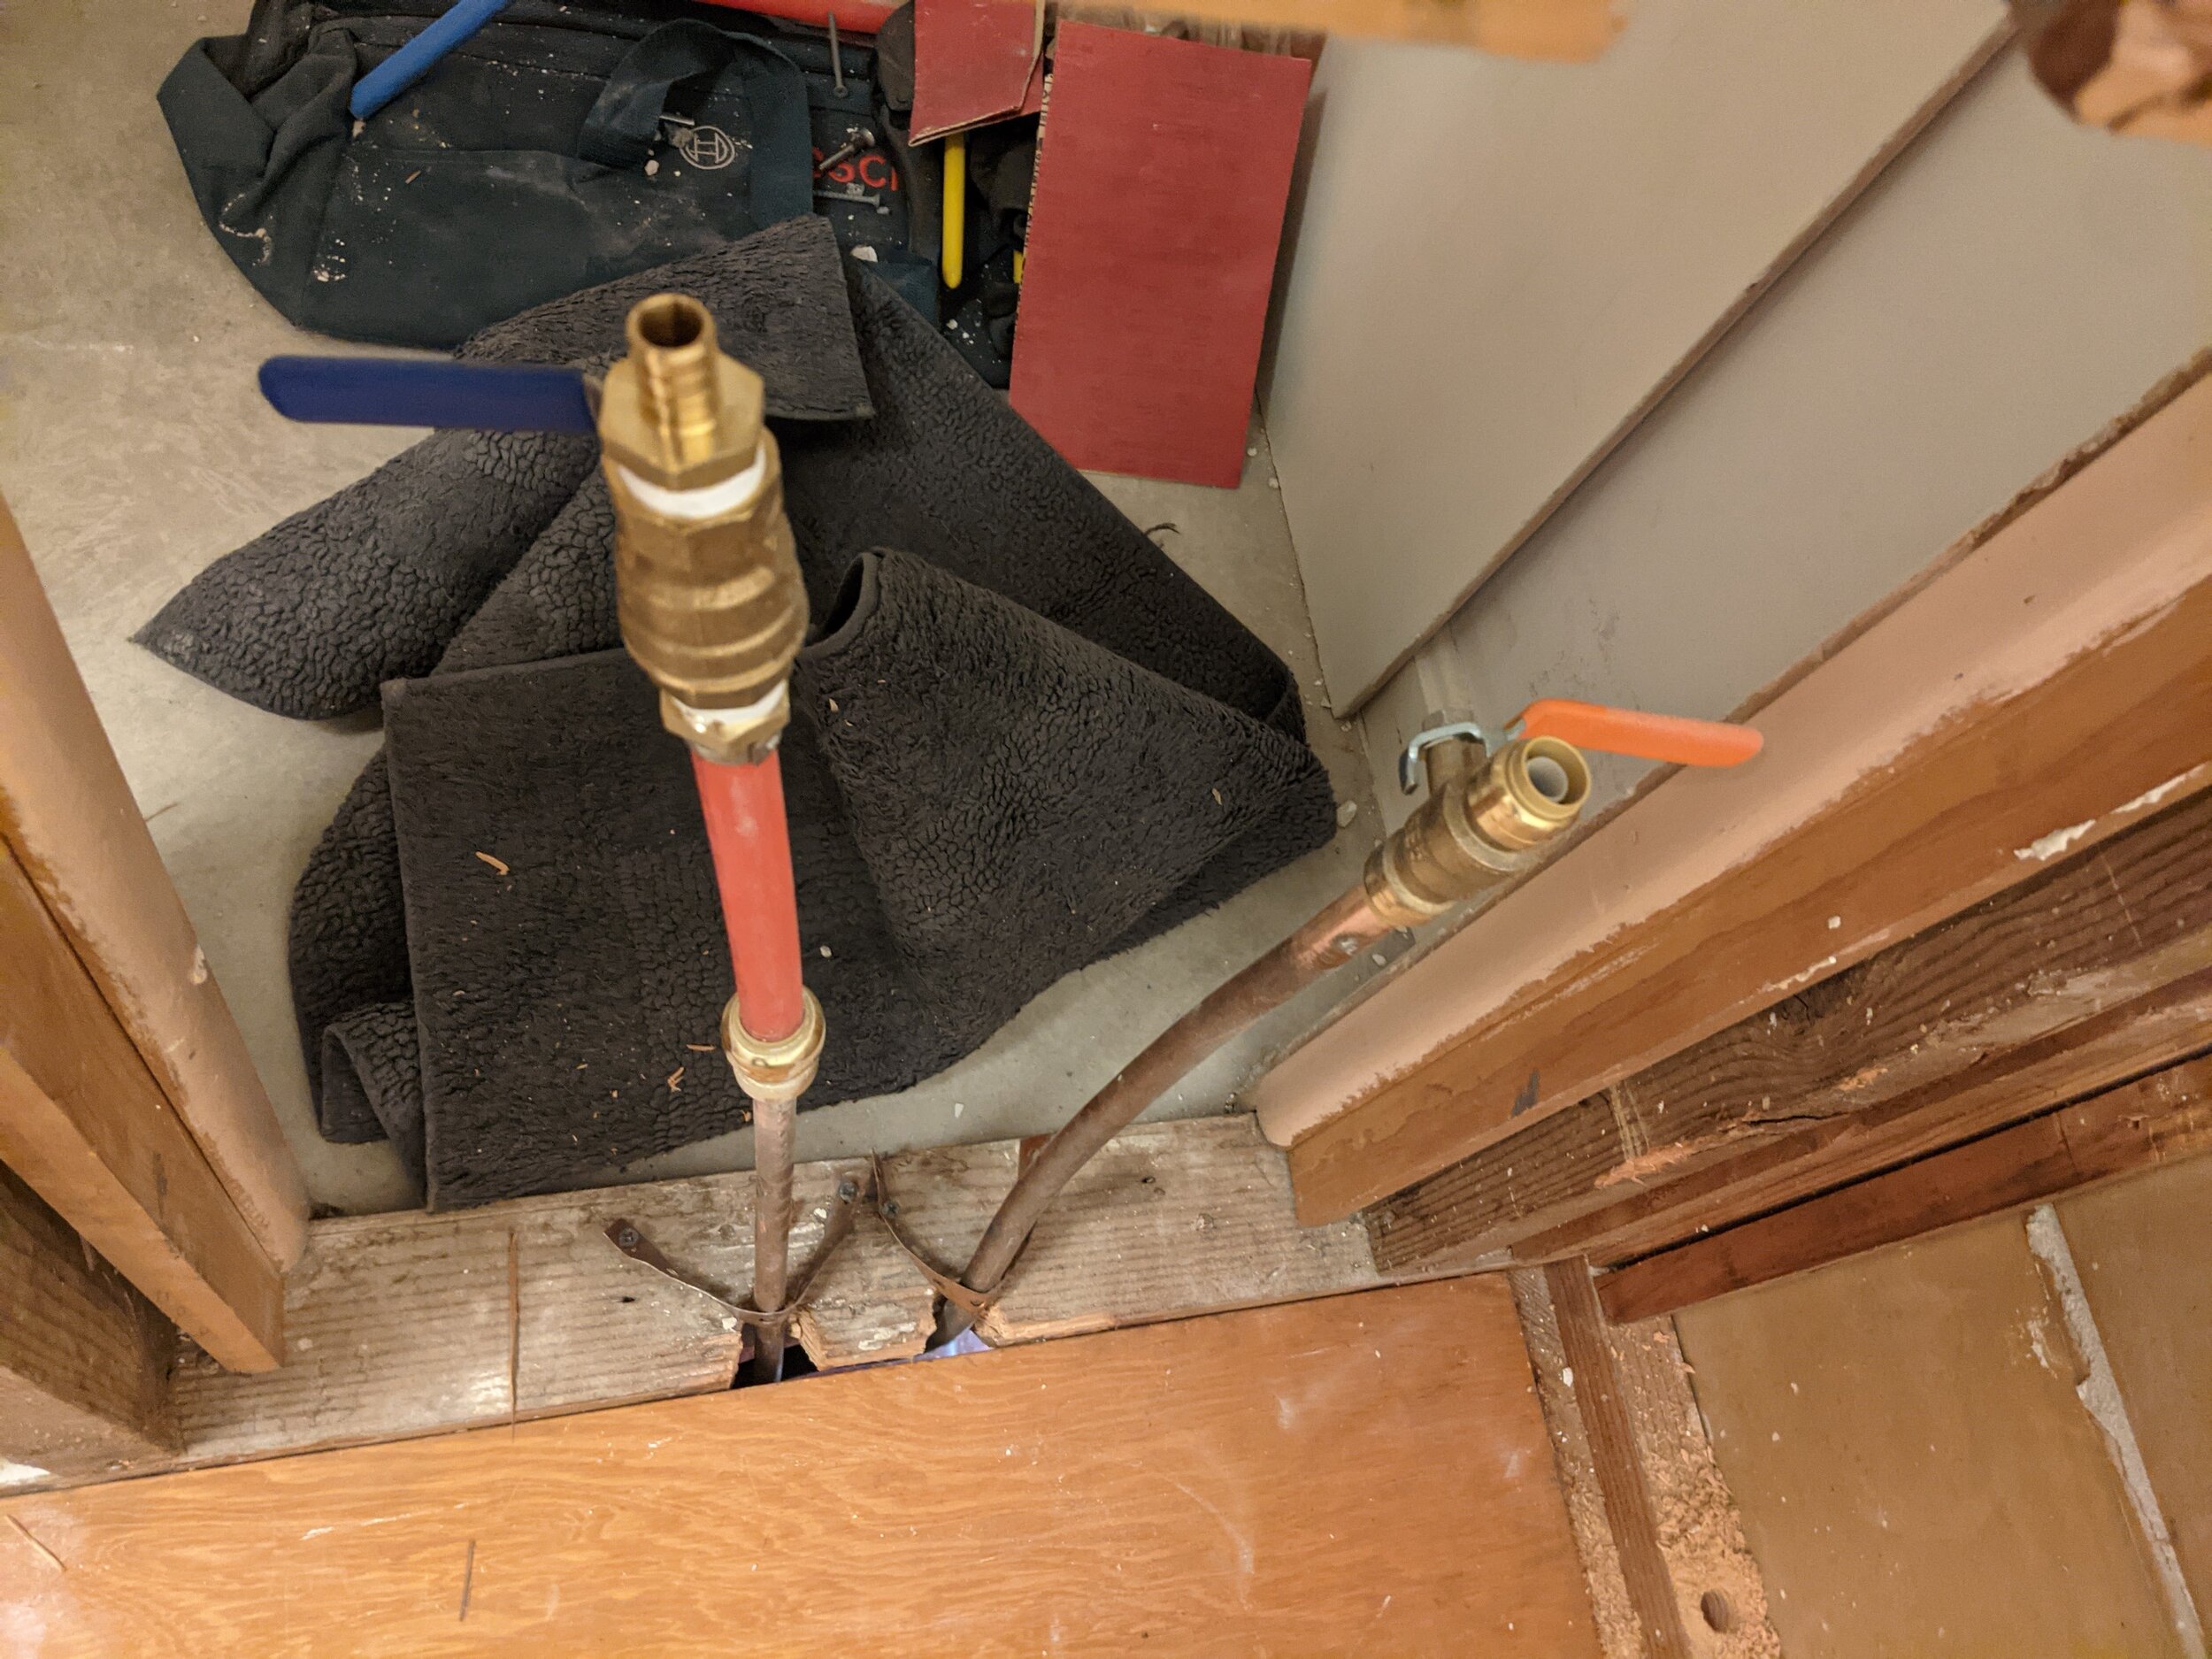
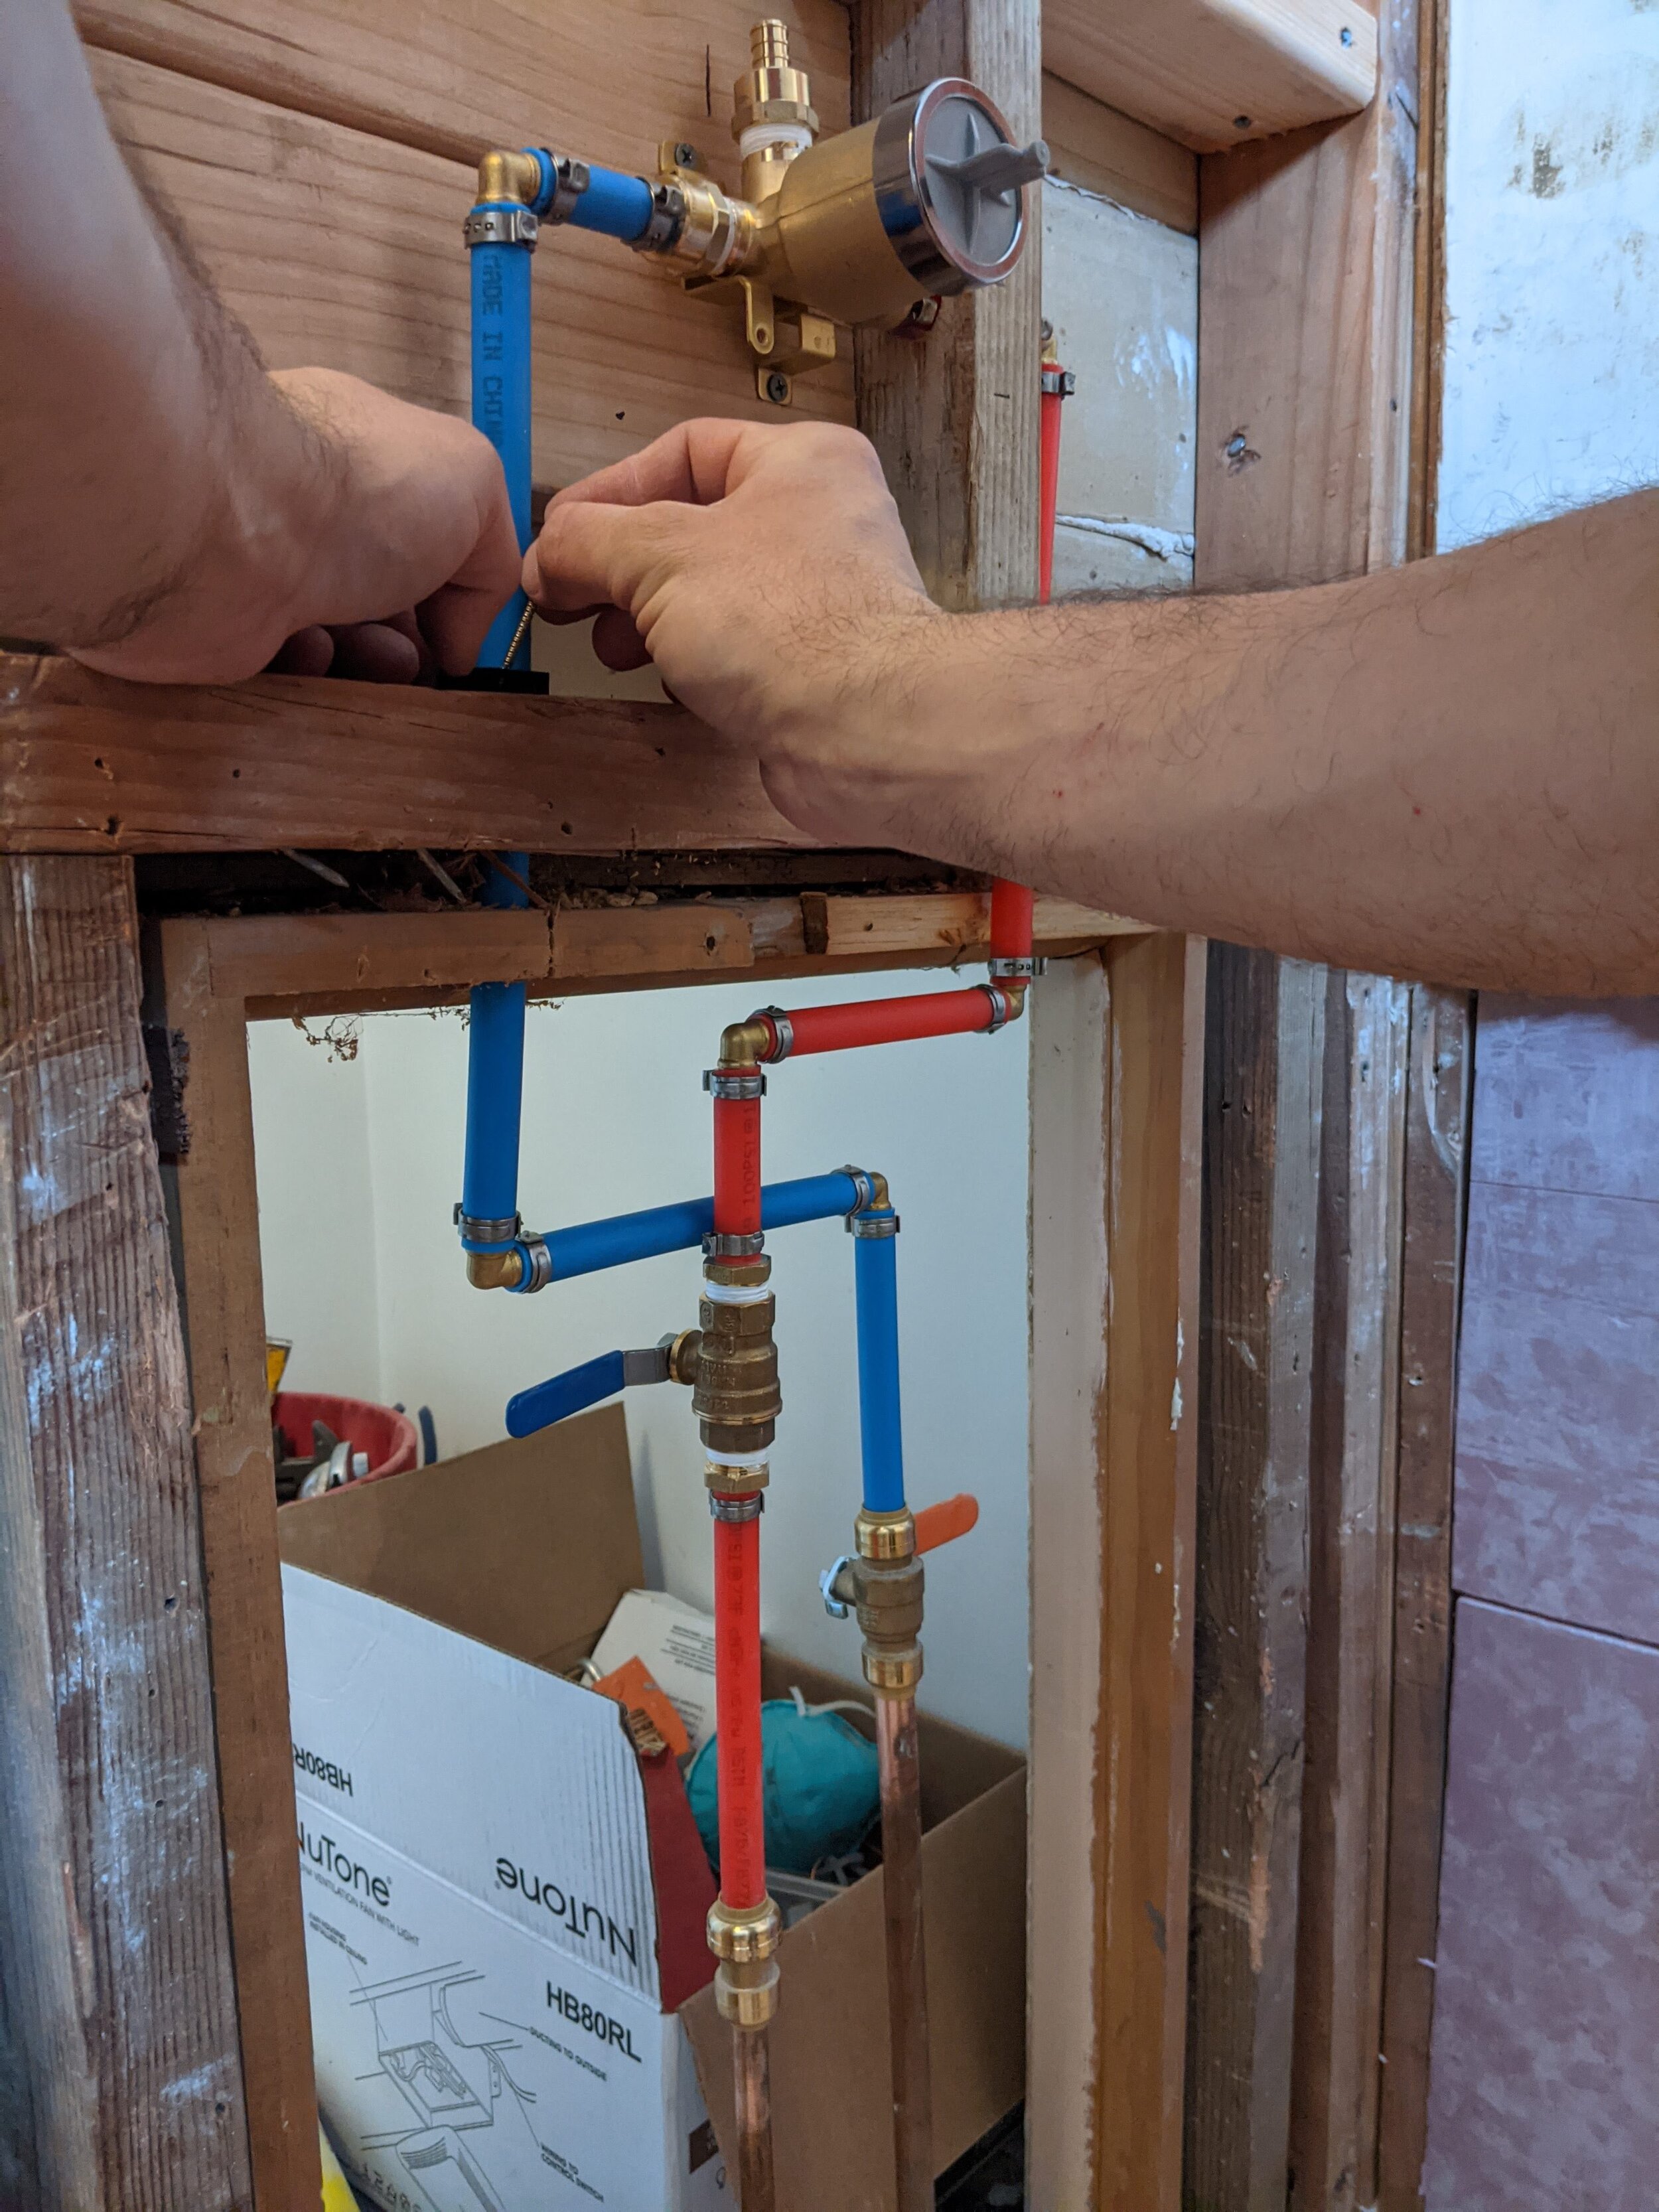
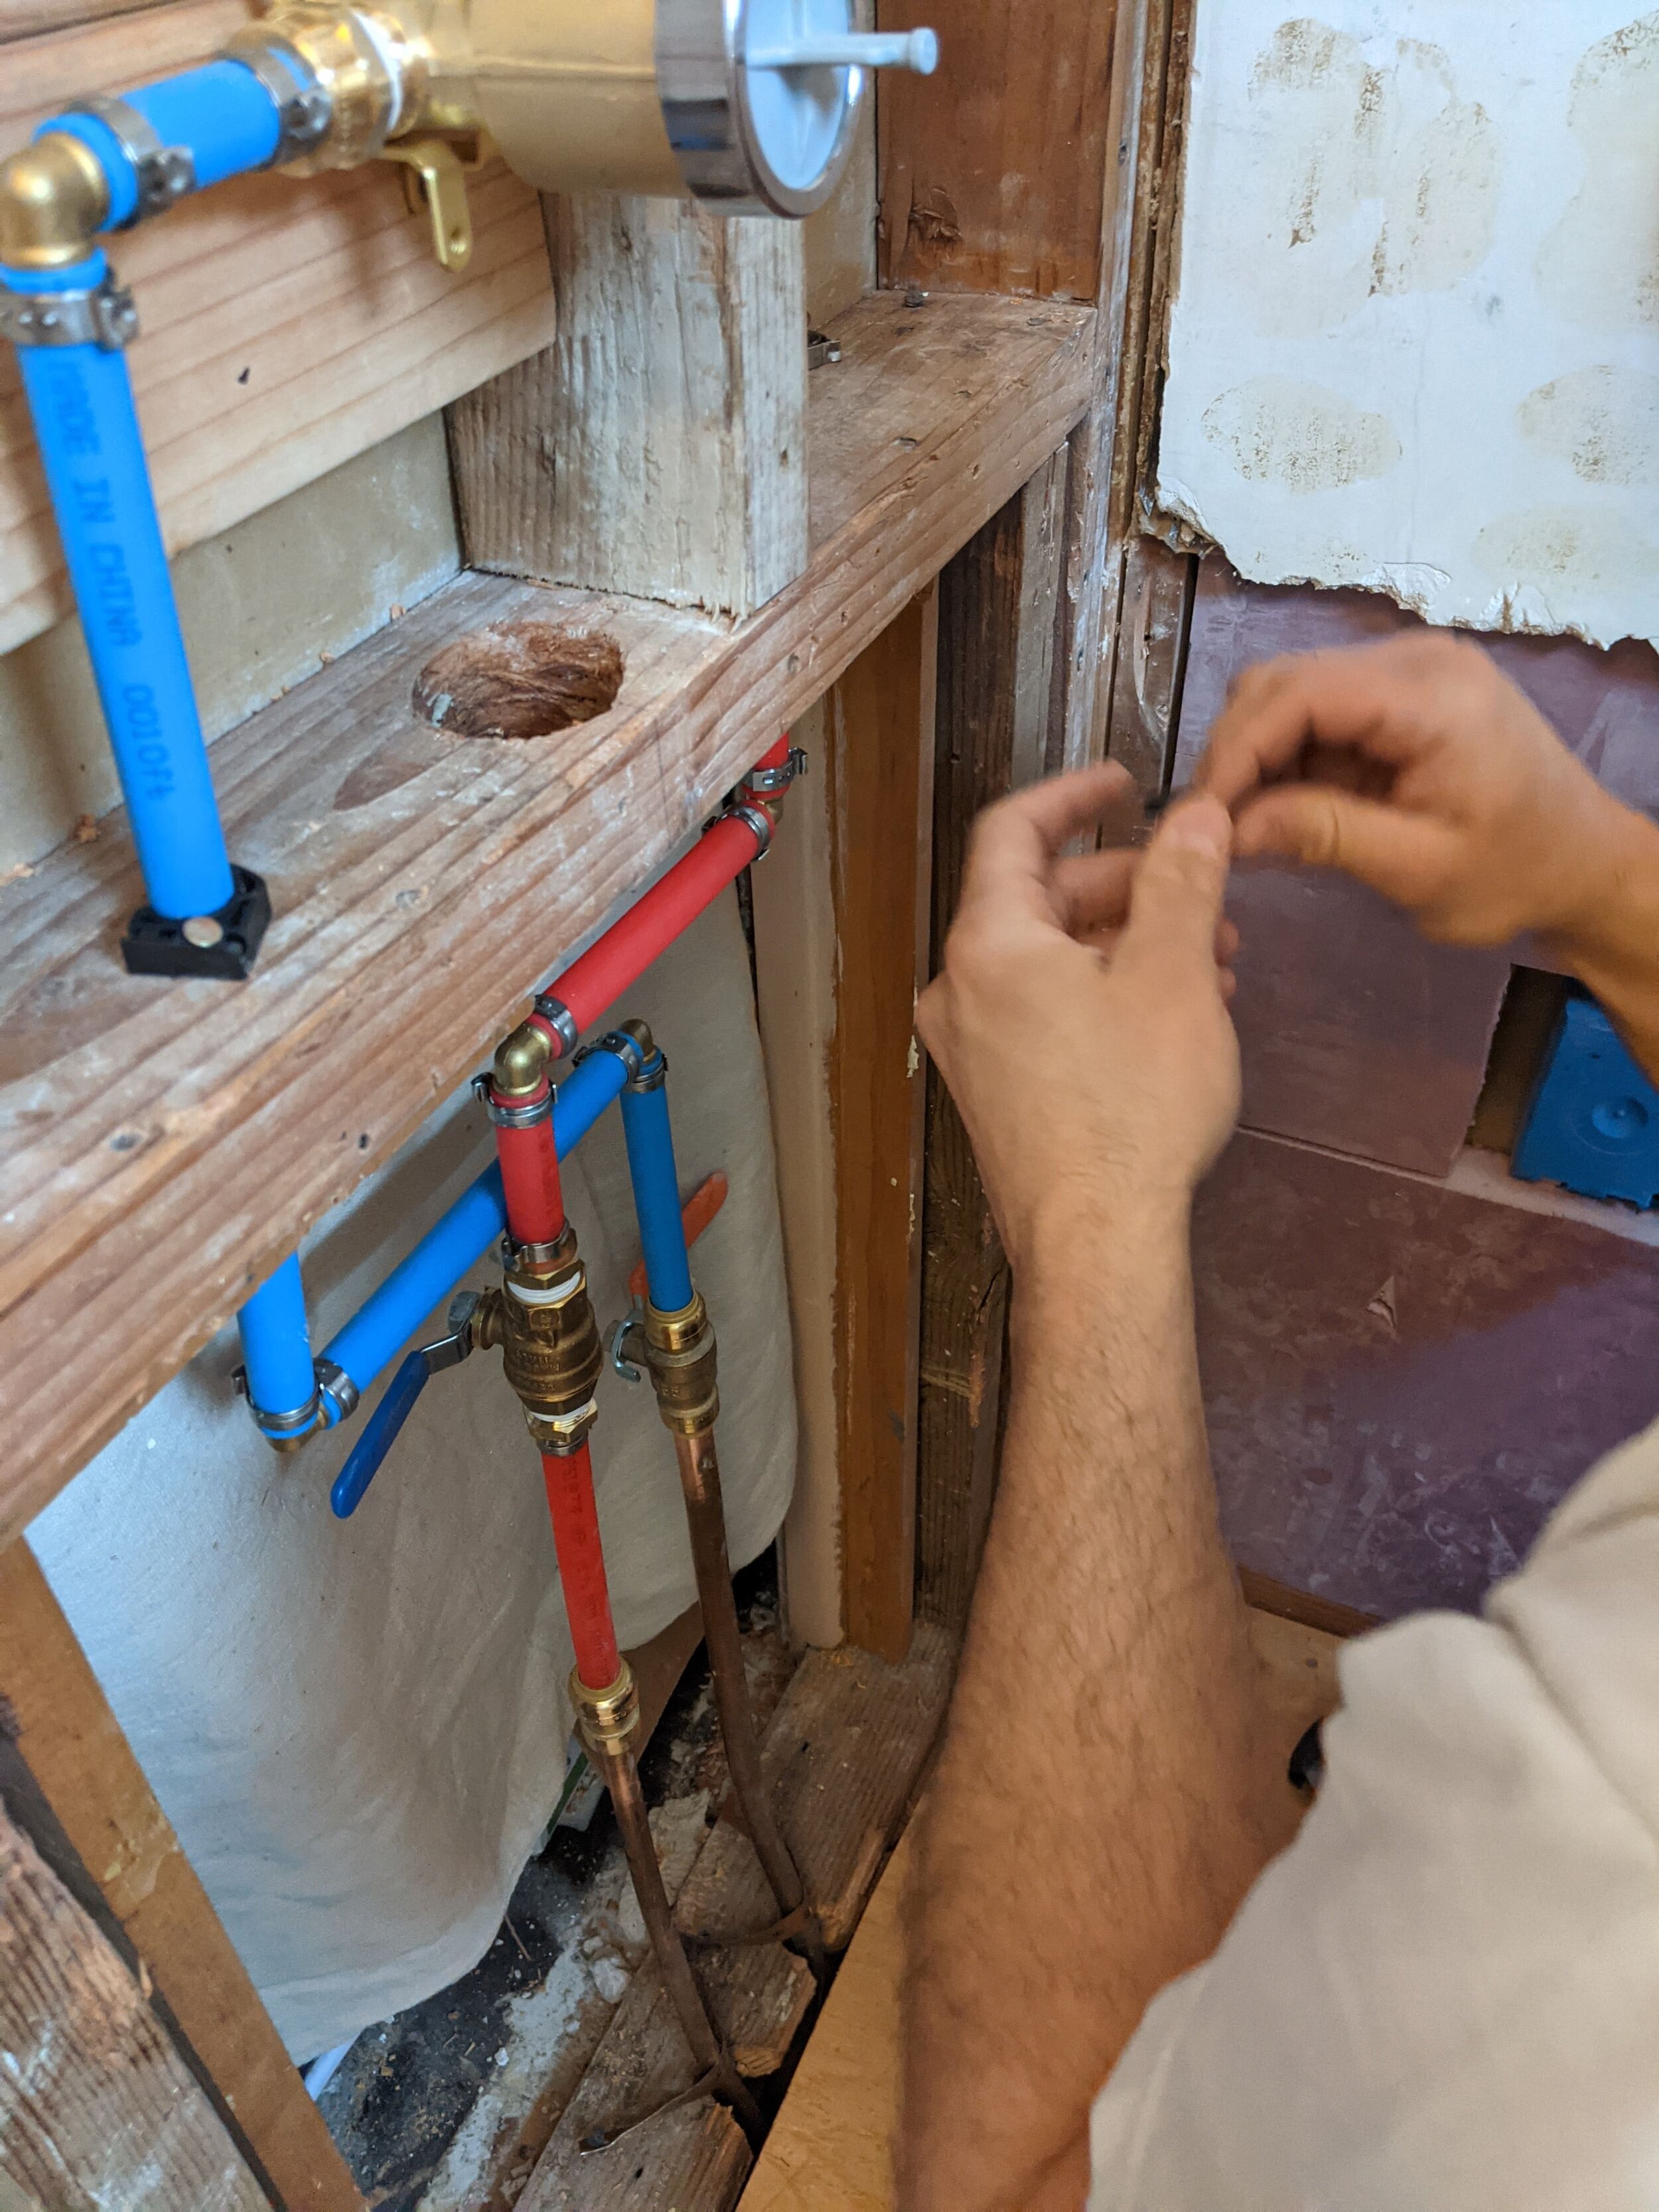
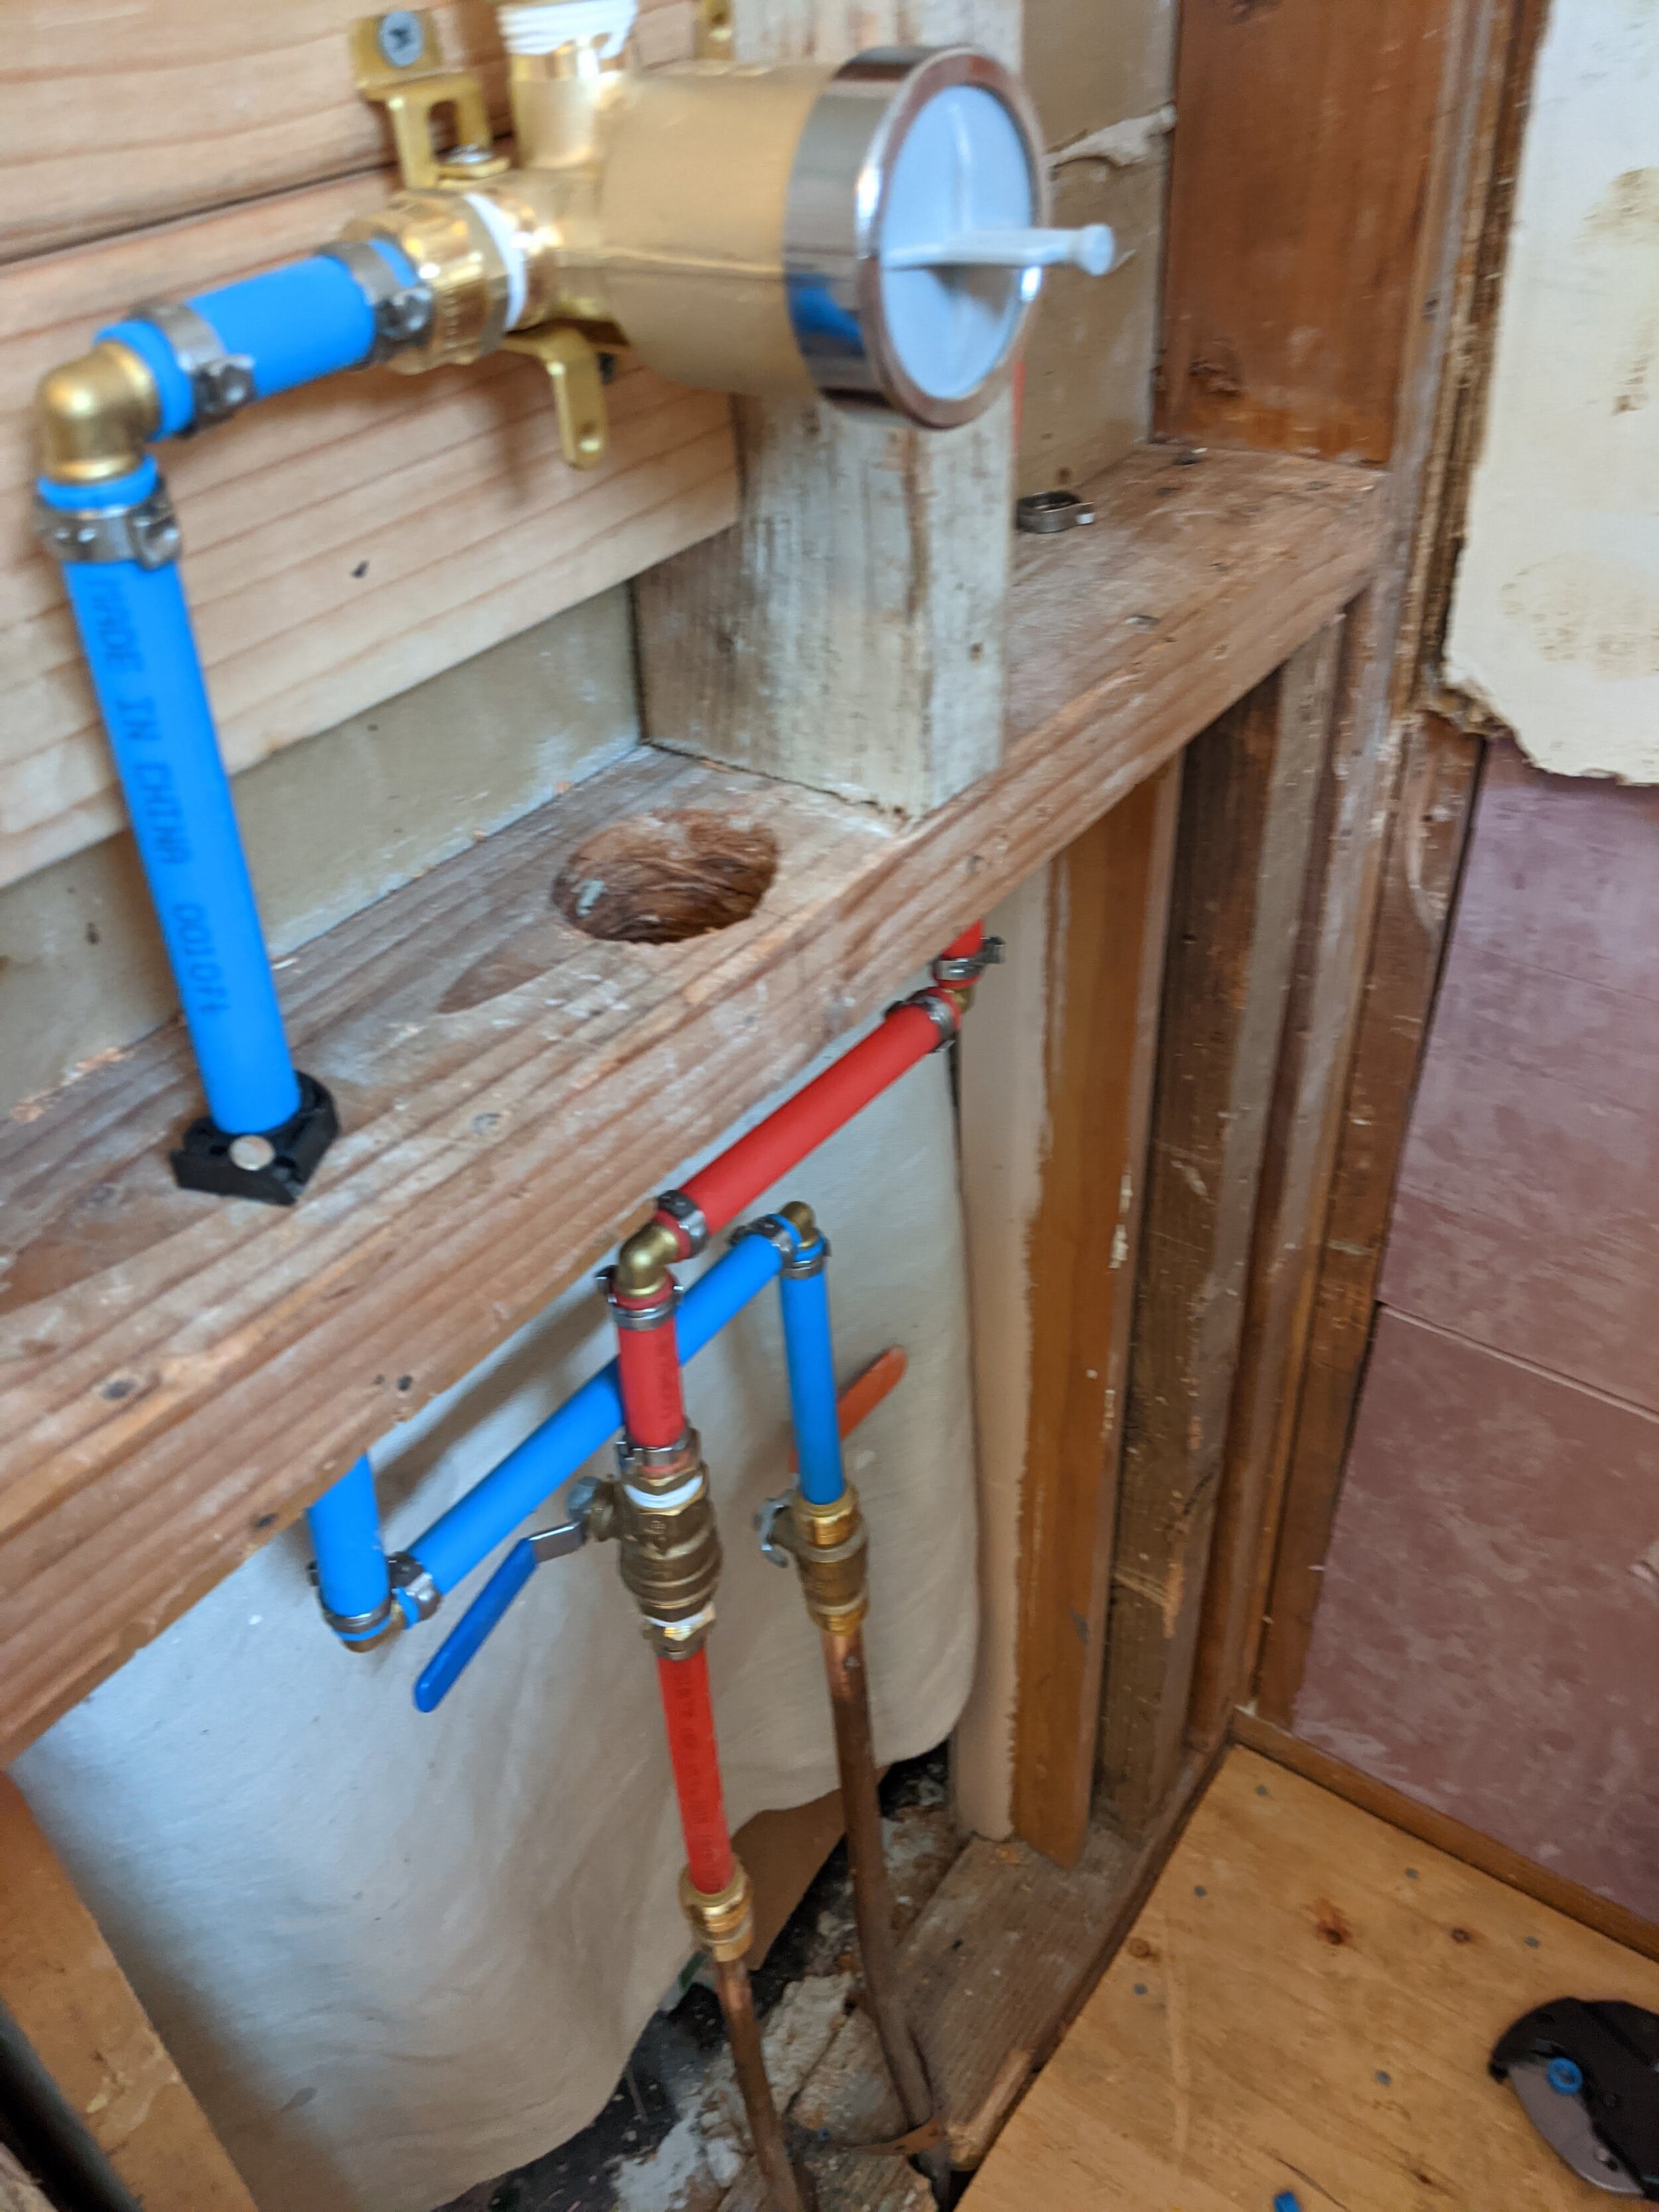
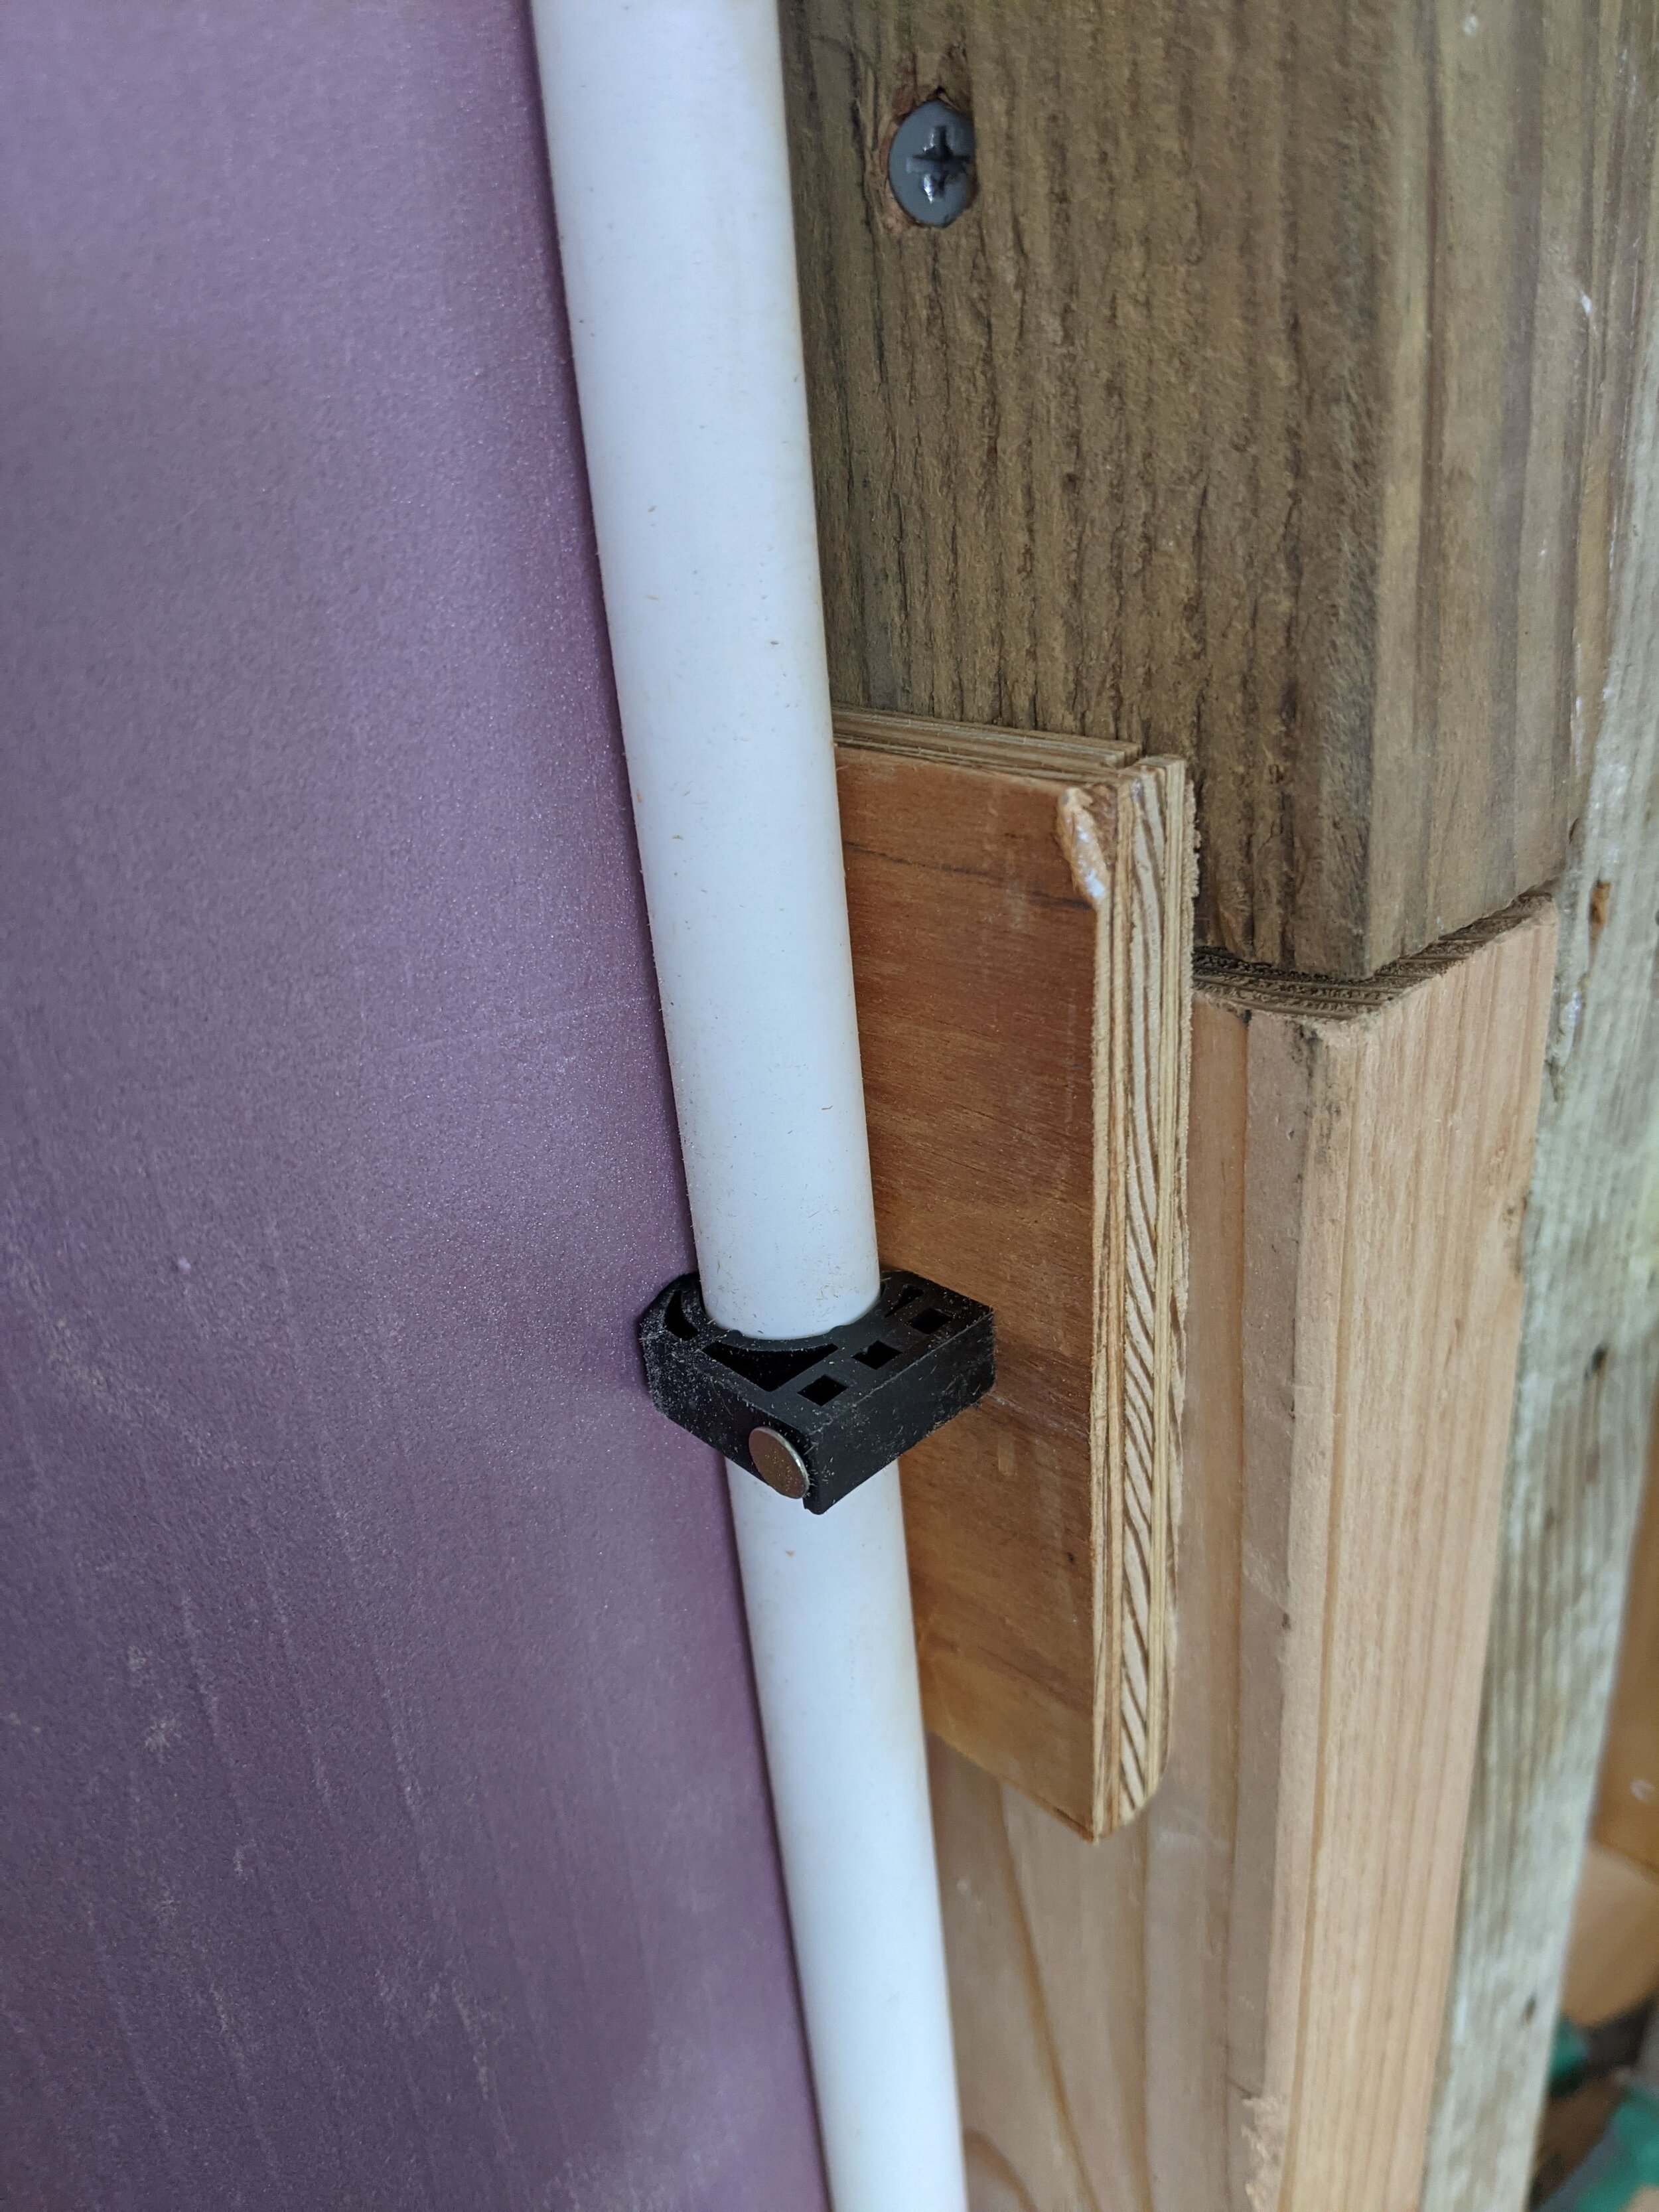
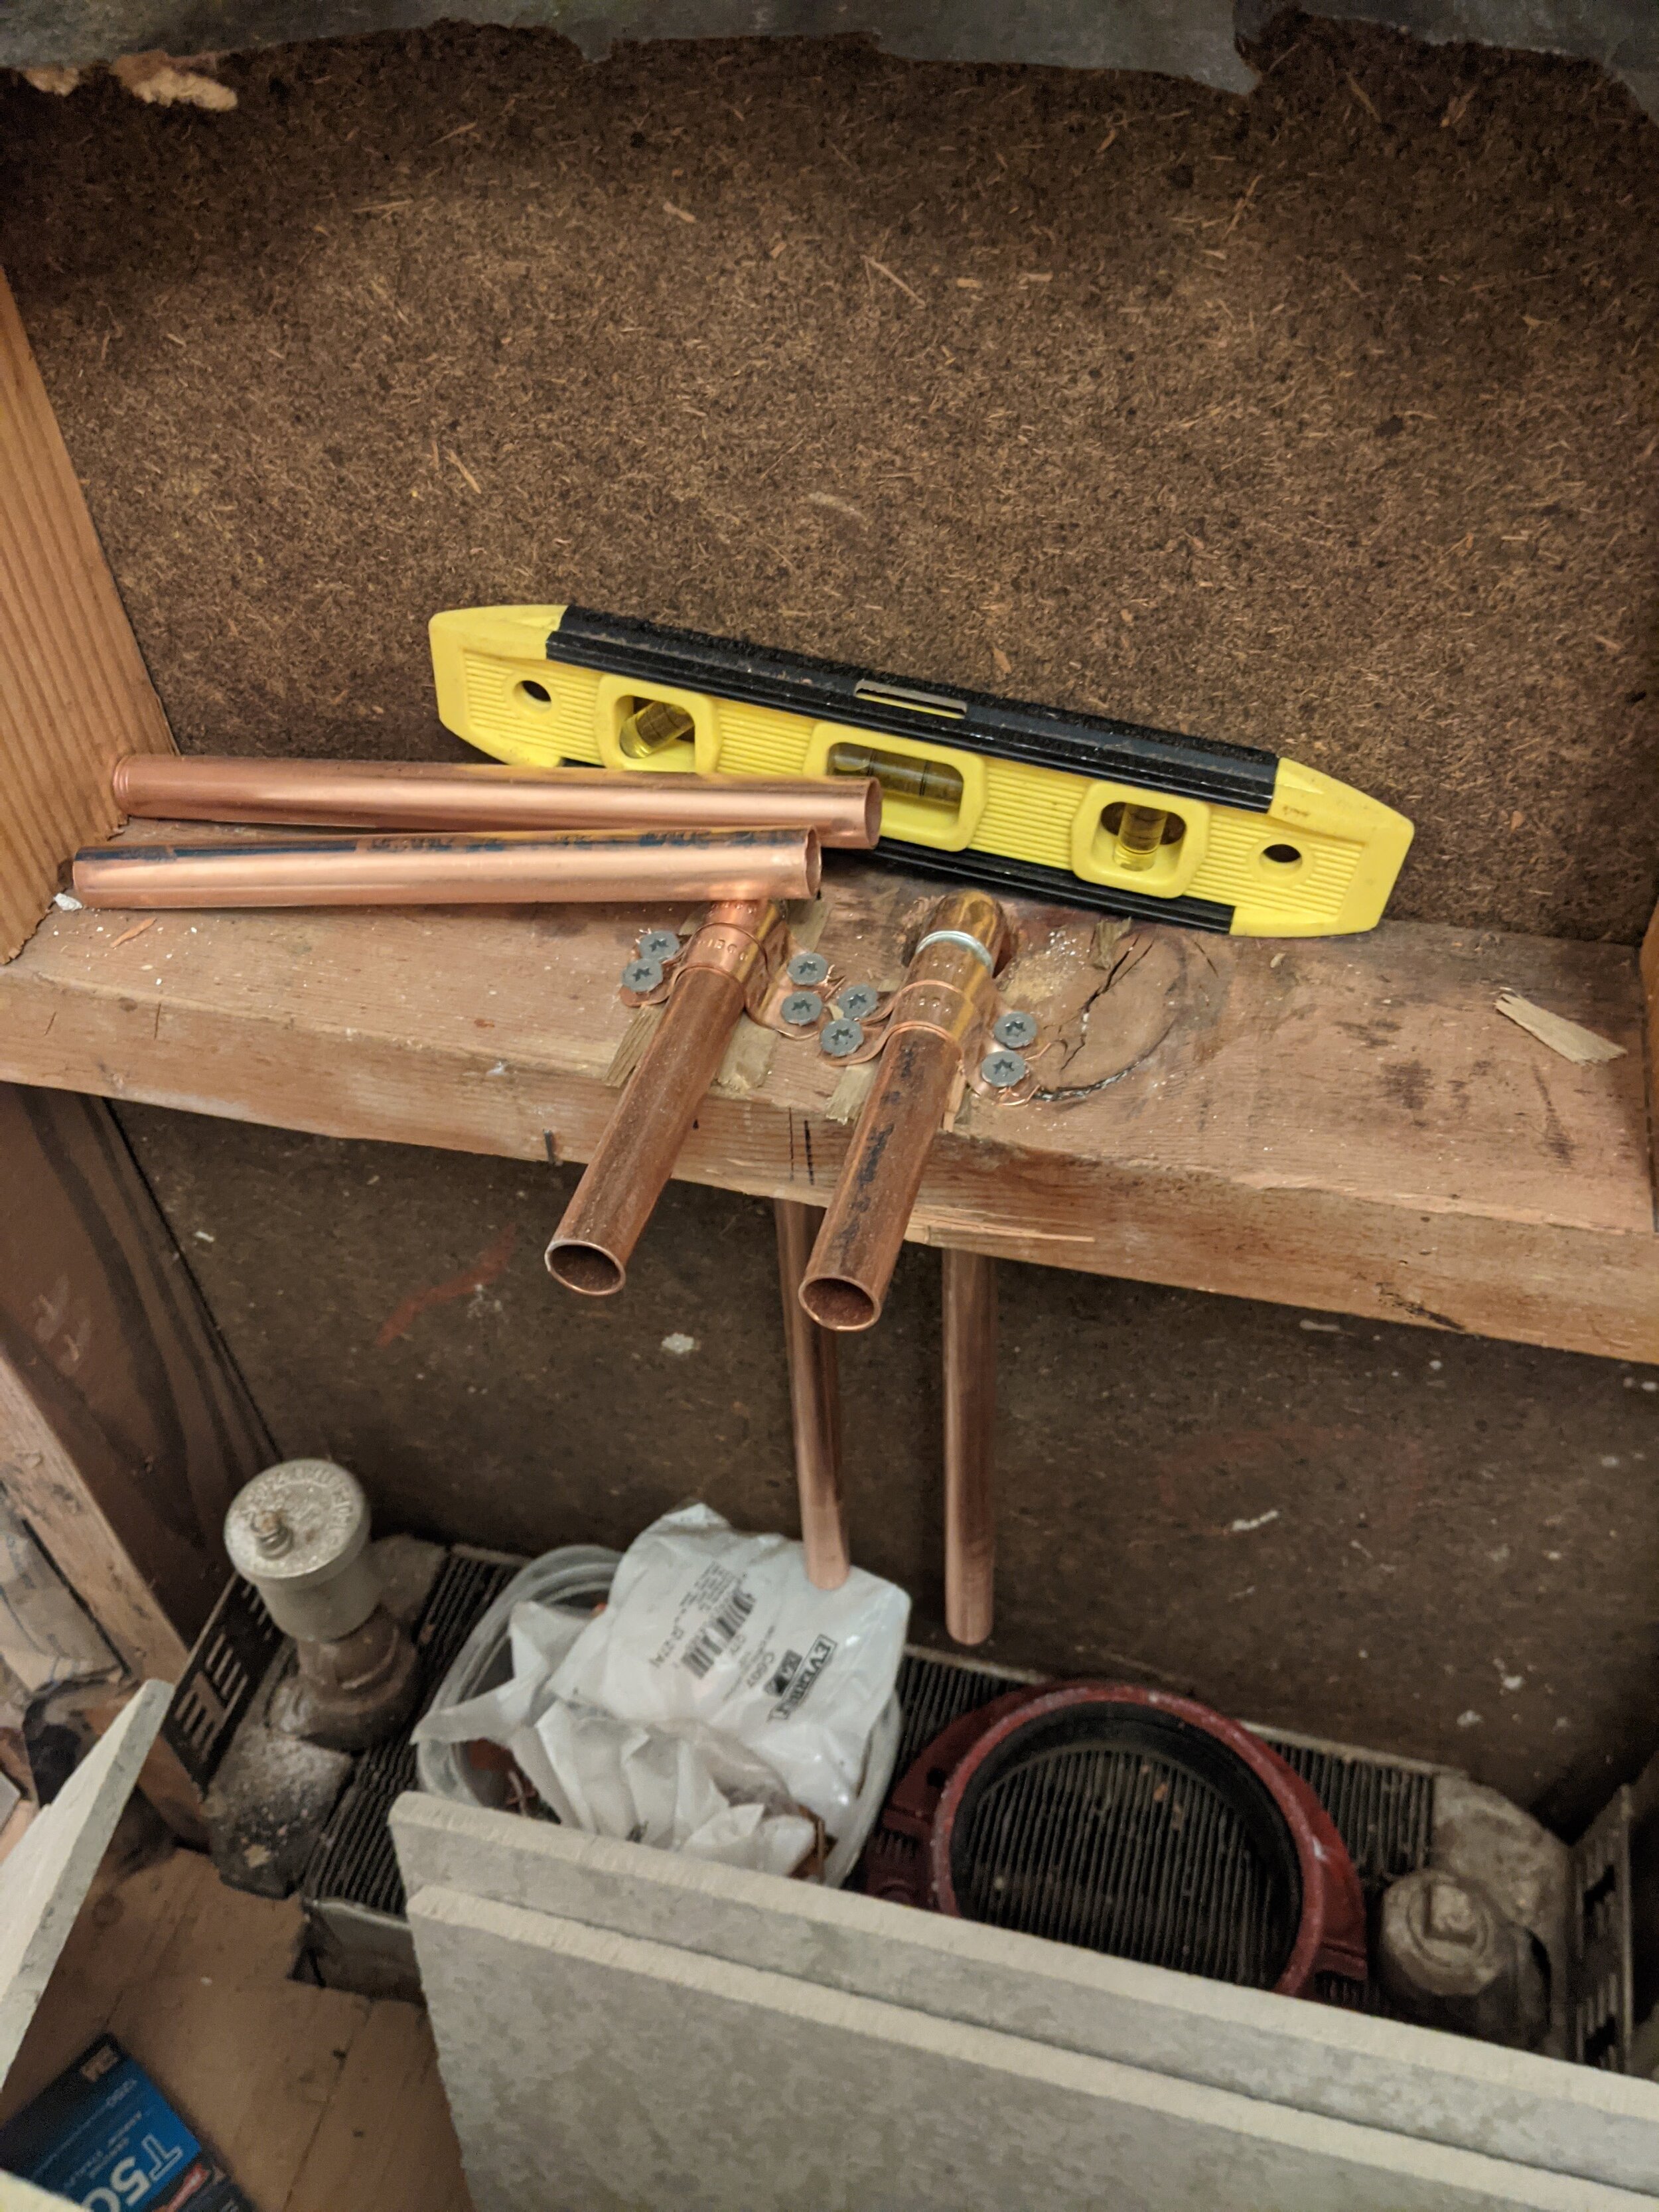
After the insulation was installed, it was time for some rough plumbing. This is the part where you measure everything to ensure your fixes are going to fit. It was an opportunity for us to attach things more effectively so there was less pipe banging and thwacking when you turn on the water.

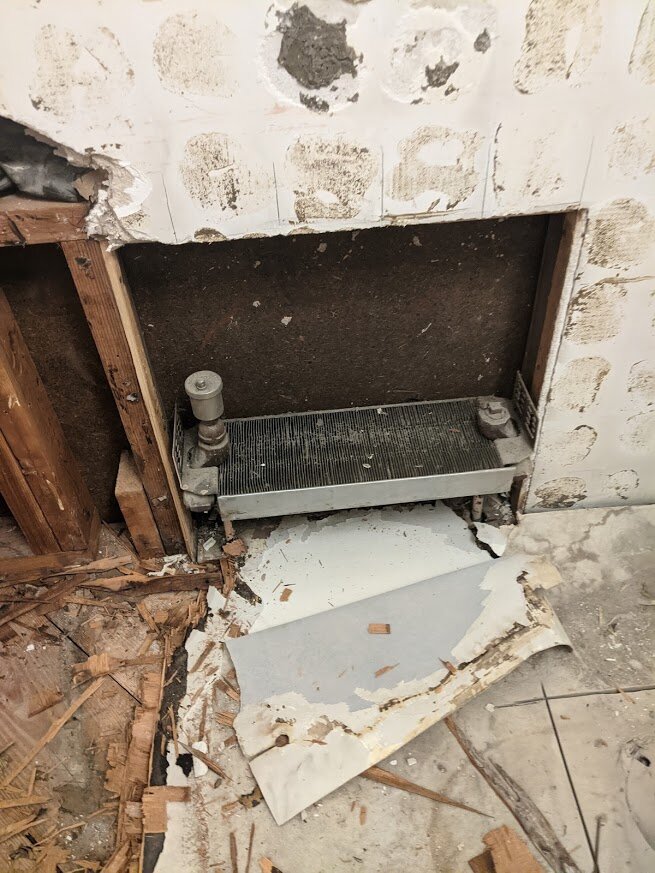
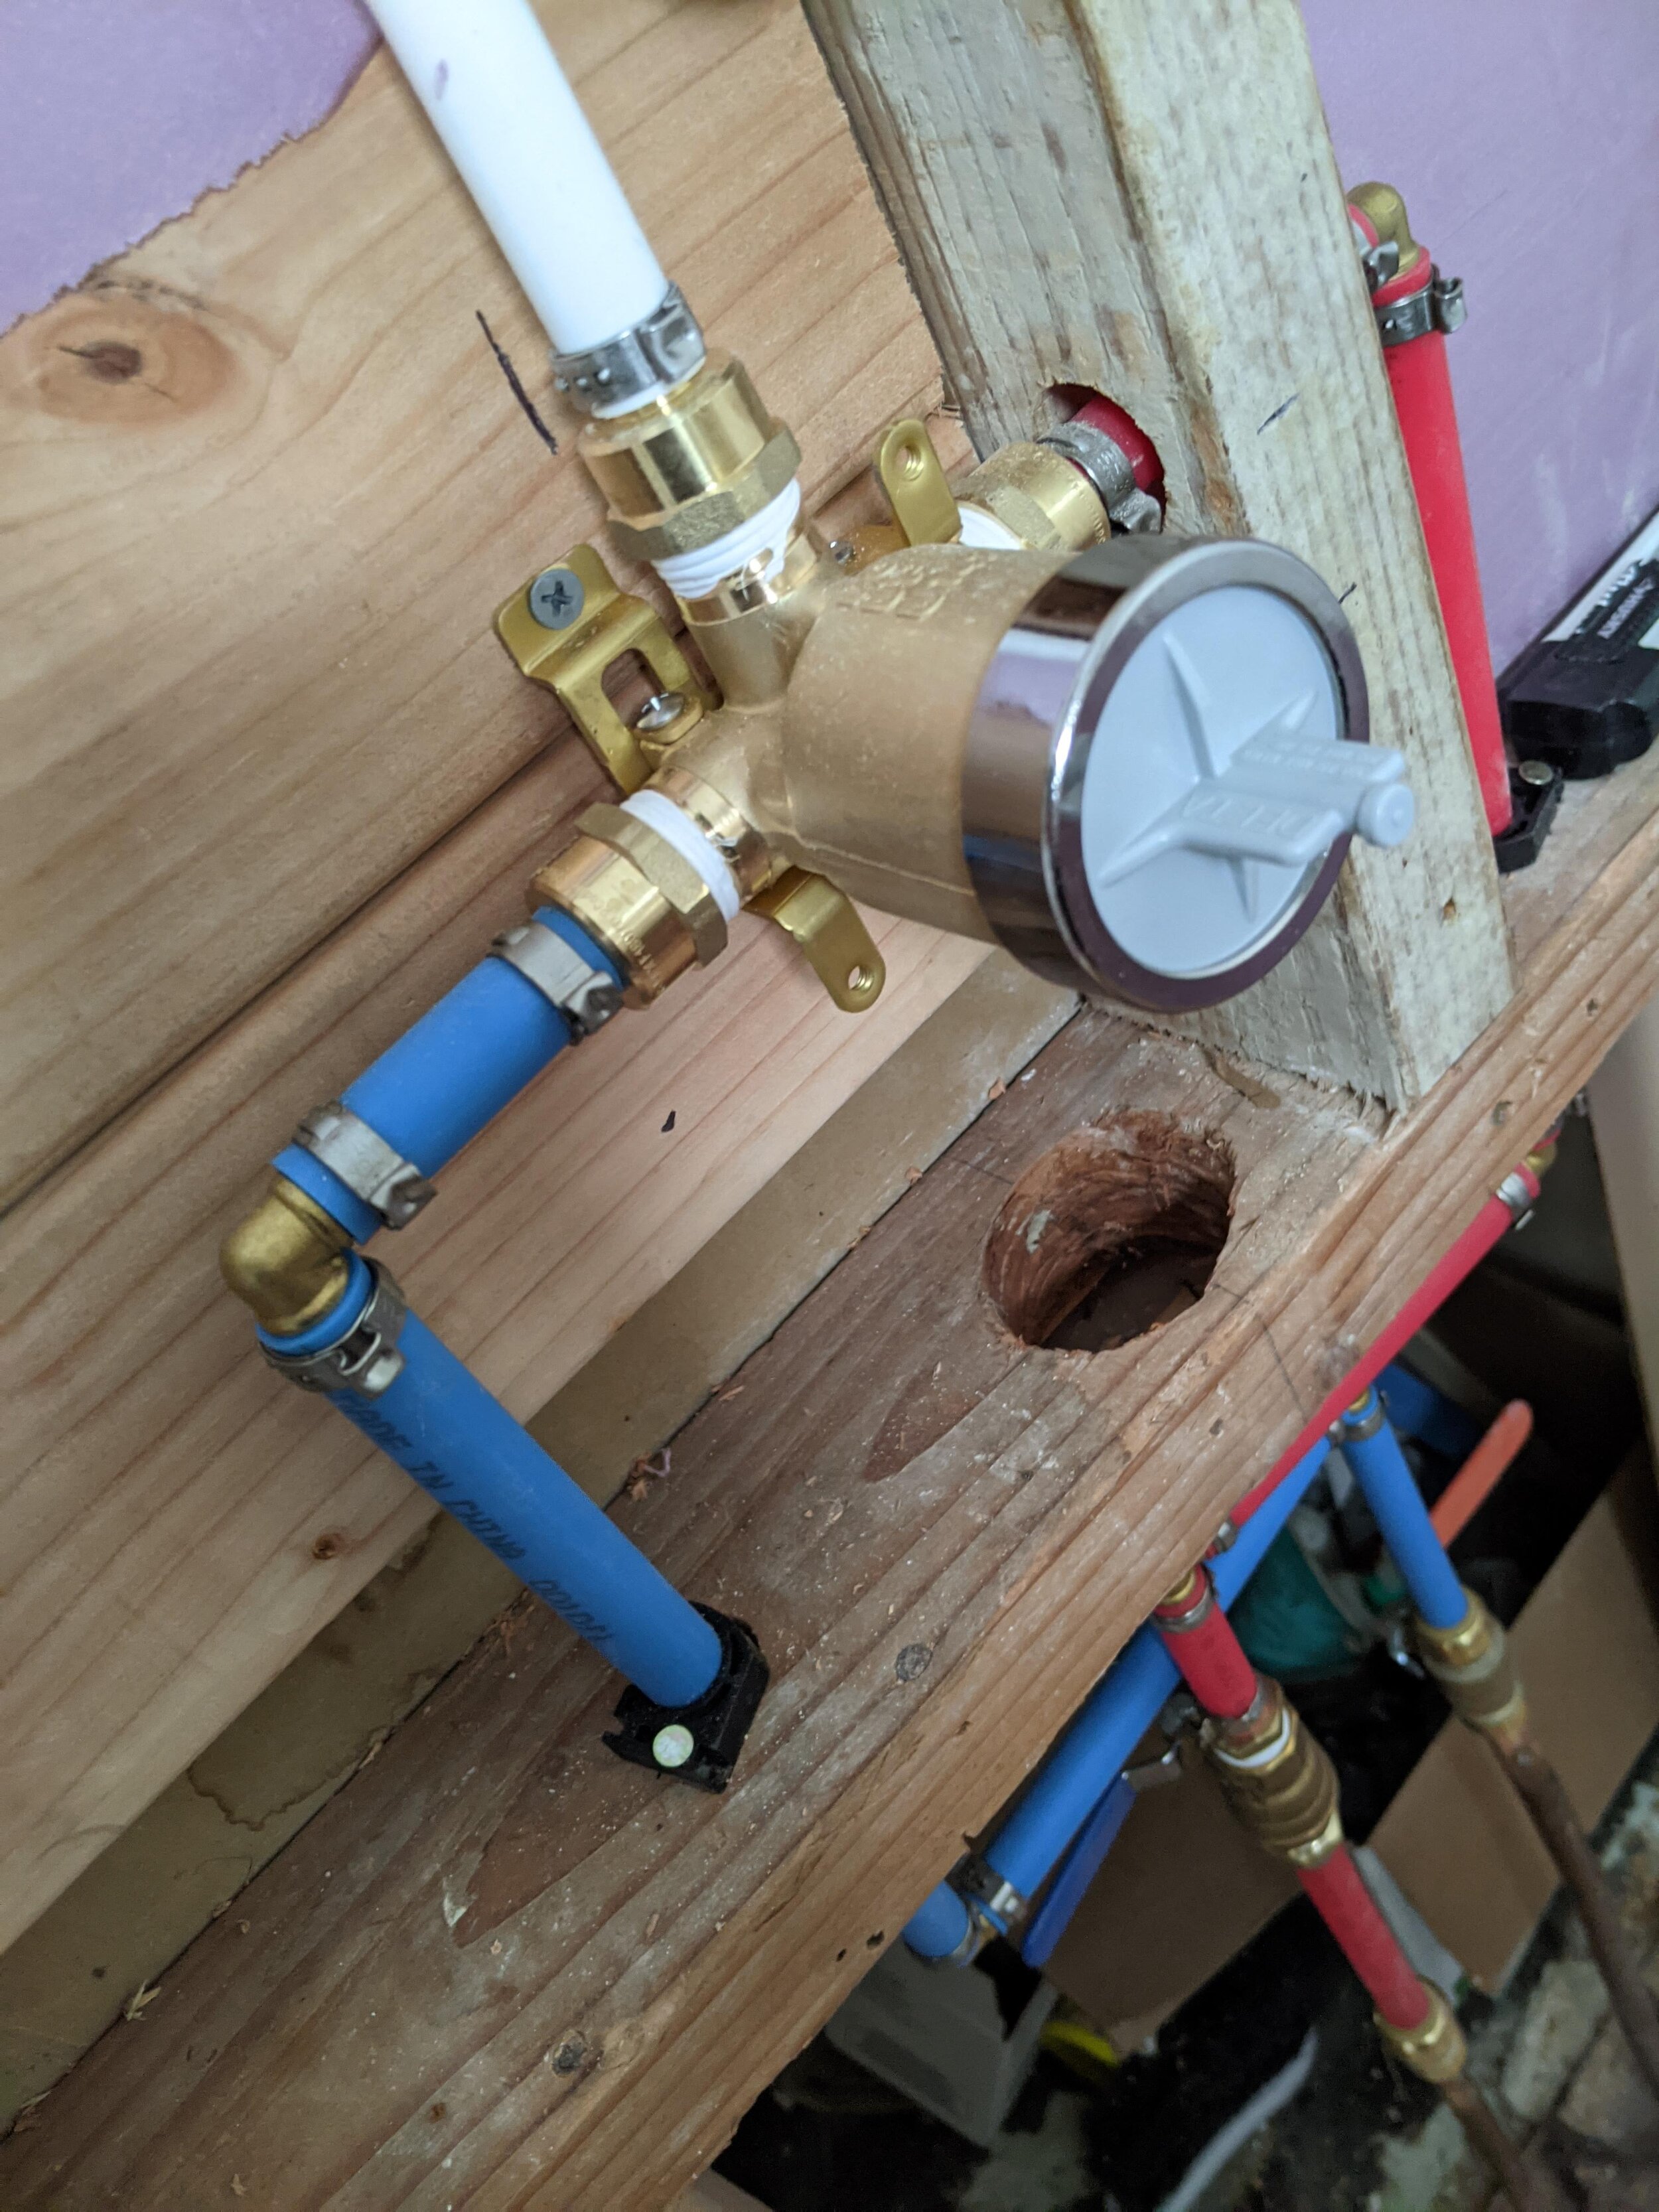
The toilet and sink positioning were fine from before, so we left those. We ran new plumbing for the shower because we were changing to a different style of faucet in there. Additionally, since we were switching to a radiator, the job of adjusting the water lines was substantial.

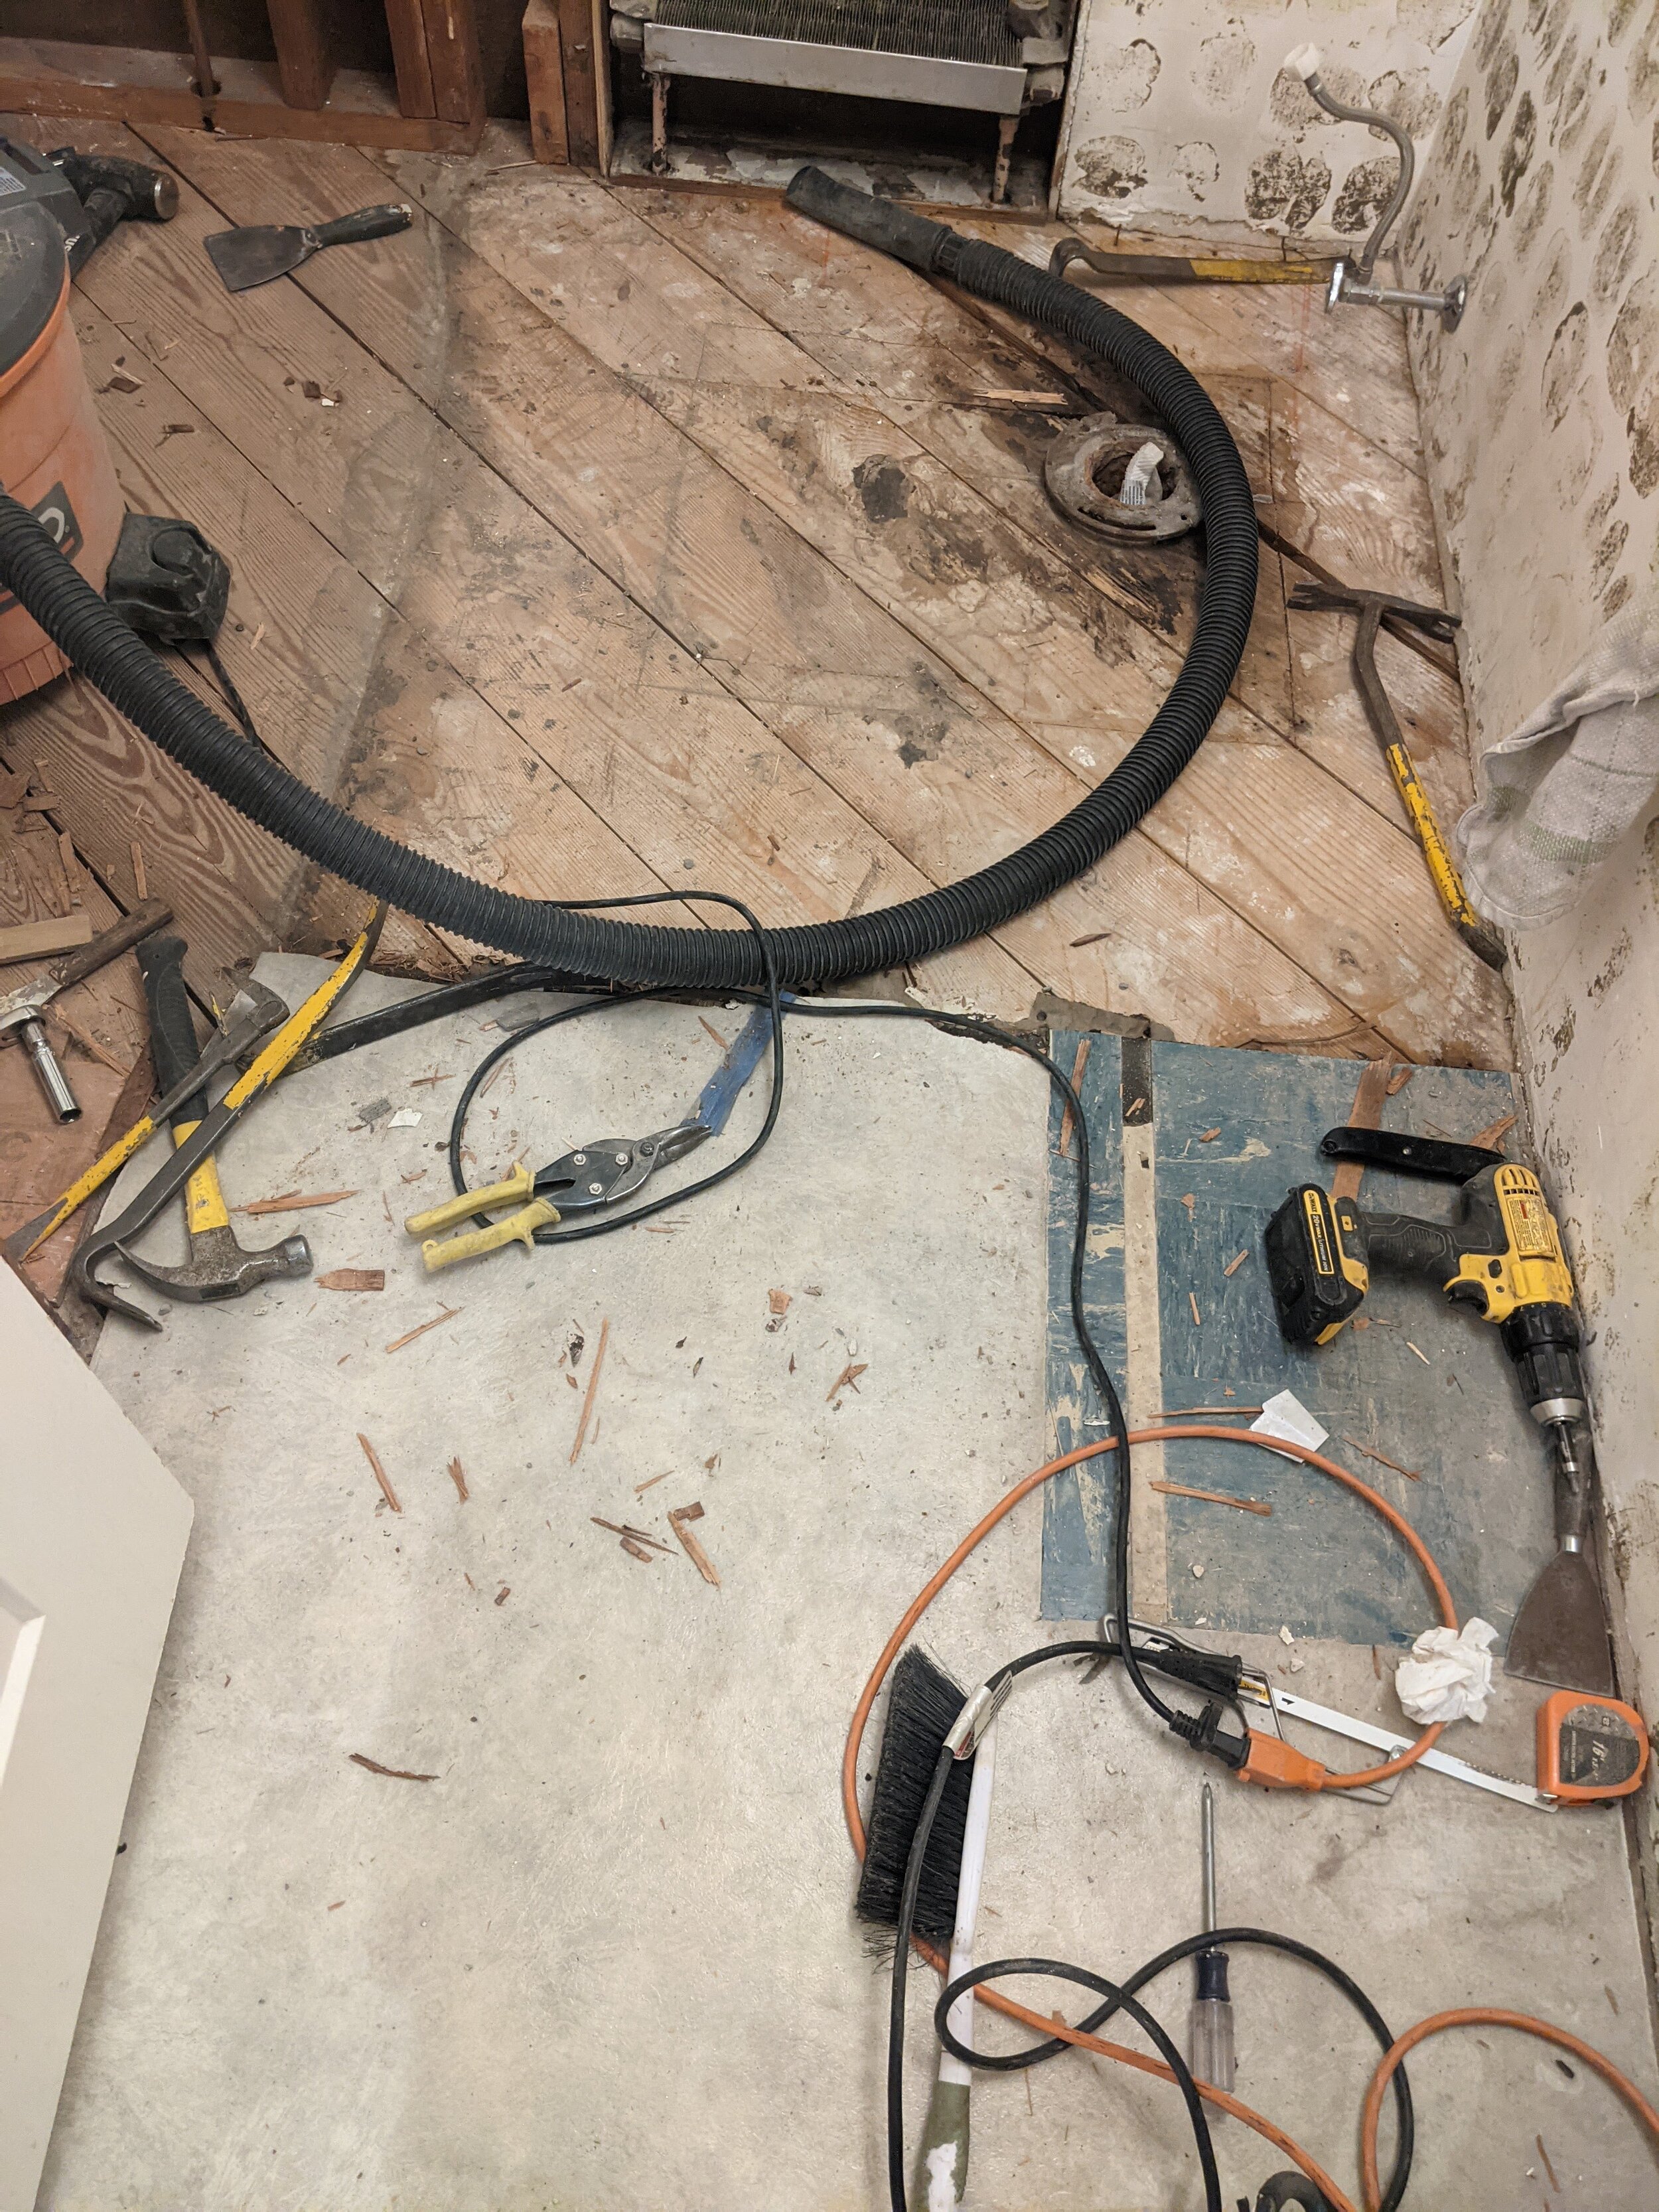
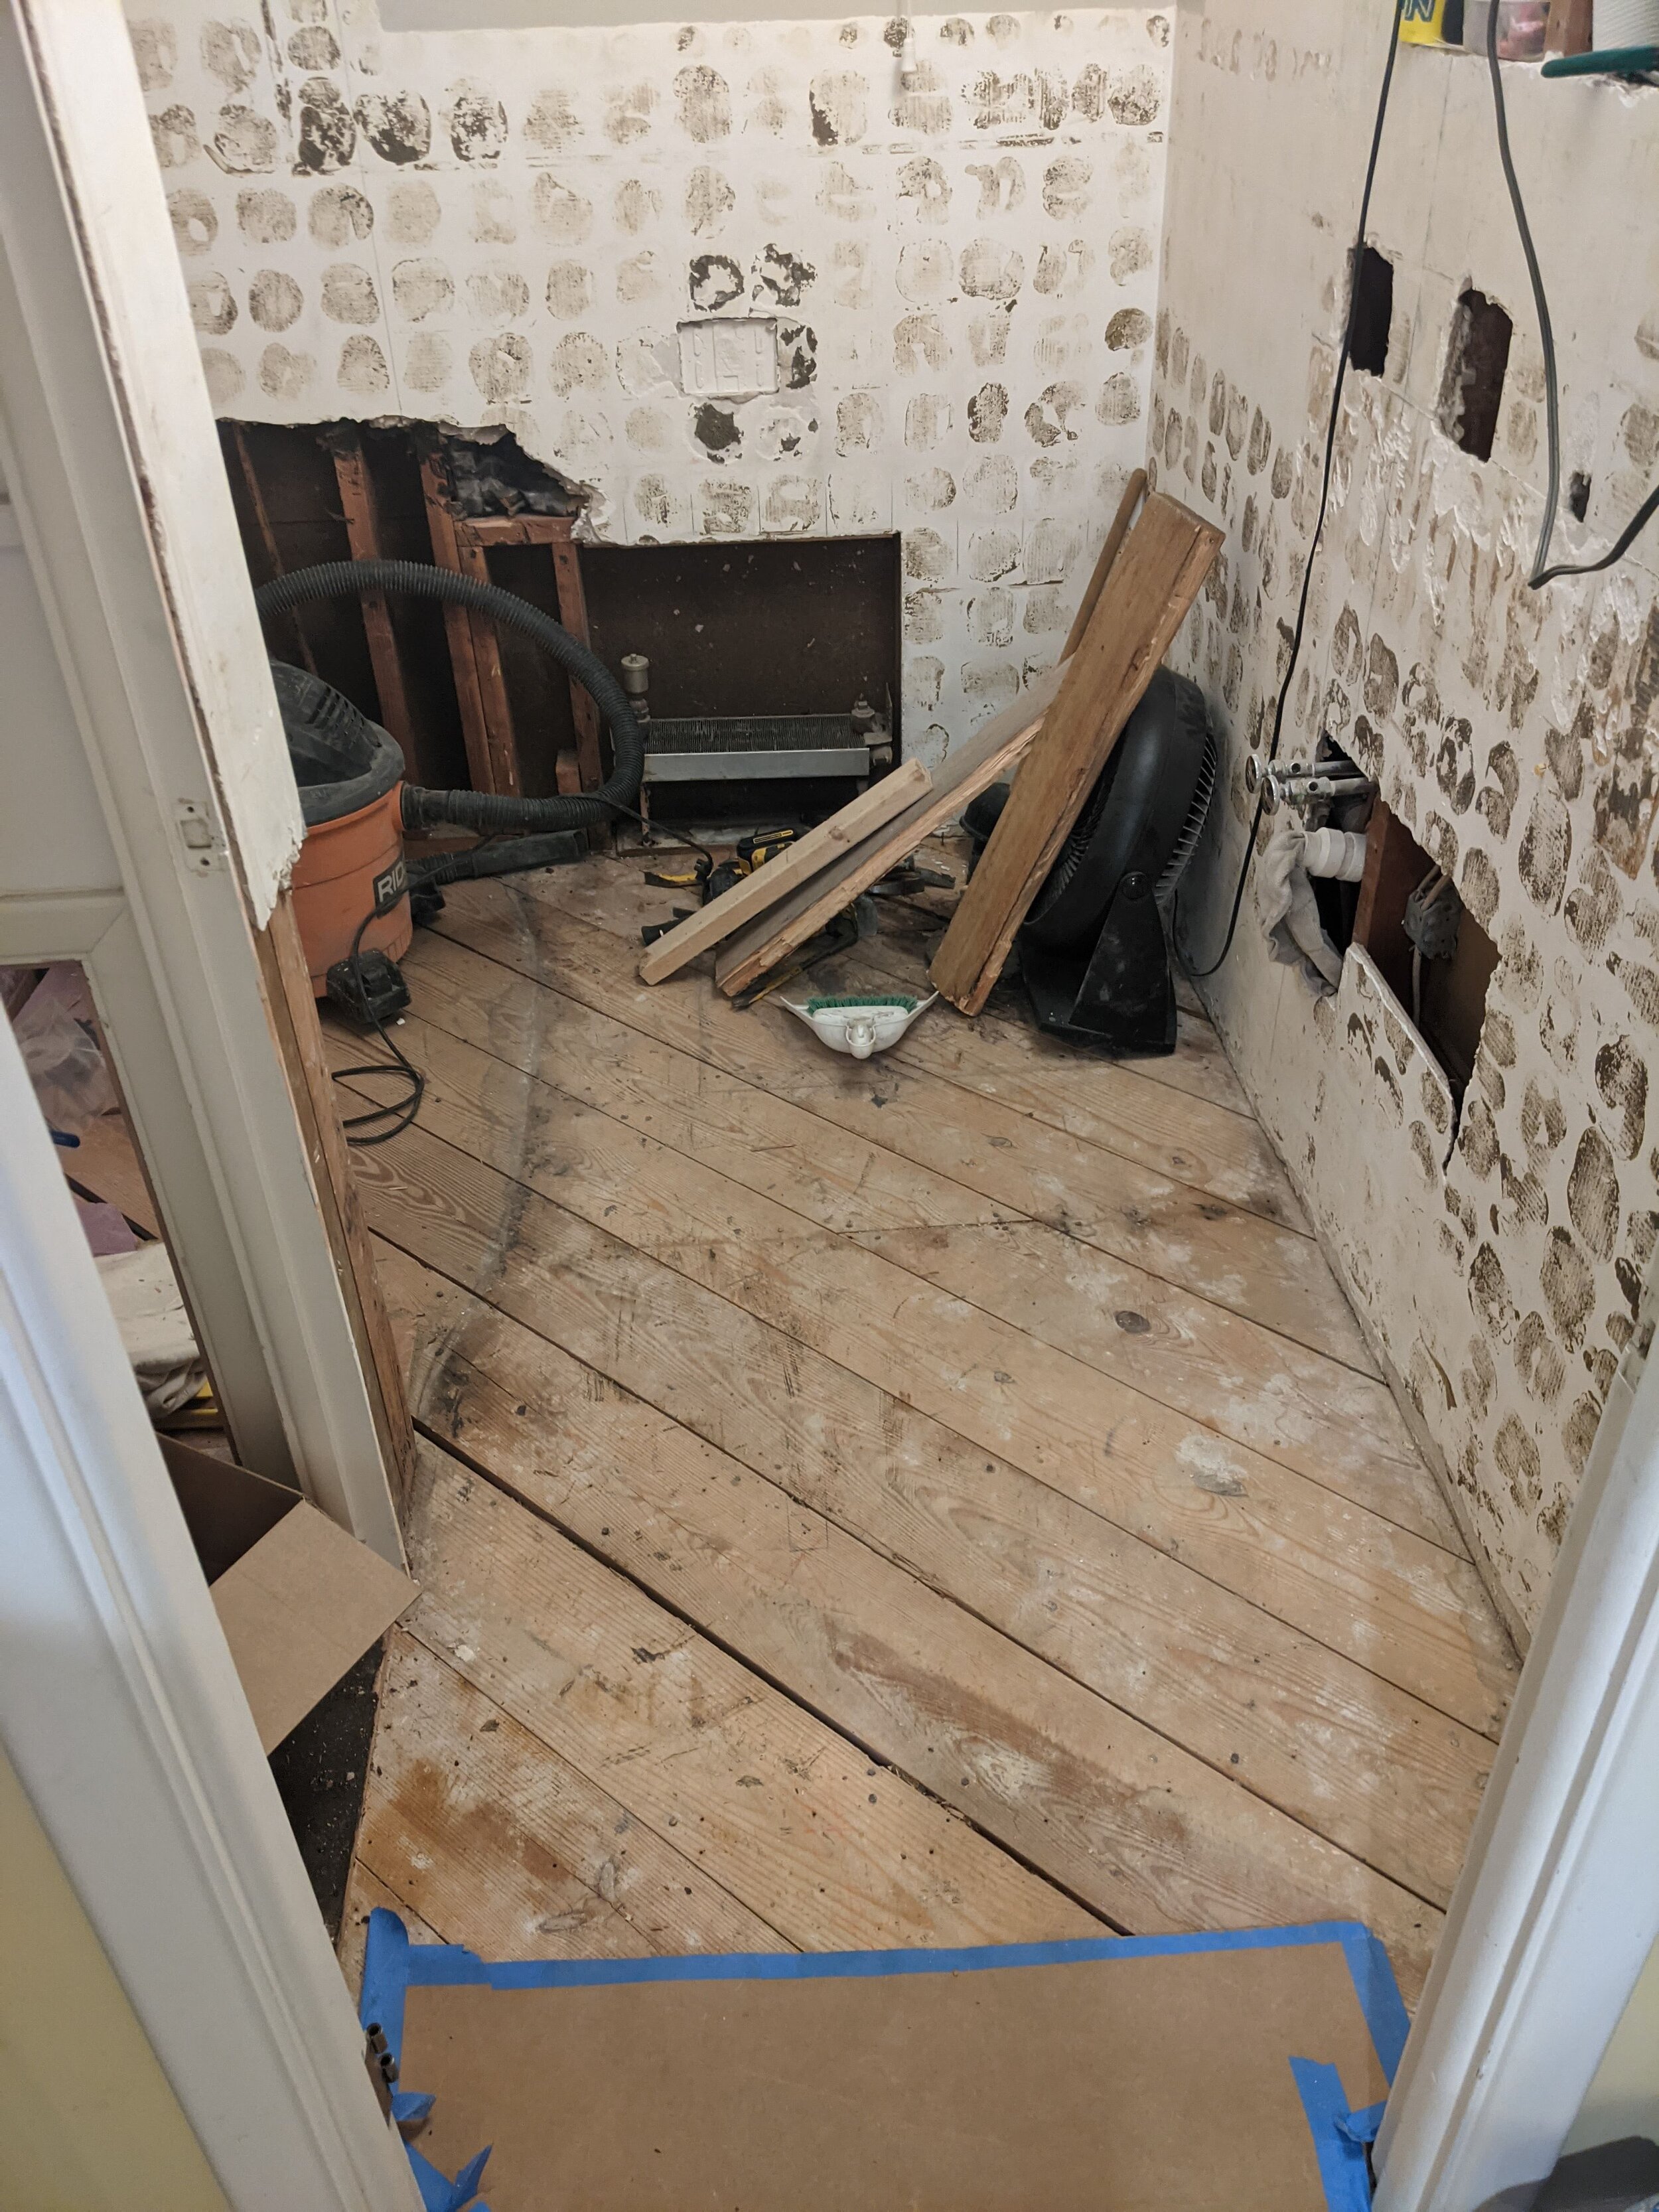
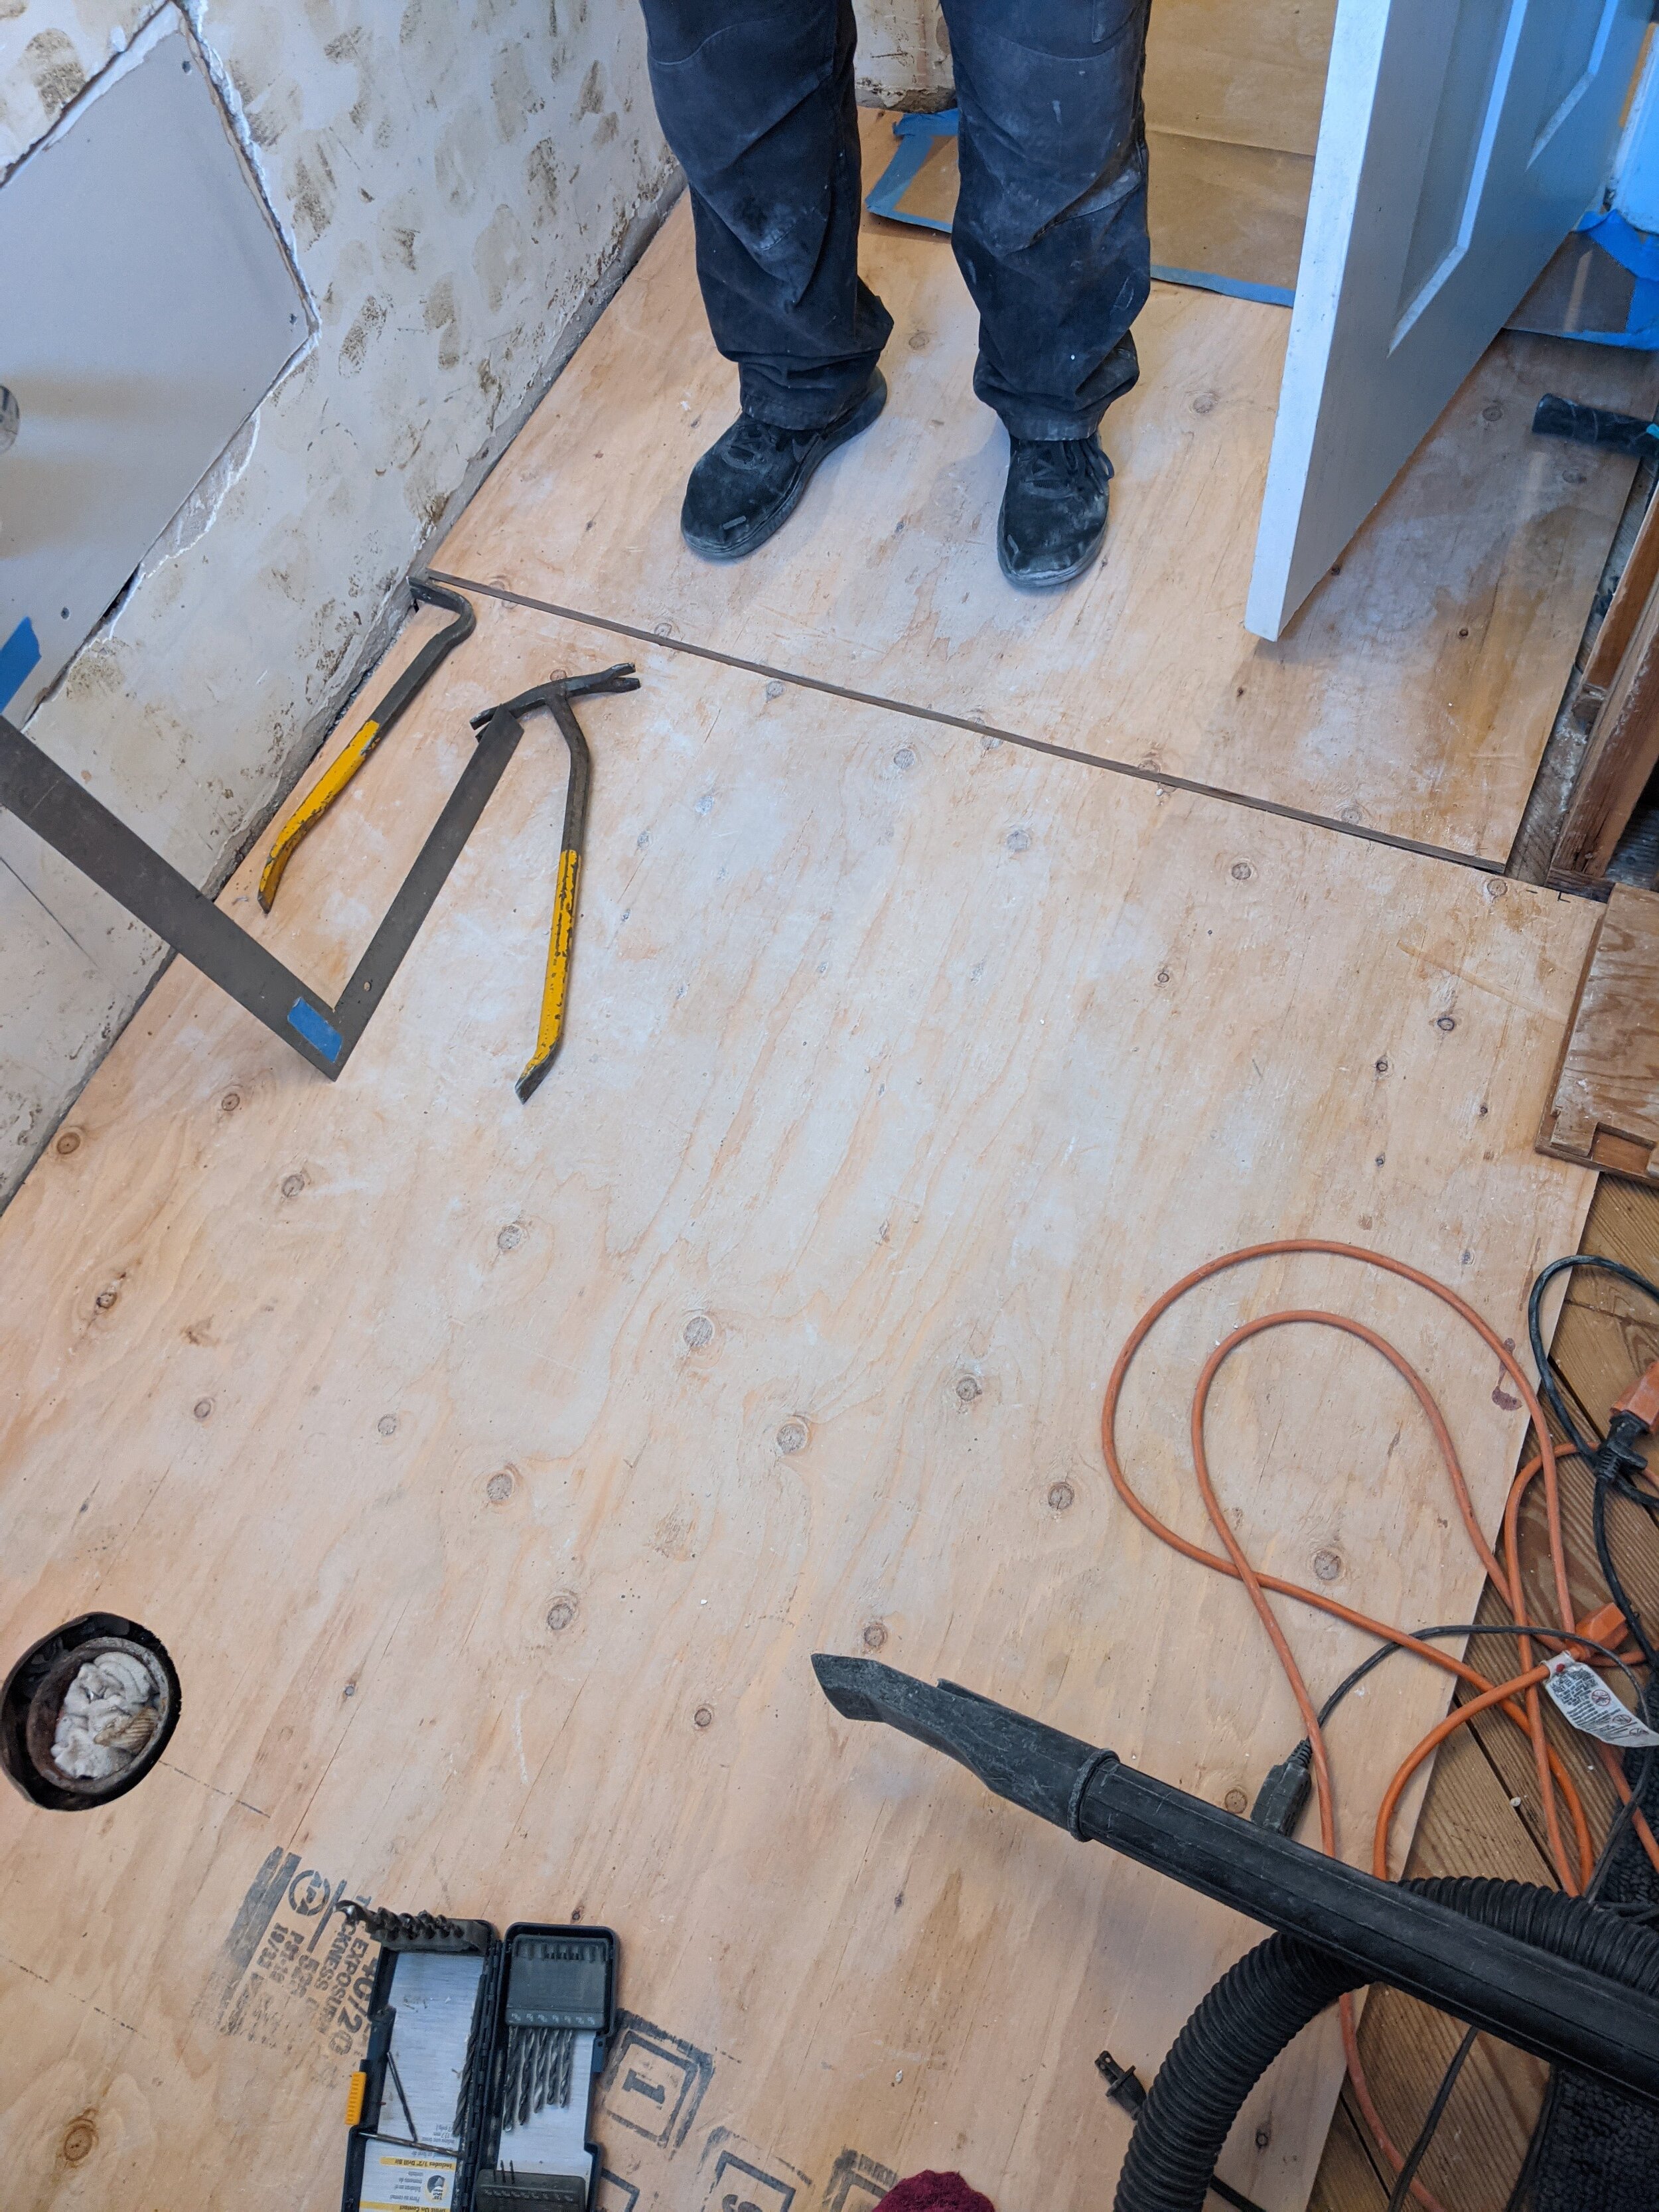
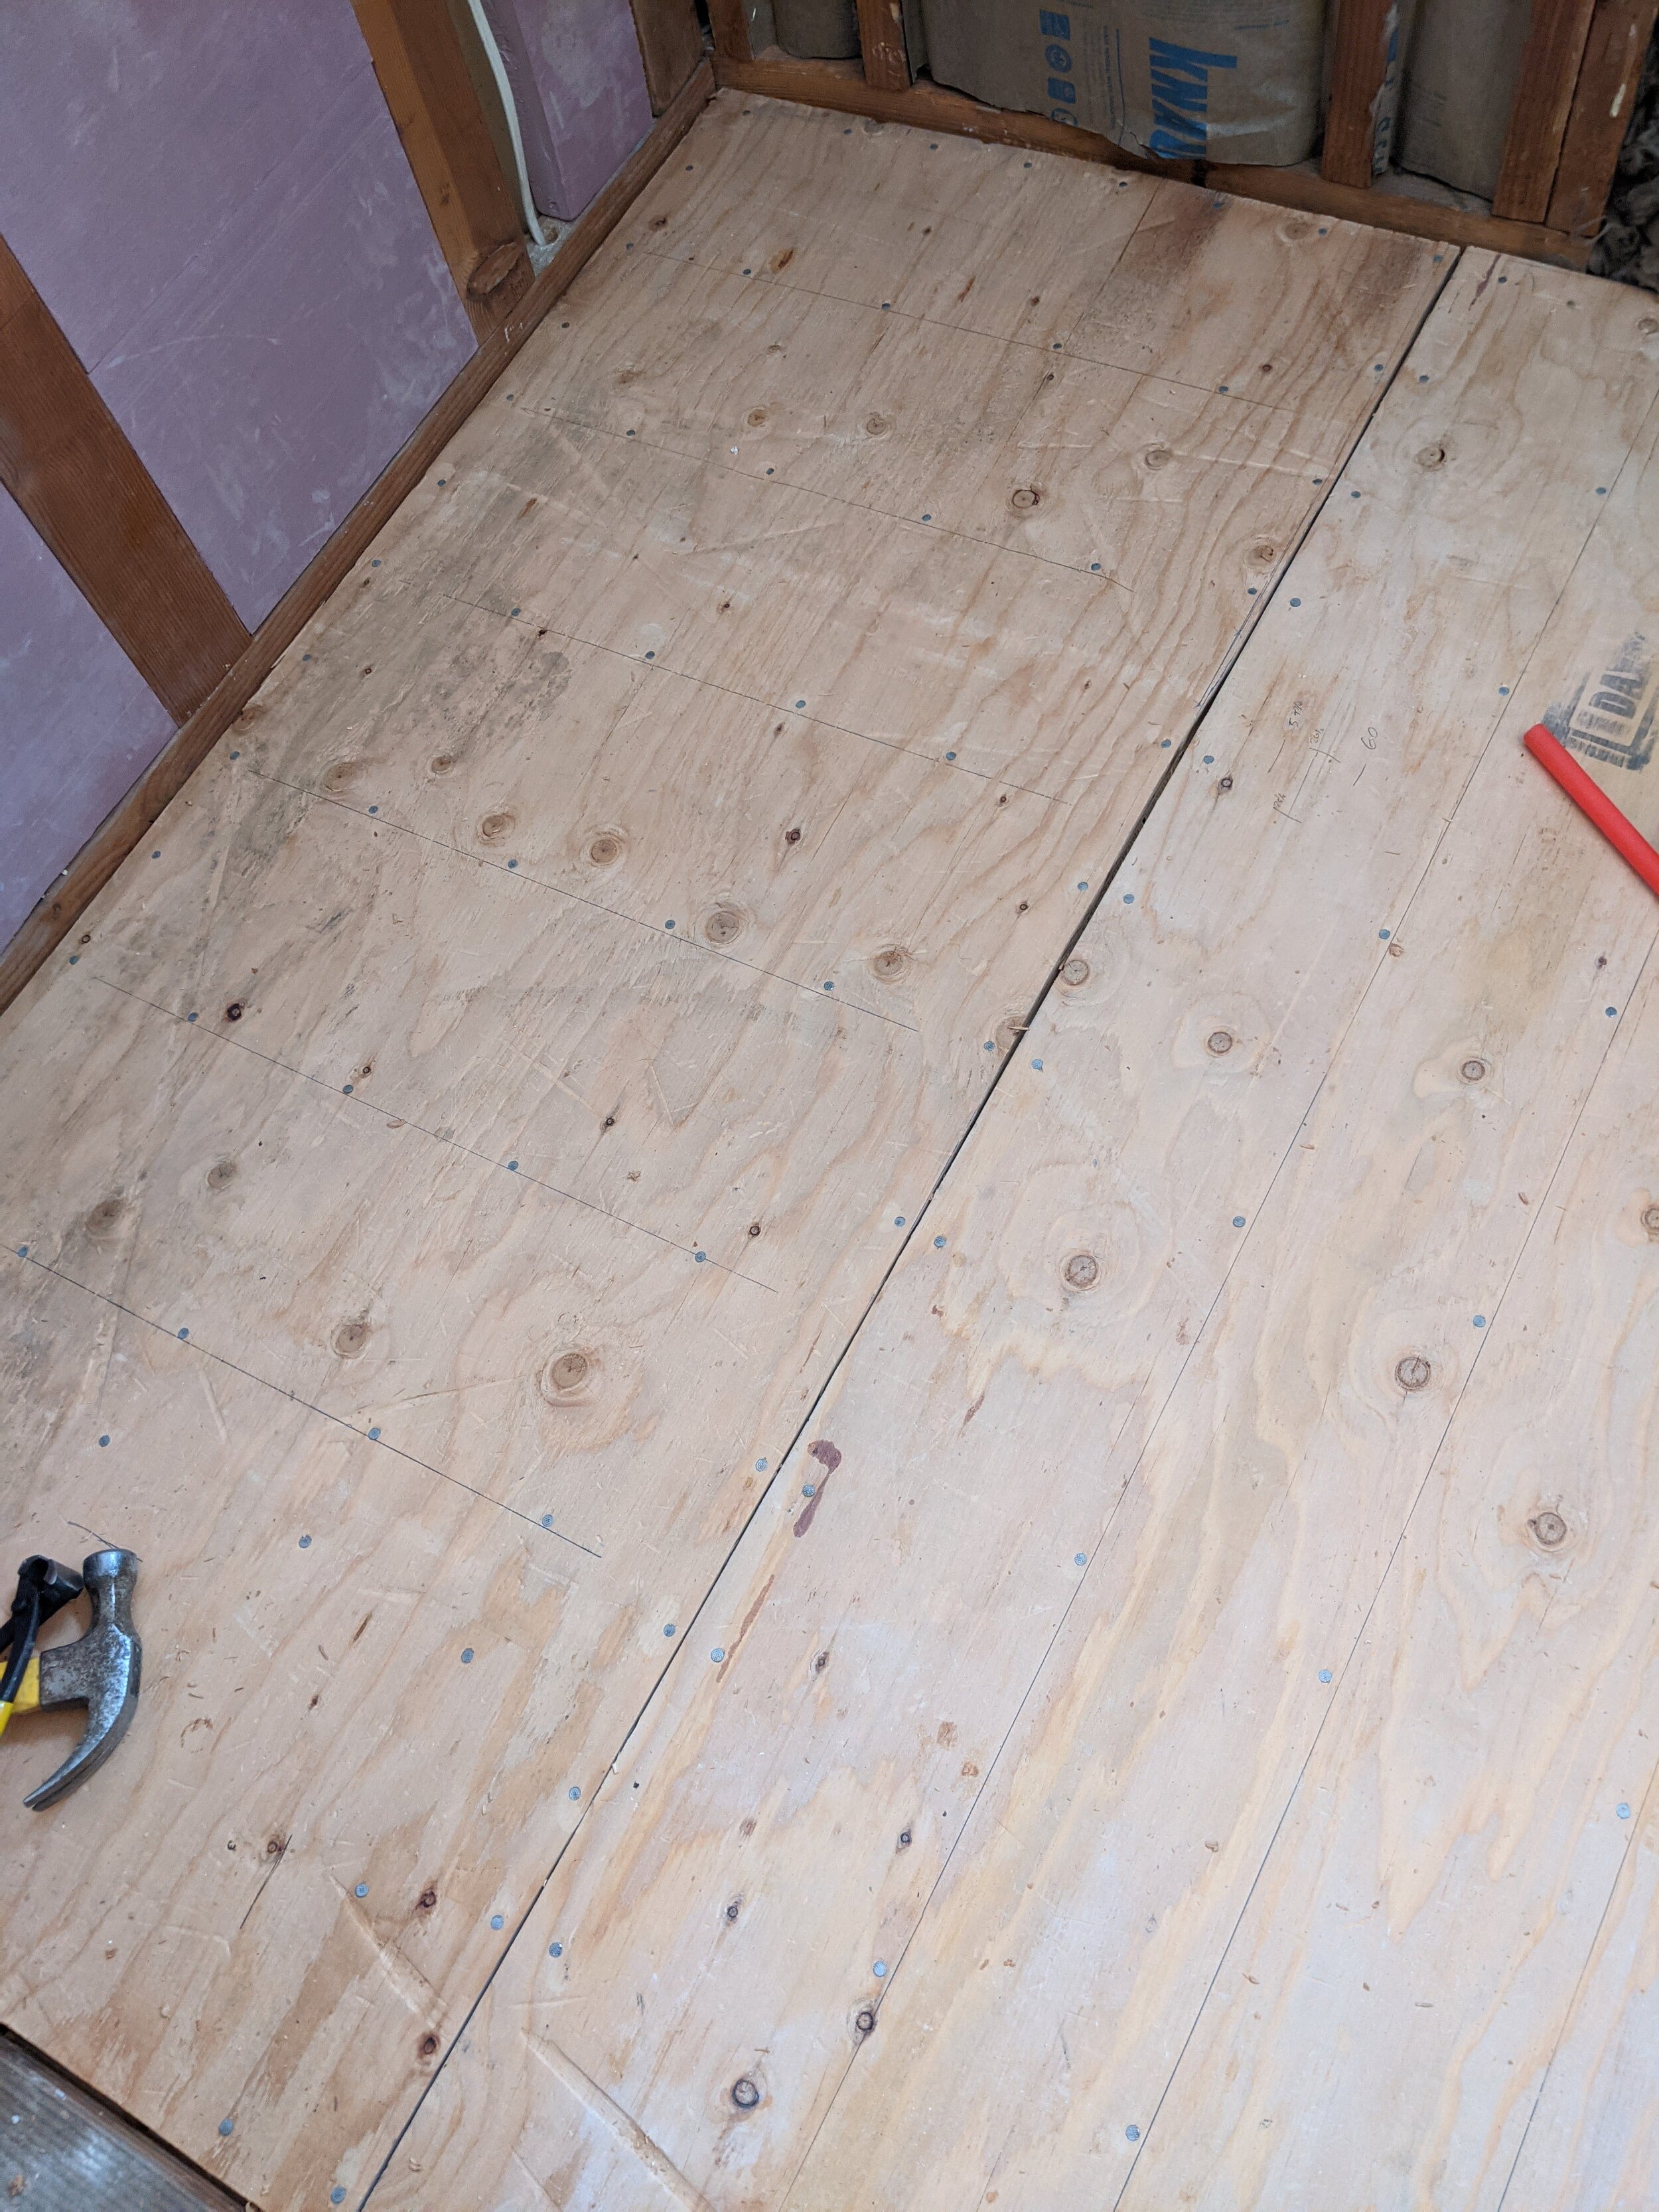
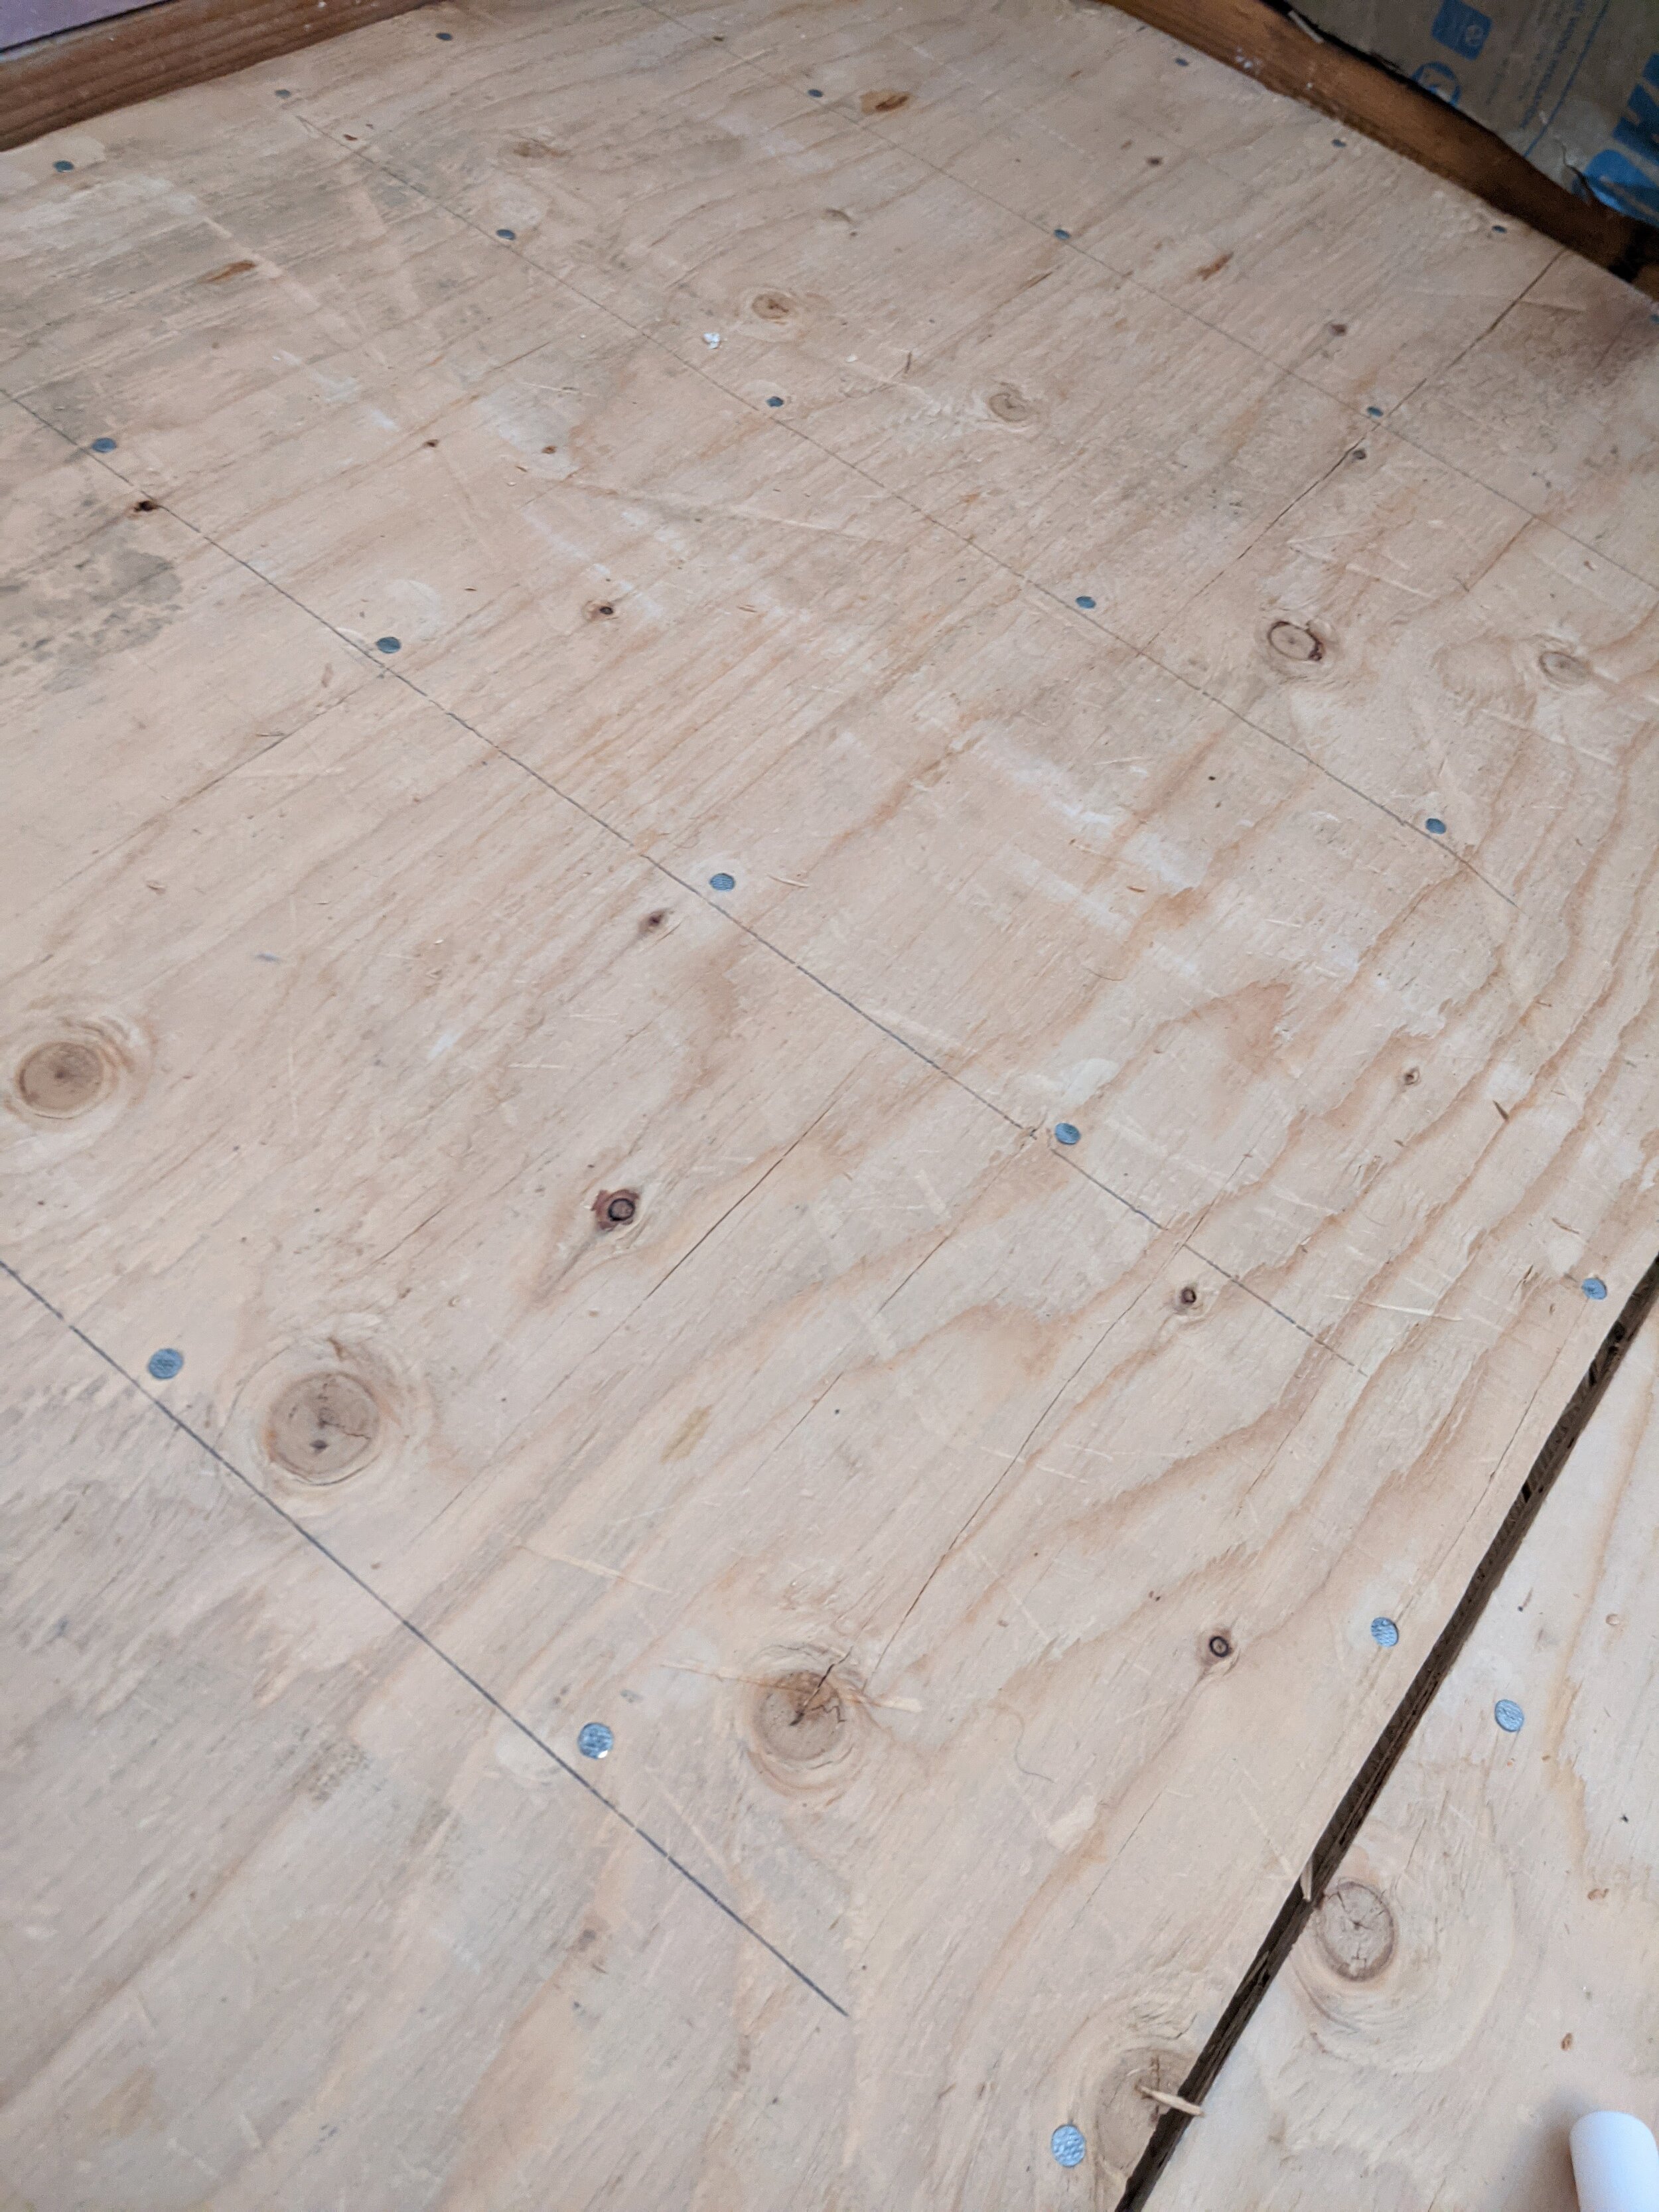
We moved on to the new subfloor next. We needed the height to match the floor in the rest of the house so there wasn’t a tripping hazard at the threshold. The jigsaw puzzle of getting all the holes right isn’t the complex part the way you’d think. We got the toilet hole right the first step. The trick was how uneven the walls were. So even when we had the angle right, we were running into small arching sections that managed to look visually straight and somehow weren’t. OYE. We finally got it, though, and fixed that baby to the floor TIGHT to reduce squeaking. We are very anti-floor-squeak in this house!

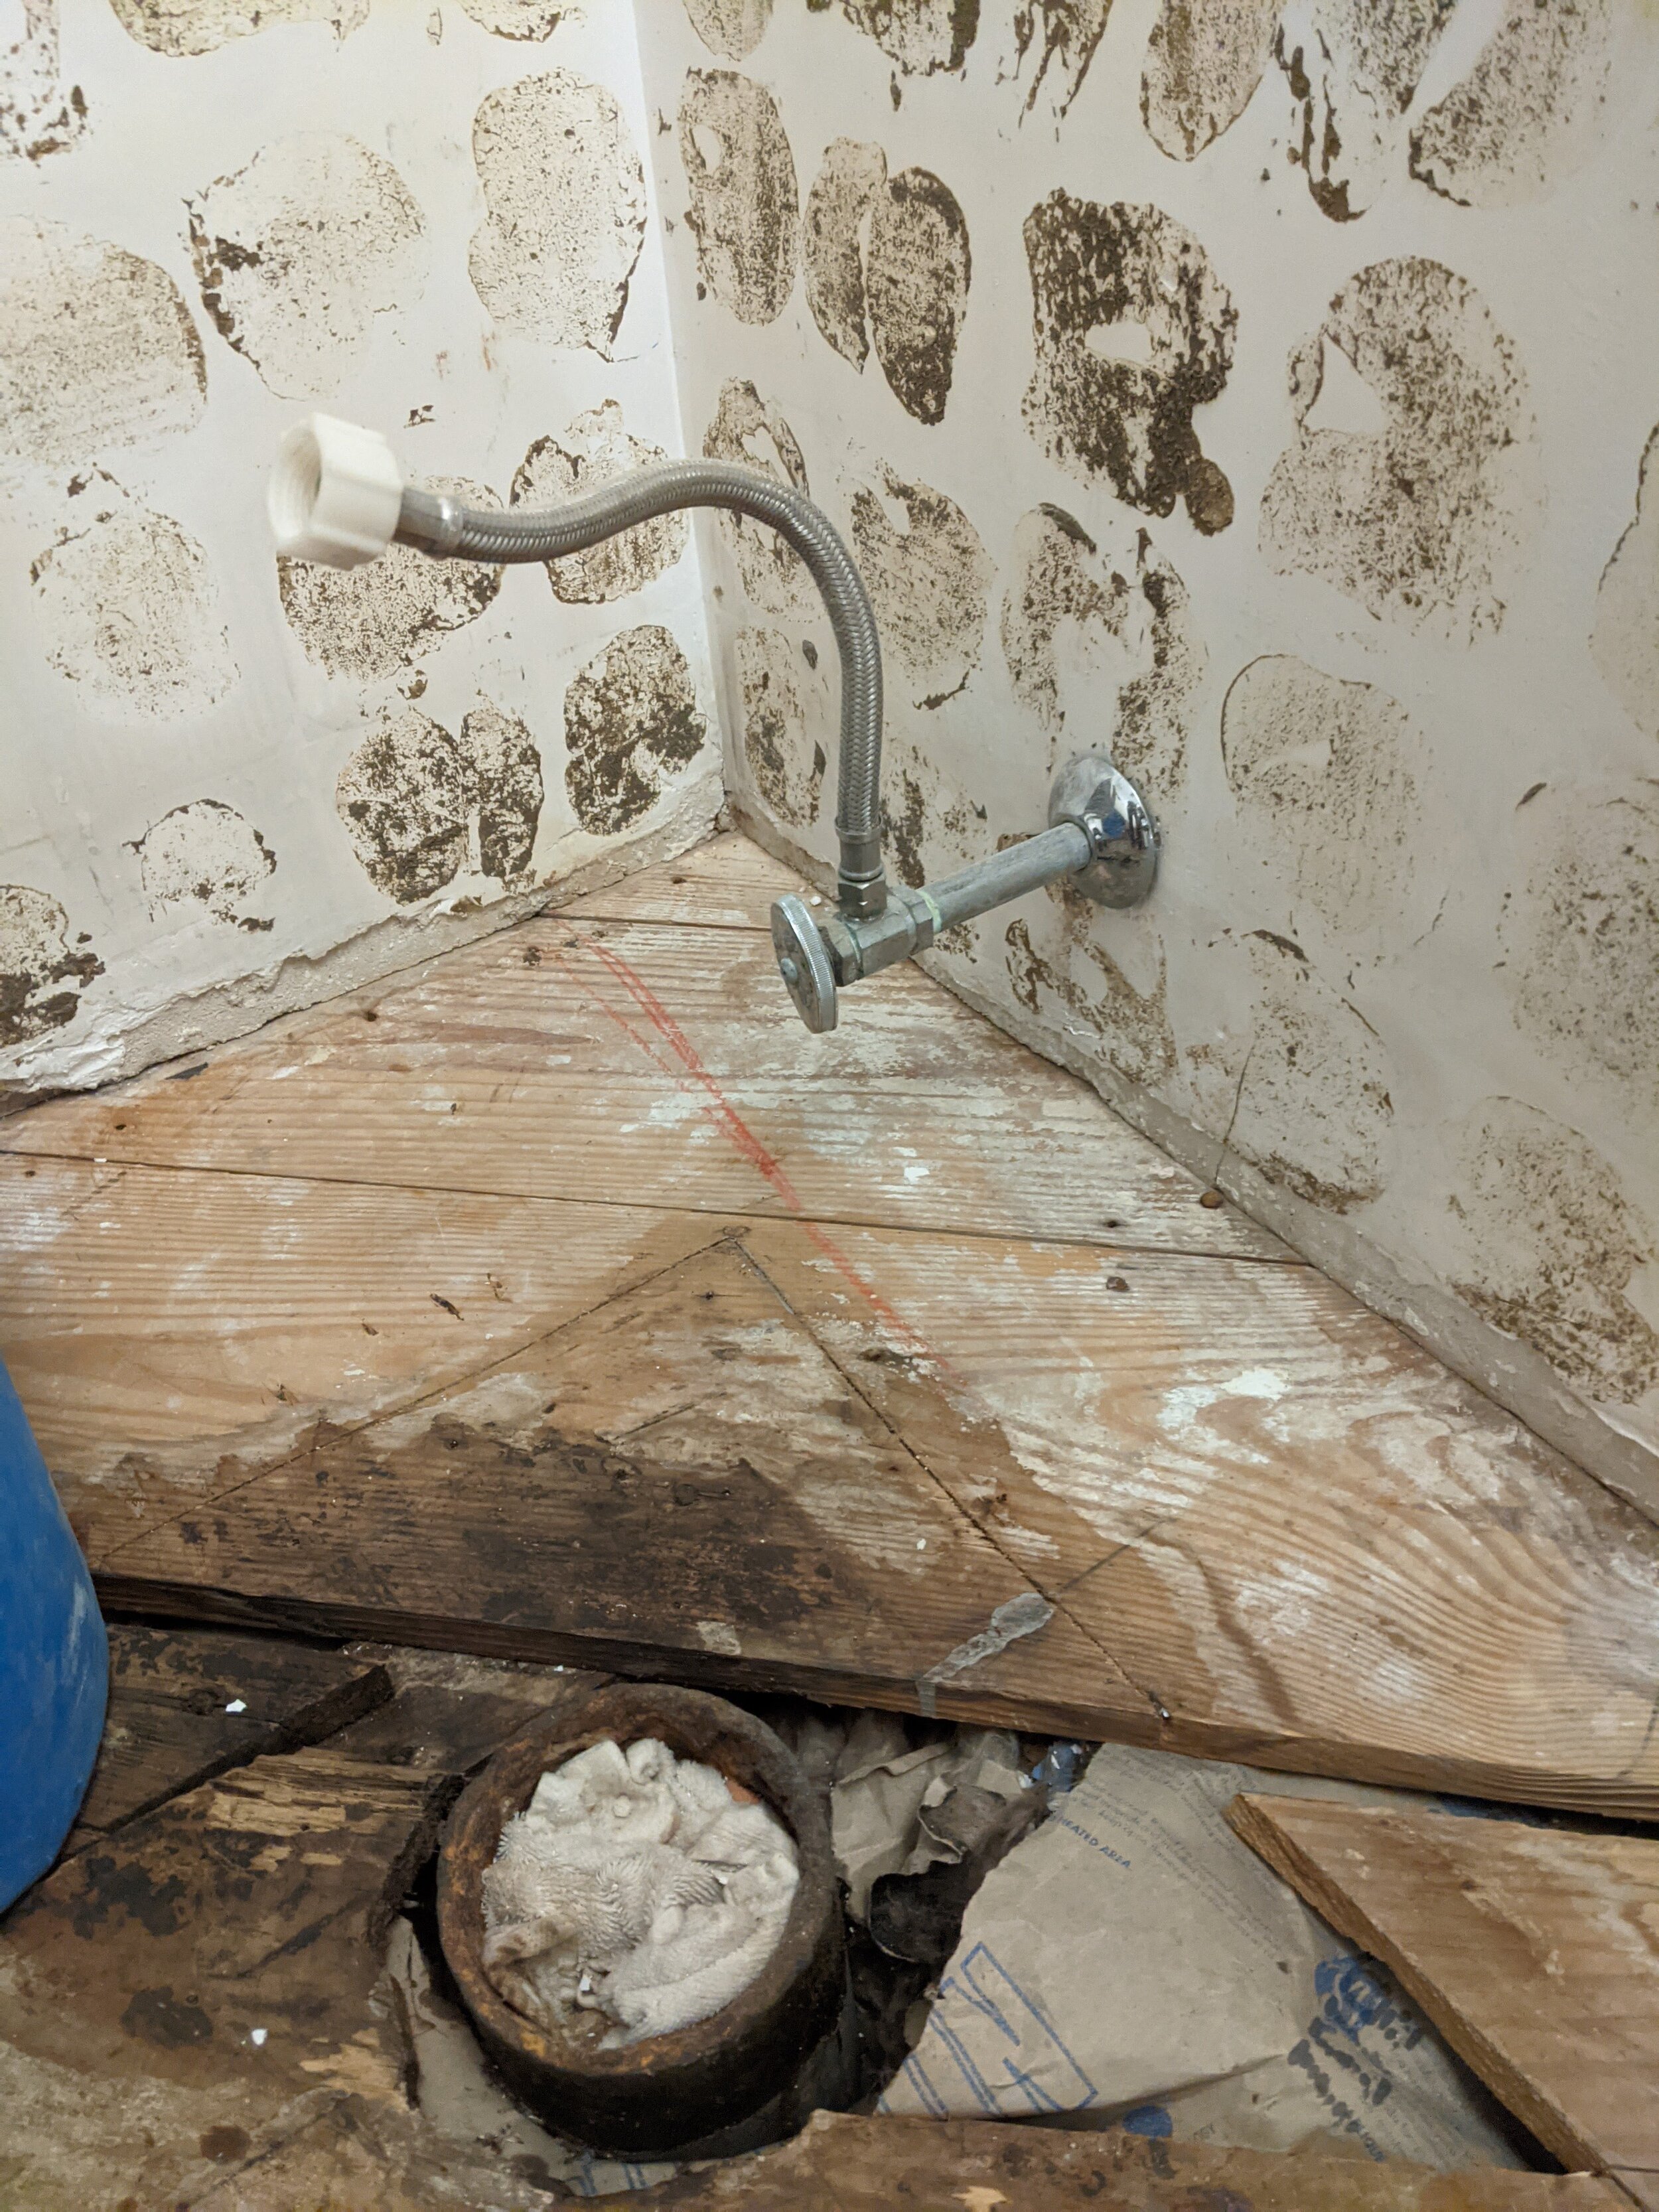
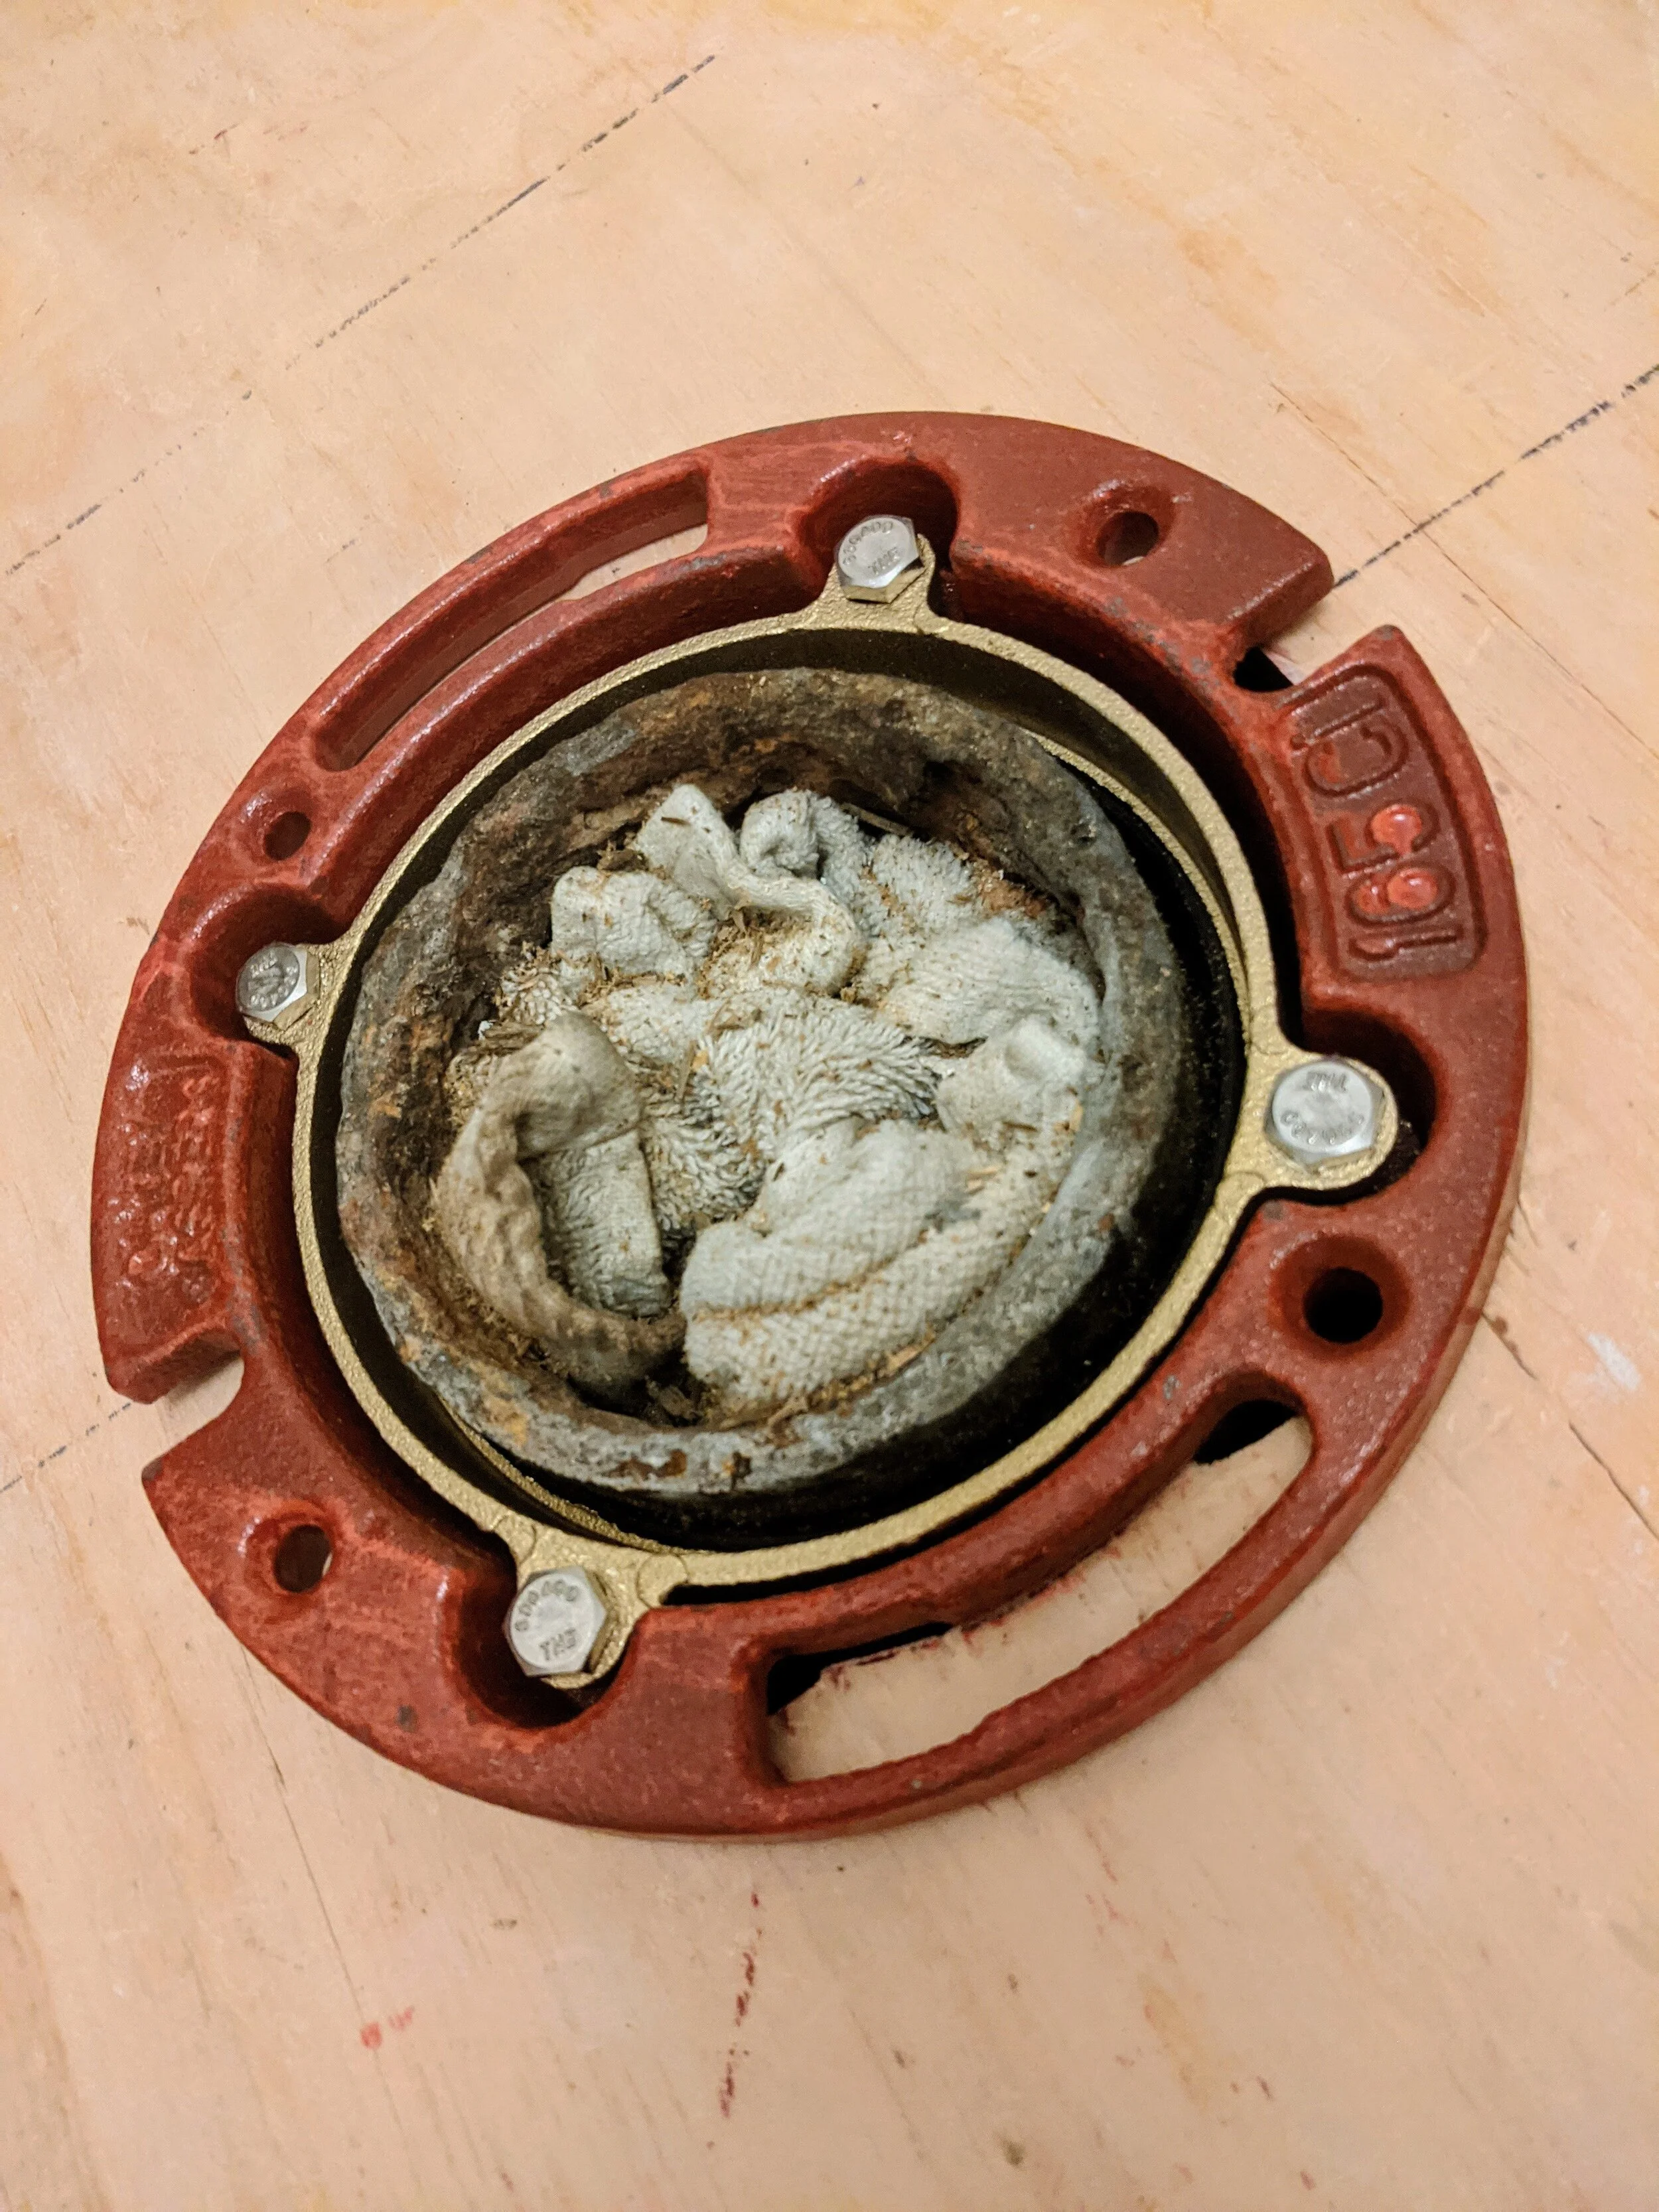
We also prepped the sewer pipe for the toilet with a new flange that 100000% looks like Iron Man’s arc reactor.

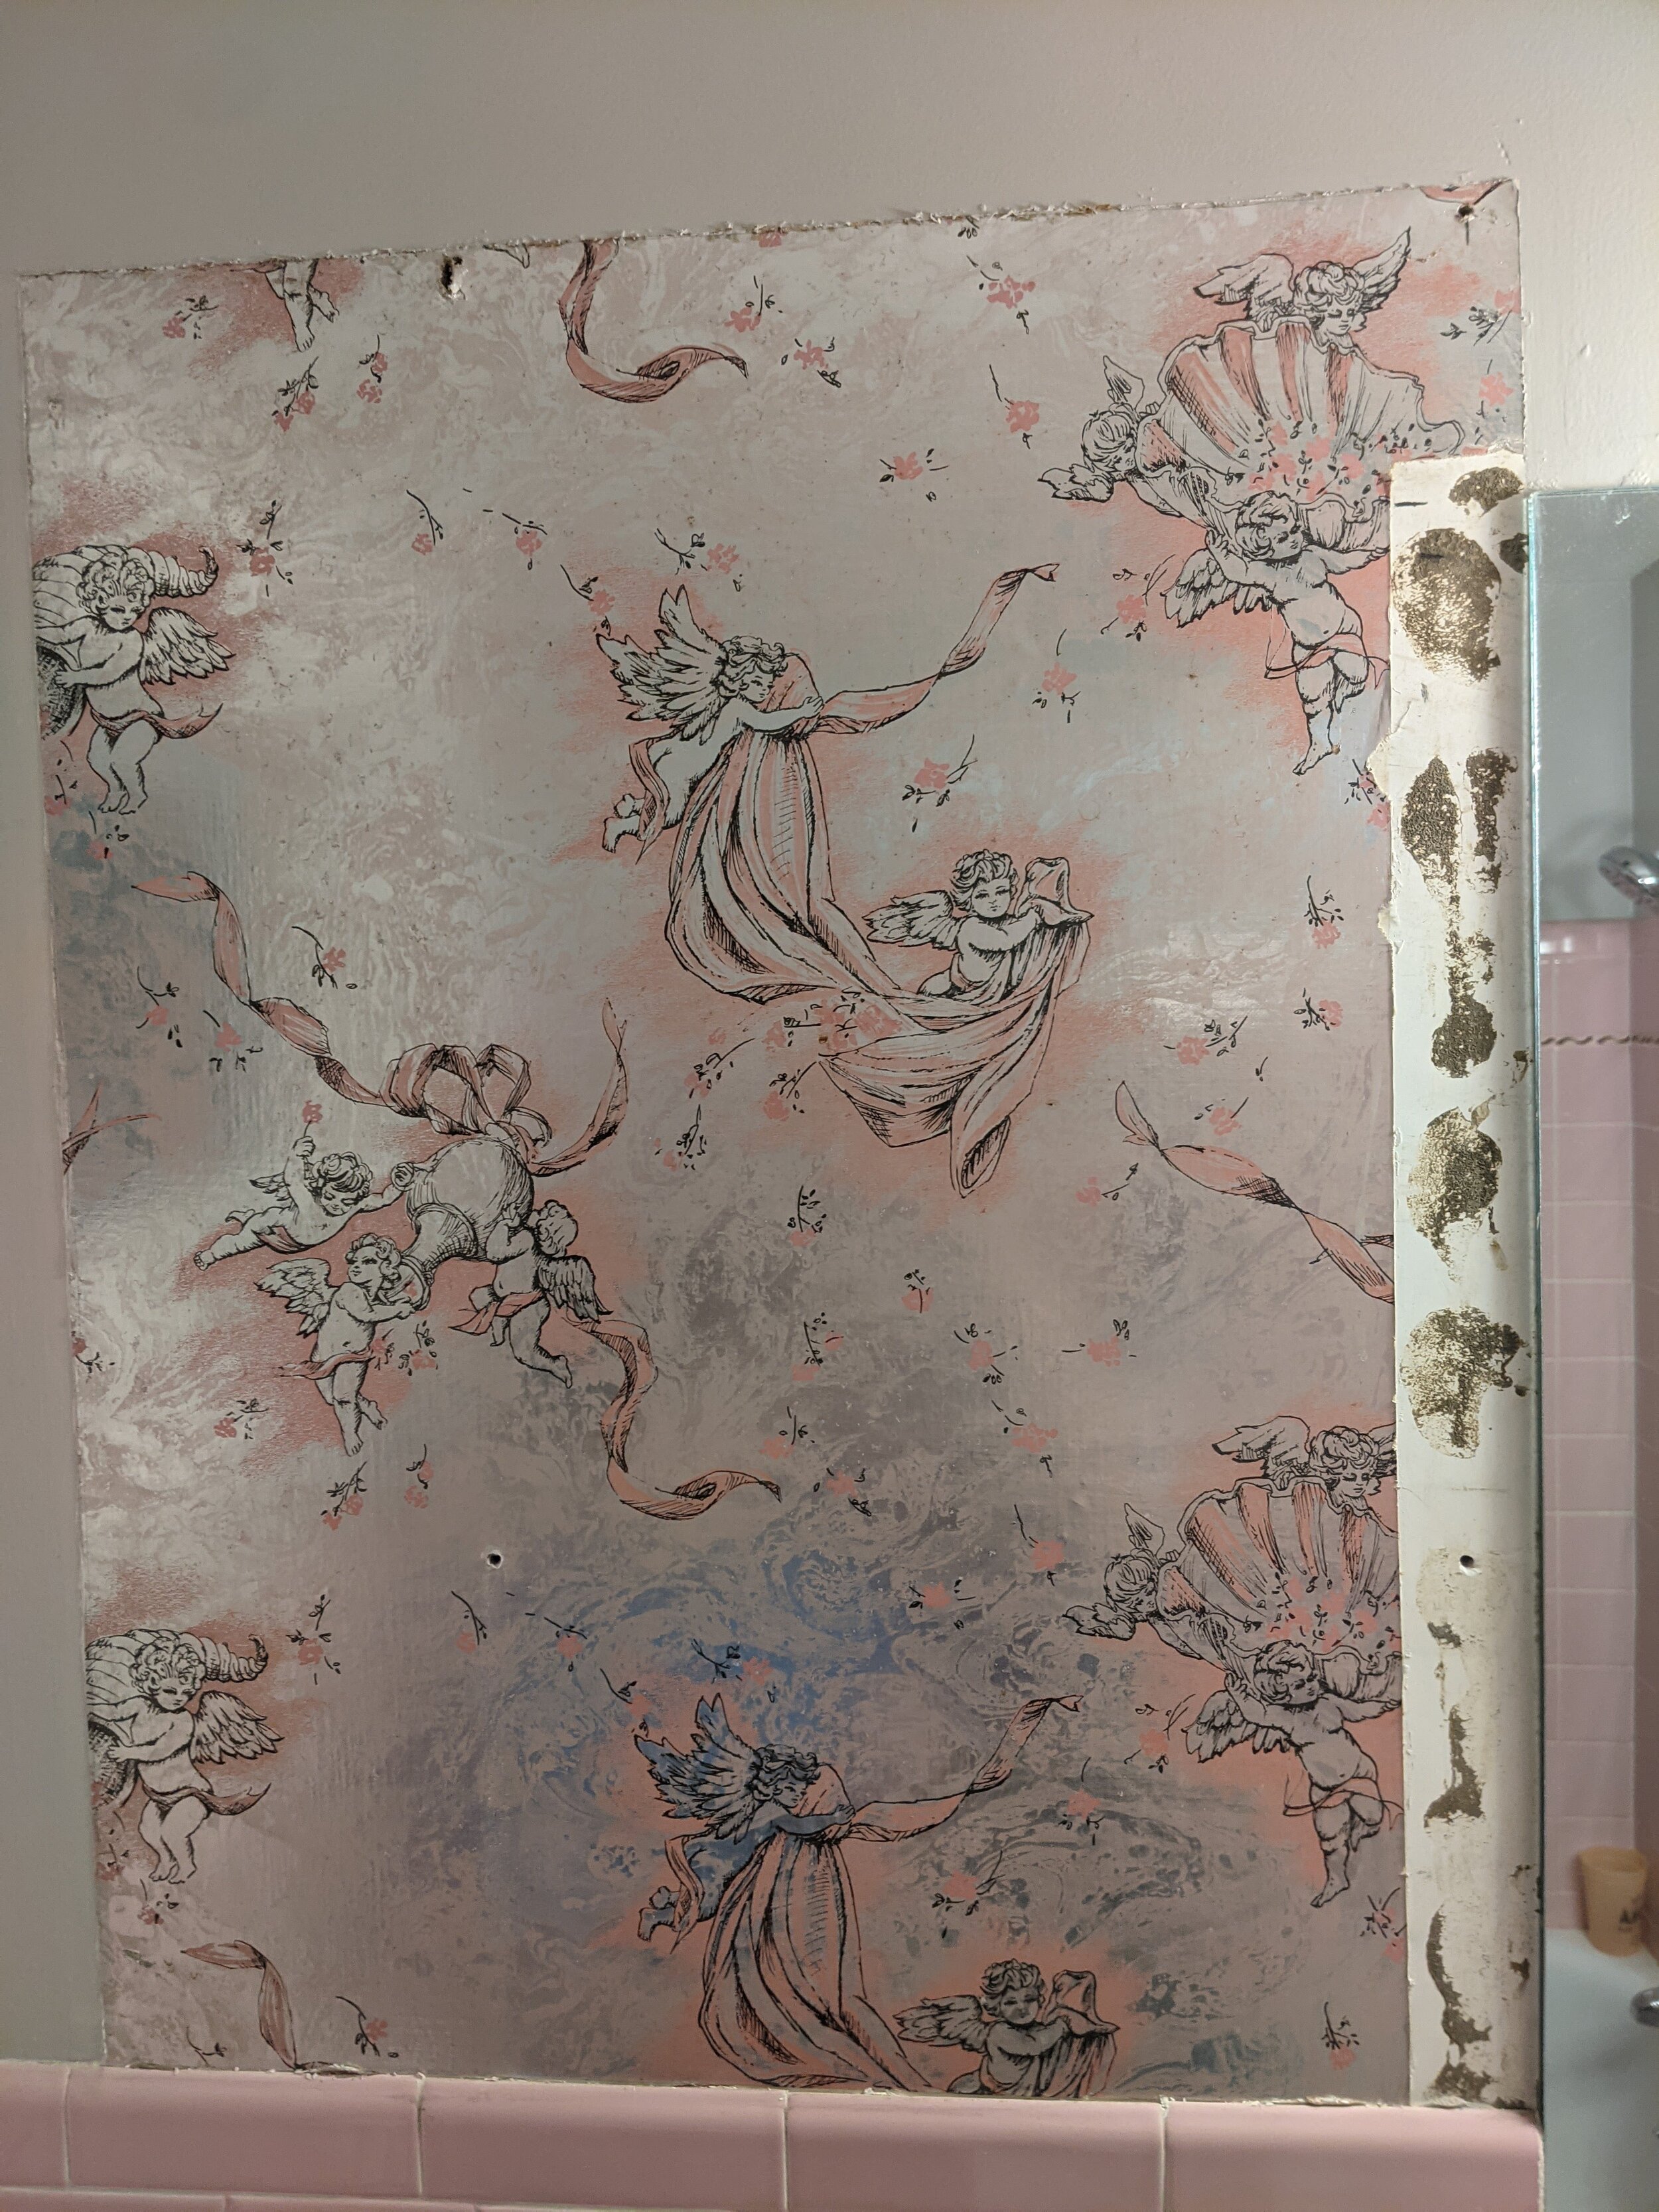
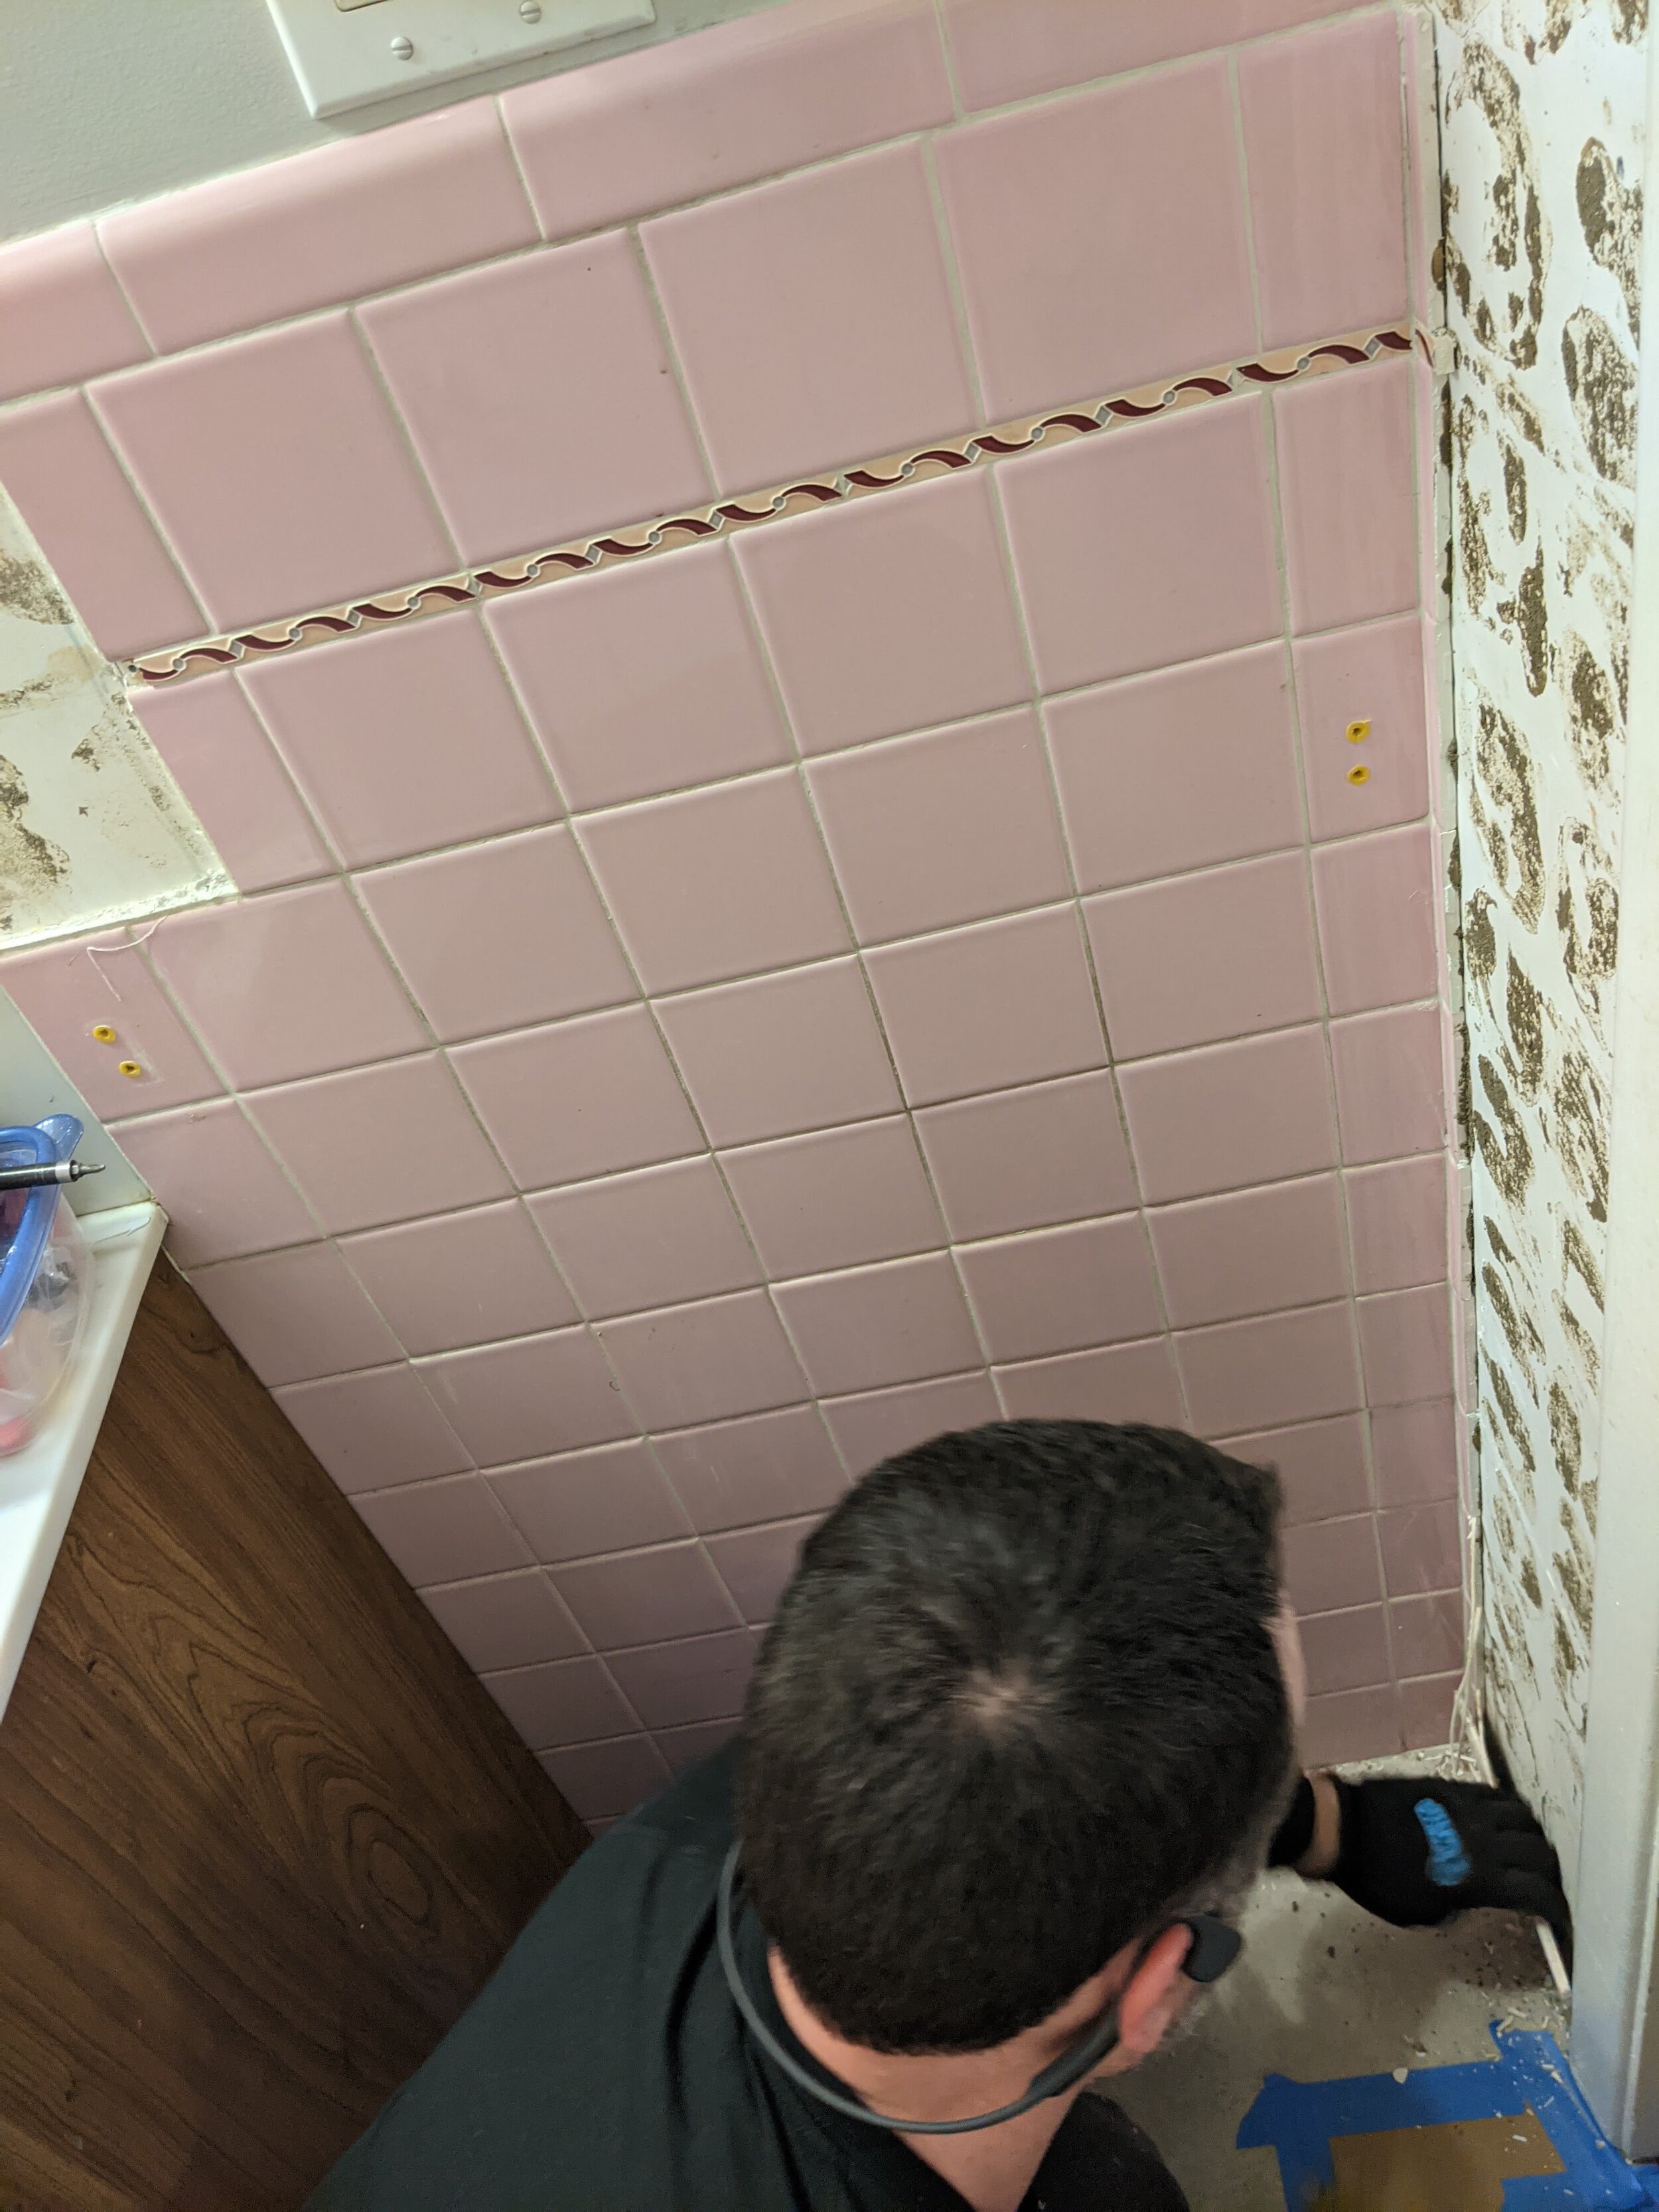
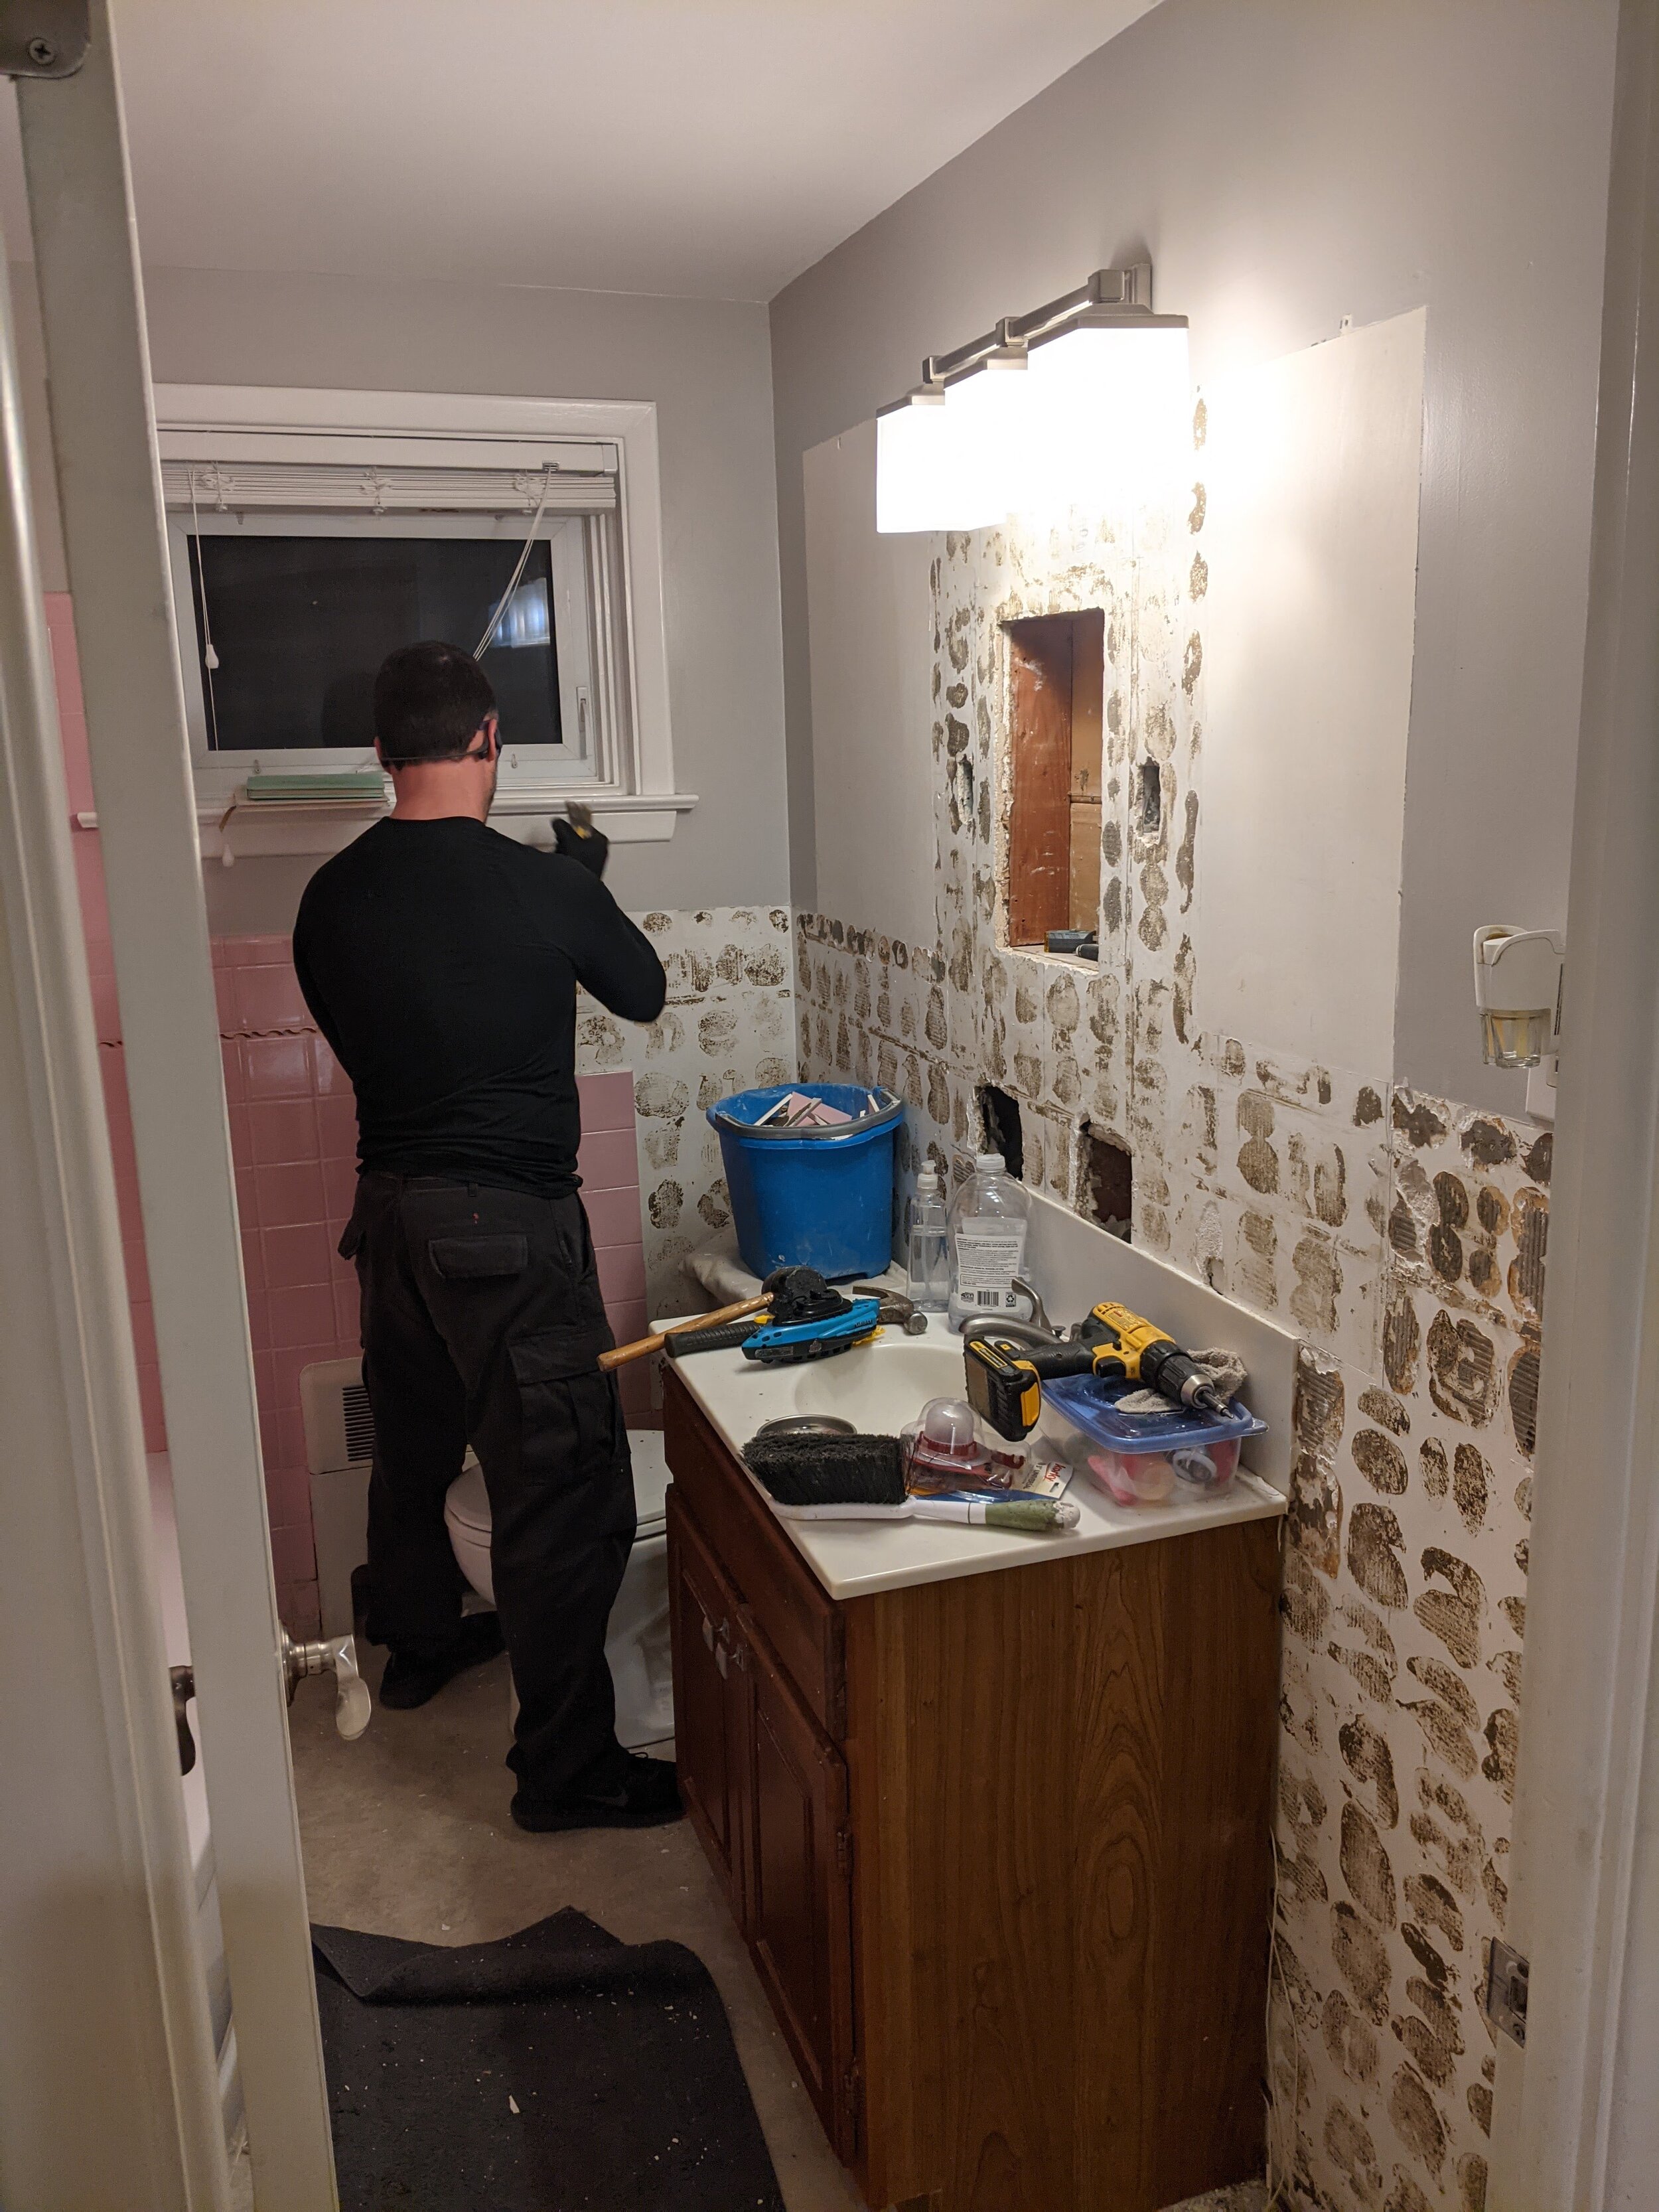
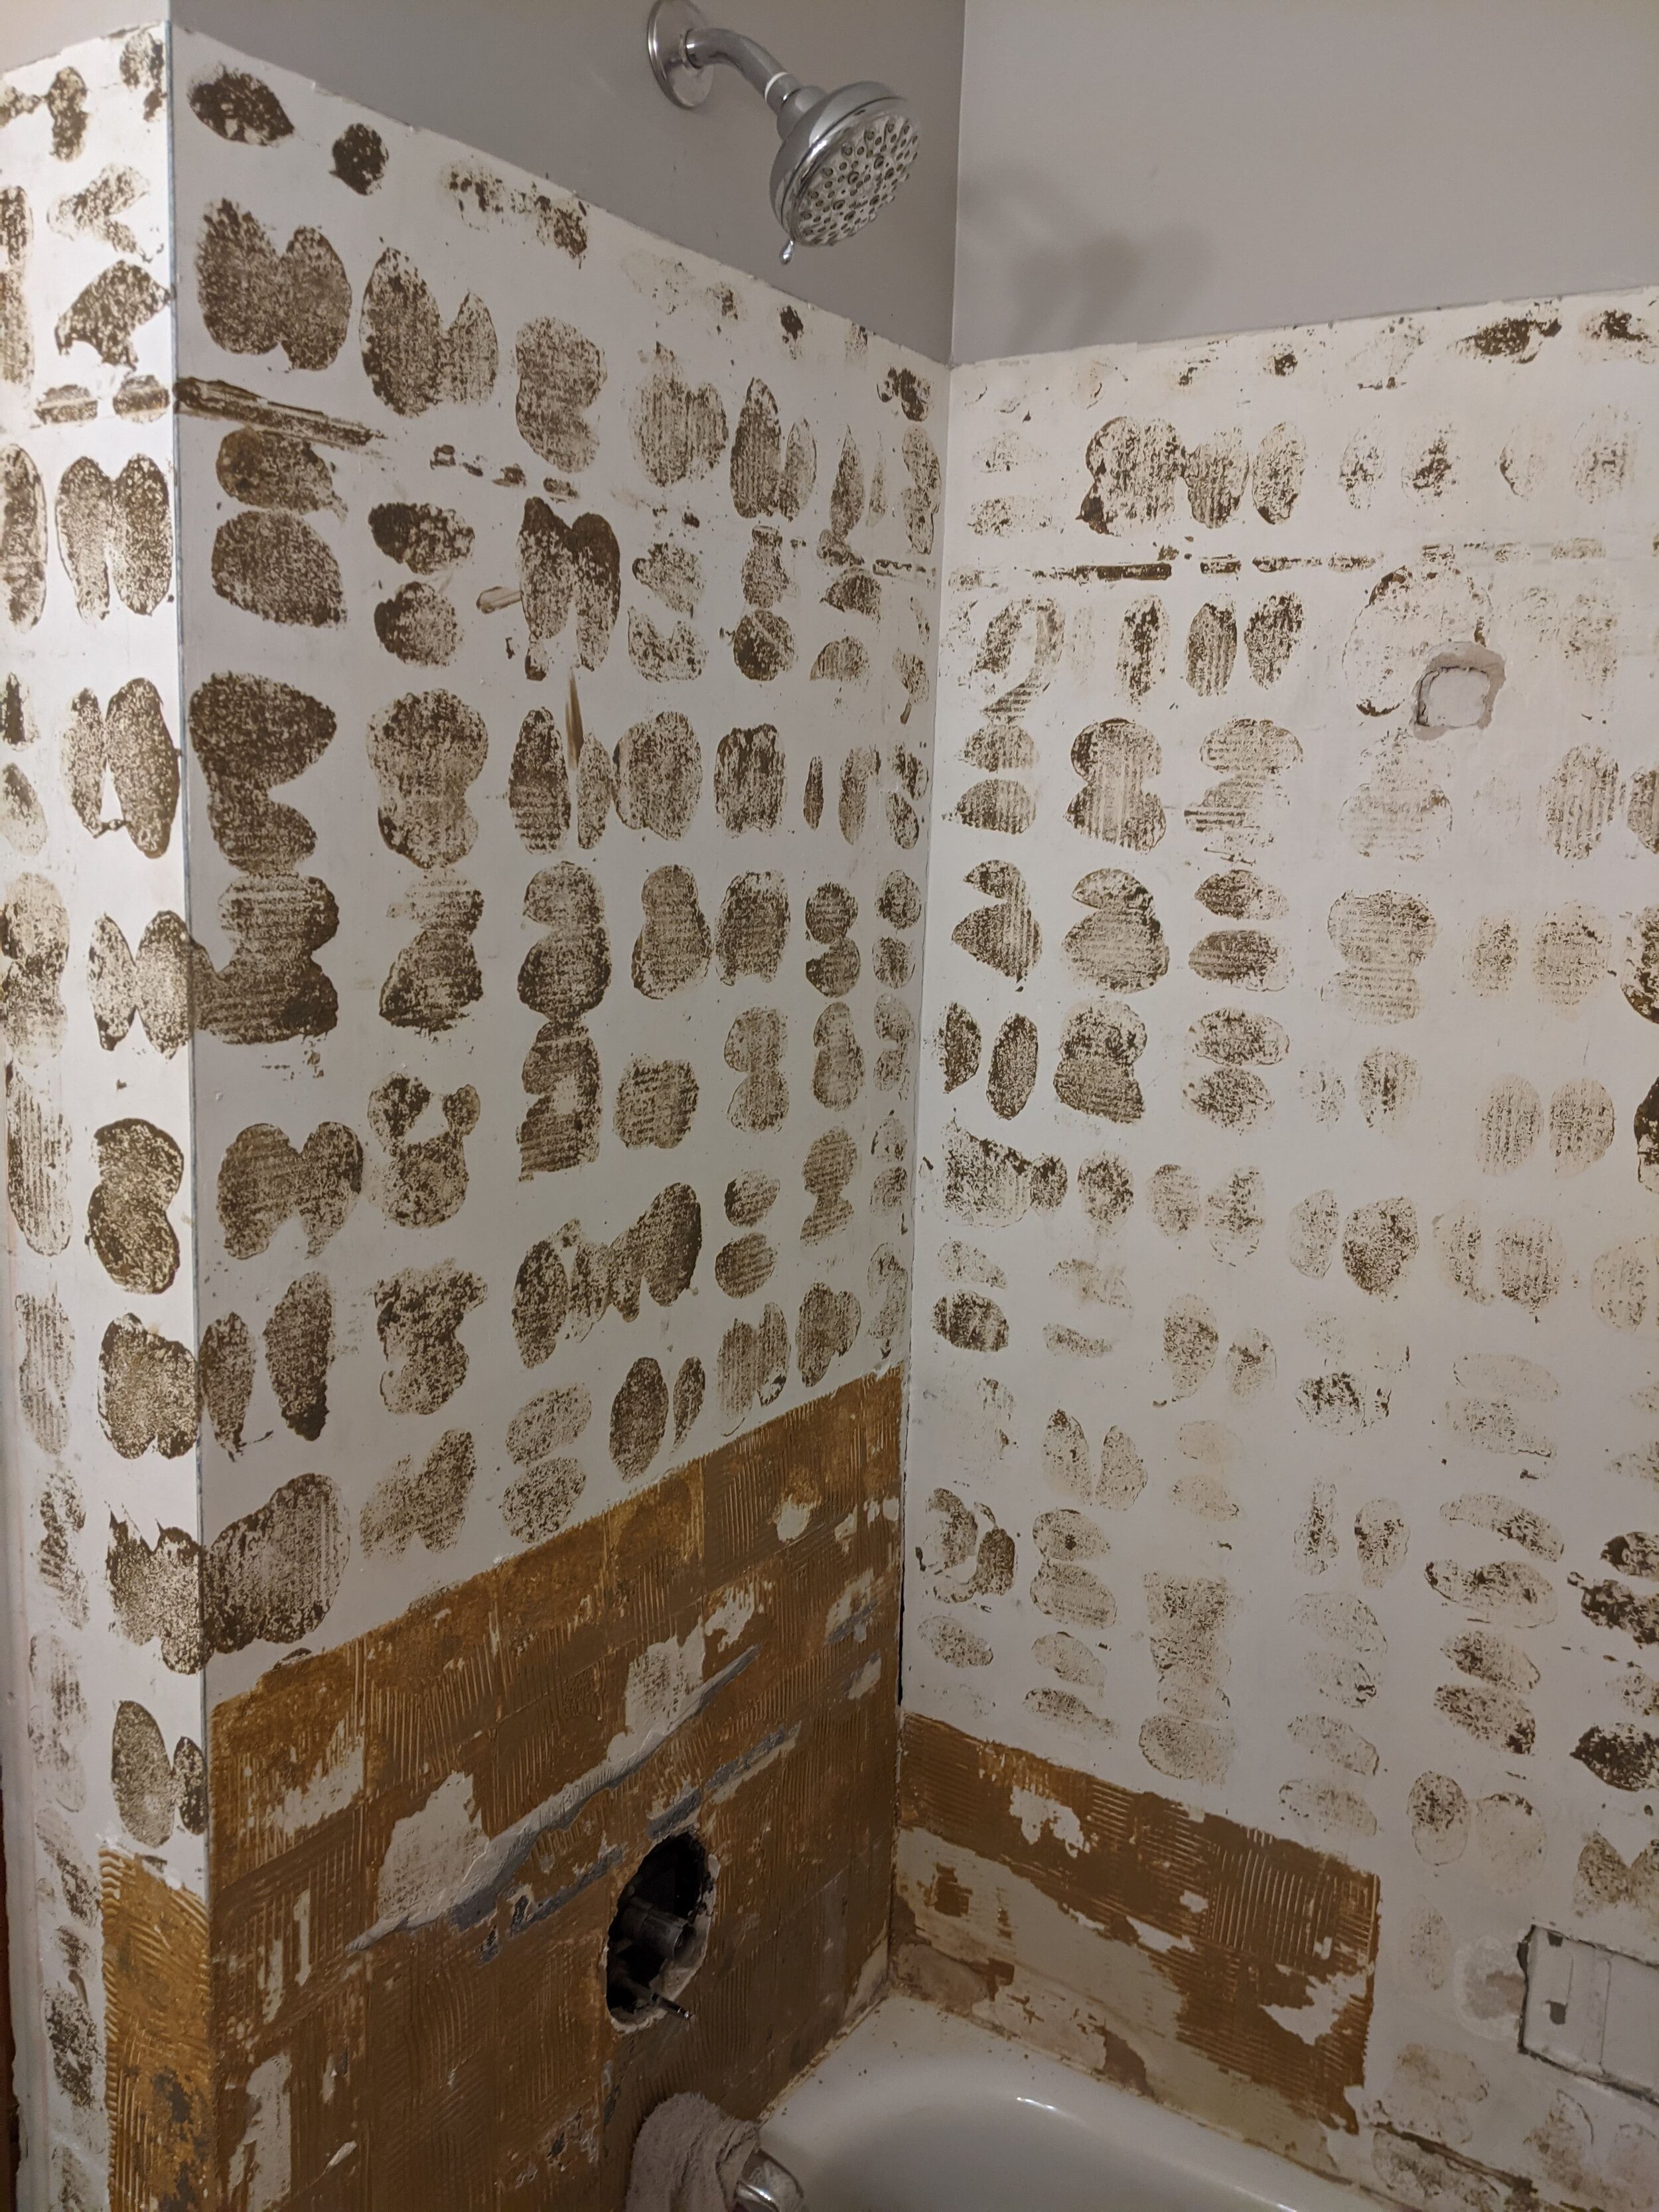
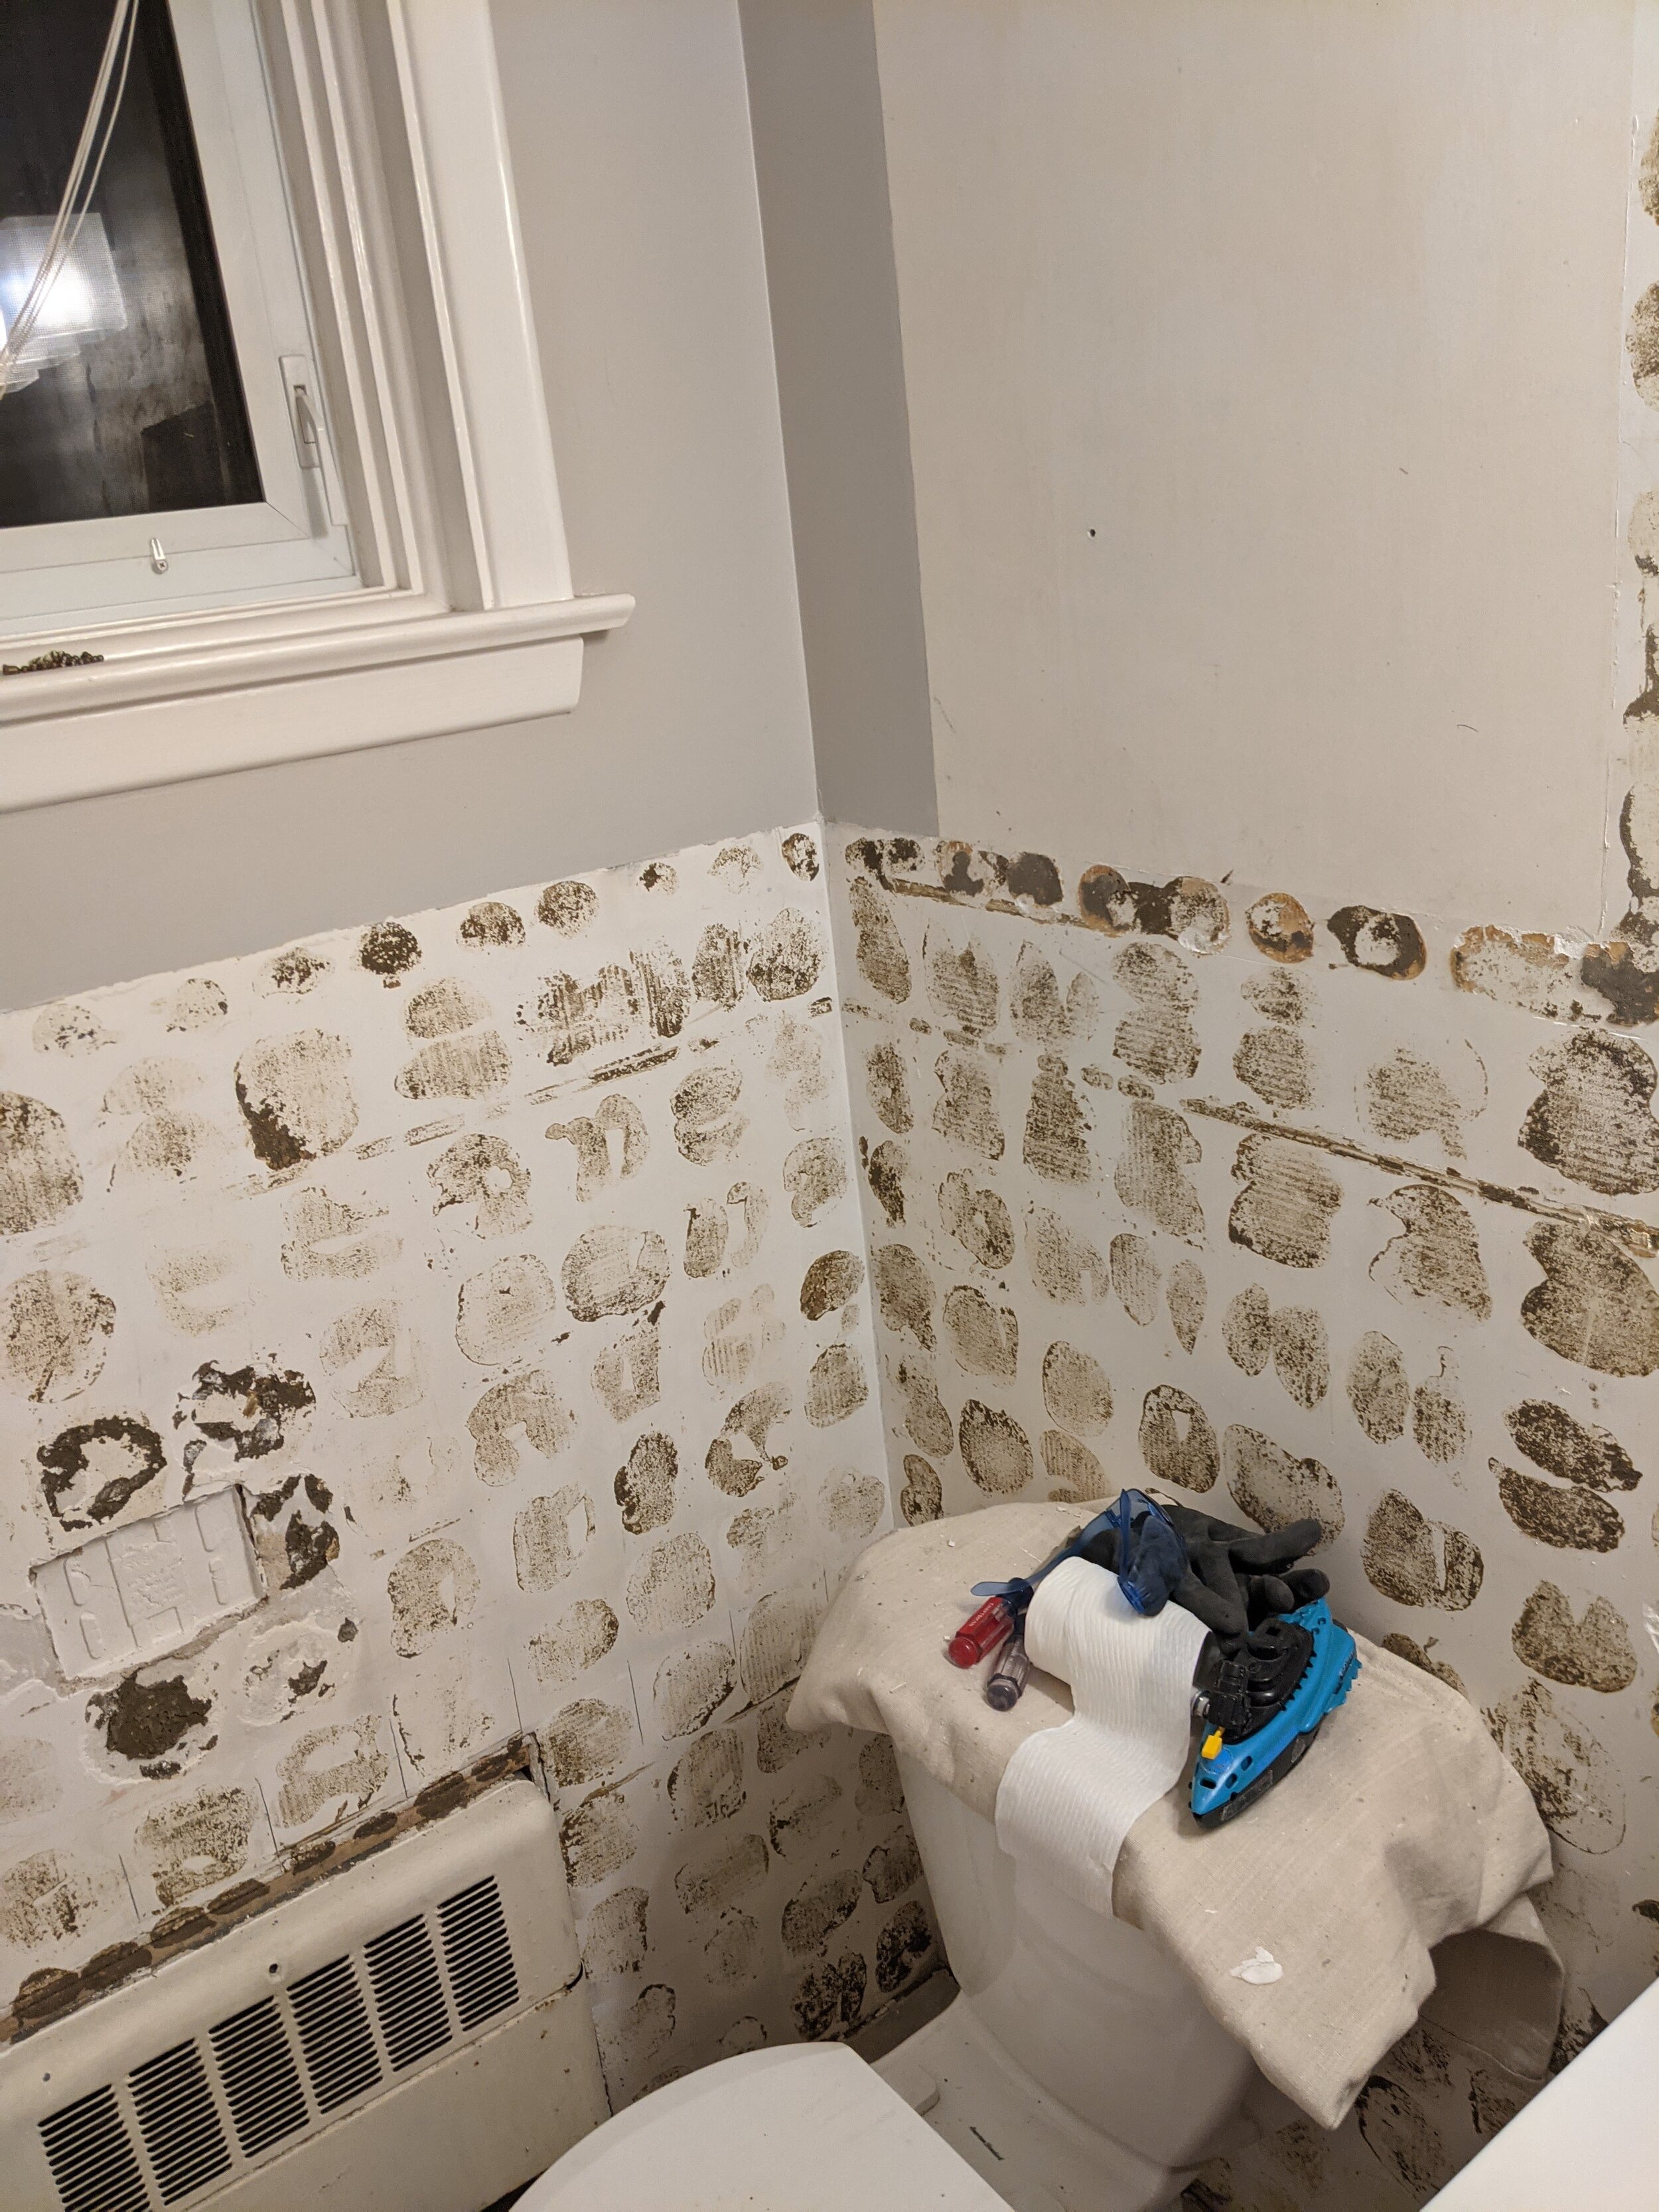
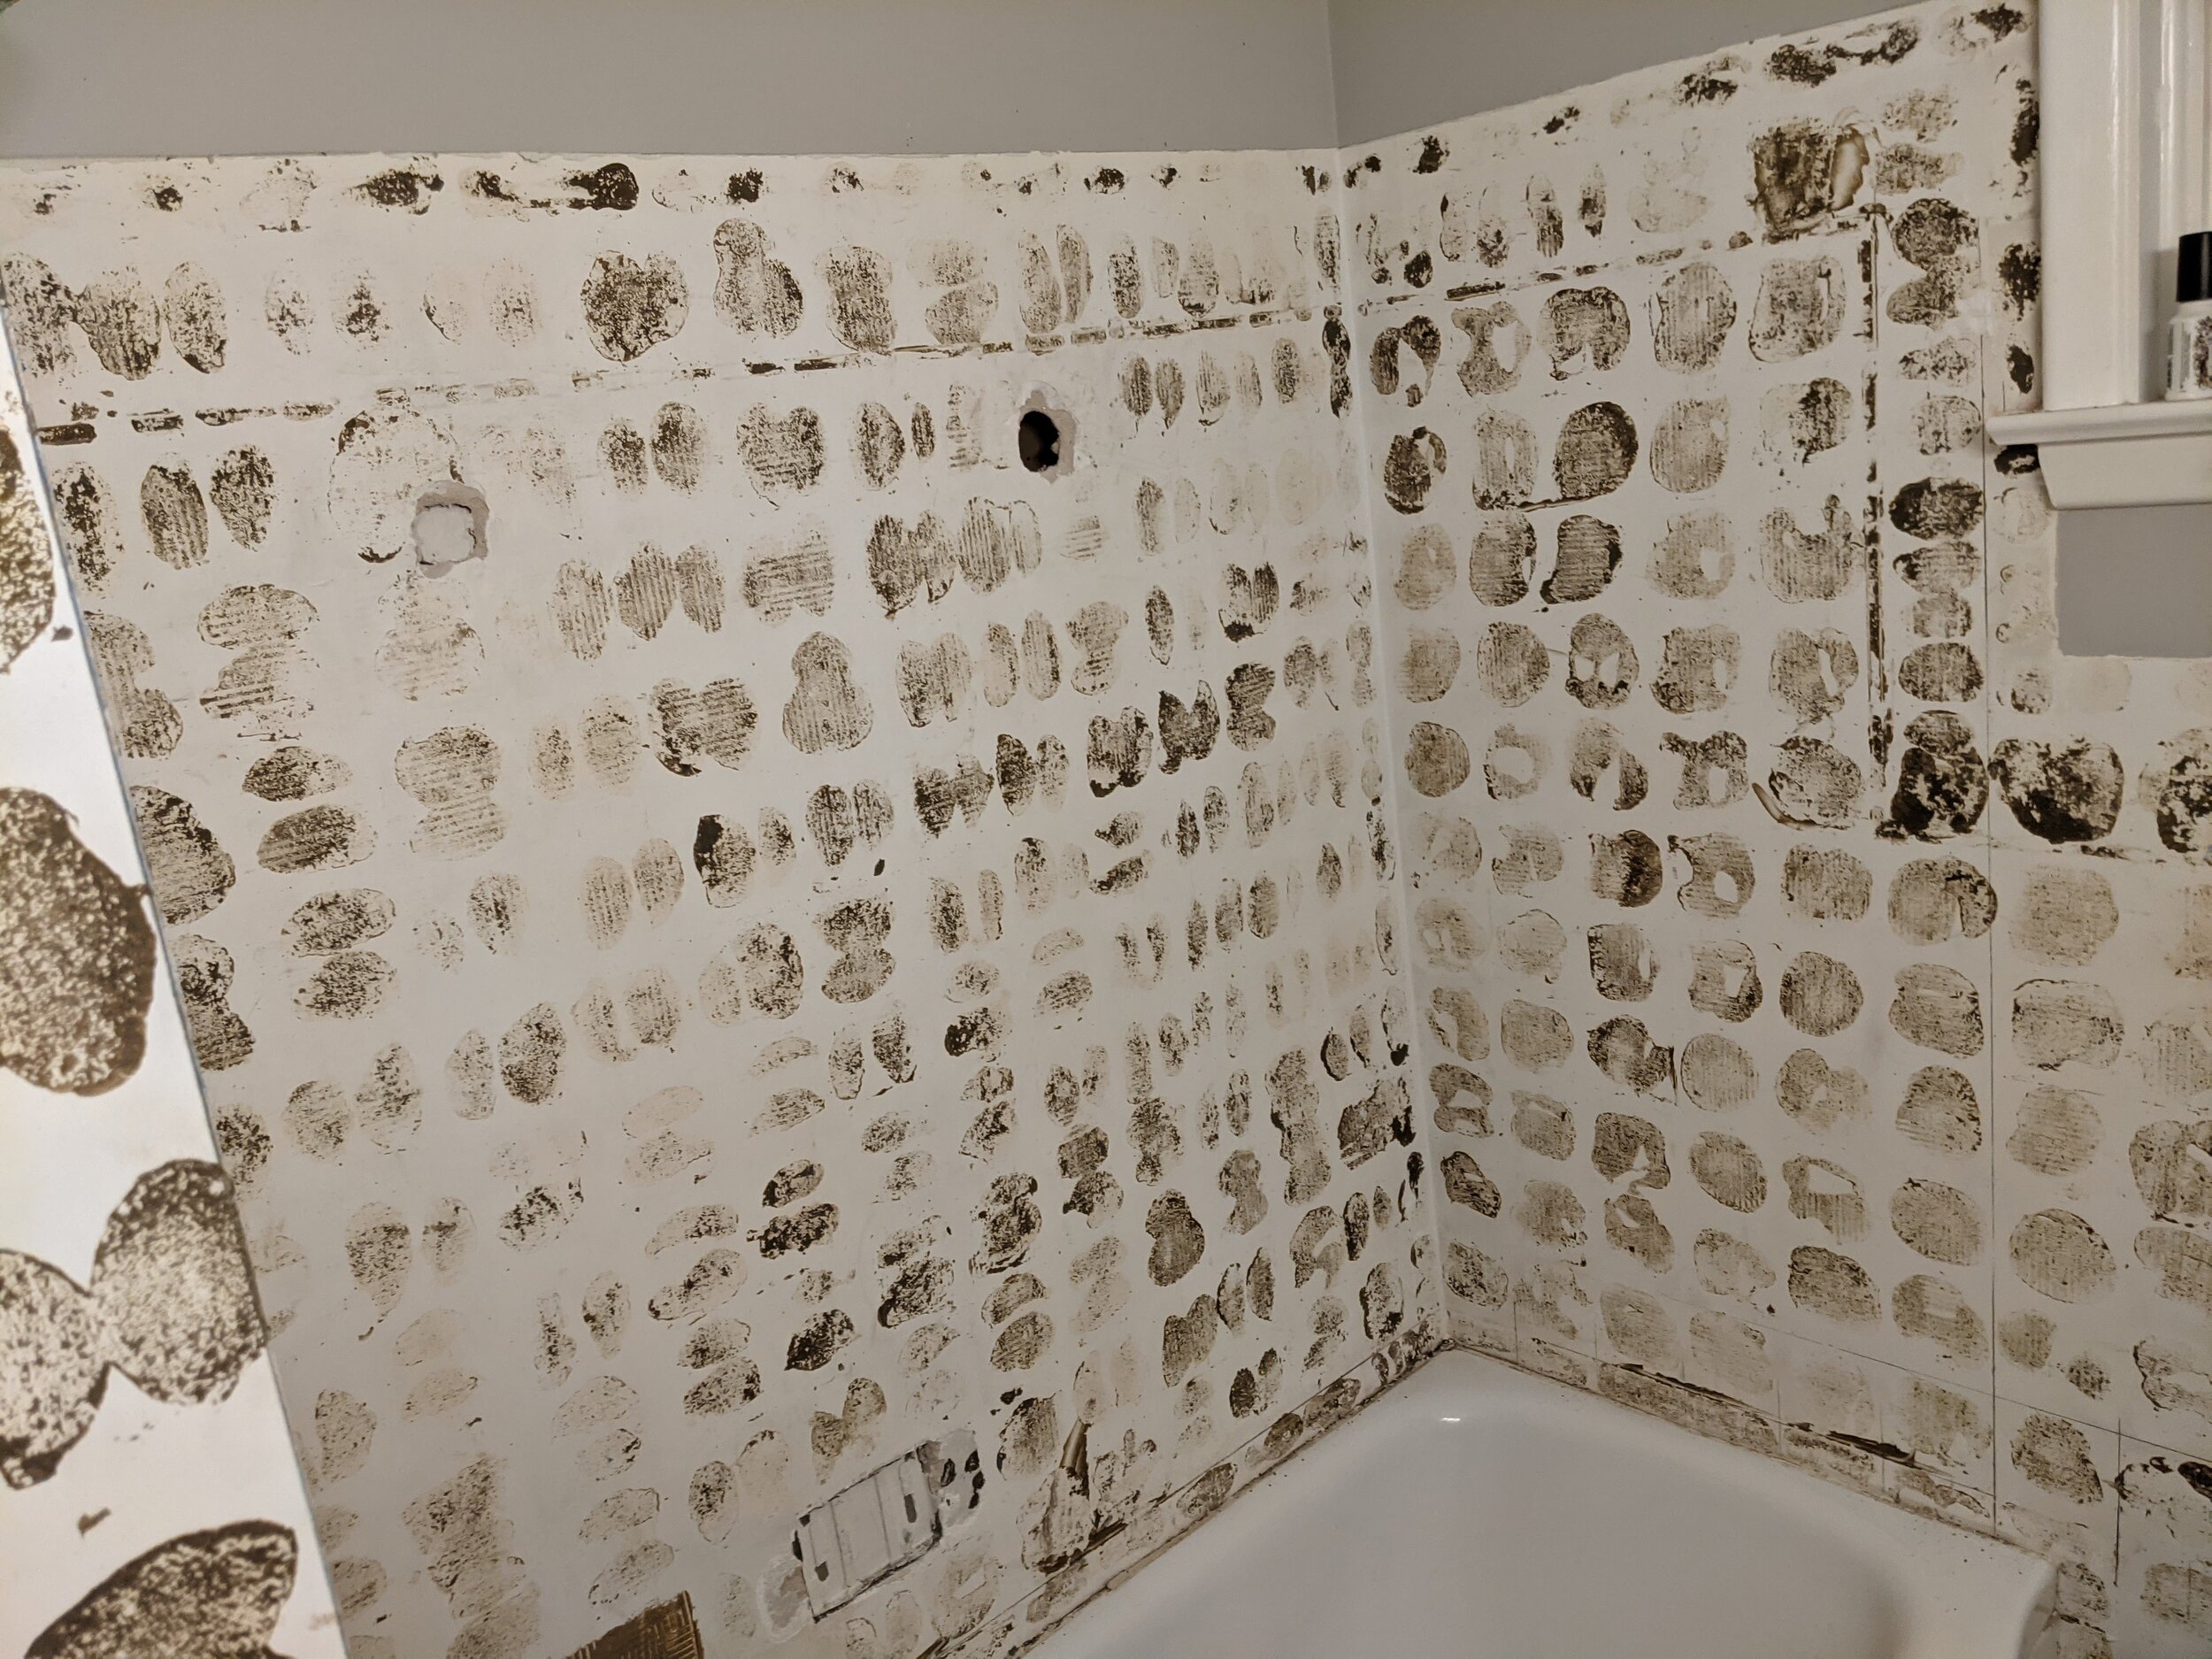
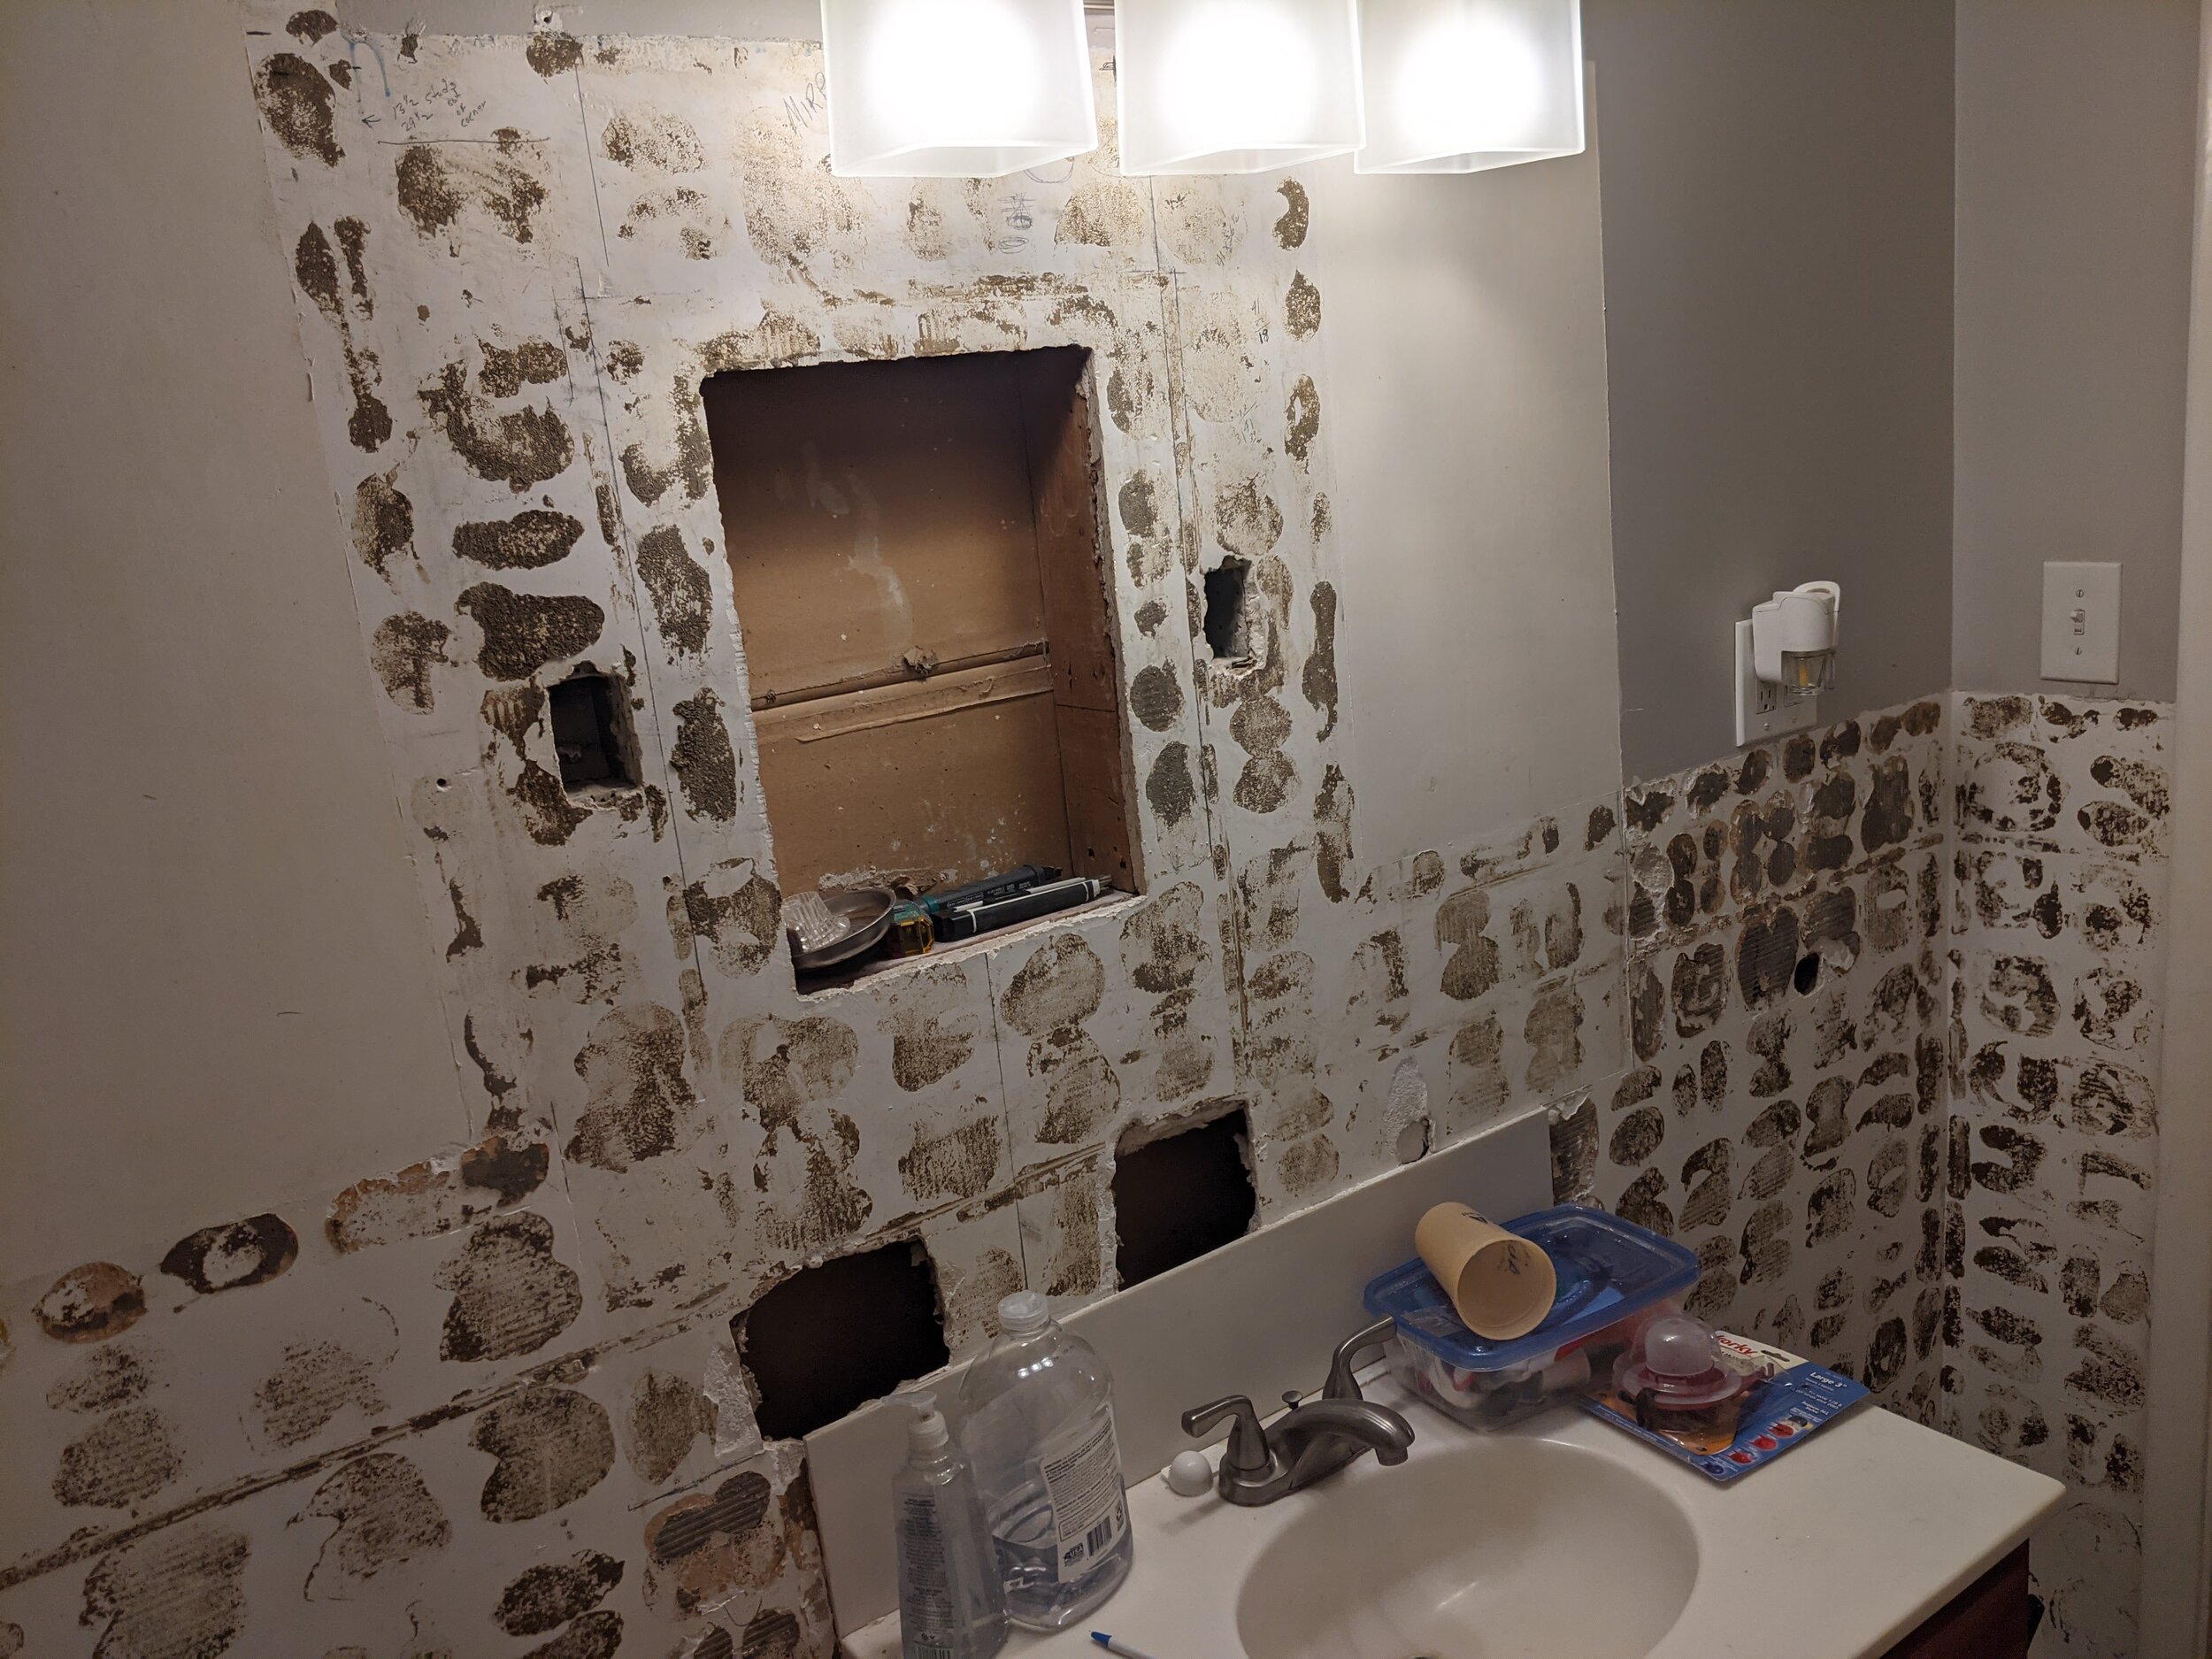
Once we’d murdered our fingers scraping off the remaining tile glue, it was time to fix the wall up. There were holes from the plumbing work that we’d just made, but there were also large holes that had previously been behind the large mirror from an old medicine cabinet and toothbrush holder. There were also two holes from a towel bar that had been in the shower, over the tub.

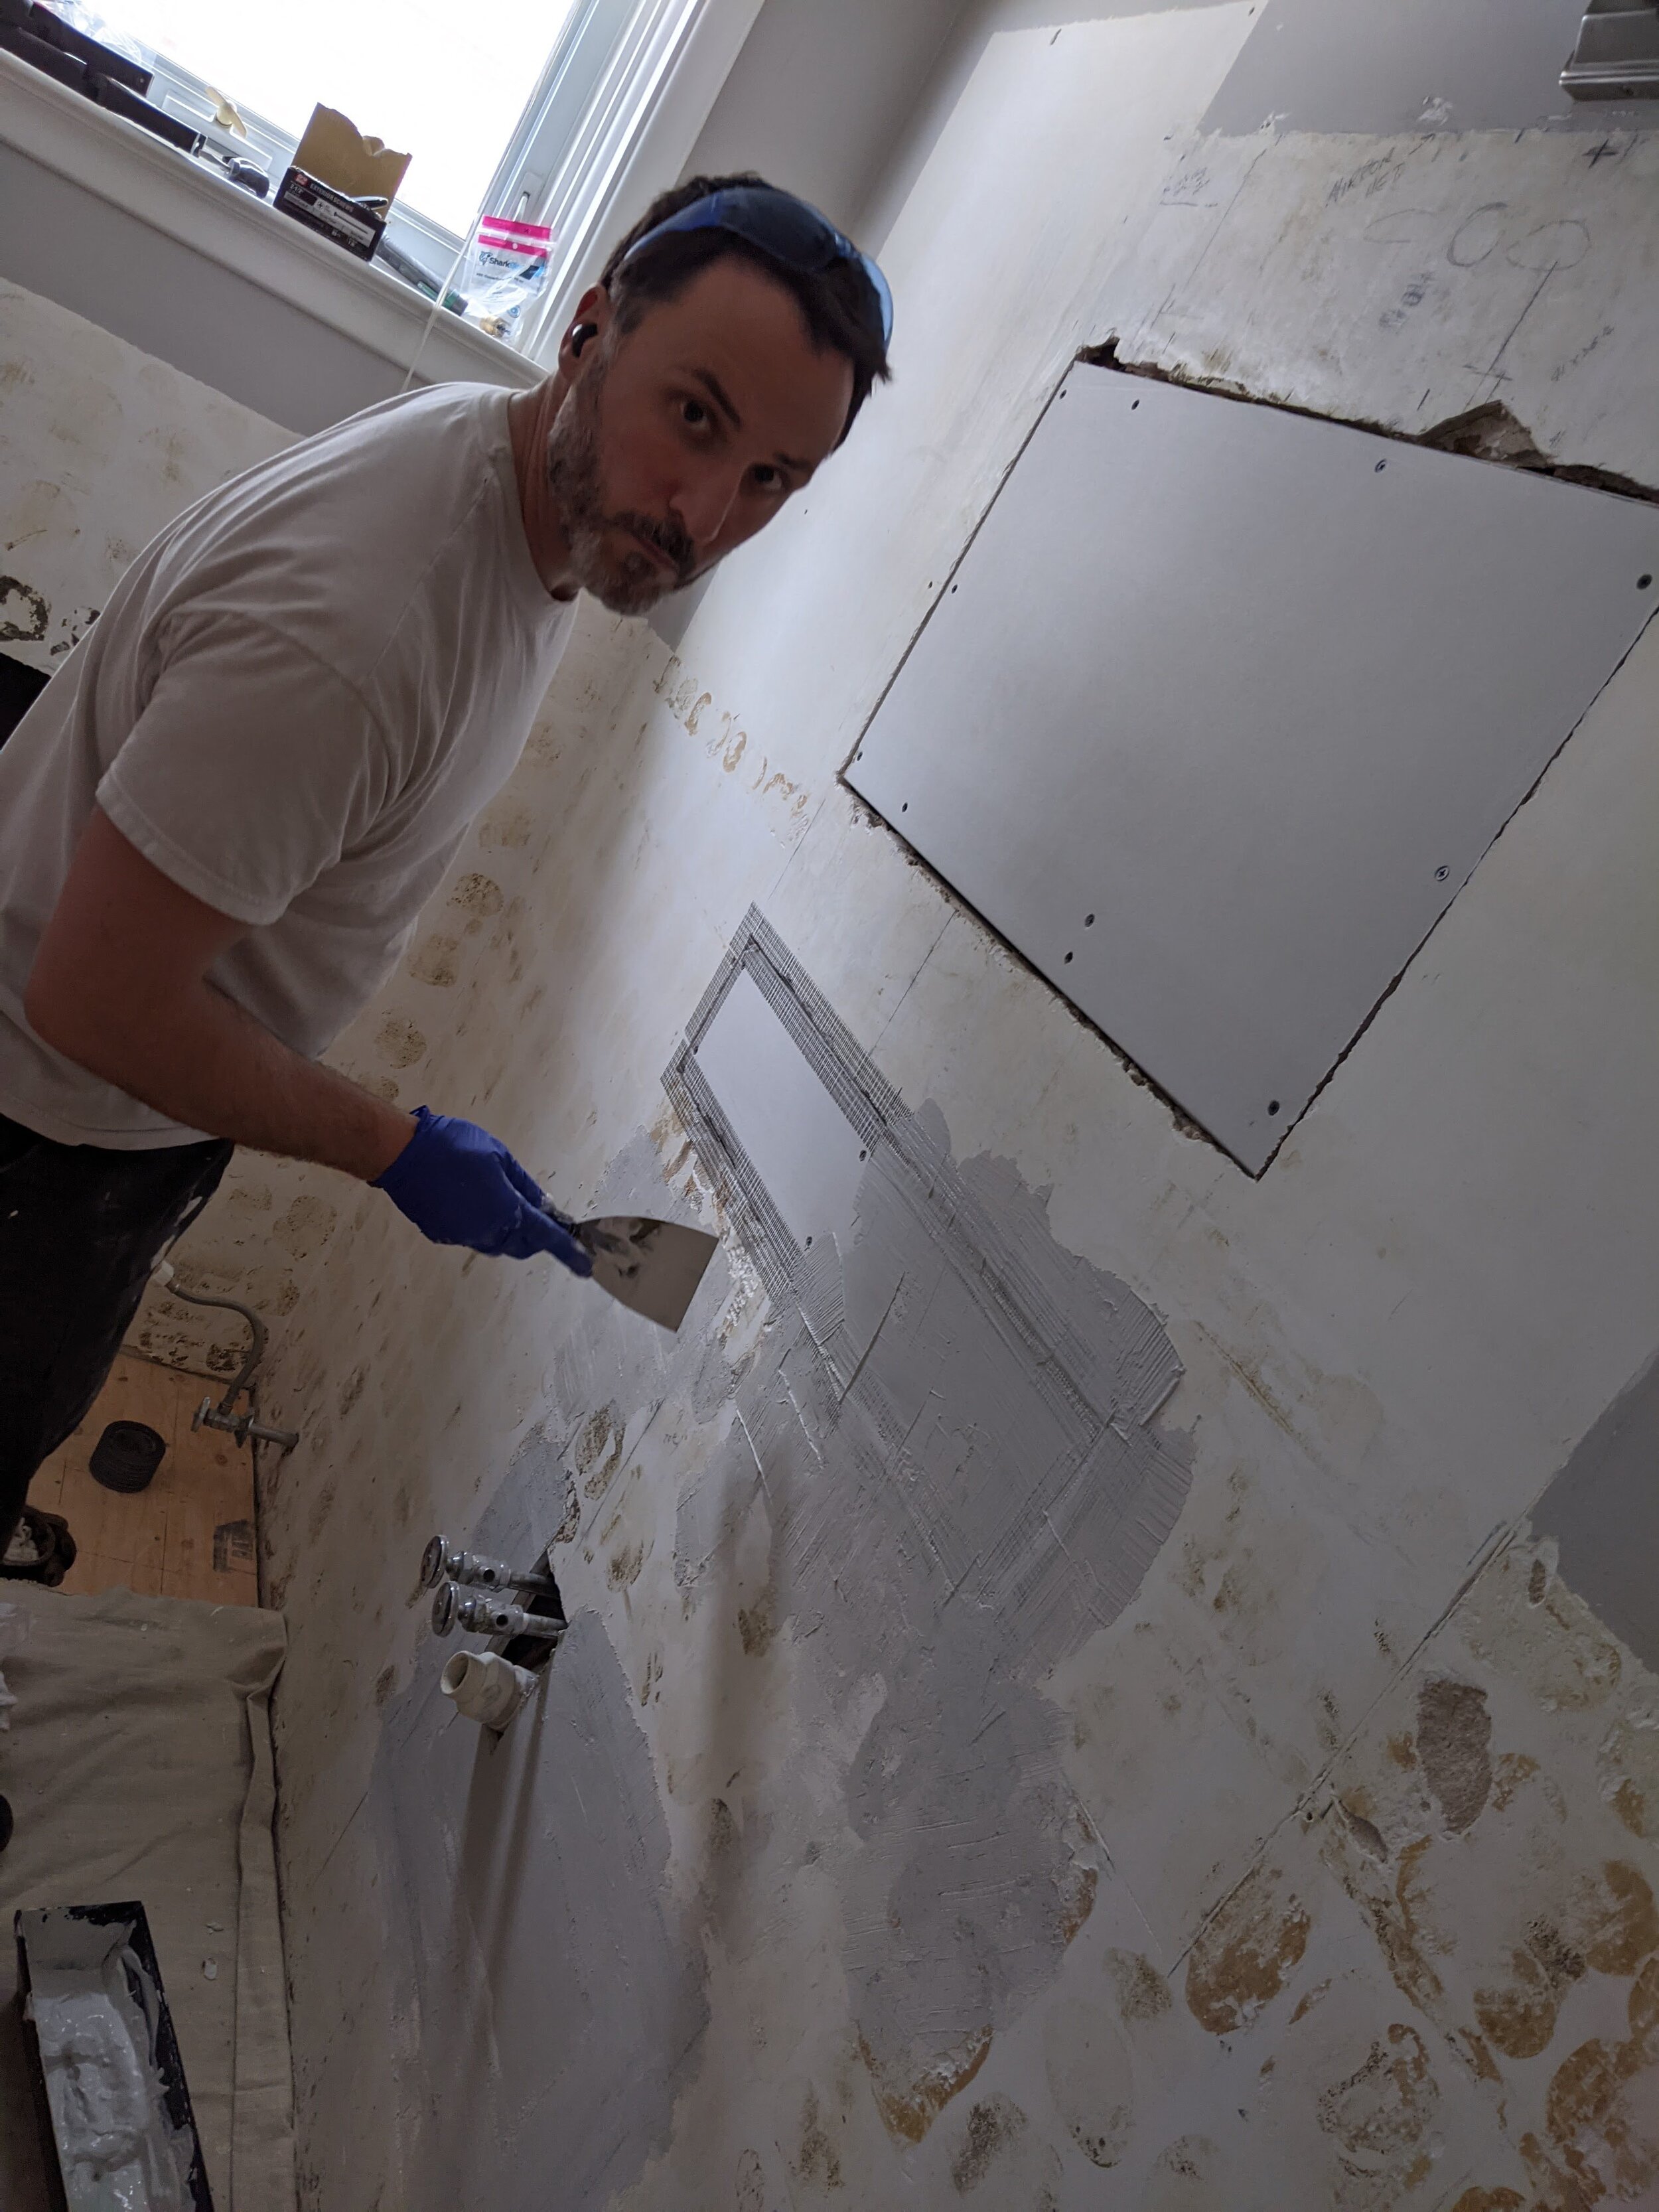
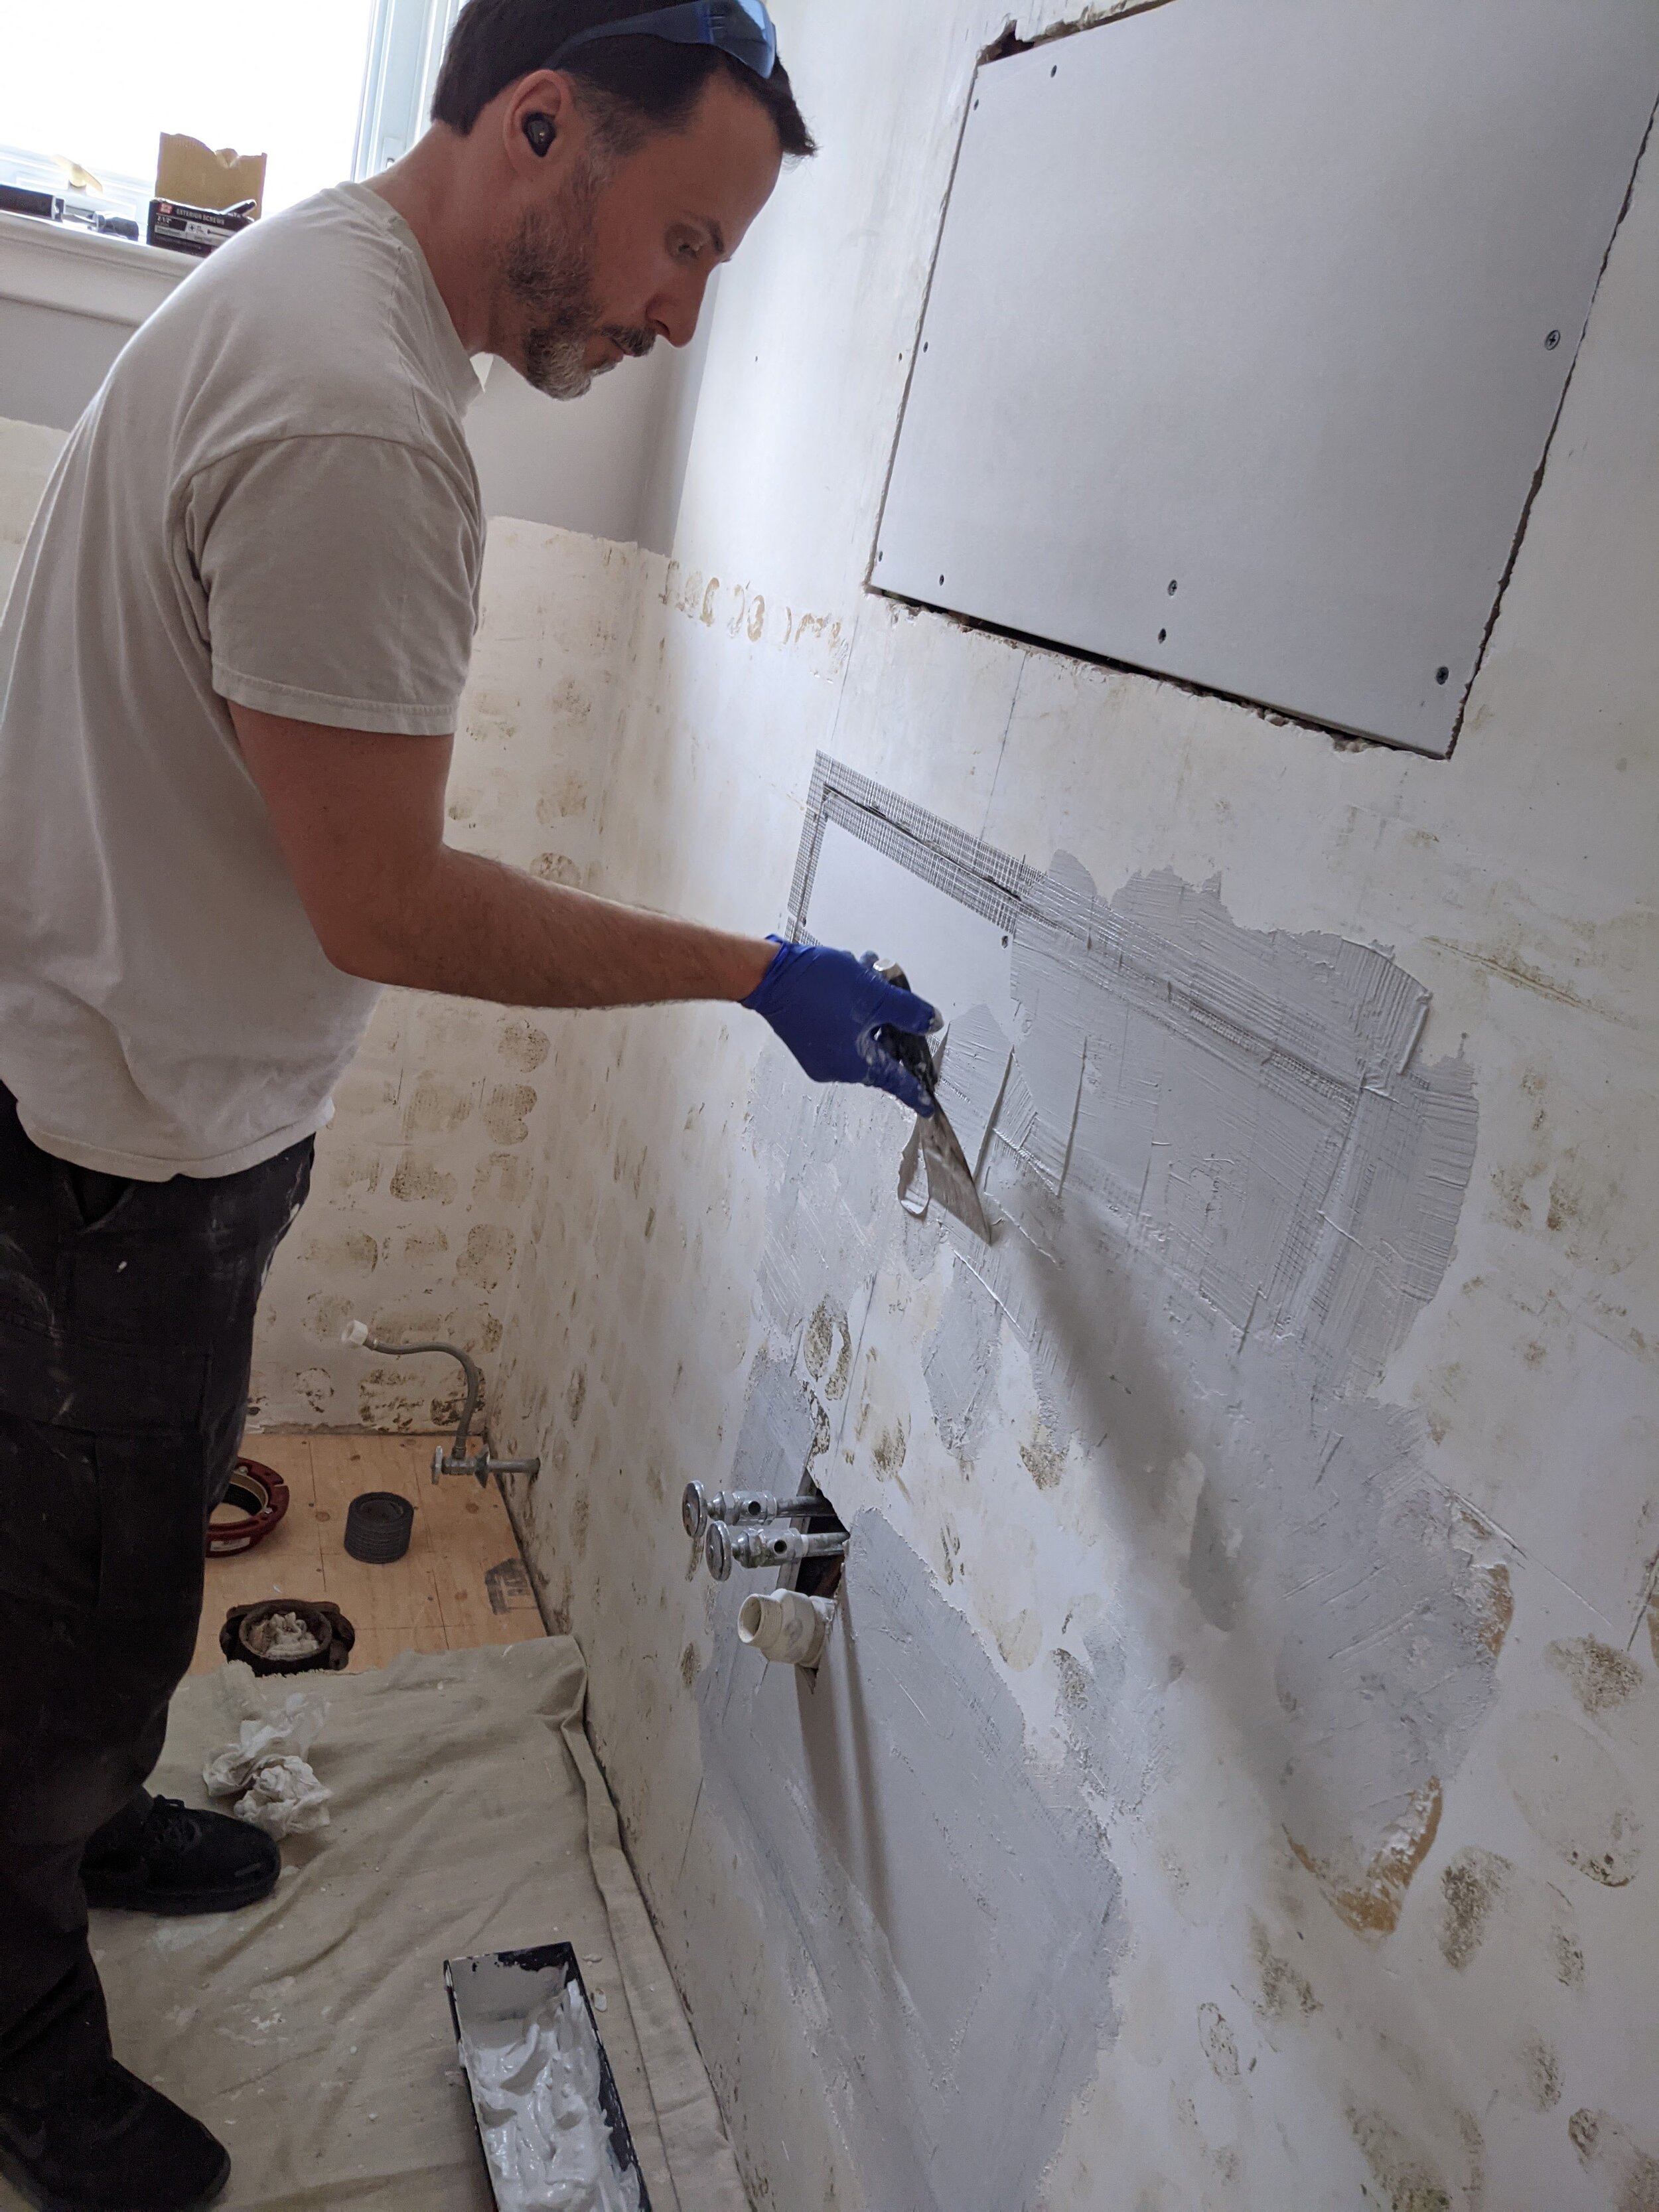
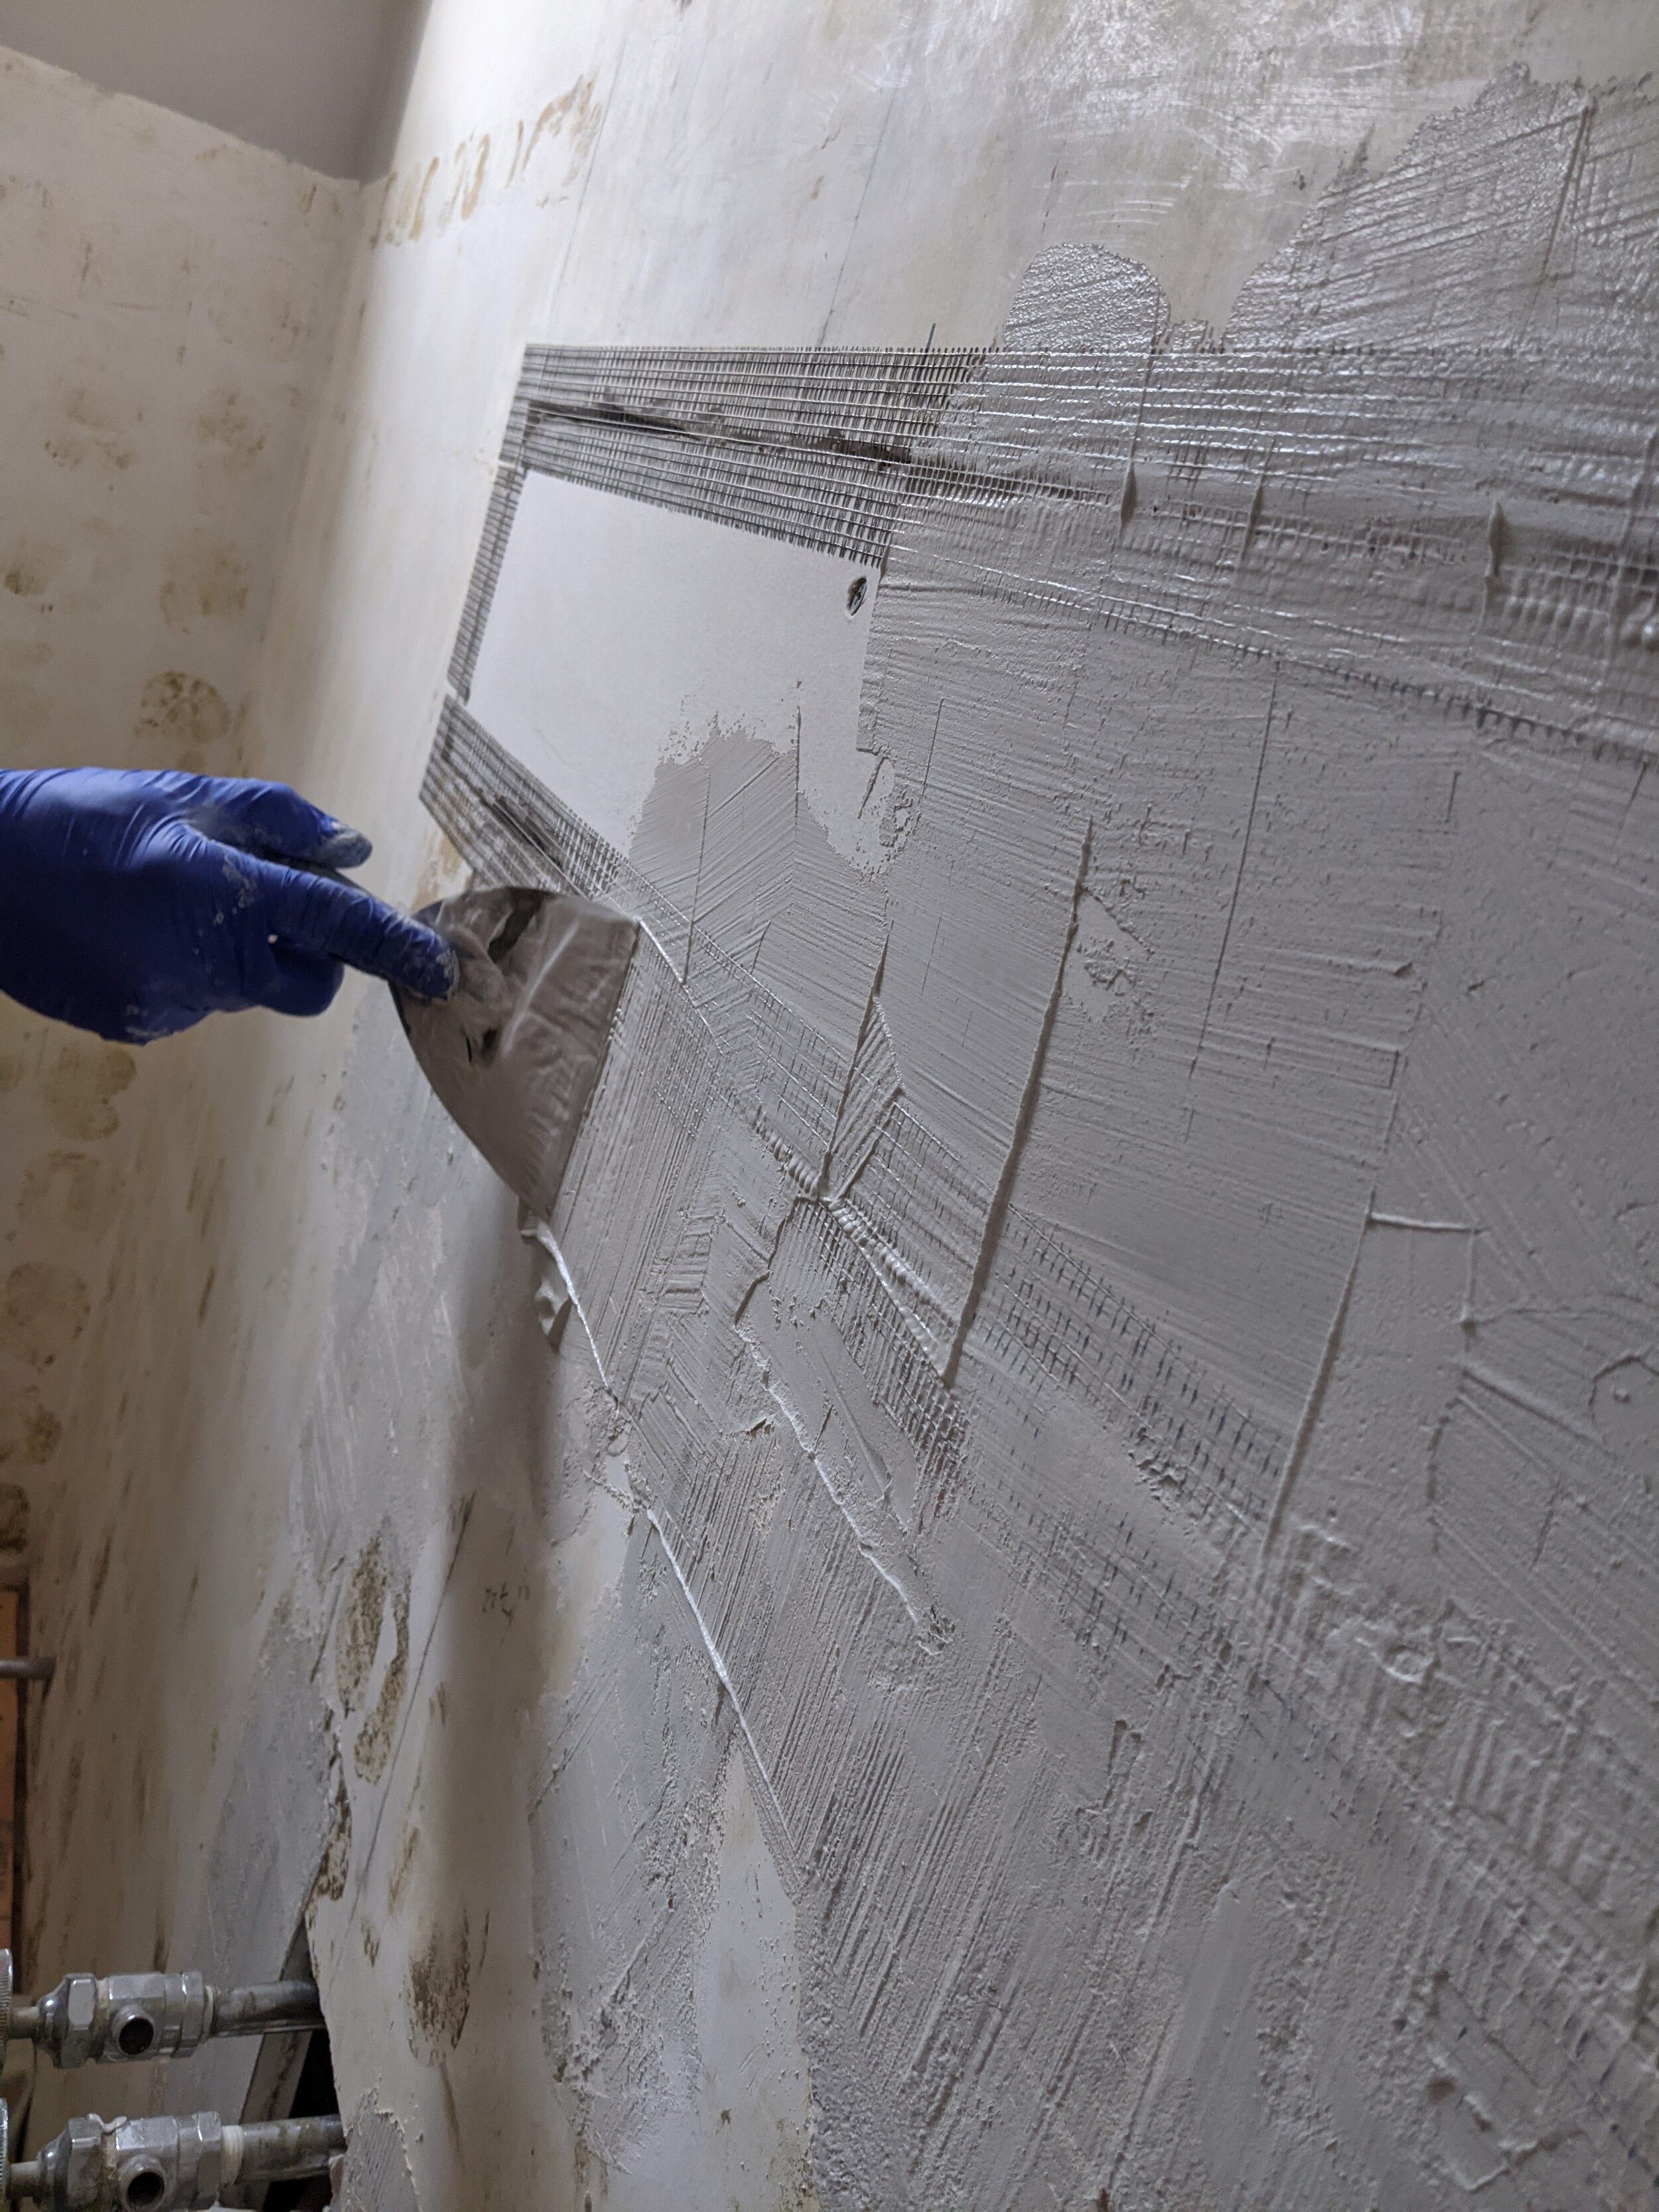
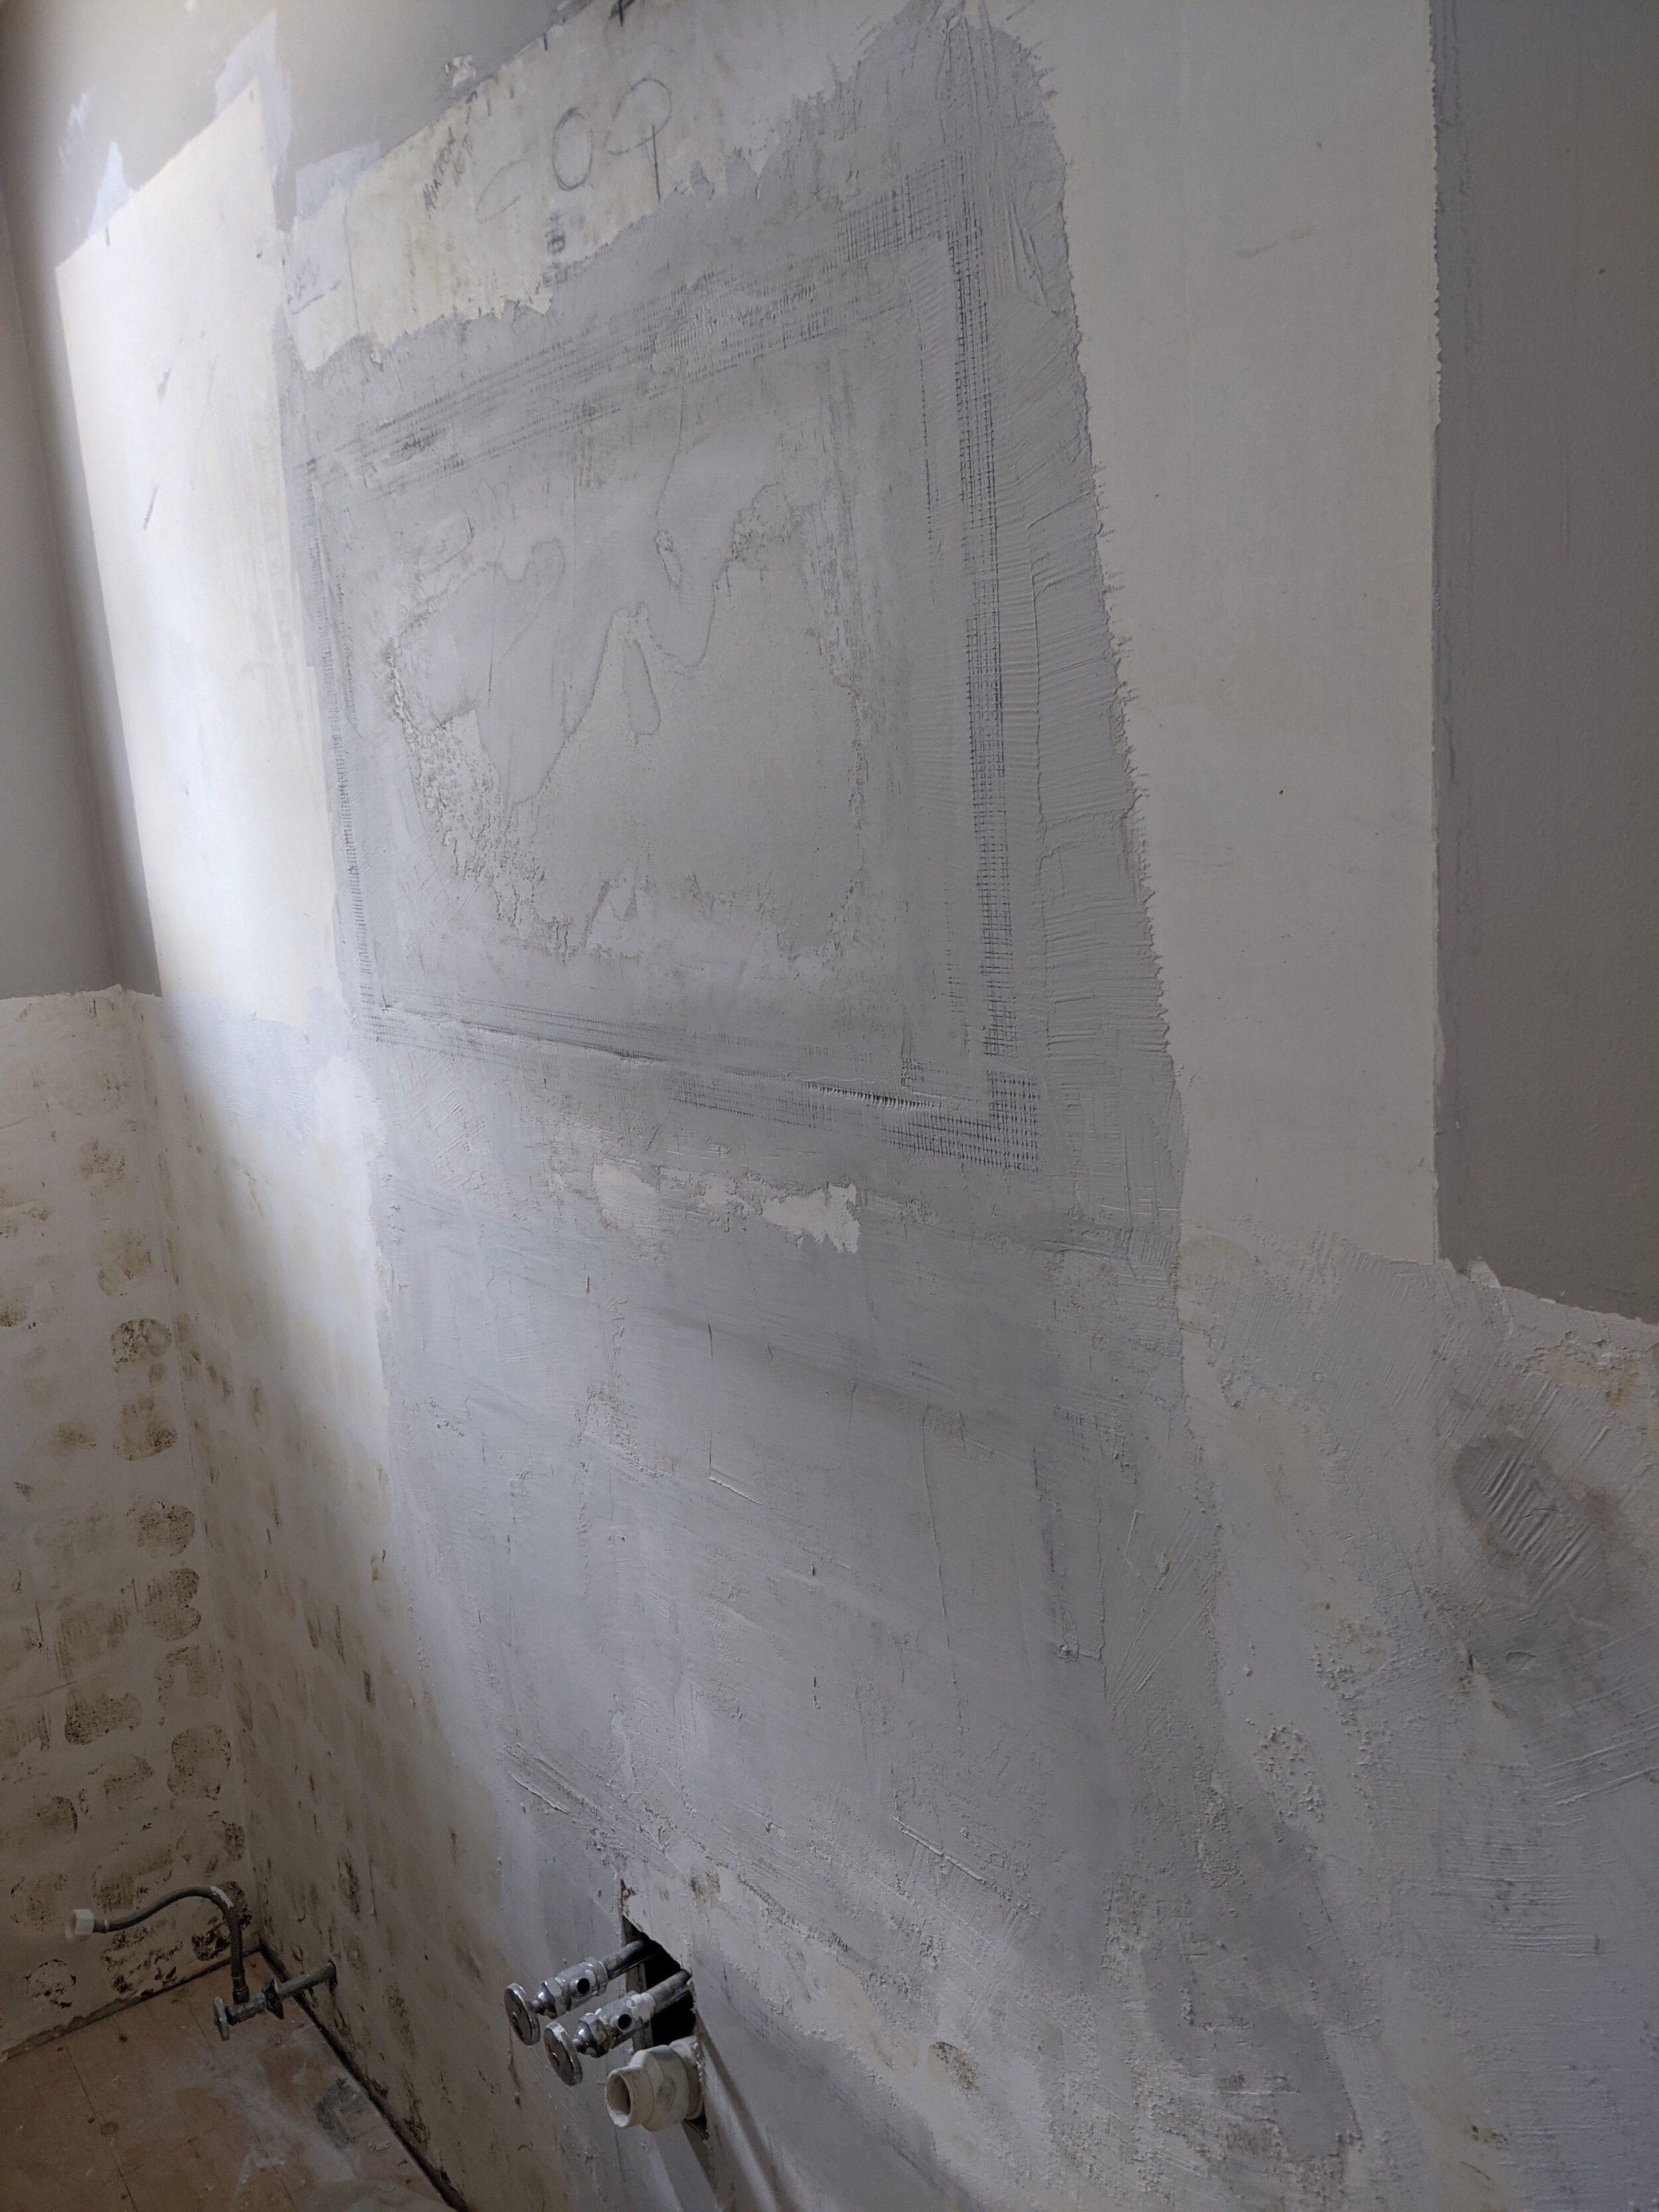
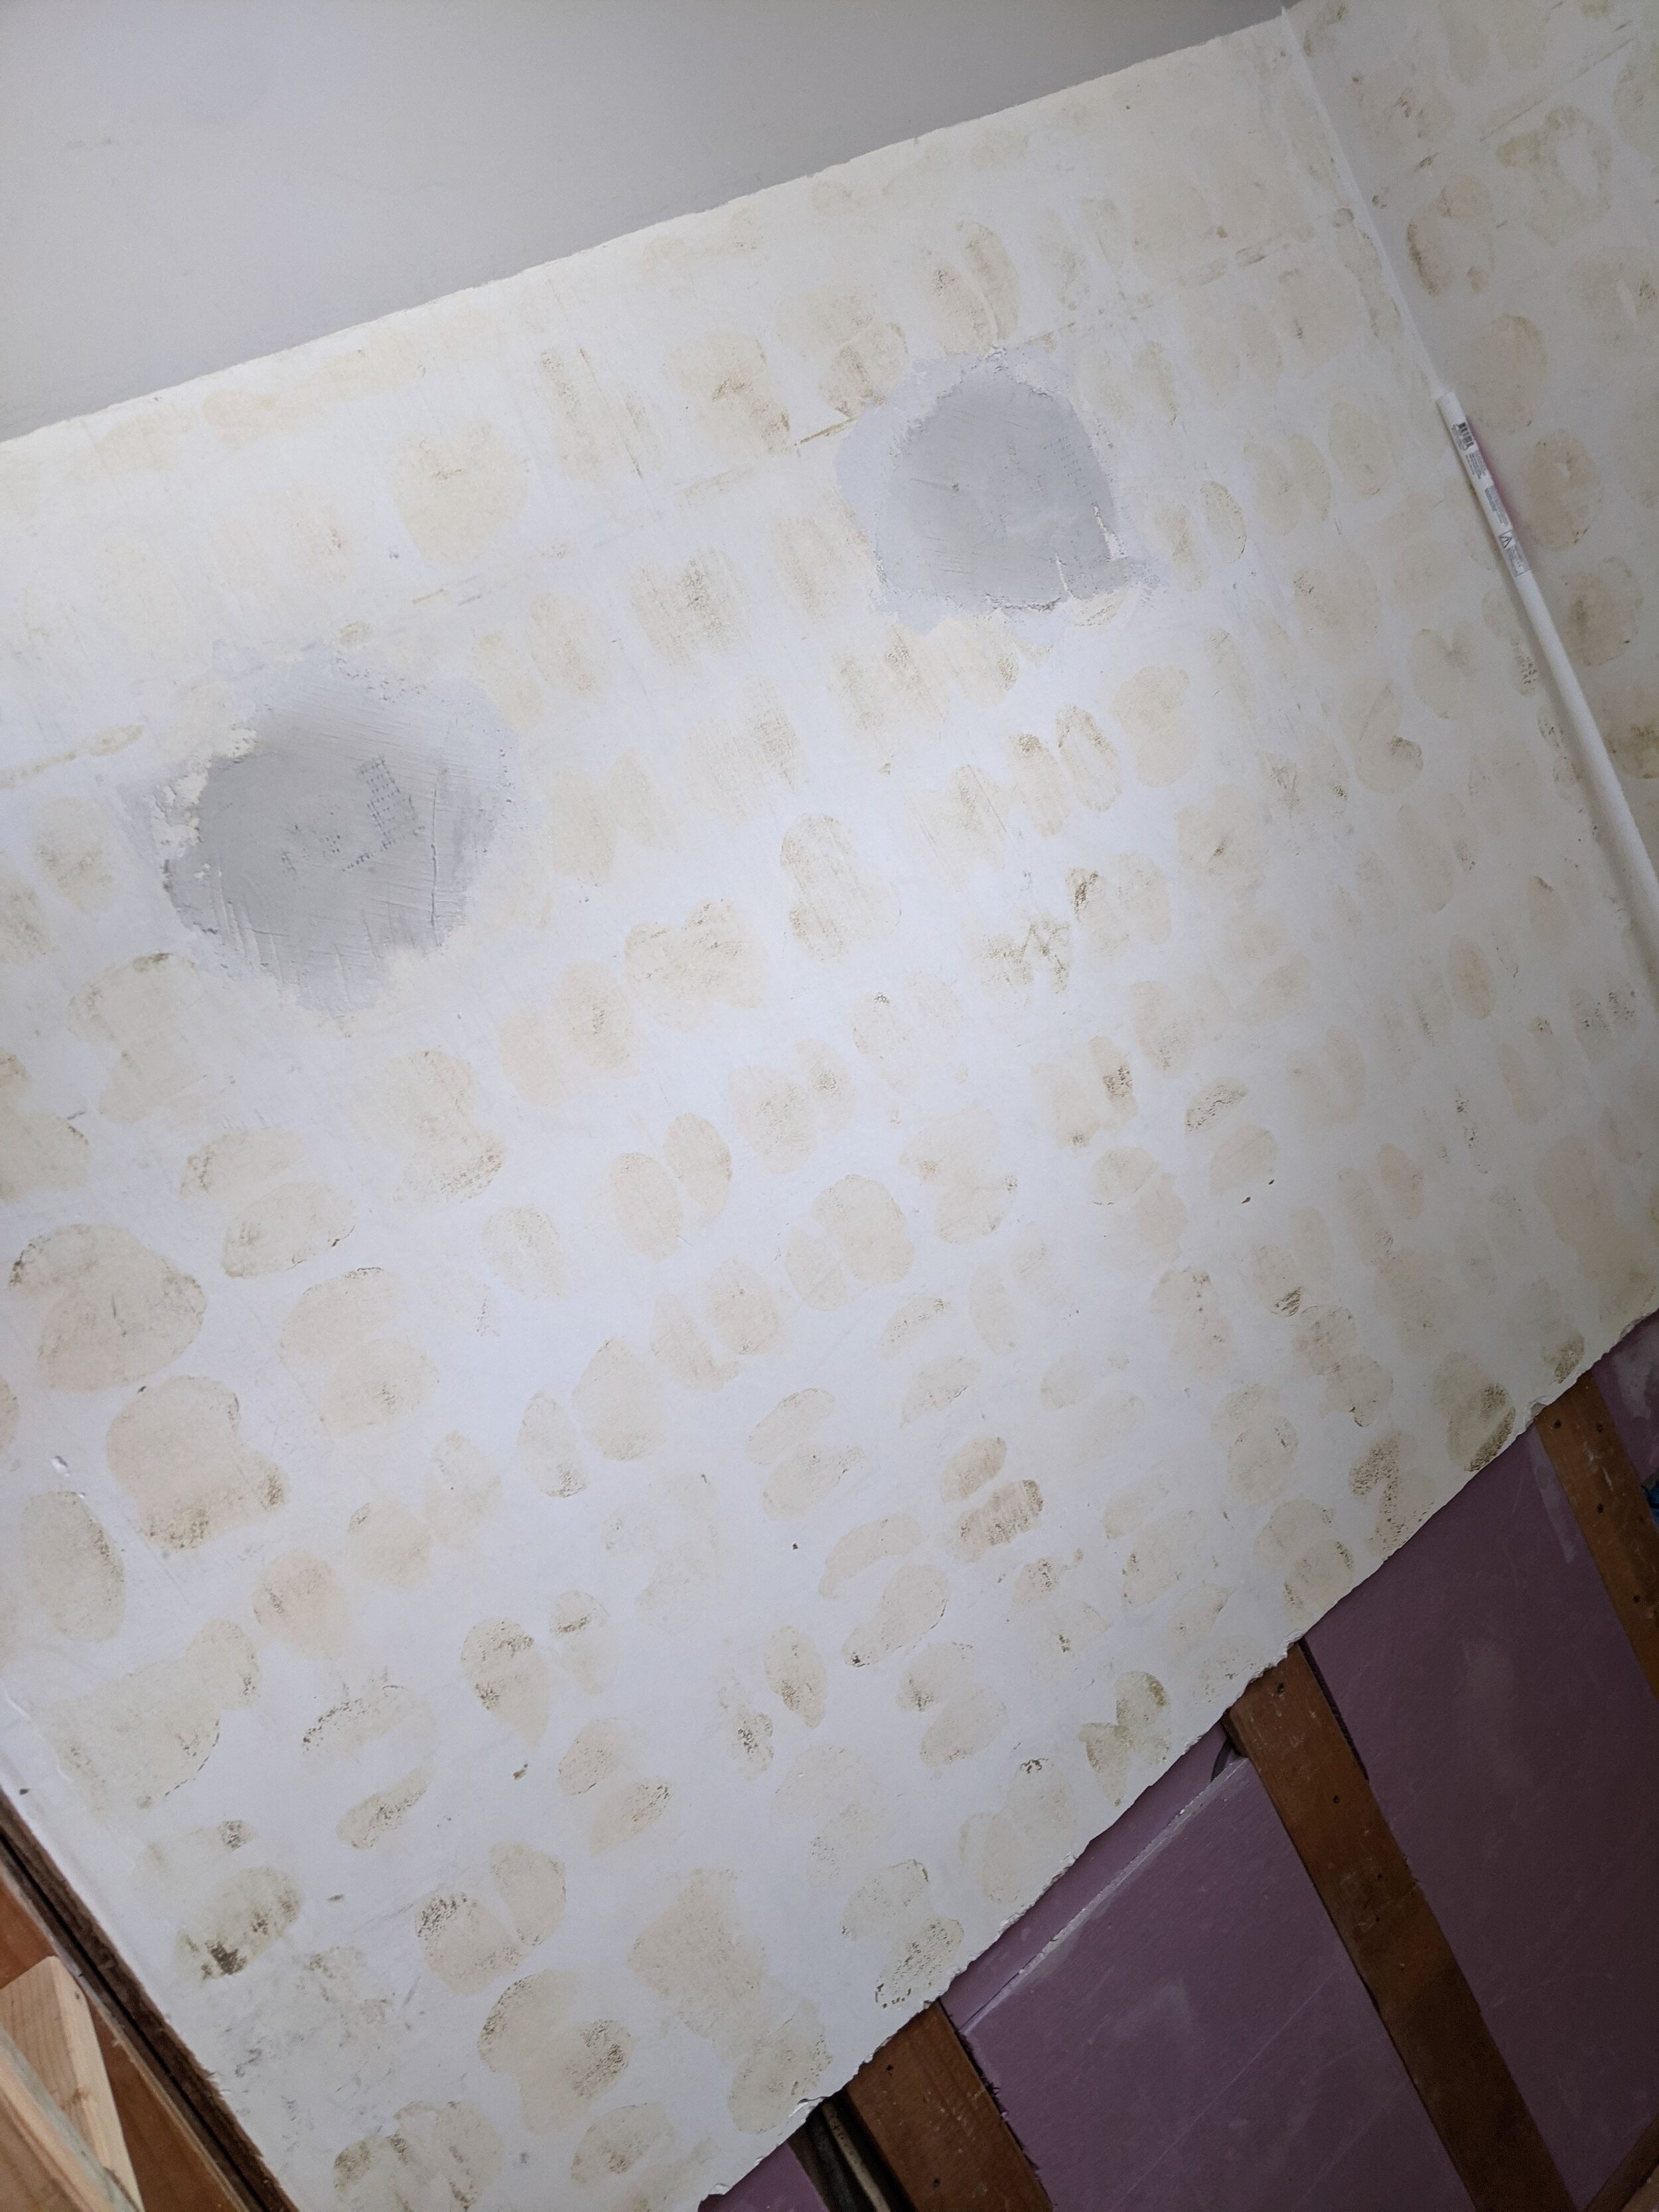
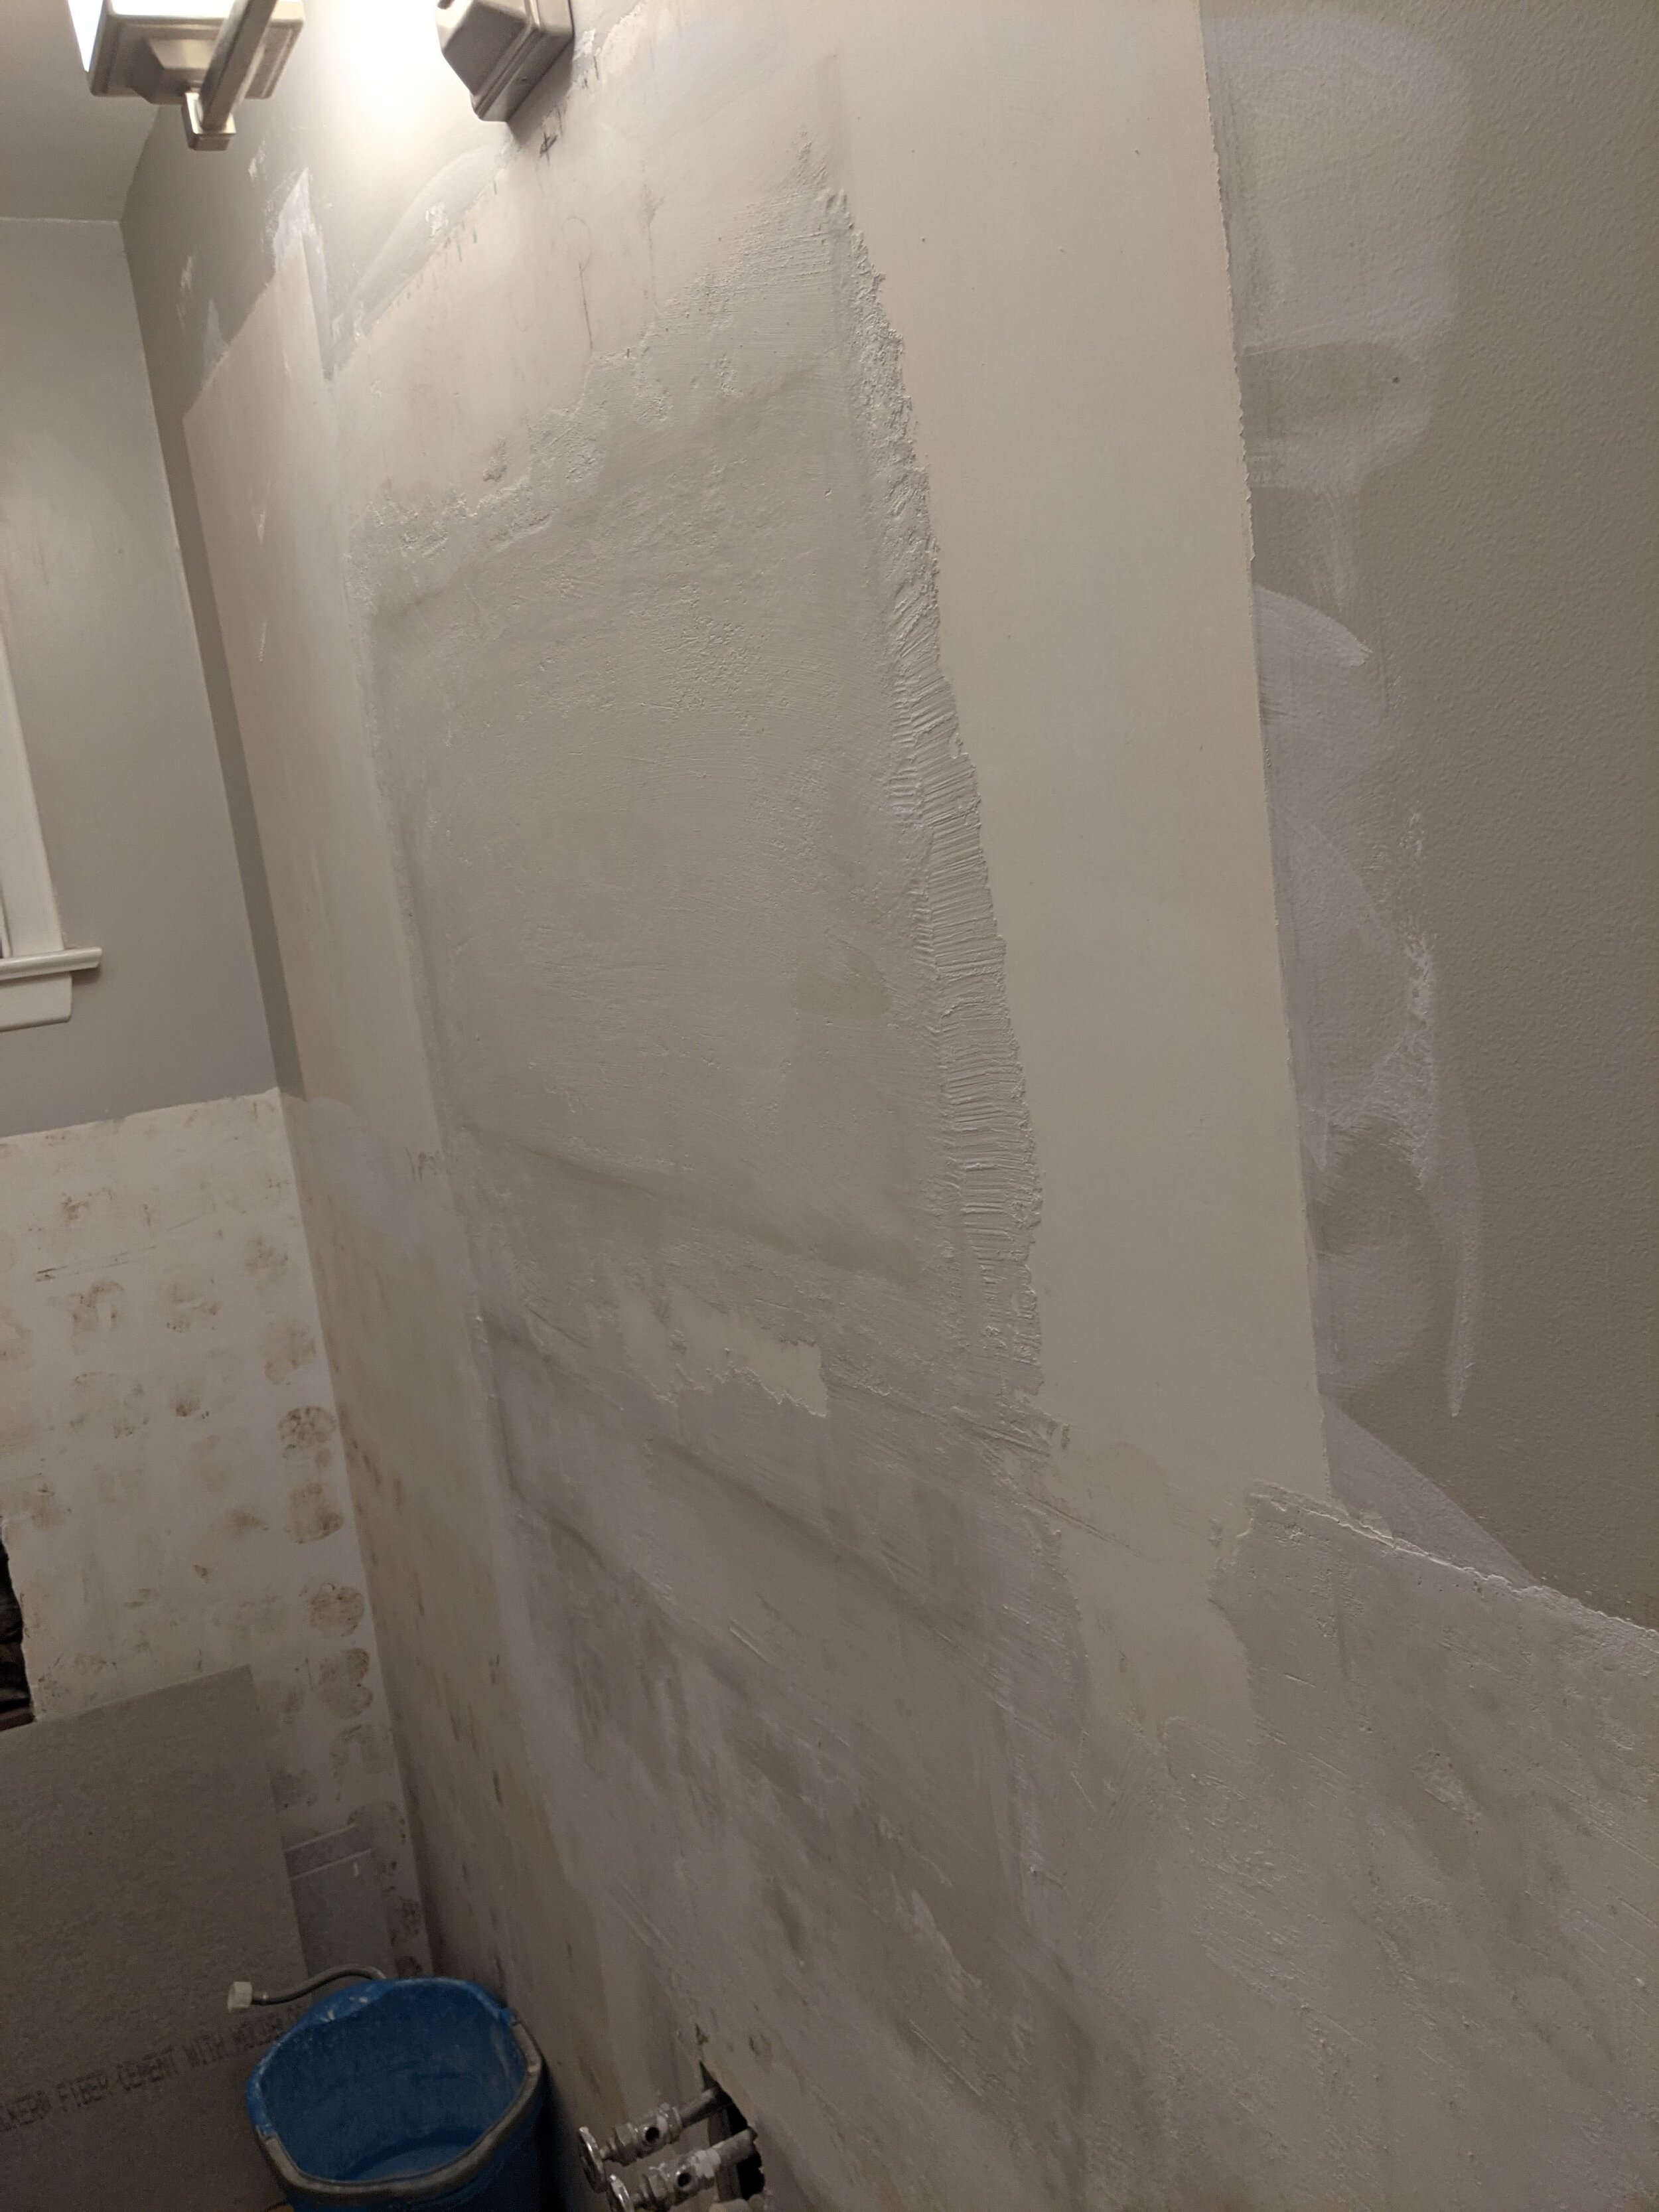
Plaster patches are not very fun. There are a lot of steps to get it right. We’ve all seen lumpy walls… terrible. Paint can’t hide that. So it’s mud and sand and mud and sand and mud and sand and mud and sand and mud and sand and then you repeat…

Stay tuned next time for the exciting start of work on the shower!!


Click Here to View the Full Blog Archive.      


how to demo that bathroom you're about to DIY

Metallic. Naked. Baby Angels. Oh my goodness. You never know what you are going to discover with home demolition — we’re found mouse graveyards galore — but this wallpaper takes the cake. The funniest part is how this is ALMOST so hideous that it’s really cute again. In fact, I posted it on my personal FB wall and a bunch of friends said they loved it.

We did a quick mini-reno of this bathroom when we bought the house and took down metallic flowered wallpaper from the exposed walls, but behind the mirror was this glorious previous iteration:

I asked my husband (at the end of the project) if the previous homeowner was as excited about her angel butts as I am about my trendy blues and whites, ad he said yes. So future generations can think I have hilarious taste, congrats. You’ll probably knock down my blue and white subway tiles to hang up olive green hyena footprints or something.

Whatever. I hope you love it, future homeowner.

Our process was:

  • Rent a dumpster

  • Put down floor protection (really cannot emphasize how critical this is — tiles get stuck into your shoes and will DESTROY your flooring)

  • Knock off the tiles and carry them to the dumpster

  • Still knocking off tiles

  • Still carrying more tiles

  • How are we not done yet?

  • Why are there so many tiles?

  • Take down the mirror

  • Peel off the remaining (hilarious) wallpaper

  • Discover that the mirror was hung over large, unfilled holes in the wall from an old medicine cabinet and soap dishes/toothbrush holders

  • Remove the vanity

  • Remove the tub and plumbing

  • Pull up the flooring

  • Remove the toilet

Step One: Prep

Protect. Your. Floor. if you’re carrying demo-ed materials through your house. It’s the best $30 you’ll spend. We used sticky plastic down the steps and thick parchment paper stuck on the floor with painter’s tape. Make sure your 8yo draws a winky smiley face on it to bring you good luck. This is a critical step.

Step Two: Kill the Old Tile

Demolition begins with knocking down tiles one at a time with a hammer and chisel, then moves on to the removal of furniture and appliances, then the ripping up of the floor. Do it slowly so you don’t damage anything (especially plumbing). If the wall is in good shape, avoid making holes that you’ll have to repair later.

Step Three: Remove the Large Items

Disconnect the plumbing and pull out the vanity. Discover more tiles. Cry briefly.

Step Four: Remove the Tub

After disconnecting the plumbing, we solicited neighbor help and lifted out this behemoth. The house has three full baths with a tub upstairs, so we didn’t need a tub here. We are converting to a shower stall. Unfortunately, the tub was chipping so it wasn’t really salvageable.

Step Five: Remove the Toilet

Again, disconnect the plumbing and remove the toilet. PLUG THE HOLE, PLUG THE HOLE, PLUG THE HOLE. That smell. Stick a towel in that the moment you pull it. I did not take a picture of this. (You’re welcome.)

Mini Step

Our ceiling was ok, so we added the guts for an awesome light and vent fan (done at this stage because it would help clear out smells from our work). We also removed the wall heater at this point. More on the heater later.

 
PXL_20210124_210310869.MP.jpg

Step Six: Scrape the gunk off the wall until your fingers cramp into giant clams forever

Ok, maybe not forever, but we did include the kids in this process since it was so labor-intensive. Surface prep is critical. You want the tiles to adhere effectively and you want the paint to look smooth. Our oldest is 11 years old and a really dedicated worker and likes spending time with Hubs. Notice the ear protection, and of course his eyes are covered by his glasses. Hubs’ are on his head. (D’oh.)


Step Seven: Pull up the Flooring

We’re almost to a blank canvas! We knew this floor was lightly glued linoleum, because we’d laid it ourselves in a stopgap mini-renovation a few years before. But the top layer of subfloor had to come out, too, to ensure it was a flat and non-squeaky surface to tile.

This was a HUGE part of the process. It took a really long time, but this is one of the boring, unsexy steps that can take your bathroom from ‘oh you upgraded your bathroom’ to ‘I’m sorry, you did this yoUrSelVEs?’ Surface prep, can’t stress it enough. You can’t just put lipstick on a pig. All the tutorials that say ‘paint your XYZ with zero prep’ are just fast ways to hate what you’ve done a month later. Do it right or pay the price.

Demo done!

One the floor is out, we’re officially at the end of demolition in my book, because things (mostly) stopped LEAVING the room and started coming INTO the room.

Next step — see where we started with the actual construction.


Click Here to View the Full Blog Archive.      


how to renovate that bathroom yourself and not hate it afterwards

You might already know we documented the step-by-step renovation of our upstairs bathroom last year. This spring, we tackled the downstairs bathroom. The pink bathroom. Oye. Very glad to see this gone!

When we bought the house, it had wall-to-wall fuscia carpet in the entire first floor, which included this bathroom. That came out right away, and we replaced it with very cheap, quick linoleum which has remained for about 8 years. We also peeled down patterned wallpaper above chair-rail level to add some solid grey and replaced the light fixture. The dark shower curtain also helped tone down the color. A bit.

Here’s a good overview of the before issues:

  • Pink.

  • Vanity was too big and didn’t match the shelf (different shades of wood).

  • Heater was old and difficult to clean.

  • We have three full bathrooms, including a tub upstairs, so we didn’t need a second bathtub.

  • The kids had pulled off the built-in towel rack so we were using a suction cup one.

  • The toilet was too long and your knees bumped the shower when you sat down, even though it was a smaller, round toilet bowl.

  • Did I mention it was pink?

The first hands-on step (after careful planning) in any construction project, DIY or otherwise, is demolition. Keep reading to see if we can demo a project (the right way) with two elementary schoolers, a toddler, and a dog in the house — plus a flight of stairs to the dumpster.


Click Here to View the Full Blog Archive.