
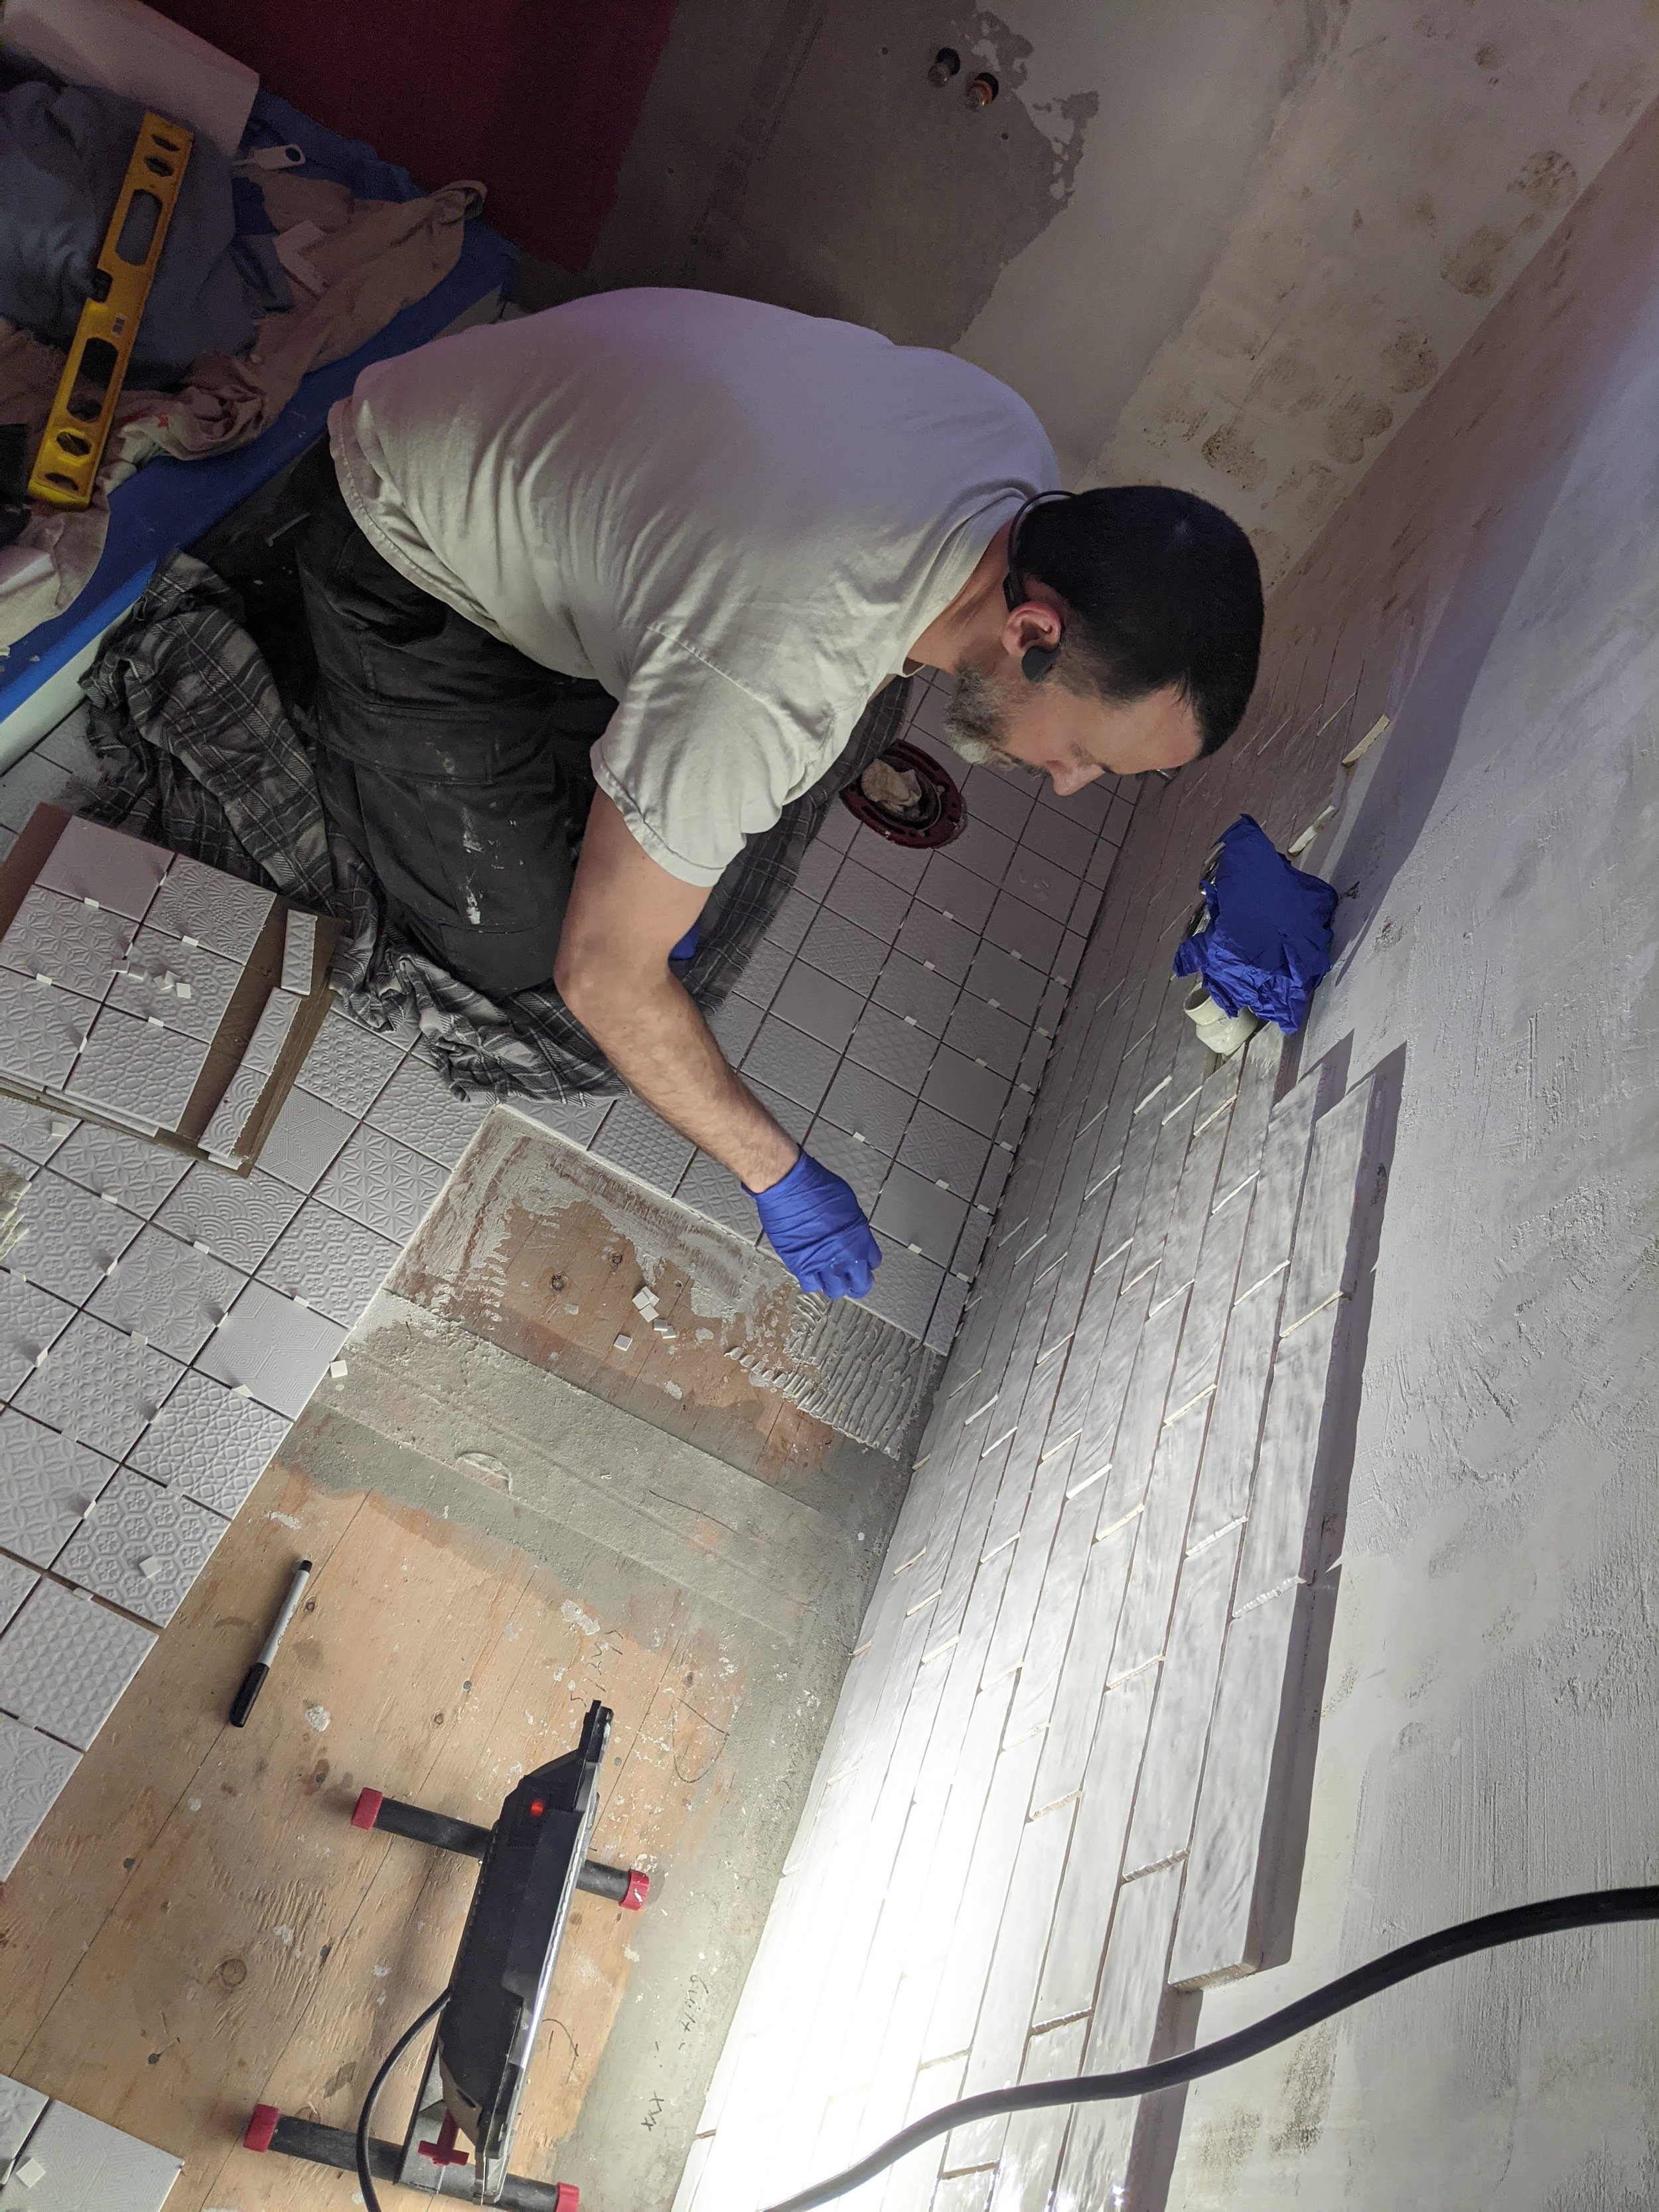
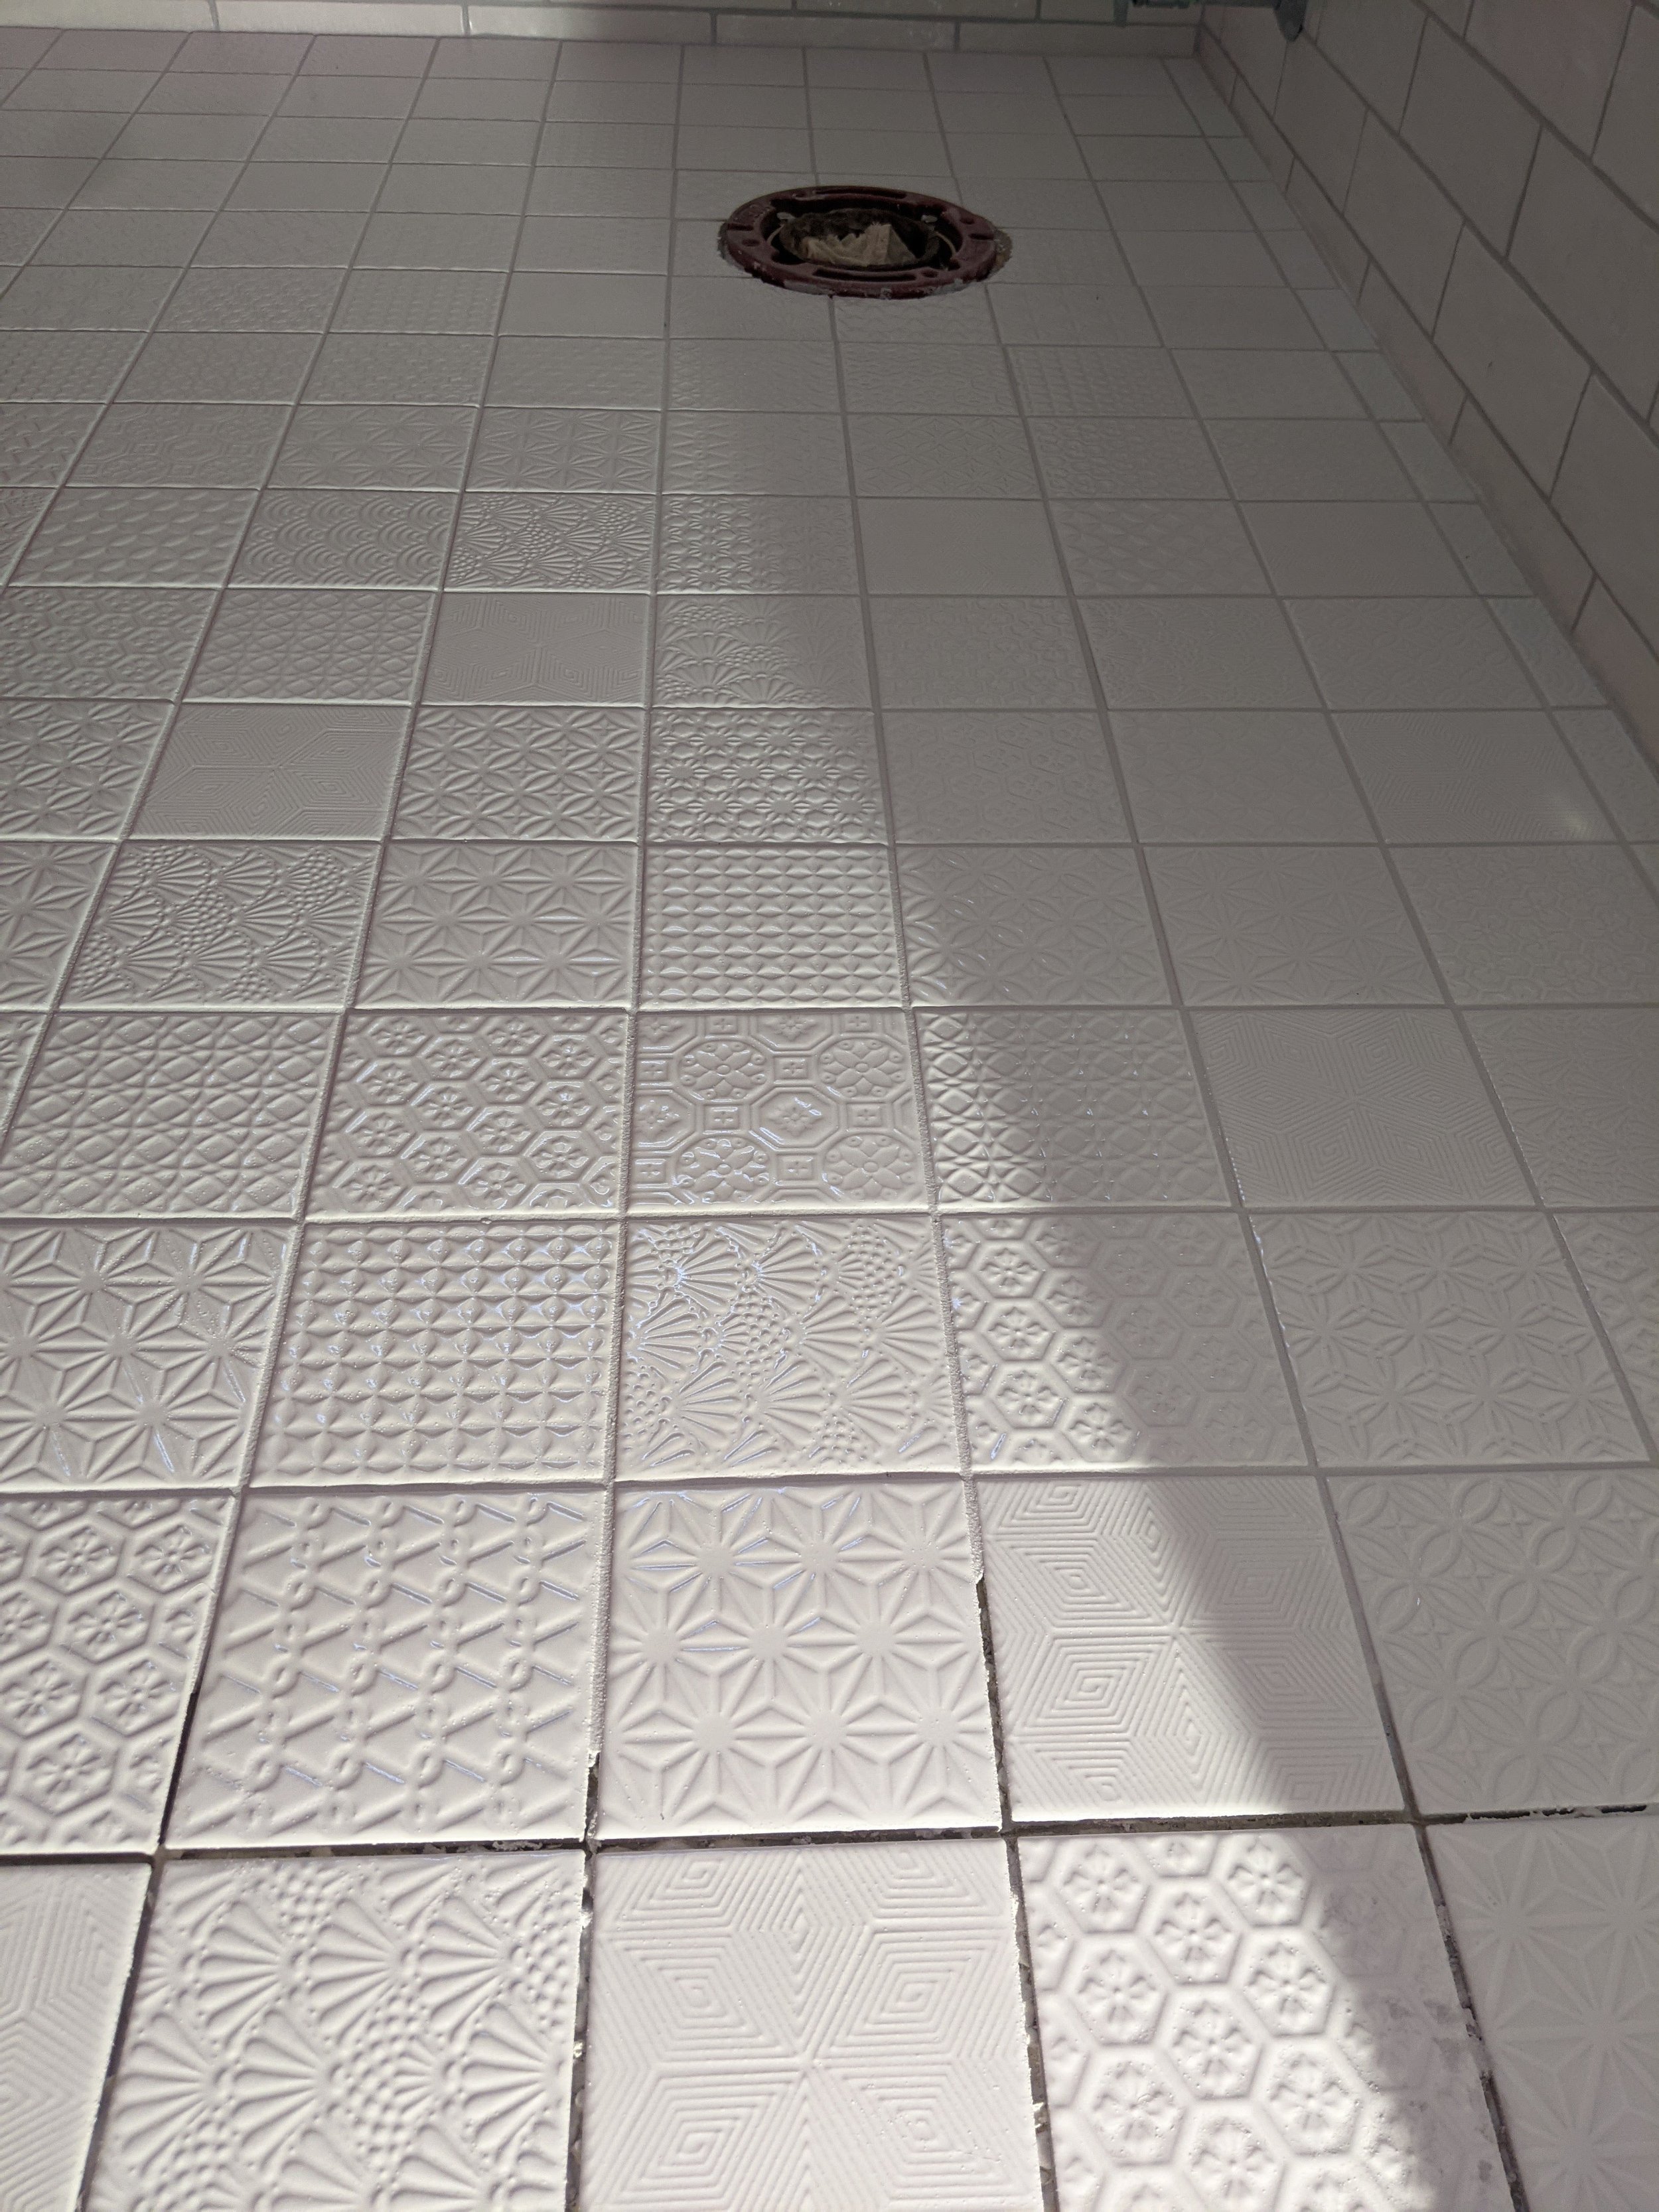
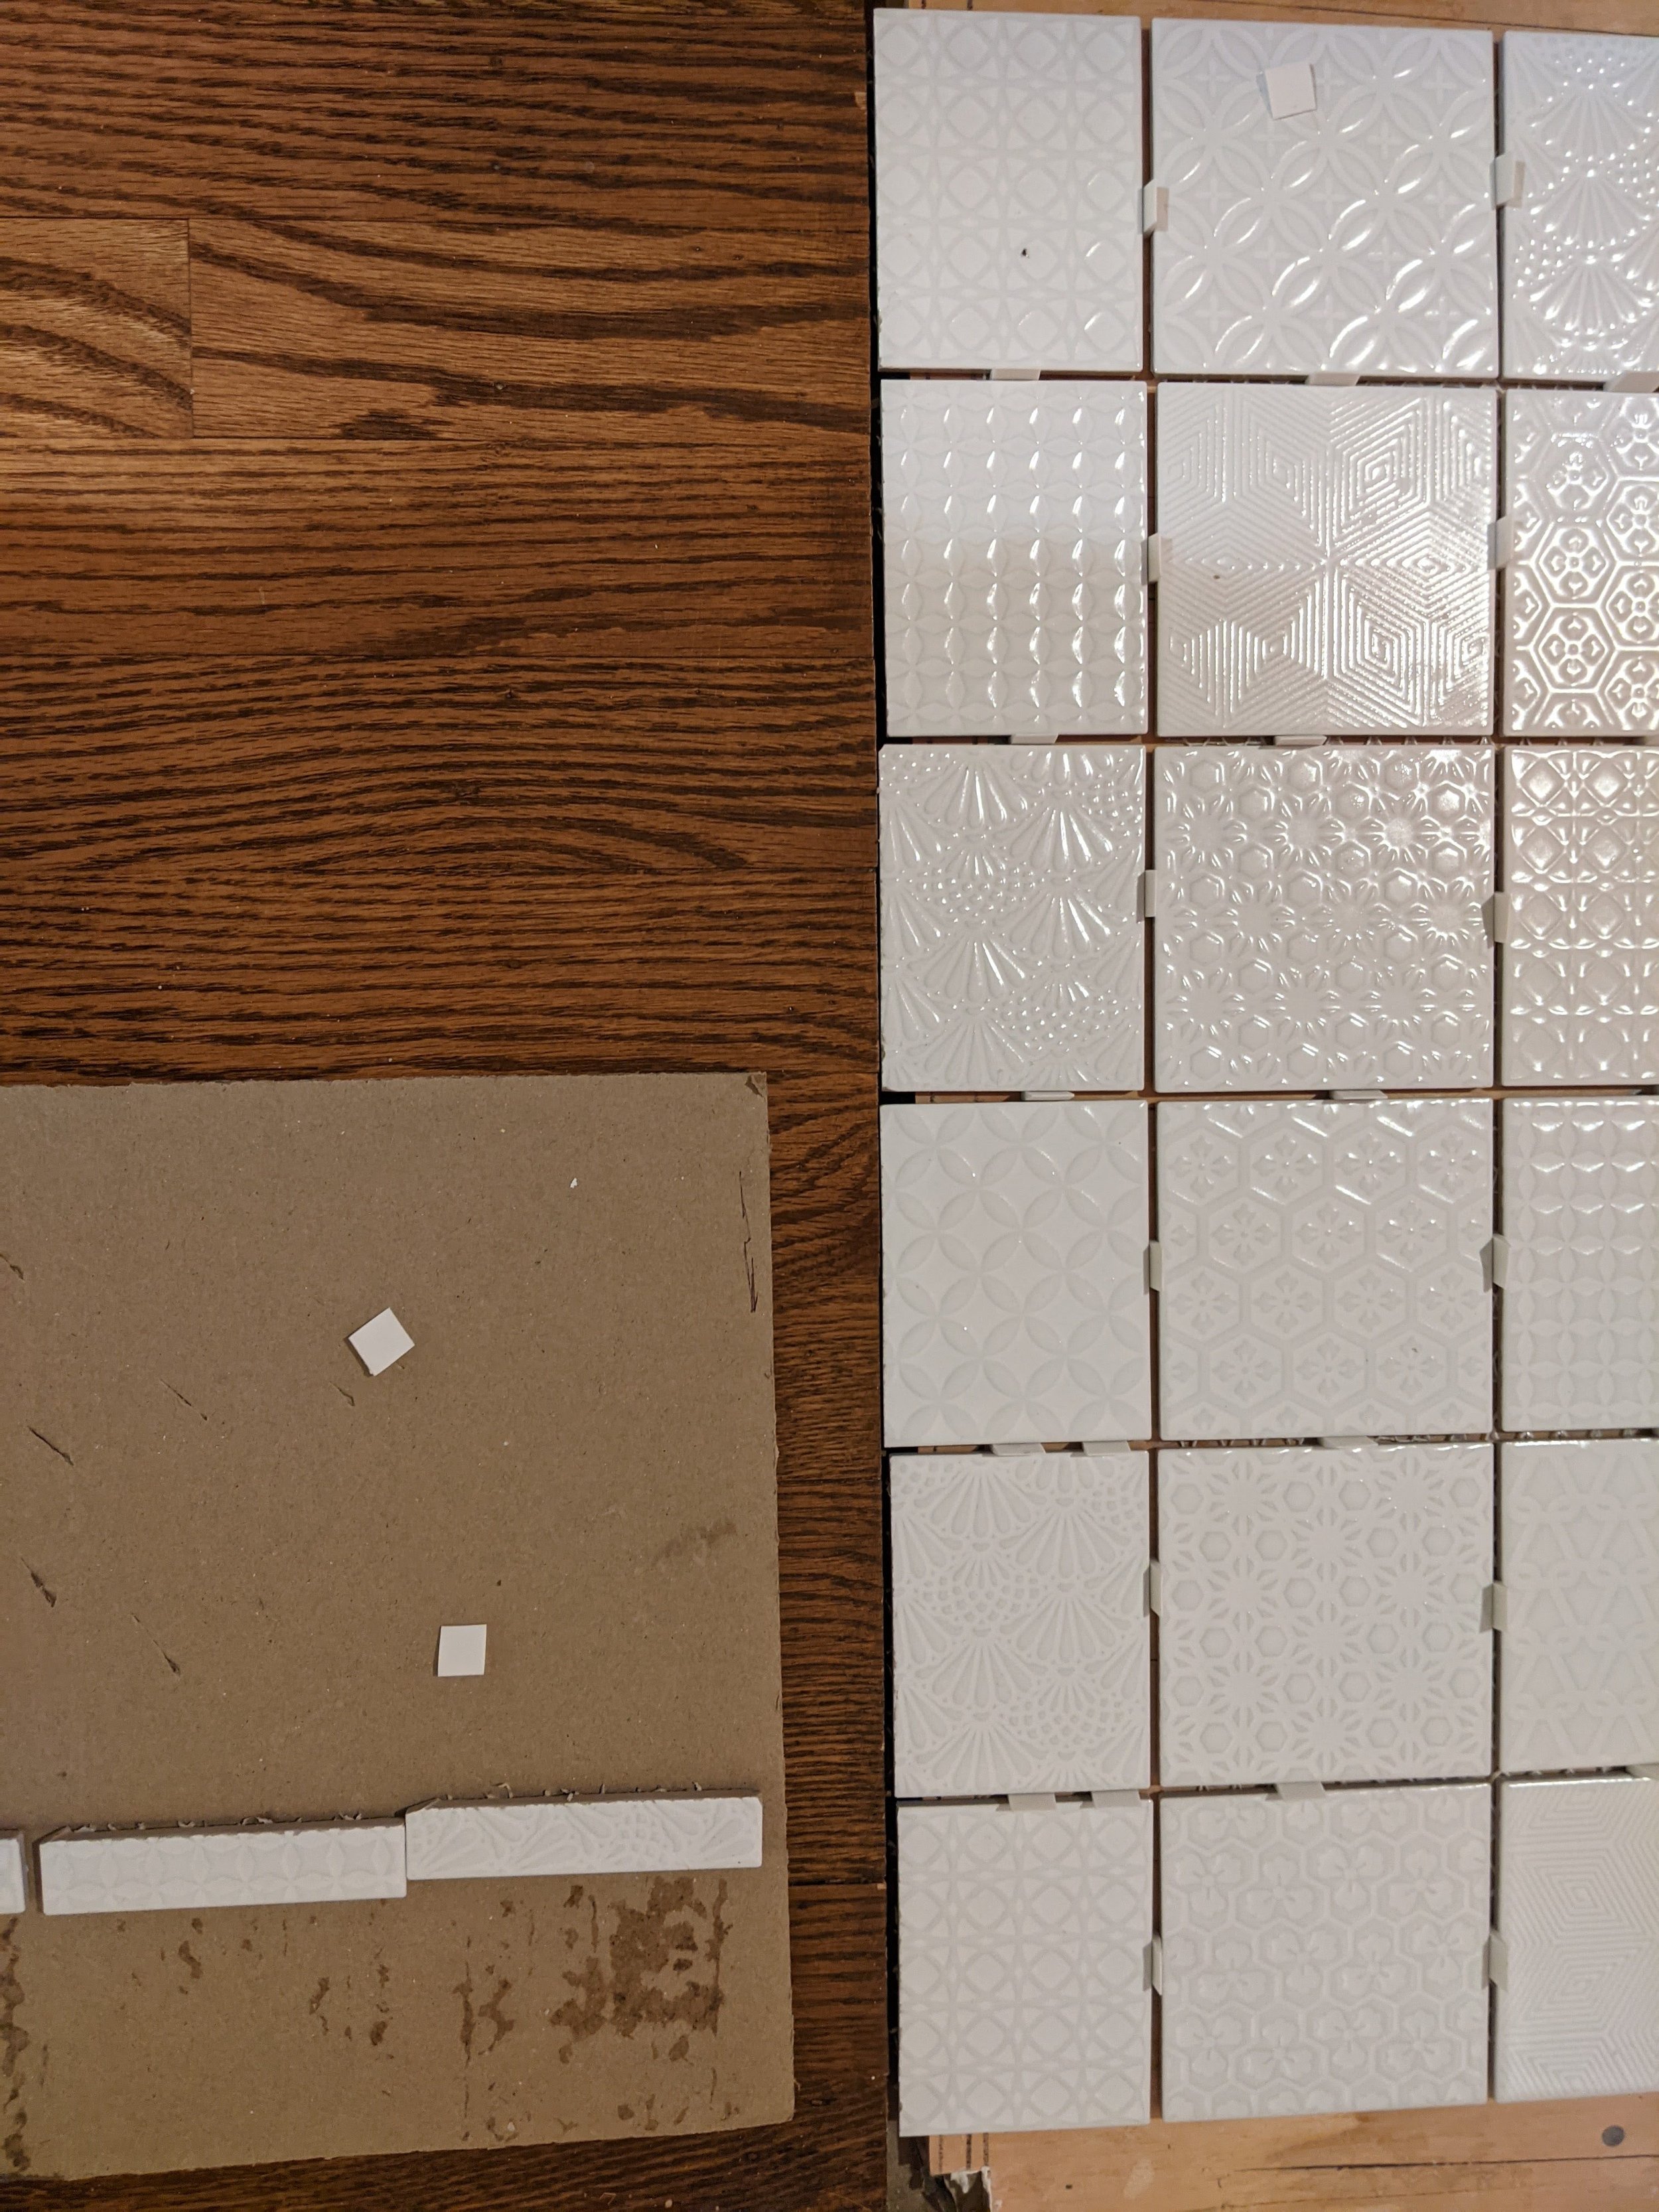
The walls are up! The walls are done! The walls are amazing! And now, thanks to the weird order our shipments came in due to the supply chain disruptions, we have all the floor tiles. We selected heavily textured white 4 x 4 squares that came in 9-square sheets. You’d think this would have made them easier to lay, but truth be told, they weren’t perfect from the manufacturer and we needed to use a ton of tile spacers to get them to lay right. Some of the pre-arranged seams weren’t even (annoying).
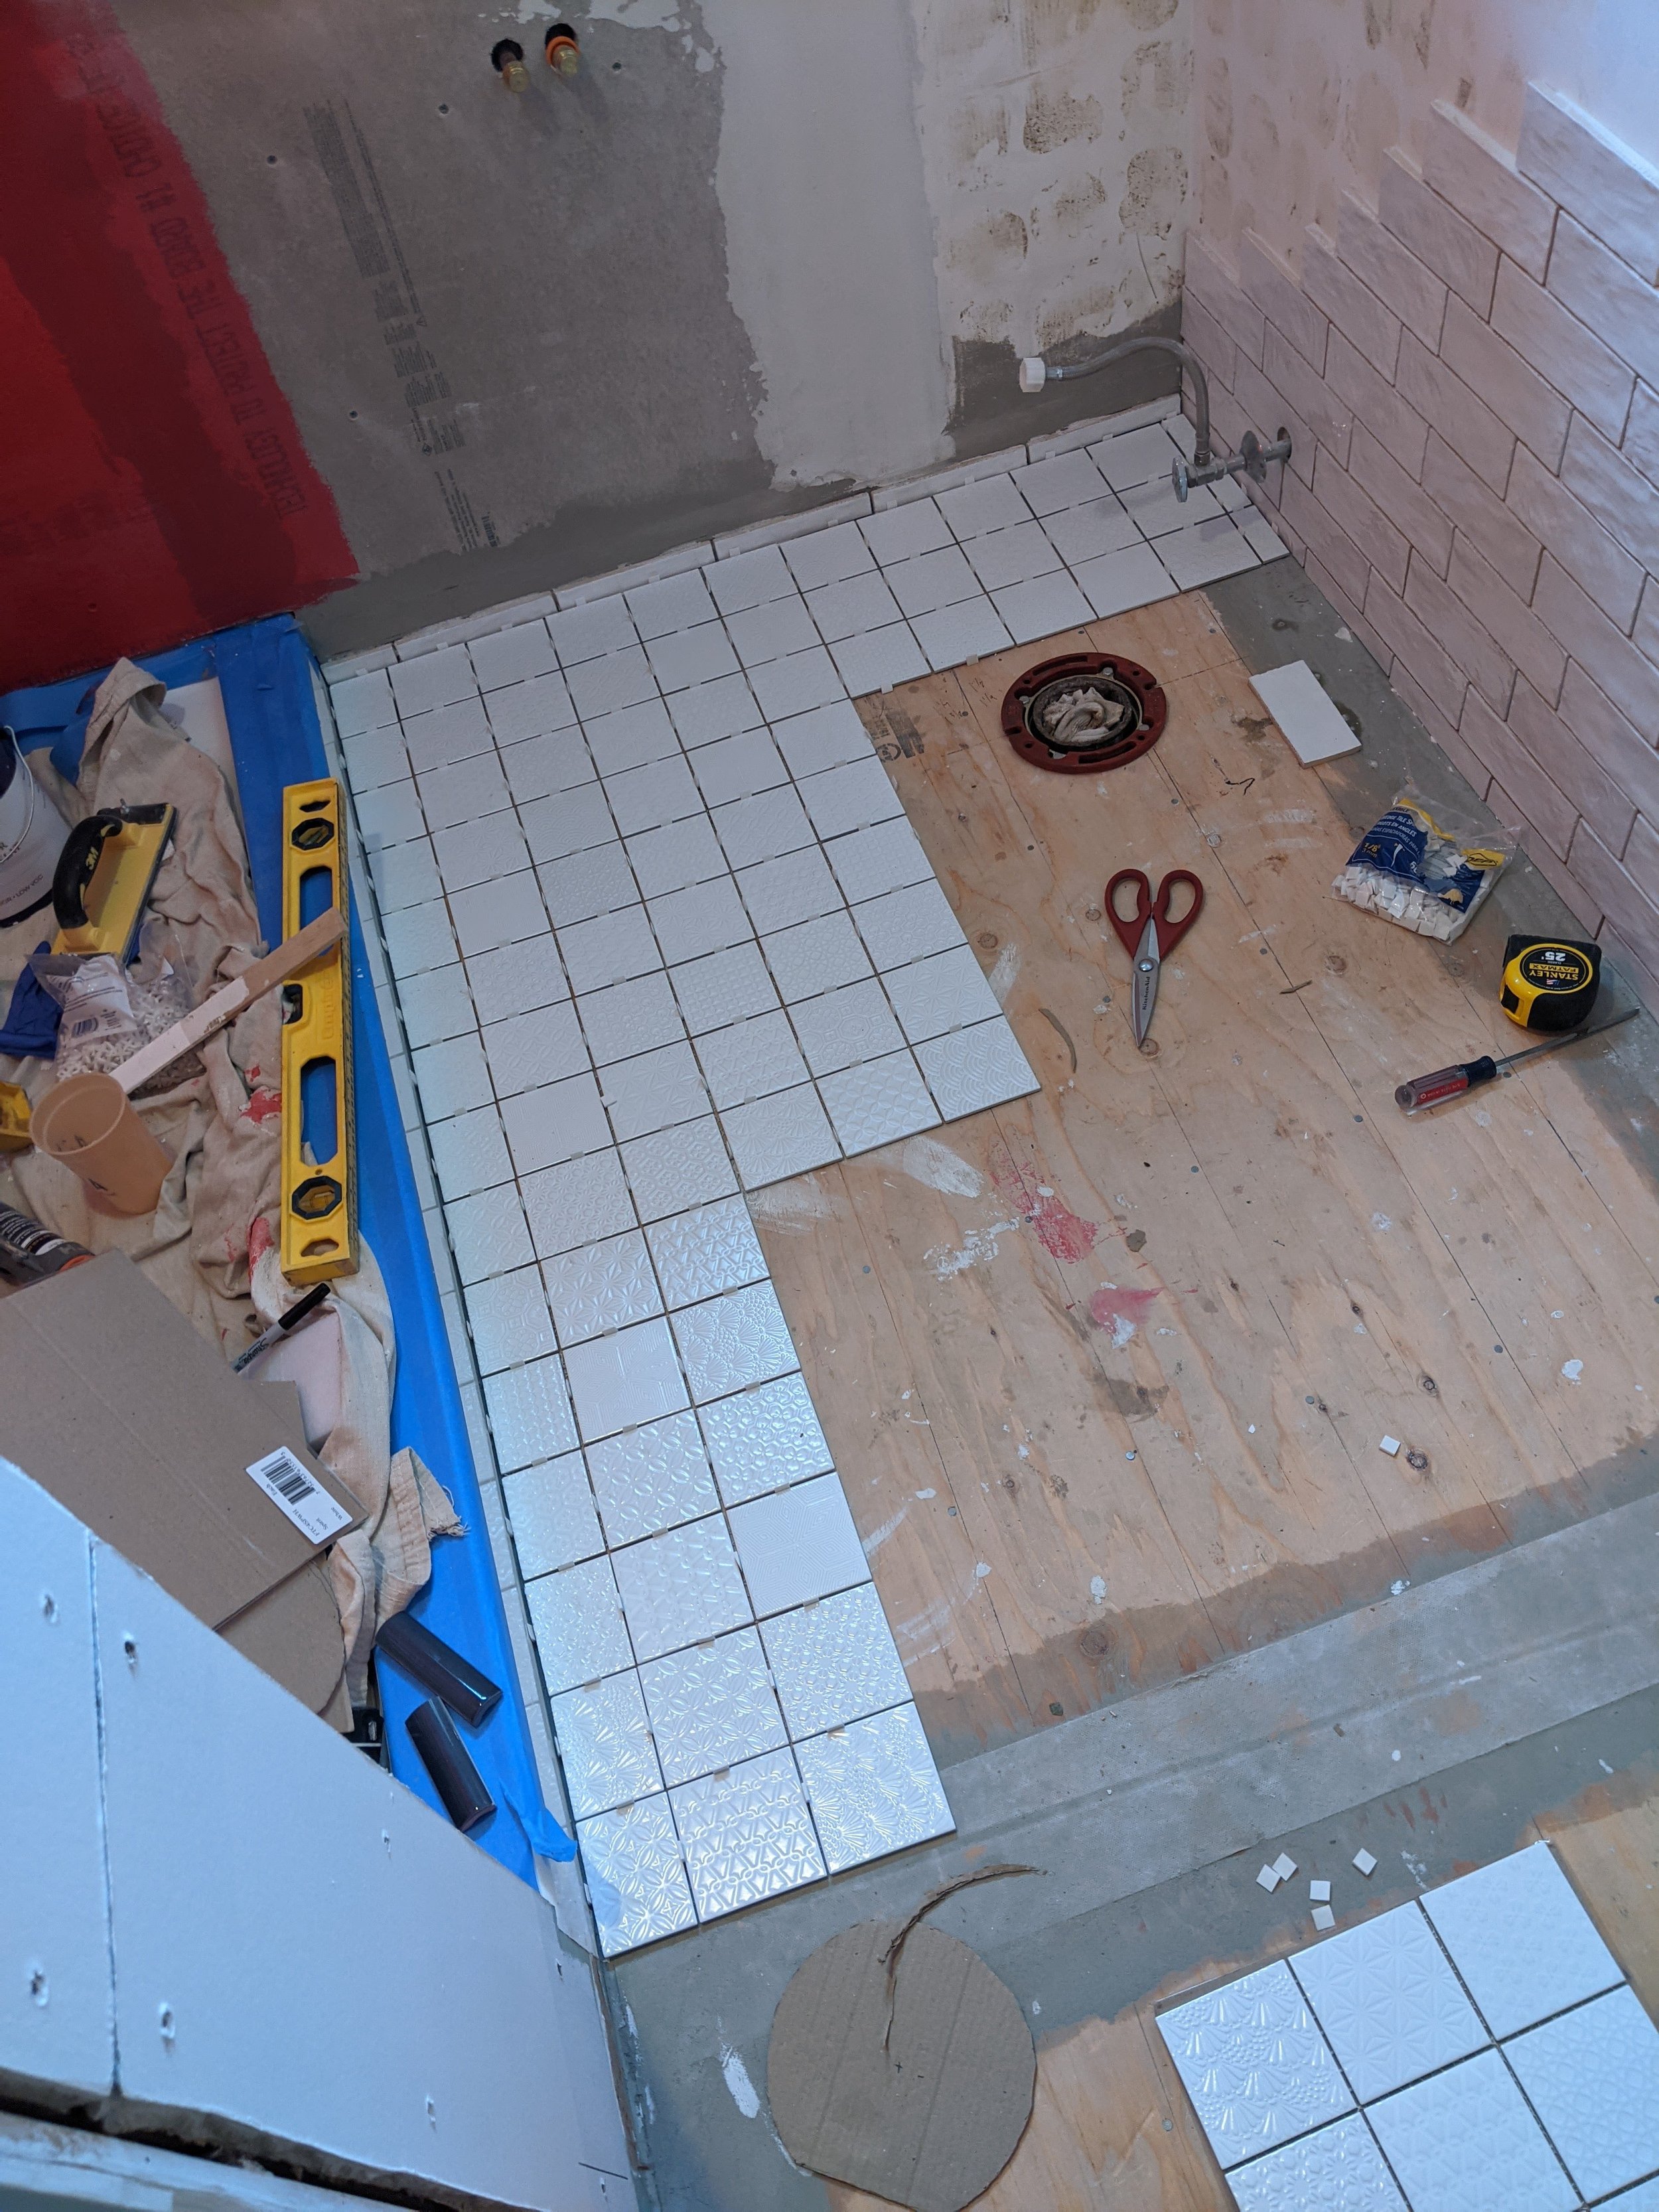
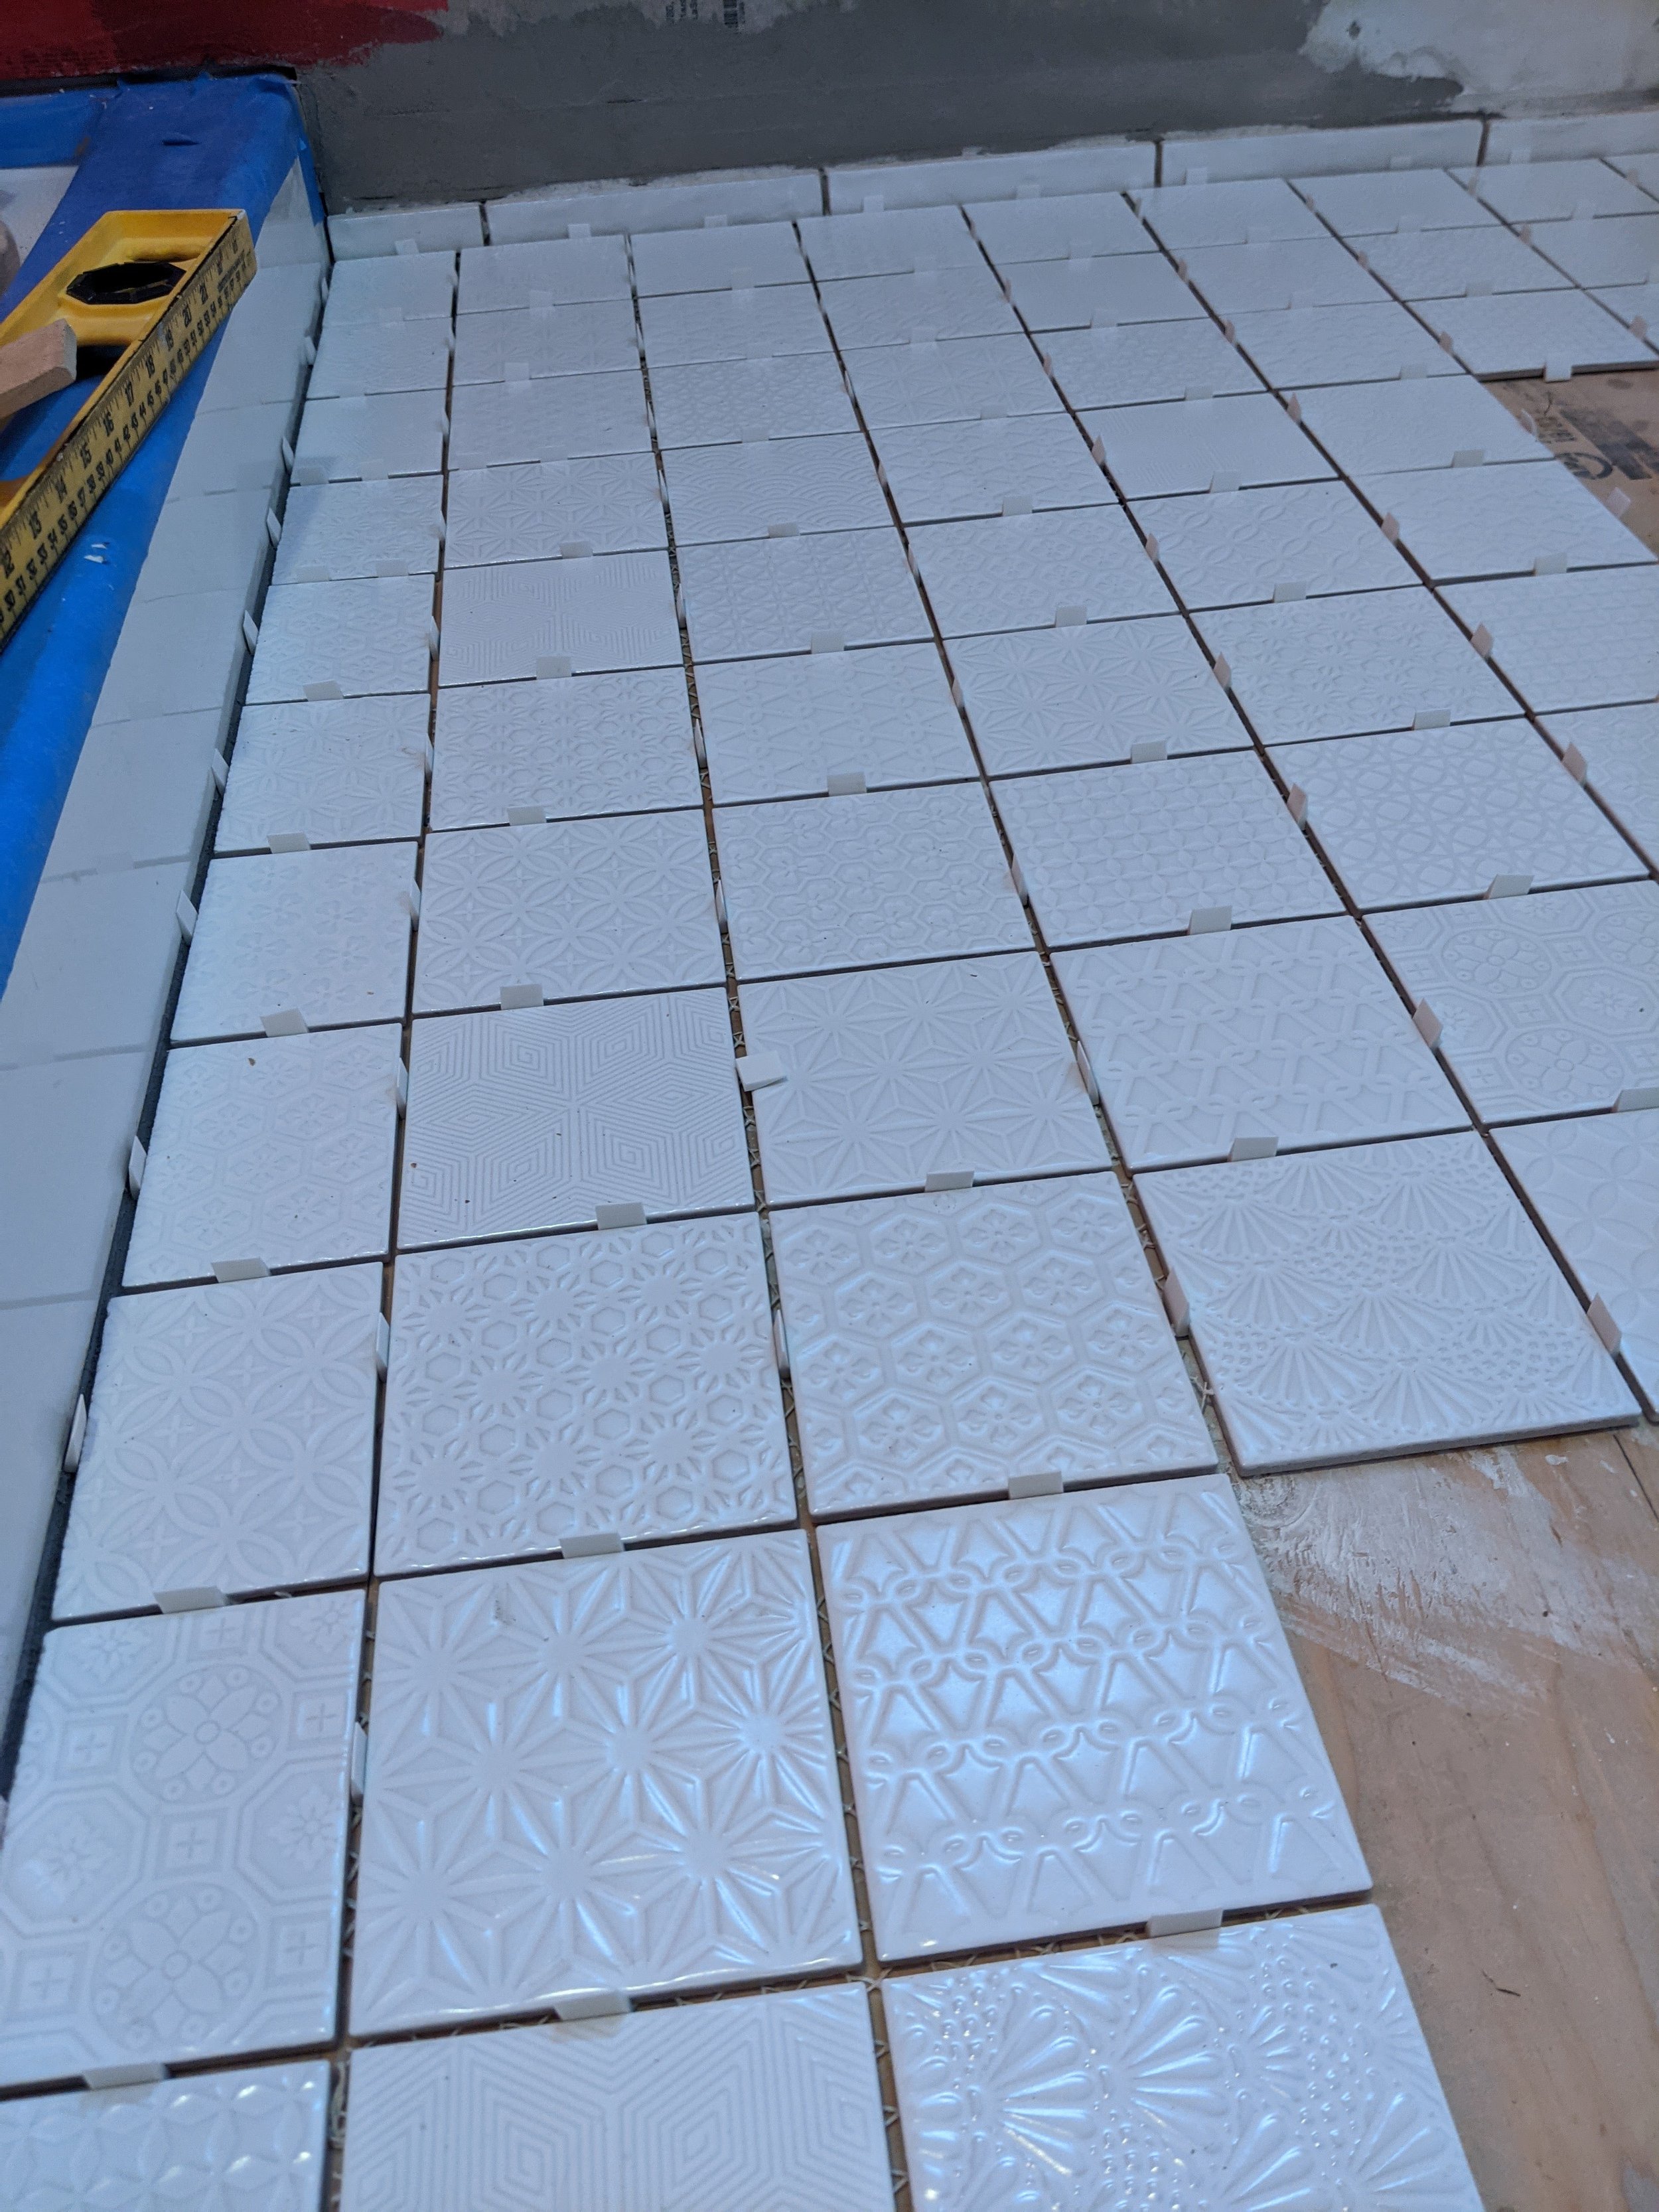
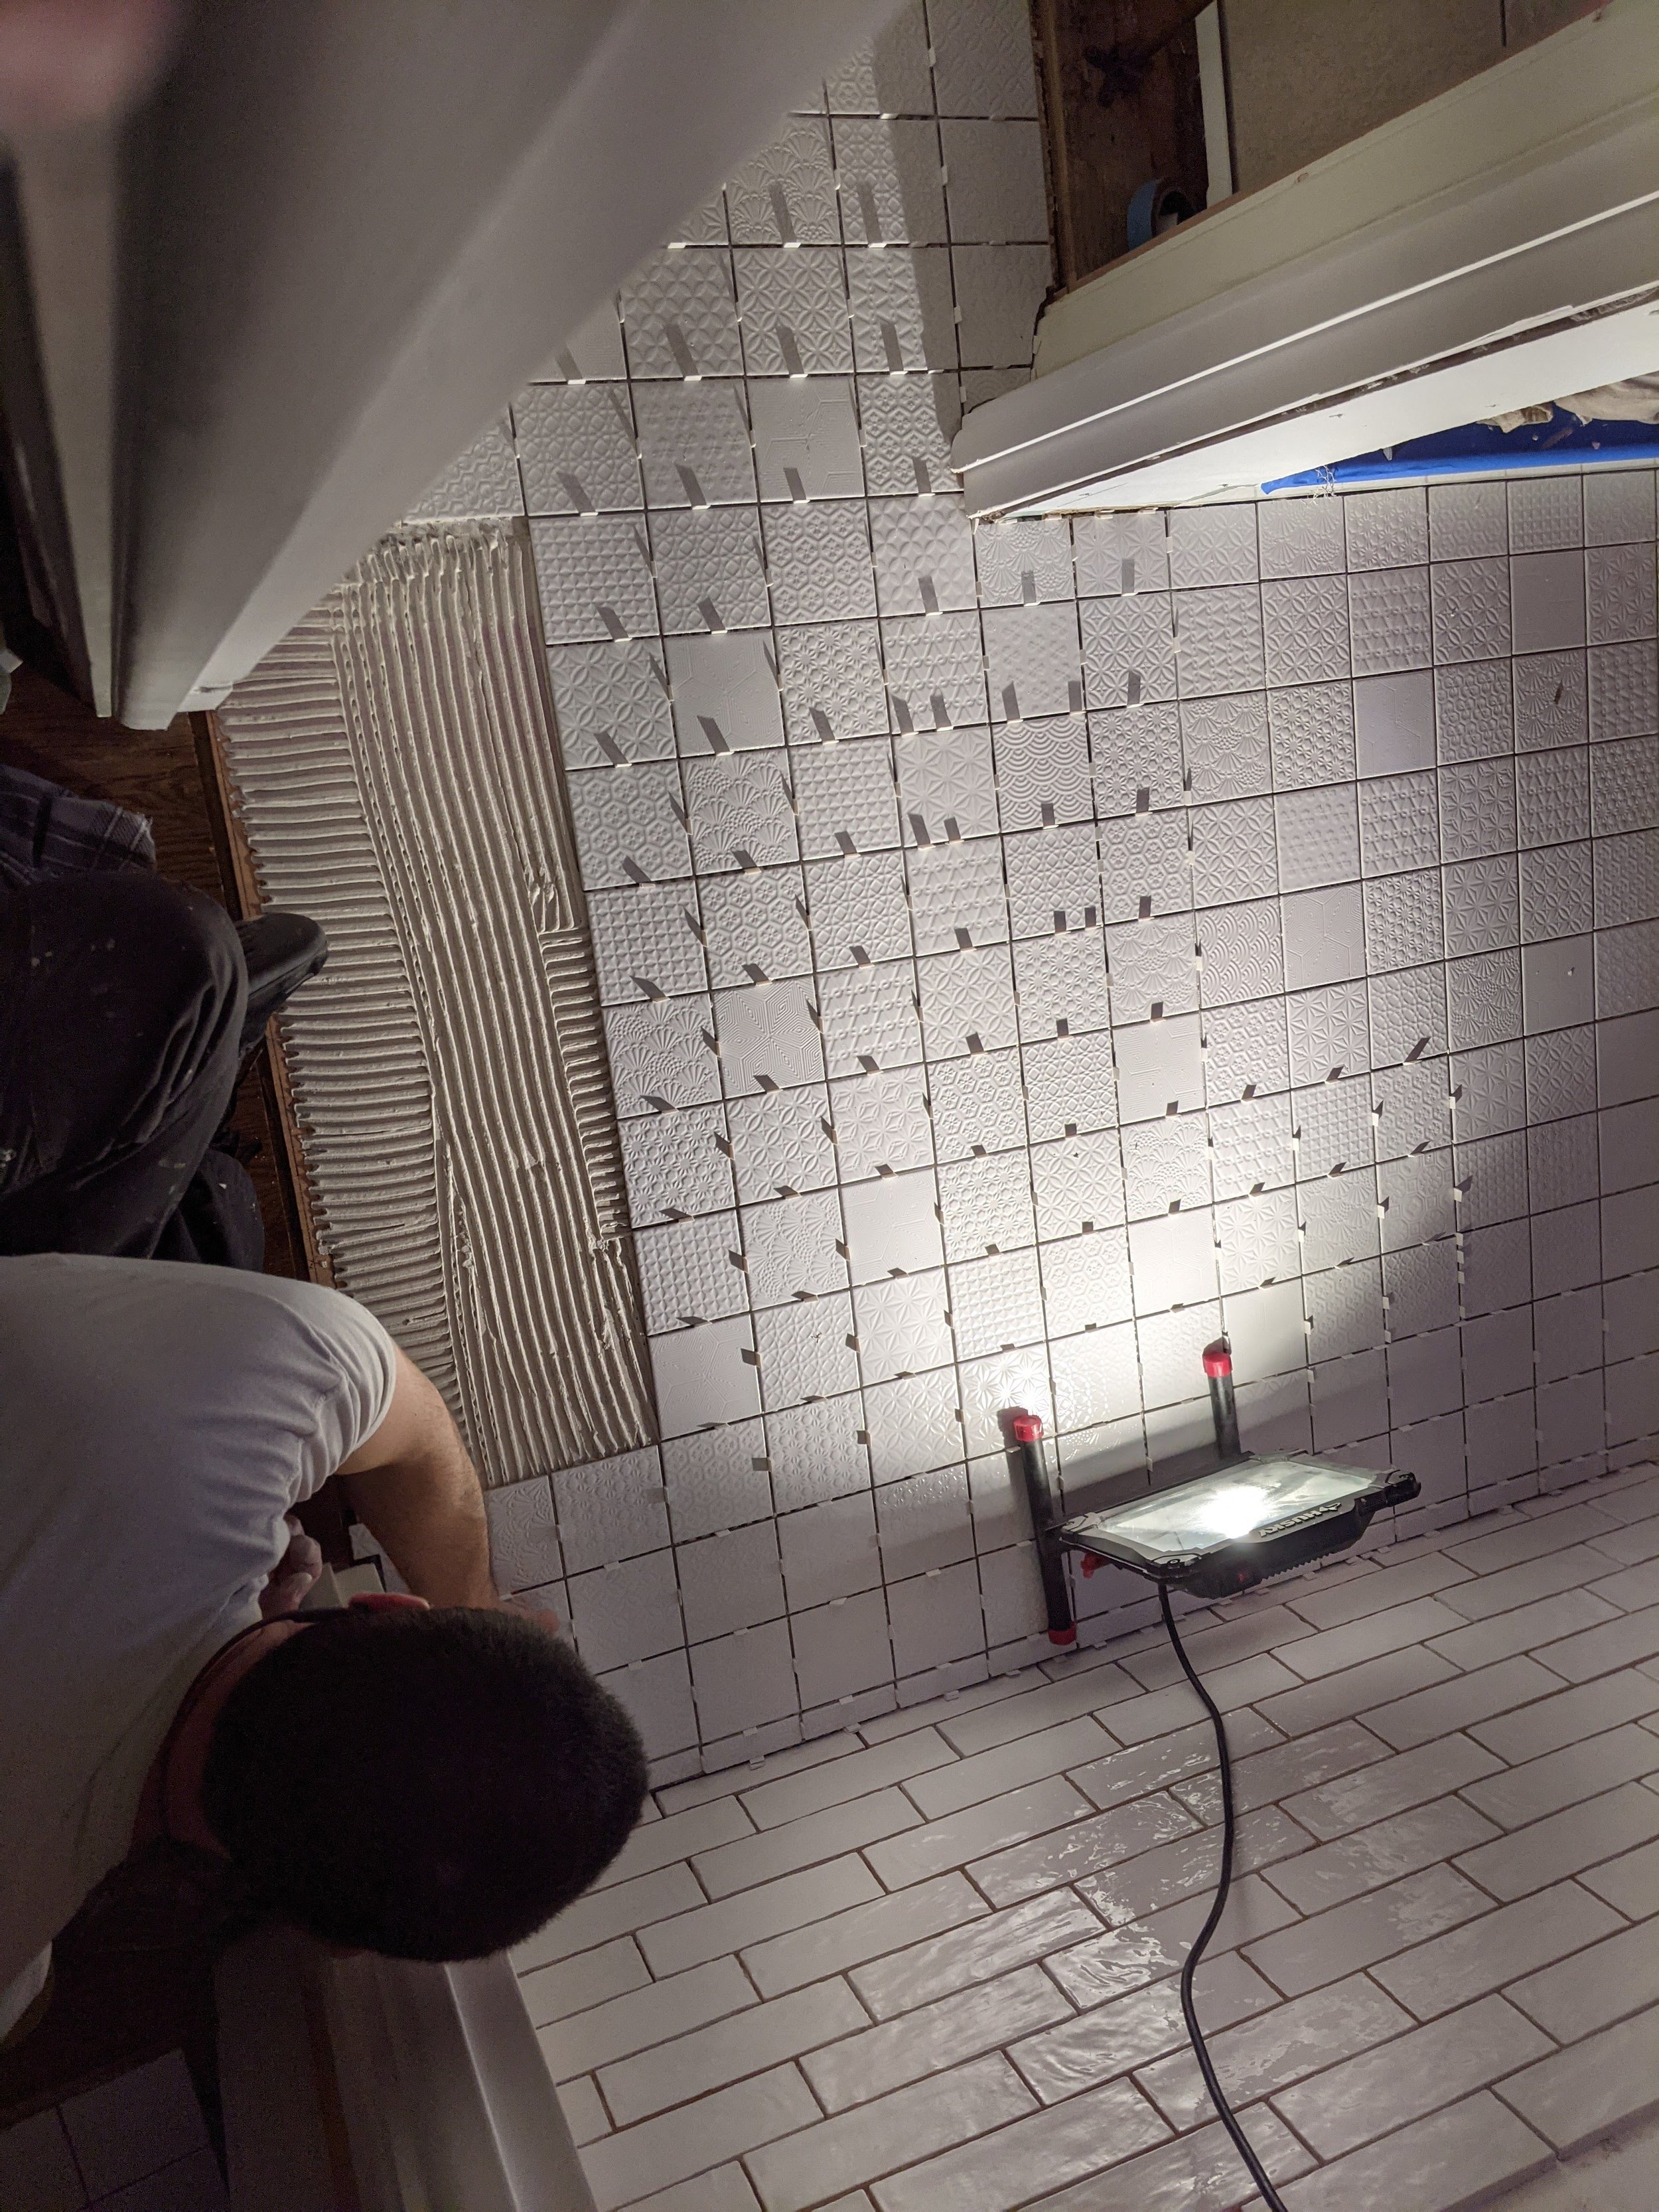
The important thing with tile is the dry run. You have to use the thinset in somewhat large sections, so you have to get a lot of tile cut and fit in (perfectly) and then pick it all up using a weird and confusing labelling system. Or at least, that’s how we did it! In our case, the pattern had repeats, so it was key for us to get the direction of even the square pieces correct so that there was no side-by-sides that matched. (Well, there is one, but Hubs has sworn me to never ever mention it again.)
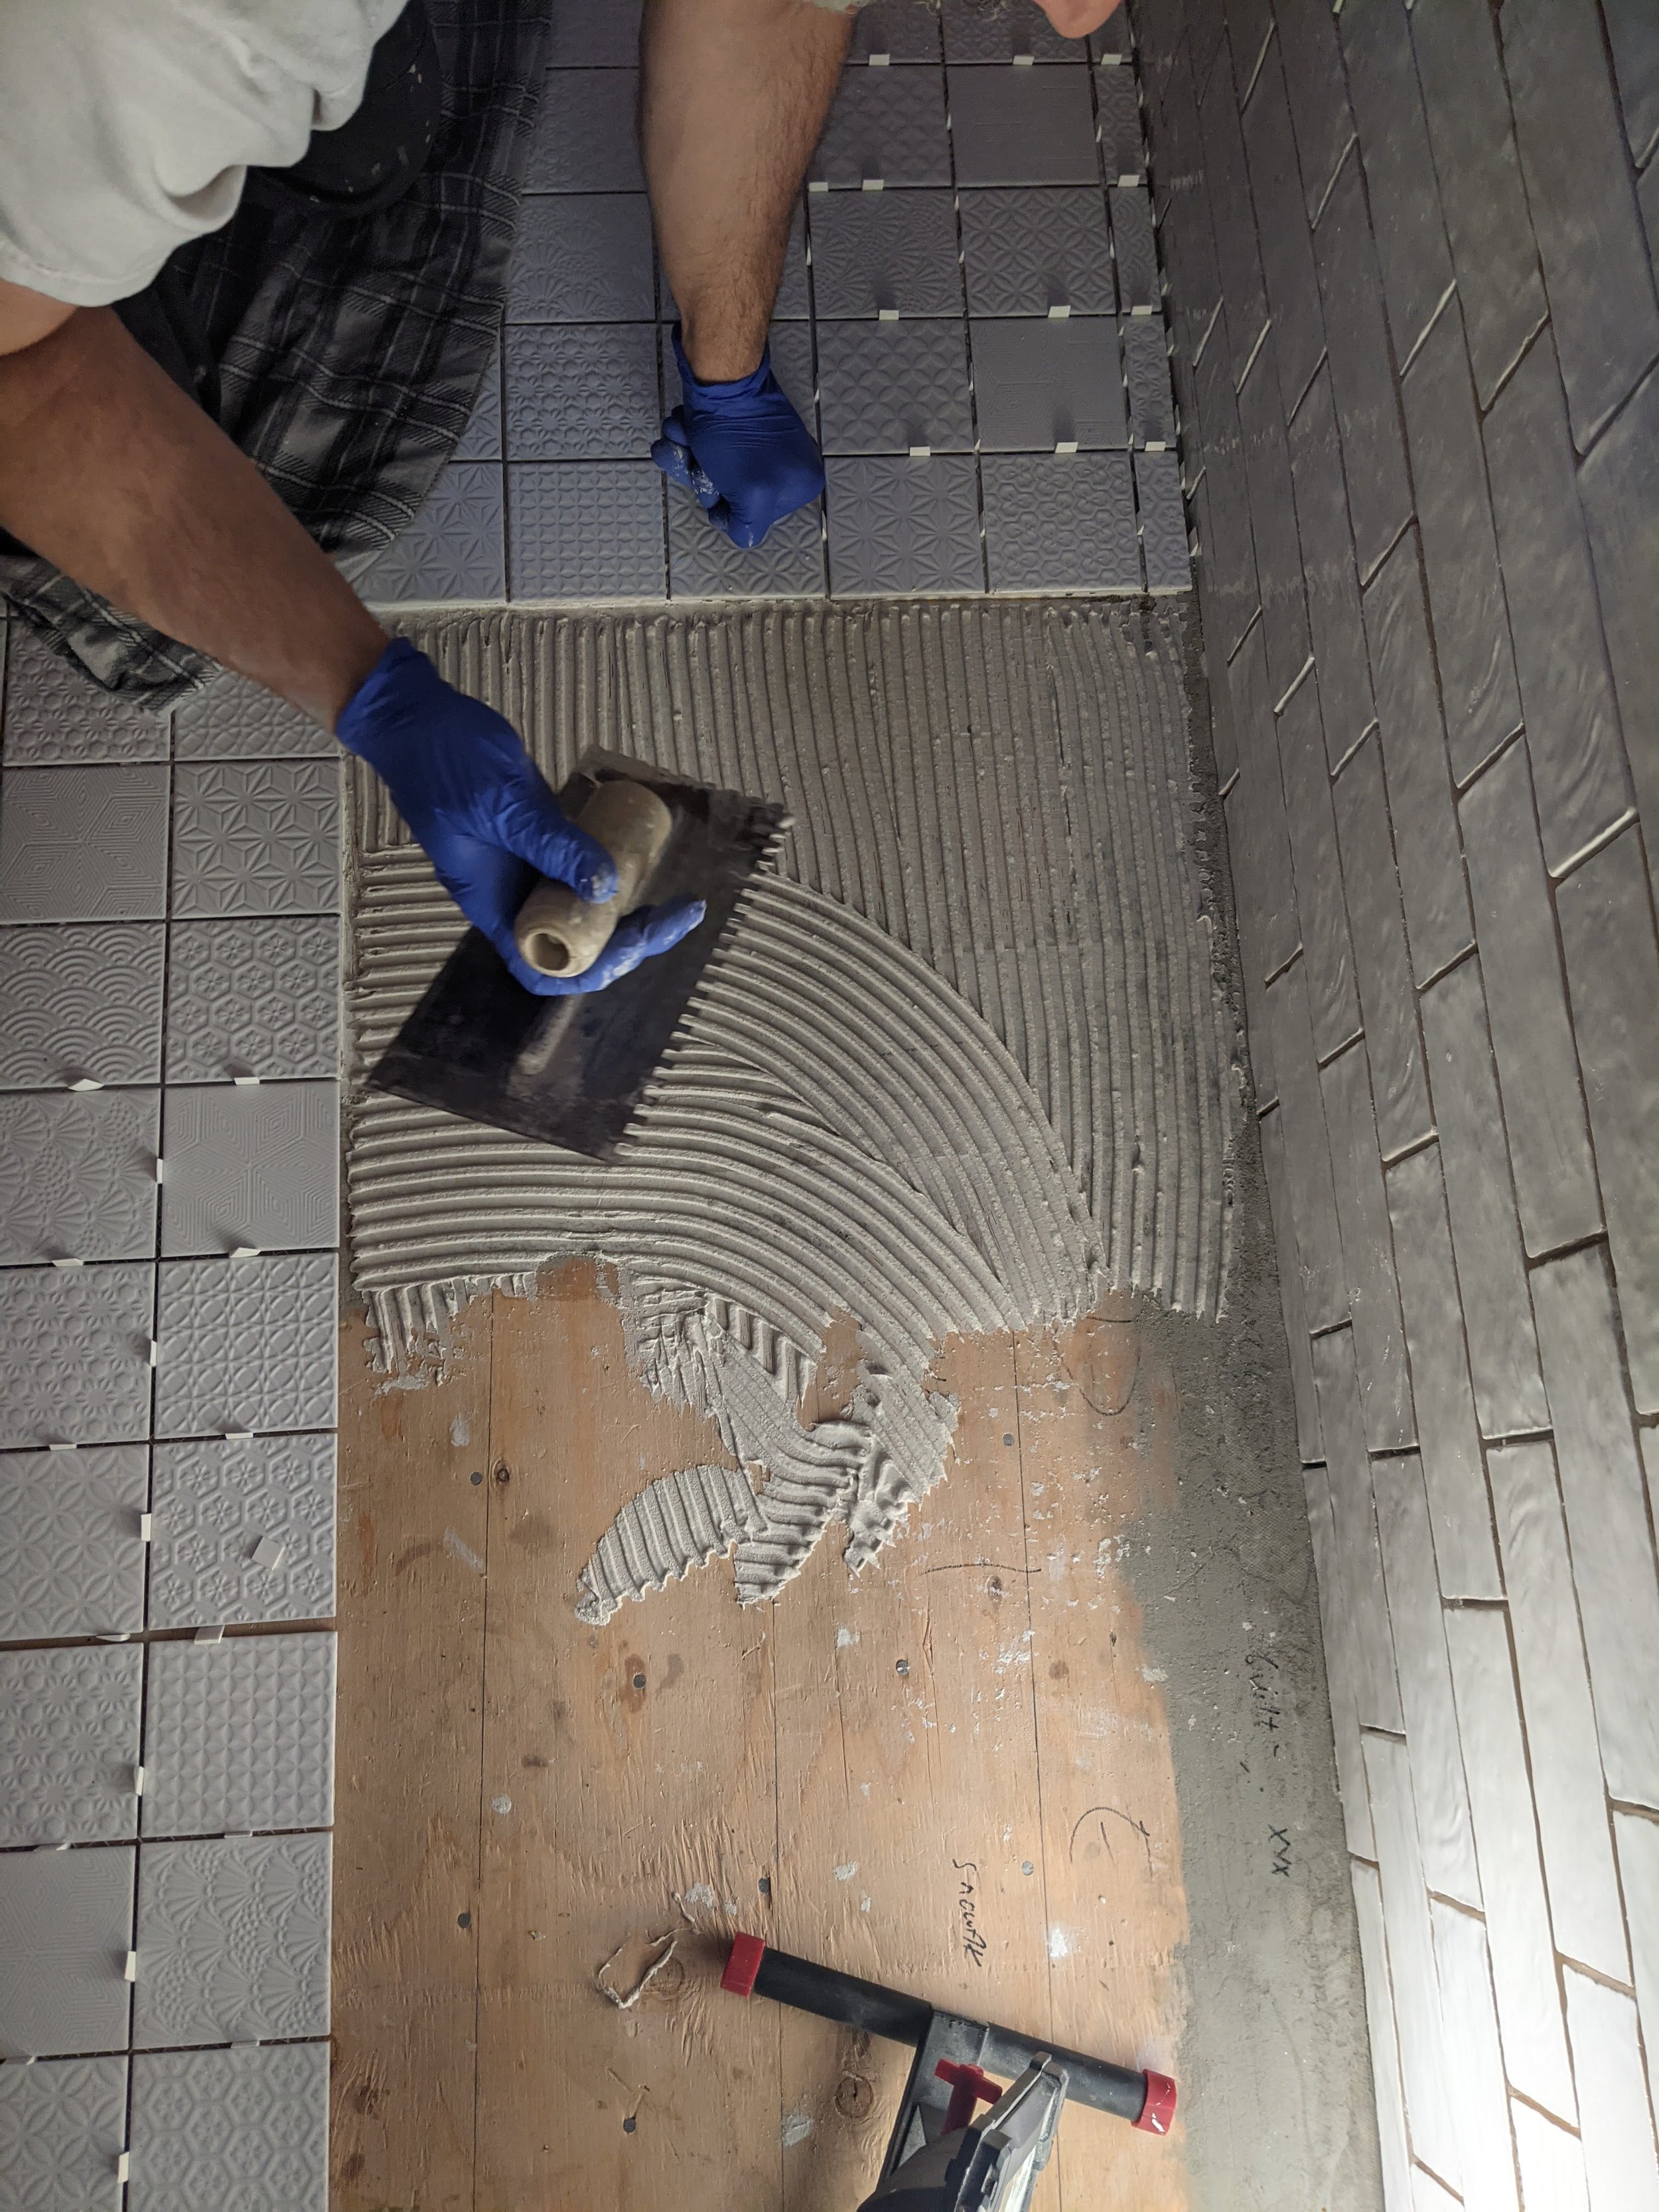
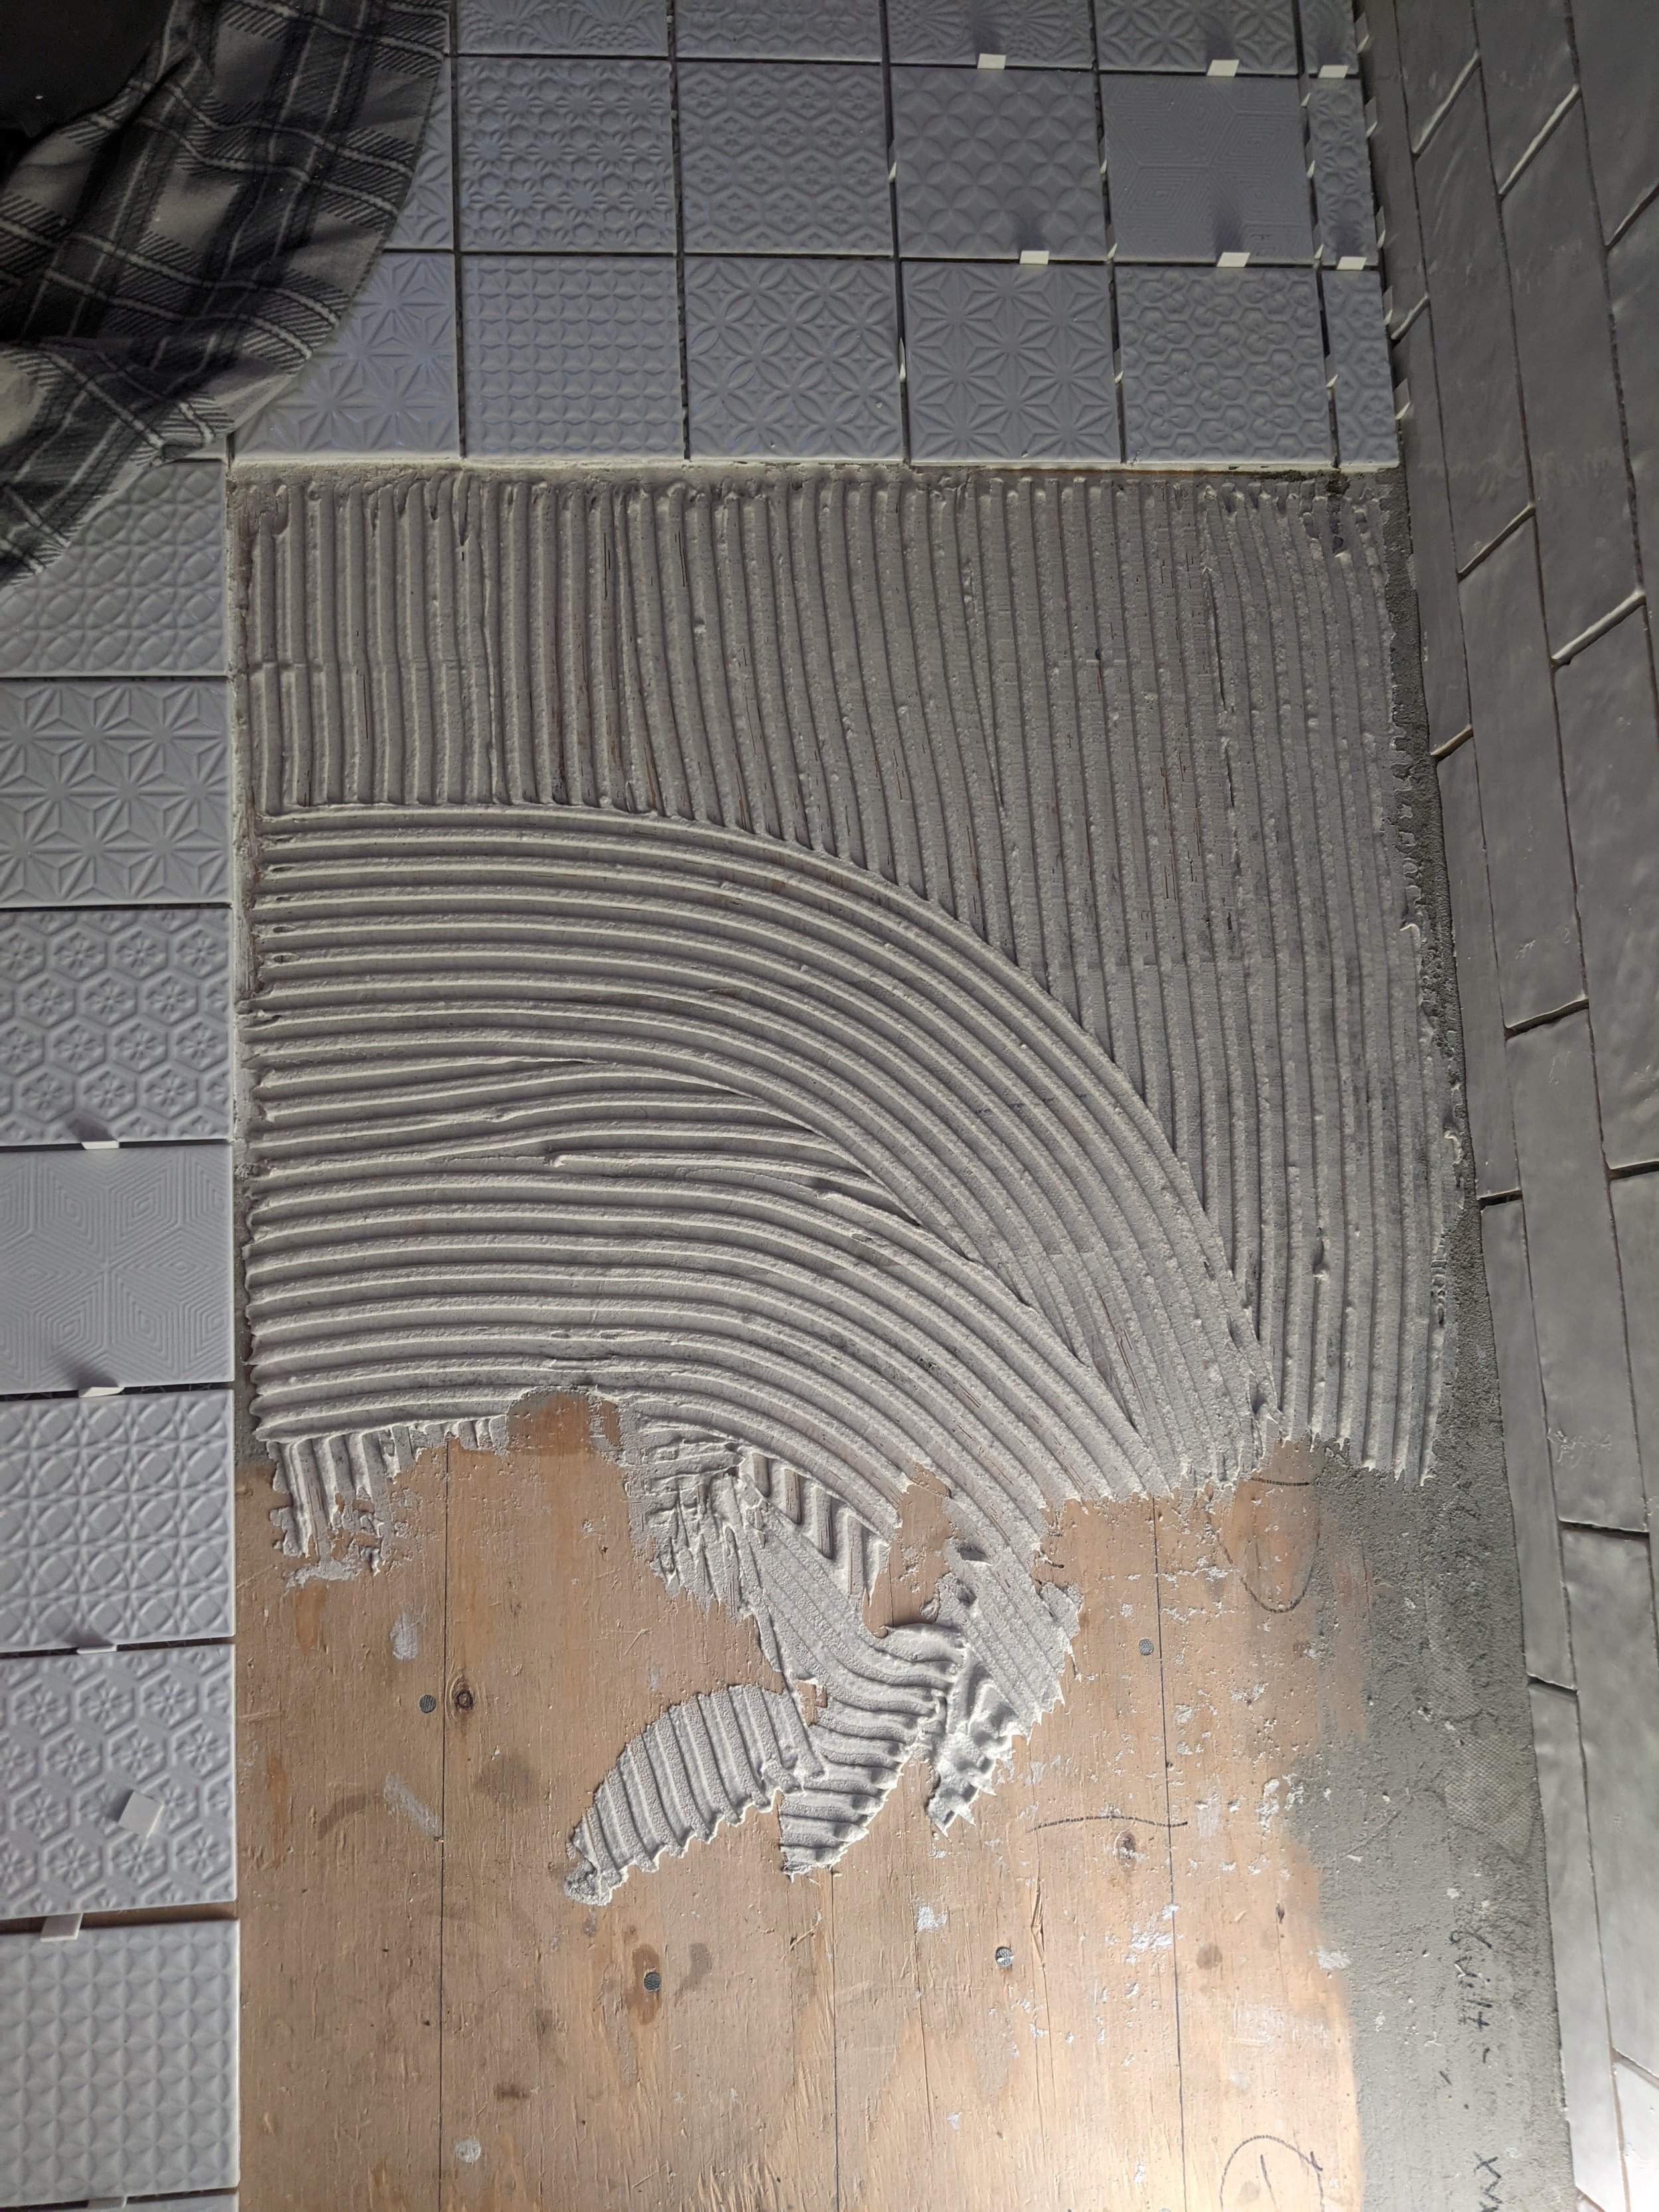
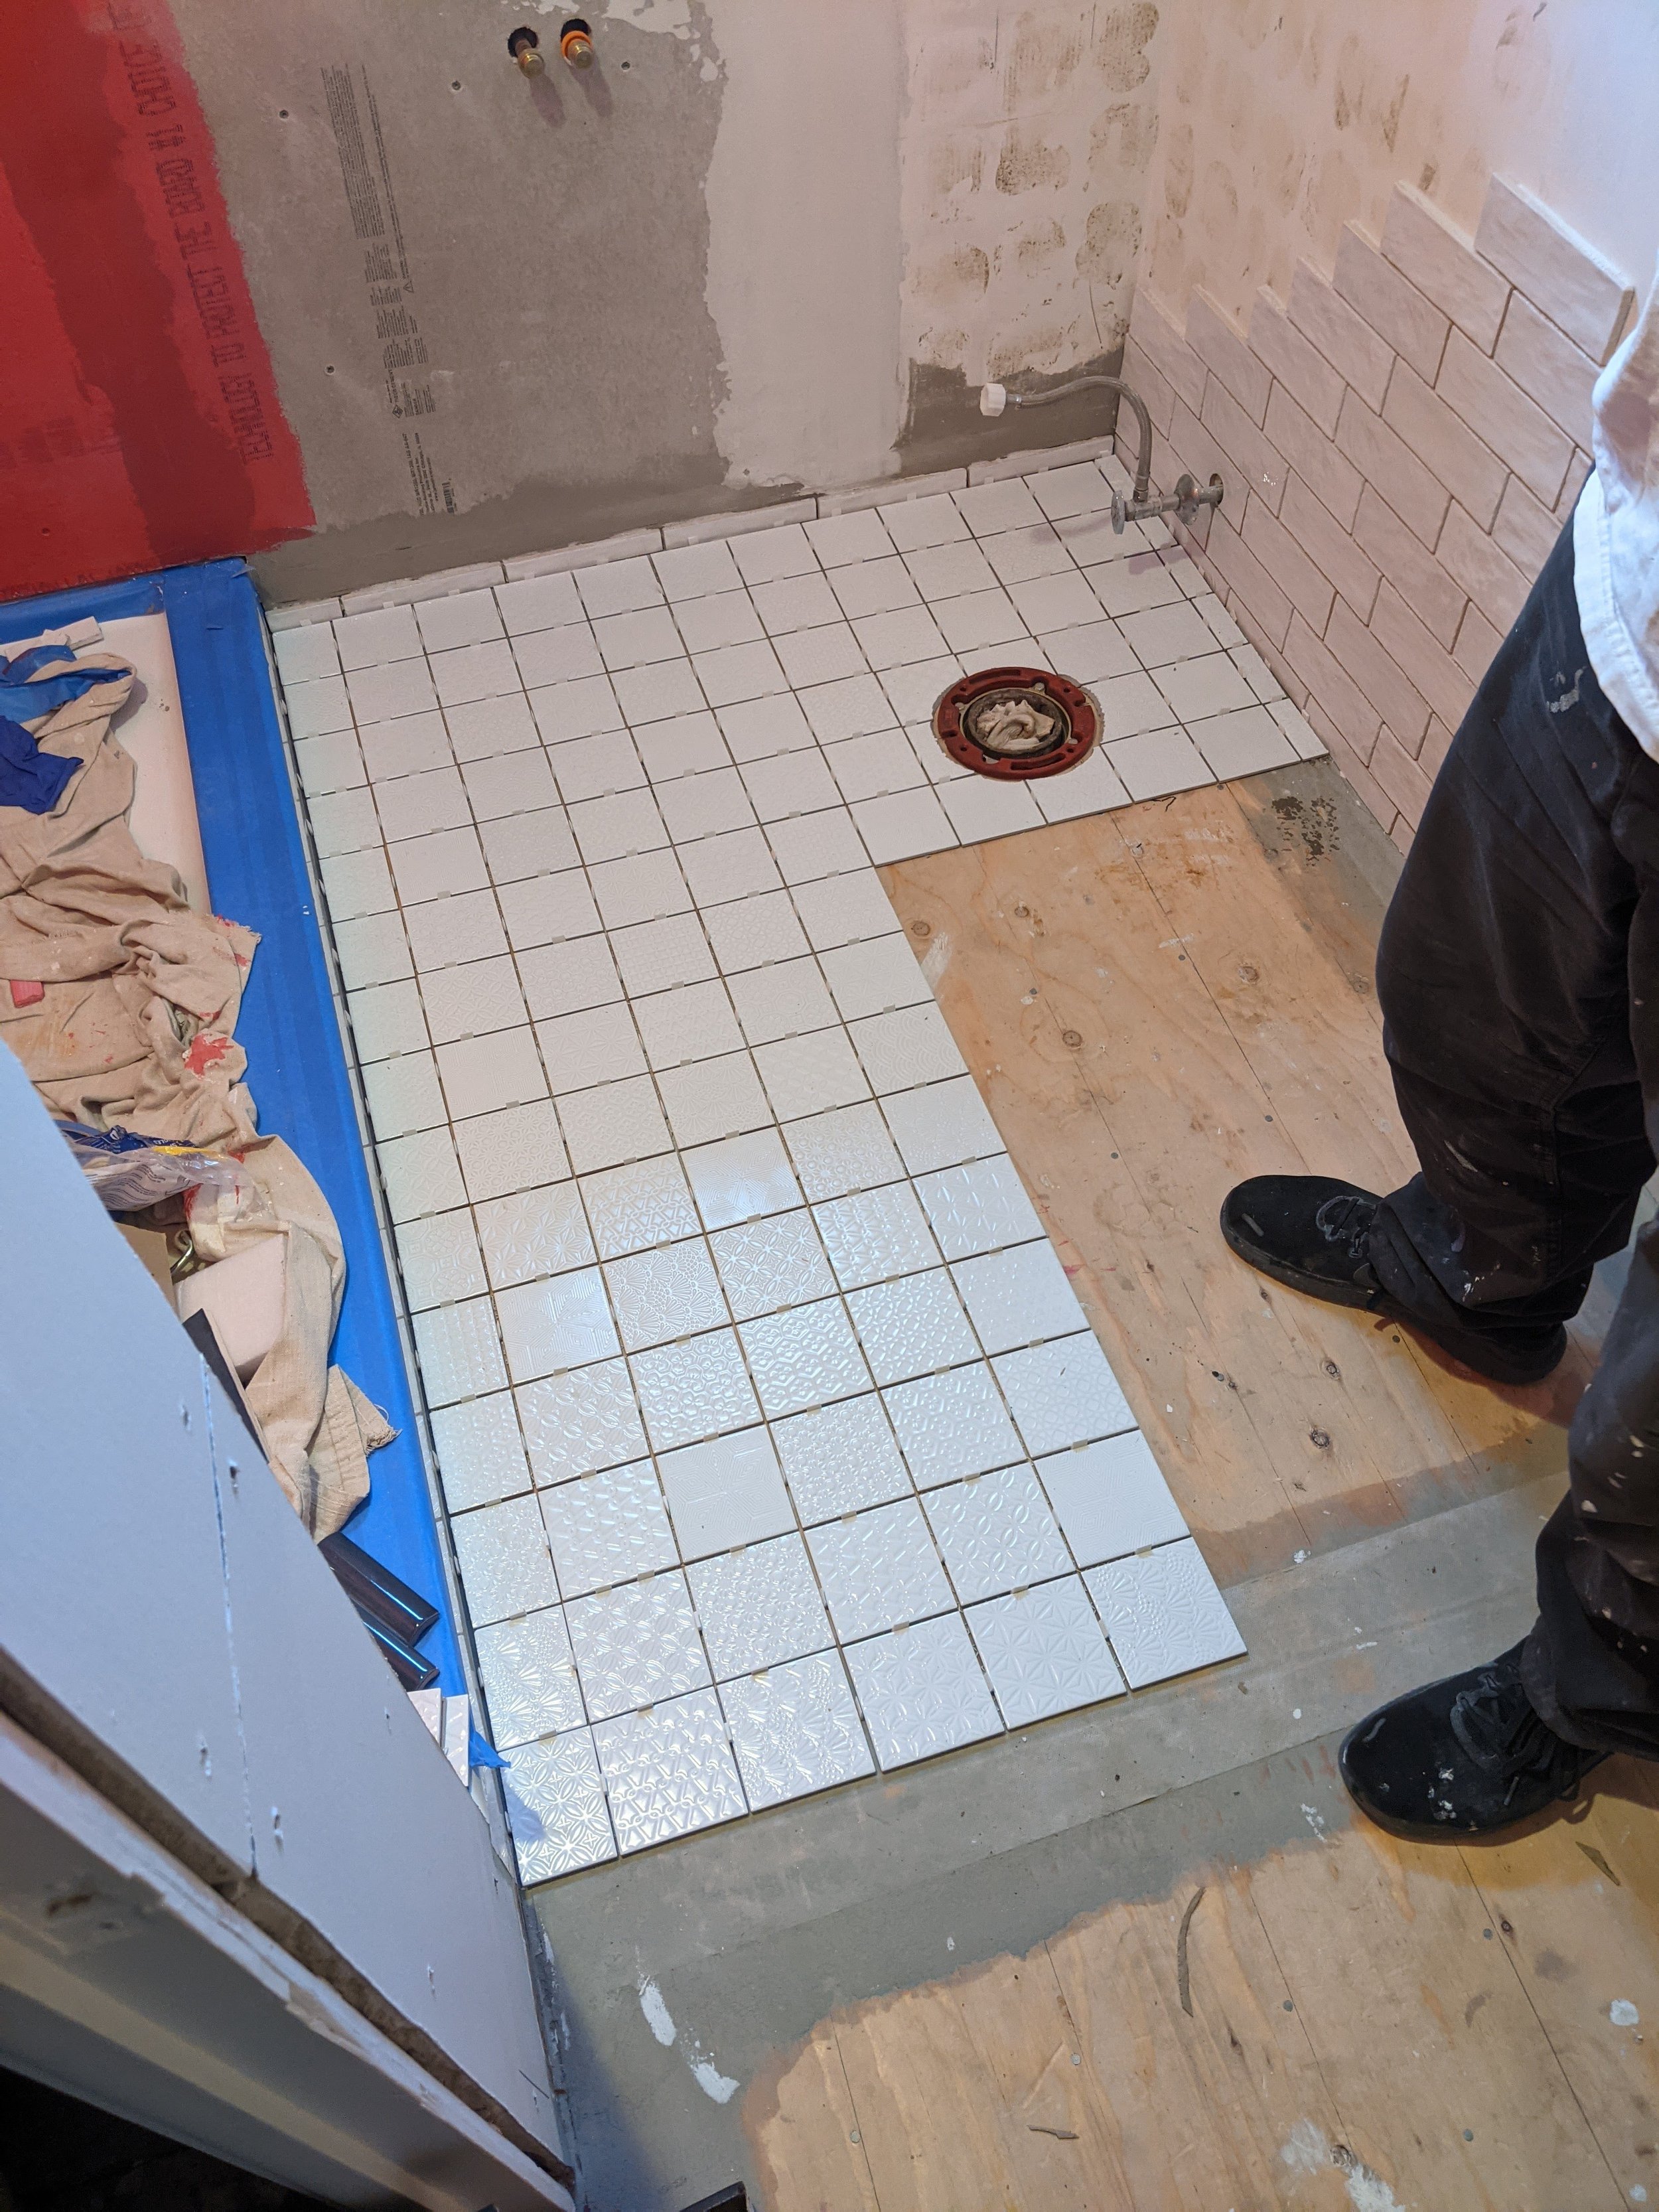
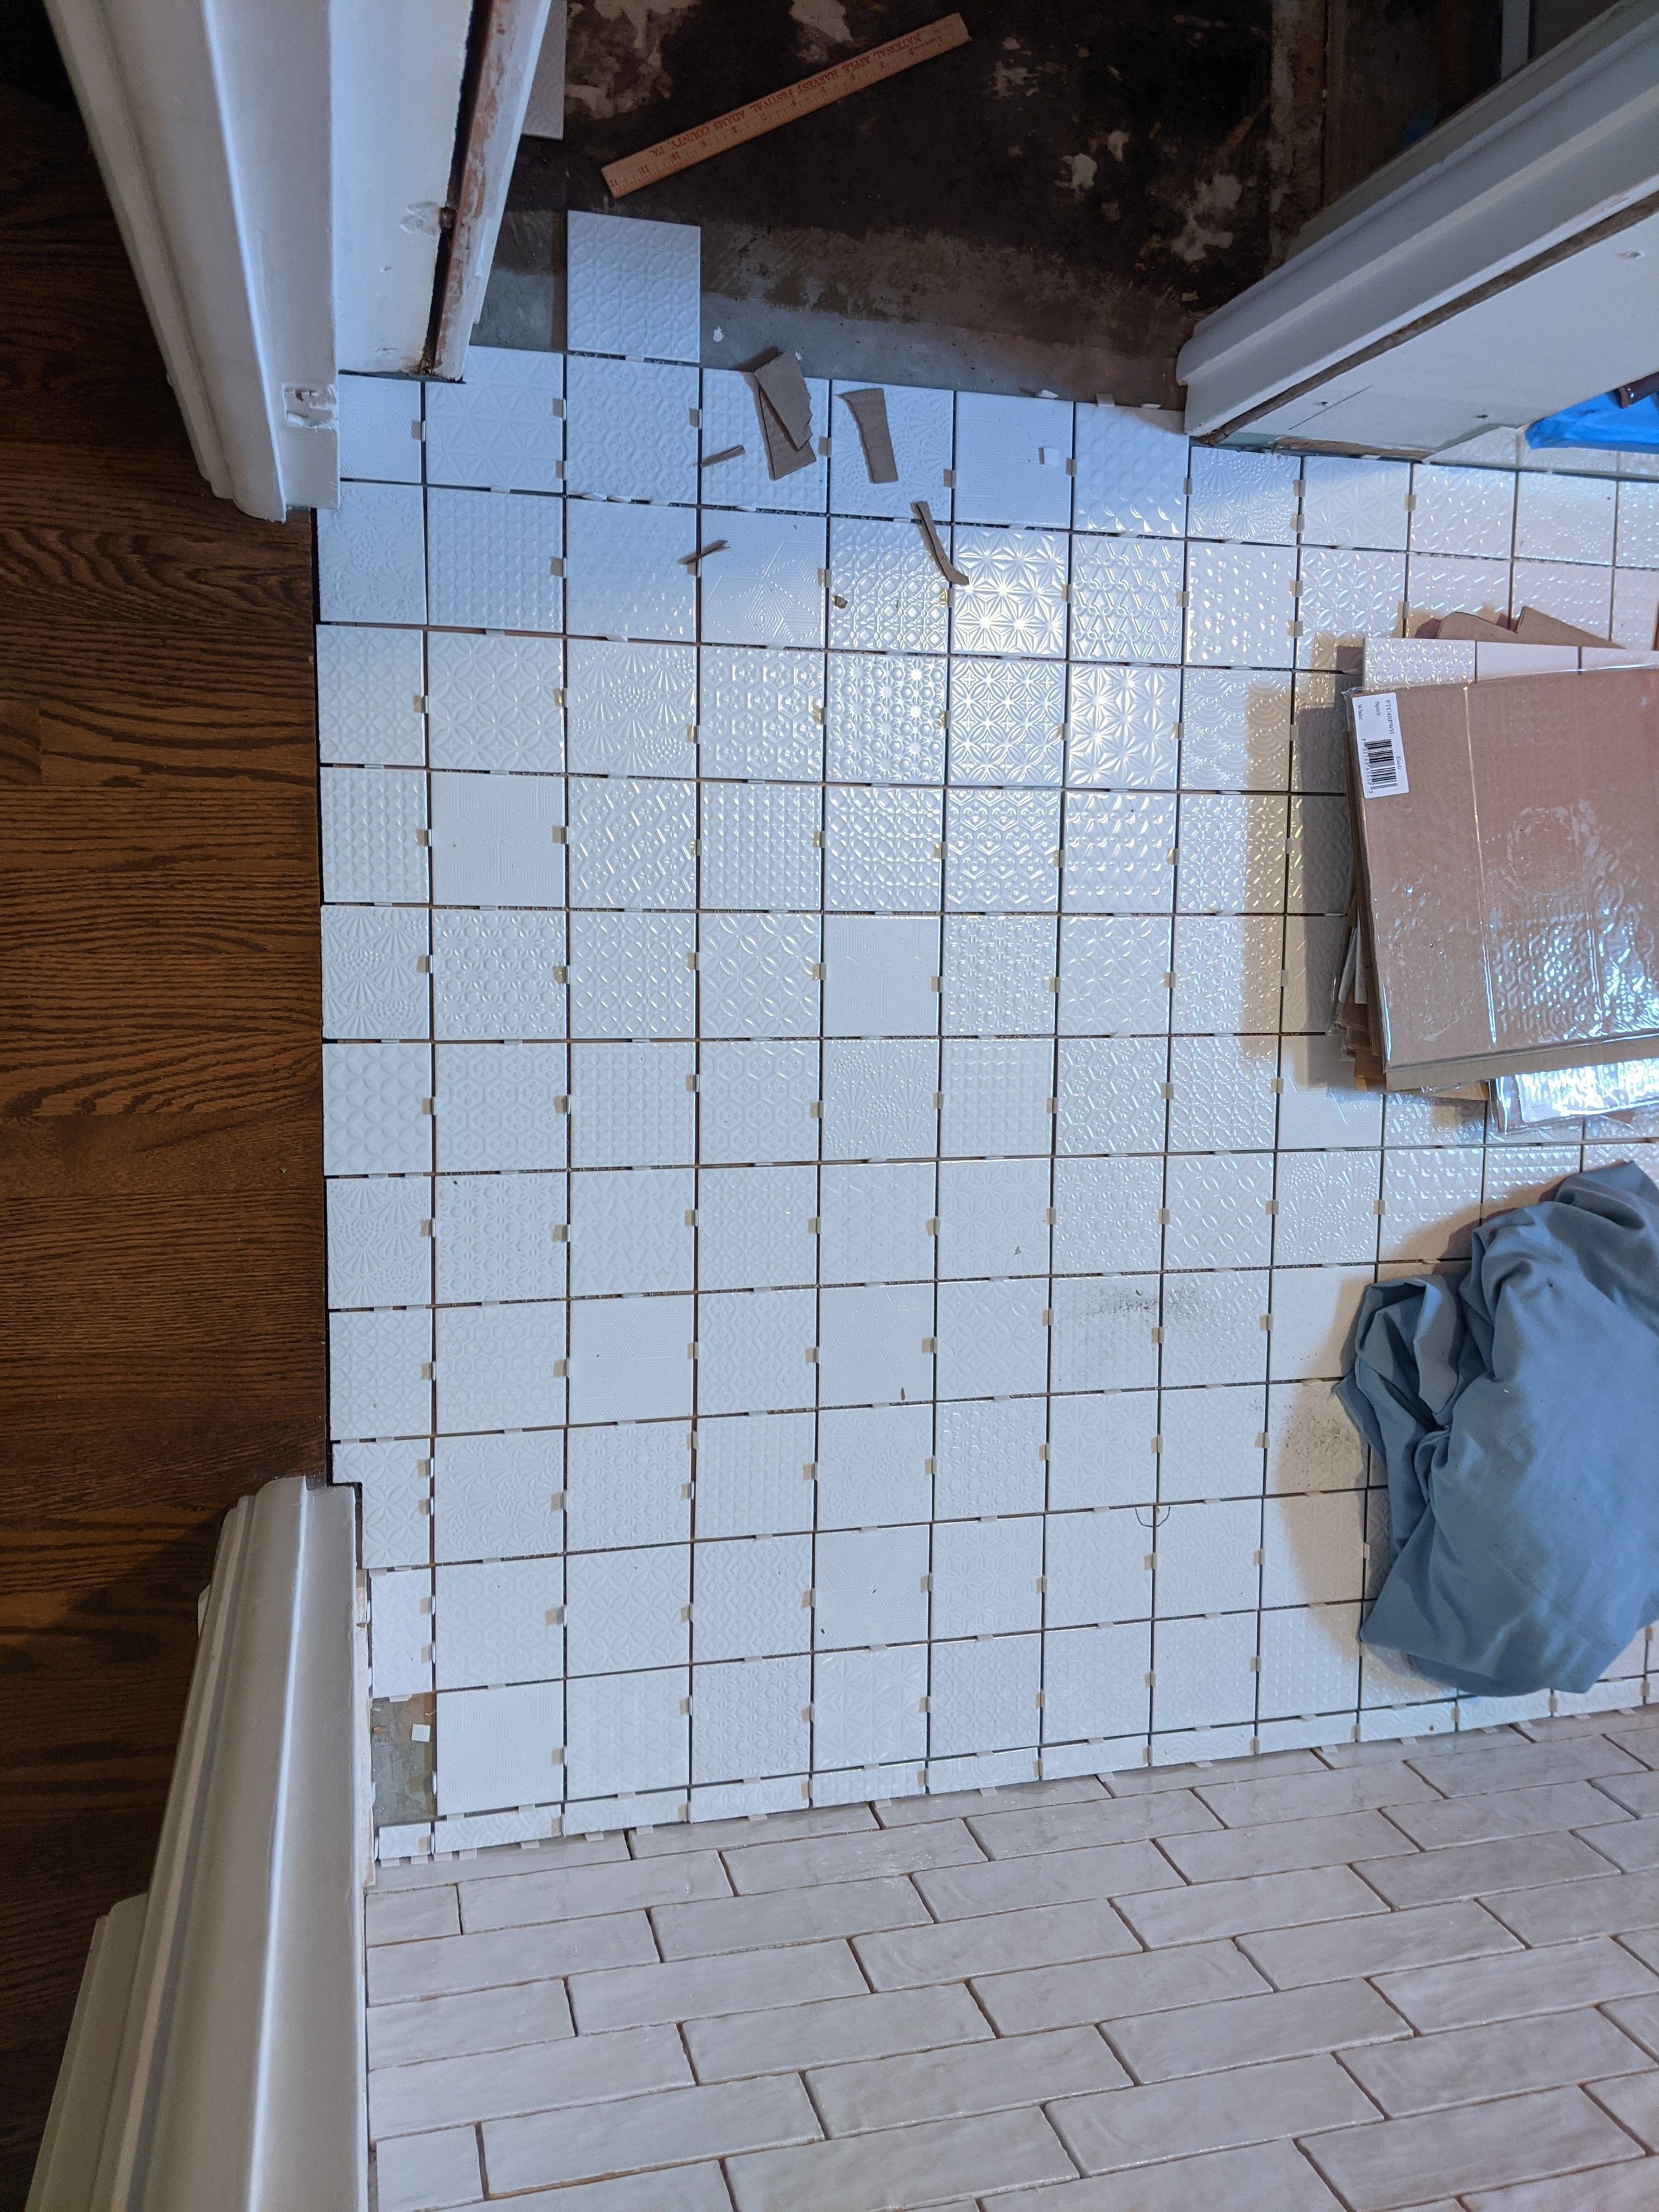
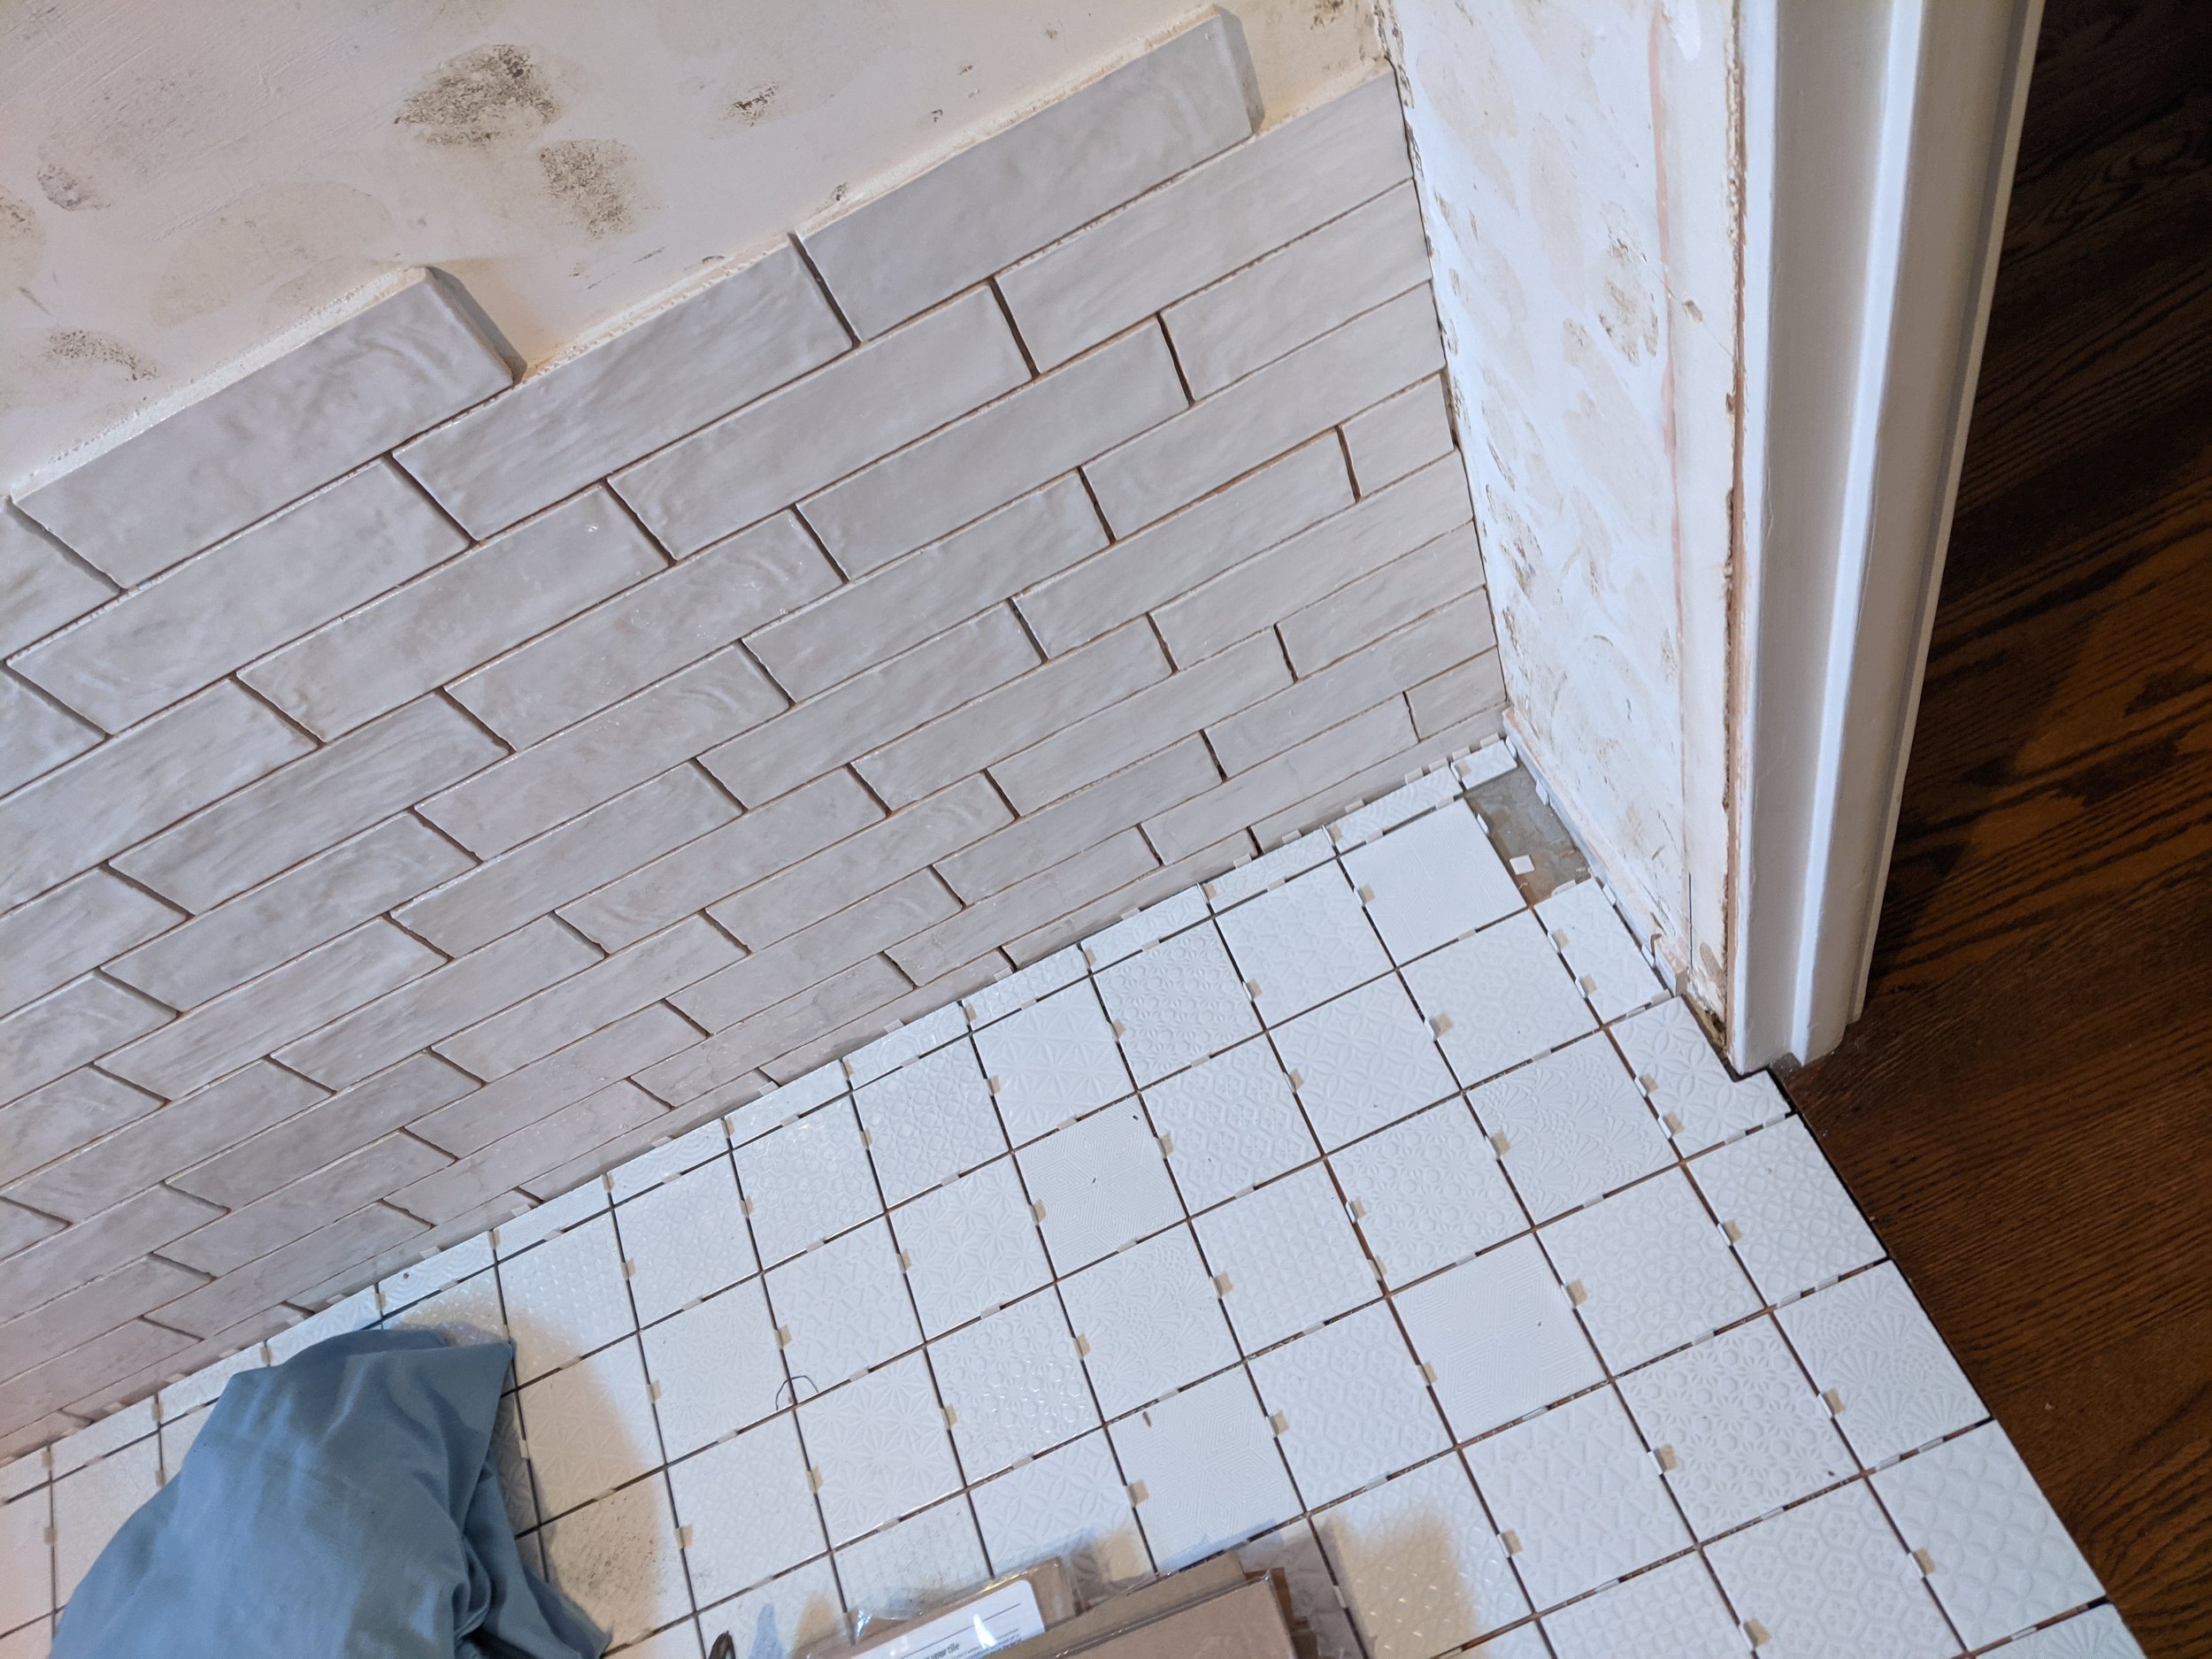
So, working in pieces, we got the floor measured, cut, test fit, packed up, and installed — all except the closet. It was getting late! We let it dry overnight and came back to finish and grout the next day. You can see the lines where some is grouted and some is not while we were working, but since we bought colored grout rather than dying it ourselves, it is an exact match even though it wasn’t done at the same time.
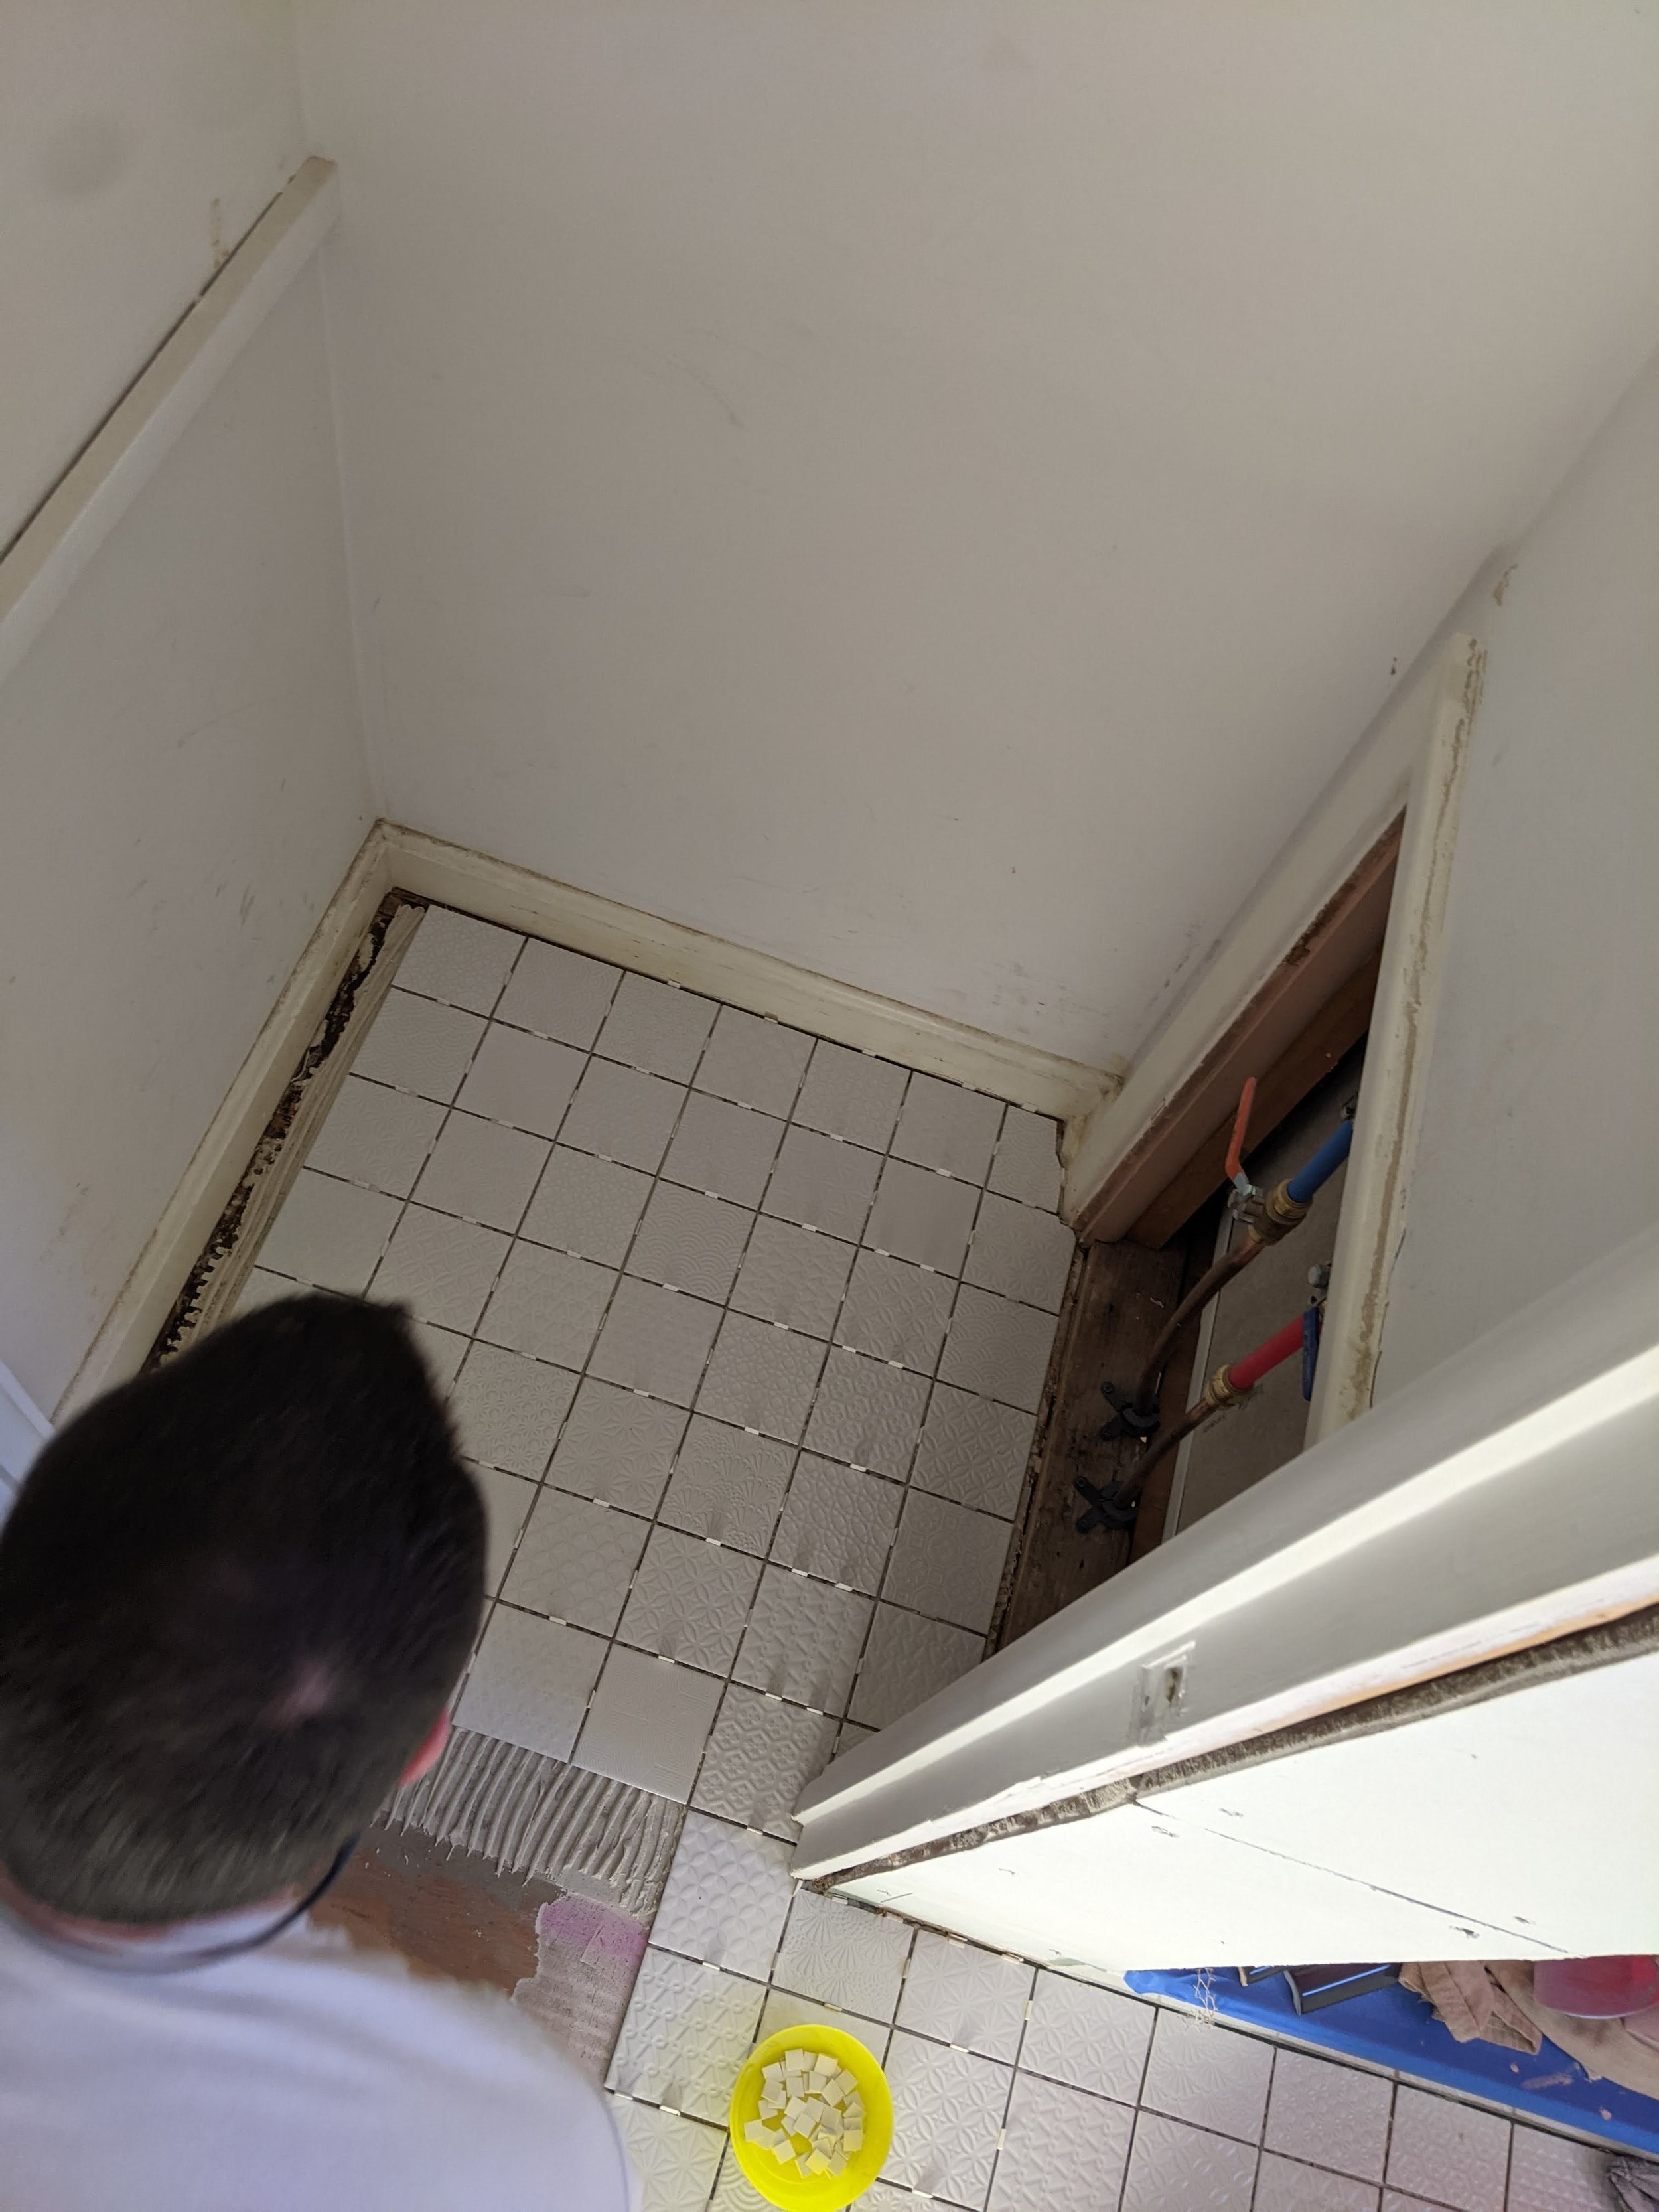

We had to trim carefully along the edge under the door because we wanted a seamless transition to the hardwood. Really pleased with how it turned out!
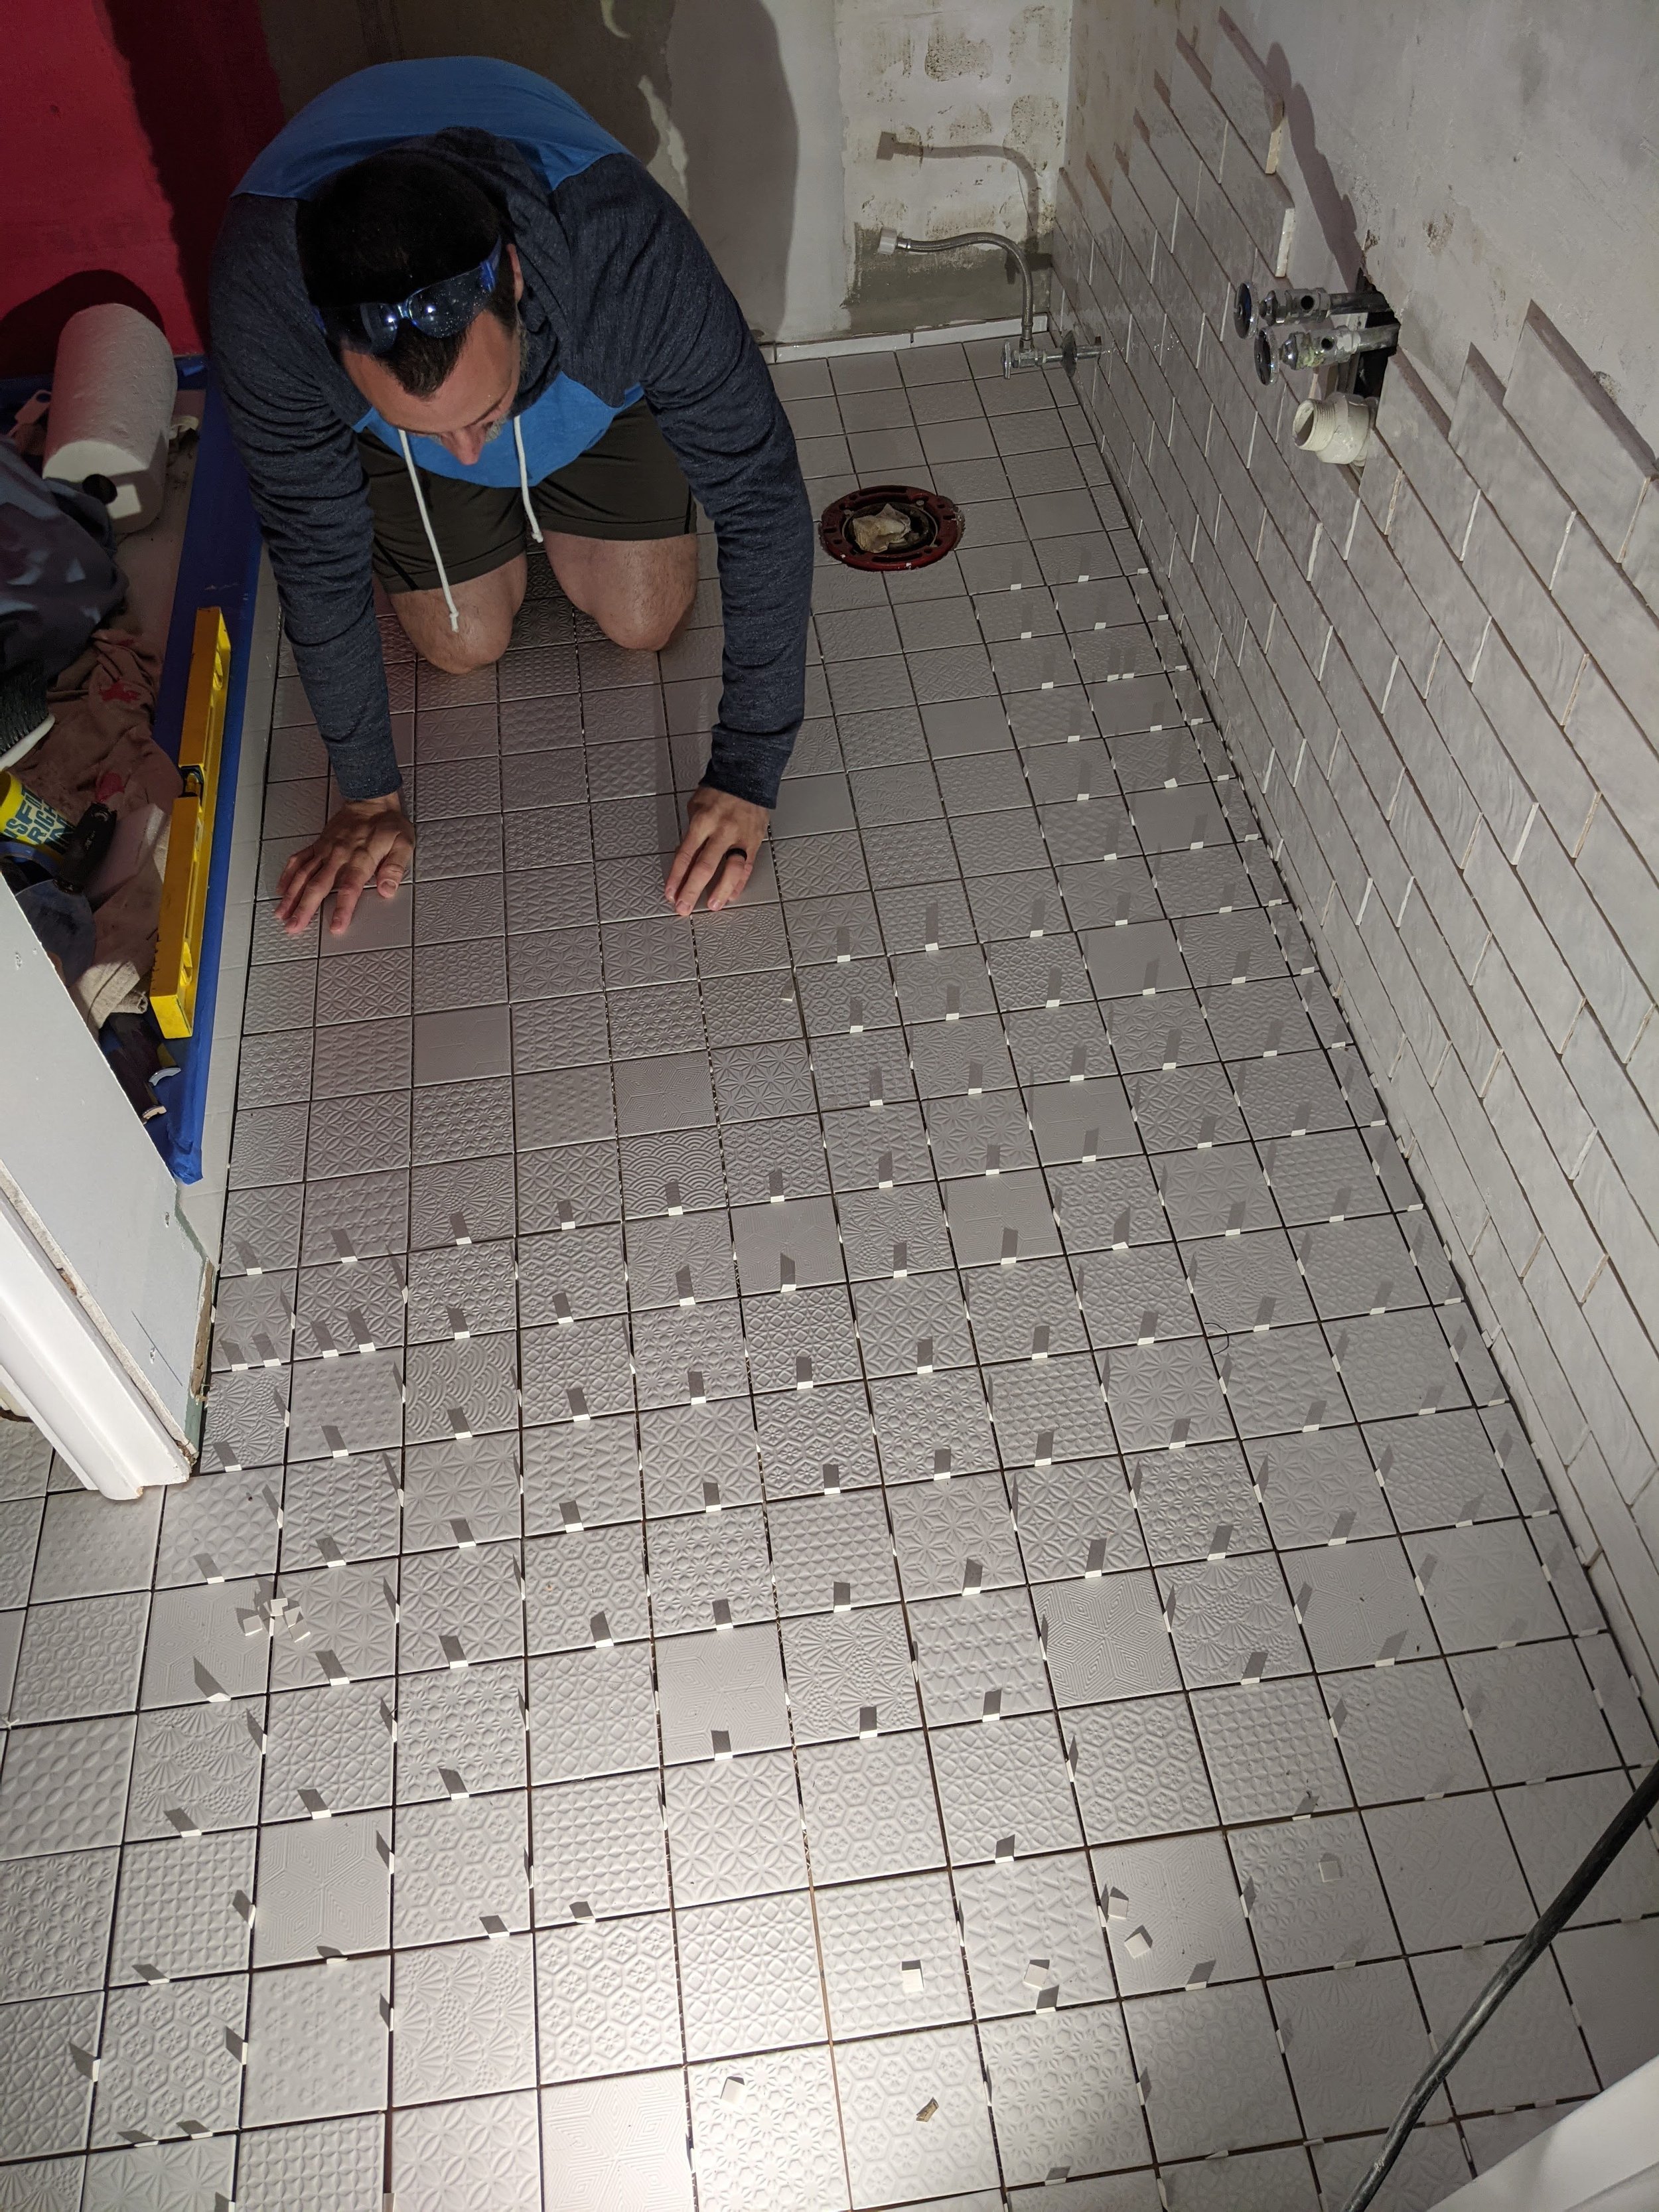
As I’ve said before, grouting is mostly a matter of working it into all the cracks with a sponge, then wiping it off. Here’s where the textured tile really killed us…. we couldn’t just wipe it off as we were normally used to doing. It was a LOT of elbow grease to get all the grout out of the grooves in the tiles. I do think it’s work it for the final, luscious finish!


