

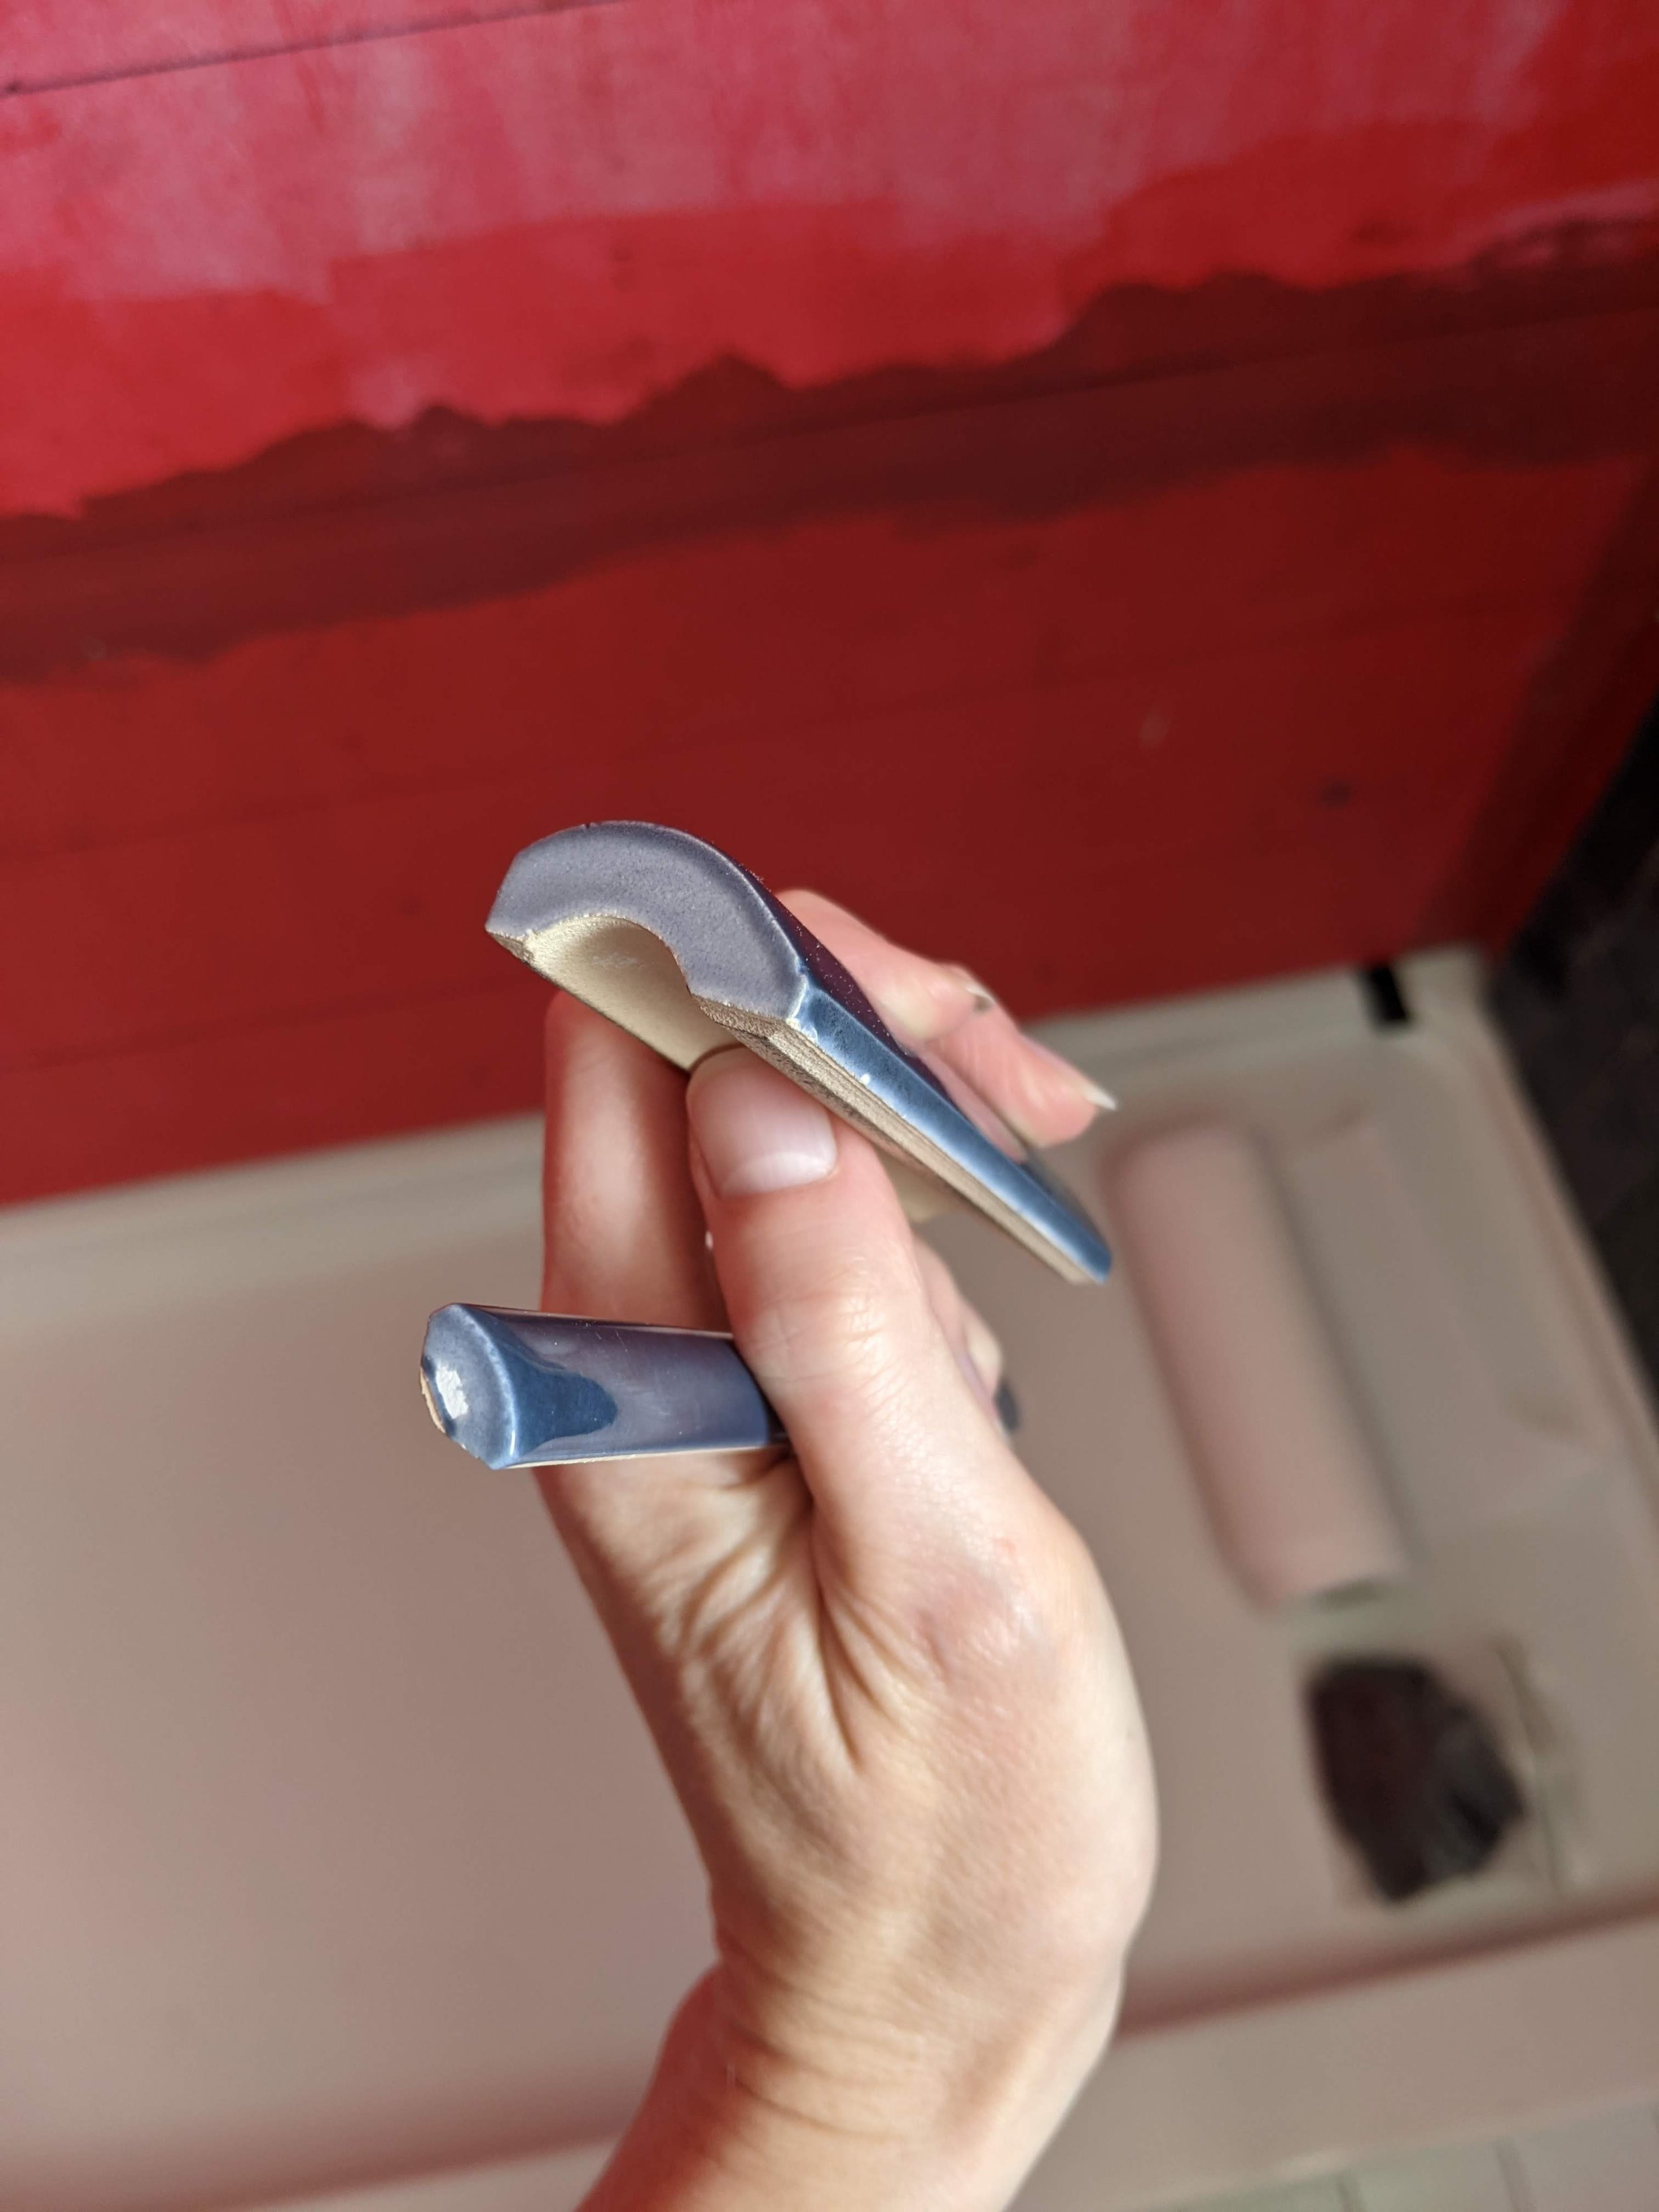
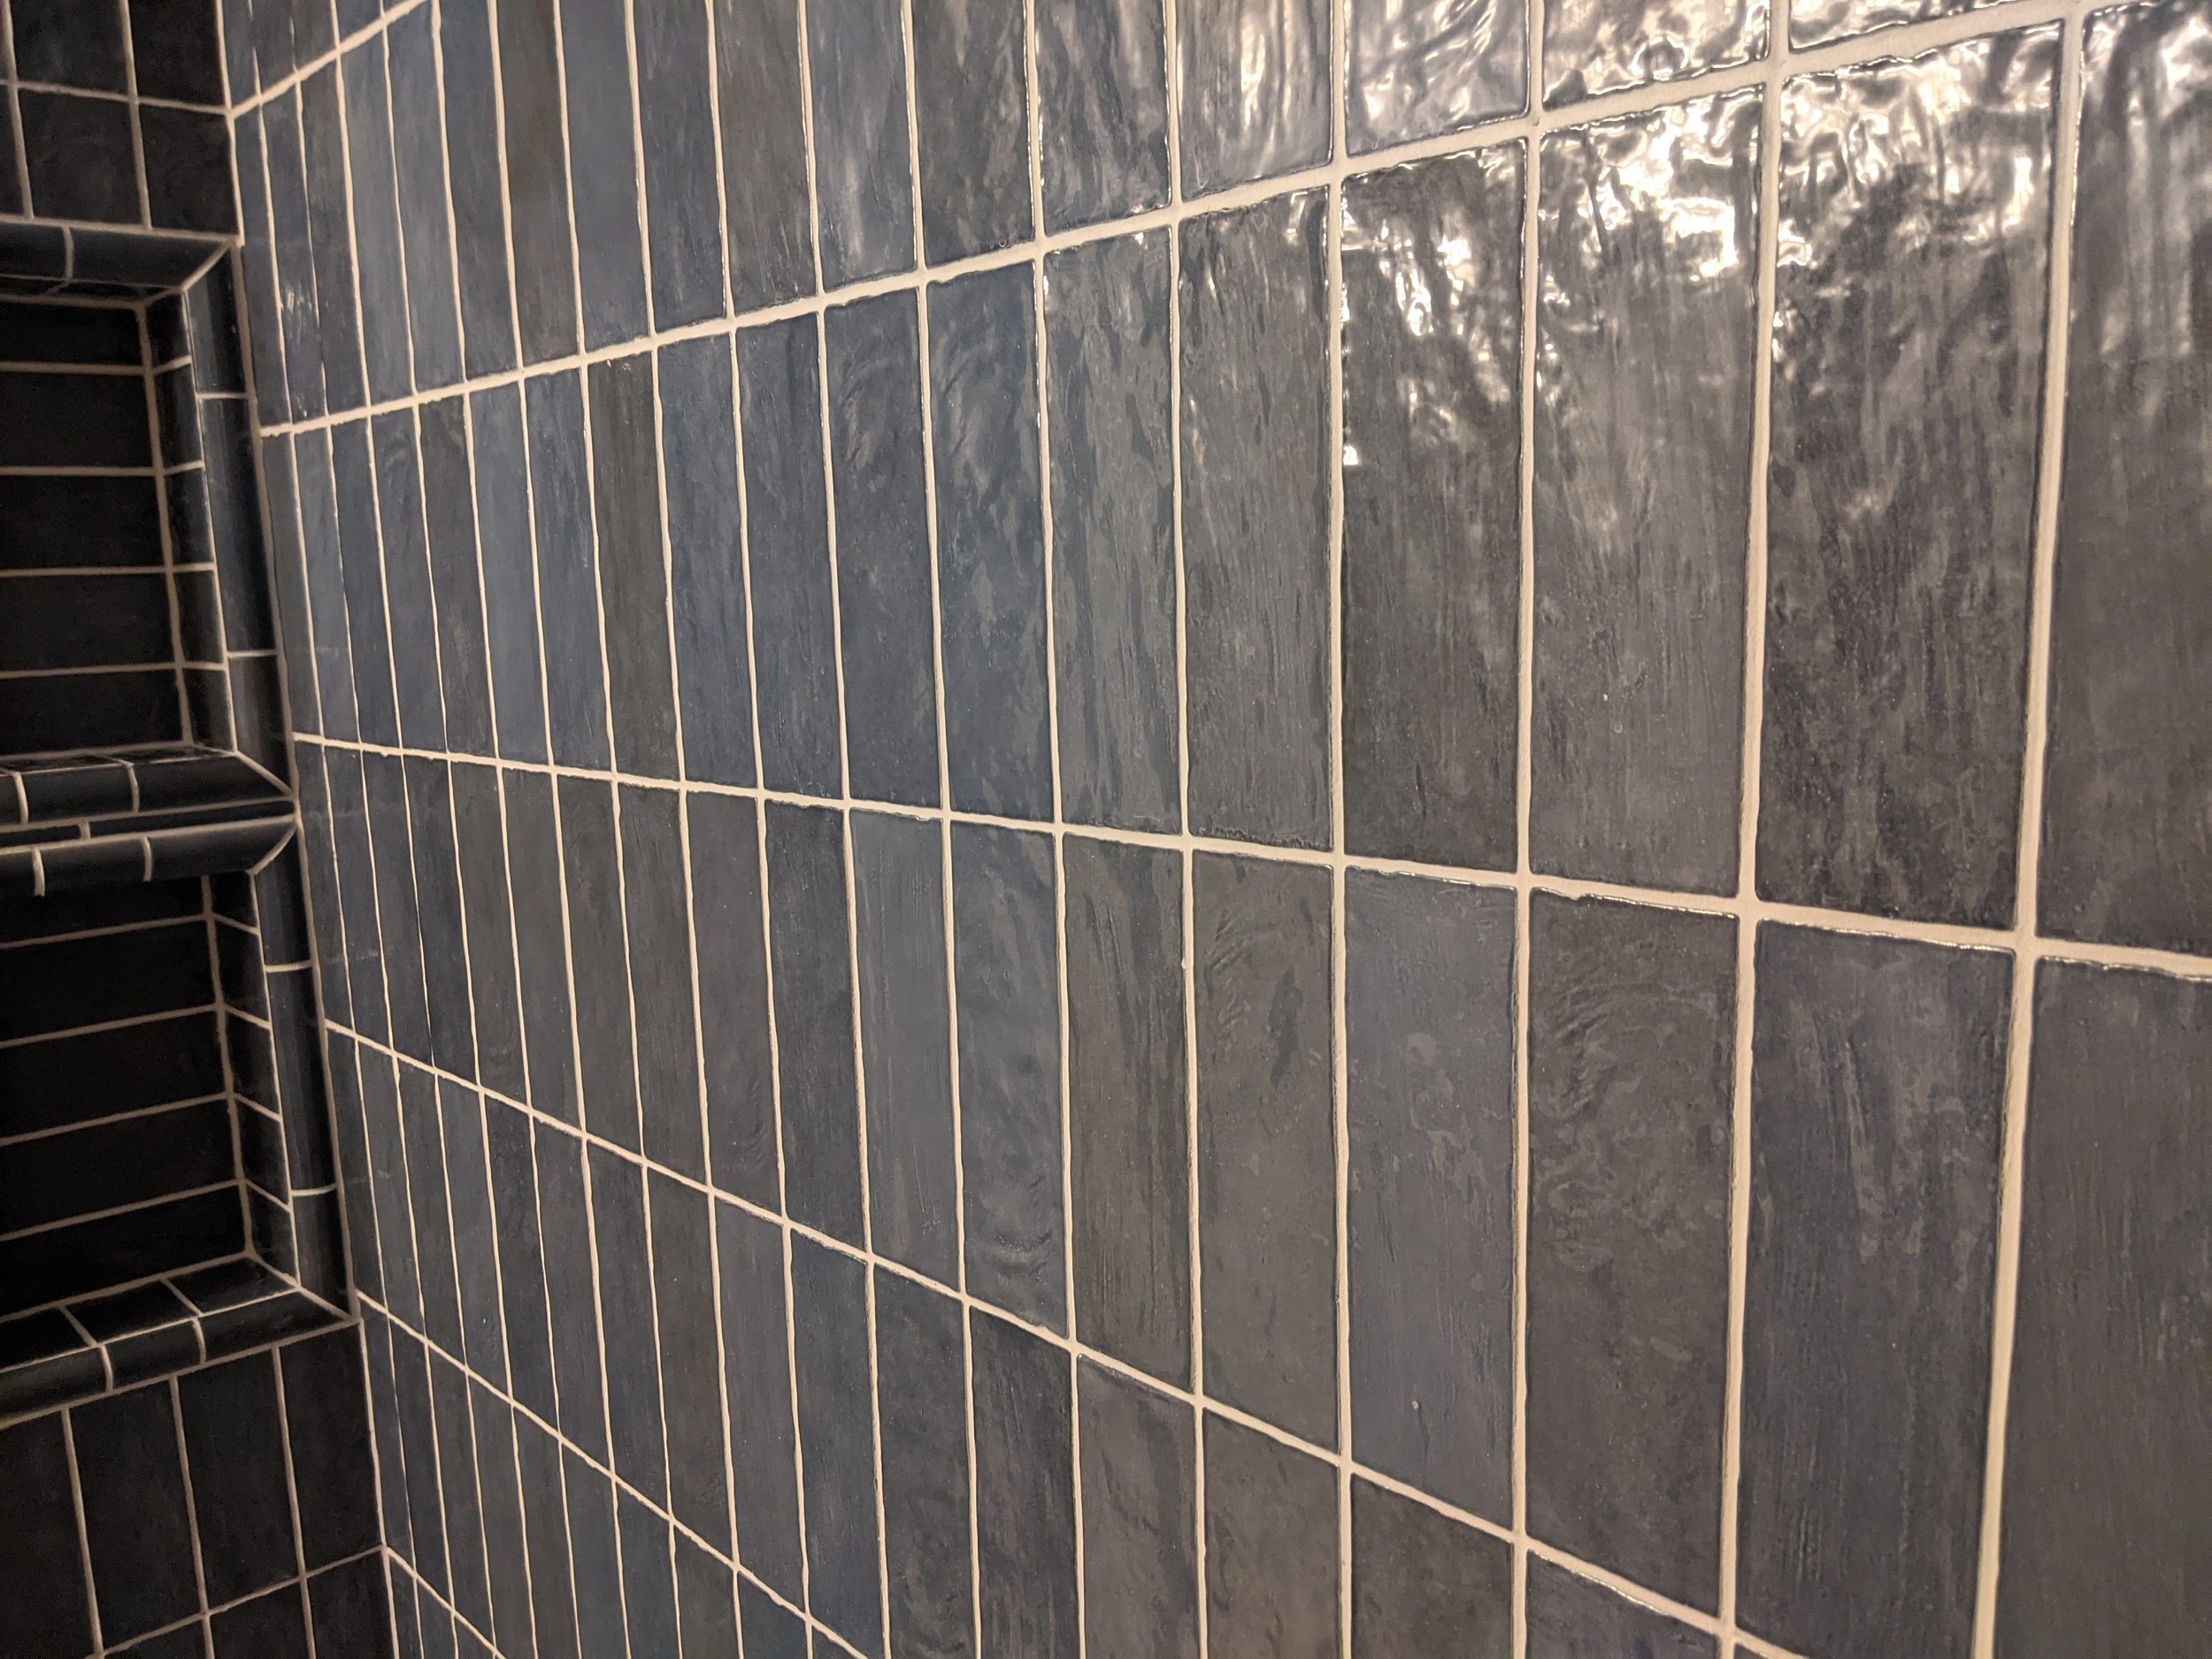
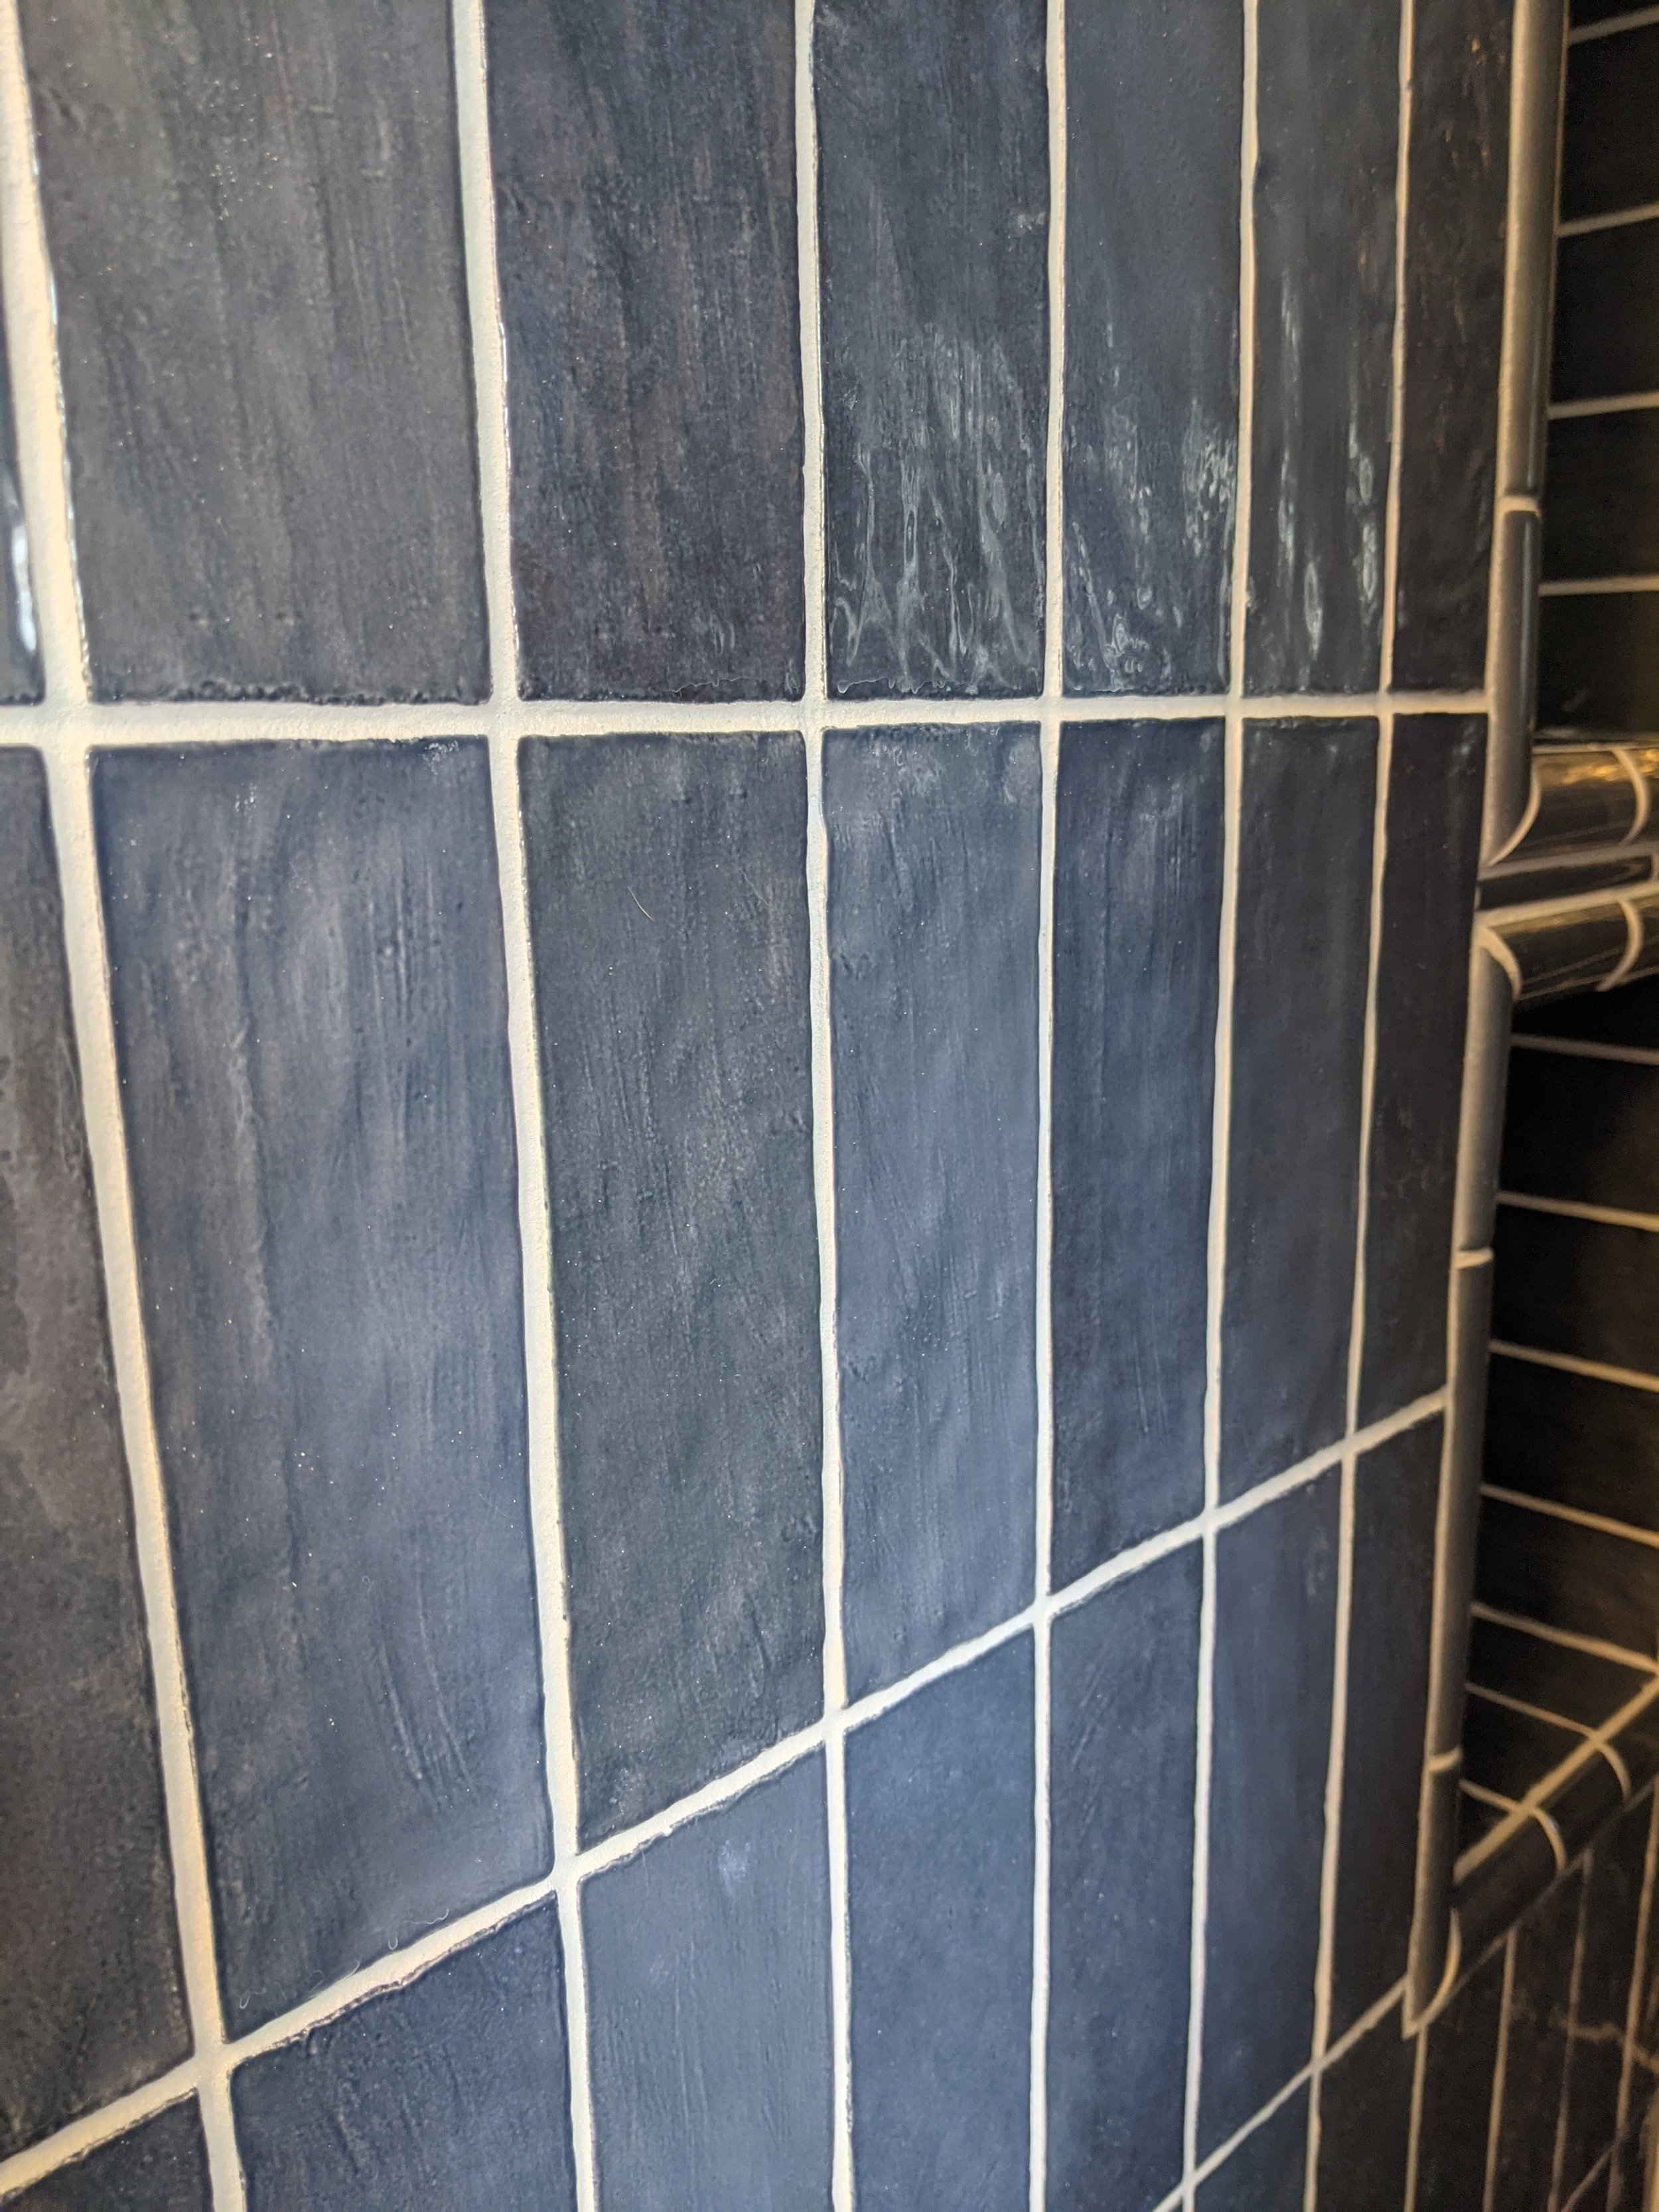
Love this blue tile, and the stress-filled pattern was worth it for the end results. (I can say that since Hubs does the primary stressing.)
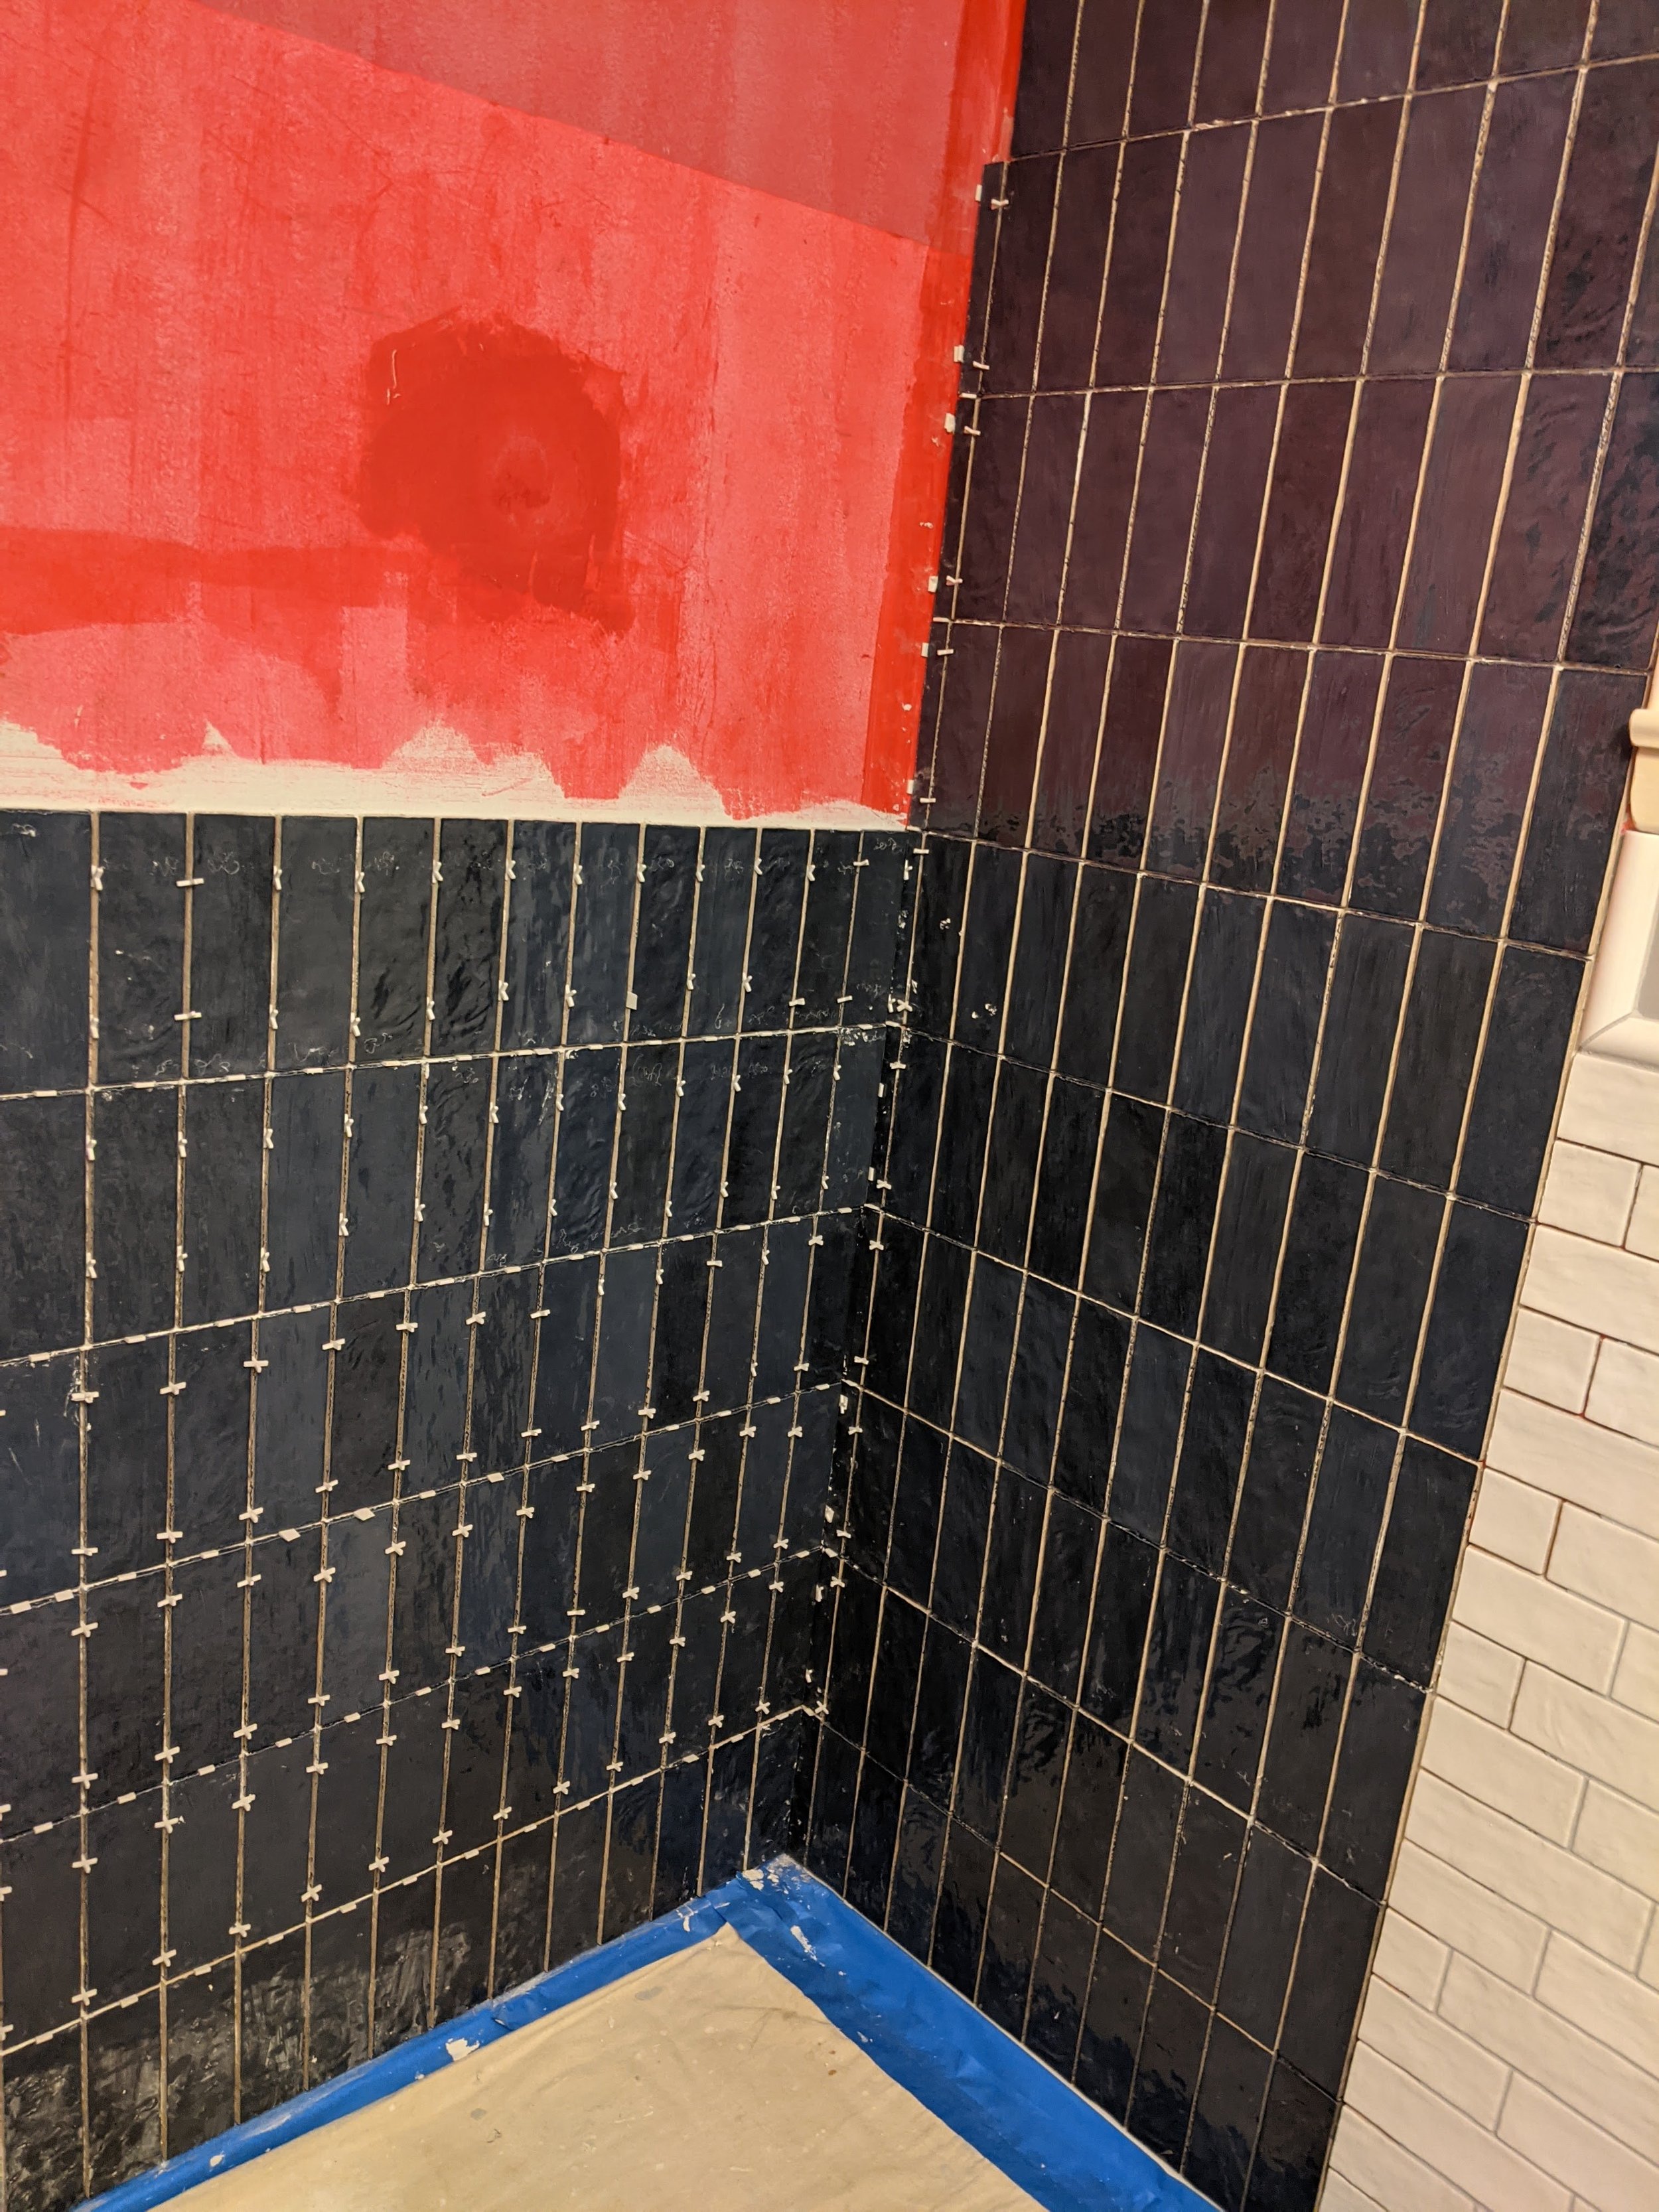
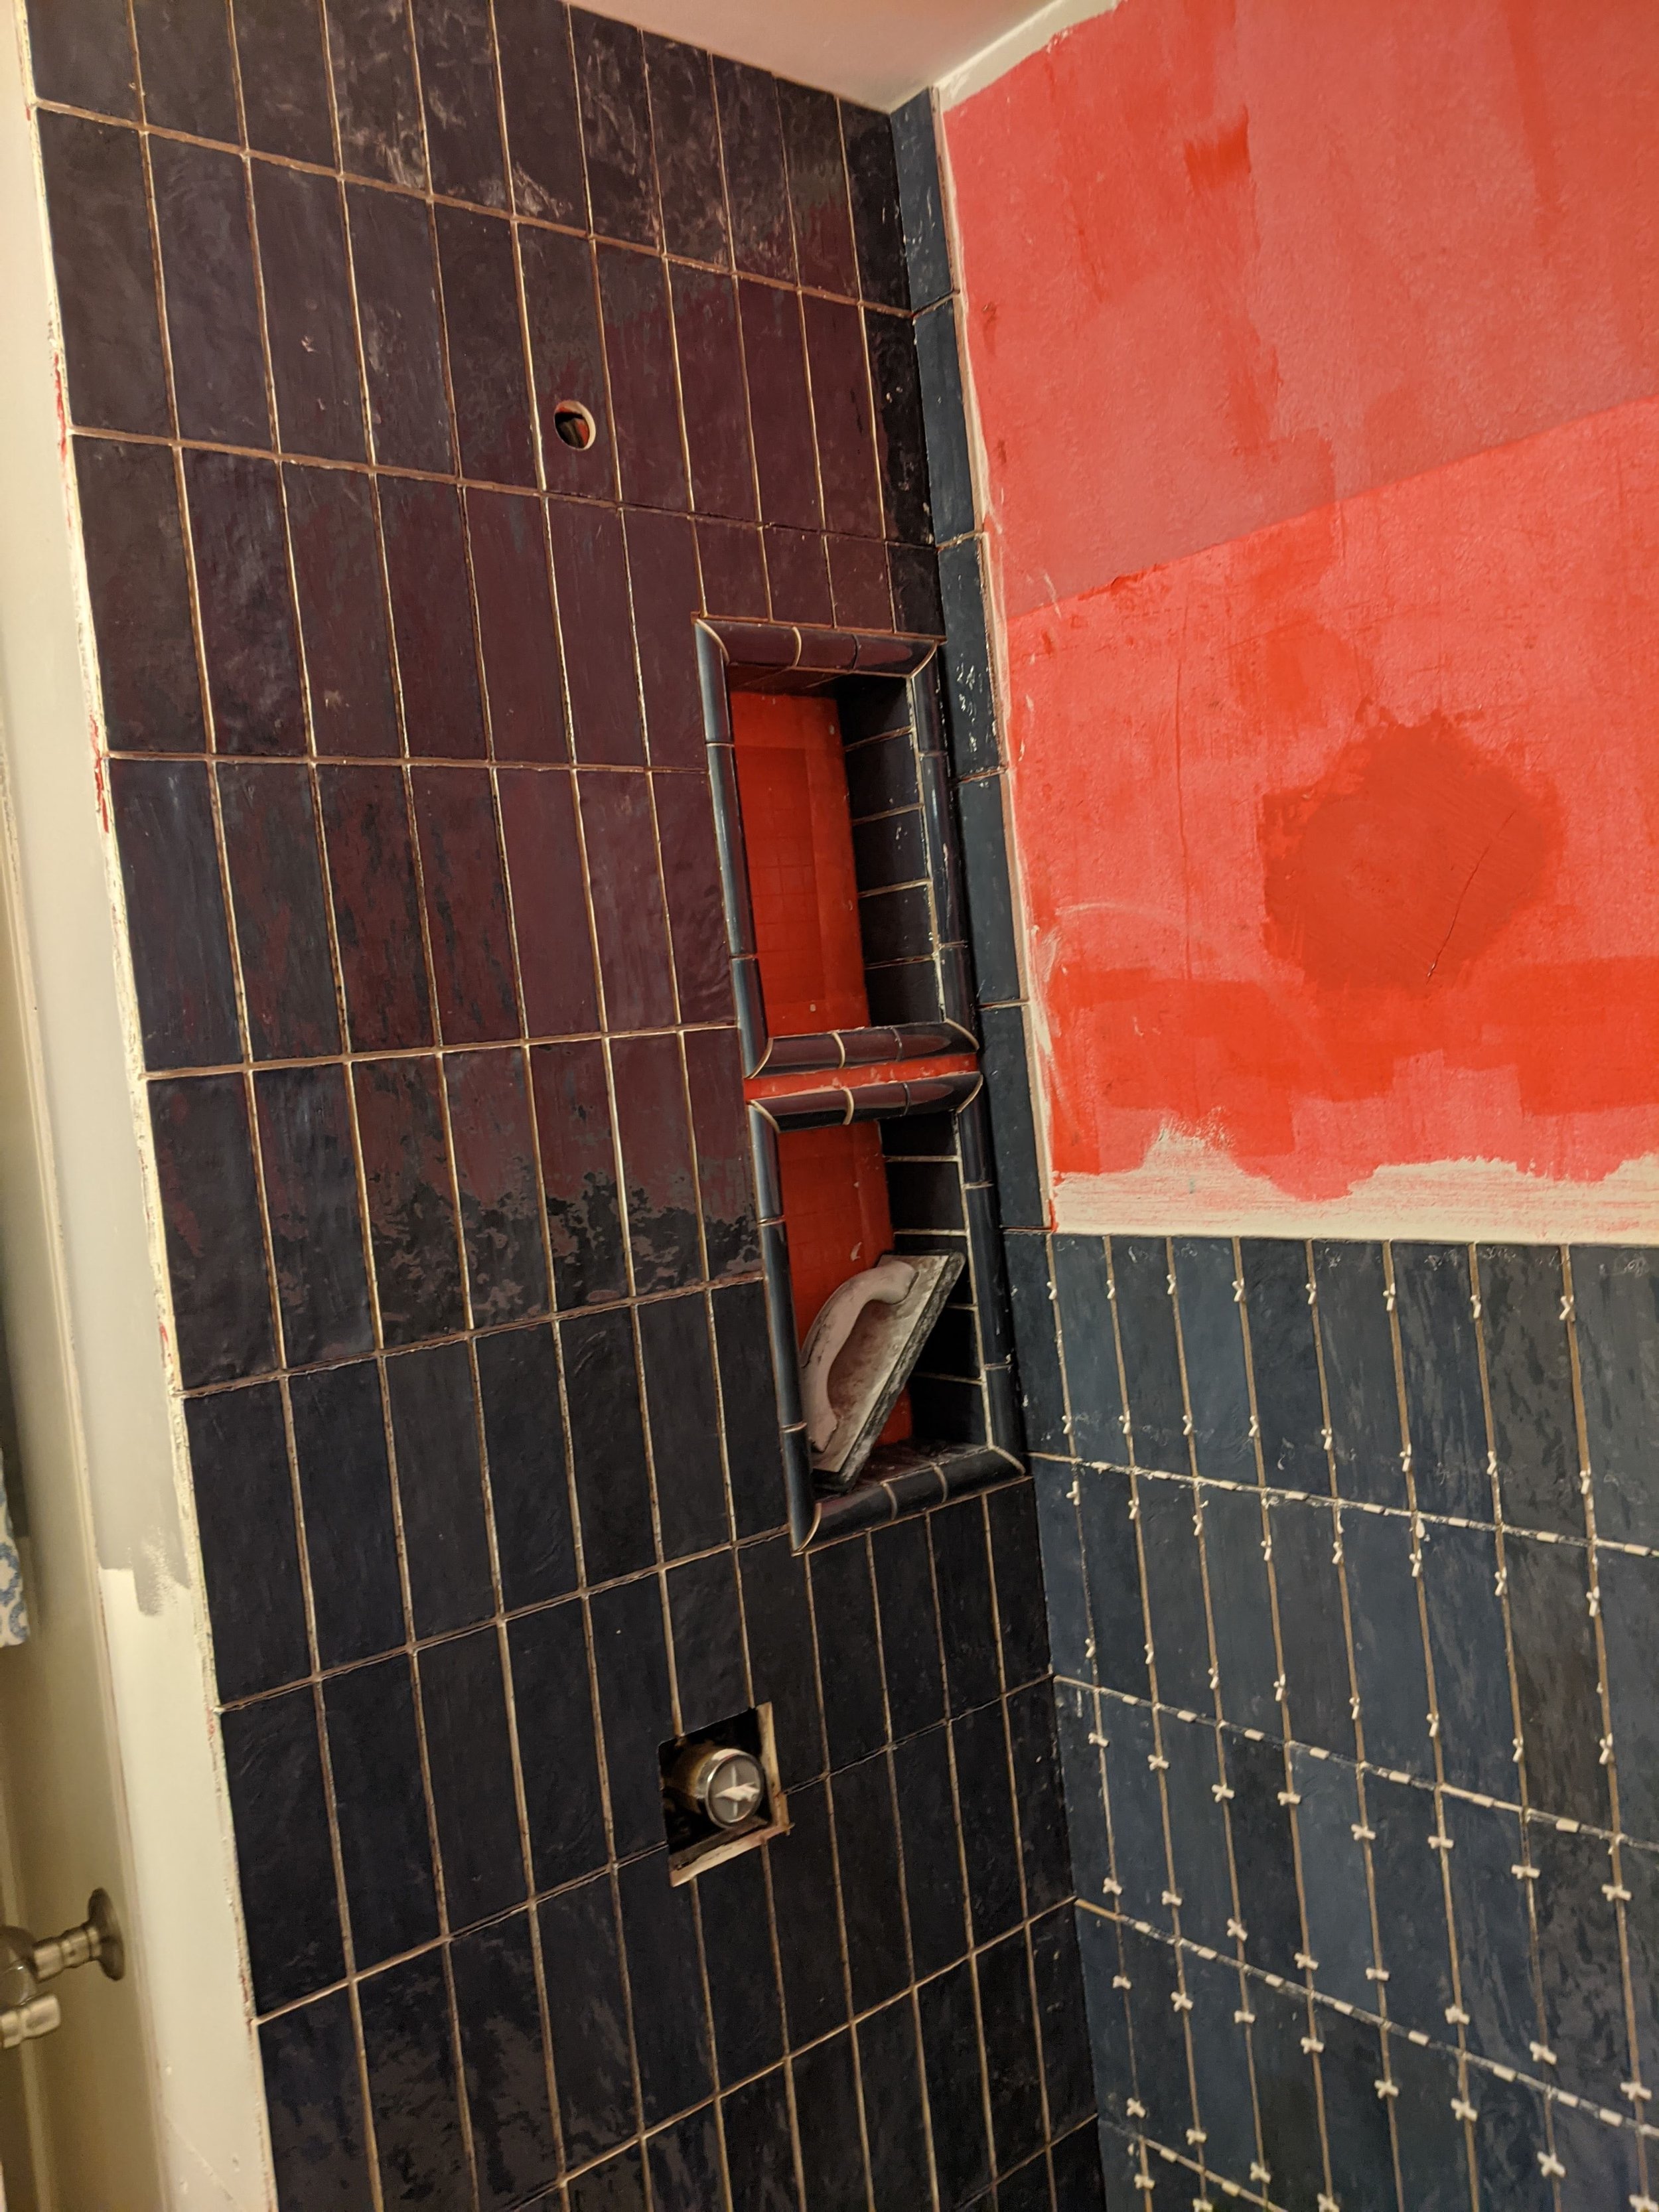
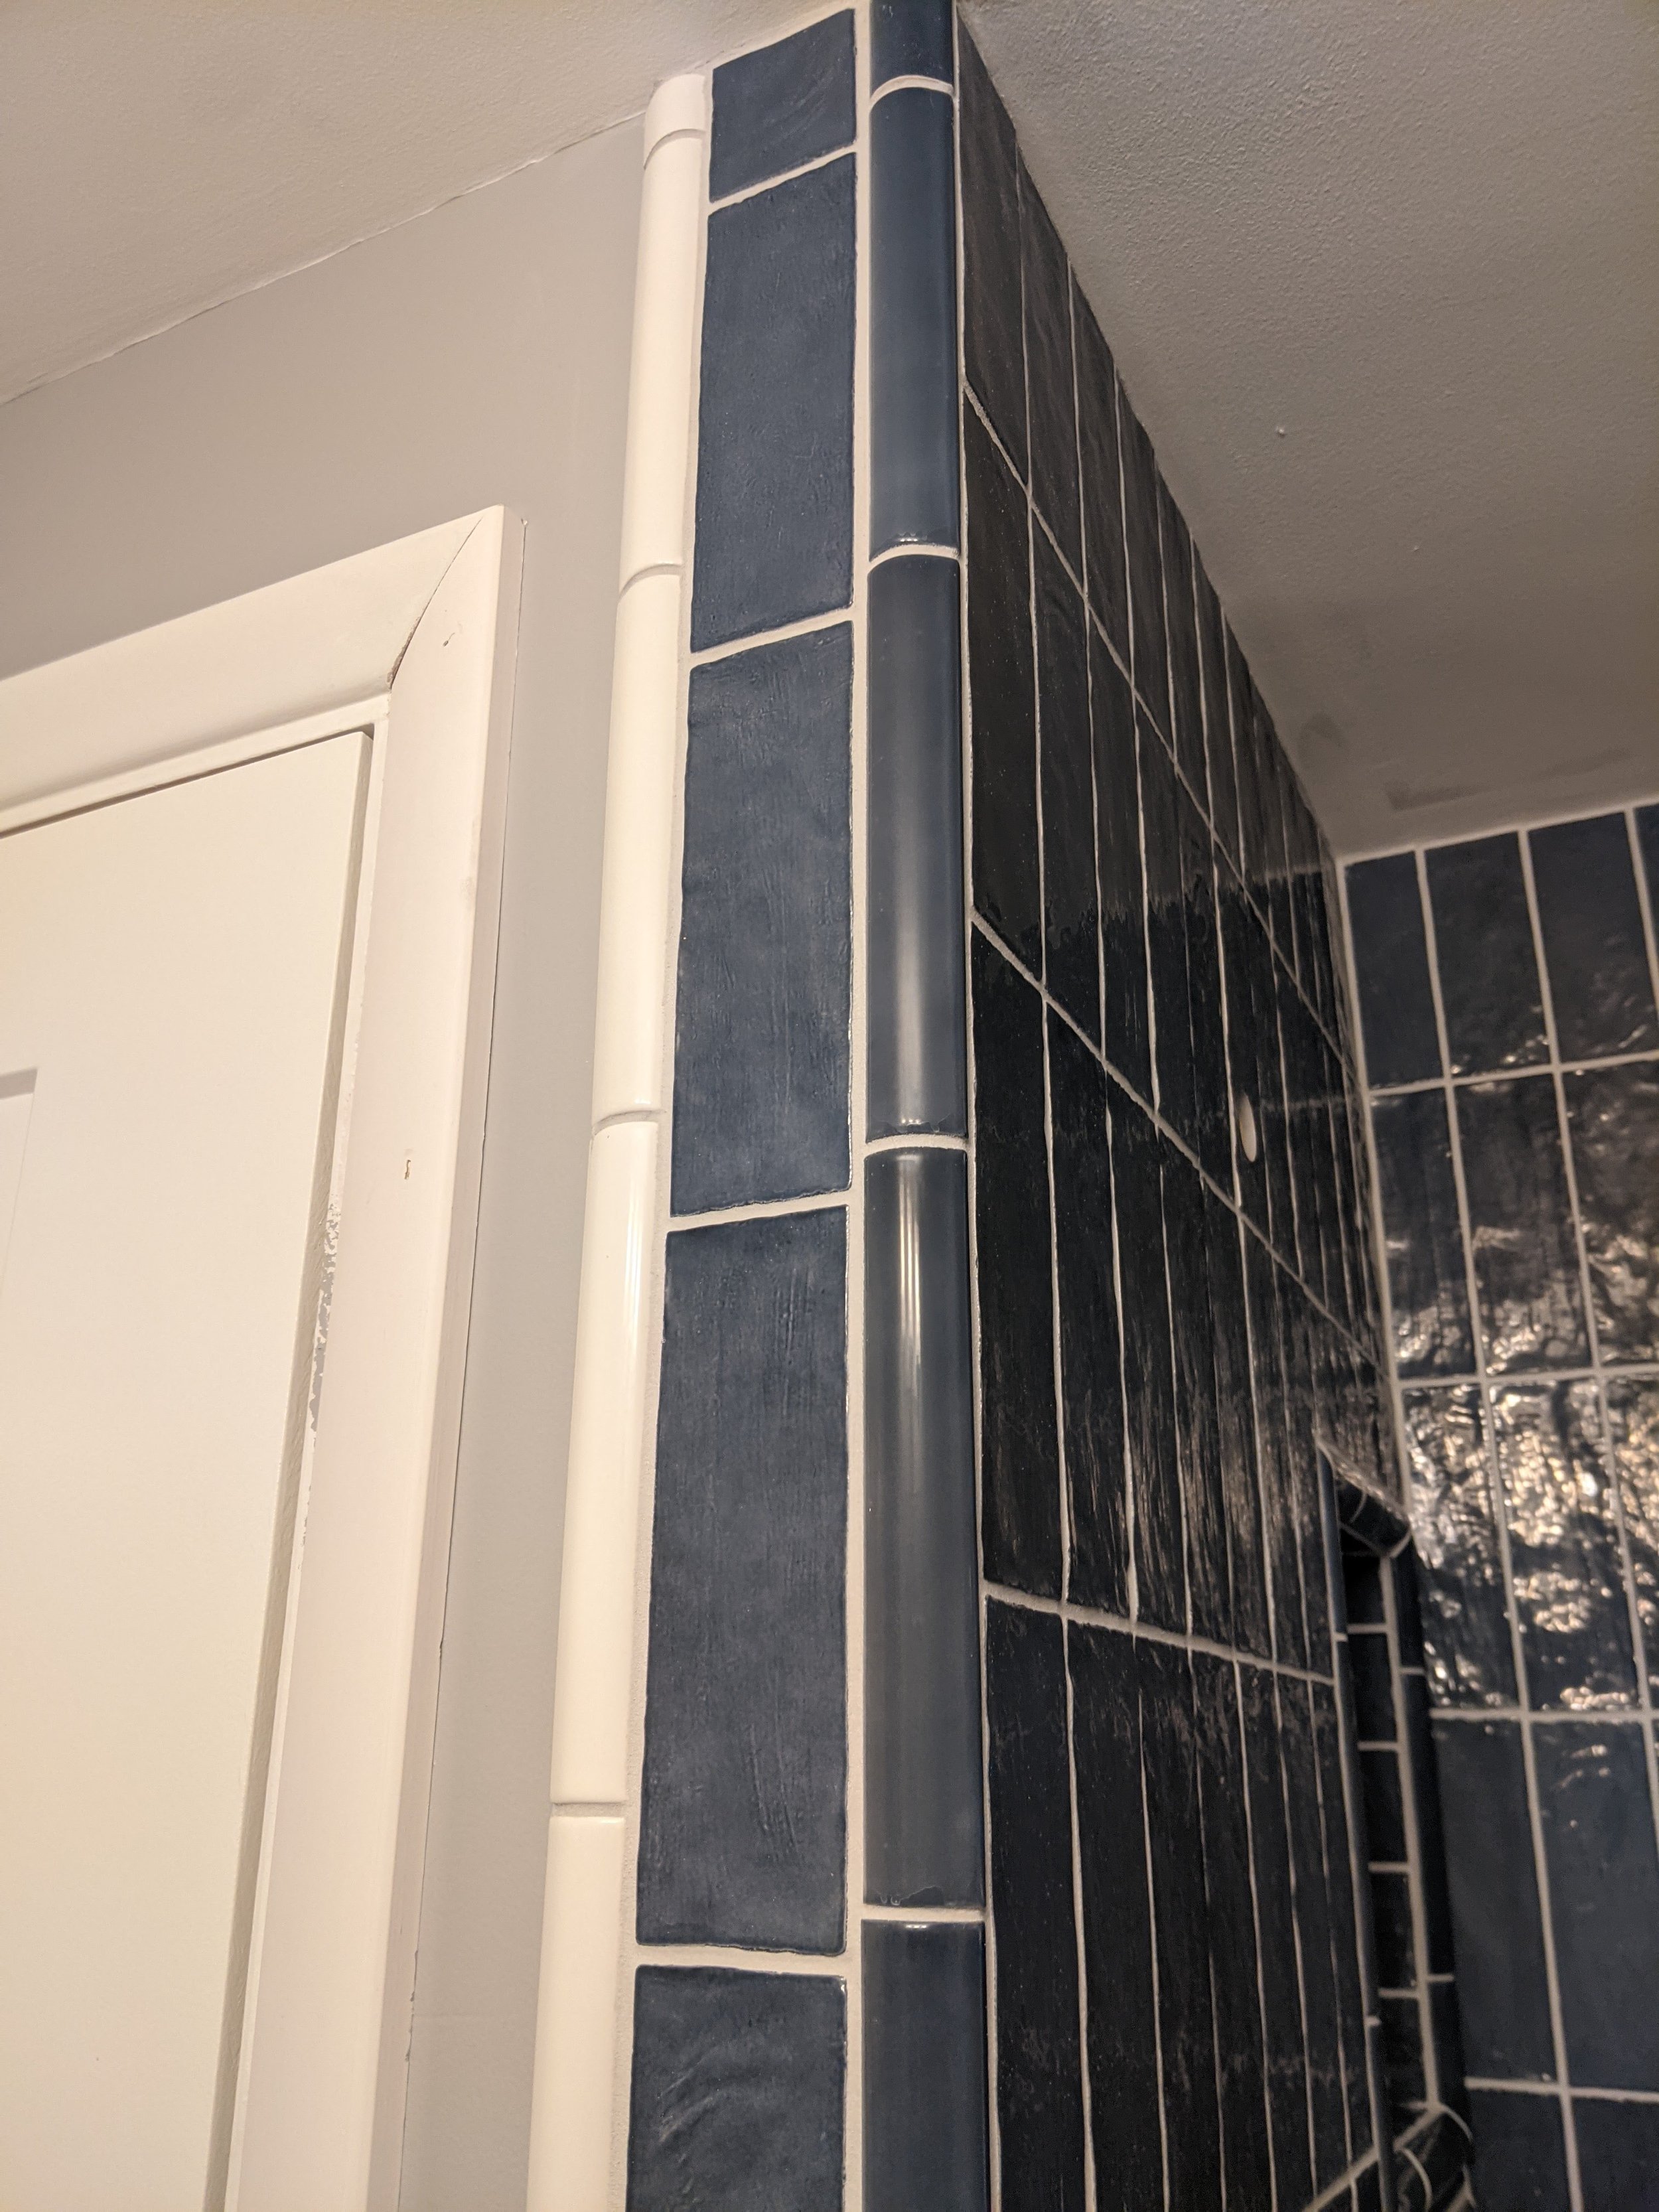
We had already decided that the contrast between the white interior walls and the blue shower walls would be accented by a differentiated pattern — the same tiles used two different ways.
This epic-perfection seam is now behind the shower door, which was by design but I feel like I need you to take 5 seconds and stare at the line and just be impressed.
1
2
3
4
5
Ok, thanks.
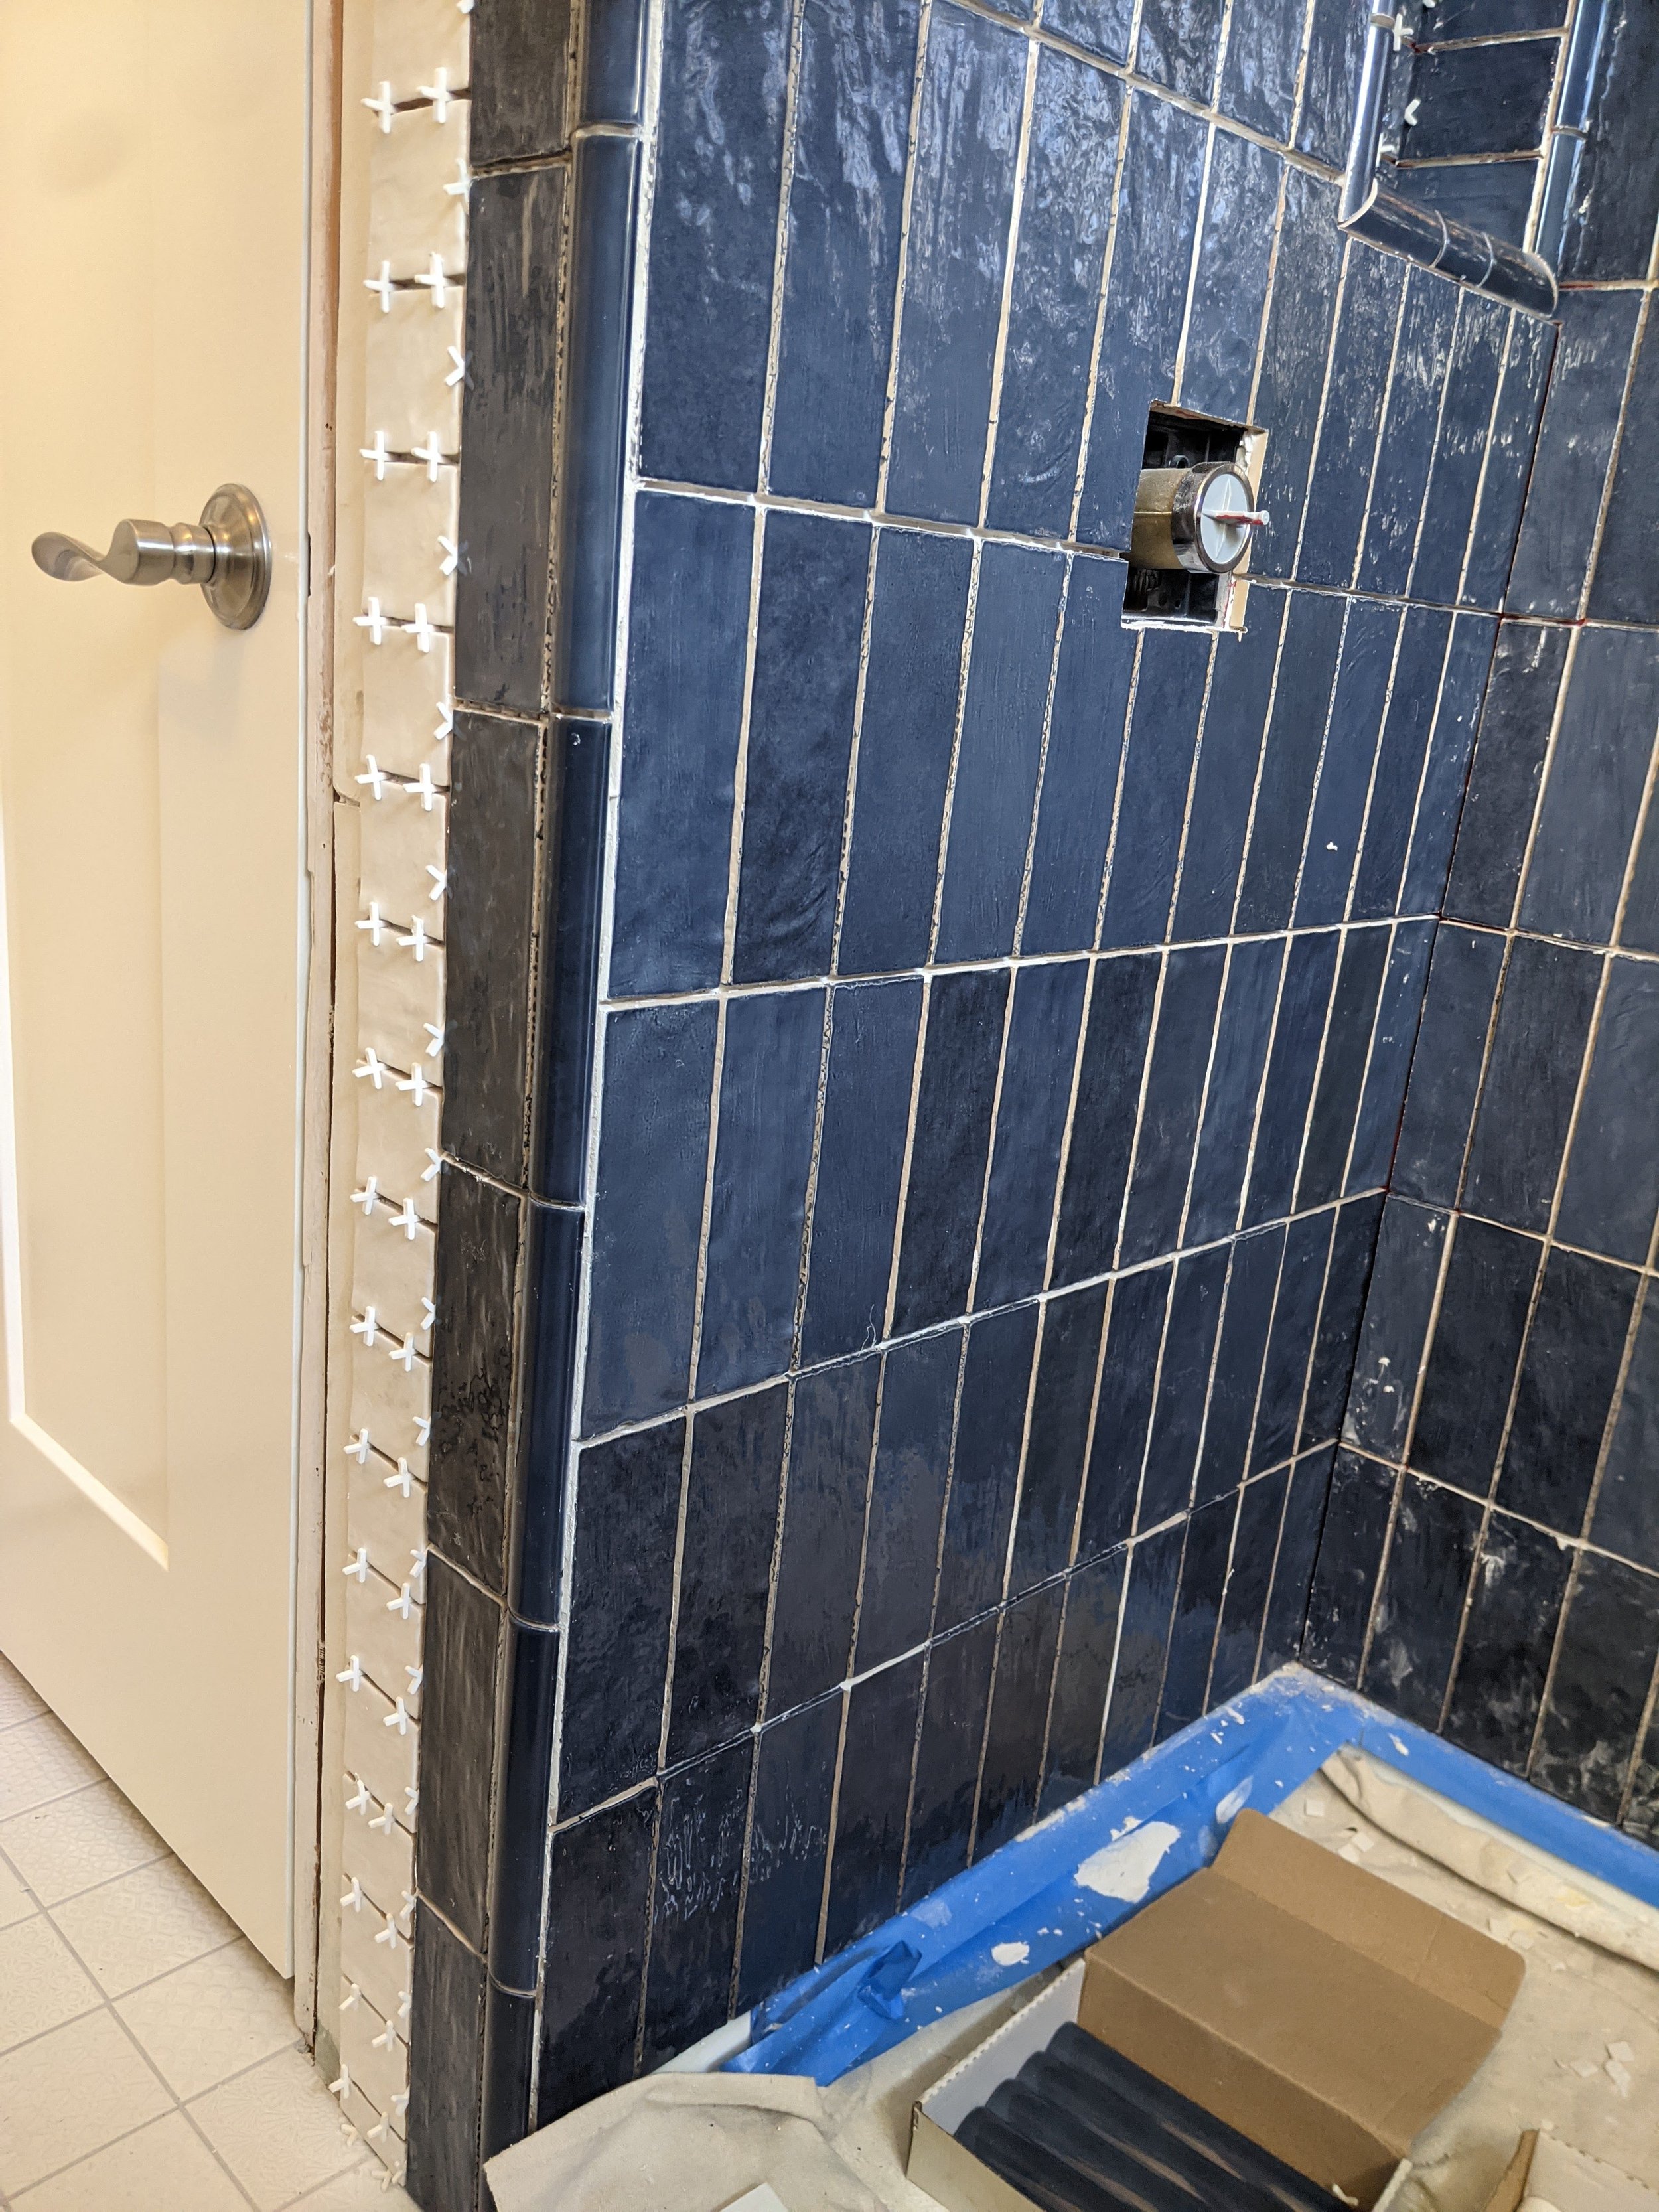
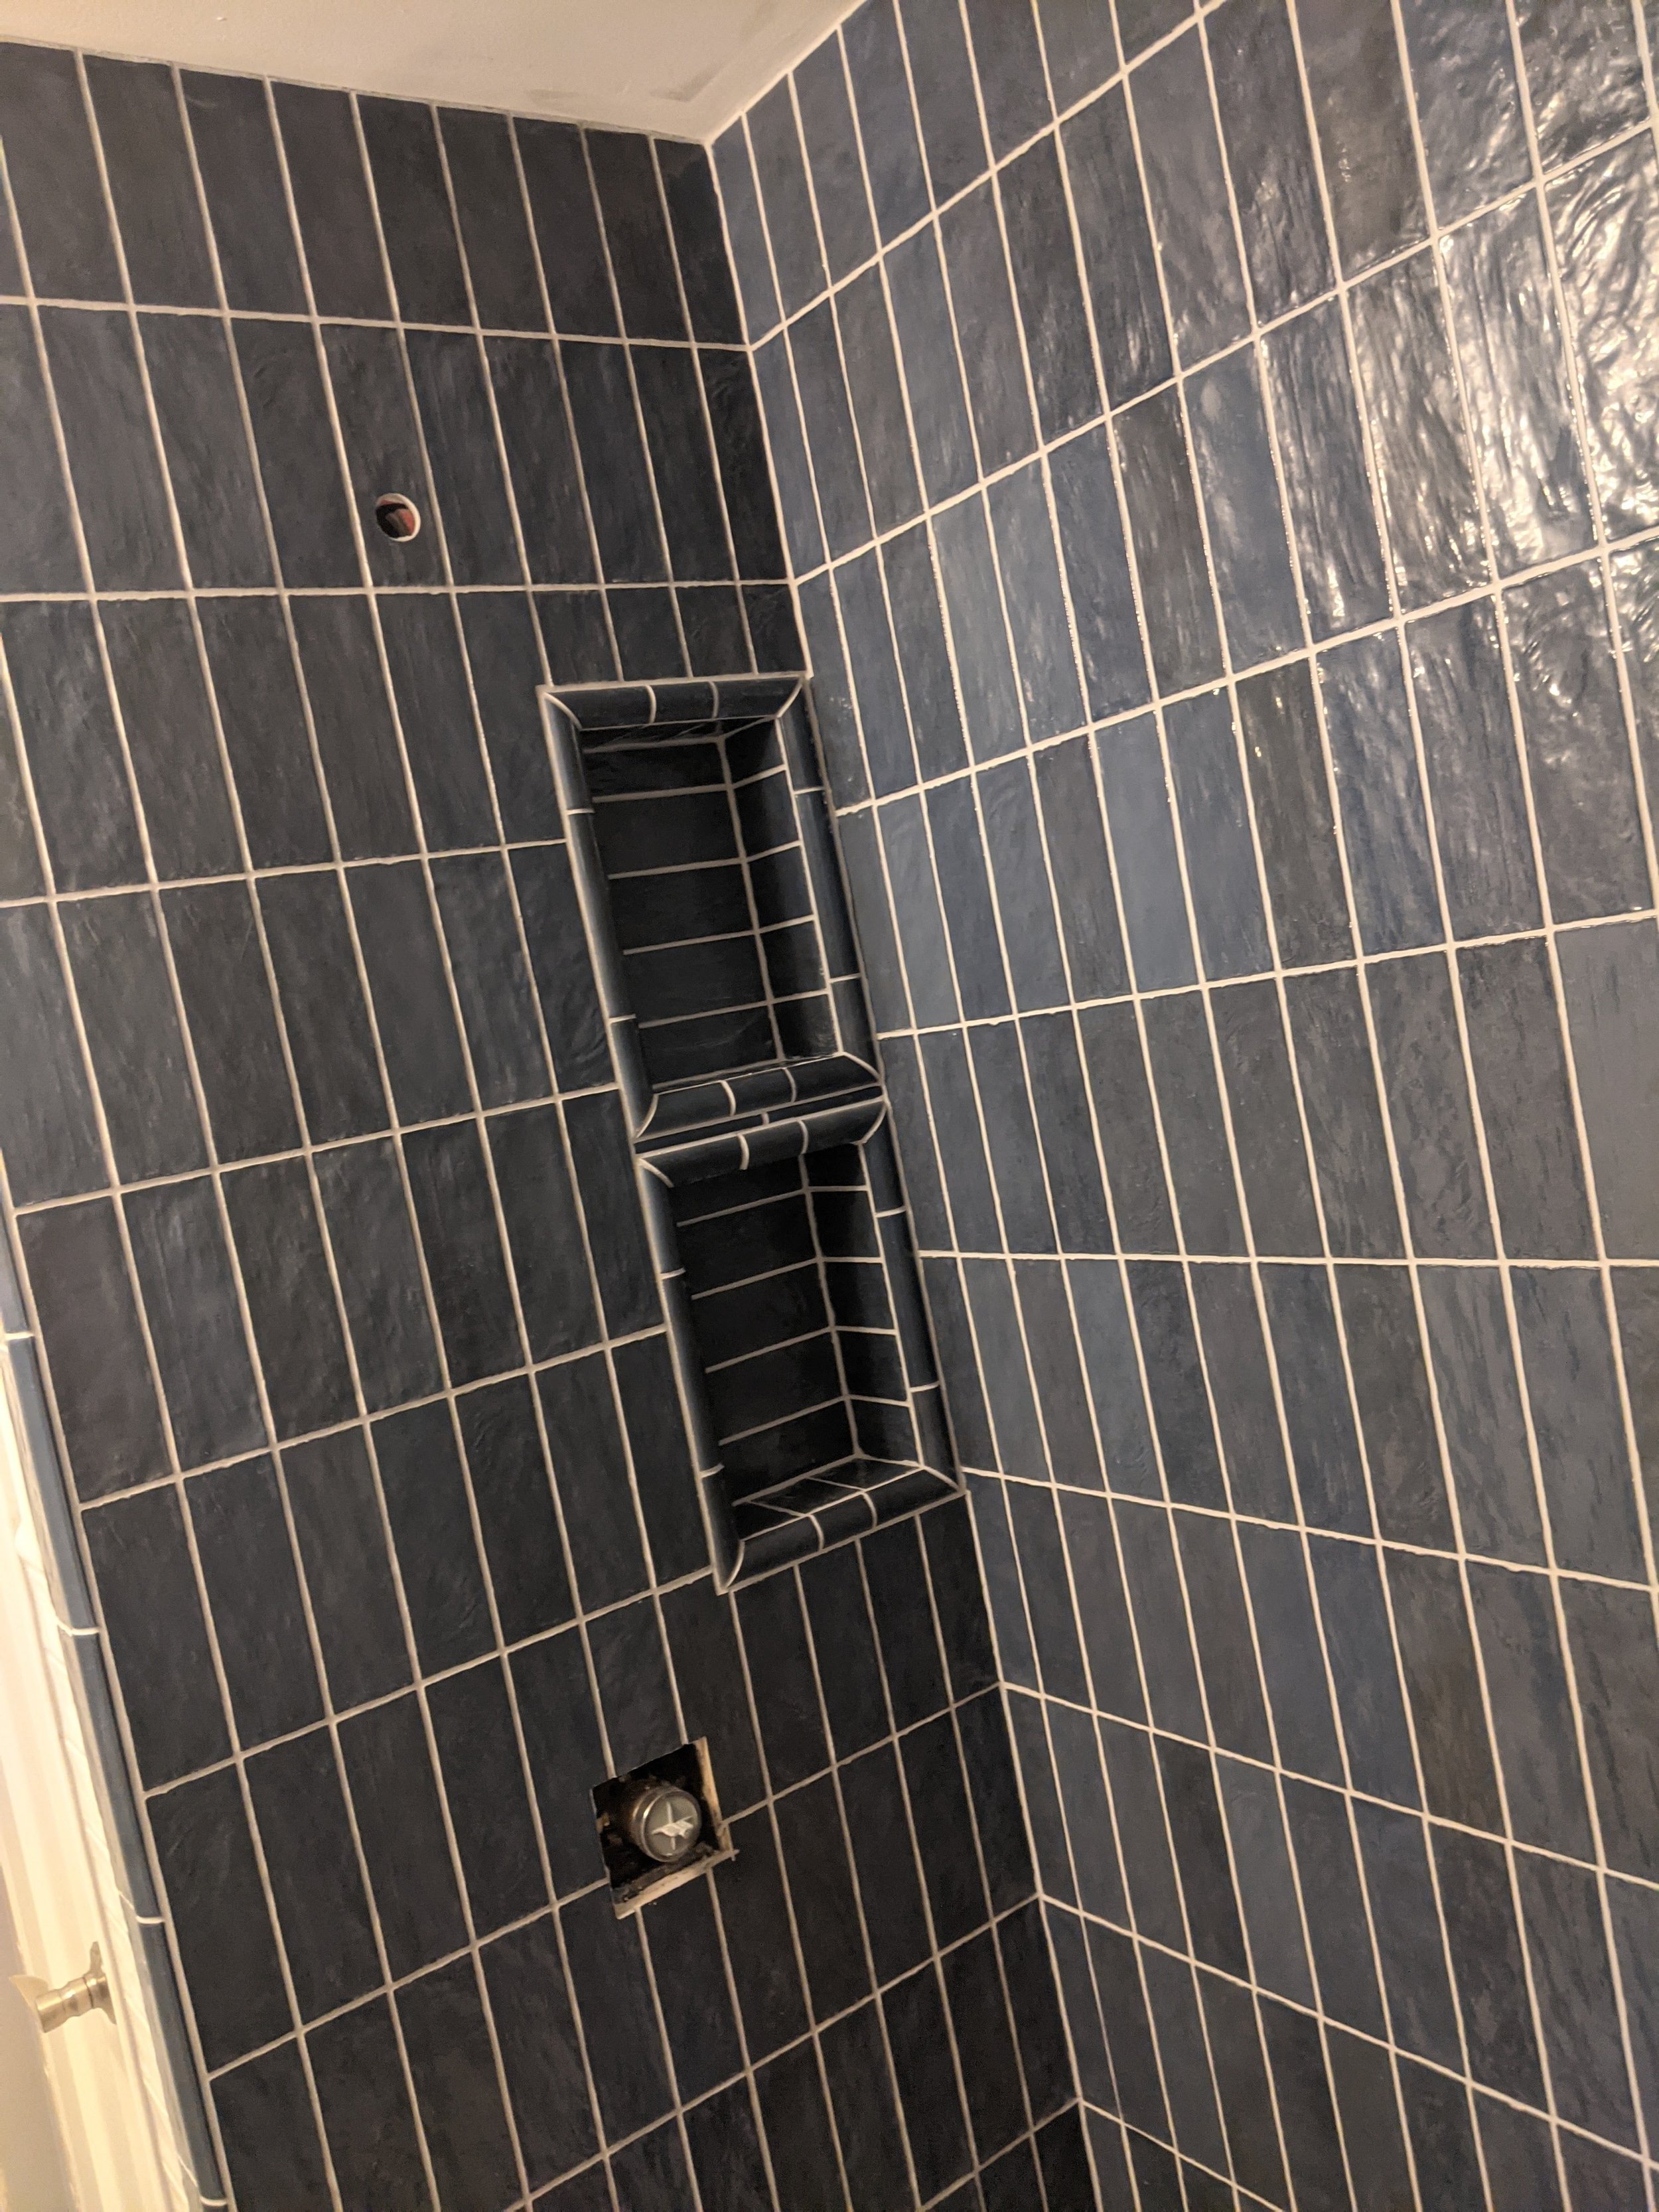
We started at the far wall (away from the plumbing) and then worked our way up the main wall, finishing on the front wall with the plumbing and two shelves.

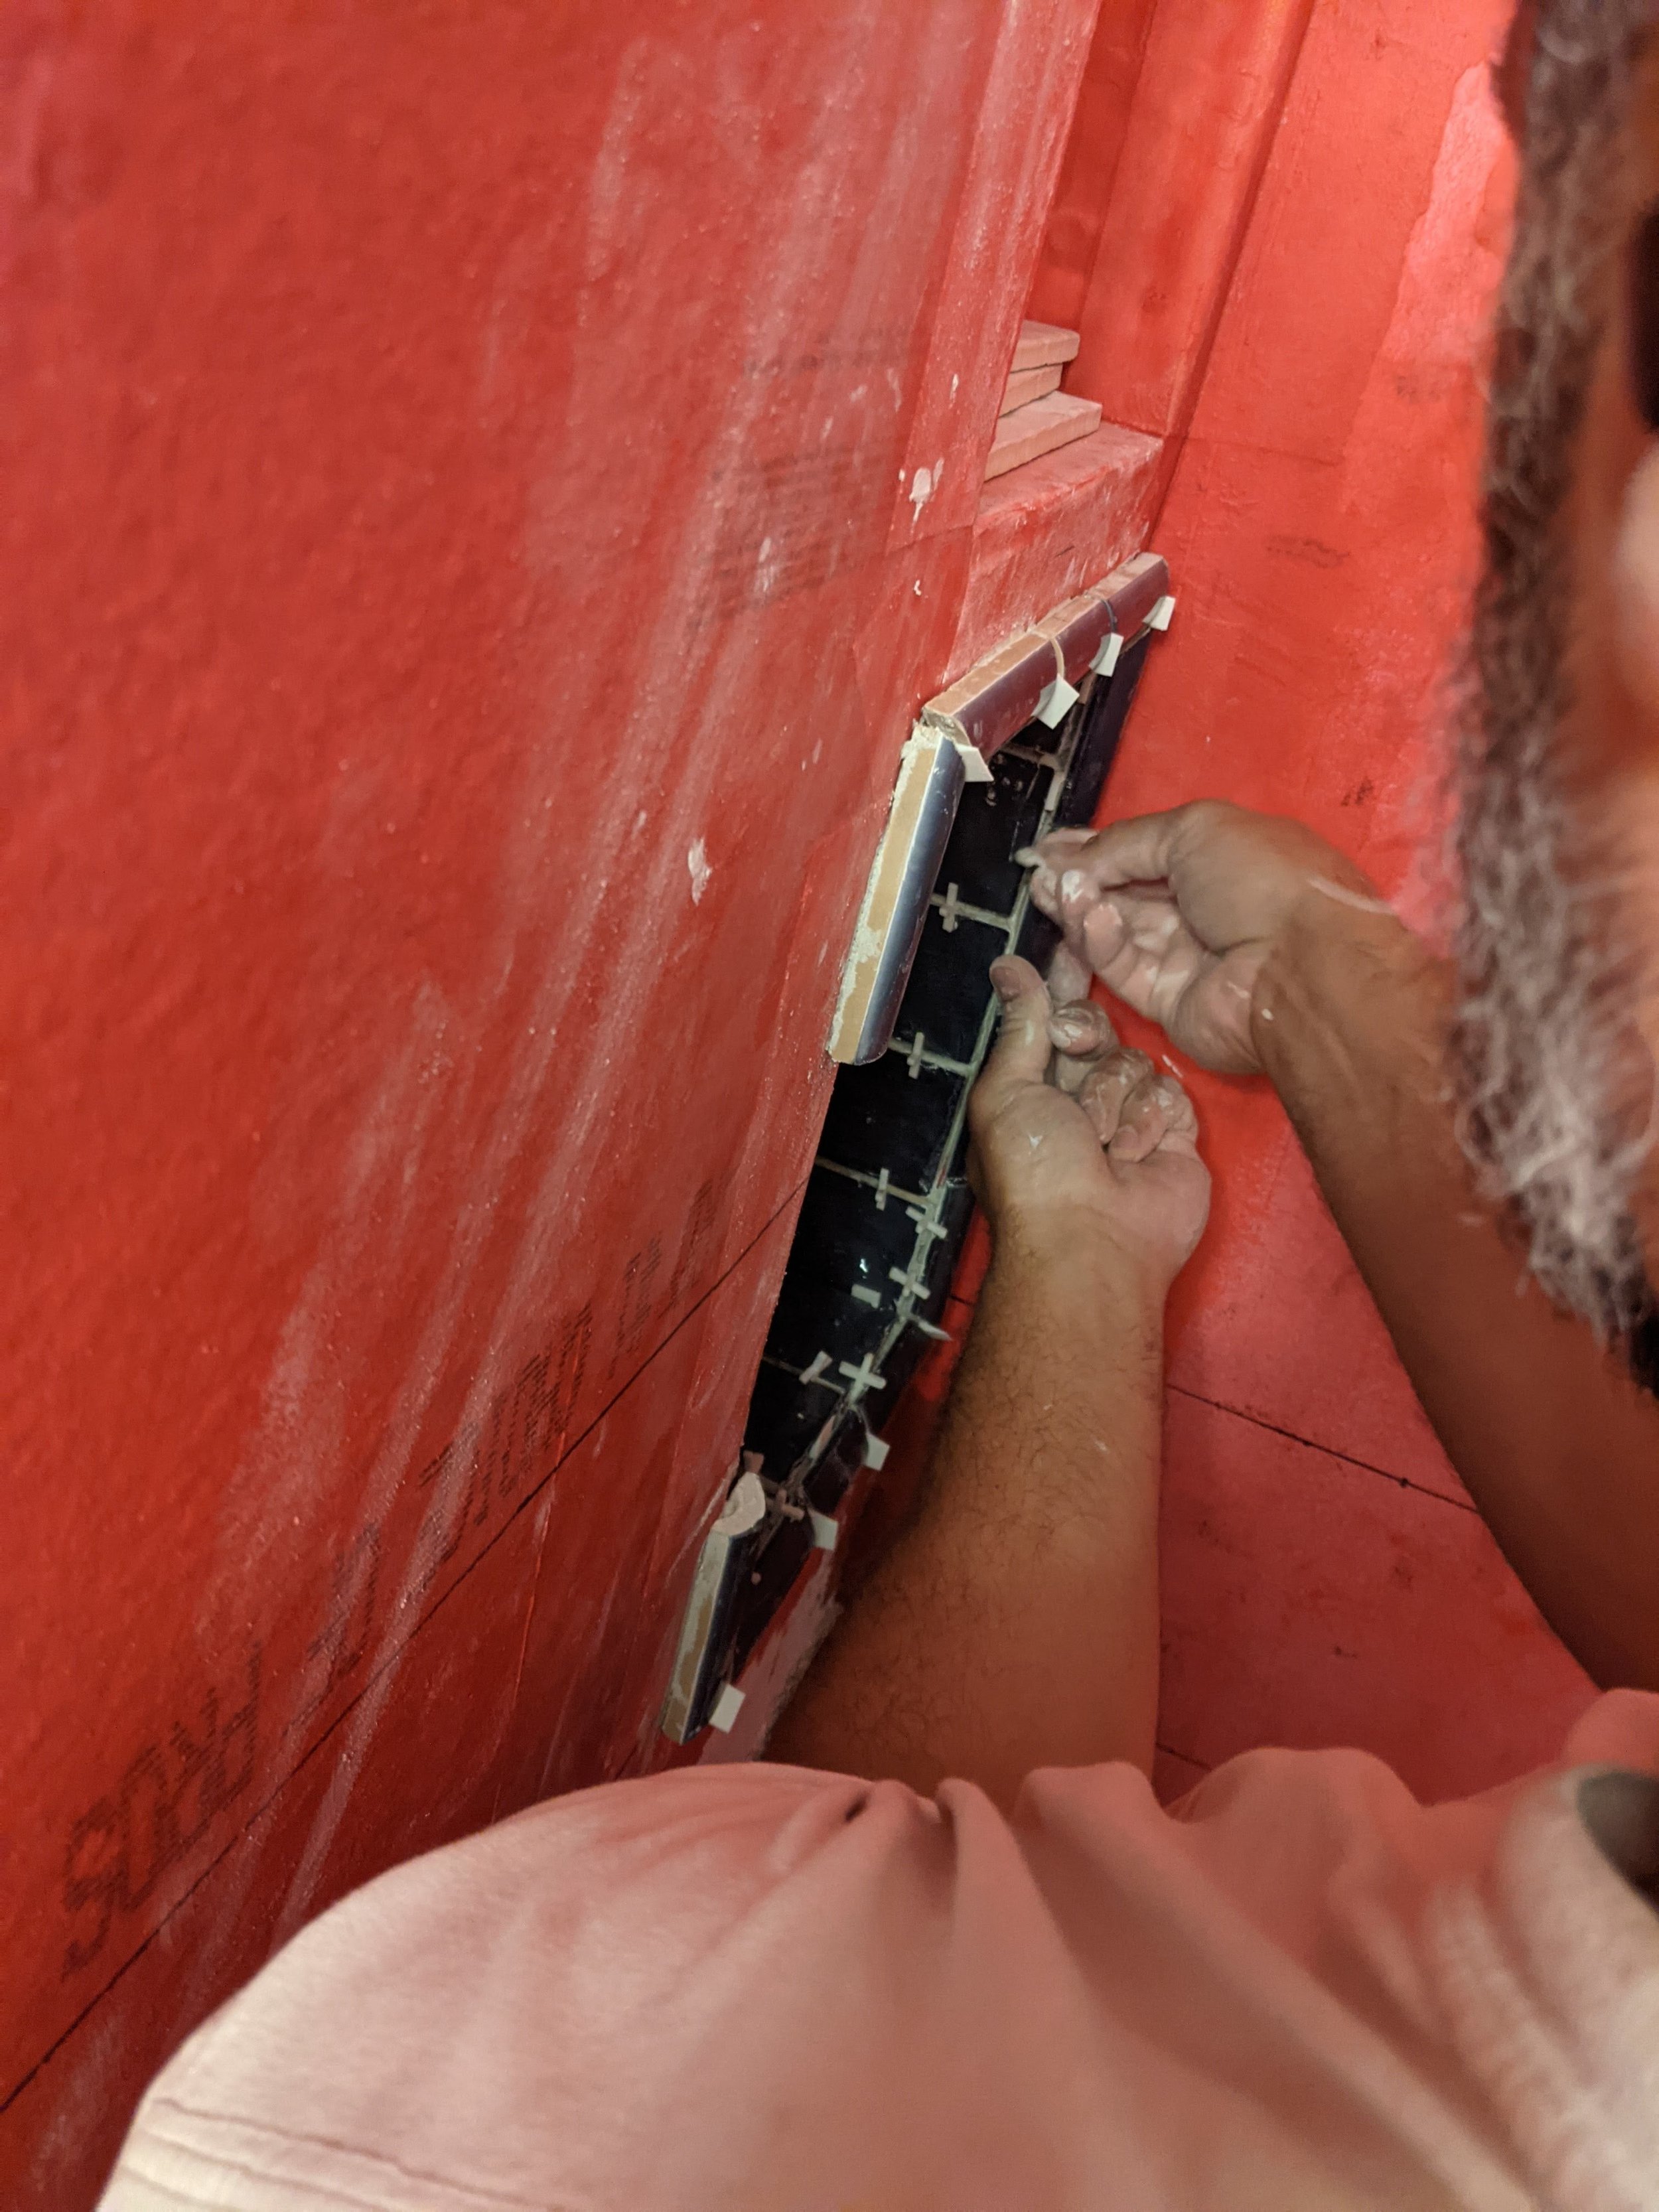
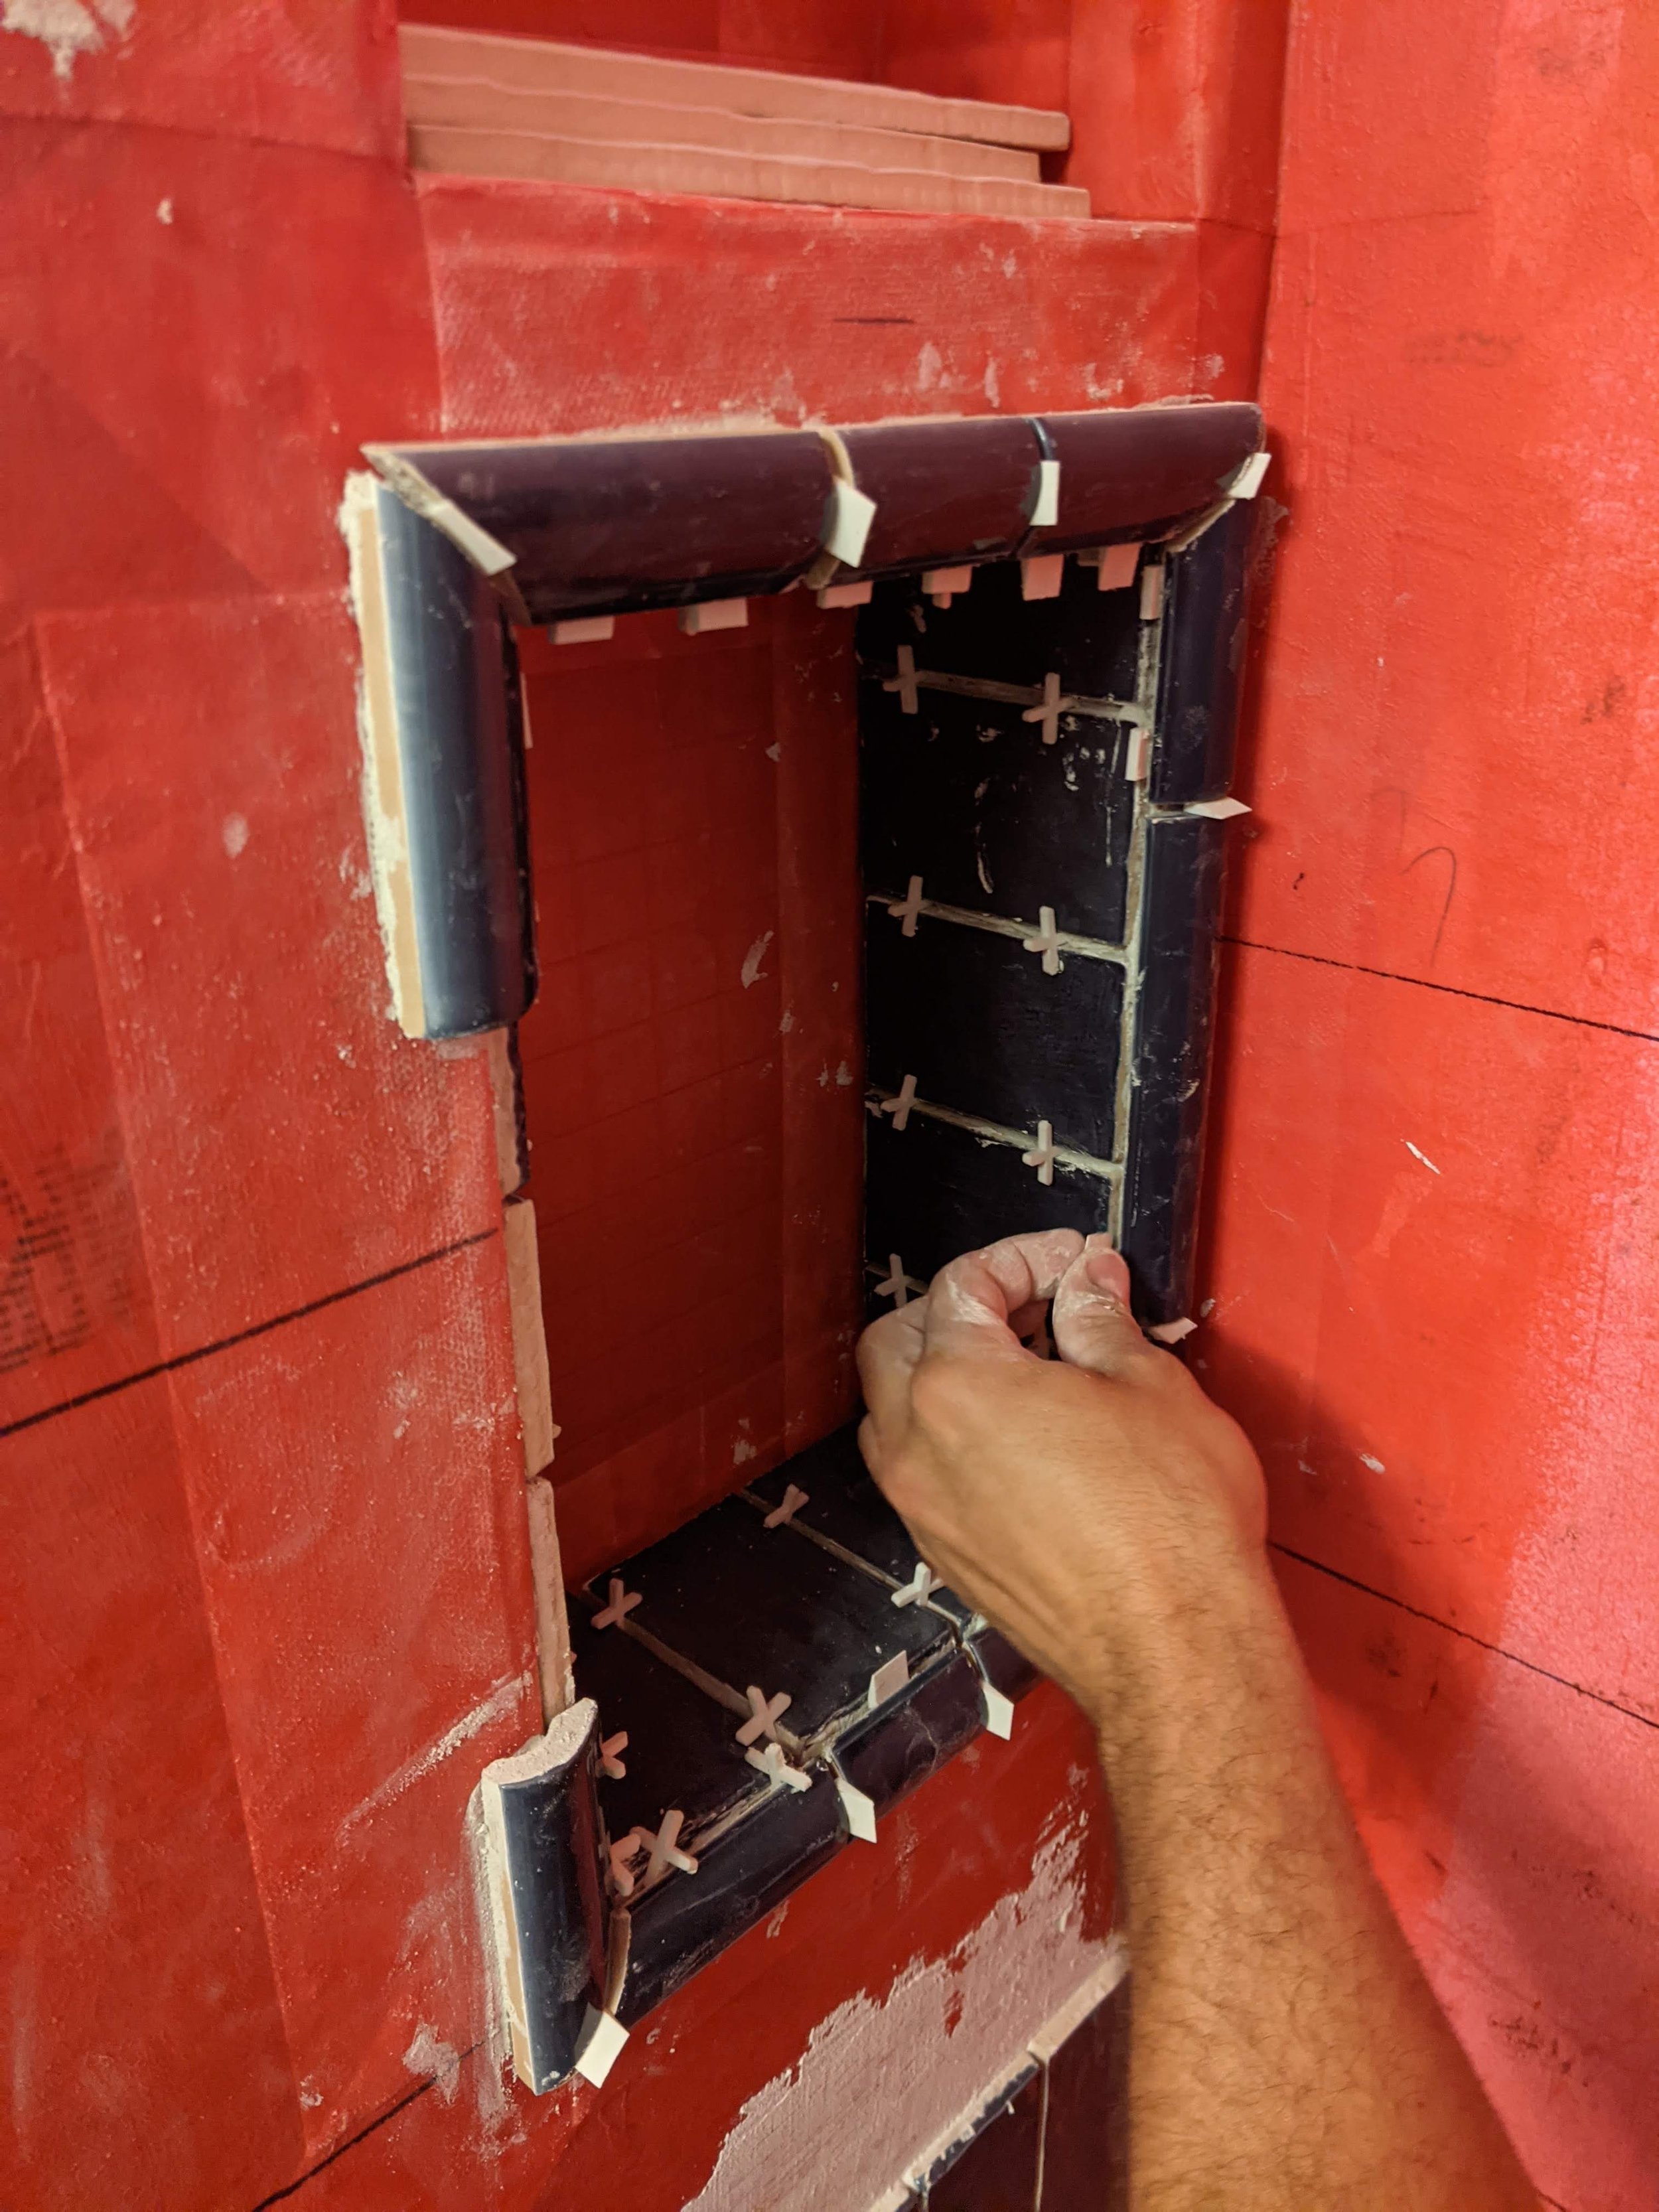
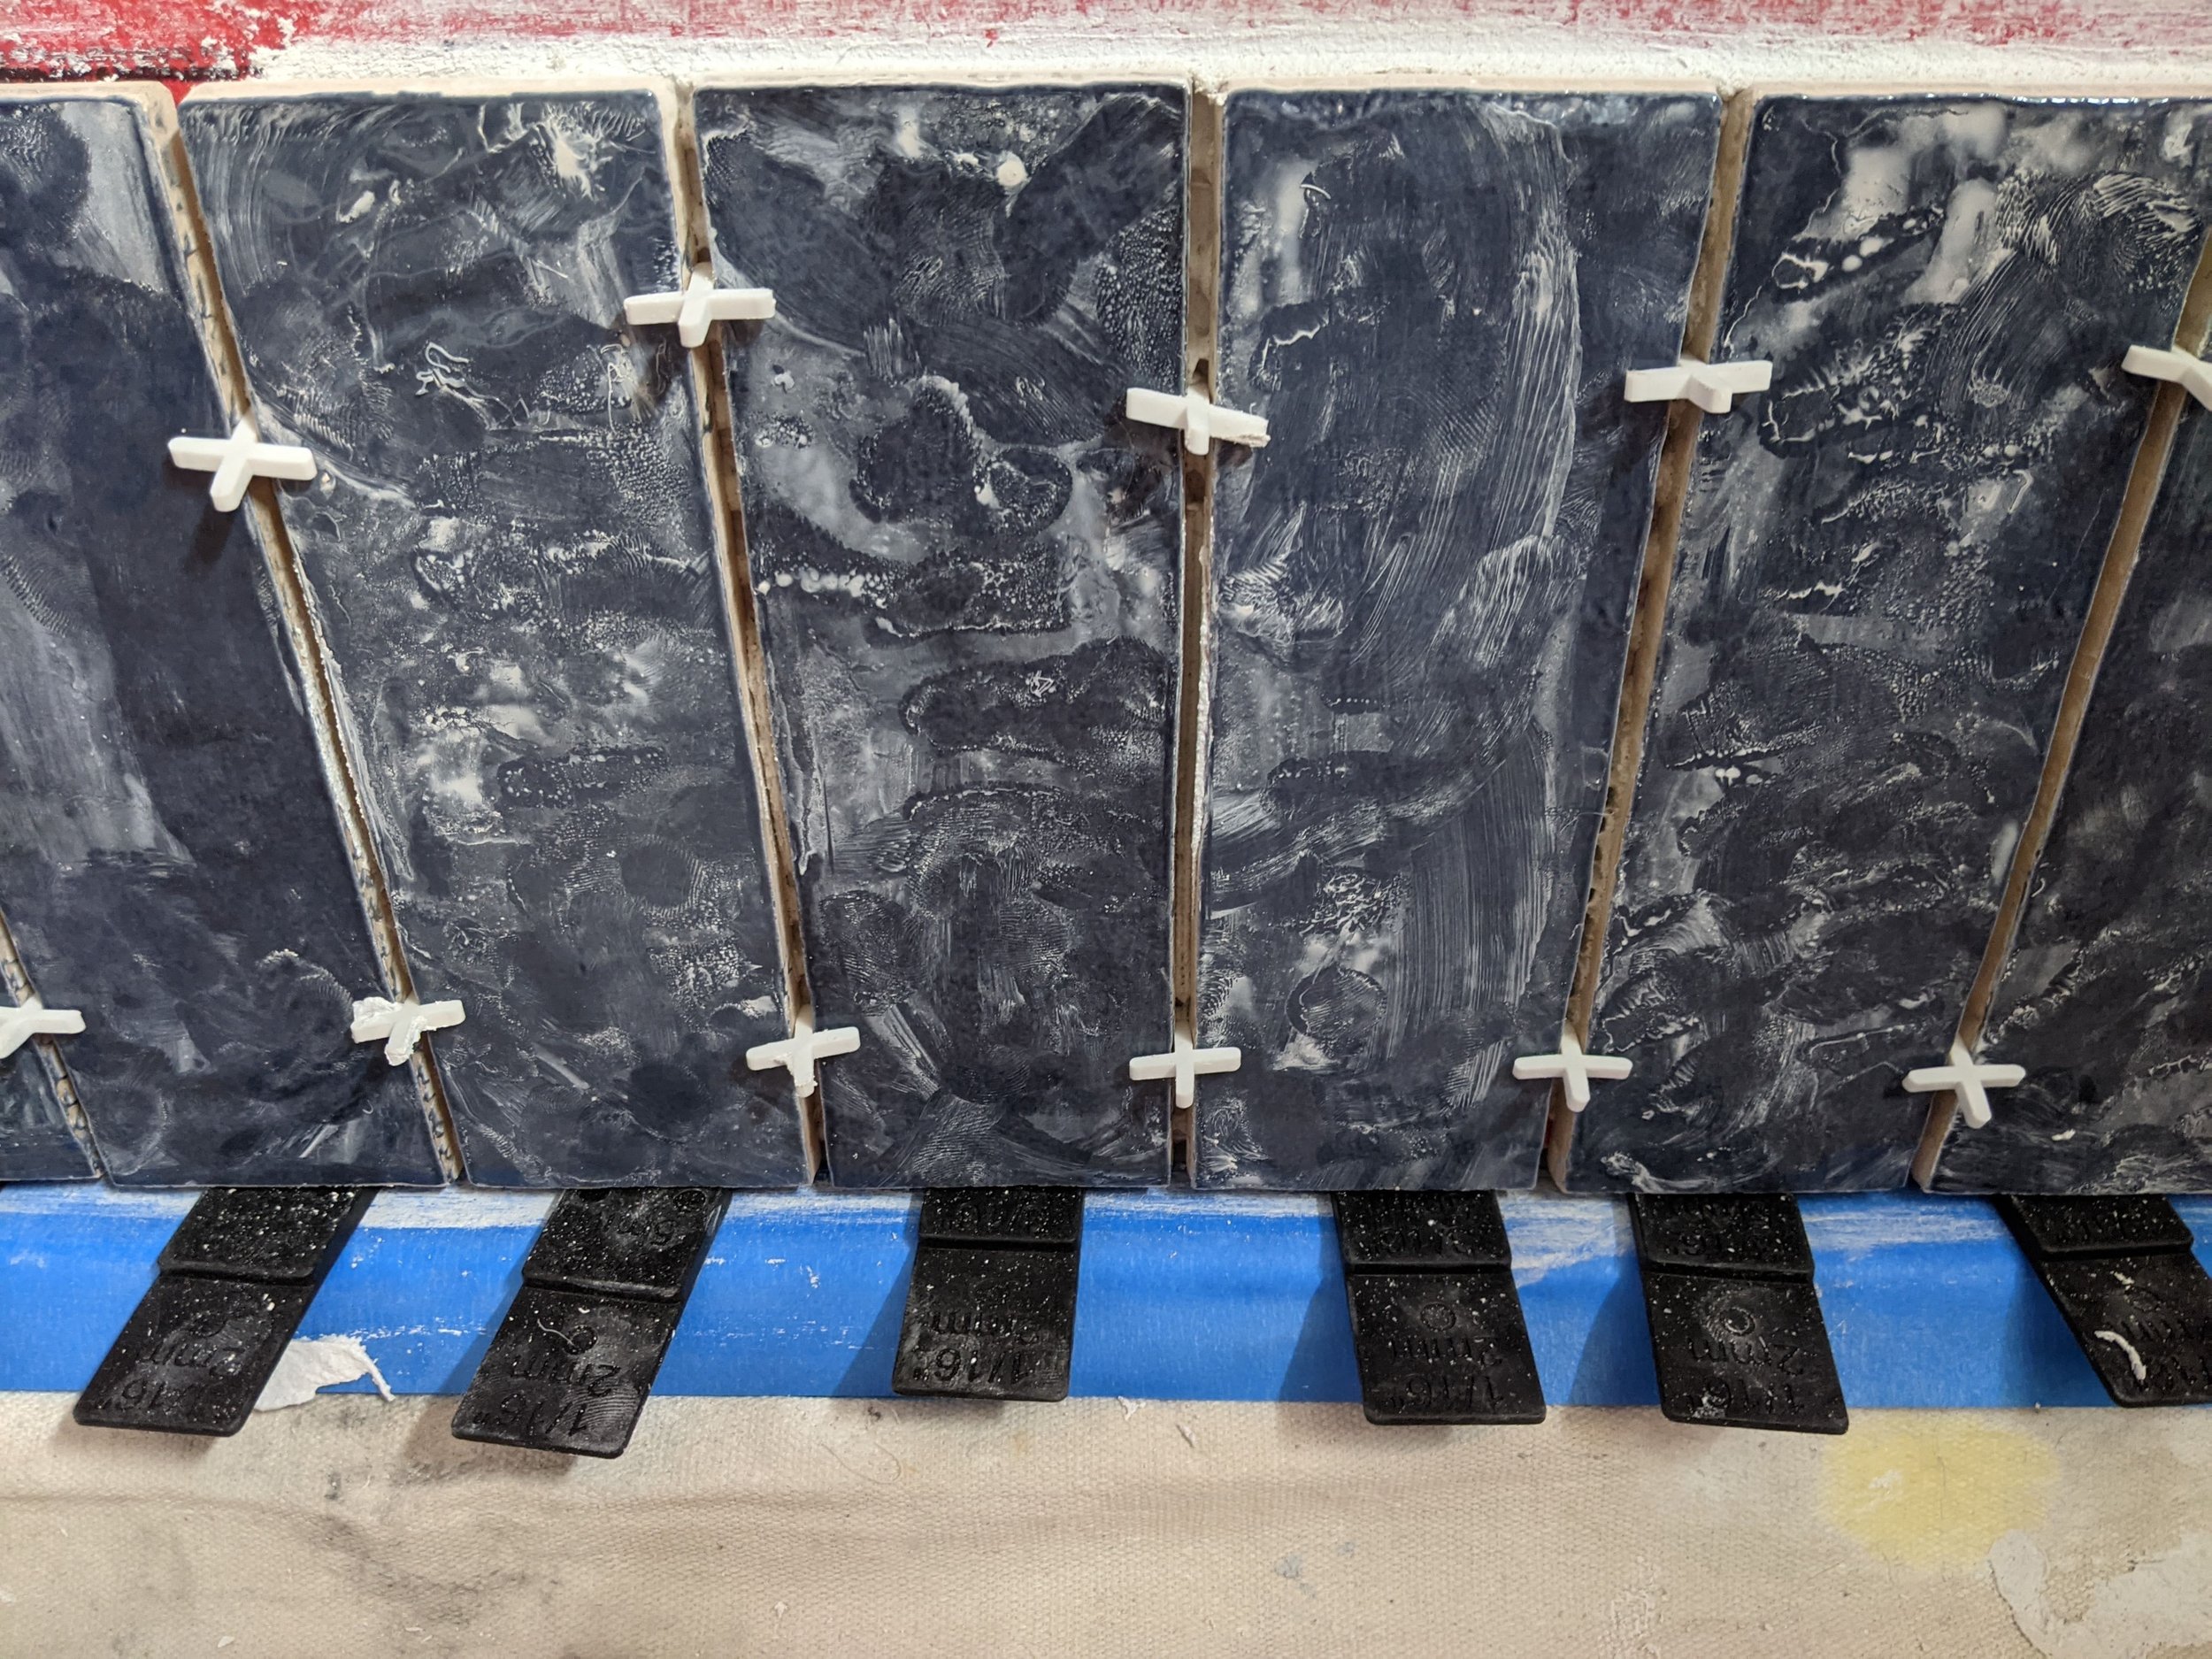
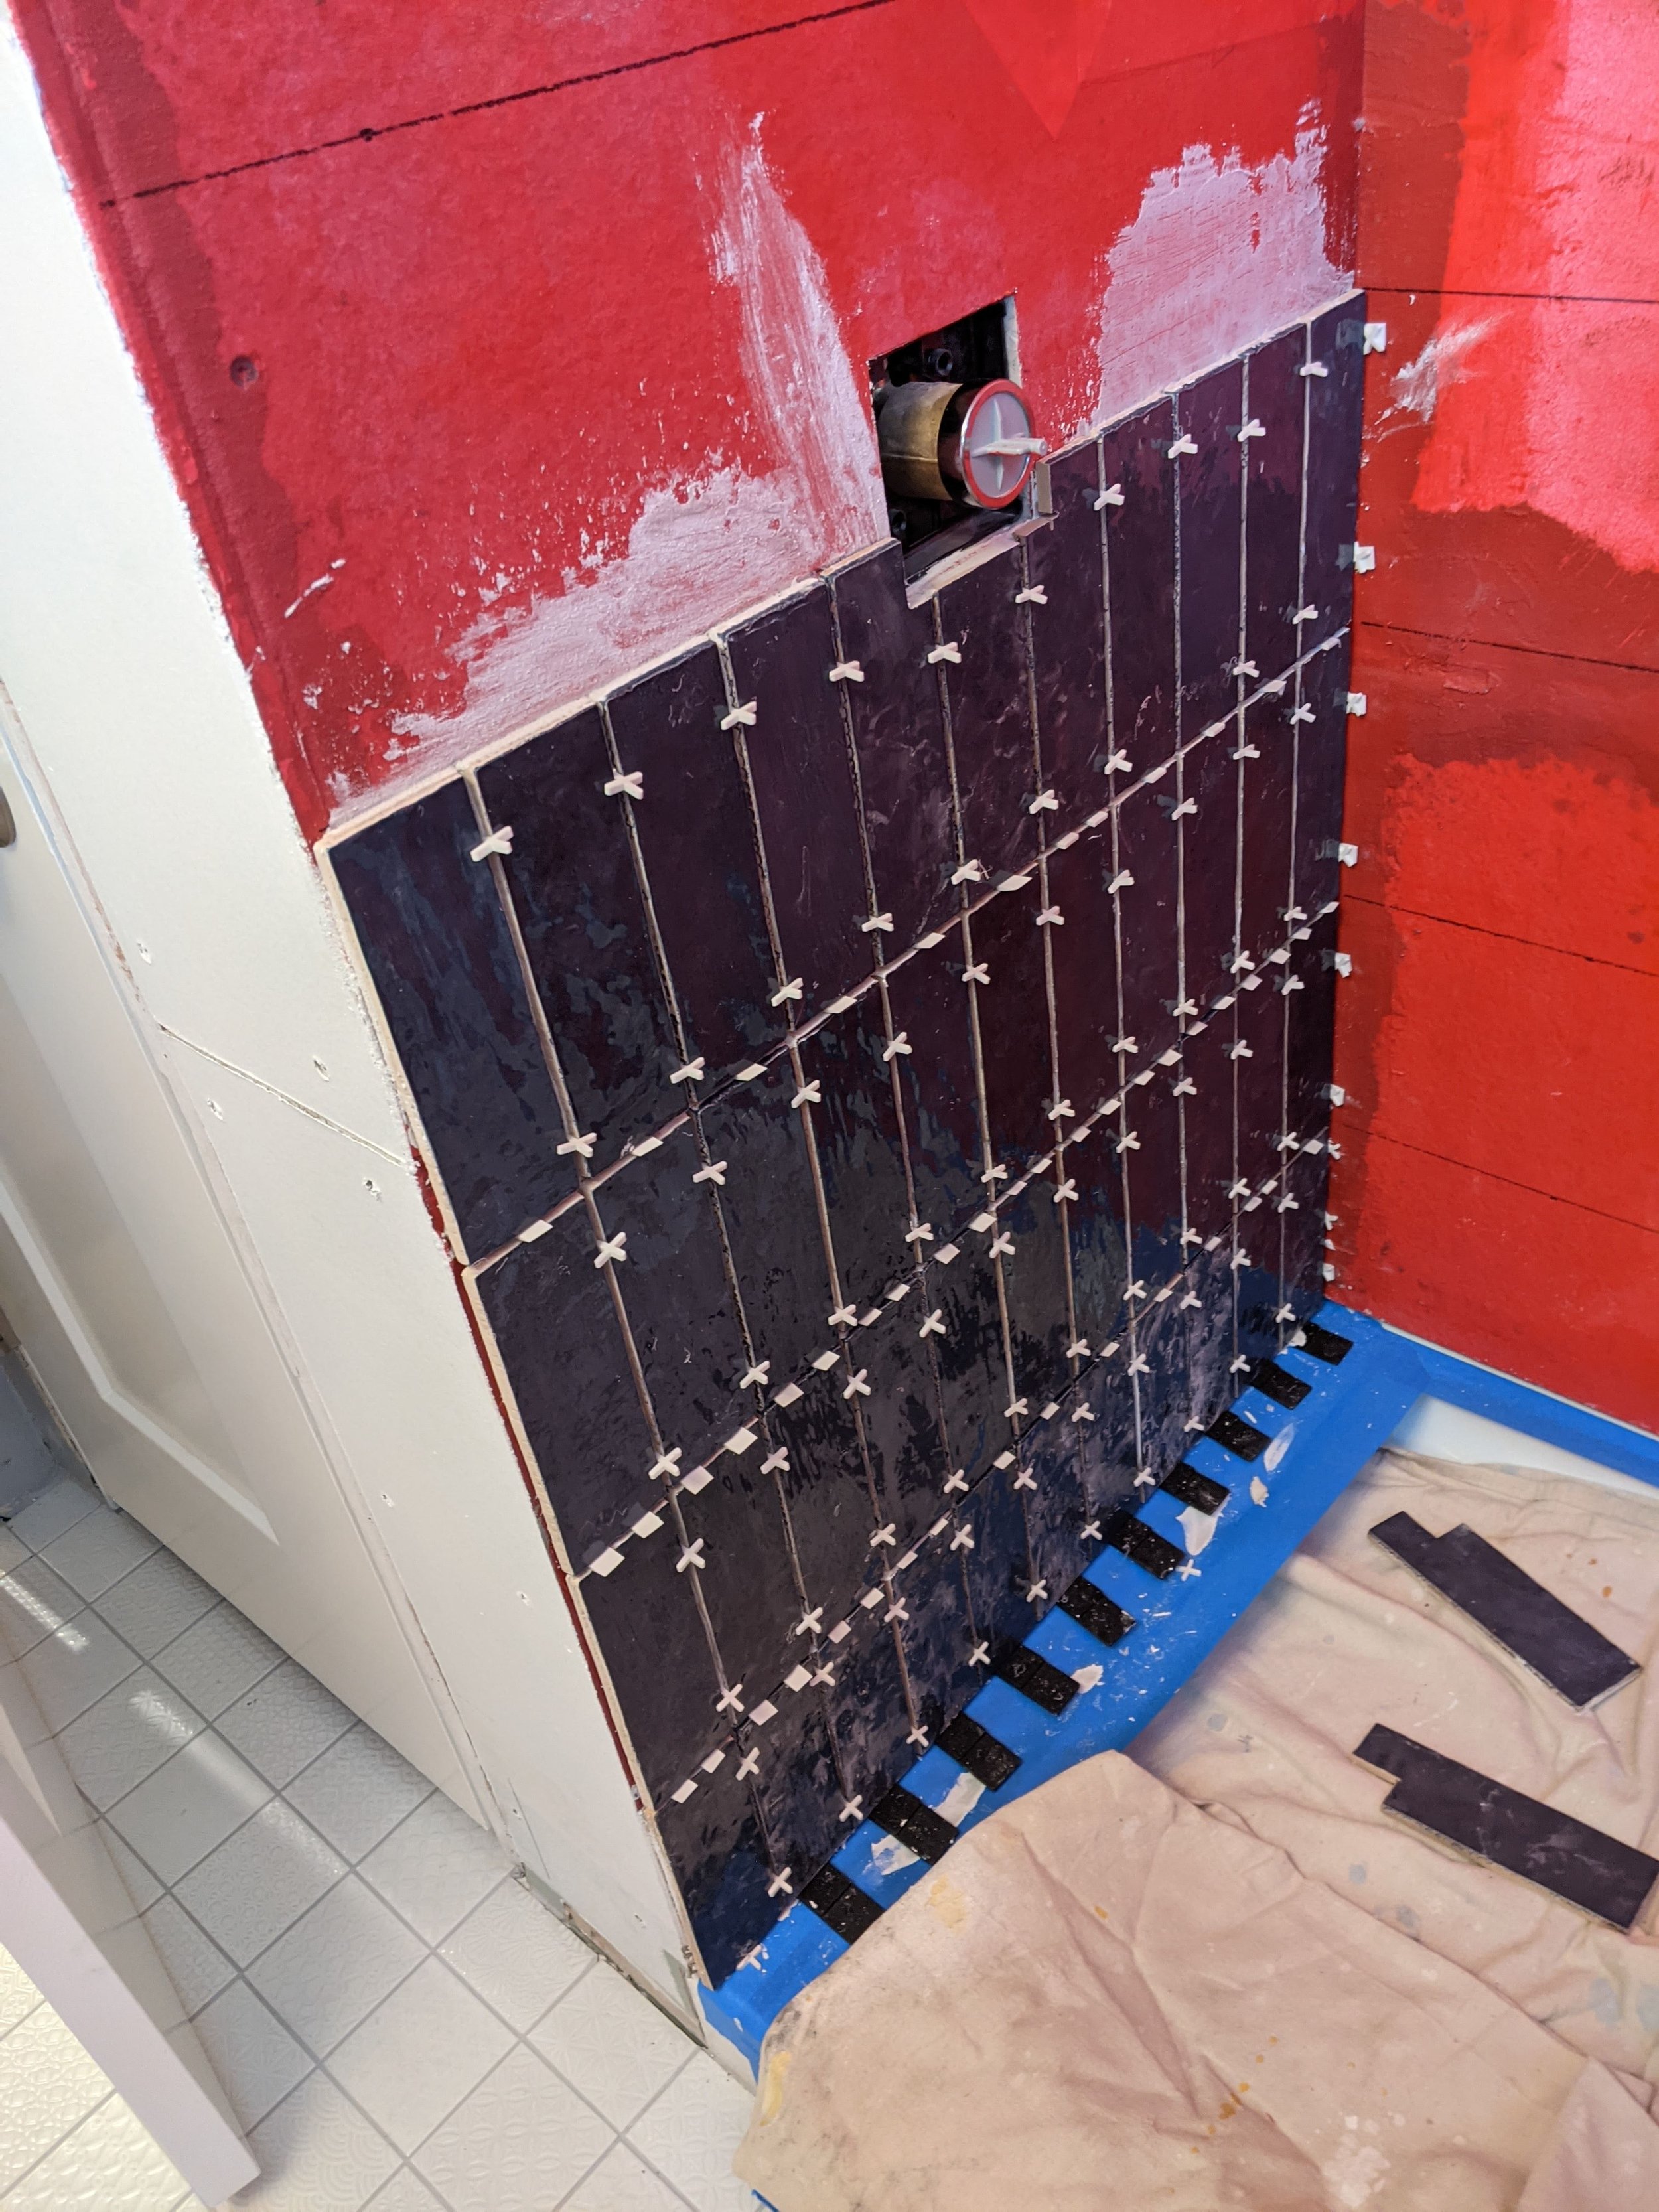

Once again, the tile spacers are our friends here. We used two on each long side and one on each short side. I enjoyed watching the bright red waterproof coating give way to the cool blue of the tile, especially since the red was making the white tile feel so pink — and pink tile was one of the reasons we started this renovation!

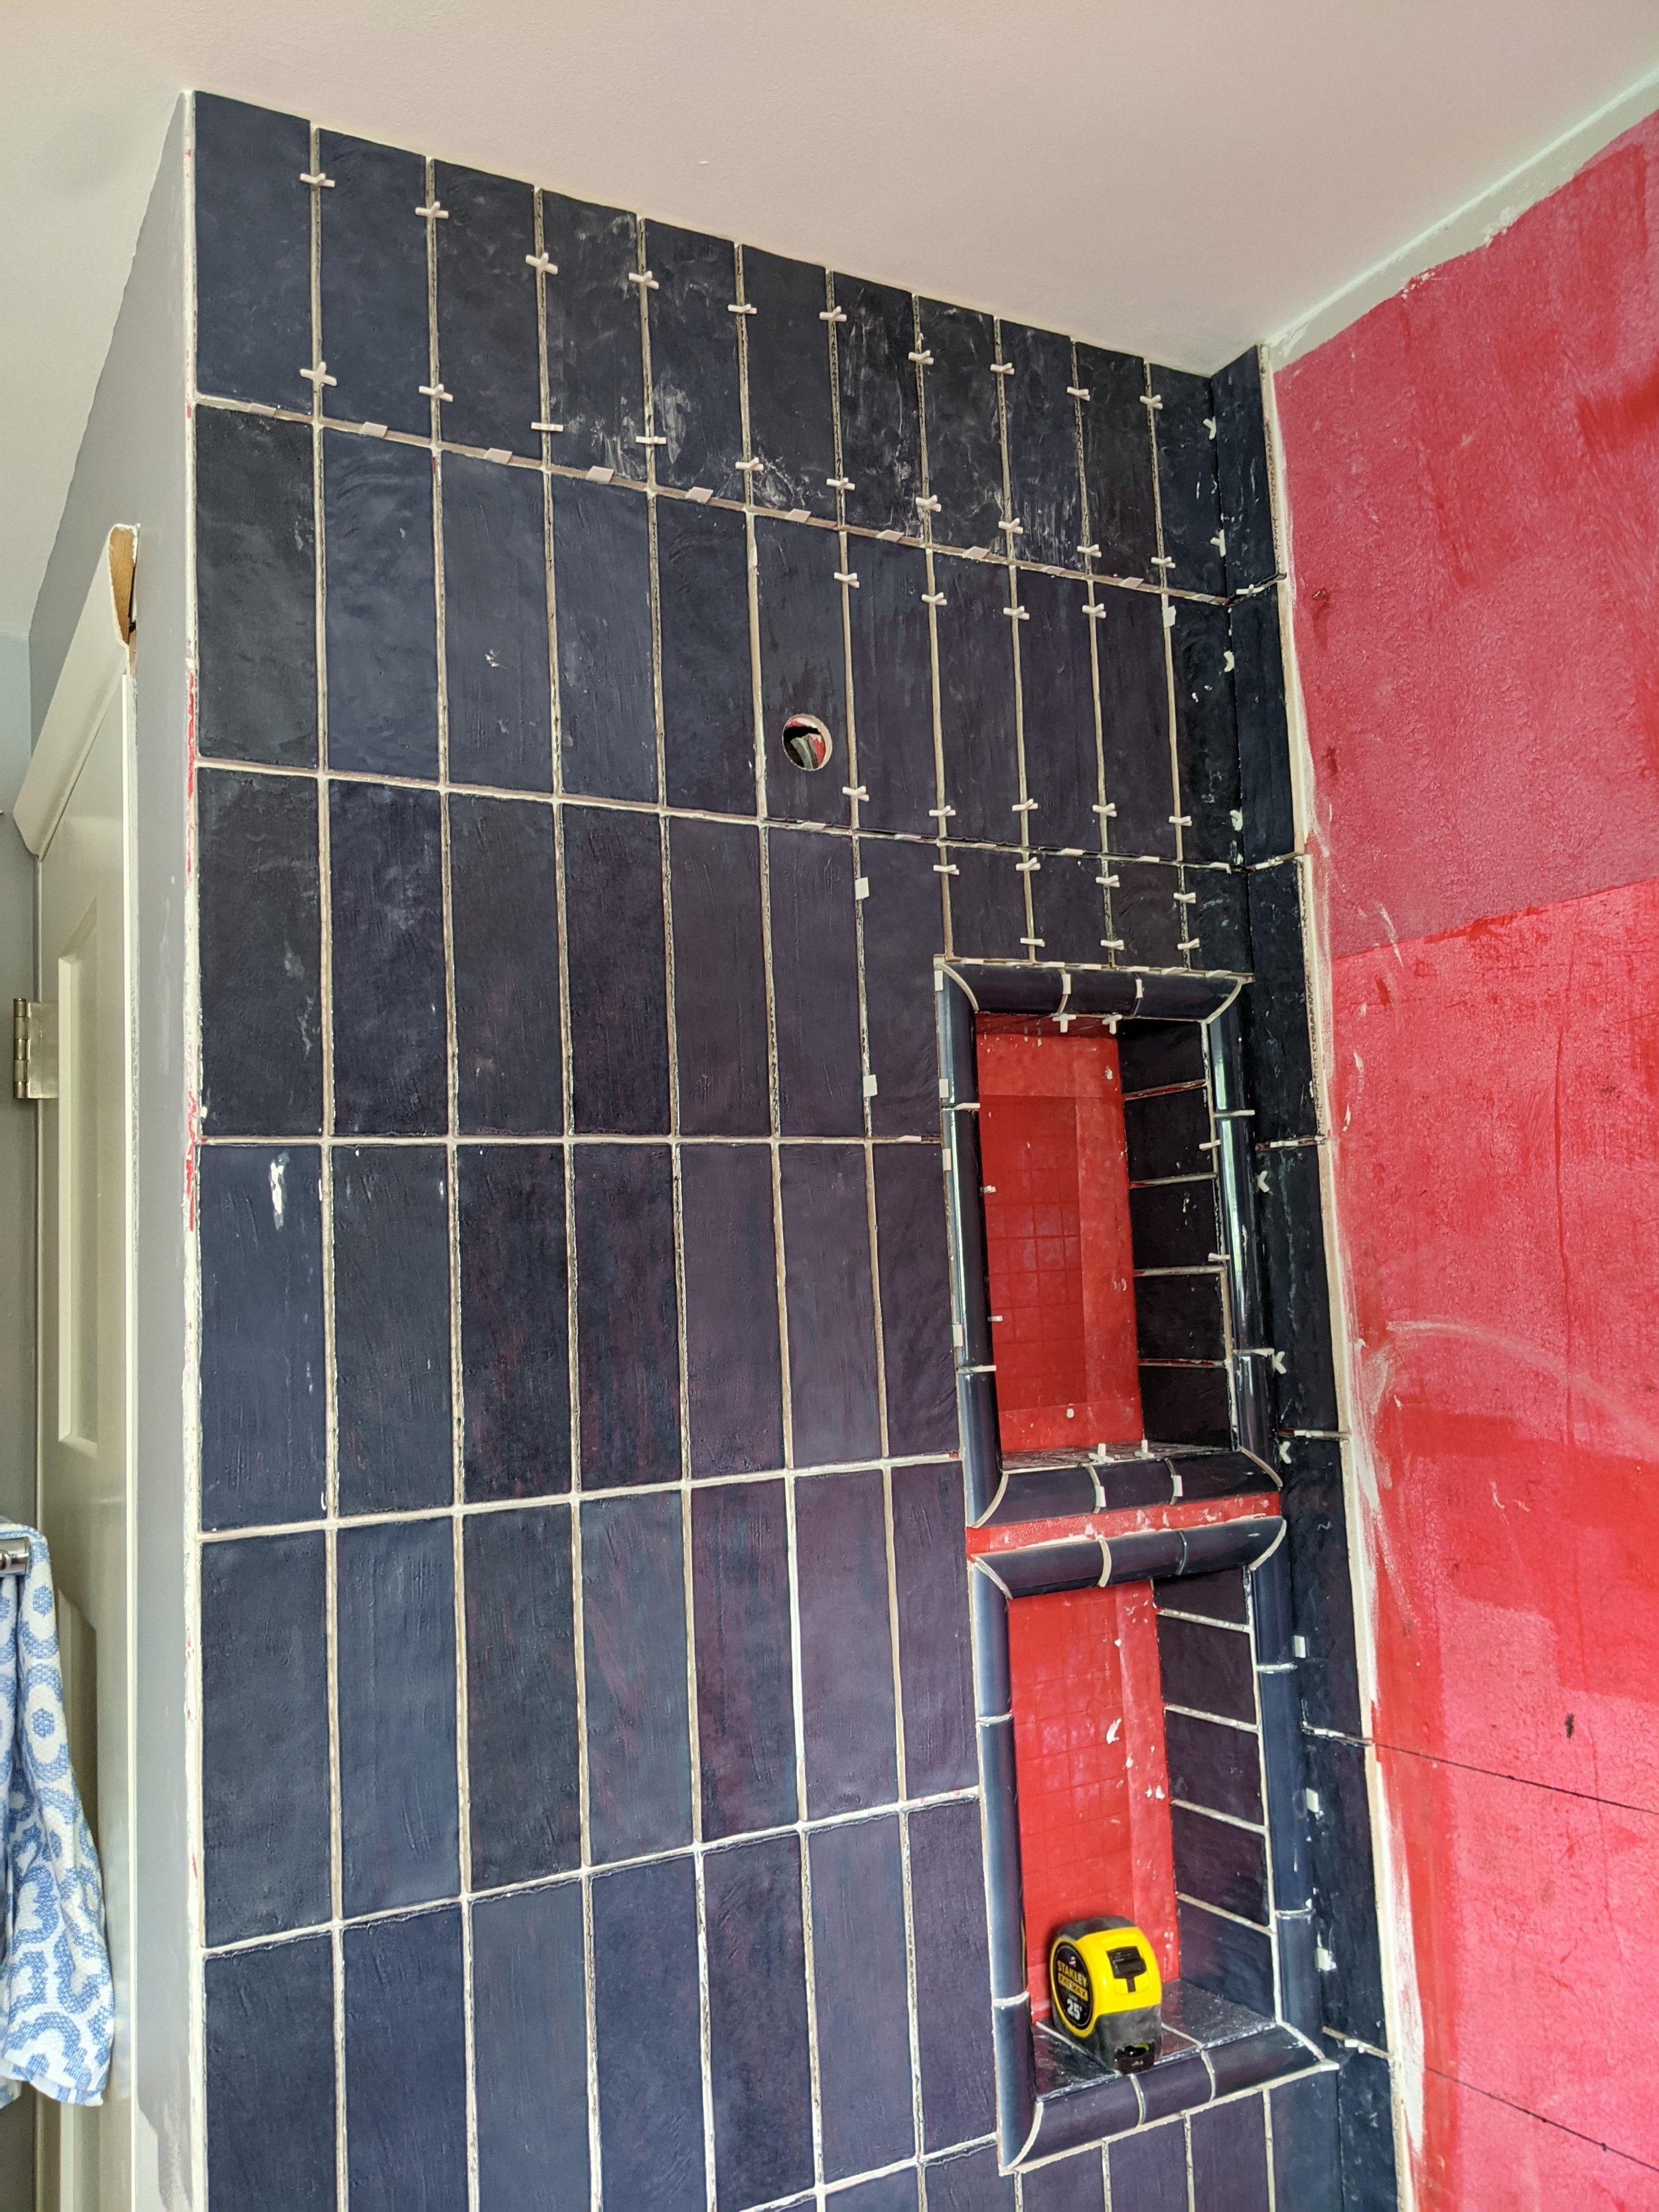
Even though we had the new shower floor as our base, we used a level line. It’s always better to trim a few starting tiles than get to the top of a project and realize how out-of-level your walls and ceiling are. Plus, your eye is not forgiving and you notice when things aren’t just-so. This is what sets the “oh I see you DIY-ed your bathroom” off from the “oh you got your bathroom redone.”
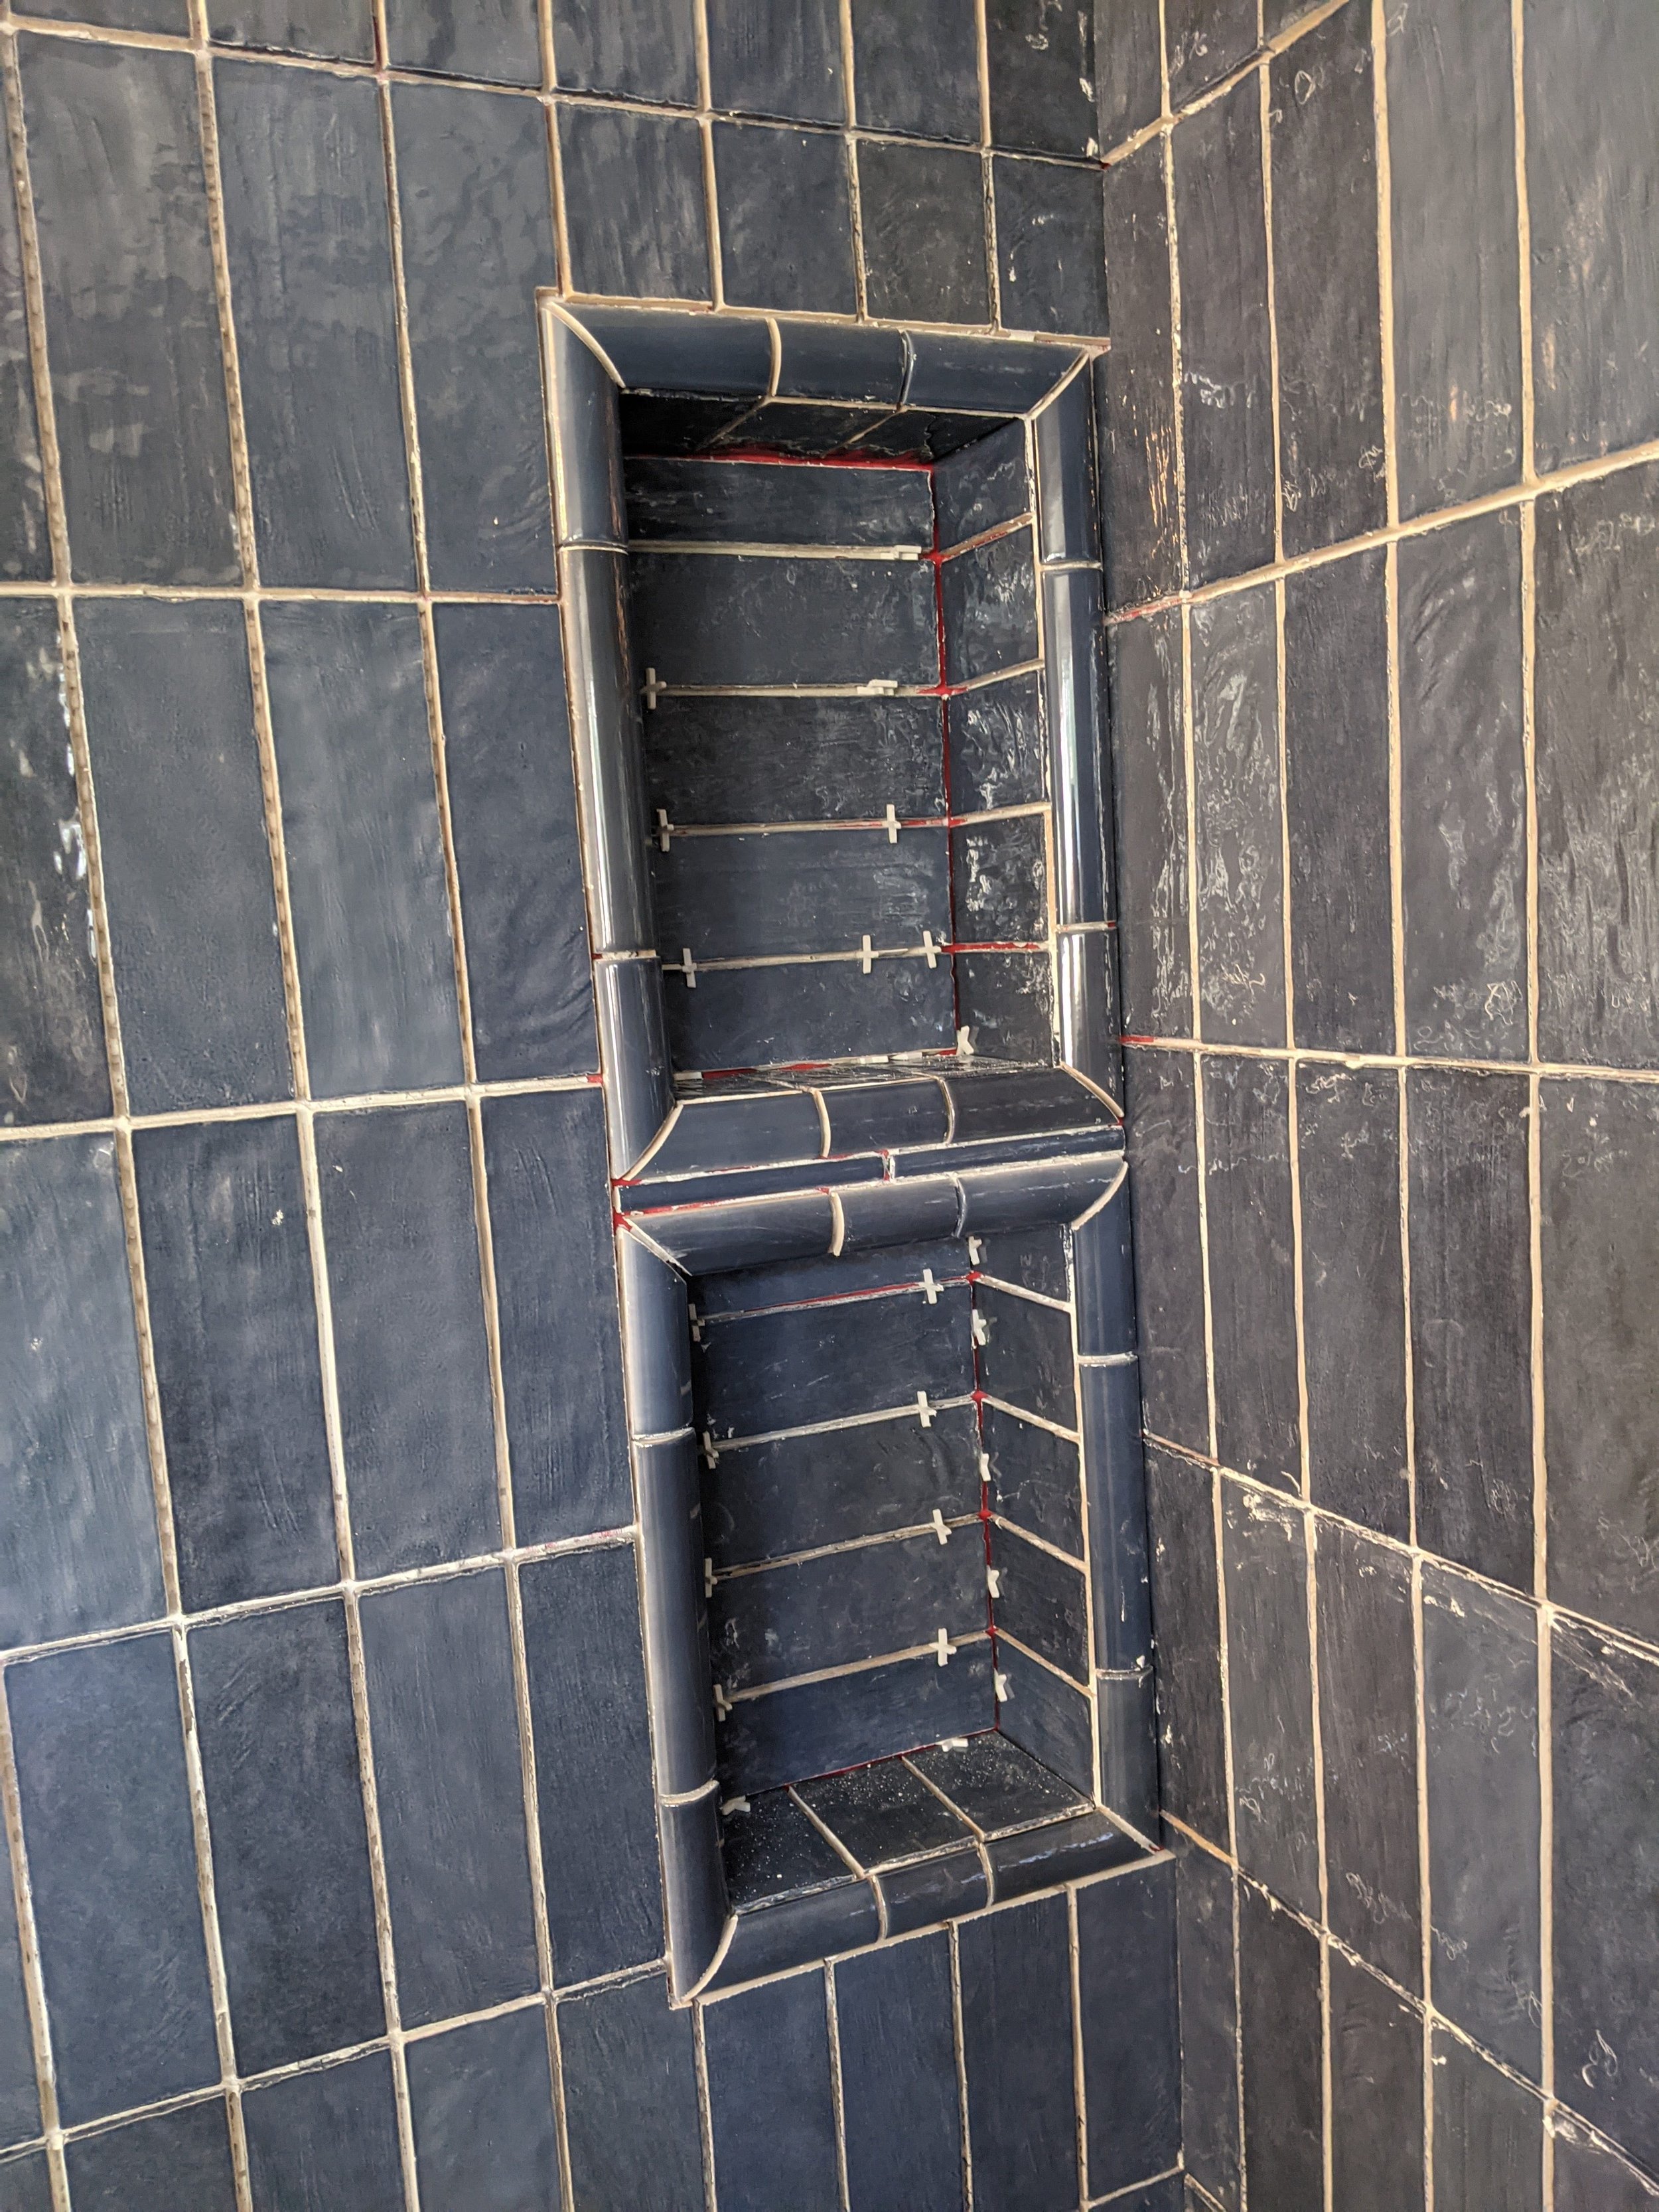
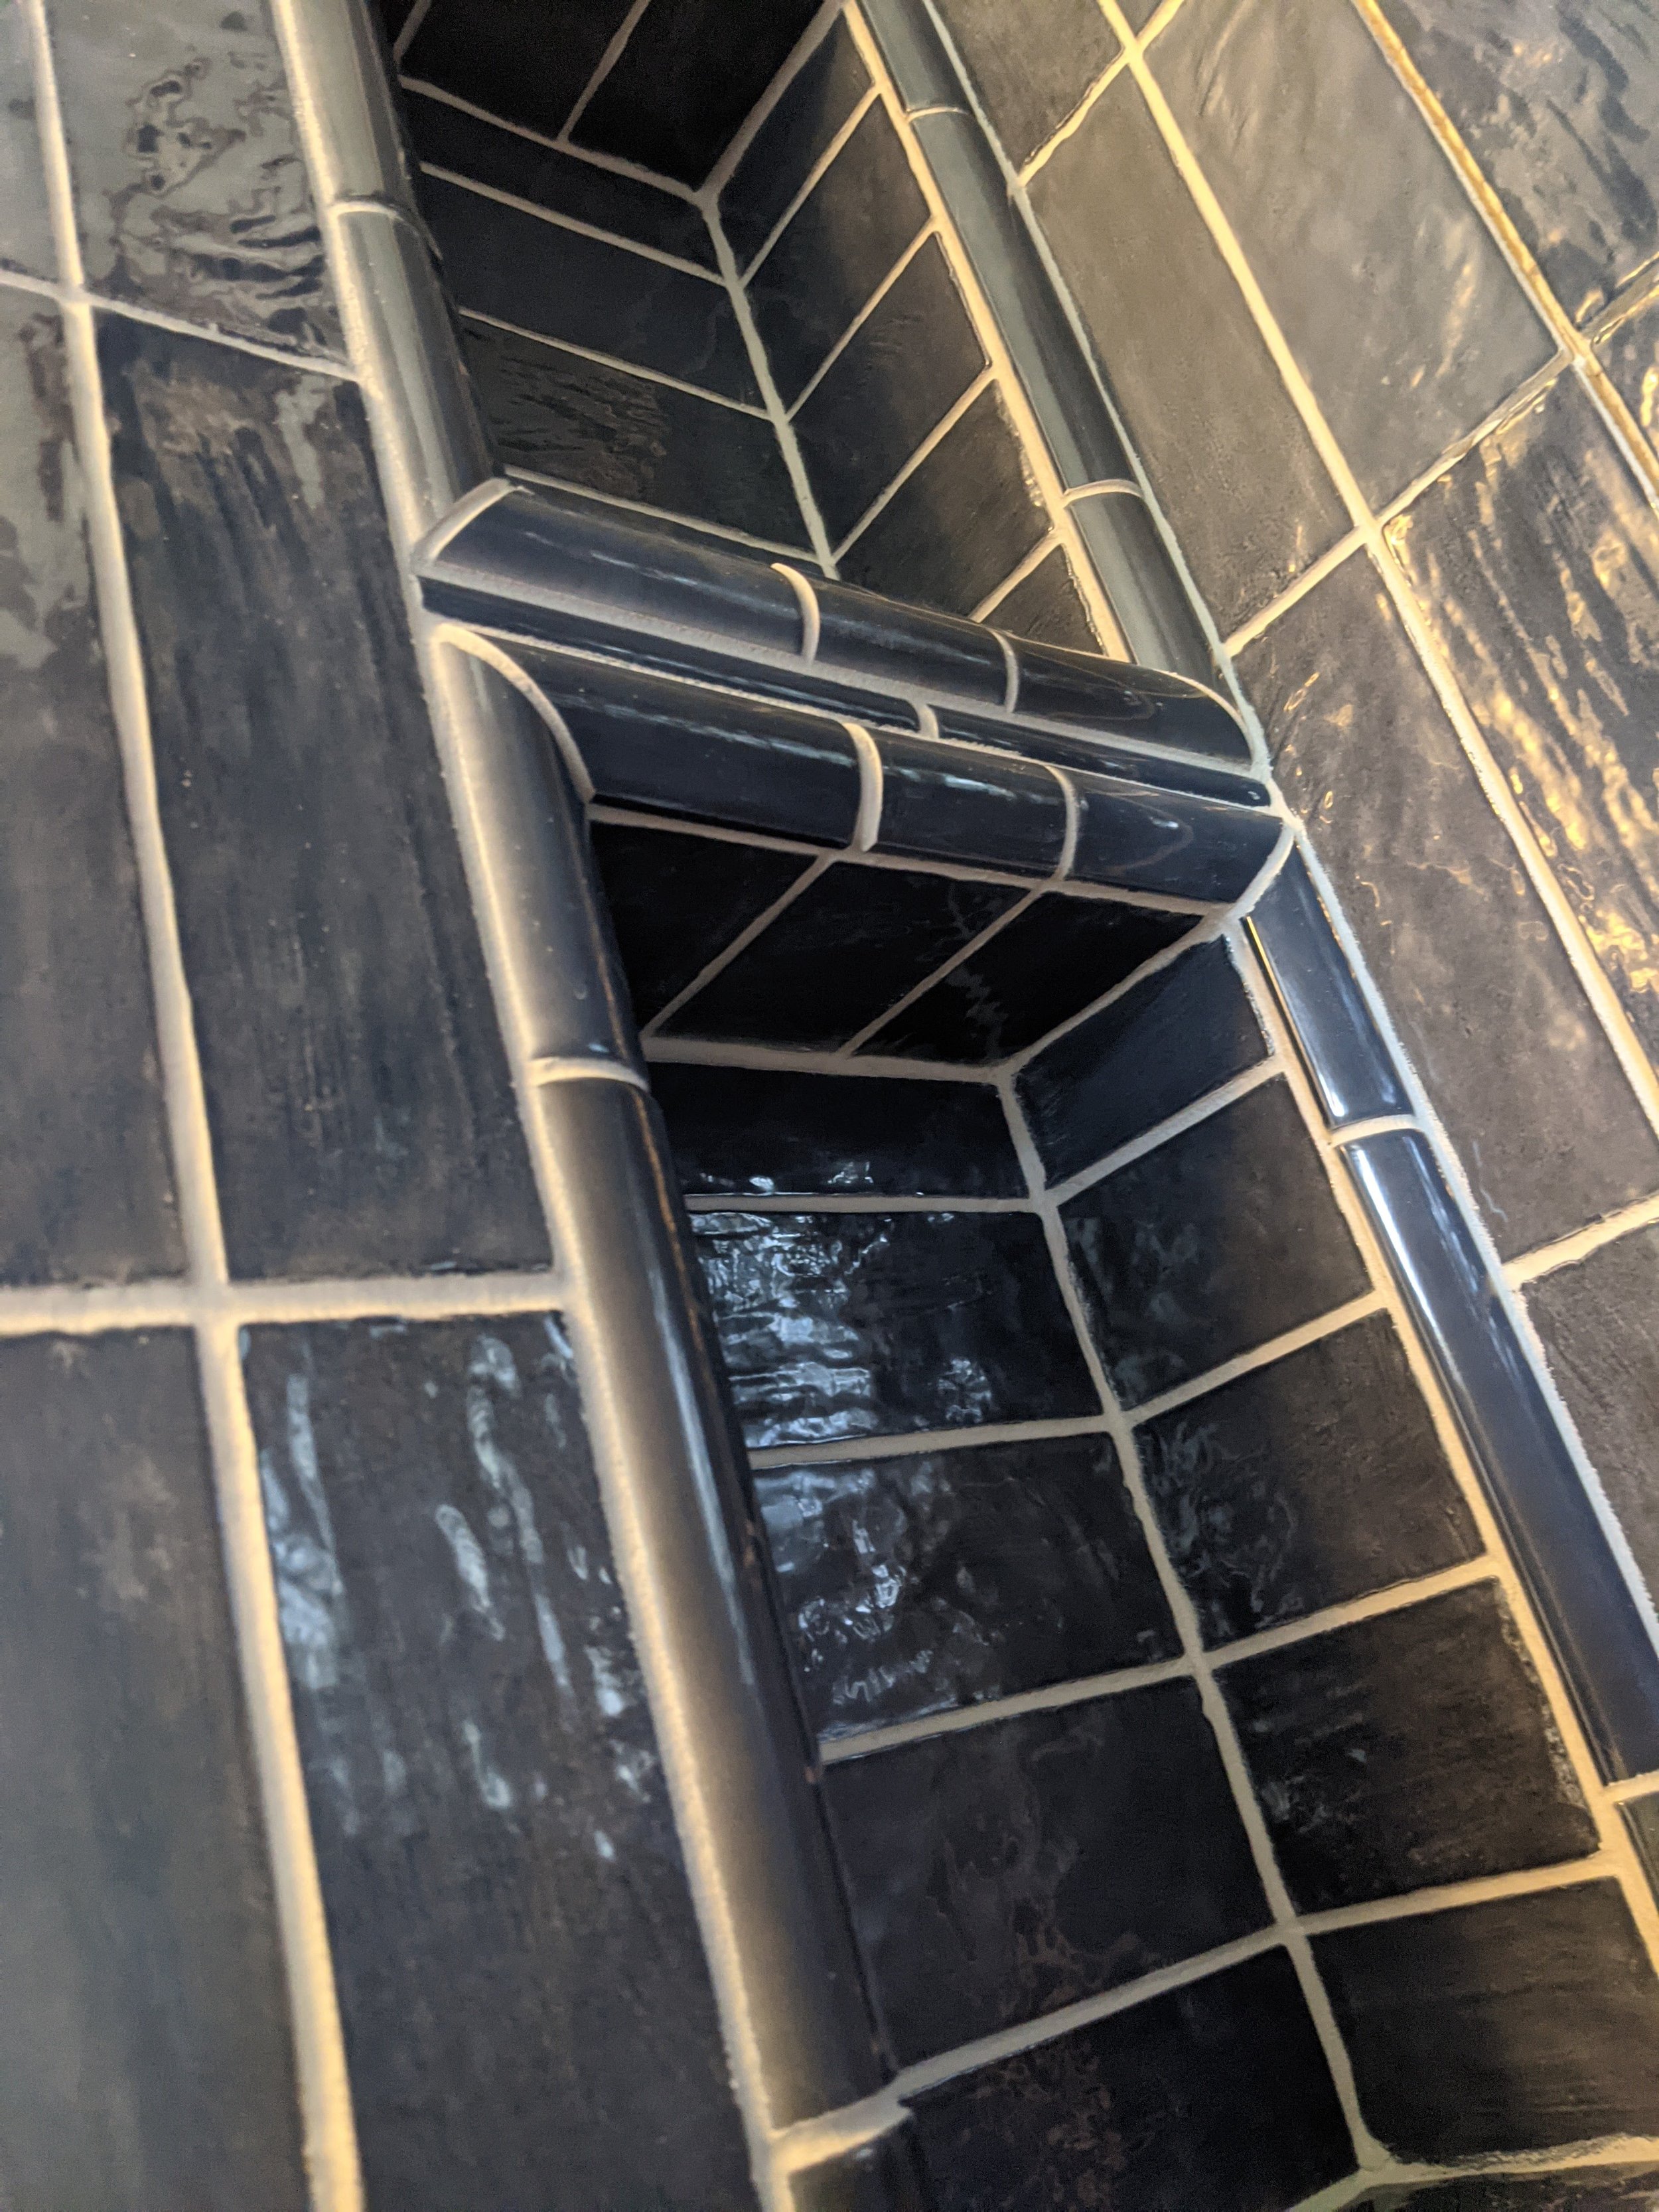
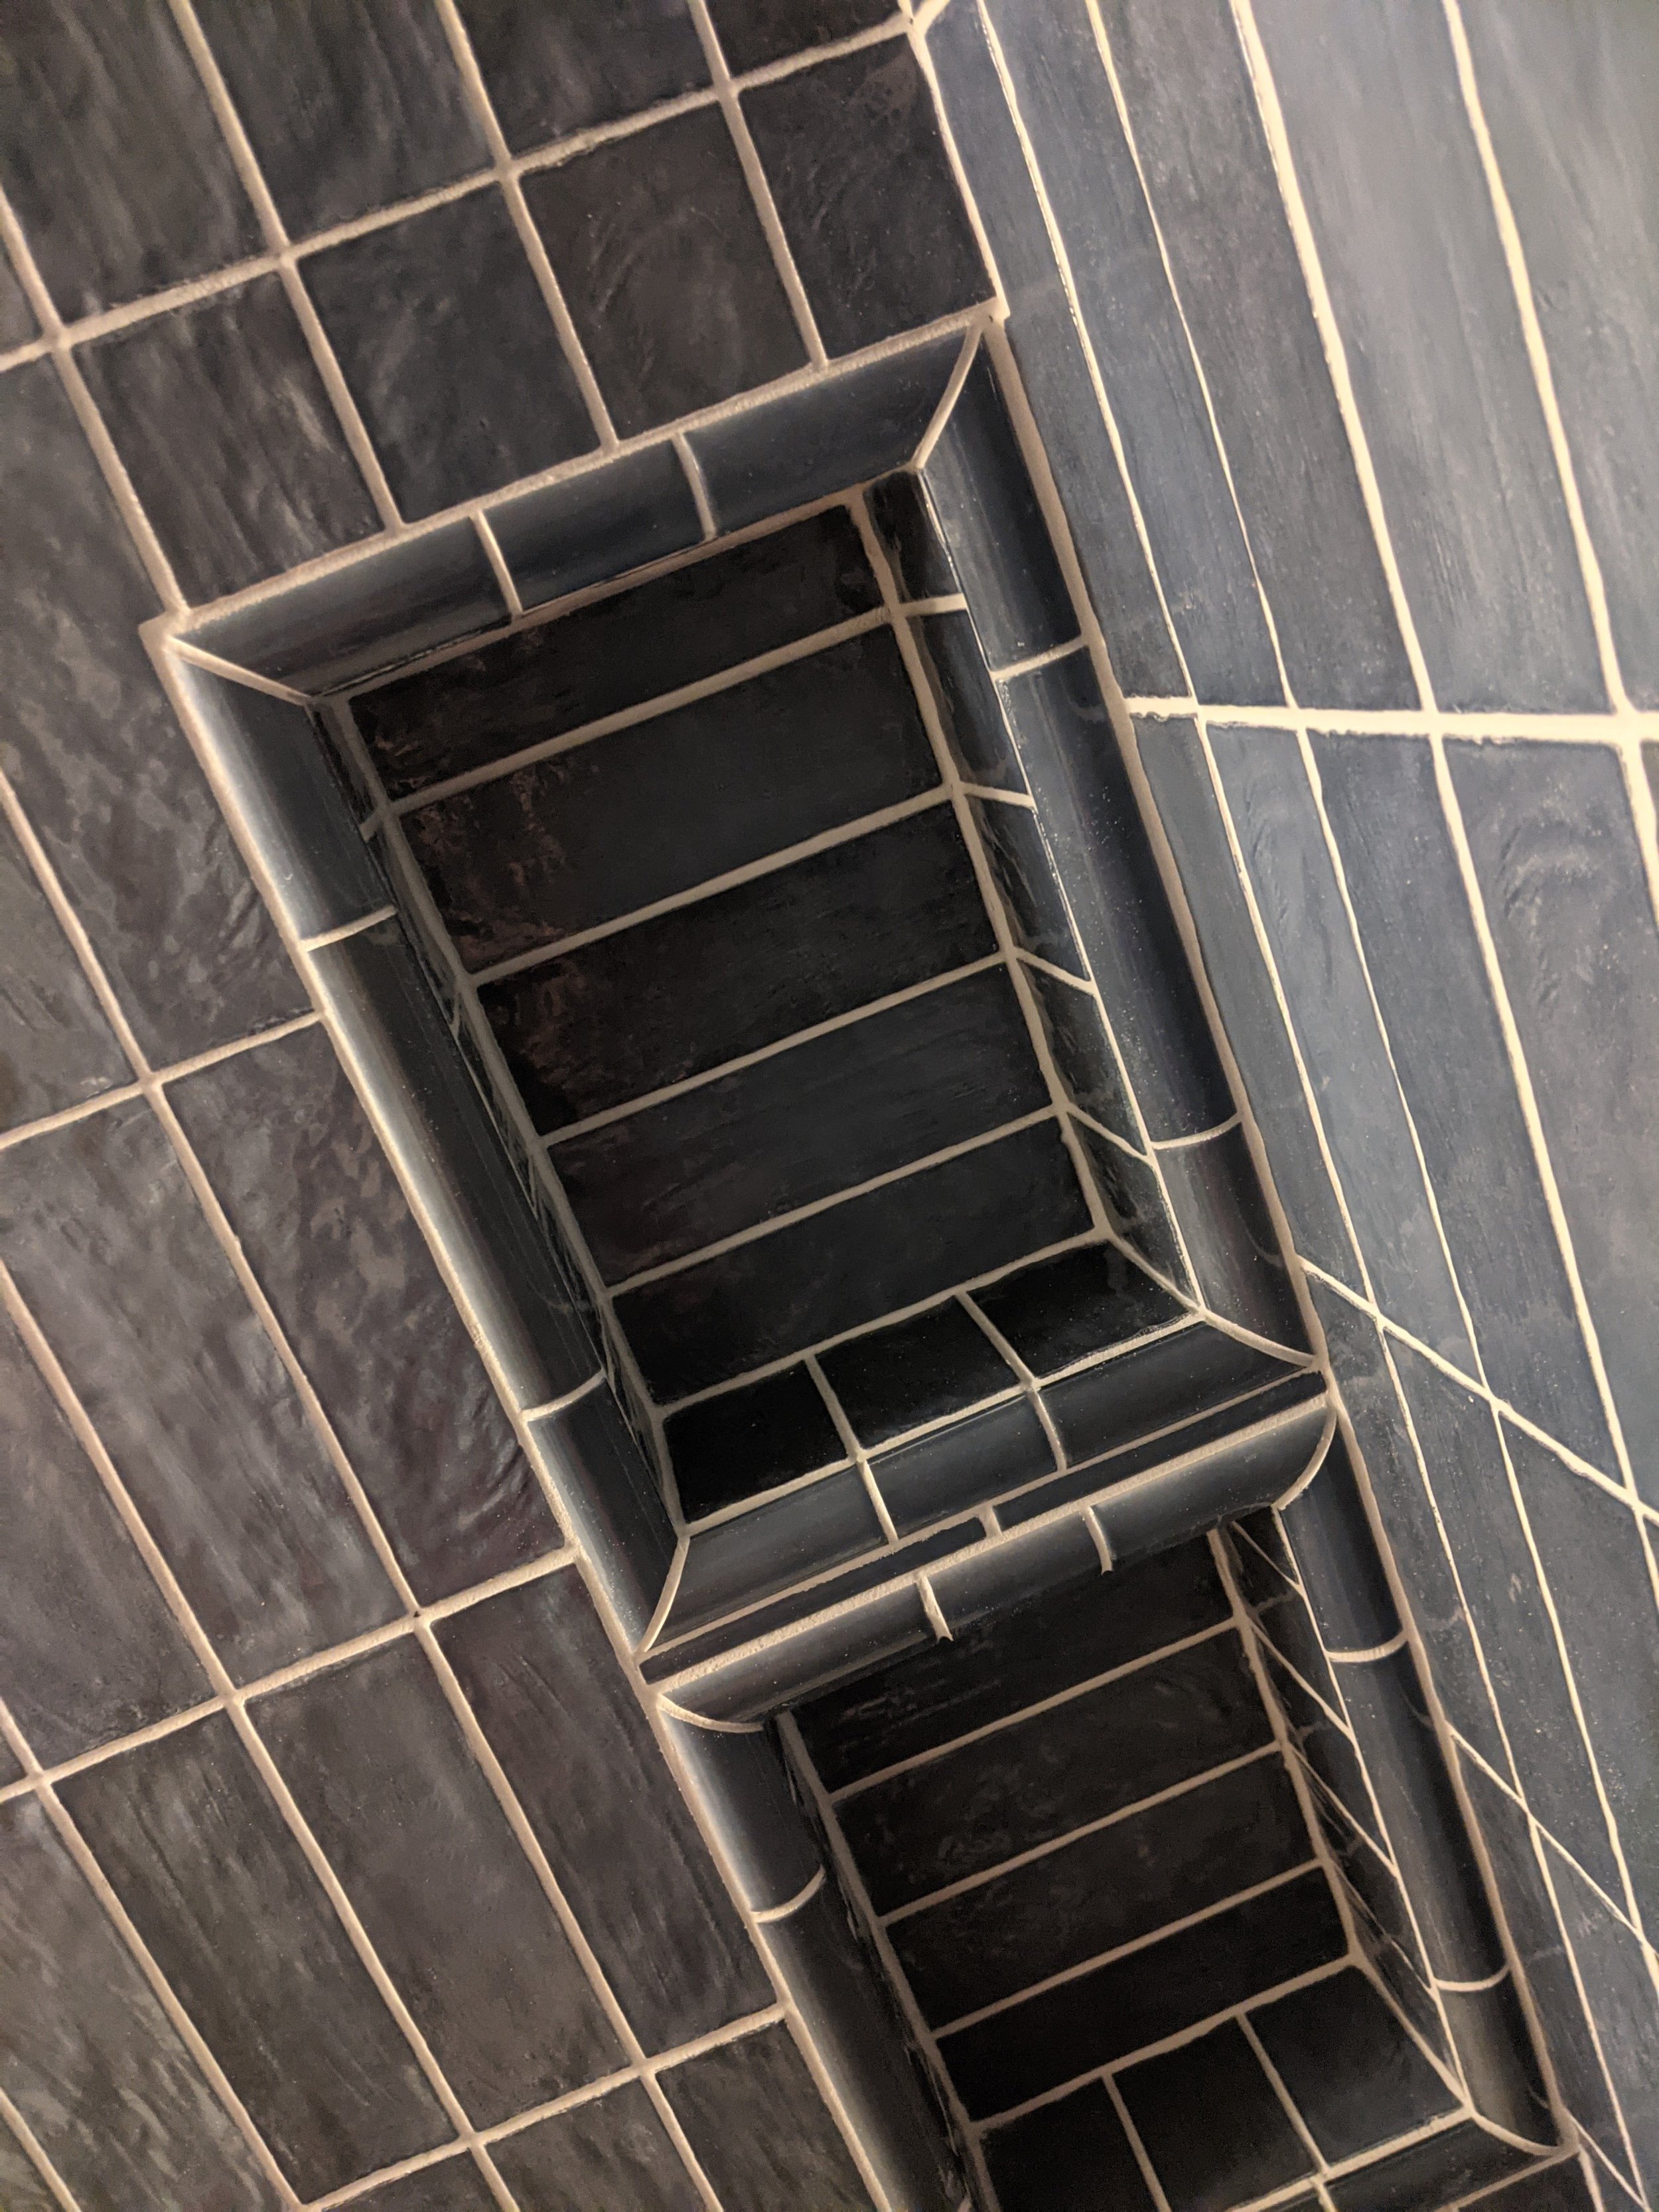
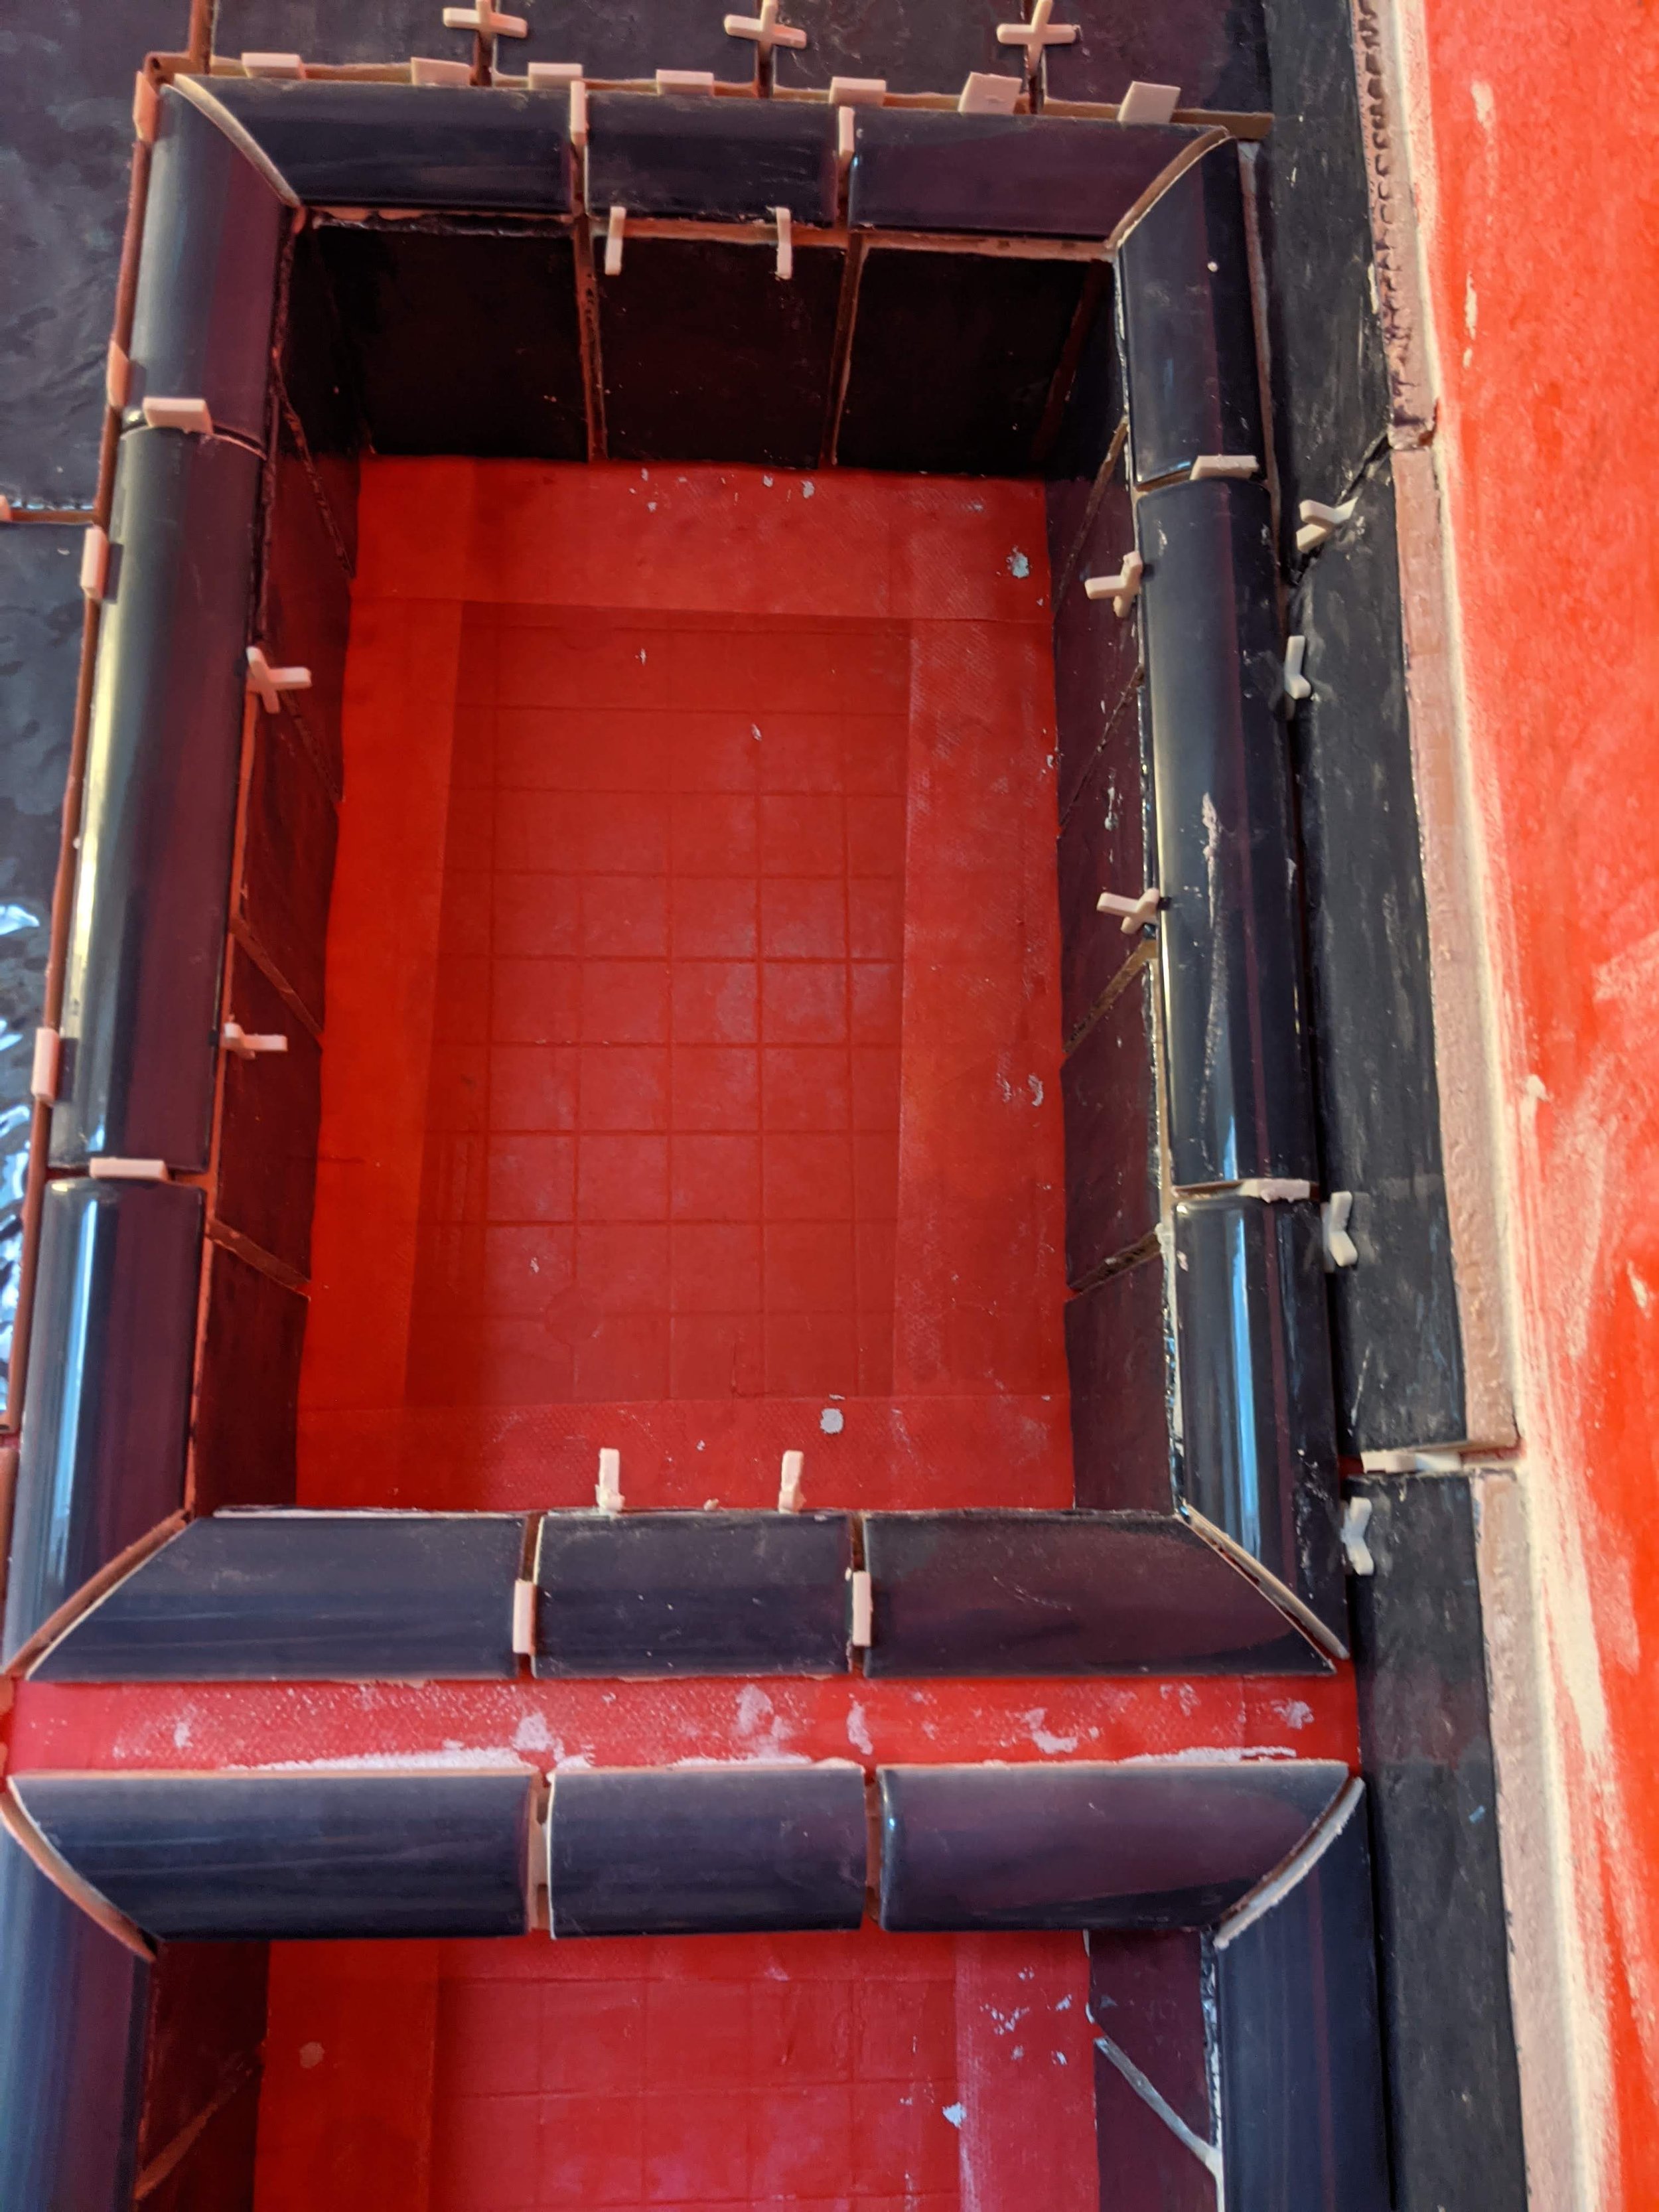
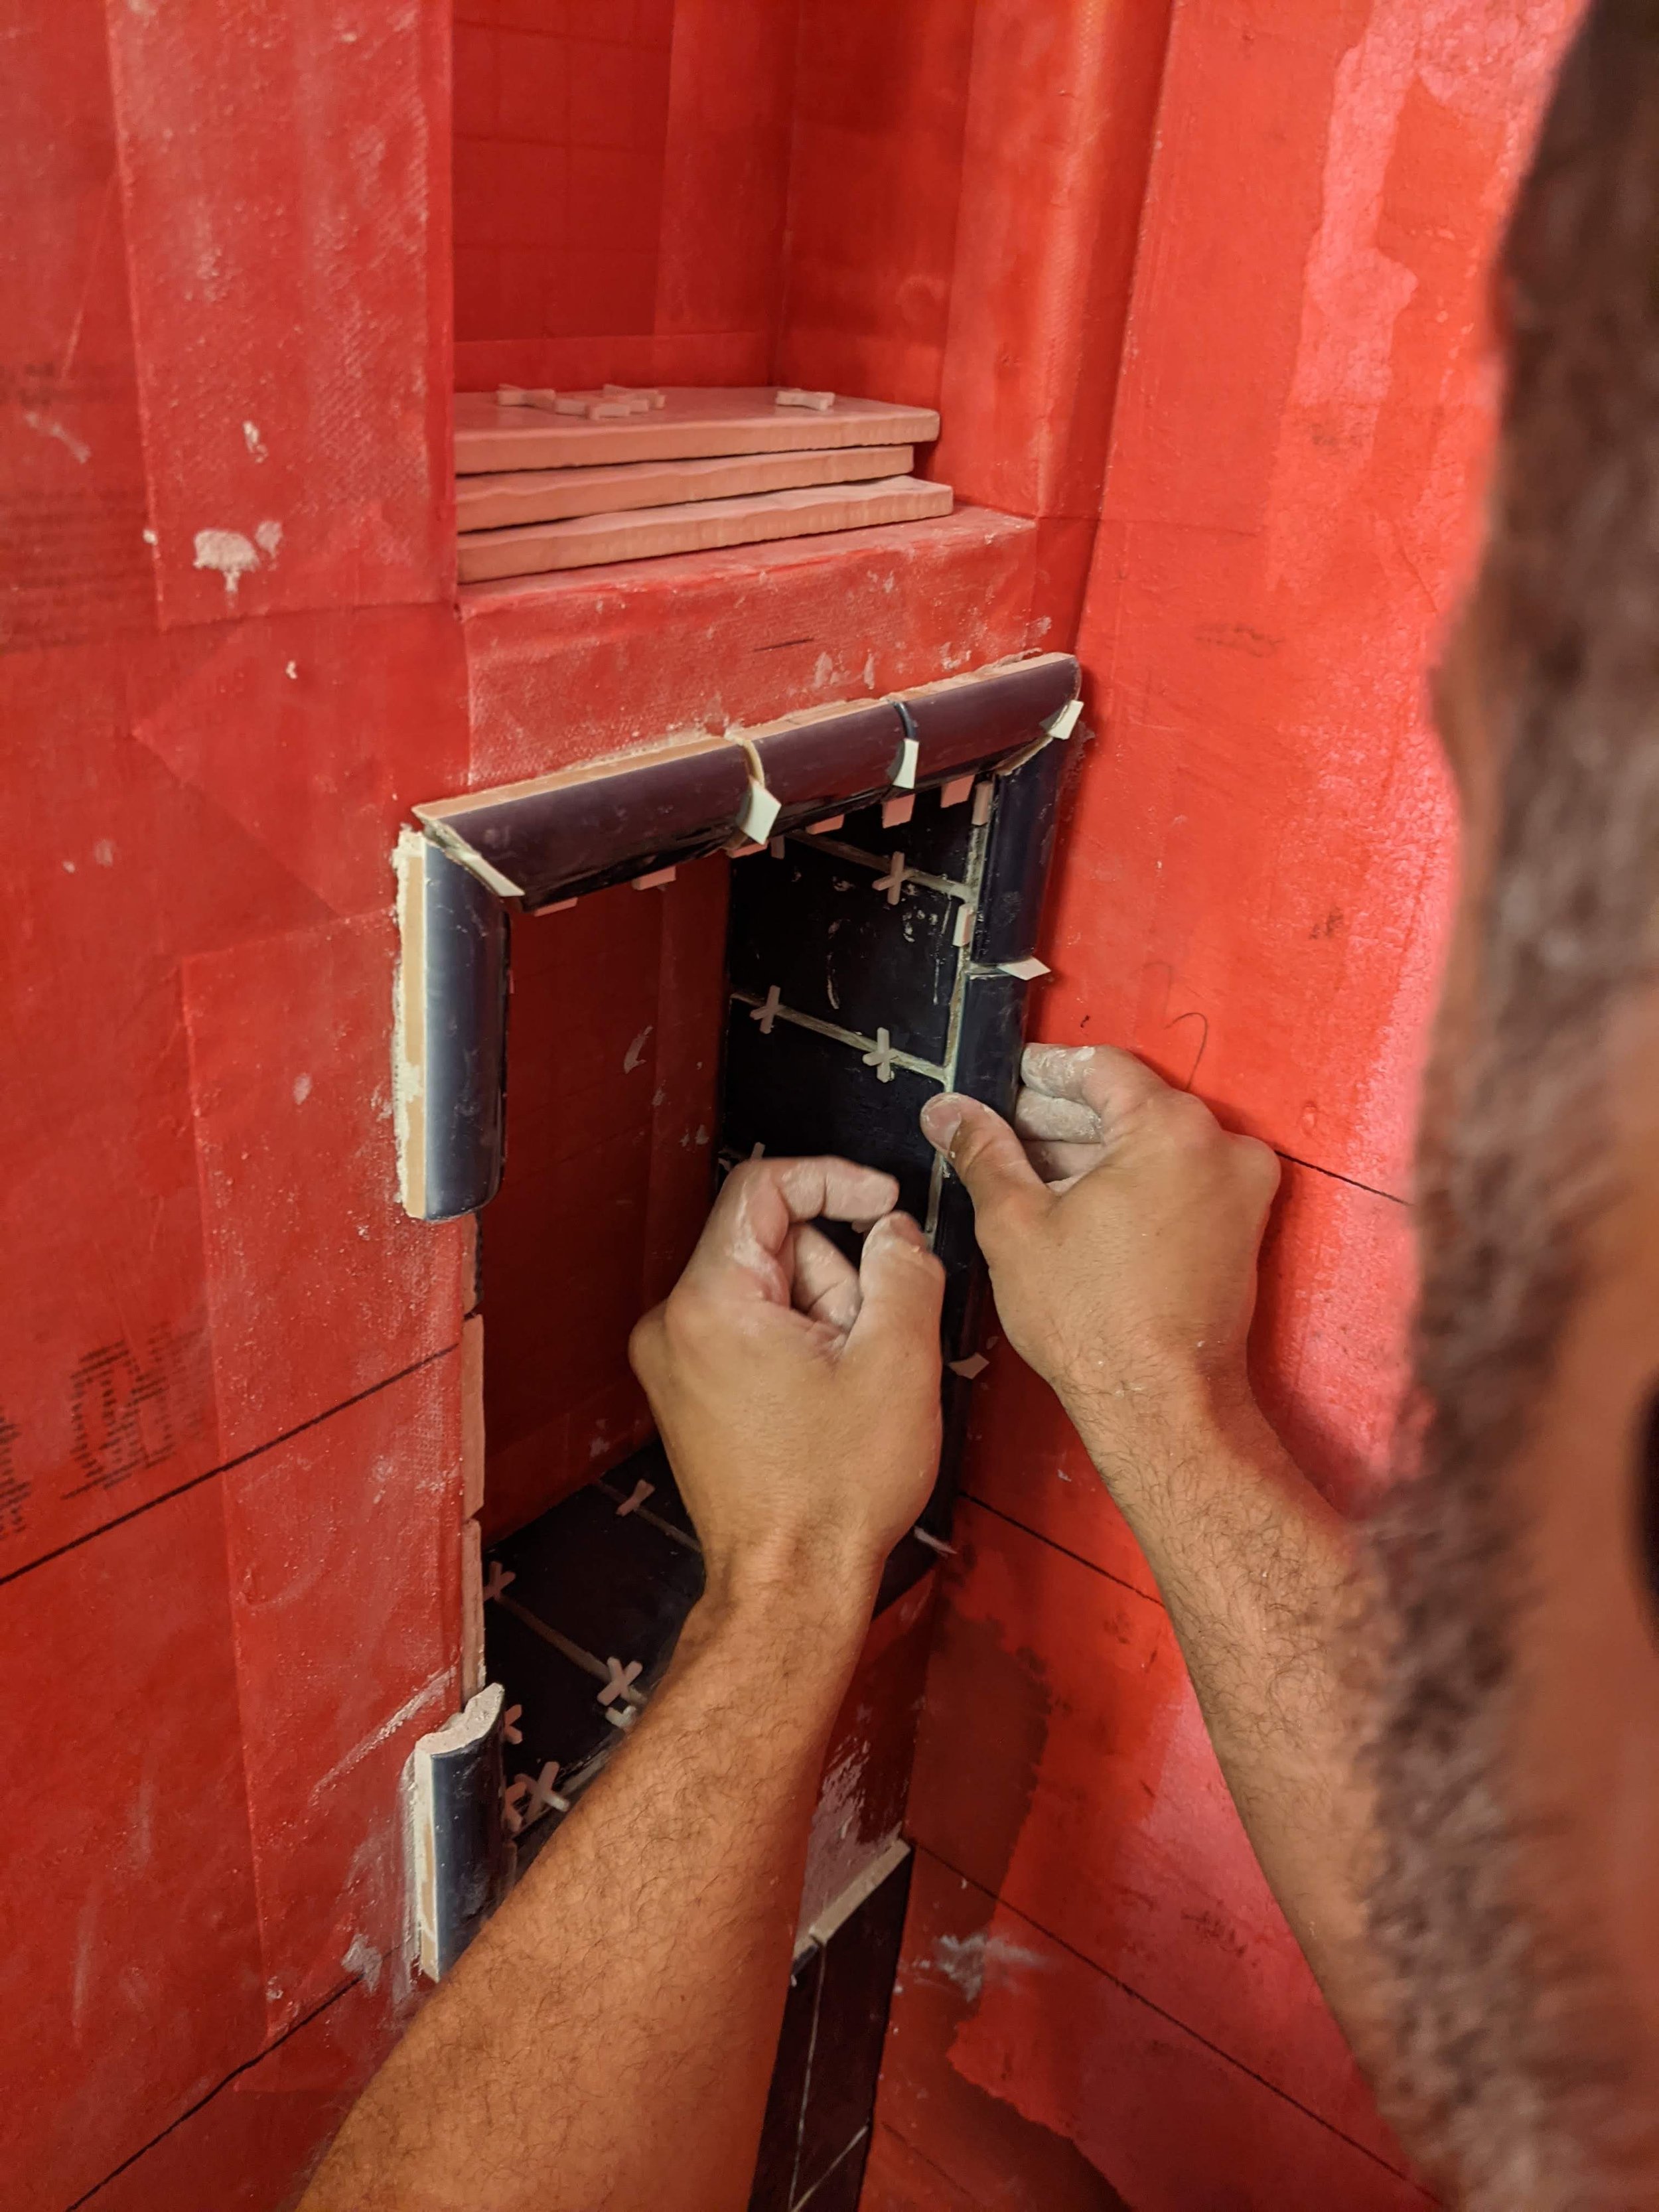
We had put a lot of thought into the shelf spacing rather than just doing what was easy with the plumbing and wall studs — knowing we wanted the tile to look fantastic. So the end result is perfect — the tiles fit snugly into place with the edge nice and crisp. The final edge just needed a last stripe of white up to connect it back to the rest of the walls. The edging and jolly sticks really completed it with a good “we planned this” look. And we had, honestly. Lots of specific planning sets it apart so you don’t get to the end and have 50 eighth-inch pieces to cut or a giant wad of grout to finish up.
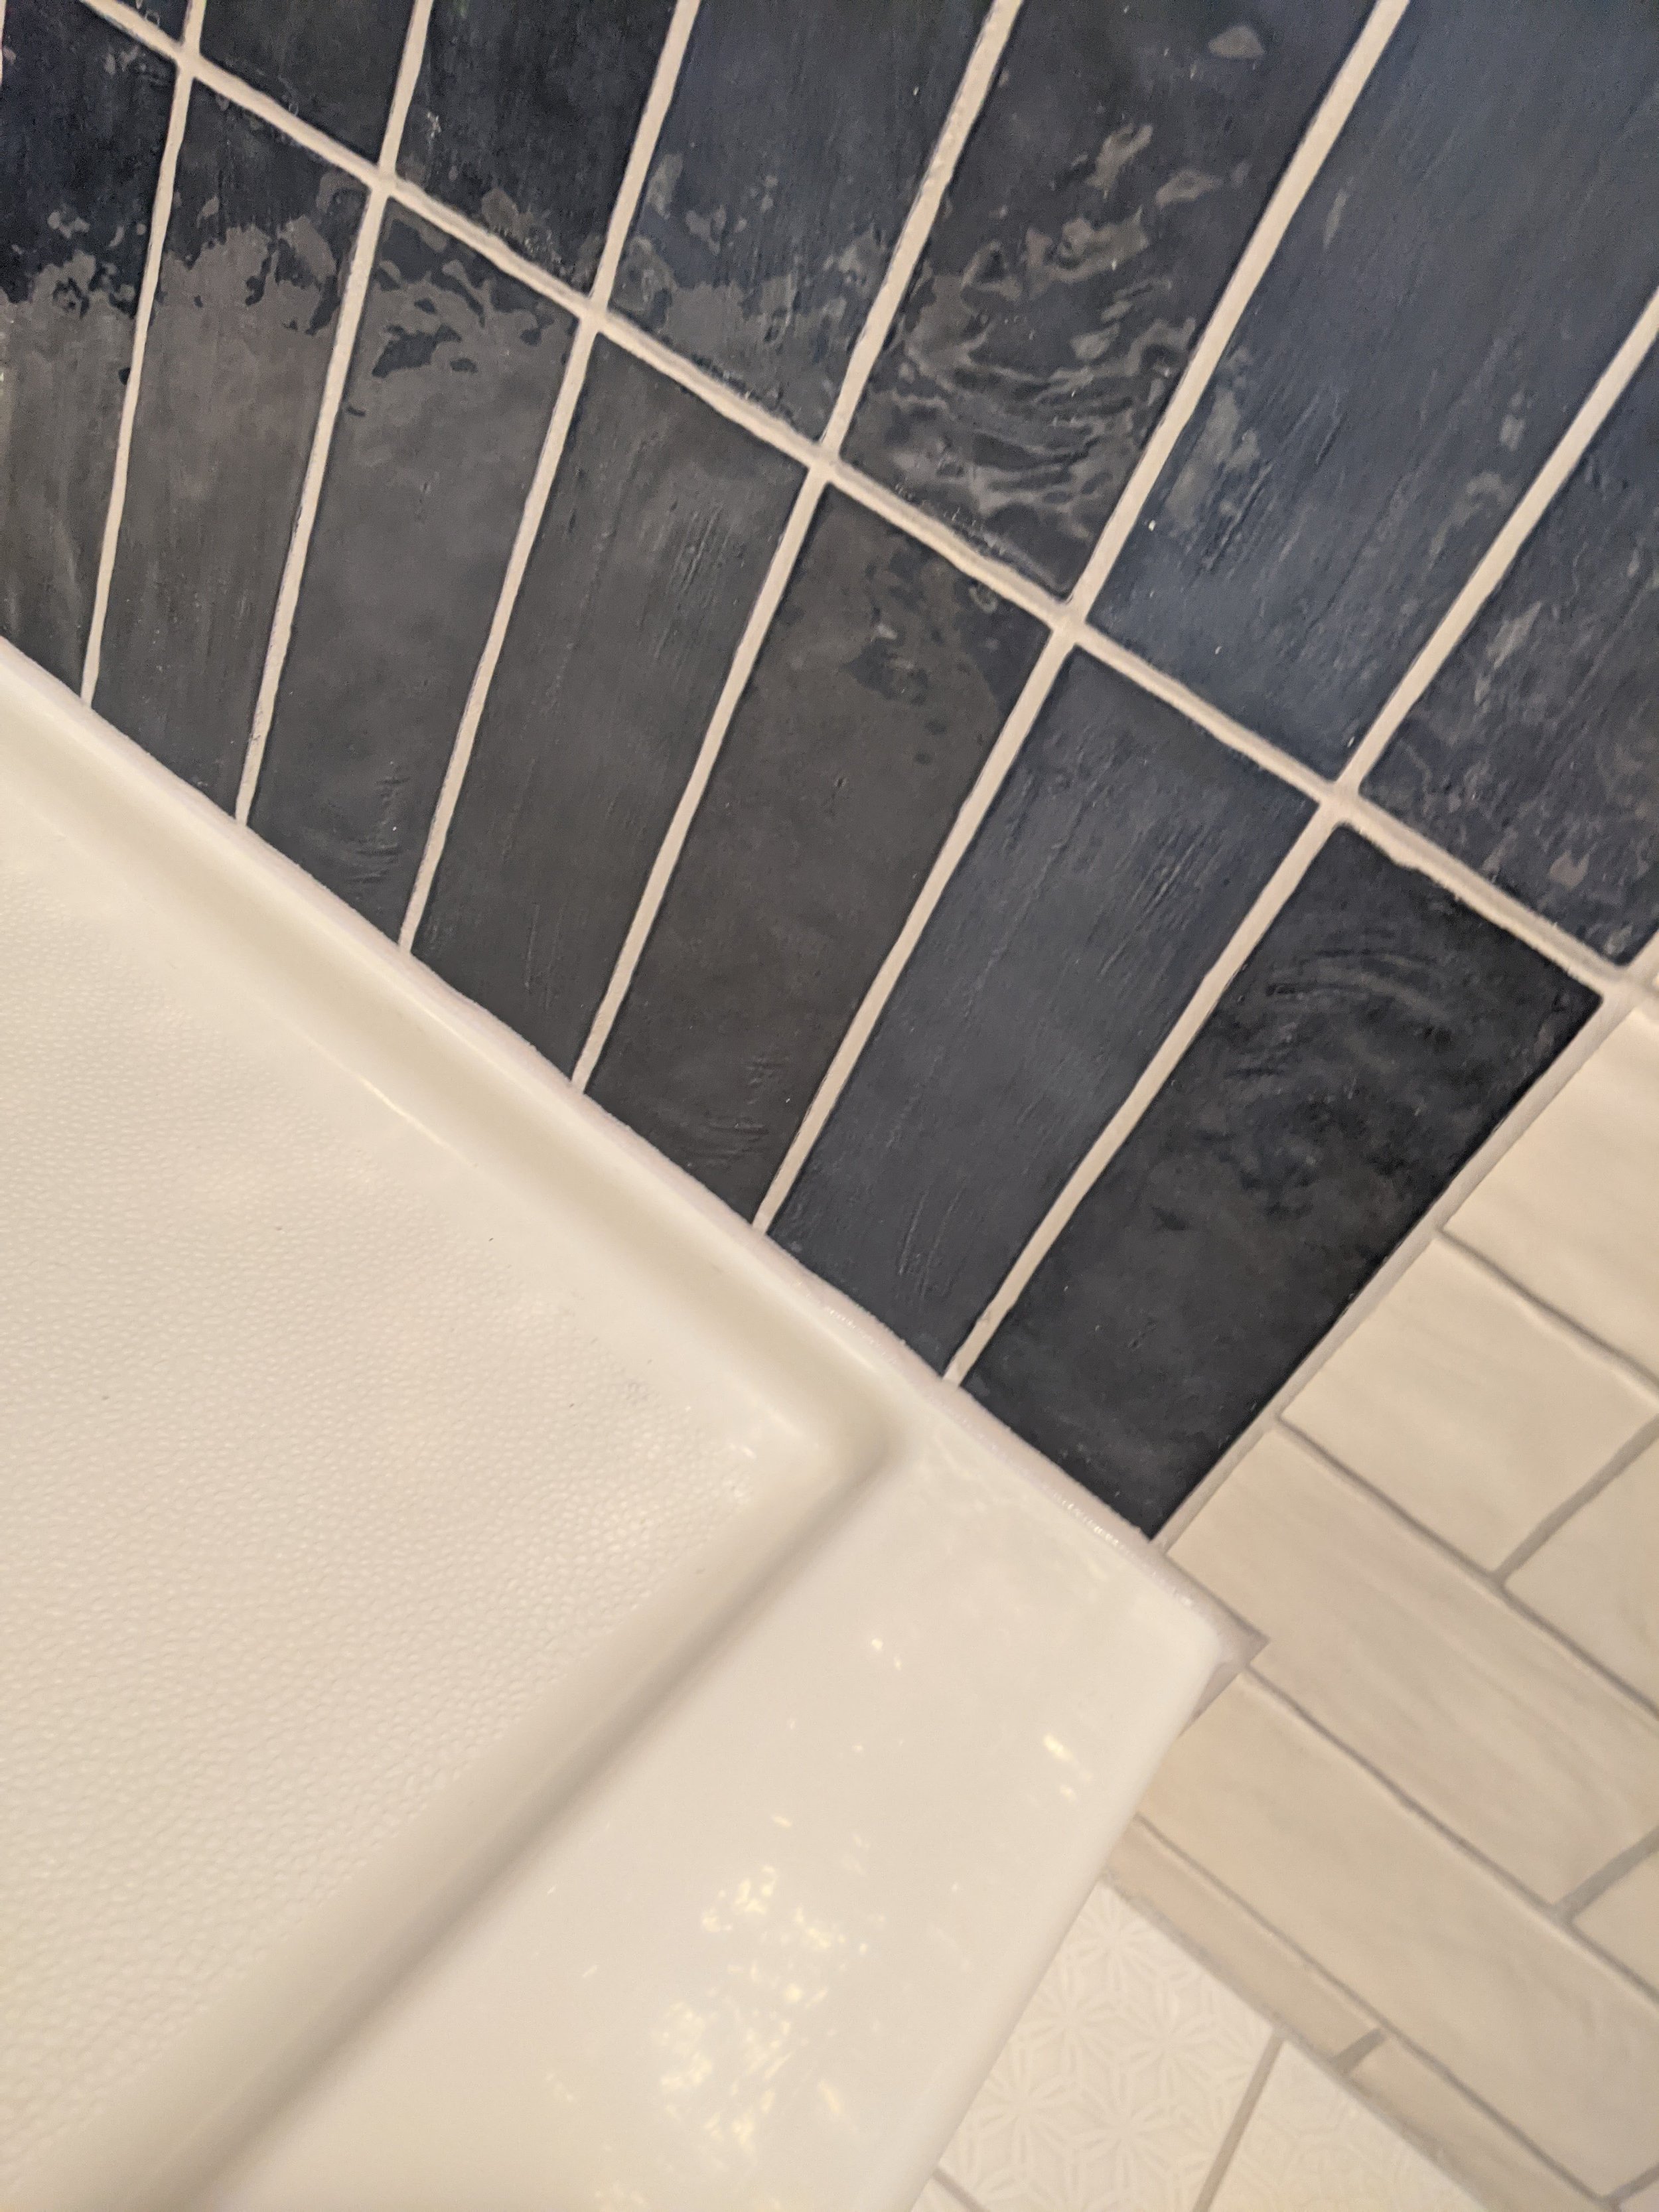
We had to drill and cut holes for the plumbing: the shower head and the water control. I absolutely LOVE the way the light grey grout looks on this, especially combined with the white. Truly, it’s nice when you have a vision and it gets executed perfectly. Go Hubs!
After the grout (which I didn’t take any pictures of this time, sorry, but you can see it here on the white tile), we began attaching the hardware to support the glass doors. That is part of our finishing steps, which you’ll see soon!

As I said before, we were working in pieces as COVID supply chain meant we got the tiles in various shipments, so you’re getting a sneak peek at the flooring… but that is coming up next!


