Our basement needed more than new lights, more than drywall. It needed everything from the (literal) ground up. The ceiling panels had started to come loose as other projects took precedence, but one day, I’d really had it with the lack of lighting. My sewing desk had TWO table top lights, and the few remaining ceiling lights were turned on and I still felt like I simply couldn’t see to get my stitches straight. The oppressive dark paneling seemed to suck up the light like a black hole.
I begged my husband, “PLEASE can you install a new light fixture? I CAN’T SEE!” and then started dinner.
Next thing I knew, loud hammering. I went to check and part of the wall was gone.
That’s basically how every project at our house begins….
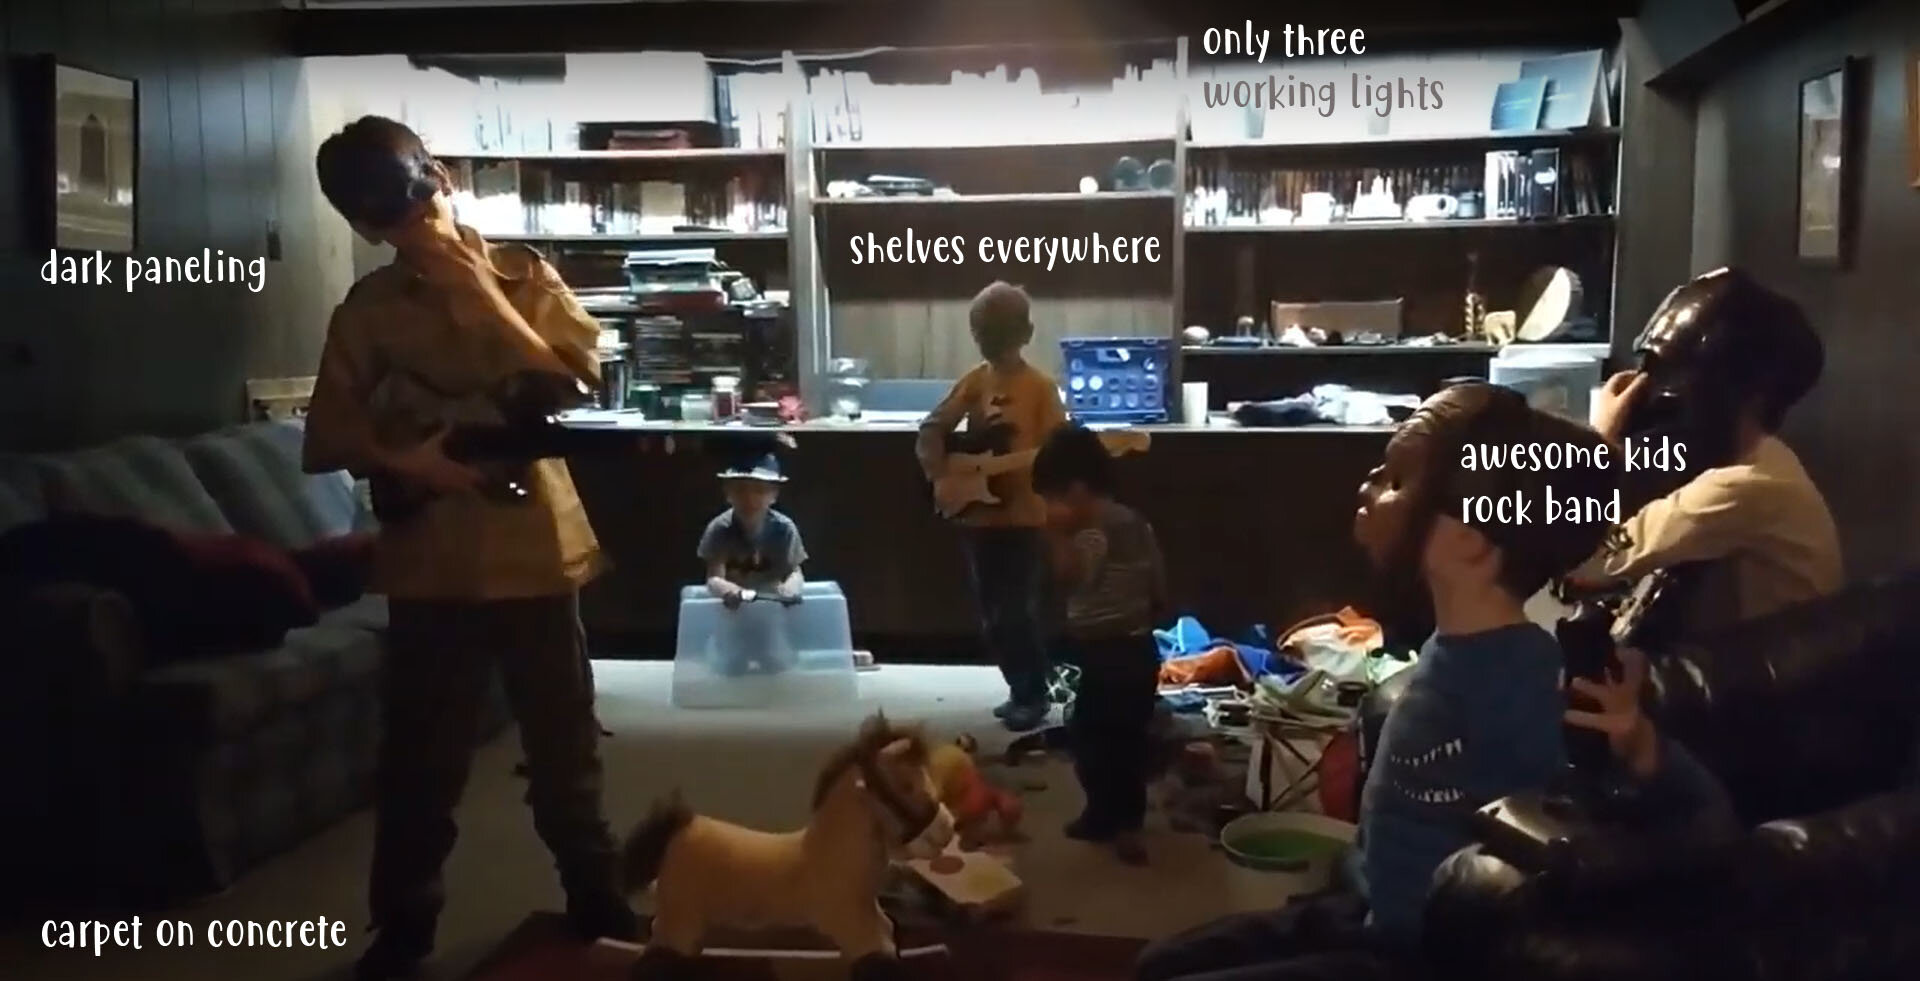
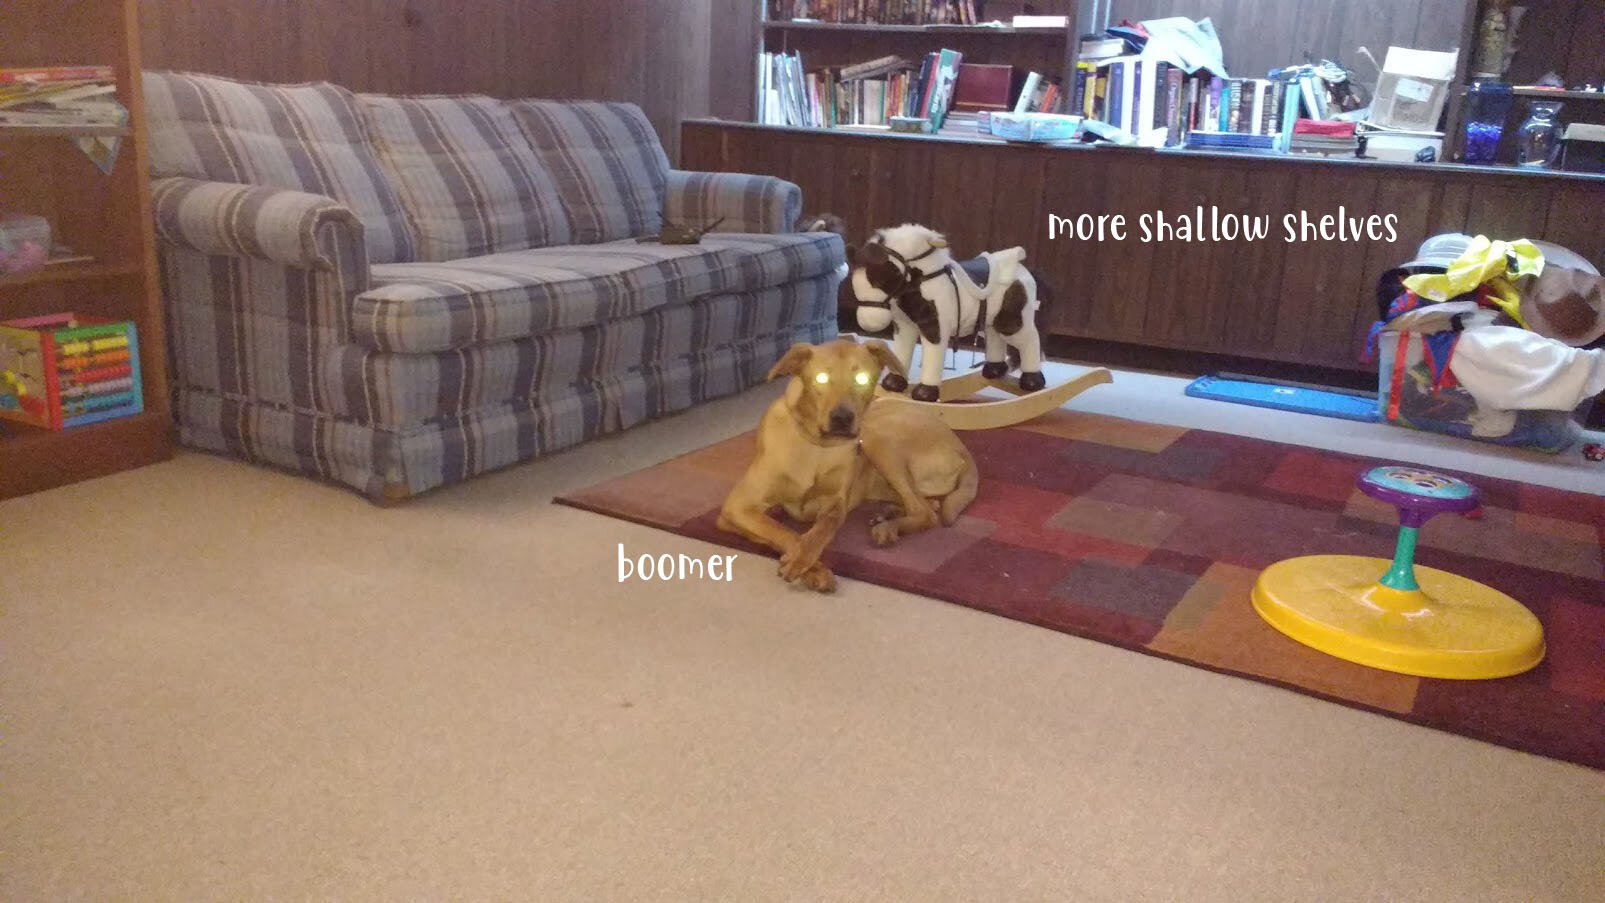
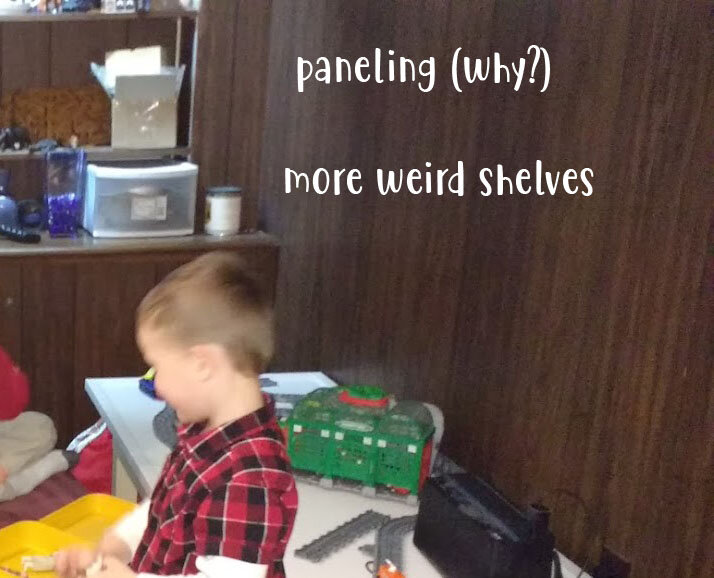
Here are some shots of the basement:
BRIGHT fuscia carpet on the stairs.
Old, crumbling ceiling tiles.
Two old track lights with (combined) only three working fixtures.
Dark paneling on the wall.
Carpet over concrete on the floor.
No railing on the stairs.
Terribly placed door (90 degrees off the bottom stair, opening directly into the car you’ve parked in the garage).
Little to no insulation so you could always smell car exhaust from parking.
Weird shelving built in, um, everywhere but no usable storage.
Giant wasted space under the stairs.
Few electrical outlets.
Weird closet with water softener built in the middle of a wall instead of in a corner.

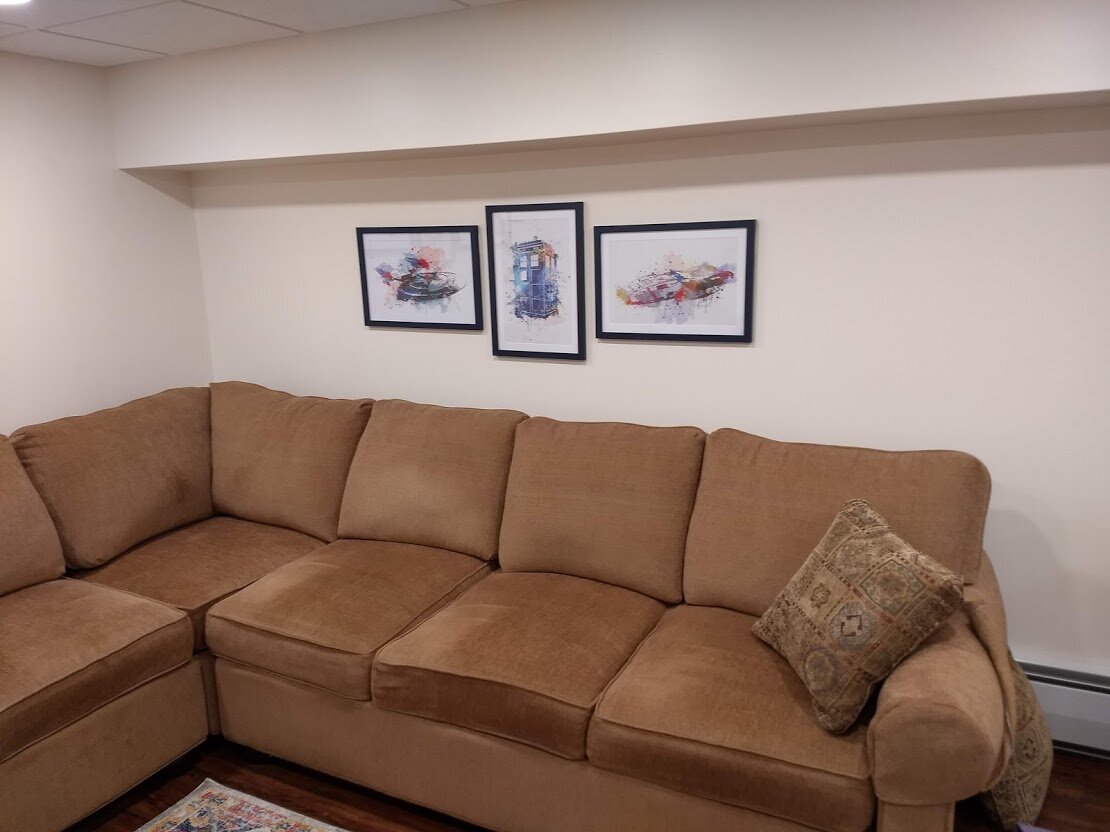
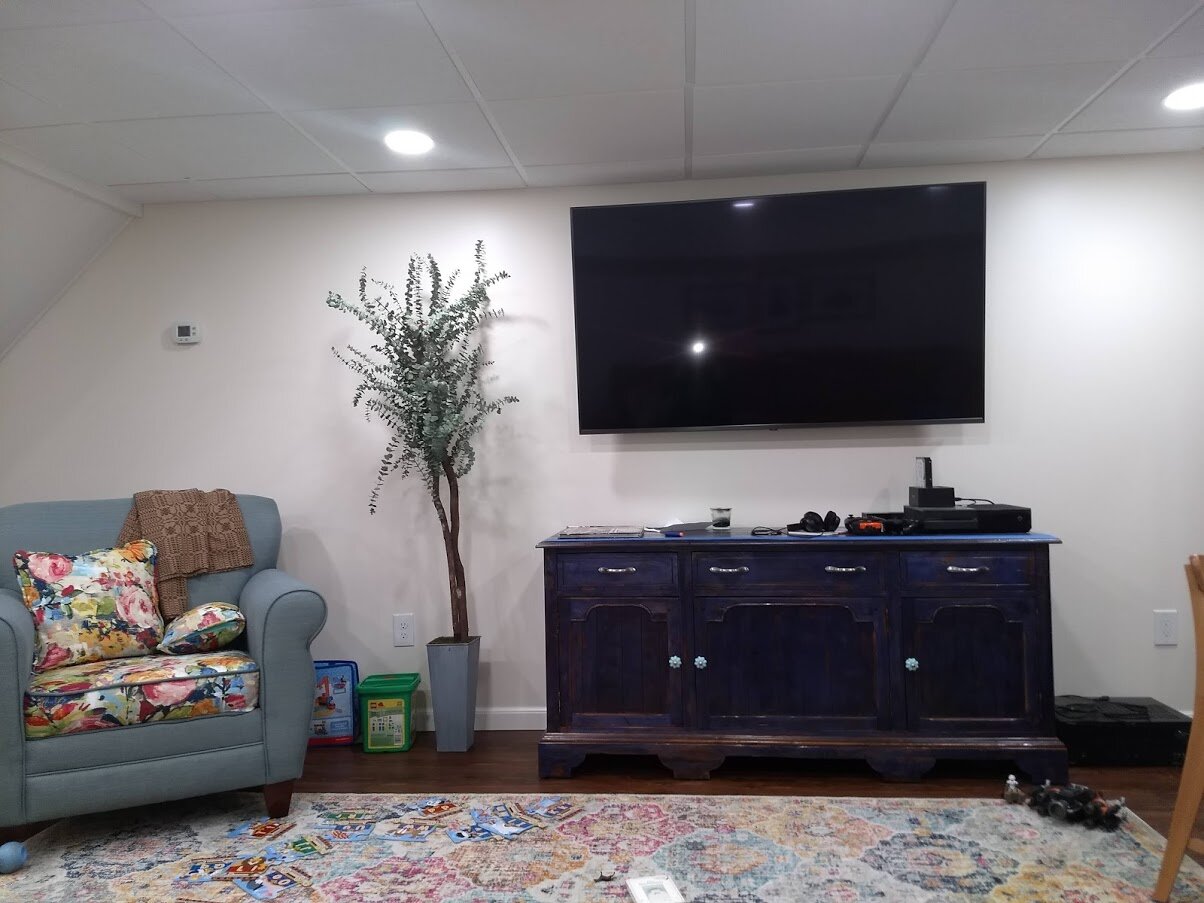
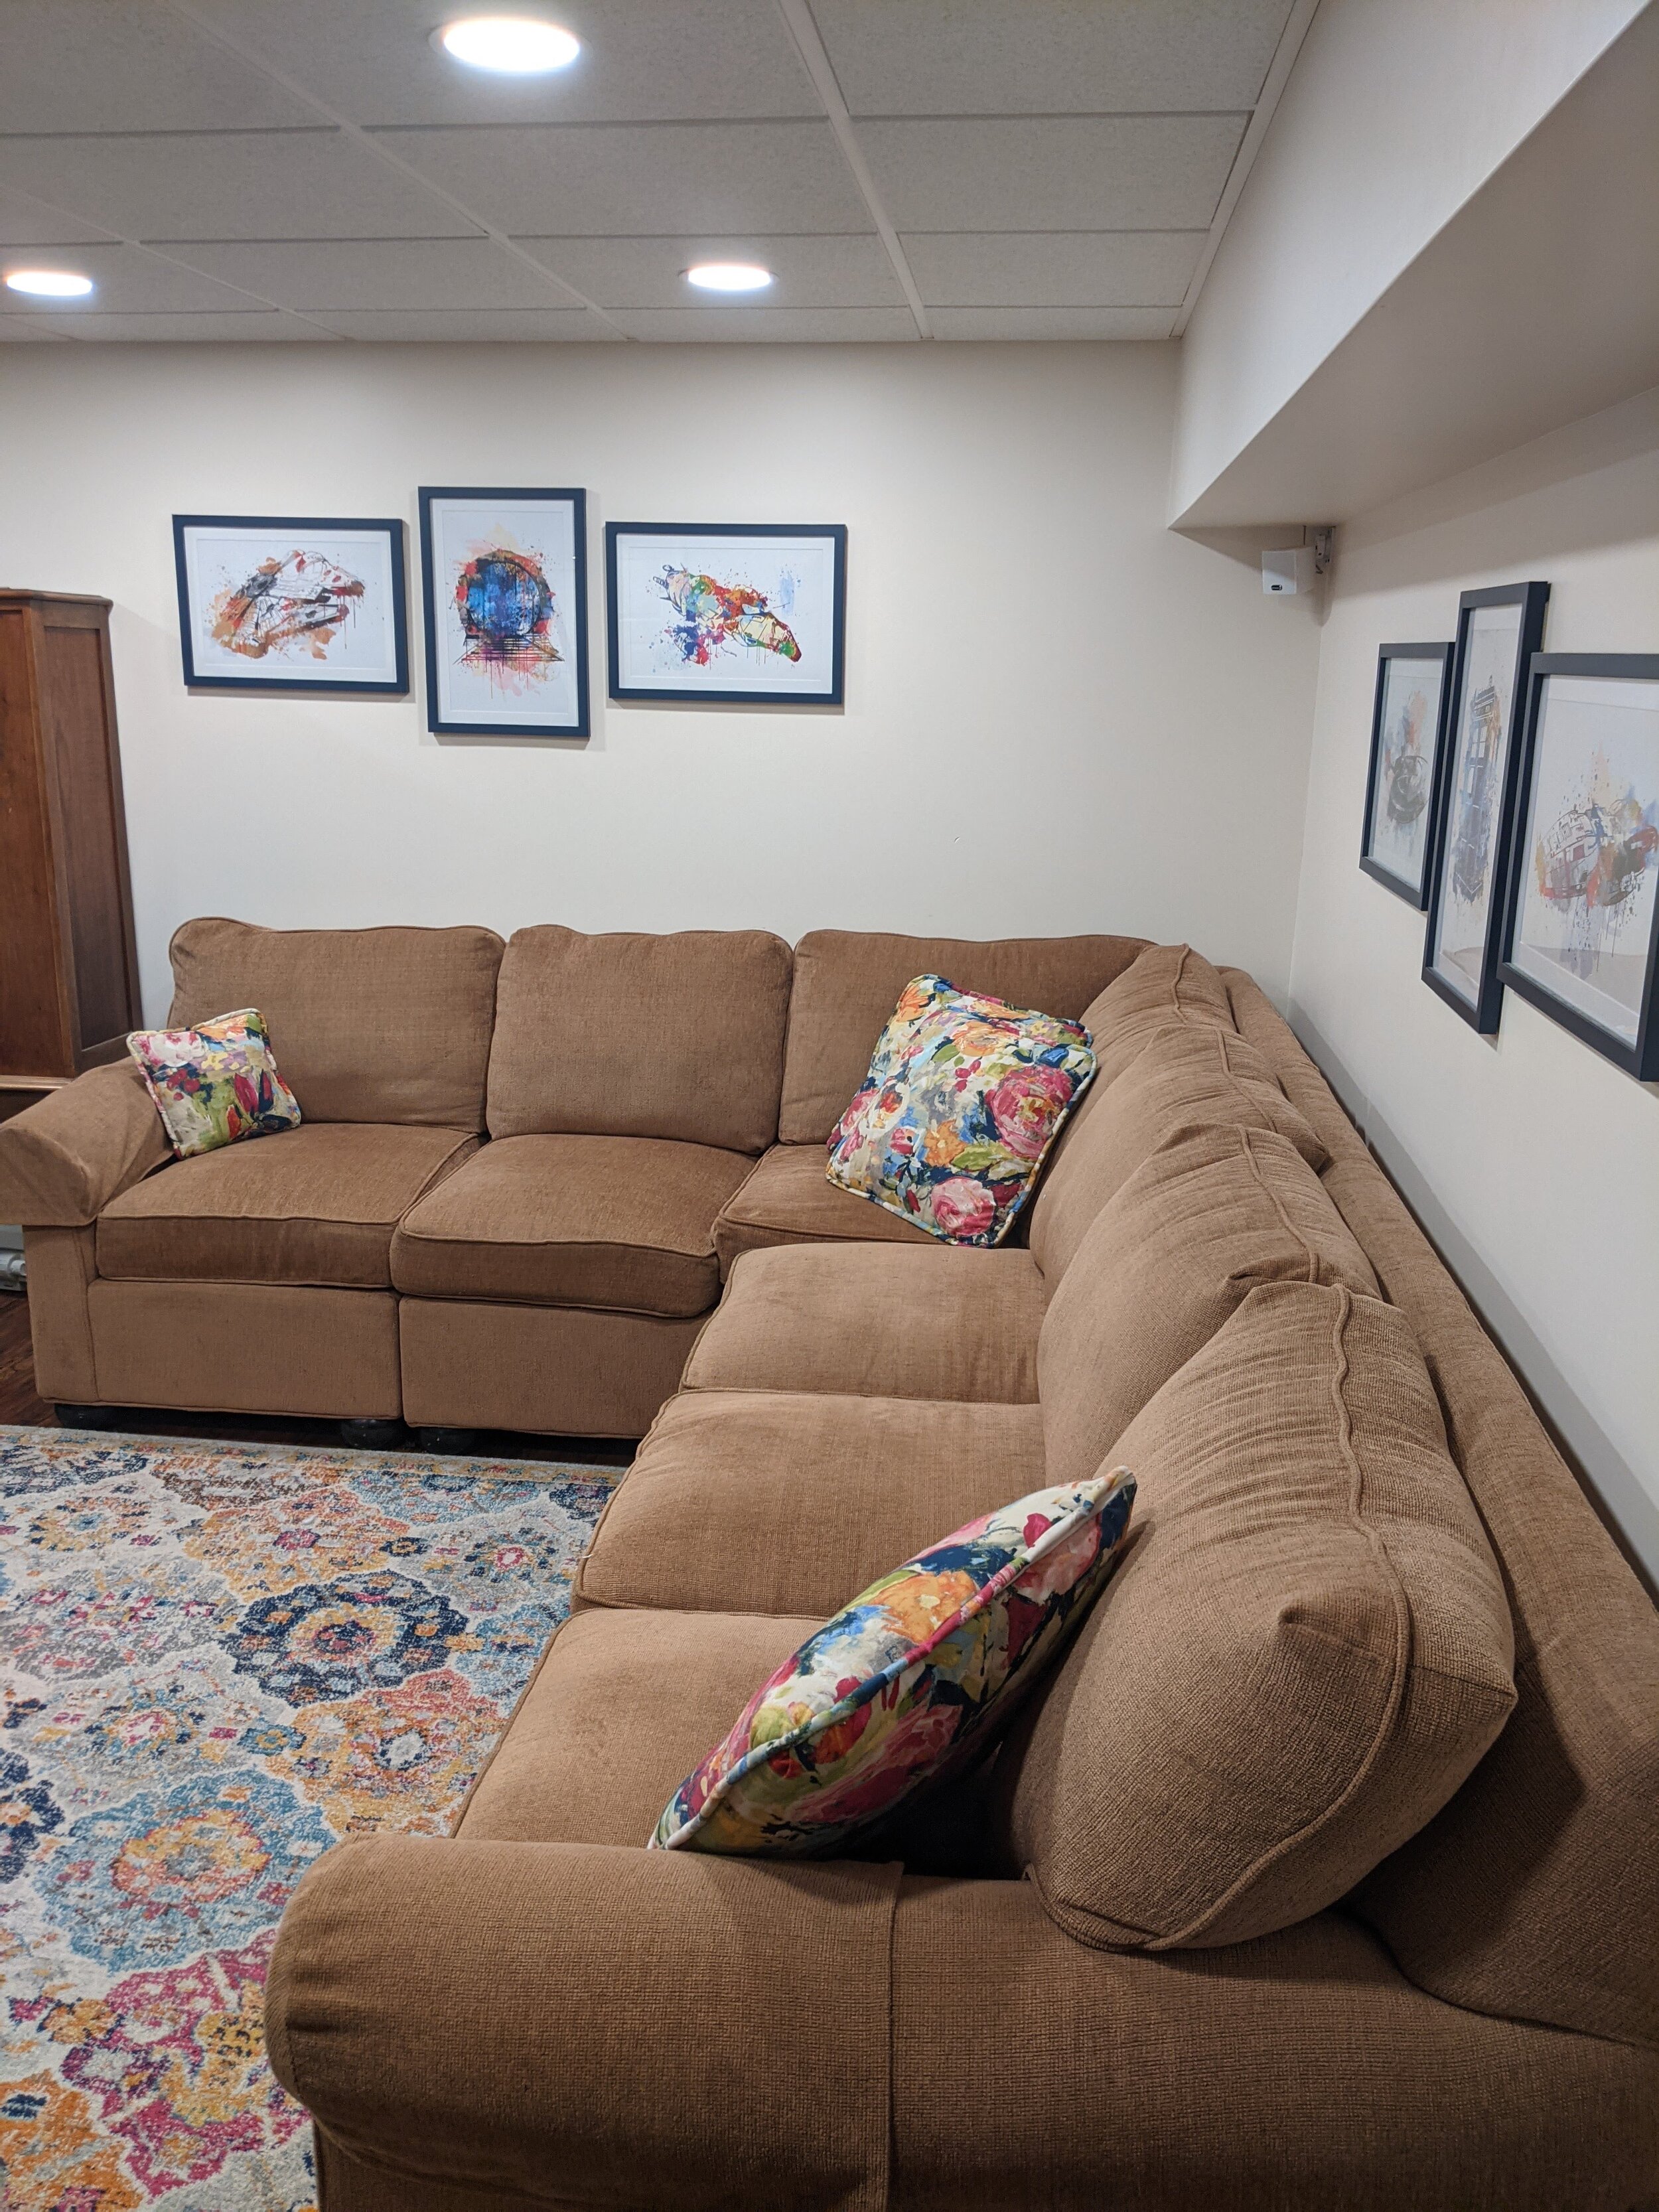
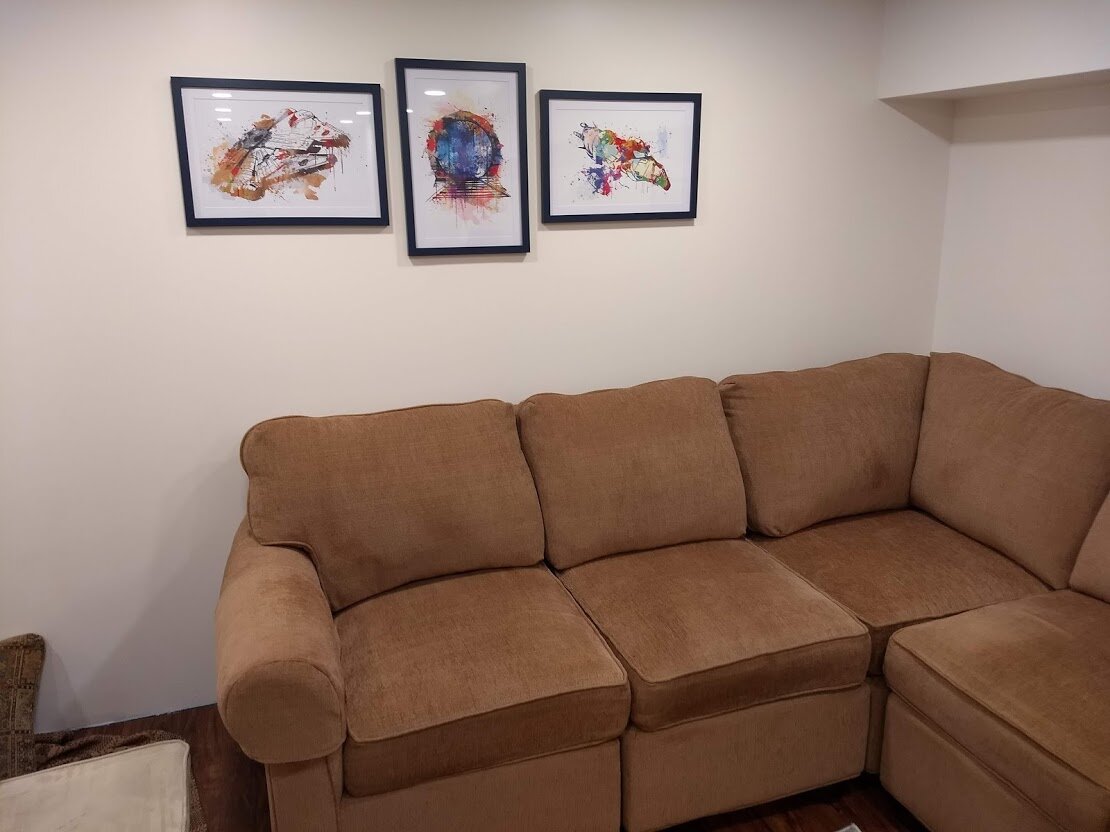
And here’s the “after”… keep reading to see how we got from there to here! Also, bonus if you’re a sc-fi nerd and you can identify all the ships we used as wall art!