

This is the step you shouldn’t tackle unless you know what you’re doing. If you have that friend who “could definitely do that” — RUN RUN RUN far away. Get a professional. Electricity is a heartless bitch, and you don’t want to tell the story of the time you accidentally flooded your upstairs with sewer water.
NOTE: Skip back if you want to see an overview (including “the before”) , phase 1 which is doing demolition right, phase 2 which is the unsexy insulation and floor demo, or skip ahead if you’re looking for a different step in the process.
STEP 6: ELECTRICAL
Because I want you to take me seriously and get a professional, mostly what I’m going to talk about here is planning ahead and lighting choices.
As I said before, we took this opportunity to hardwire in a smoke detector. (It has a battery backup in case of a power failure.) We also thought ahead about some additional new features we might like. For example, if we ever decide to add a lighted mirror, that wire is already strung inside the wall. Additionally, Hubs decided he wanted lights in the closet, so we added the capability for that.
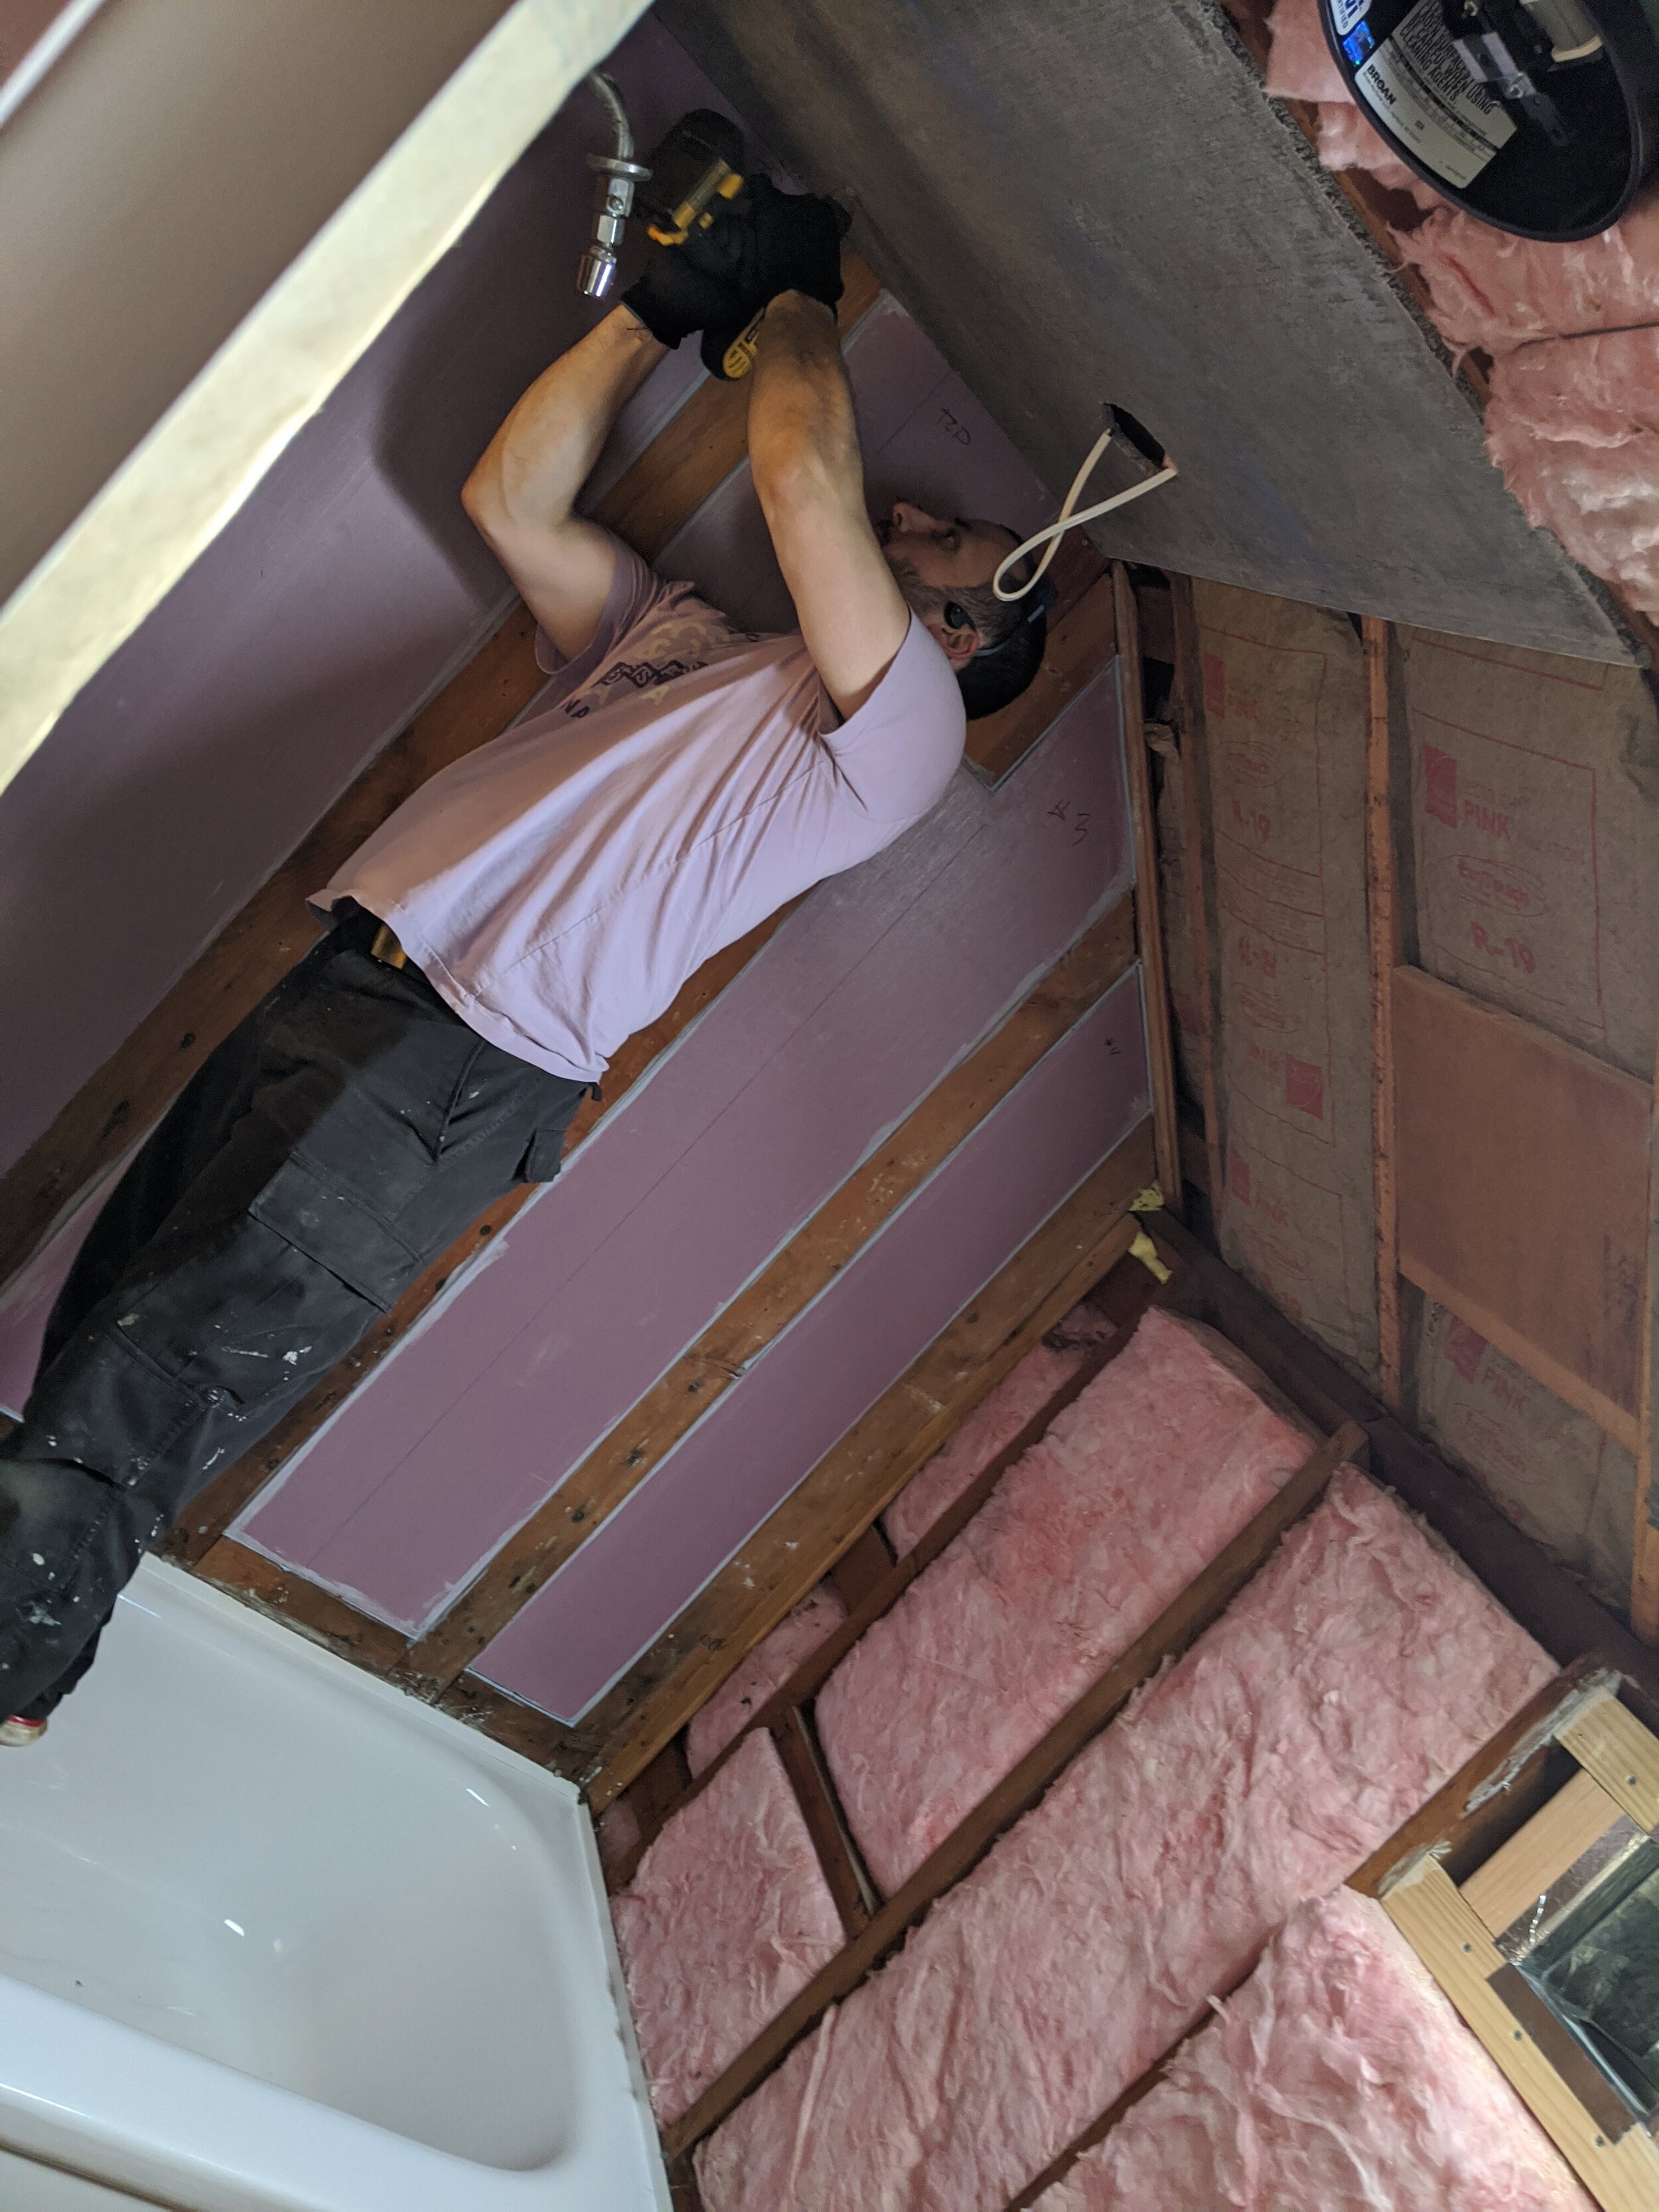
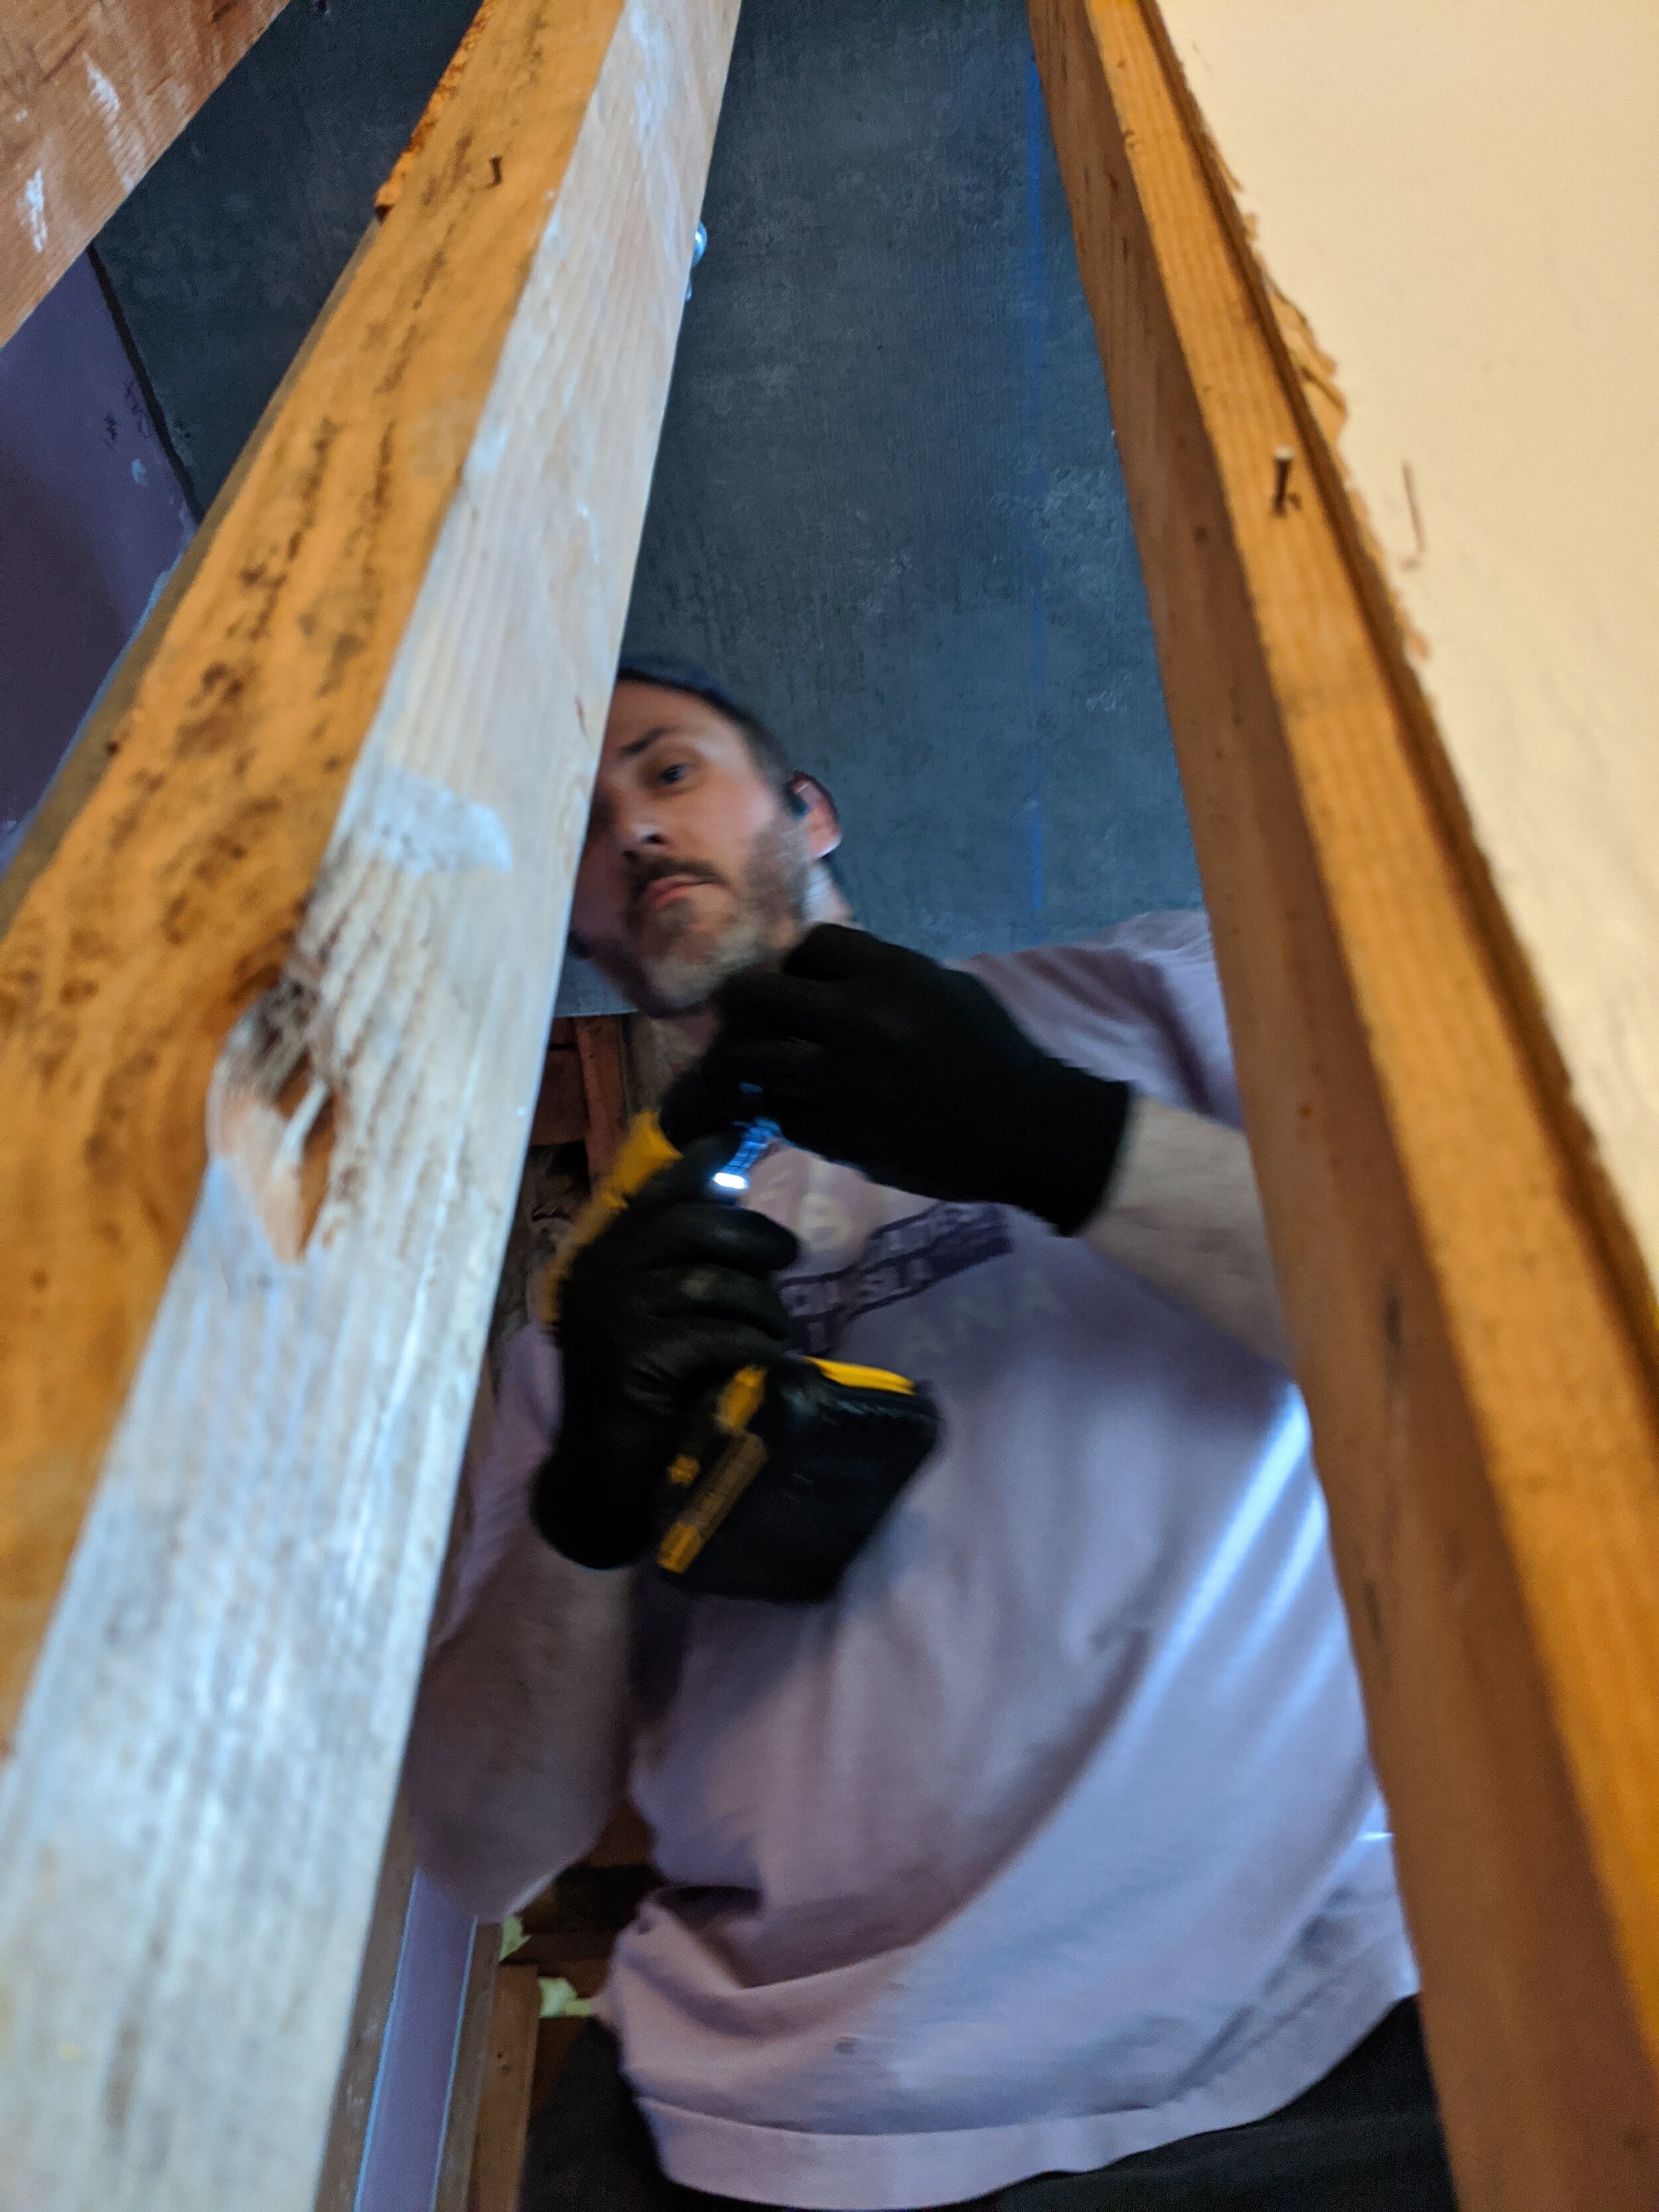
For our lights, we knew we wanted more of them. We picked three 4” round waterproof white wafer lights. They work with a dimmer and can be controlled via our home devices (like Alexa and Google Home). We put them centered down the middle of the room horizontally, with one right in the shower. I have to say, with the project finished now, I’m delighted with these tiny lights. They are nice and bright, a lovely shade of soft white, and don’t buzz. Plus, they were easy to install since they clip right into the drywall or concrete board without having to be anchored to the ceiling above. See picture of the hole in the shower above Hubs drilling something.
We also installed a powerful new exhaust fan to help keep everything dry in the new room we were spending so much time building.
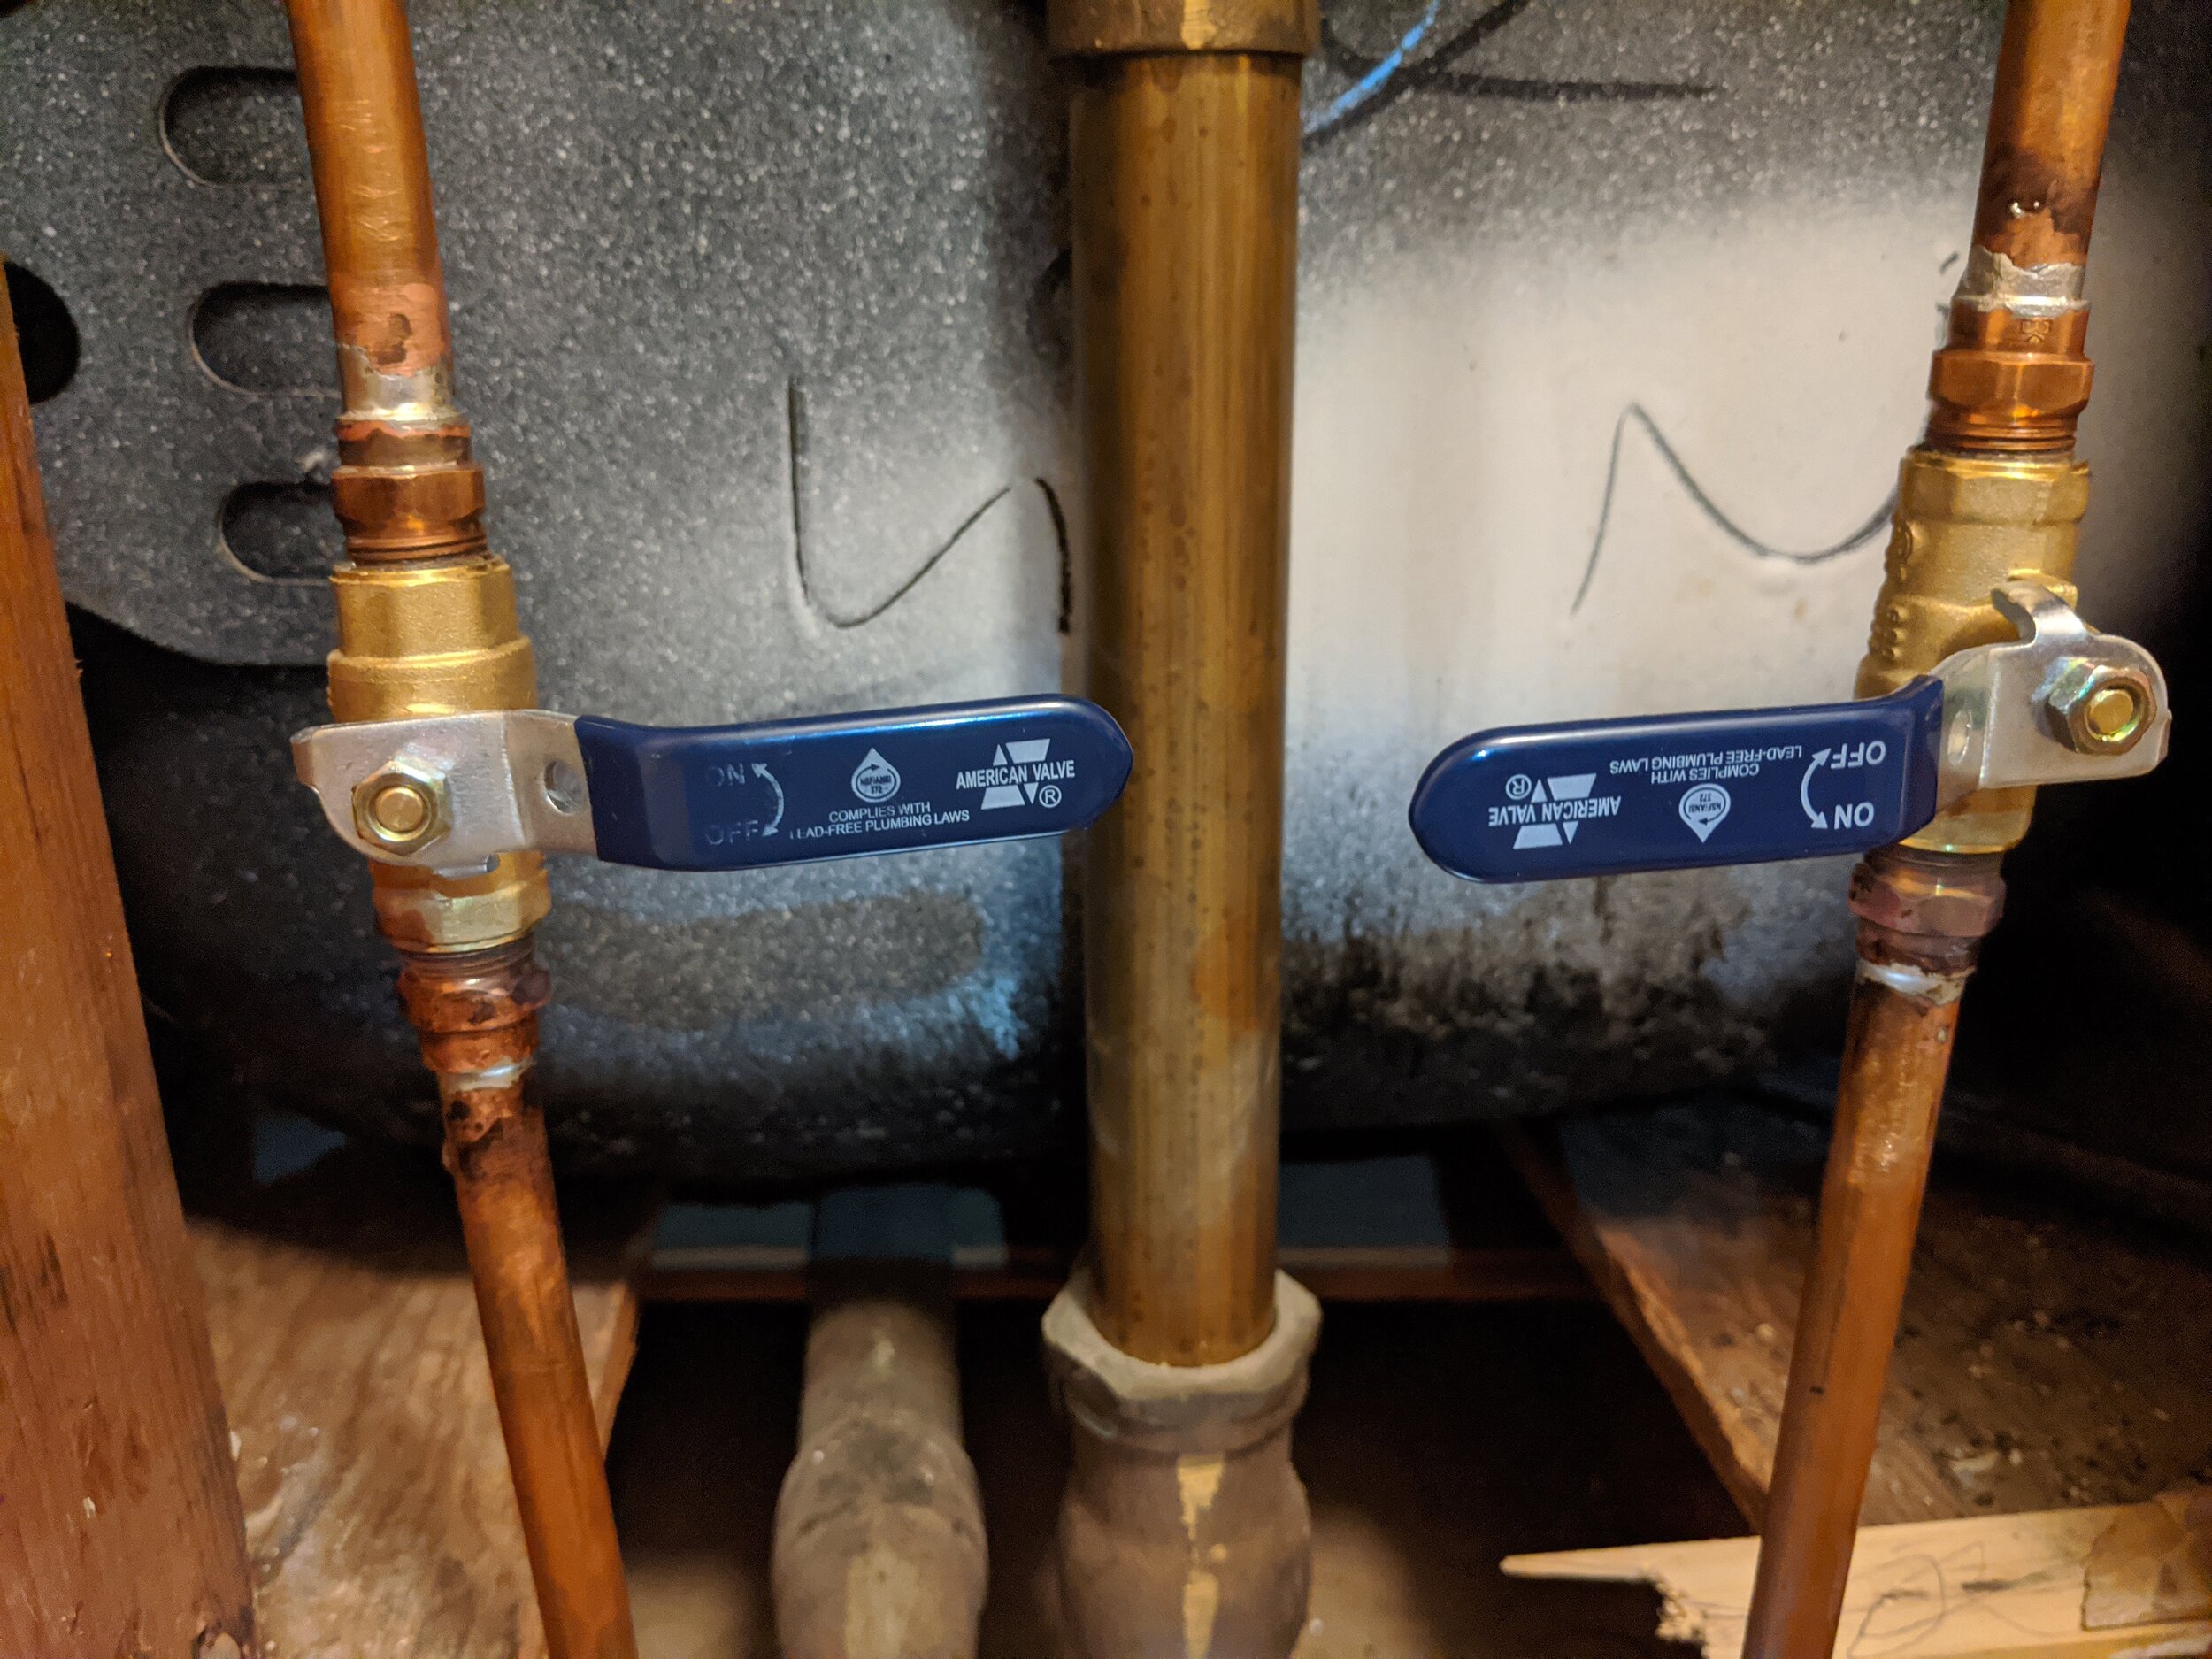

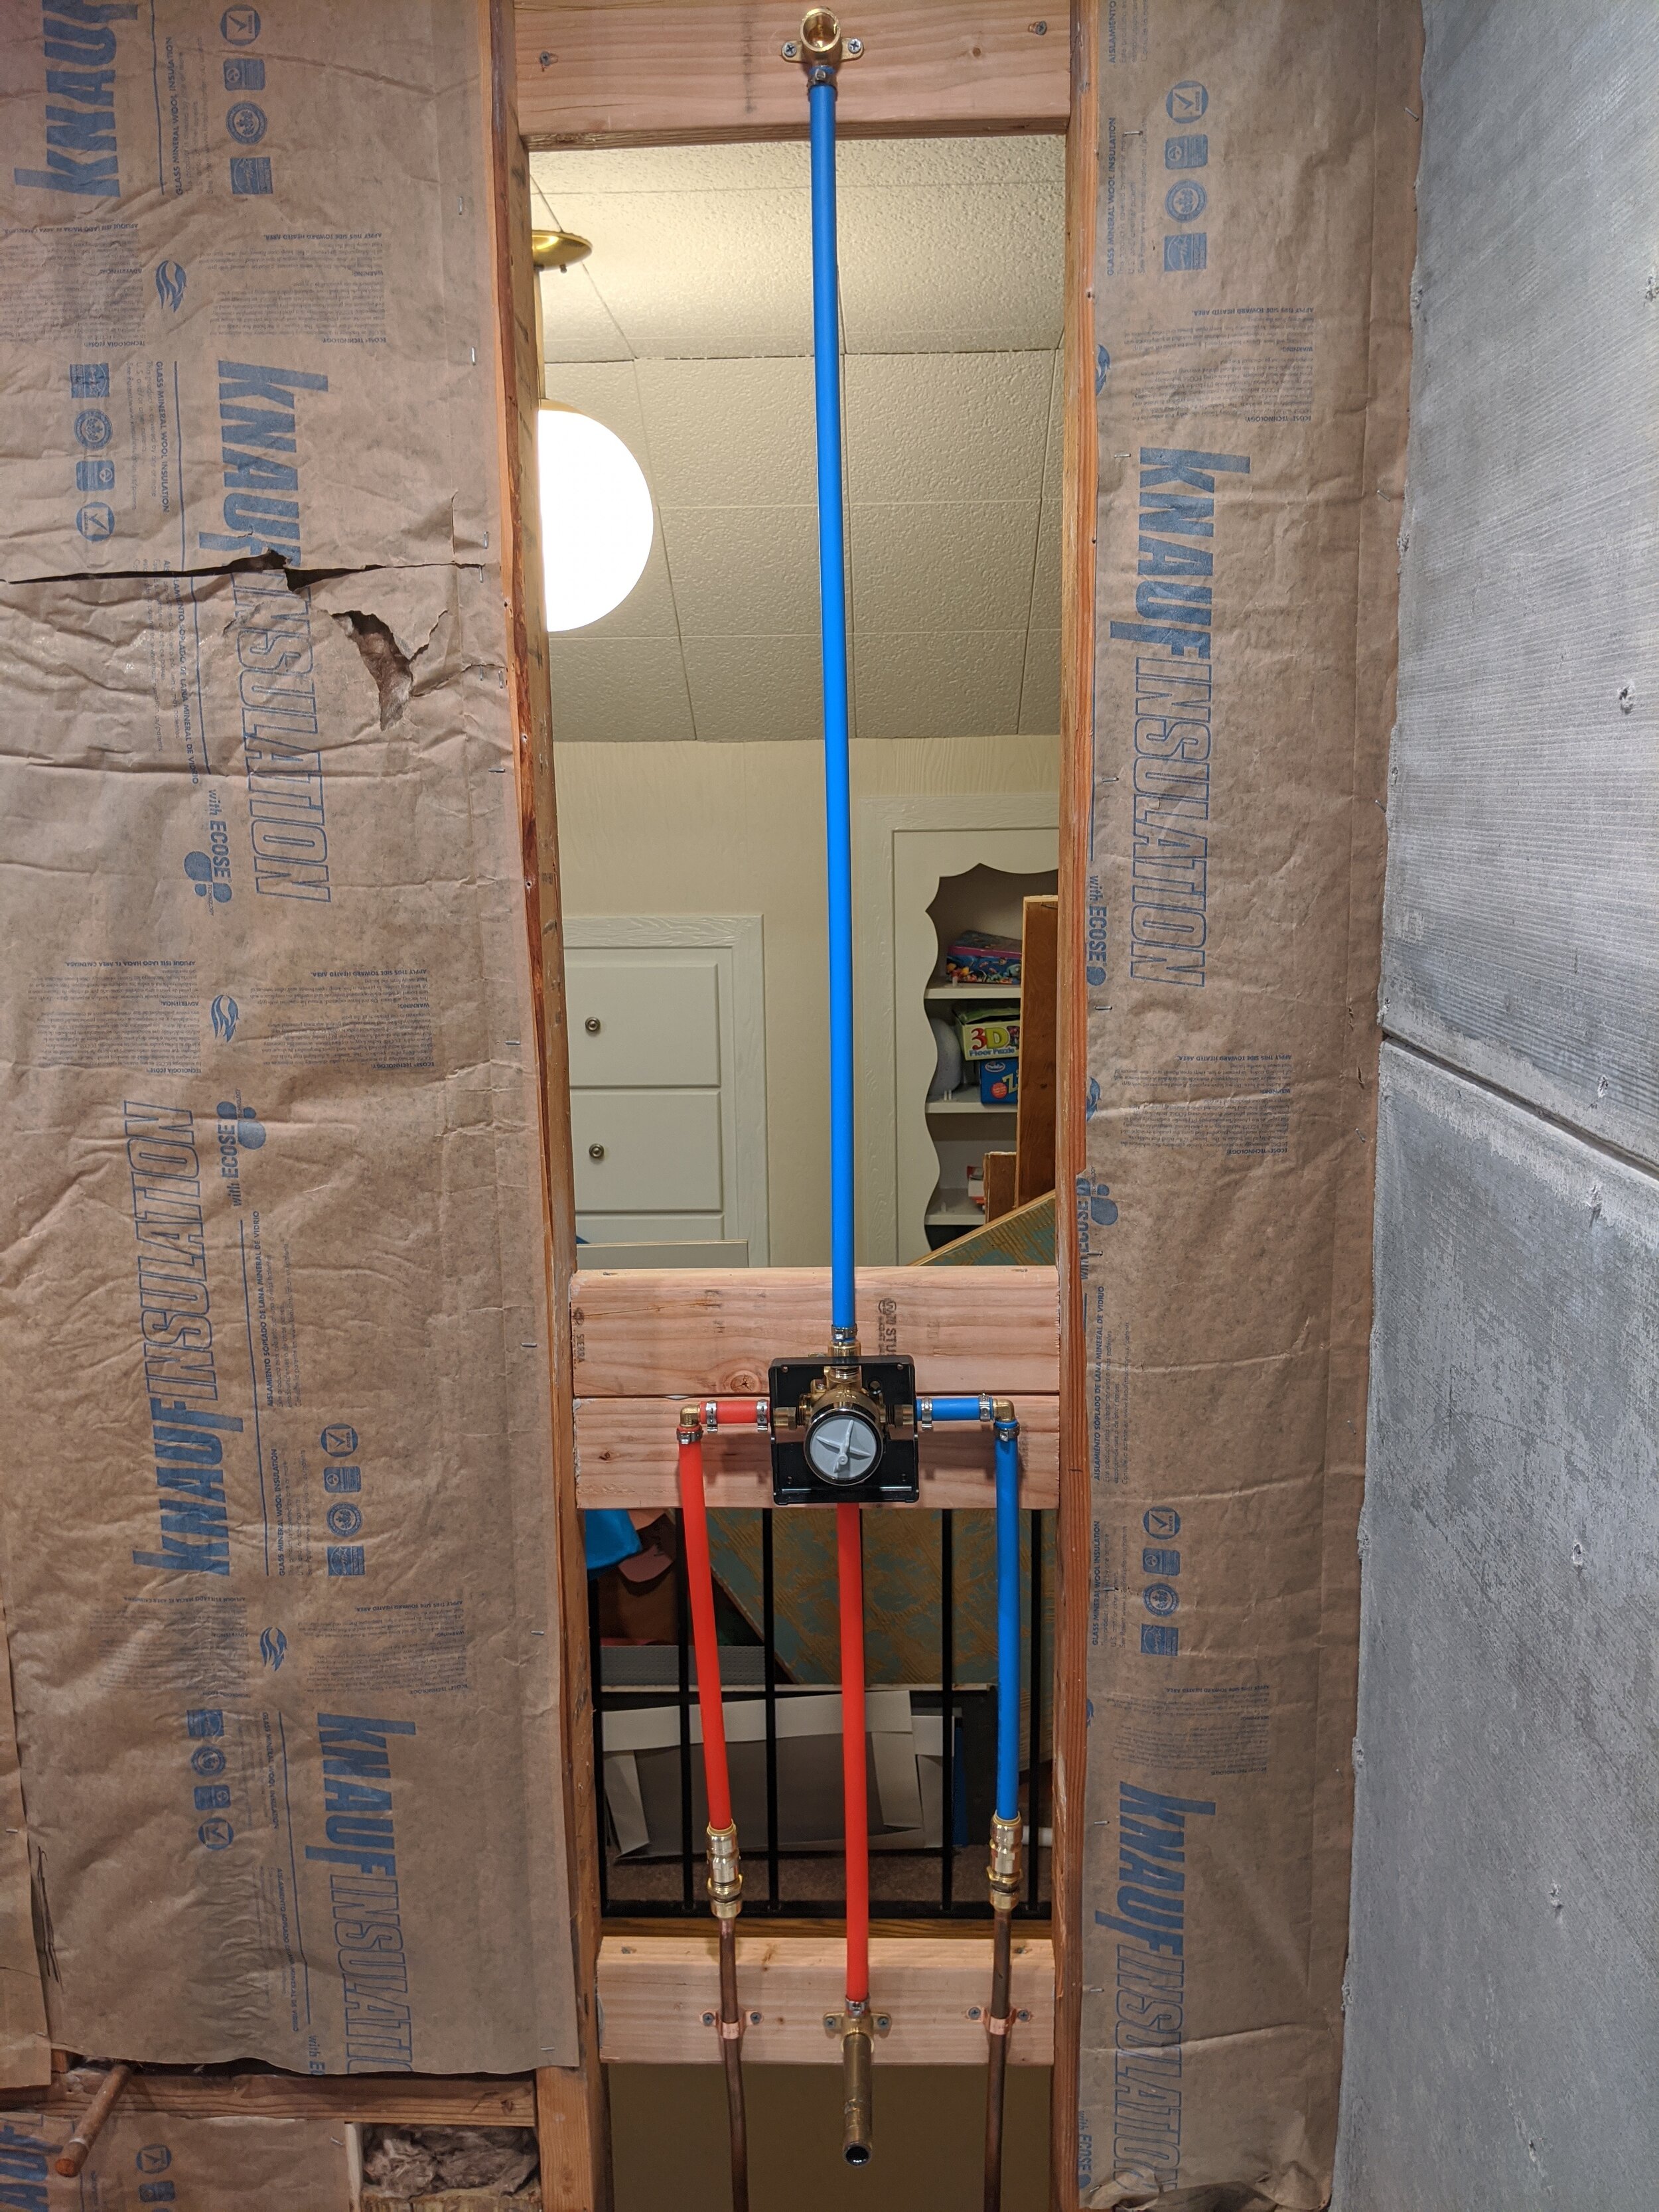
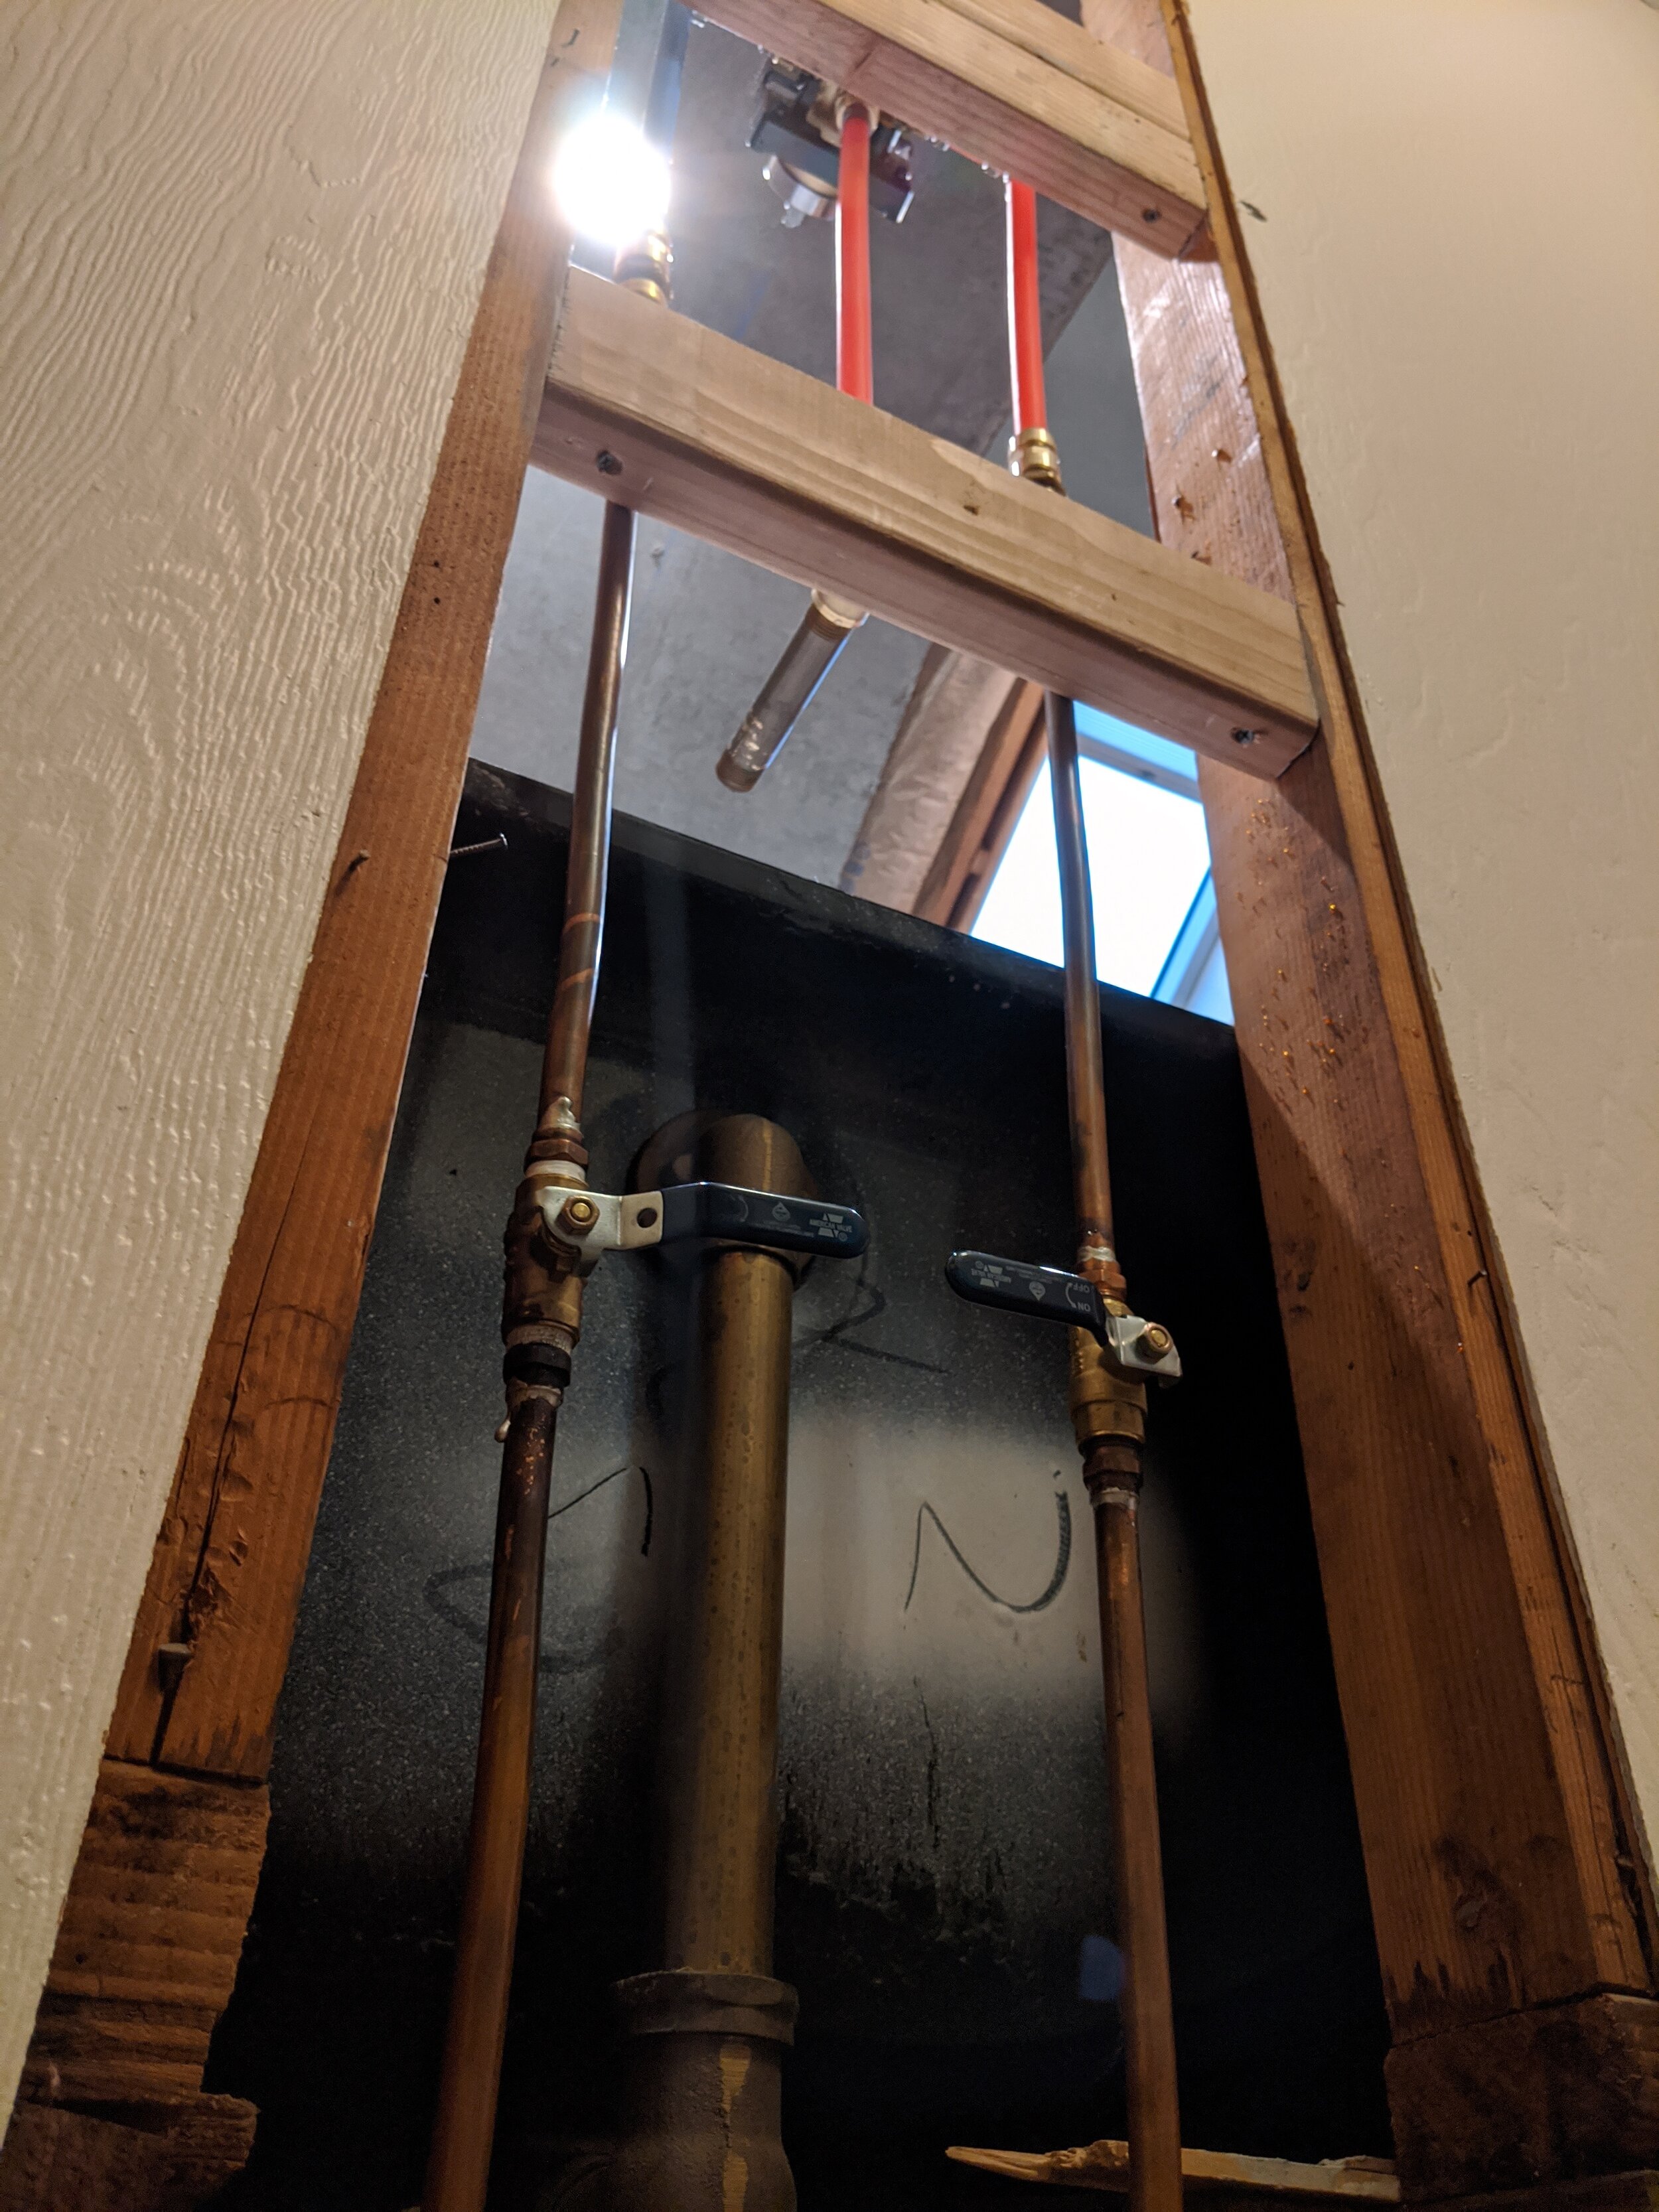
STEP 7: ROUGH PLUMBING
This is the part where the professional you’ve hired checks that everything is up to code. Then, the professional you’ve hired gets everything set for your new fixtures.
We have the standard things you’d expect to find in a bathroom: a toilet, a sink, a shower, and a tub. However, we also added something Hubs was delighted to try: a radiator that’s a heated towel rack. Our kids will be such snobs with their warm towels!
Our bathroom doesn’t have a huge floor area, so the giant heater was eating into that space. The solution was a dual-purpose towel rack and radiator.
(To see the radiator, skip ahead to the radiator install step.)
It heats the room in the winter but you can also dry/warm your towels on them. So we didn’t need to add a separate towel rack for the kids to not use while they instead opted to leave their wet towels heaped on the floor. (Hey, managing expectations is a critical part of motherhood.)


