DIY BATHROOM RENO, PHASE 9 - final touches and we're done

bathroom-renovation-p9-hor.png

We’ve done it! The bathroom is complete. My husband just walks around twiddling his thumbs all day long now. (Just kidding, I already have a whole series planned around our amazing backyard deck renovation.)

NOTE: Skip back if you want to see an overview (including “the before”) or previous steps we’ve already completed. This is our last step in the process!

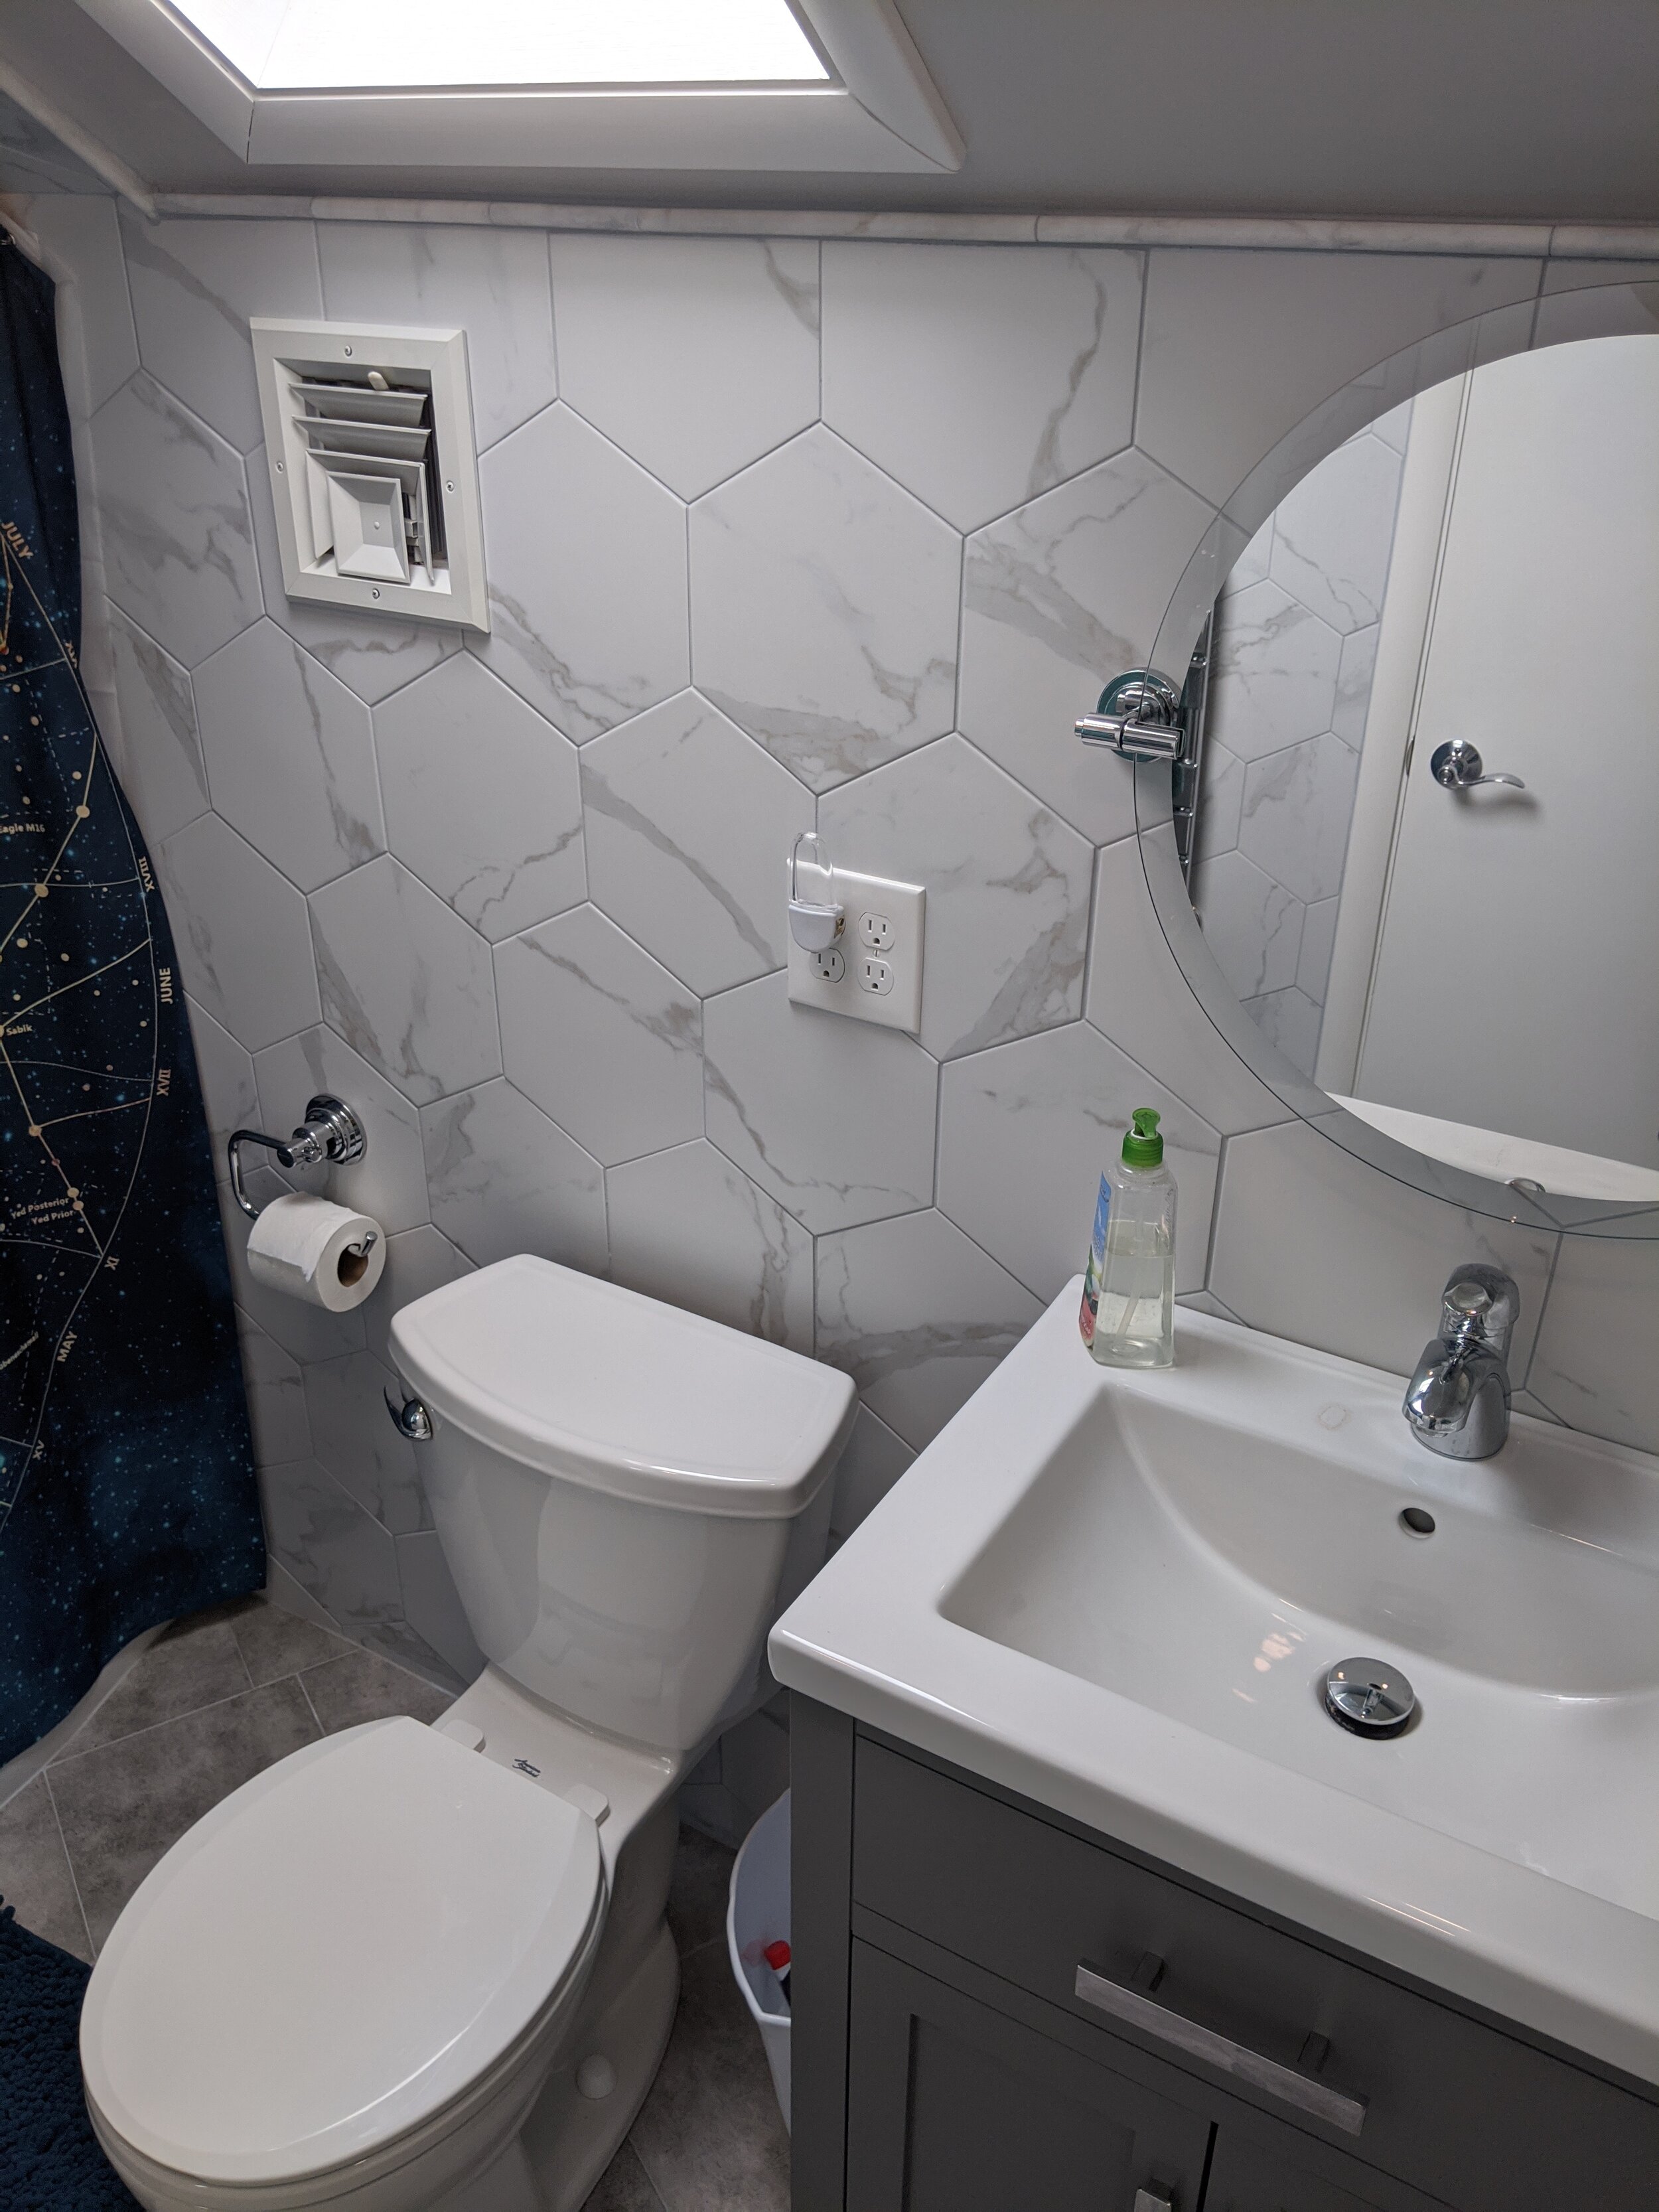
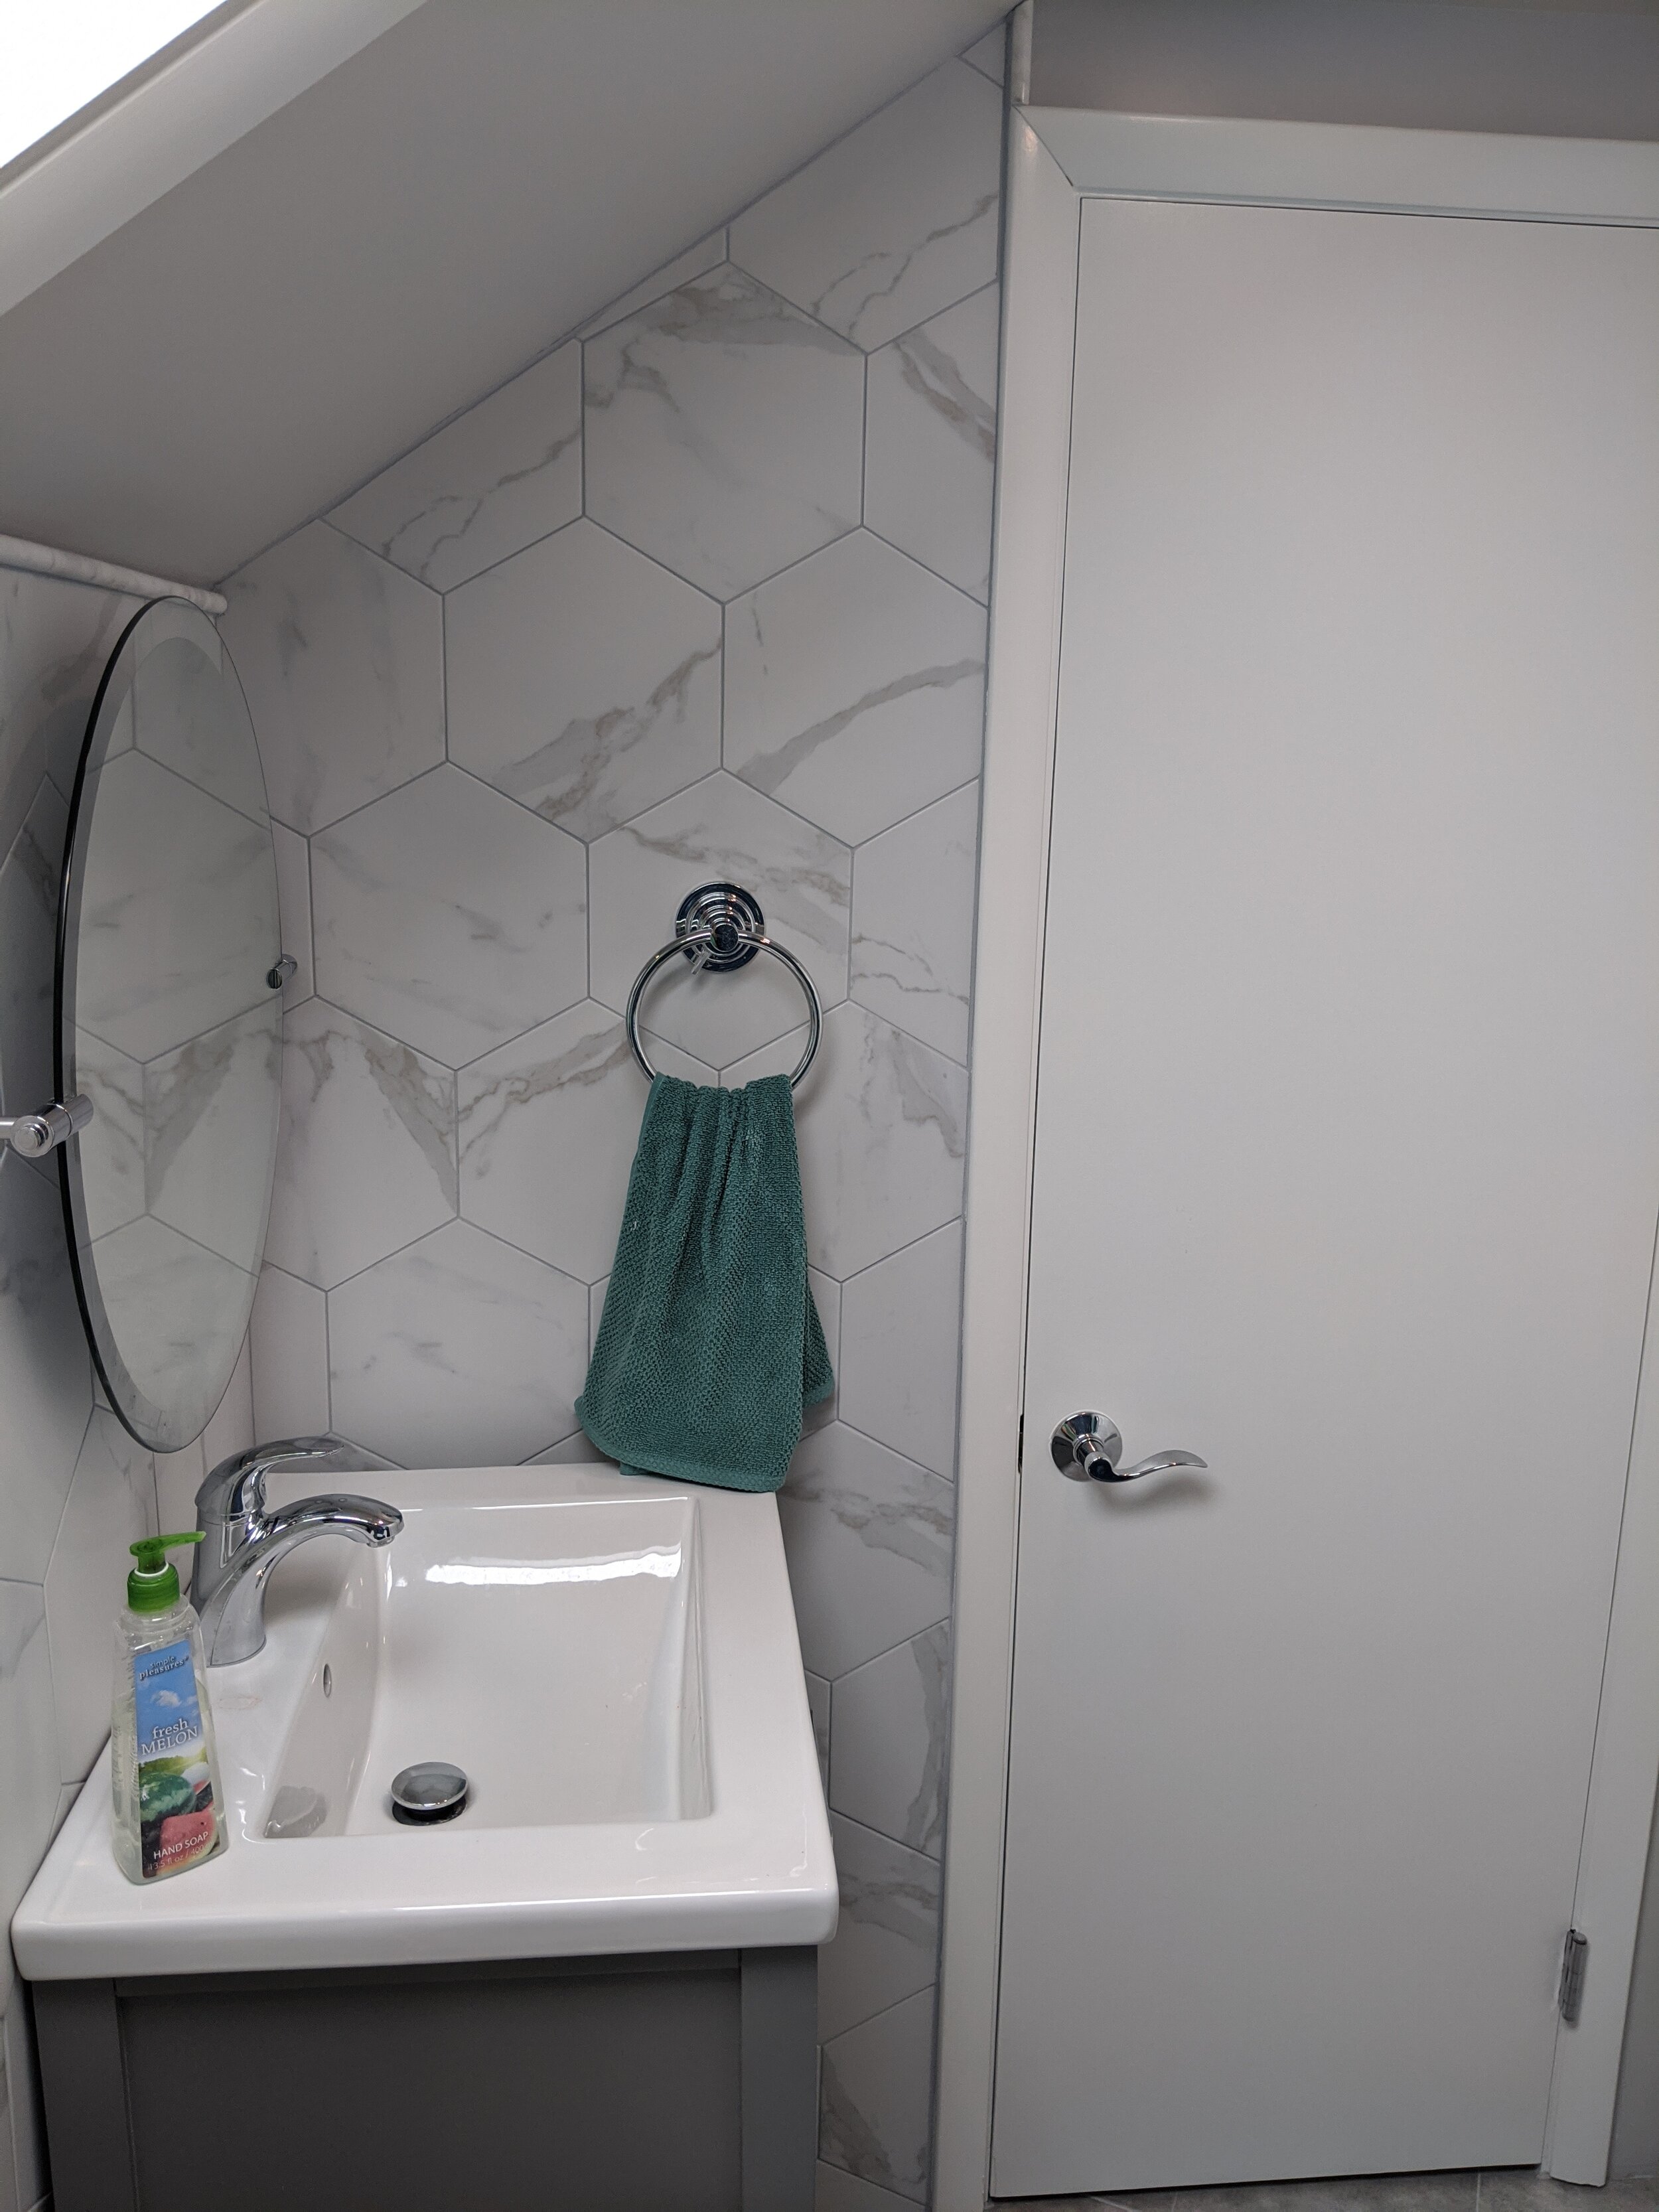
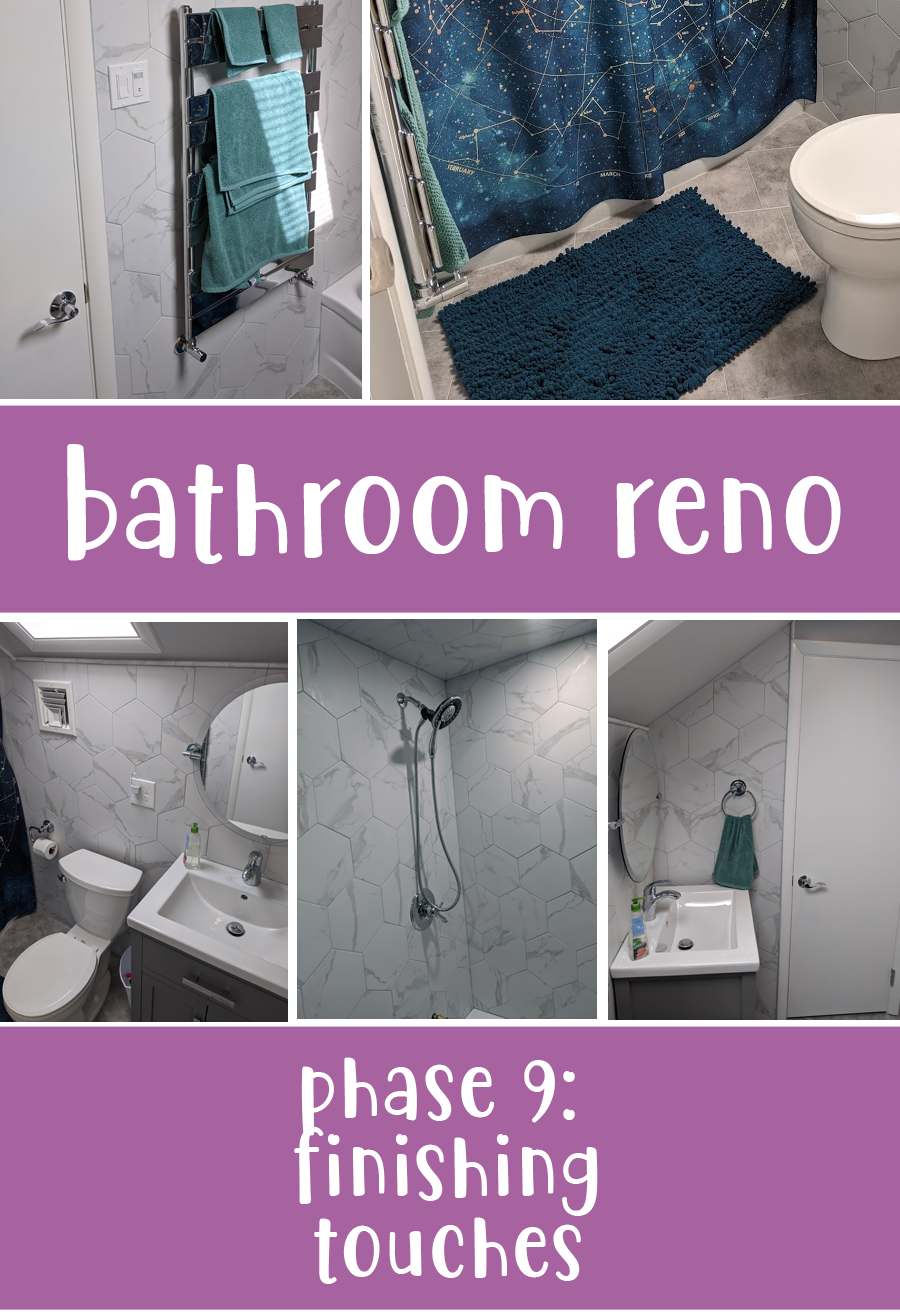
STEP 16: Final Touches

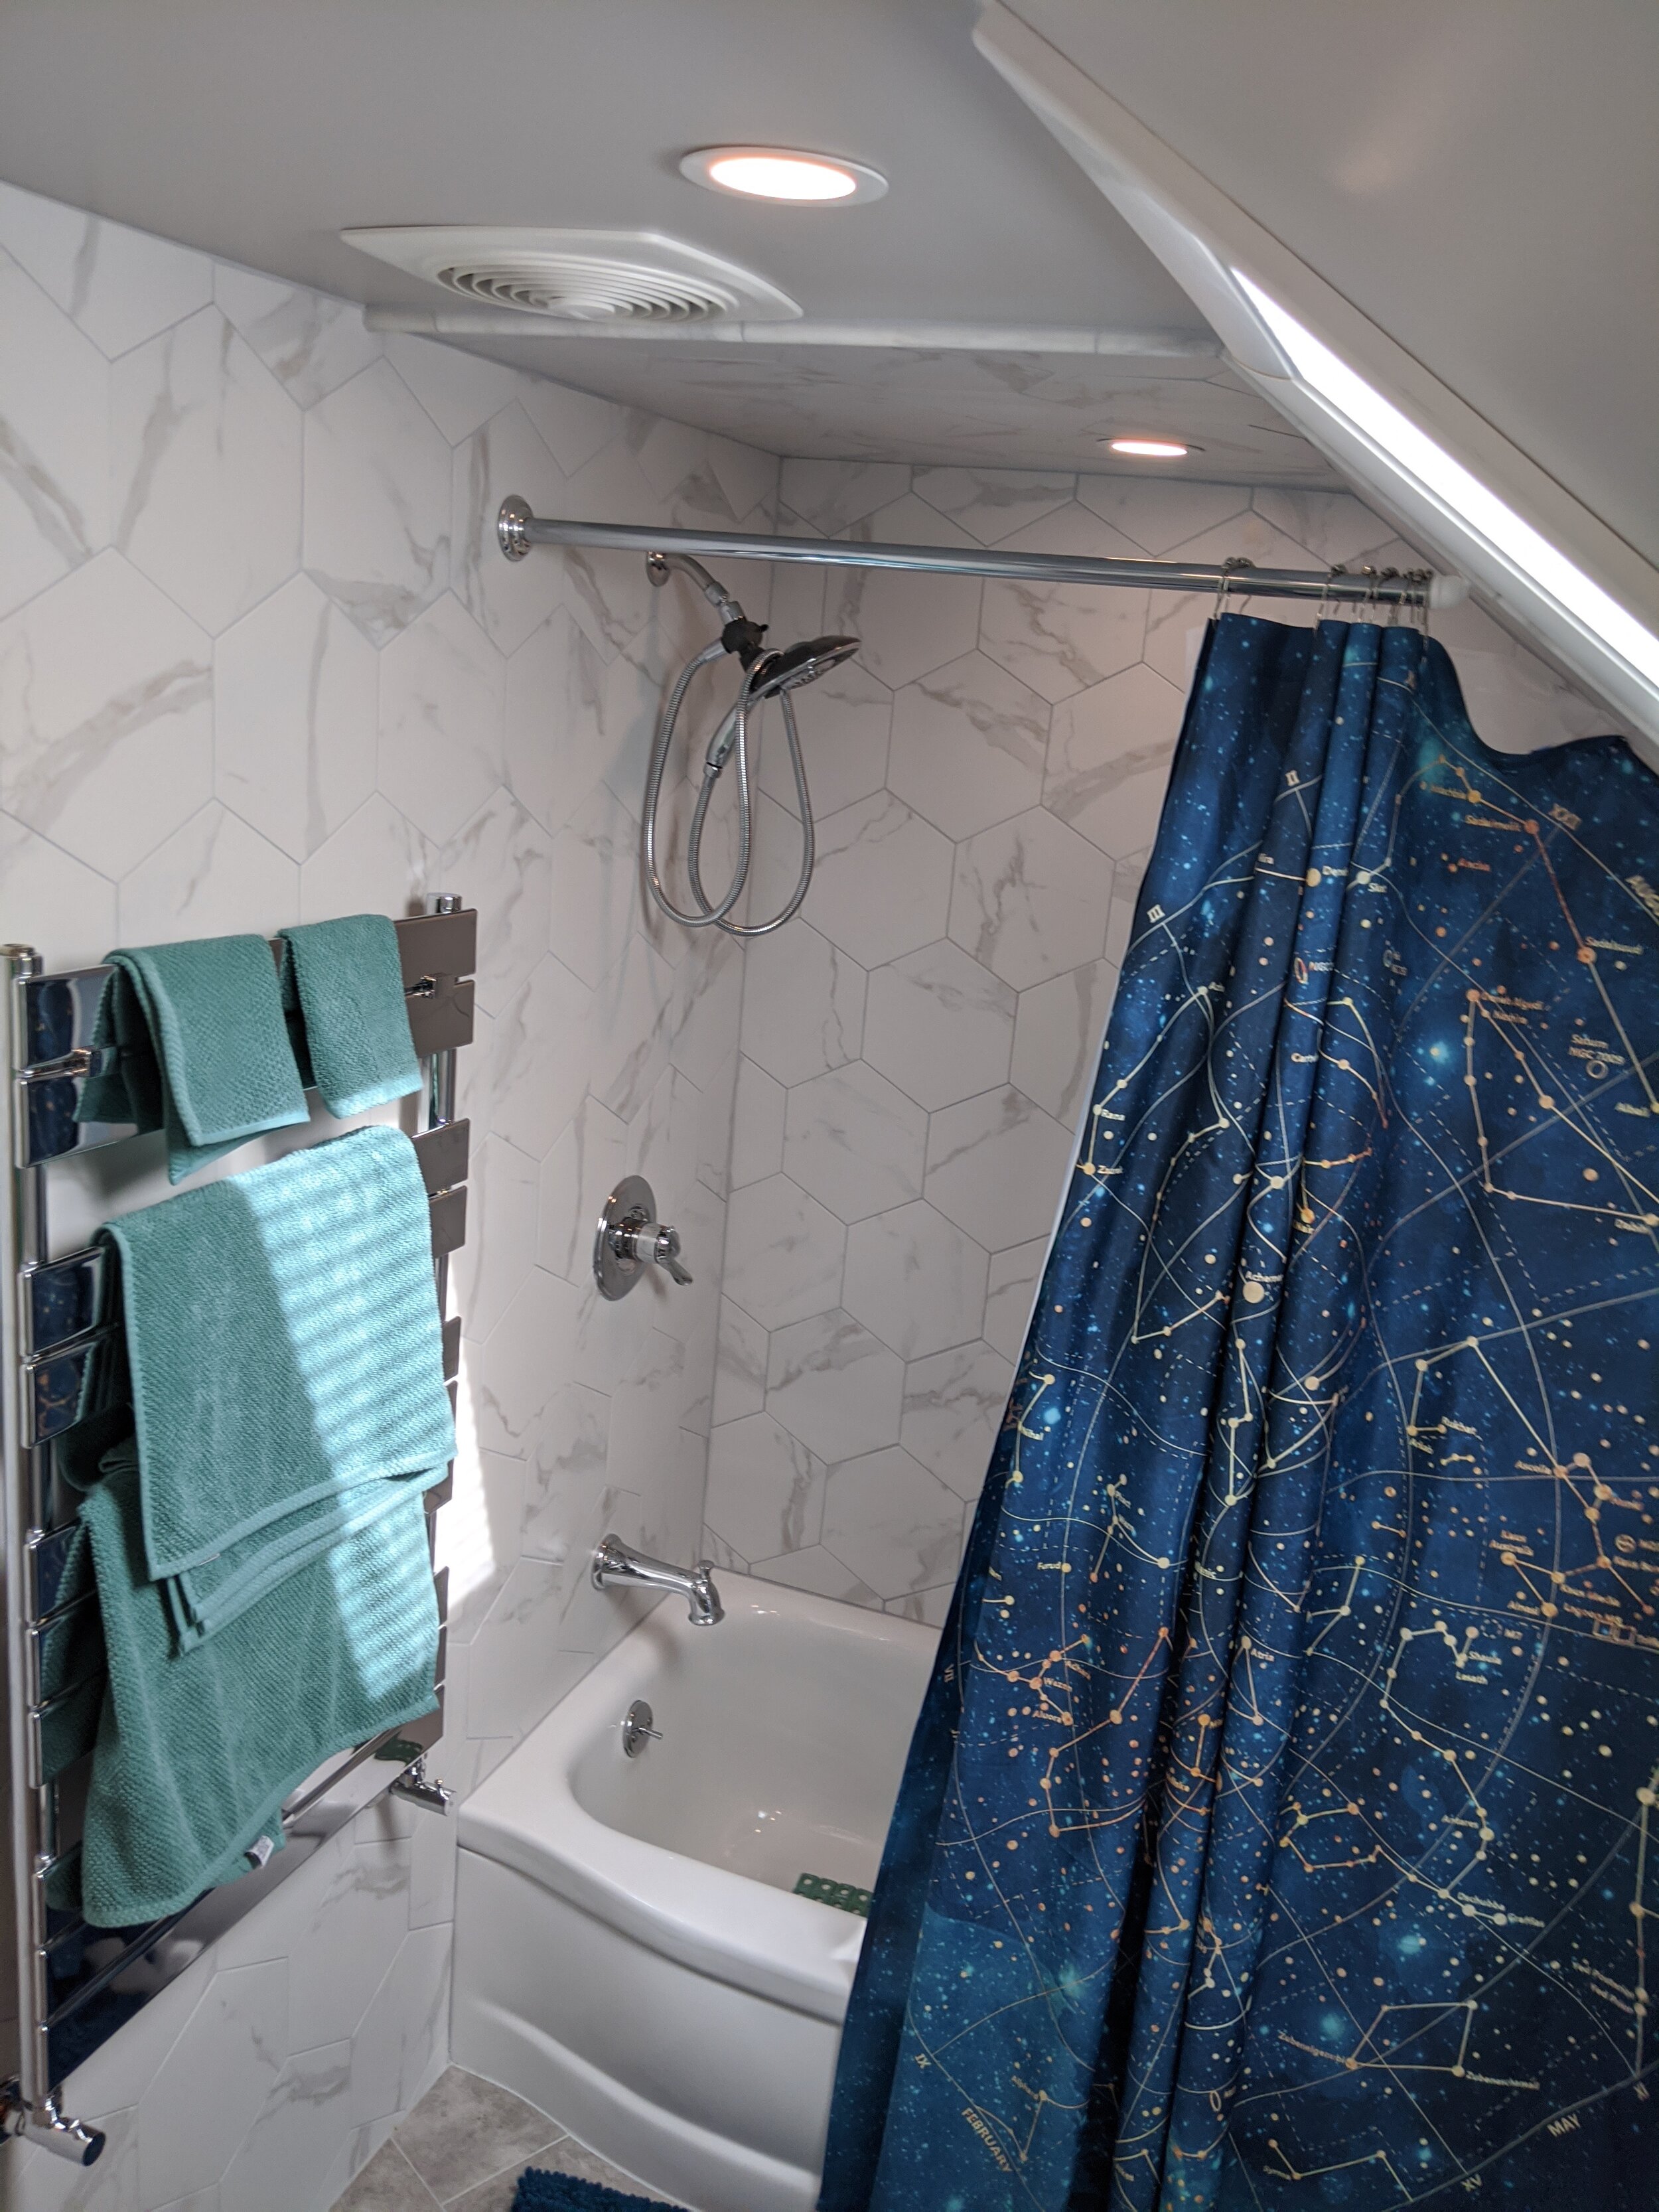
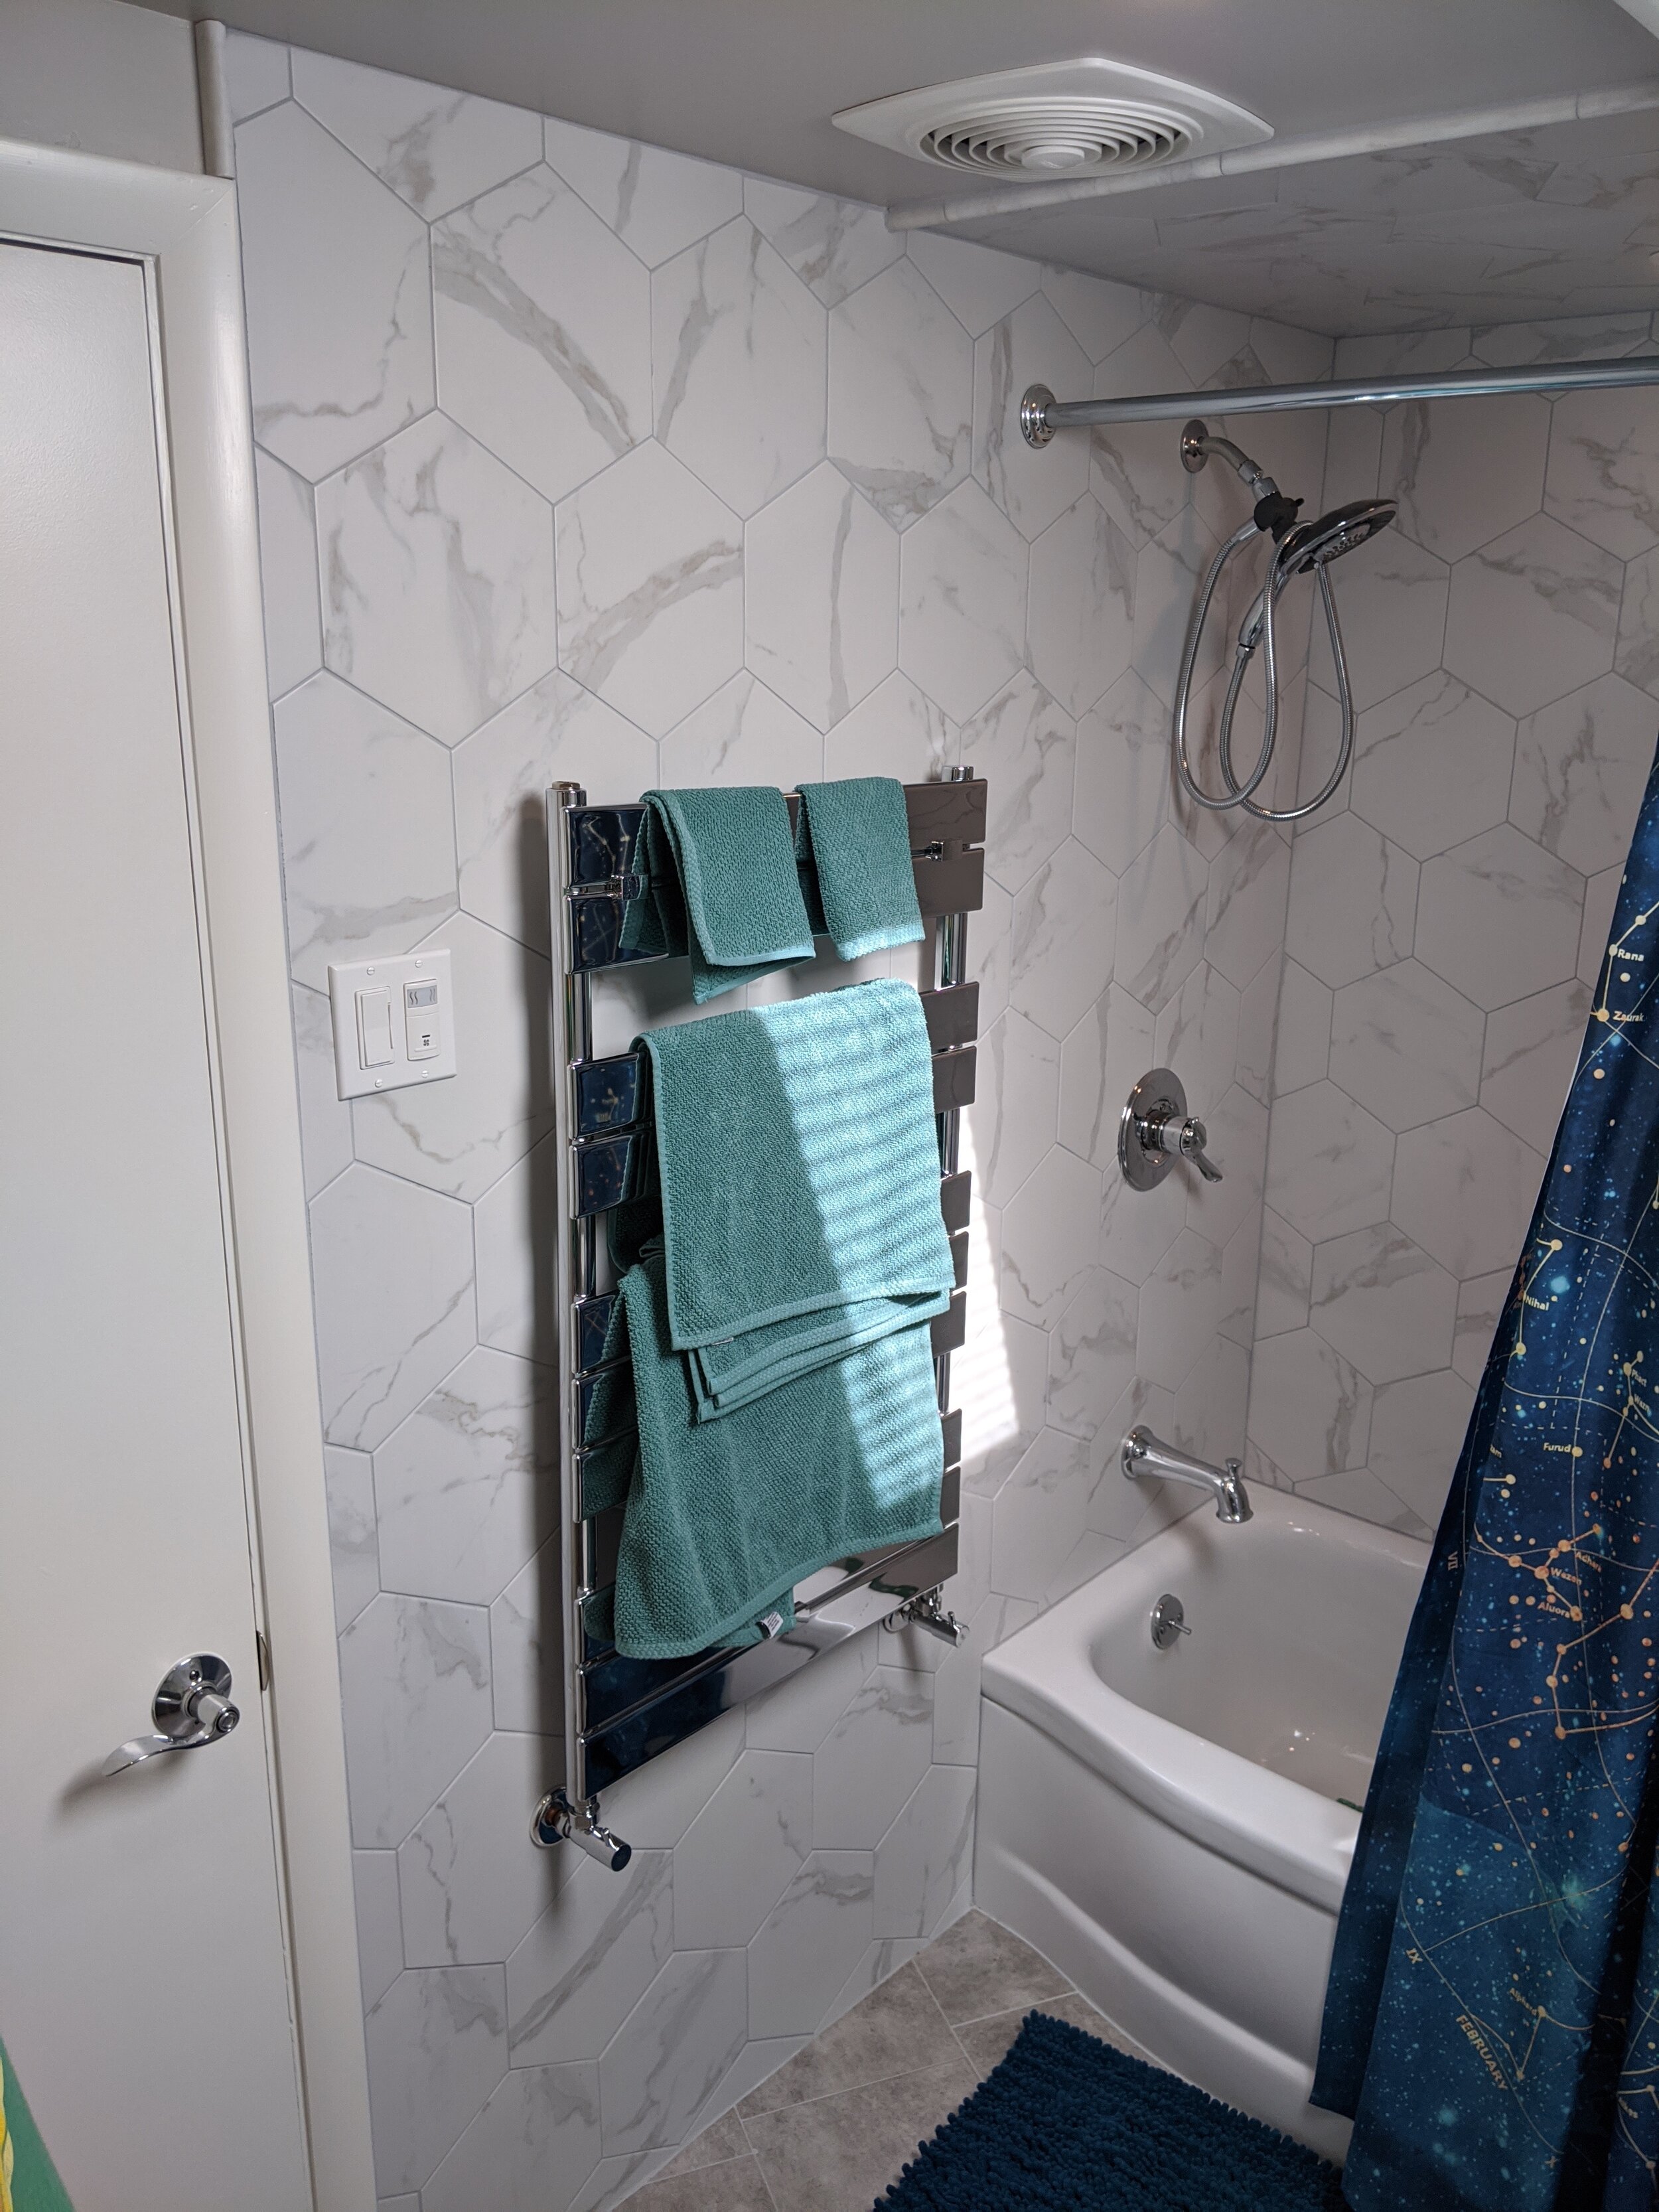
Final touches in a bathroom are mostly the shower curtain, the bath mat, the rug, and the towels. Wish I had gotten the bathmat earlier actually. My 7yo was so excited to be the first one in the shower that he used it the first night it was done (and Amazon needed the full 24 hours to get us the no-slip mat) and he WHOOSHED into the side of the tub with his head. So sad! He’s made a full recovery and we now have a safety mat in the tub.

SHOWER CURTAIN

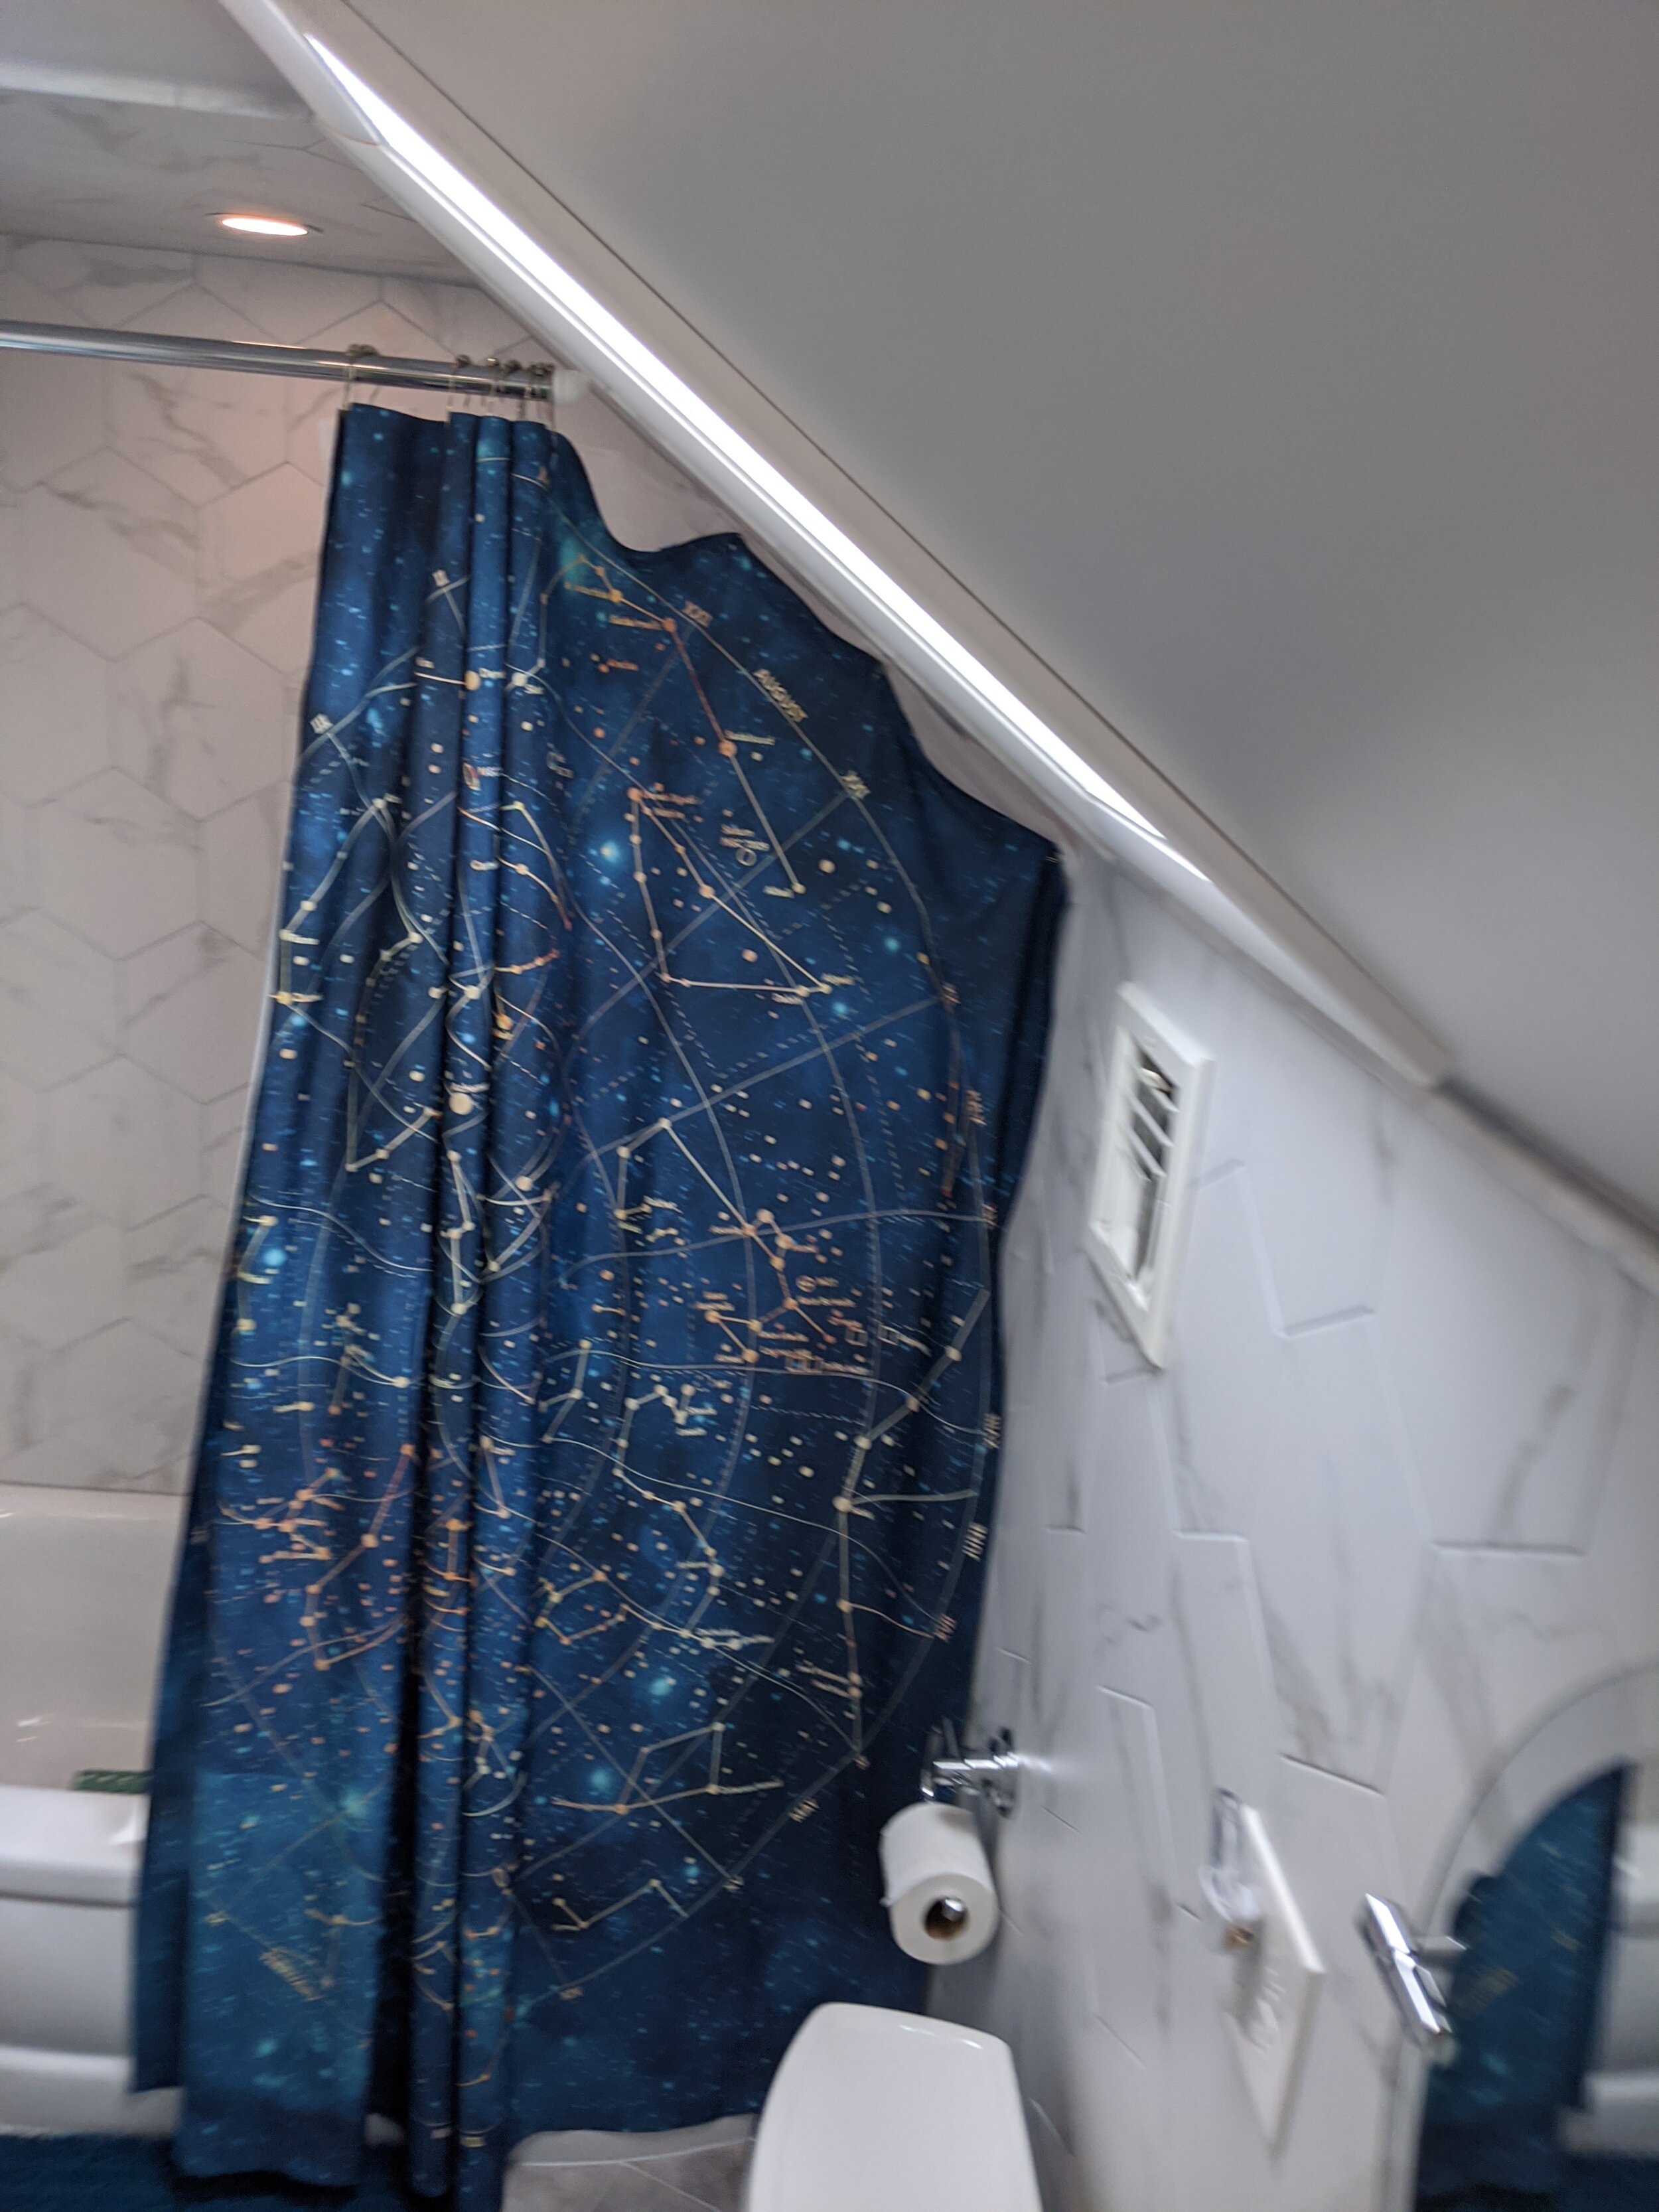
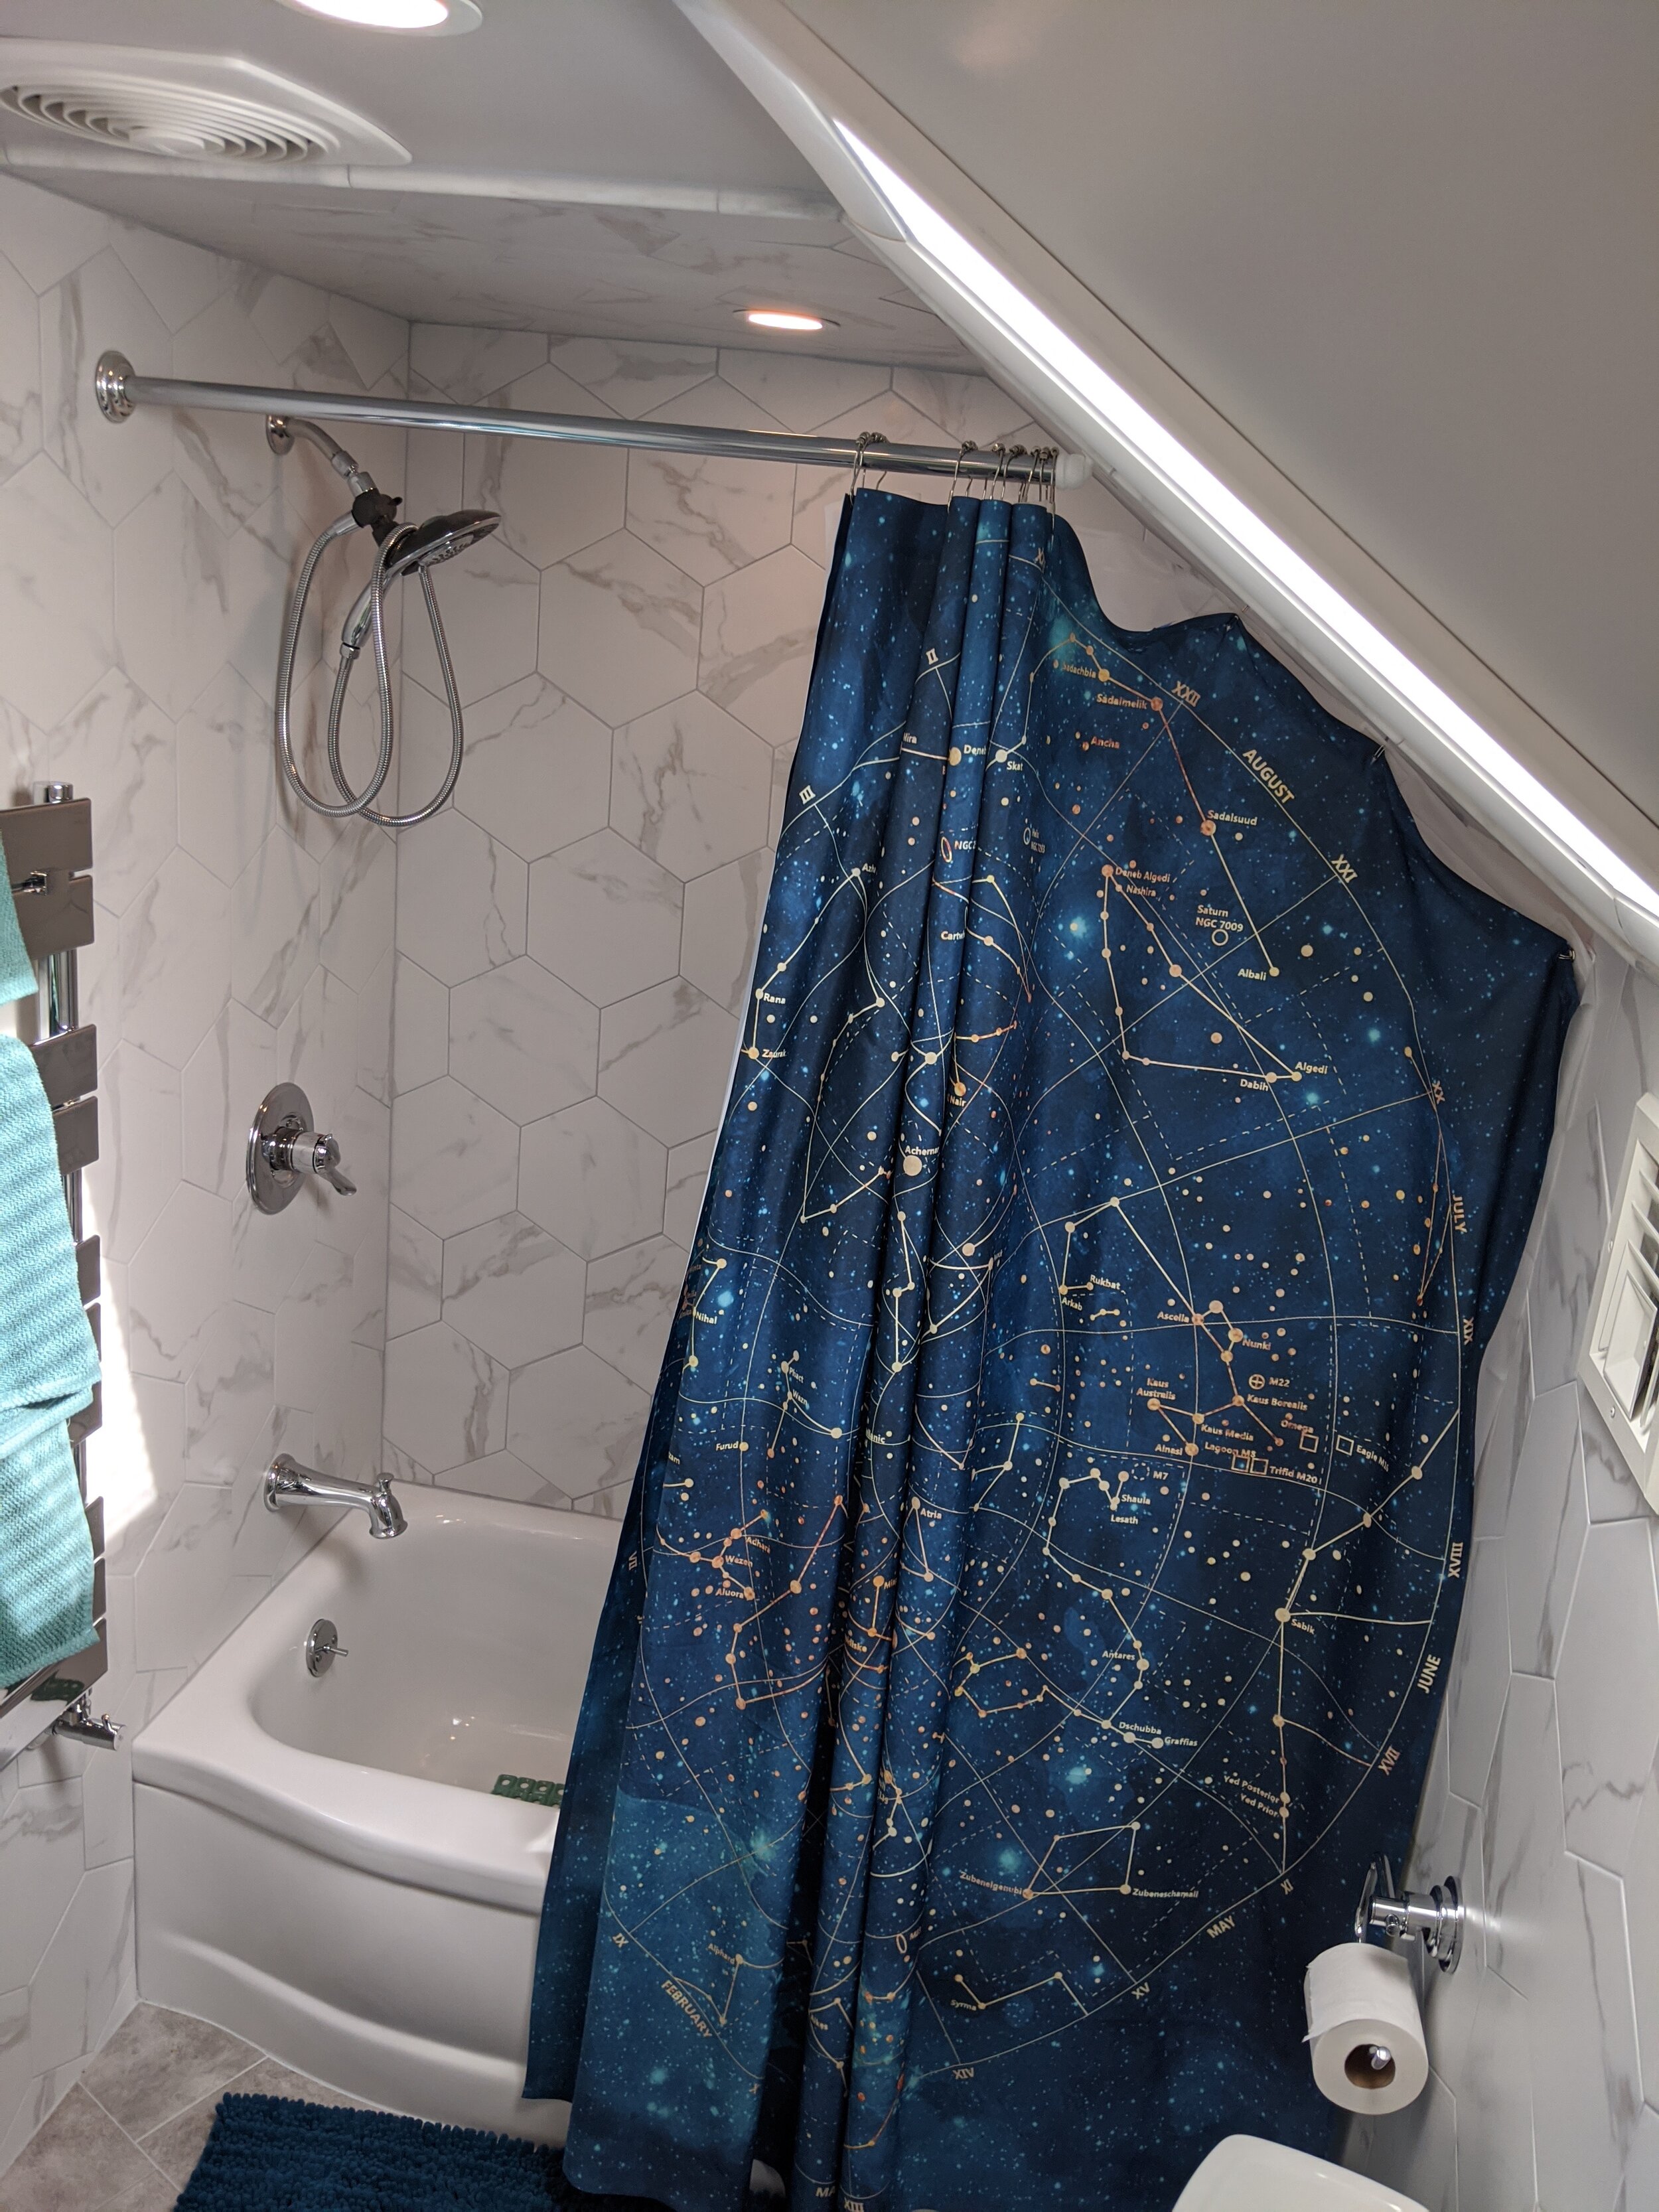
Normal people probably don’t have this kind of stress over a shower curtain, but I was determined to find a cool Star Wars shower curtain that was unique. Unfortunately, by the time I found one I loved, it was out of stock. BOO! Then, we looked at a ton of other options such as a really cool Kracken one and some with boats. We settled on this amazing constellation one that we all love.

For towels and the bathmat, we used the teal green from the curtain, and for the floor mat, we stuck with the navy.

Overall, couldn’t be happier with the results! Great work, Matt!

IMG_20200922_141425.jpg
 
bathroom-renovation-p8.png
 

Click Here to View the Full Blog Archive.      


DIY BATHROOM RENO, PHASE 8 - plumbing, fixtures, paint, and doors

bathroom-renovation-p8-hor.png

This is the fun step where things finally get usable again! That familiar soothing whirr of the vent fan, the flush of the toilet, the click of a door lock… all the things that make a bathroom better than an outhouse.

NOTE: Skip back if you want to see an overview (including “the before”) or previous steps we’ve already completed, or skip ahead if you’re looking for a different step in the process.

STEP 12: PLUMBING AND ELECTRICAL

Everything was previously roughed in, so this final plumbing is mostly a matter of properly attaching things. Once again, as previously stated, please get a professional so you don’t end up with ankle-deep water in your basement after botching this step. We opted for a shower head that includes a pull-down wand because my daughter has amazing curly hair that she might need help washing for several years yet. Plus, why would we NOT want a shower head that looks like an old-timey radio mic so the kids can practice their Frankie Valli?

Our project included an extra plumbing step because my husband was determined to give the kids a radiator that doubled as a towel heater/drier. It’s pretty cool looking, and so shiny, it doubles as an awkward mirror facing you when you’re sitting on the potty. Just kidding, there are usually towels on it. Ok, no really, just kidding, I have children so the towels are wet in a heap in the corner. LOL, hung up towels, who ever heard of such a thing?

For the lights, we had the power run already, so it was just a matter of snapping the wafer lights into place. LOVE these lights. So simple.

STEP 13: PAINT

You’re probably seeing that I have a love of neutrals in permanent things so that I can accent with bold colors easily. Same went for the paint in here. It was a very small area, just a little bit of wall and ceiling that weren’t tiled.

STEP 14: FIXTURES

We selected a shallow-depth sink and cabinet that I really like, plus a round mirror that swivels up and down to help the shorter and taller among us. Because our ceiling is caped, the mirror has to hang low which meant even me at 5’ 7” could only see chin down on the old mirror that was mounted flat on the wall.

Our final steps were electrical outlet covers, the vent cover, light switch (only the best so it has a fader and can be controlled from my phone, the Google home, and the Alexa because why wouldn’t I want to be able to flash the lights while my son is singing in the shower?), the toilet paper holder, and the towel ring.

These were actually very sneaky. We couldn’t bring ourselves to drill through the beautiful tile we’d just spent a lifetime cutting, so we got metal suction items to hold the towel and toilet paper. Can’t complain — I don’t think you can see the difference at all! Win win.

STEP 15: DOORS

We had removed the doors for space, of course, so they needed a paint job (ugly yellowy wood before) and new chrome hardware to match. We talked about adding paneling to the door, but that will probably be a larger project for the entire upstairs when the time comes.

Only the finishing touches and the grand reveal are yet to come…

 
bathroom-renovation-p8.png
 

Click Here to View the Full Blog Archive.      


DIY BATHROOM RENO, PHASE 7 - tiling the floor

bathroom-renovation-p7-hor.png

So the walls and ceiling are done… just gotta get something on this floor. After the hexagon tiles and So. Much. Cutting., these squares should be a breeze!

…Only, I wanted them offset AND at an angle. Did I mention my husband is long-suffering with my ideas? Once again, something that could have been fine and simple was instead complicated—but, I think, a better end result.

NOTE: Skip back if you want to see an overview (including “the before”) or previous steps we’ve already completed, or skip ahead if you’re looking for a different step in the process.

IMG_20200507_203111.jpg

STEP 11: Tiling the floor

Tiling the floor doesn’t end up functionally being a great deal different than the walls. Make sure you read the labels to be sure your tile selection is made for traffic. We used a 12” square in light grey.

LAY OUT YOUR PATTERN

Pick your starting place — in our case, by the tub. We knew it was critical to line everything up before we started cutting or placing in order to make sure we didn’t end up with any small tile nubbins. My tiles are 12” and offset 30 degrees and 1.75”.

We used the same hole drill from the wall tile to cut out the space for the toilet, then a regular tile saw for all the edges. We stuck with our trusty tile spacers to ensure the lines were perfect.

You want to lay a level on EACH piece because your feet are more perceptive than you think, and you’ll feel it if you step between tiles that are a smidge higher or lower. Also, be careful walking or leaning/pressing too hard or you’ll crack the tile before the thinset dries.

IMG_20200510_084104.jpg

GROUT

For the grout, we used the same as the walls to create some uniformity, but obviously the sky is the limit for what you like. The nice part about this was the line between the floor and the wall is just the grout color — it’s such a beautiful clean line rather than adding a quarter-round piece or trying to have lines of one color pouring into a line of another.


bathroom-renovation-p7.png
 

Click Here to View the Full Blog Archive.      


DIY bathroom reno, phase 6 - laying hexagon tiles without losing your mind

bathroom-renovation-p6-hor.jpg

My Hubs is incredibly long-suffering with my ideas. But I almost lost the battle with hexagon tiles. I really wanted them, both as a huge fan of this trend as an avid player of Settlers of Catan. (Honestly, that might have been what convinced him.)

NOTE: Skip back if you want to see an overview (including “the before”) or previous steps we’ve already completed, or skip ahead if you’re looking for a different step in the process.

For those of you to whom it isn’t immediately apparent (like me) the problem with hexes is that they don’t form any straight lines — which means WAY more cutting than squares or rectangles. Even to lay across an imaginarily-perfectly-straight floor or wall, you’re cutting every other tile.

Our neighbor did ask if we were tiling the entire house because he was growing so accustomed to hearing the tile saw in our driveway by the time we finished…

There are likely many schools of thought on where to begin BUT we decided to do the walls before the floor.

STEP 10: TILING WALLS AND CEILING

I will talk about the floor tile in my next post, so today, we’re focusing on the walls and ceiling. We did the ceiling, as I mentioned previously, because this bathroom is caped over the shower and we know our kids will splash that part like crazy.

WHERE TO BEGIN

I selected really large 9” or 10” hex tiles, depending on how you measure. If you measure flat to flat, they’re 9” and point to point at the widest spot, they are 10”. You can just start and hope you get lucky, but I recommend picking the most focal wall and trying to get a good line for the top and sides. You don’t want to end up with like 1/2” nubbins right at your towel rod.

Also, decide if you’re laying point up or flat up. I liked the look of point-up.

92704641_214813582947040_393059545615695872_n.jpg

Please observe the amount of math I did to calculate the best starting spot across ALL my walls. I show you this because I was wrong — I did all of this and impressed myself and got my dear Hubs to trust me, only for him to get most of the way through and point out that I’d forgotten every other row slides up to build the honeycomb. We got lucky and it worked out fine, although not ideal. Don’t be like me. Remember the honeycomb. (Side note: donut cat, drawn by my 7yo son was included for your delight, top left)

The “safe zone” on my hex tiles (meaning where you can cut flat to flat, horizontally) is from appx. 2.5” to 7.75” so that you don’t end up with little triangles to fill in. Measure your tile and determine the “safe zone” so you can finagle that to hit both the top and bottom wall with flat sides. Like, if the bottom is 1” up, where does that leave the top? If it’s out of the safe zone, try 2” or 0” until you get a number where both end up flat.

CUTTING TILES

We decided a tile break would be the way to go. And we were wrong. This only worked cutting the tiles perfectly in half. Anything that adjusted for the slightly leaning walls of an old house or had to go around something and we were shattering and wasting tiles.

So, a wet tile saw became our friend, as scary and loud as it was.

Safety suggestions:

  • Ear plugs (tile saws are freakishly loud)

  • Gloves (tile is so sharp)

  • Goggles (it spits everywhere)

Working on walls, you can’t lay things out and thinset them all at once. You’ll have to cut and thinset as you go, which is irritating if — like us — you have to go up and down two flights of stairs in between.

We also used a diamond-tipped tile hole saw that goes on the drill and spins a perfect circle to go around all the pipes. In many cases, we were in the center of a tile, but it still worked if we had to split the hole between two tiles (making a semi-circle on the side of each.)

Our best trick that we started doing halfway through was cutting cardboard in the exact shape we thought we needed, based on our measurements, then placing it into the spot so we could trim/adjust as needed. It’s really hard to cut 1/8 inch off a tile but the precision of a 1/8 adjustment really elevates the work to a professional appearance. Rather than pitching tiles, get the shape and size and angle PERFECT with cardboard and then you can trace exactly onto the tile.

TILE SEPARATORS

These little plastic guys are super handy (they are green in my pictures). Look for ones specifically made for hexagons as a lot of the corner ones are made for a traditional square tile laid in rows. They keep your rows straight so nothing shifts.

THINSET

We mixed in small batches so we didn’t have to worry about the mortar dying out. The color doesn’t matter at this point since it won’t be visible. Make sure you start covering things; it’s a huge pain to scrape dried thinset off your bathtub or subfloor.

Slop it on, comb it off (leaving ridges so the thinset can smoosh flat beneath the tile without squirting out everywhere. You’ll want to be precise as the tile really grabs right away and they are hard to move. We used a combination of tile separators and tape to make sure nothing shifted.

You can see in the rough plumbing picture (that’s the outlet for the radiator) that we were able to really get precise, professional results.

EDGES

We selected a pencil line edge, but there are metal and plastic edges, as well as bullnose tiles that round off cleanly.

GROUTING

The last step is to pick your grout color (pre-mixed is best so it’s the same color throughout, as you work in batches). You need to clean everything, of course, to make sure there aren’t little scraps of thinset exposed.

Once you’re ready to begin, the grout goes in along all the seams and gets gently wiped off with a sponge. You’ll probably get most of it on the first pass, but rather than discover an air bubble or chunk of grout later, trace your eyes along each seam and look for any inconsistencies.


Next up… the floor!

 
bathroom-renovation-p6.jpg
 

Click Here to View the Full Blog Archive.      


DIY bathroom reno, phase 5 - what’s the best way to waterproof everything?

bathroom-renovation-p5-hor.jpg

A bathroom’s gonna get wet. Kids are going to splash (and I’m talking about the toilet, not just the shower). So you have to be prepared and do more than just good tile.

NOTE: Skip back if you want to see an overview (including “the before”) or previous steps we’ve already completed, or skip ahead if you’re looking for a different step in the process.

STEP 9: Waterproofing

In our case, we opted for a combination of two things: waterproofing sealant and a specially designed floor mat that is the perfect base for tile. Research your materials because there’s no point in doing all of this if your tile’s going to crack the first time you drop something. We used Schluter DITRA on the floor (the bright orange) and RedGard for the shower walls and ceiling. You can probably skip the ceiling if you don’t have a caped side like we do, but it does offer more protection when your kids are shaking their wet hair around pretending to be a (1) lion (2) rock star (3) lion rock star or something else. My son also developed a game of being a whale which basically means he gets a ton of water in his mouth and sprays it against the ceiling as hard as he can. I say this (mostly) to further illustrate the importance of waterproofing.

MVIMG_20200410_204125.jpg

The waterproofing membrane for the floor gets sealed together and mudded just like drywall or concrete board (wait, I’m STILL not done with mudding?) on any pieces that are edge to edge as well as — most importantly — against the wall and tub.

RedGard smells REALLY bad to use, so let me emphasize the importance of ventilation. Even in a mask, Hubs had to take like 3 breaks just to do the four areas that were in our shower. It’s intense stuff. Don’t be irresponsible. Read the labels and follow the instructions. ANYWAY, the funny part about RedGard is you can see it dries a deep red, but it goes on like SUPER neon fuchsia, the color your Lisa Frank Trapper Keeper use to be. I tried to rile up my sons by telling them this super-bright-pink was the color we picked, thinking they’d hate it, but they were excited.

At this point, you are ready to enter the tile zone. Take a deep breath.

 
bathroom-renovation-p5.jpg
 

Click Here to View the Full Blog Archive.      


diy bathroom reno, phase 4 - concrete board and drywall

bathroom-renovation-p4-hor.jpg

Finally, things are starting to look like a room again! Concrete board is brittle nonsense: hard to cut, easy to accidentally snap, difficult to write lines on… ugh. Drywall, on the other hand, is generally lovely. But you need both to really do it right.

NOTE: Skip back if you want to see an overview (including “the before”) or previous steps we’ve already completed, or skip ahead if you’re looking for a different step in the process.

Concrete board is best for its waterproof magical power, and great for tiling over over in a shower.

Drywall is best for its power to be super-smooth, so good for being painted in the areas that aren’t going to be regularly bombarded by water.

Hanging the walls means cutting out a lot of little holes. Holes for the plumbing pipes, holes for the electrical outlets, holes for the lights. It’s a lot of measuring and sawing!

We have, as you’ve likely noticed from my pictures, an oddly shaped room. The upstairs is caped in this portion, and there’s a skylight. So we had a LOT of cutting to do. After everything is cut (and cut again, then trimmed, then doesn’t fit because you’re holding it upside down, then FINALLY gets screwed in, you’re ready to ‘mud’ — which really just means taping and putting special mortar and drywall joint compound on the seams.

STEP 8: Concrete board and drywall

Once everything is cut and screwed in place, you tape and mud, sand, tape and mud, sand, tape and mud, sand, I think until you grow grey hair. Just kidding — two coats will likely do it. You want to be sure you cover all the screw holes. I don’t want to call Hubs out, but he thought some of the screws were going to be hidden until window and door trim and didn’t mud them, then had to get all that stuff out again when he was at the painting step. (Hey, if it’s his only mistake, surely he’d want me to share it so you can do things perfectly.)

You can also see we’re already using the new lights (see the electrical phase, previous step) to guide our work because you just can’t beat those snap-in wafer lights.

I think this panorama Hubs took is ridiculous, so of course I’m posting it. It’s like a paper doll house that hasn’t been built yet. This is post-hanging, pre-mudding obviously. You can see the blinds on the skylight in the middle, as well as the beautiful new subfloor he built. (See the earlier unsexy phase 2 for that.)

You can also see the large hole for the exhaust fan in the ceiling, which was wired in the electrical phase, and the square hole for the AC vent.

At this point, you can see into the hallway from the shower (not great for the modest!). This is because we still need access to the plumbing for when the fixtures get put in. We actually ended up adding a hallway access panel to make sure we could get into the shower plumbing in the future, should that ever be necessary.

You can also see the small white stool I bought for my youngest to be able to reach the sink to brush his teeth (in the tub) — the very same stool that has since been thrown away because Hubs broke it by using it like a construction ladder.

 
bathroom-renovation-p4.jpg
 

Click Here to View the Full Blog Archive.