

You know how you see all those pins about how you can paint furniture with no prep? Paint your walls with no prep? Concrete your counter with no prep? Well, they lie. That job will look terrible in, like, maybe a week. If you’re lucky. It will peel, chip, not adhere — and everything else.
Prep work isn’t fun. It isn’t appealing. It’s drudgery. And it’s also the only thing that will make your DIY work last and look good. Put the time into the prep.
How do you get the bathroom ready for tile?
Plan your space.
Prep the mechanics: plumbing, electric, etc.
Use the right materials.
Install the materials correctly.
Waterproof everything.
Here’s what it looked like for us!
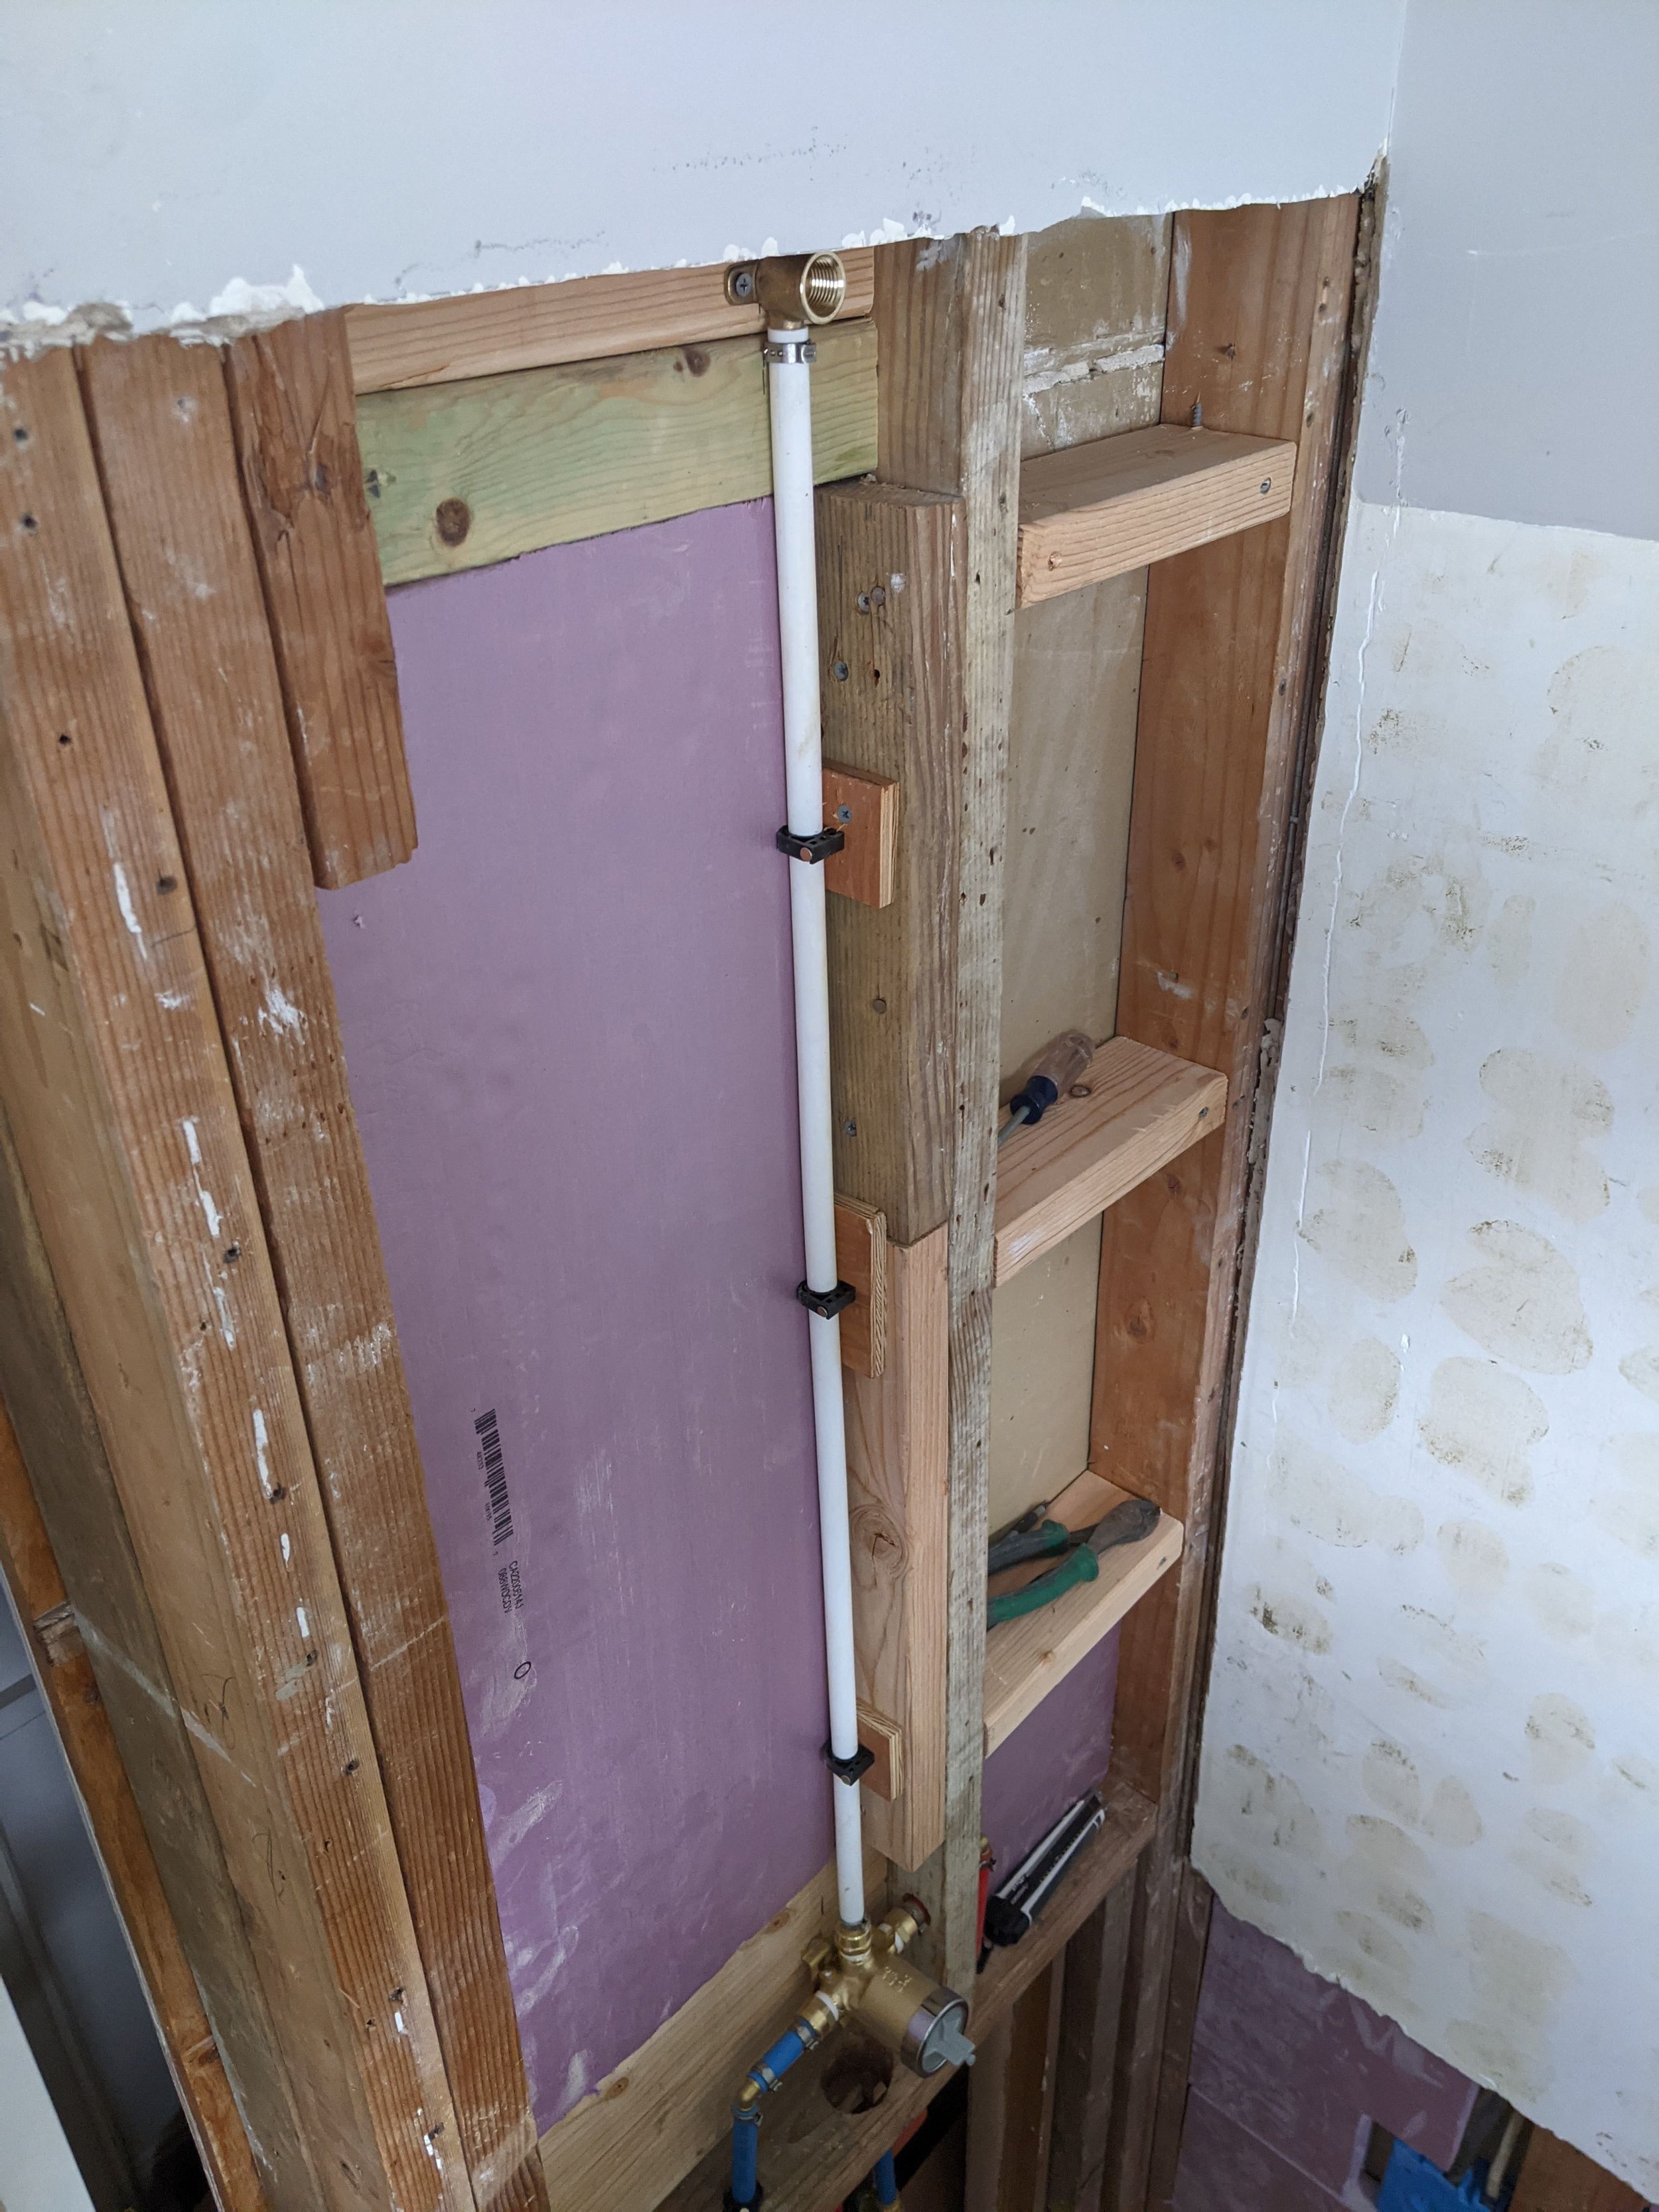

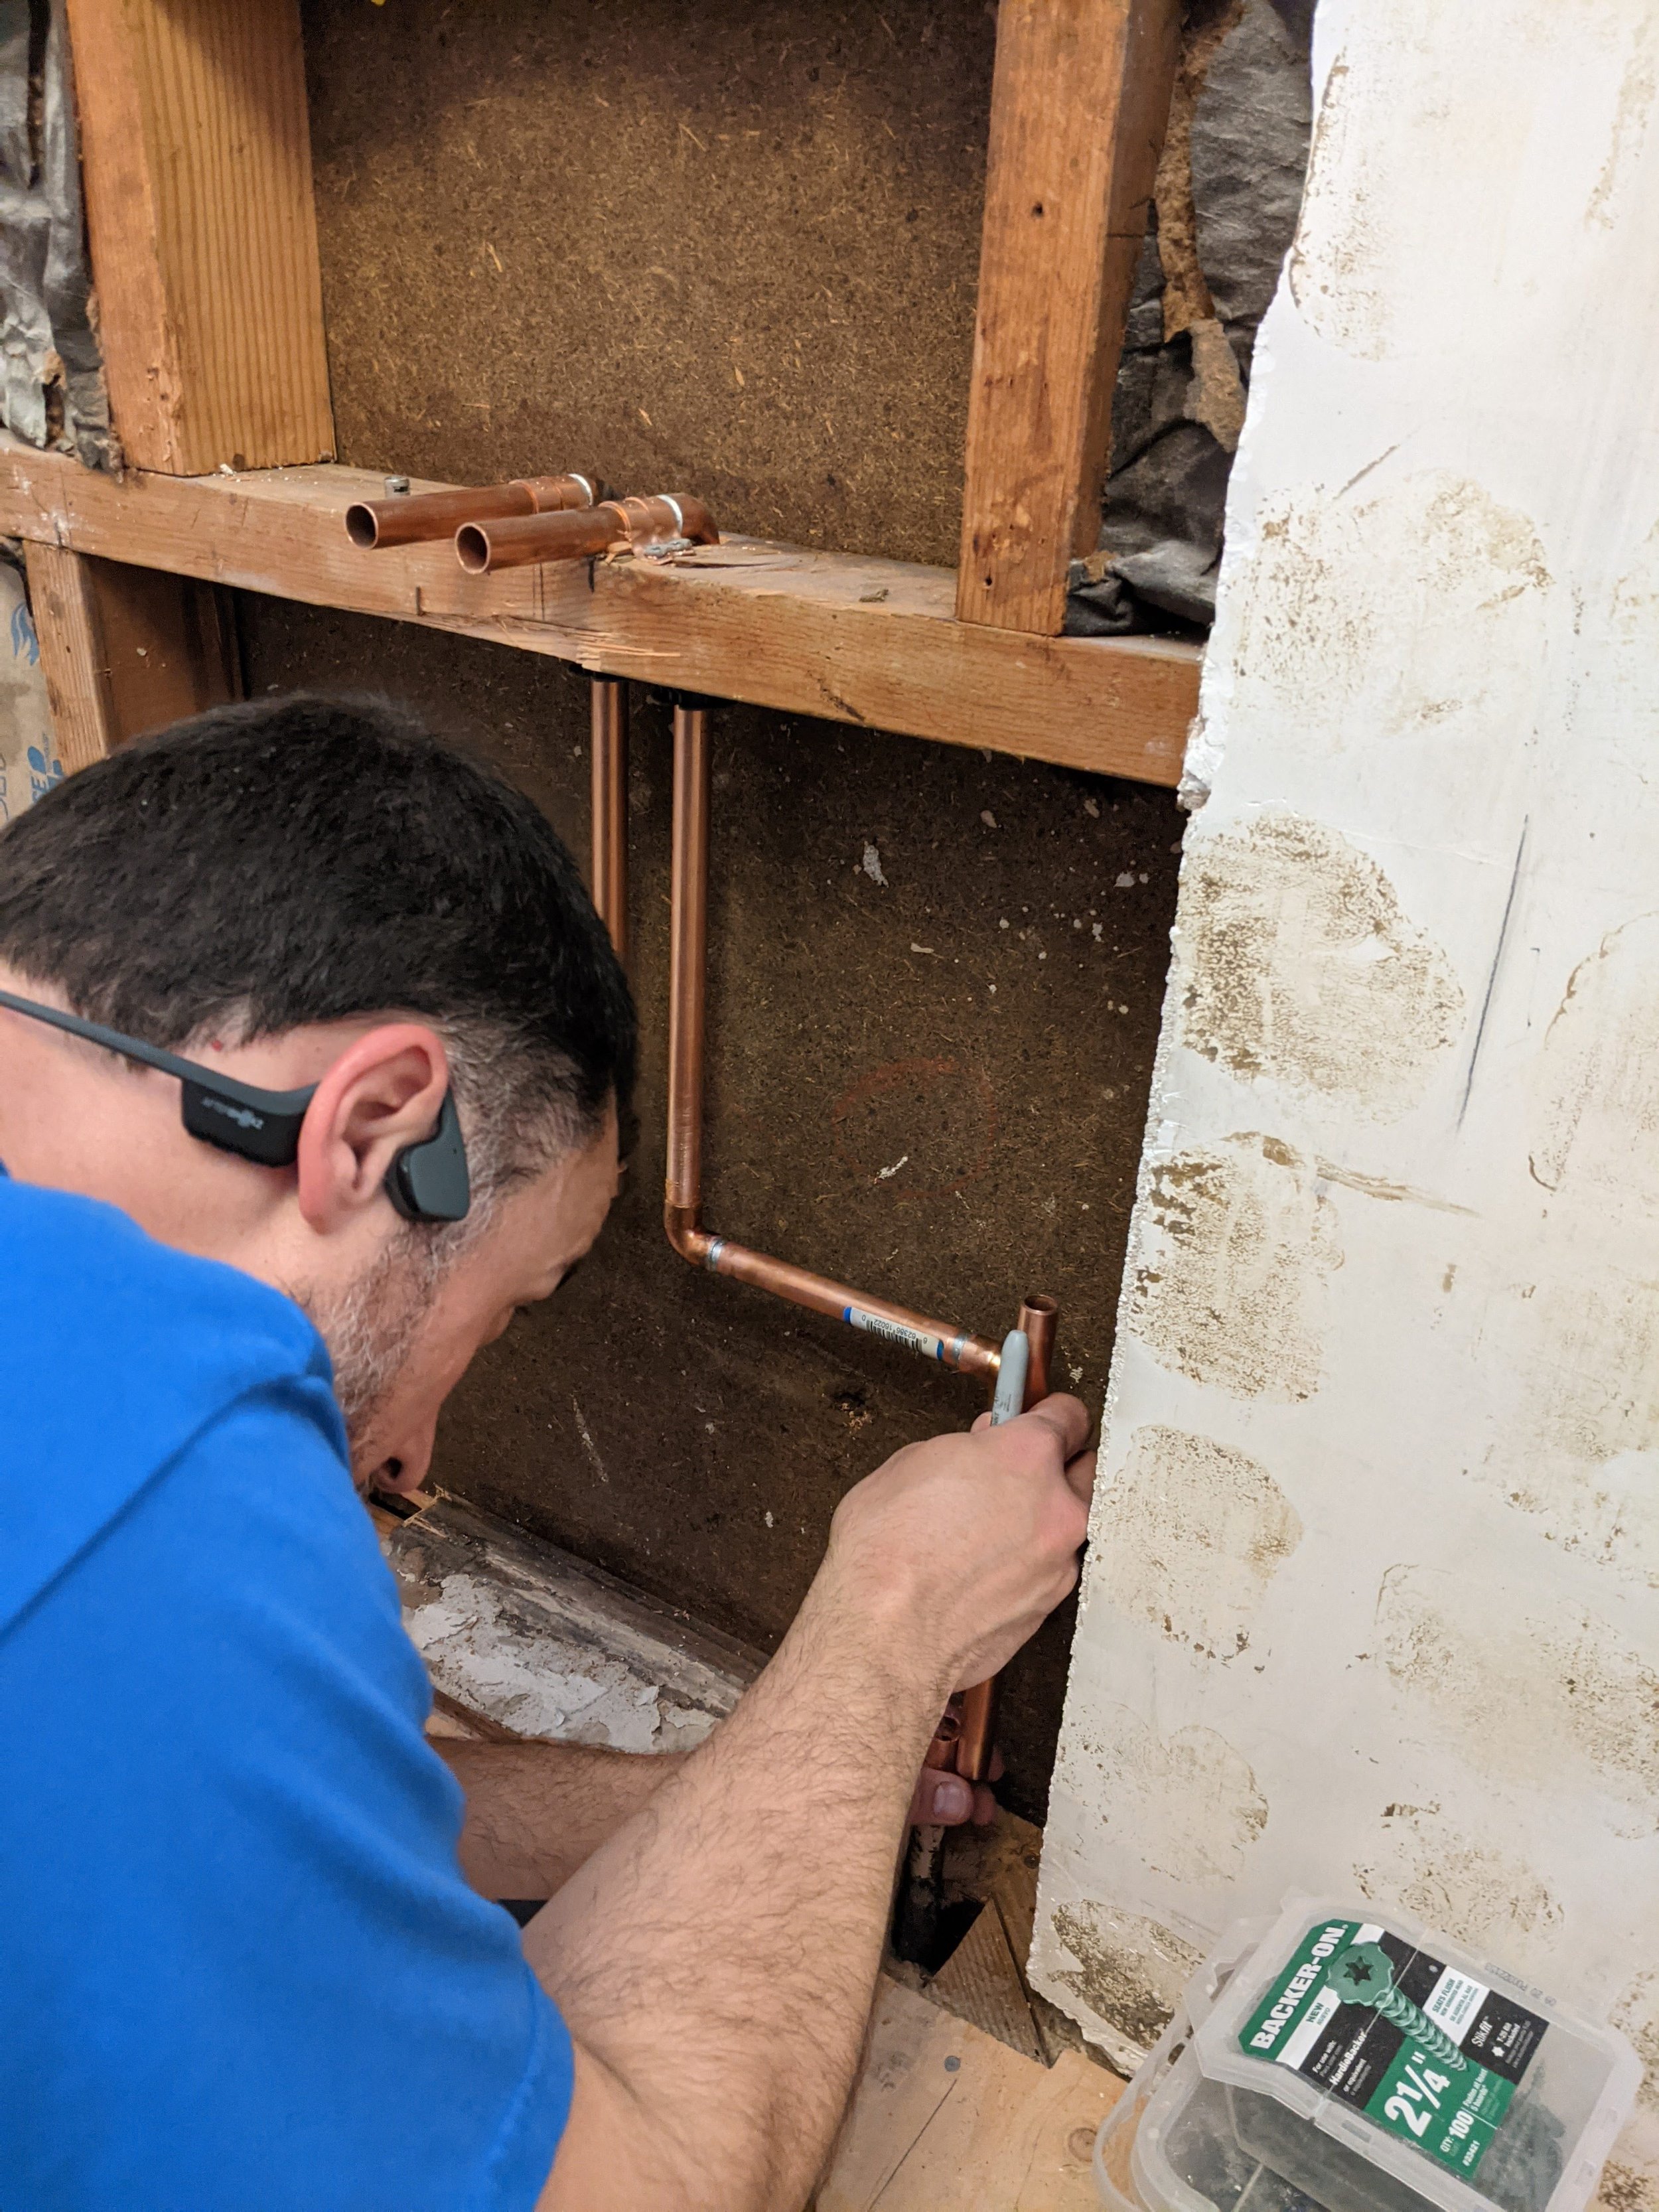
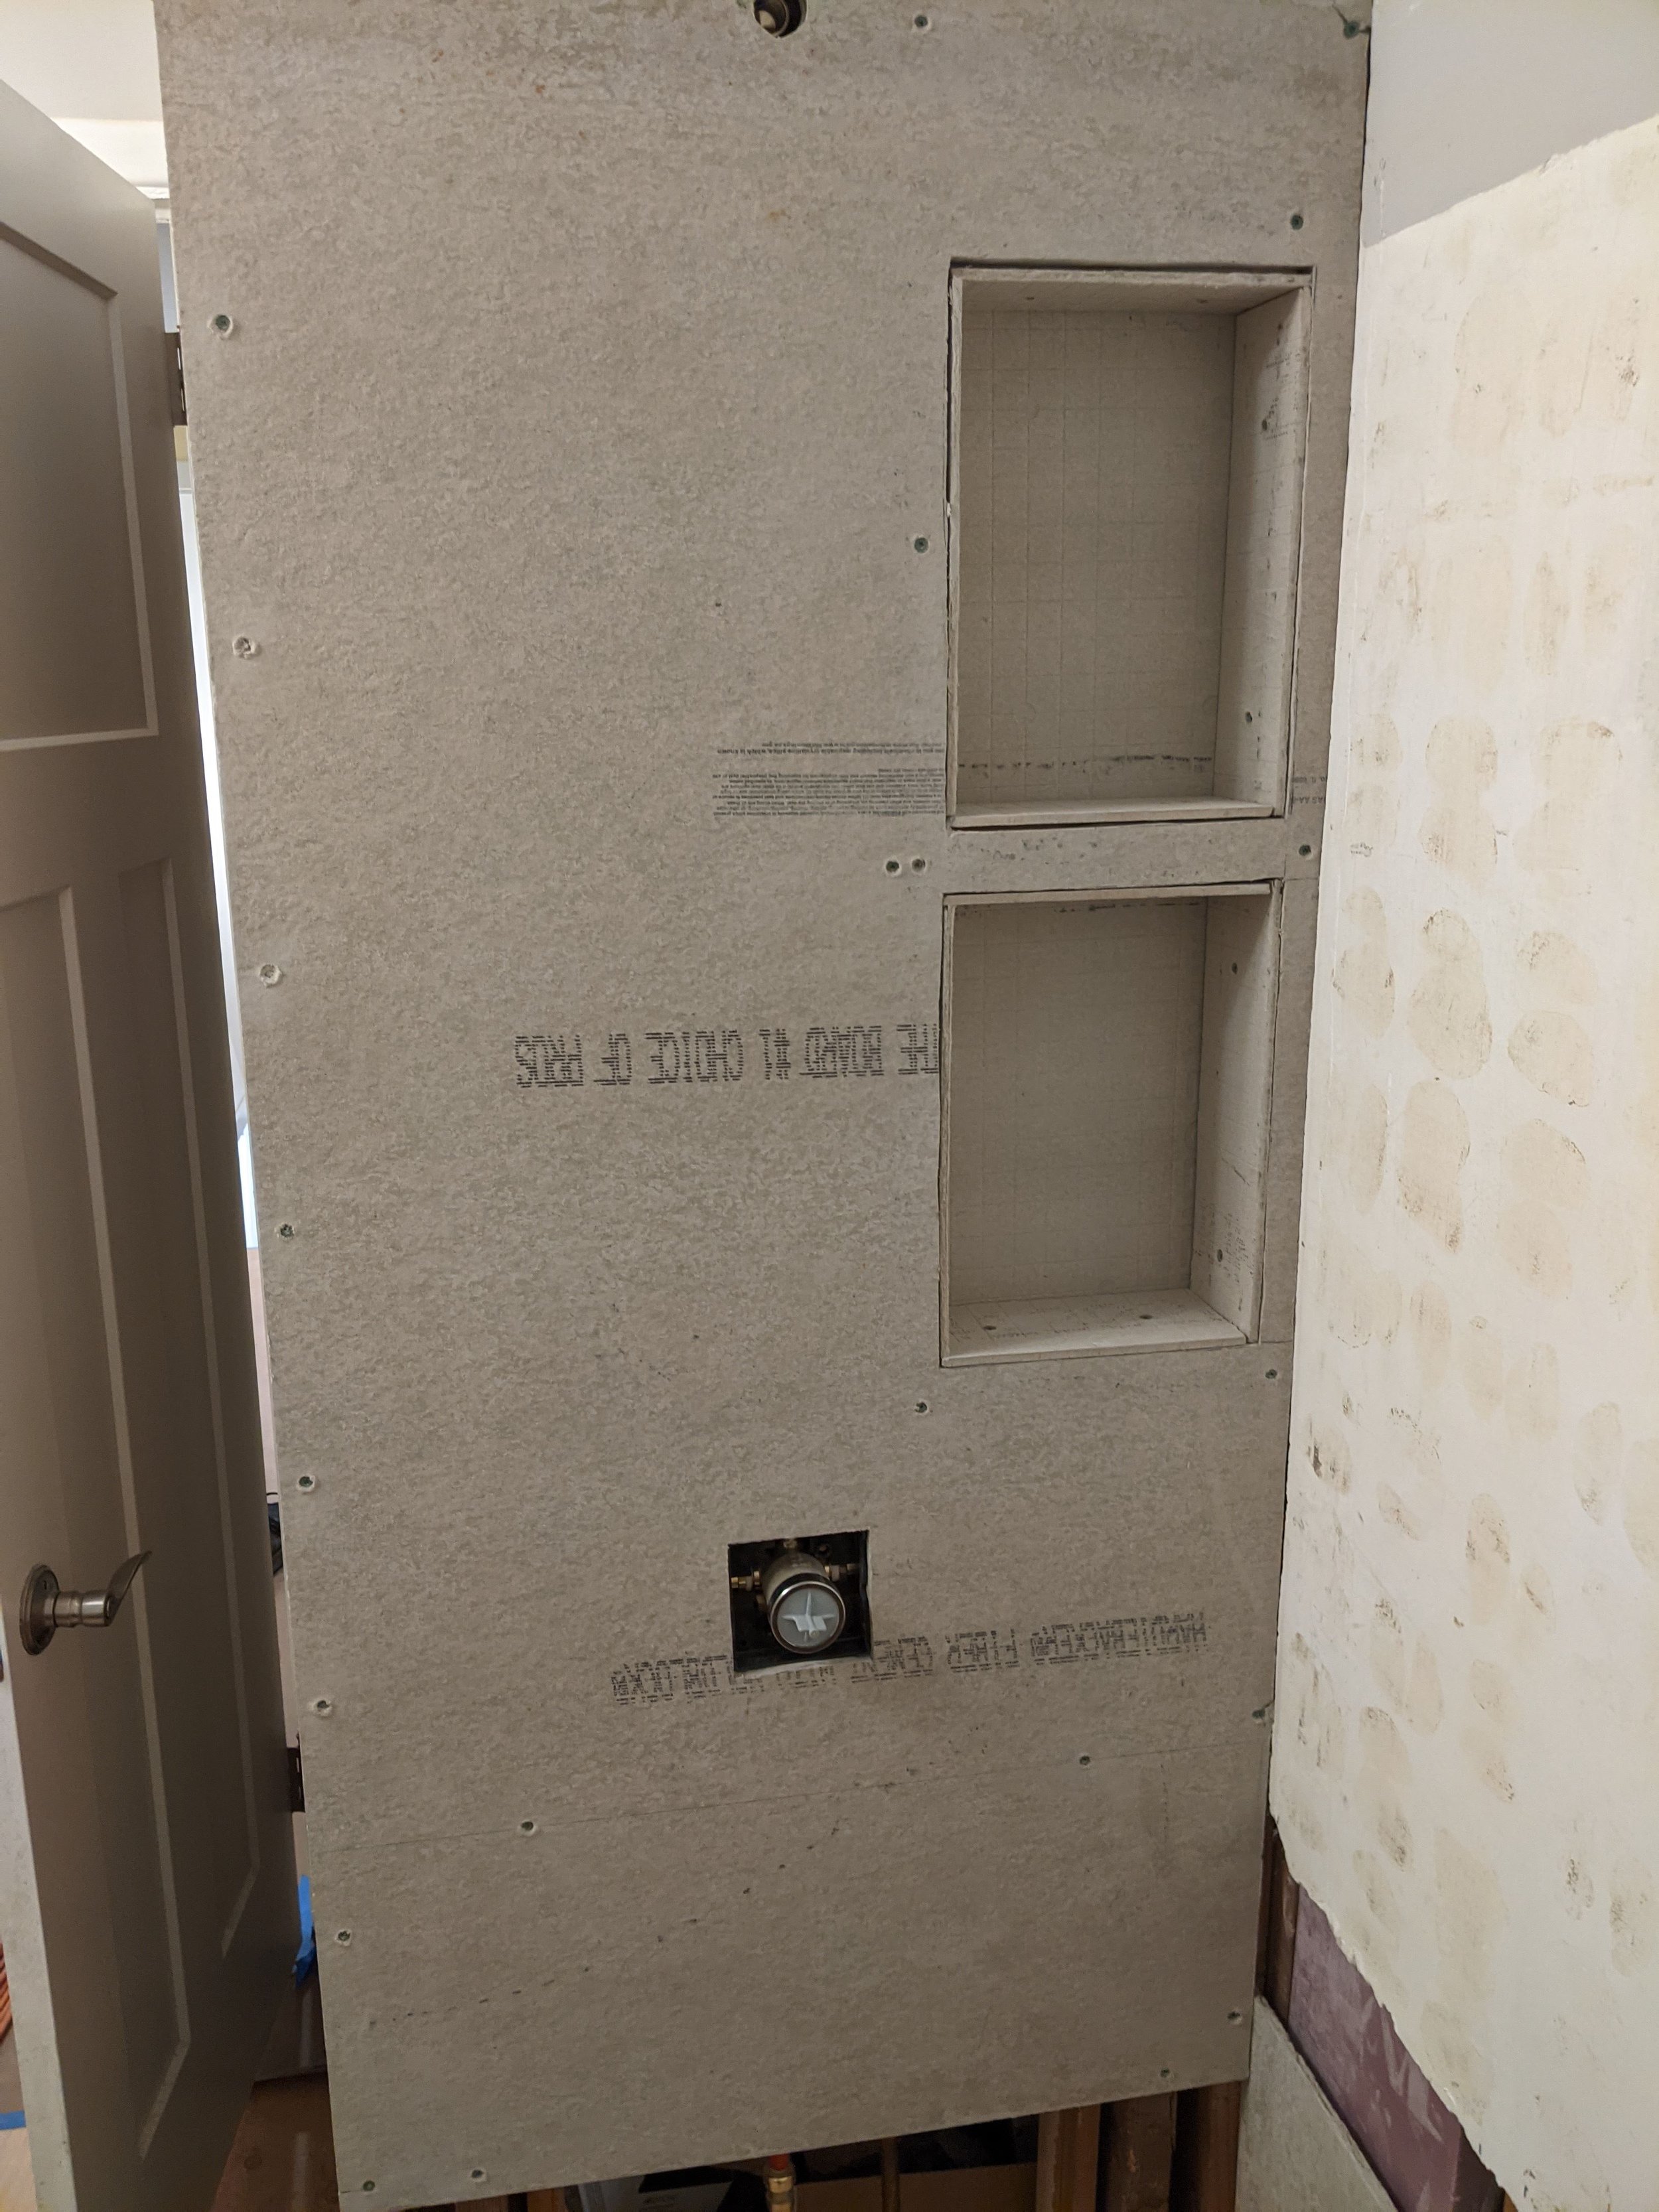
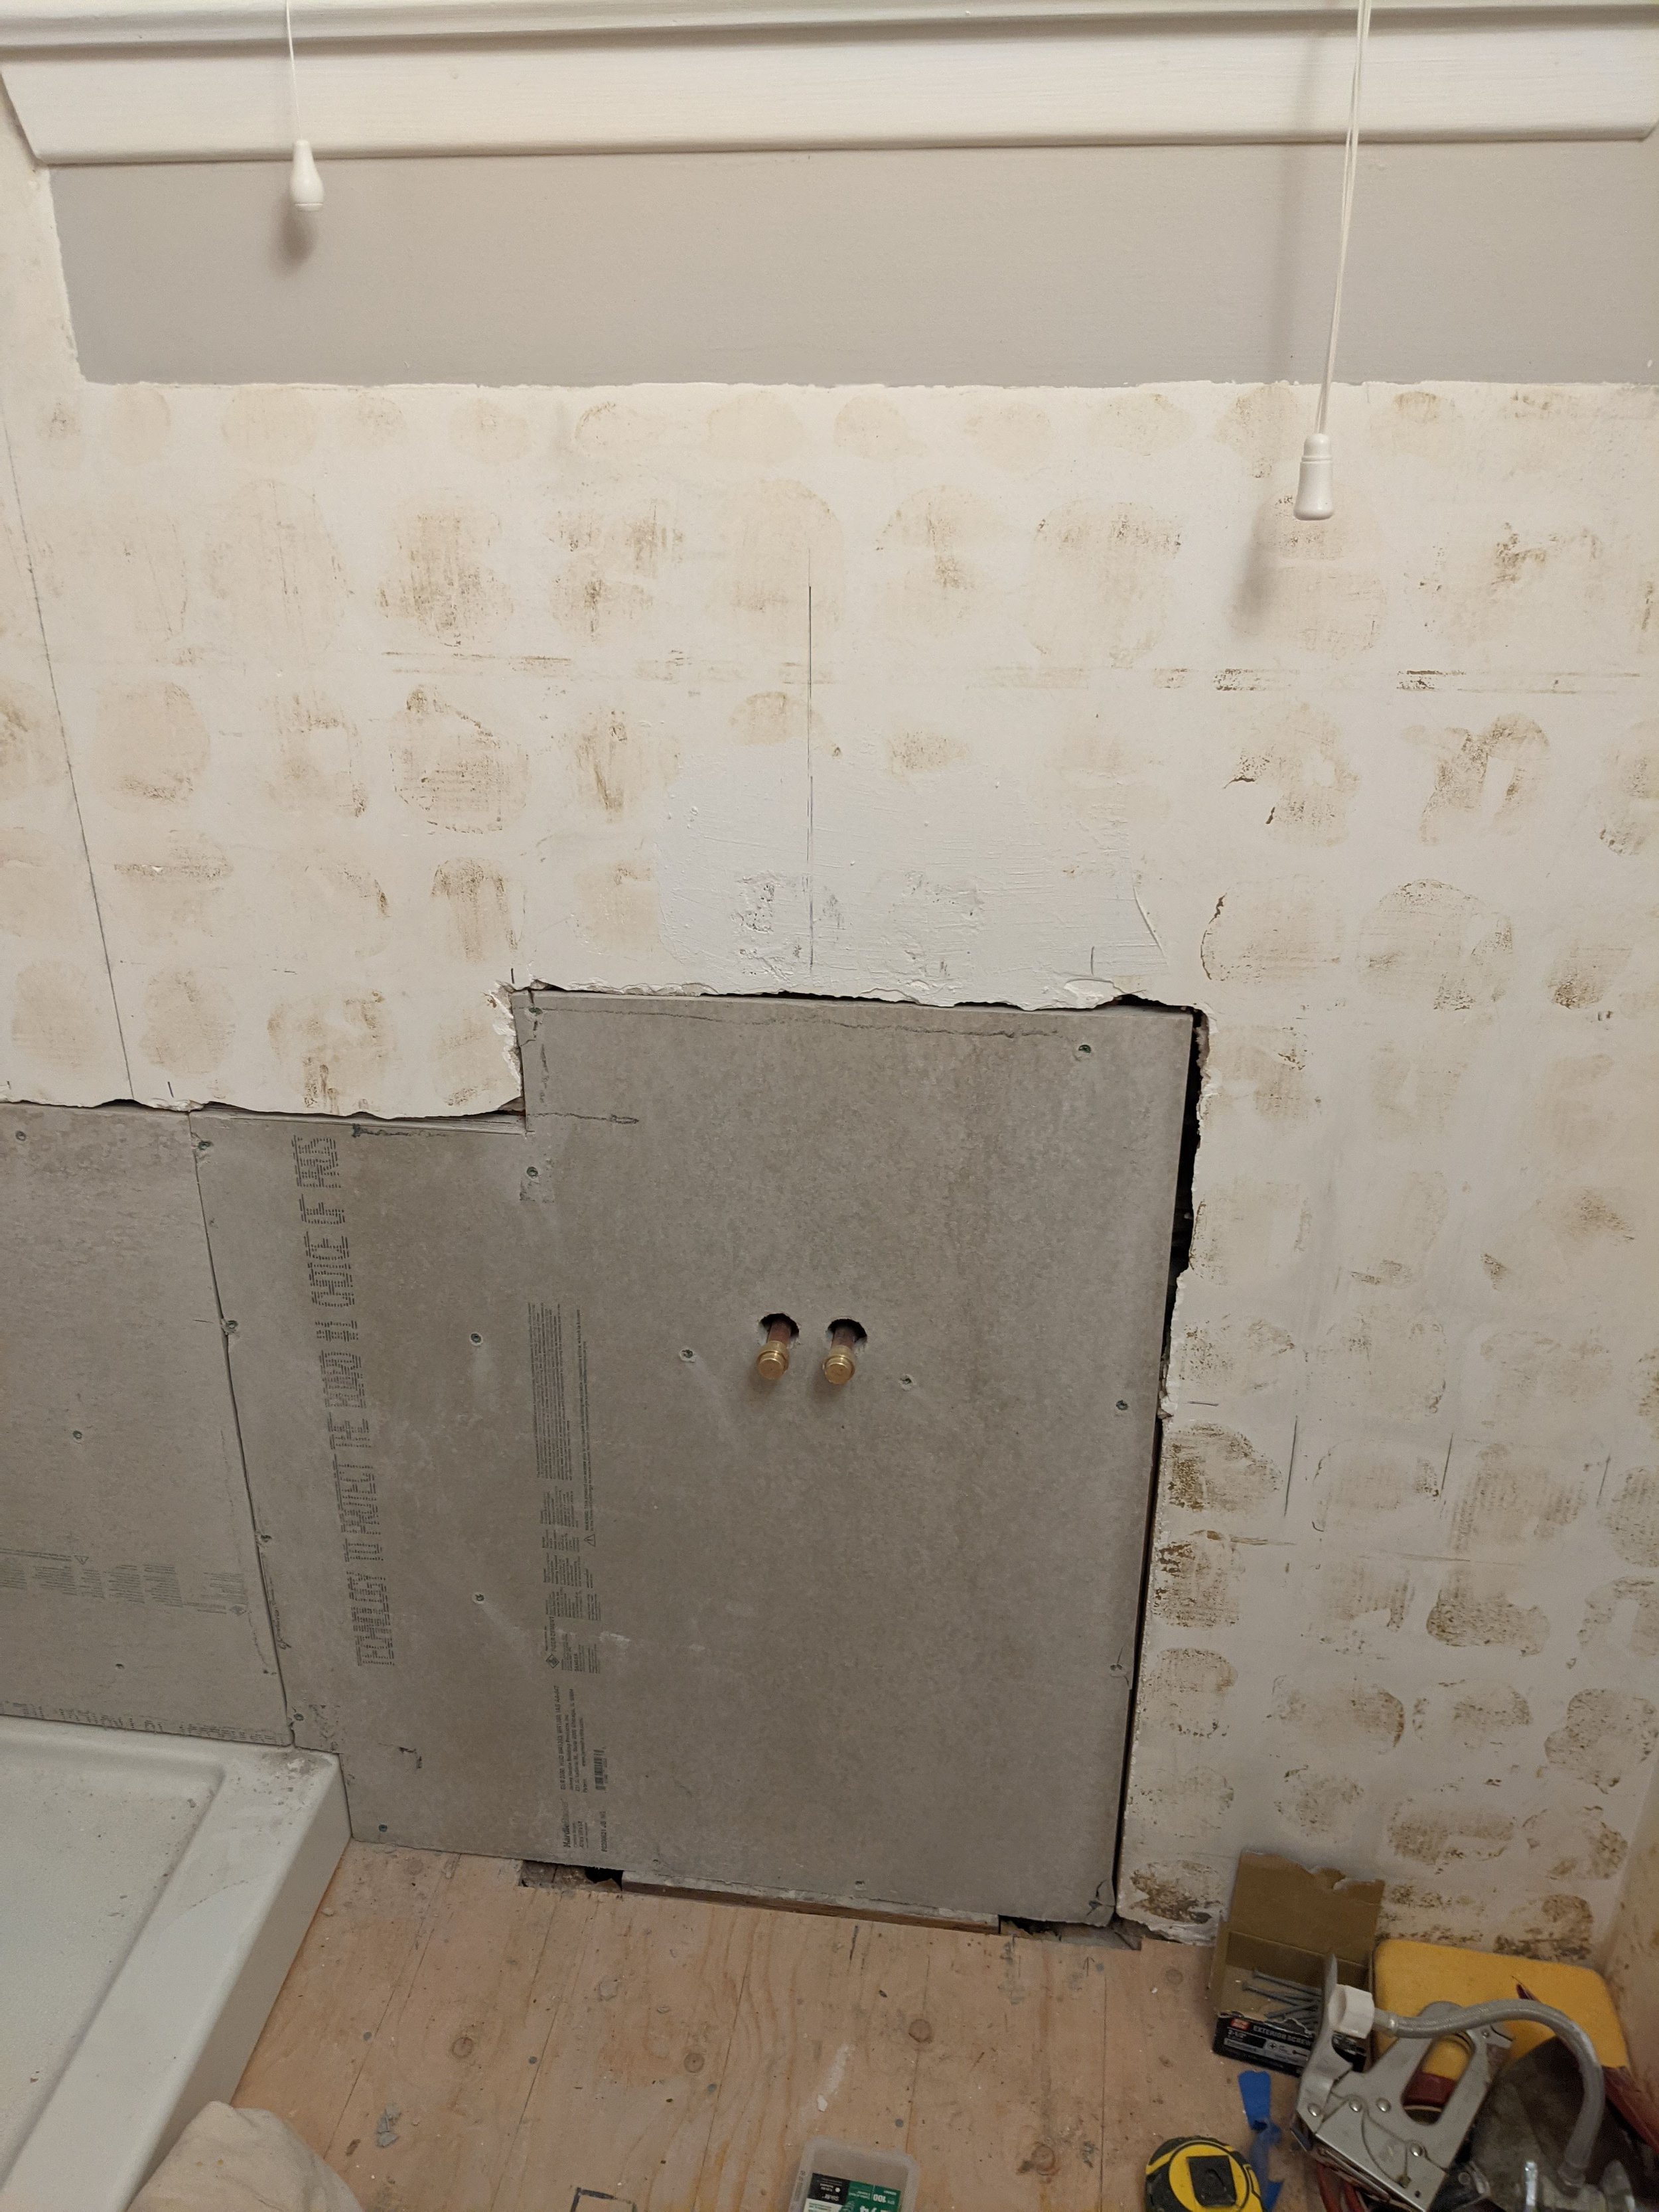
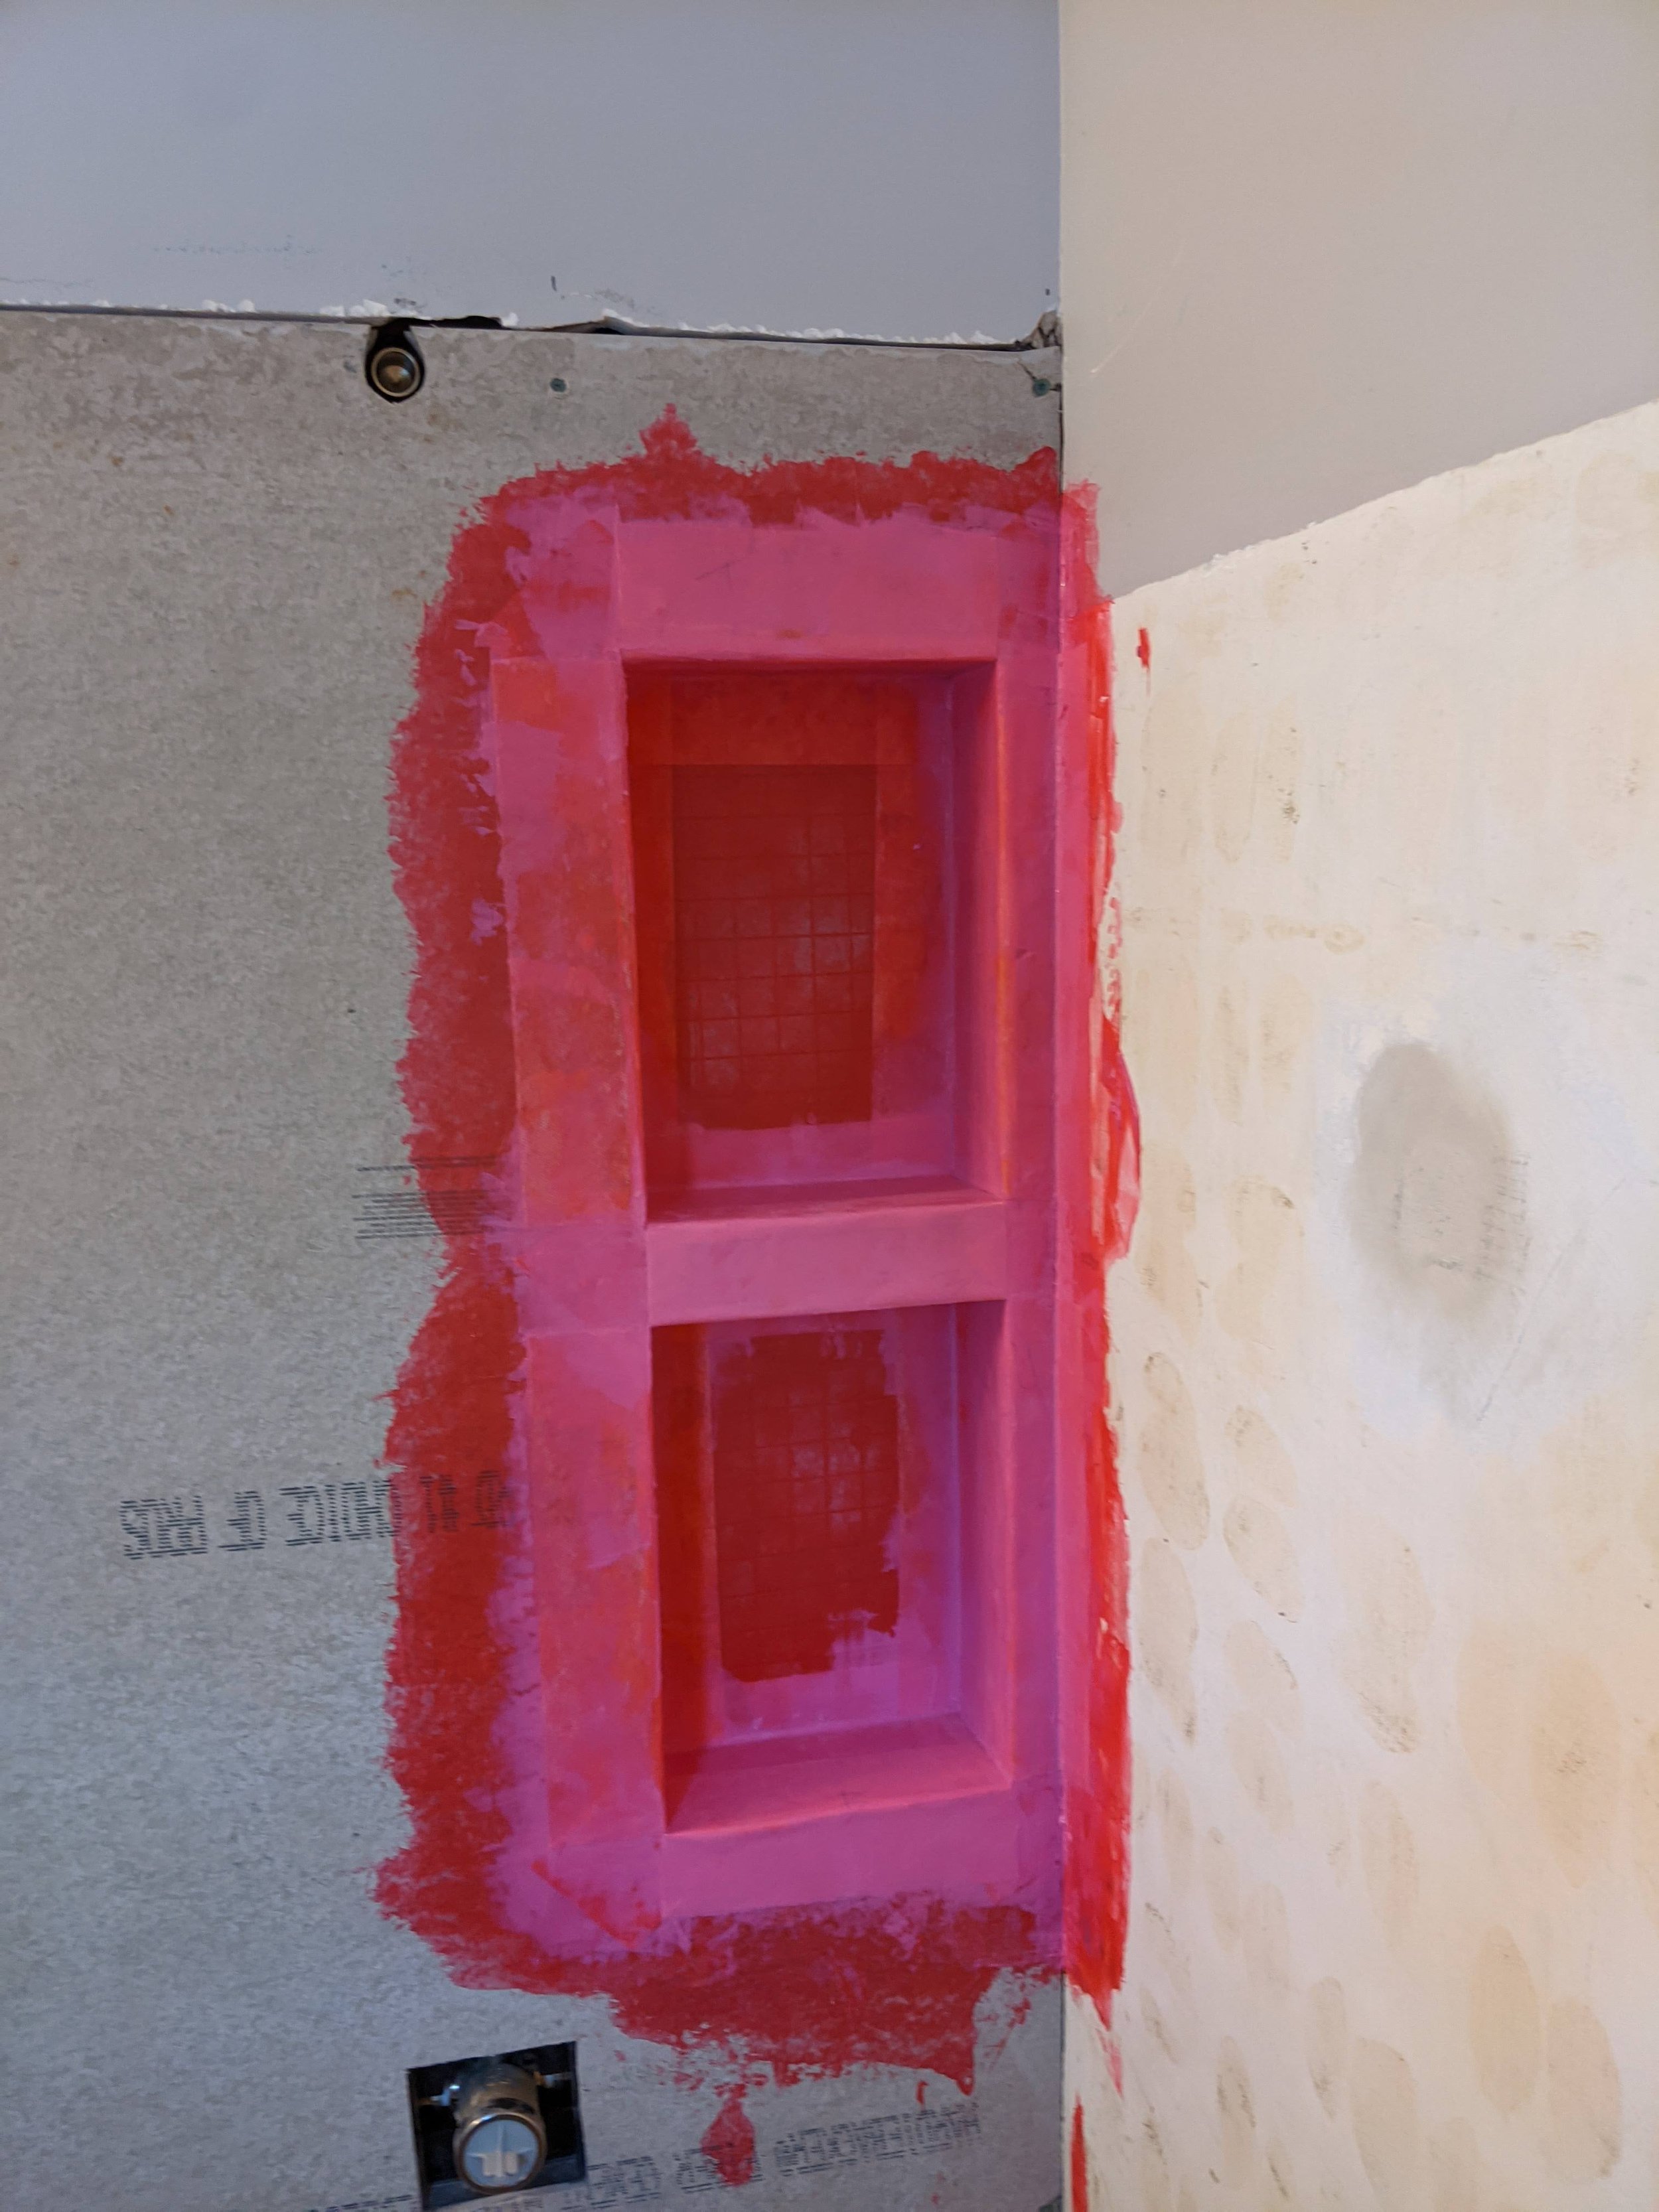
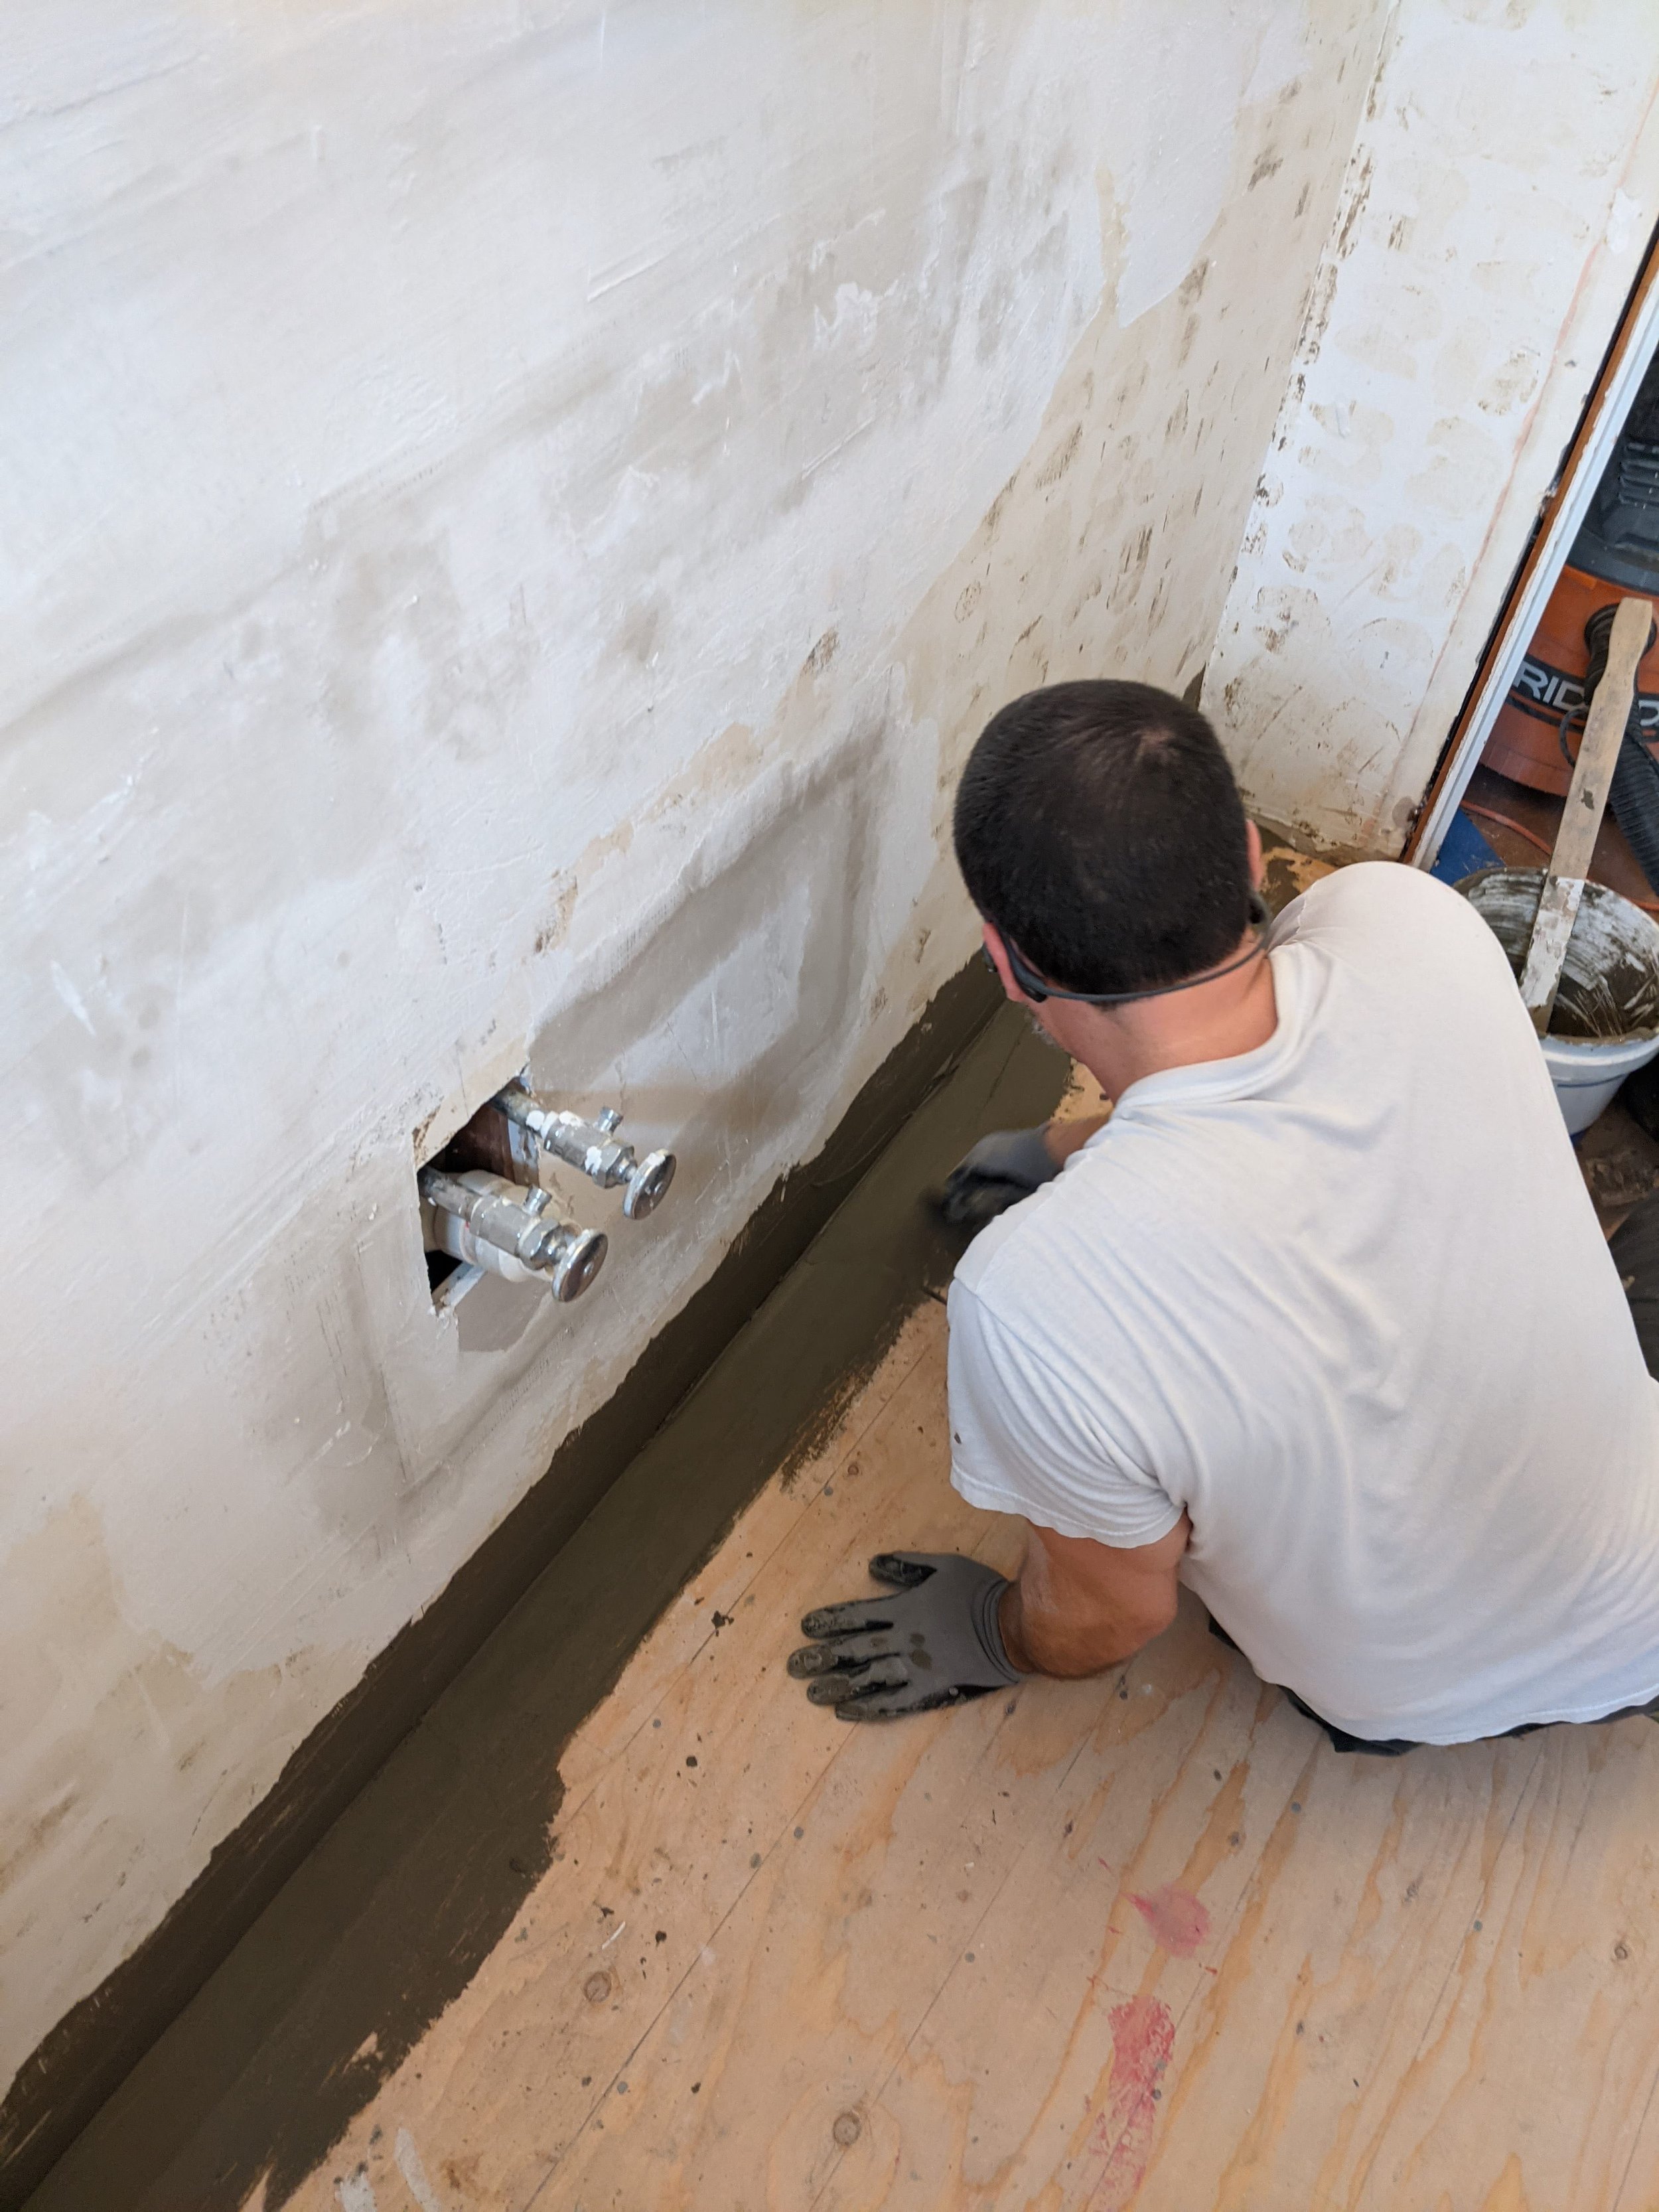
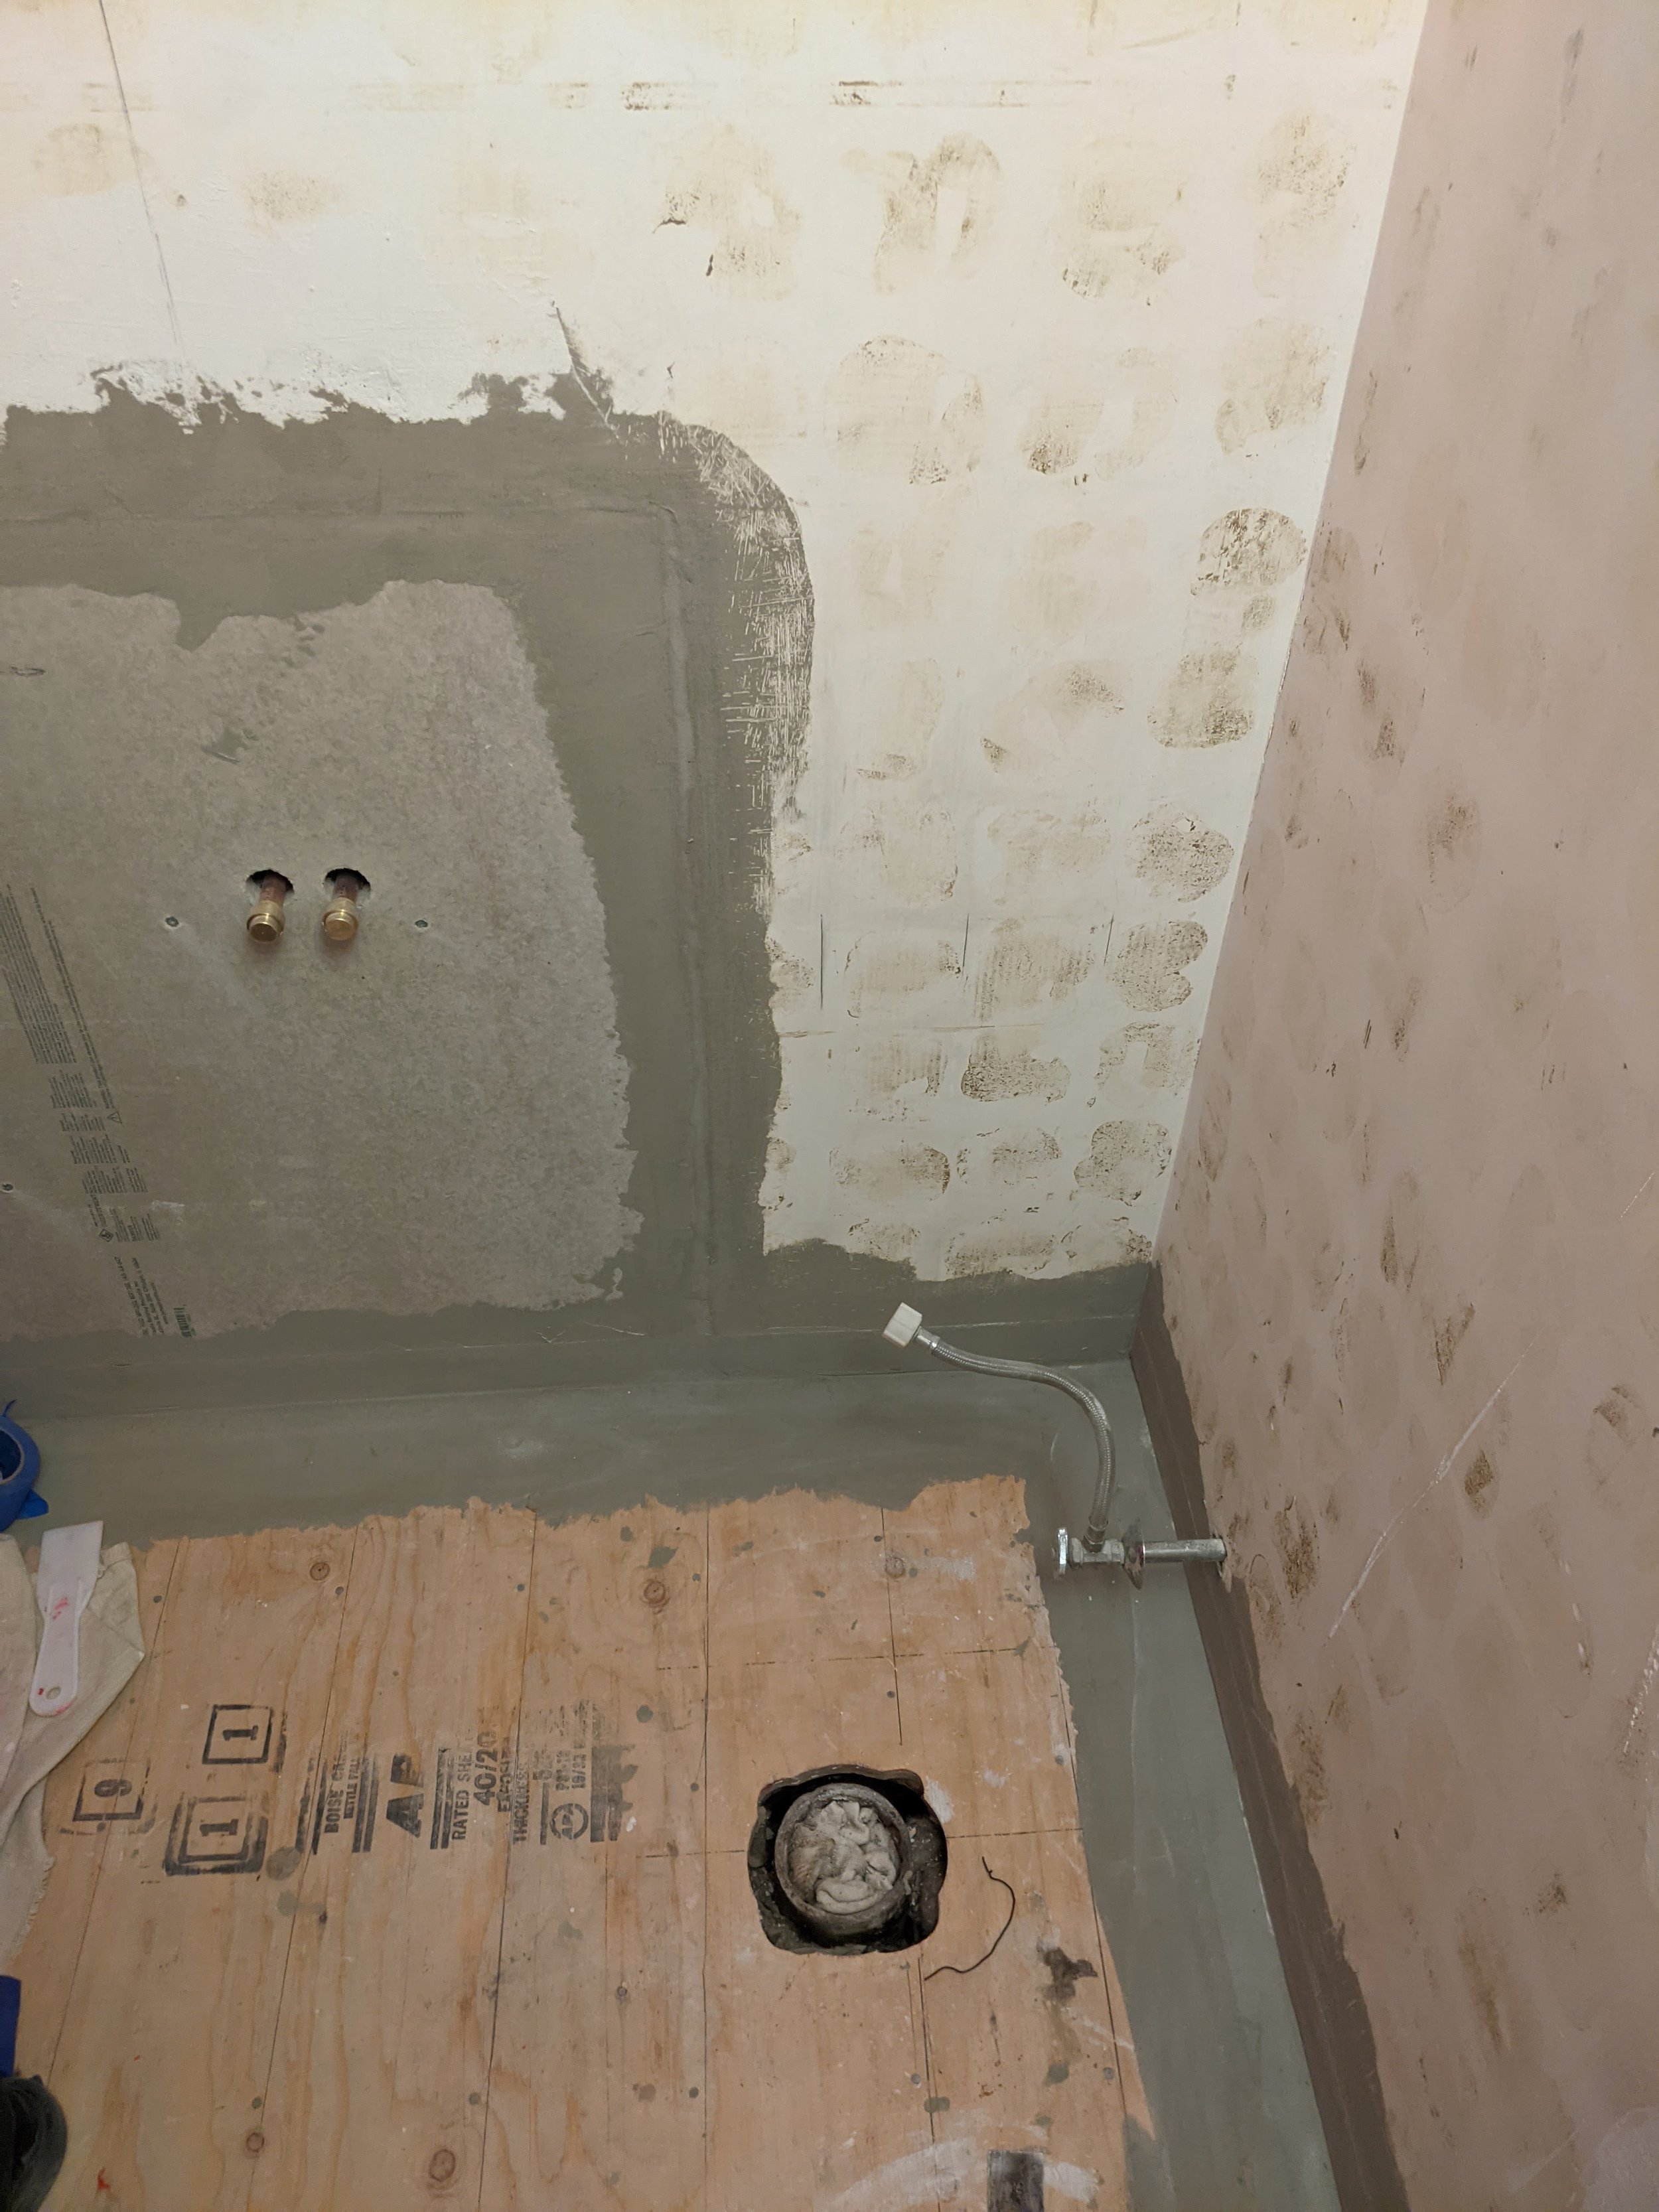
Rough plumbing was set up from our last step. We just had to make sure everything was in the right place before we closed up. That means measuring the shower head, standing in the shower and making sure it looked right. That also meant putting my shampoo bottles on the roughed-in shelf to make sure they were deep enough and tall enough. (If you have long hair or shop at Costco, you also know about the 6-gallon drum of shampoo.) We also determined exactly where we wanted the new light switches and electrical outlets. This is also when we installed the tub drain, which was one of those things that should have been simple and wasn’t because the floor joists were placed off just enough that there wasn’t space—but a 30-minute (slightly grumpy) sawzall detour, and Hubs got it in.

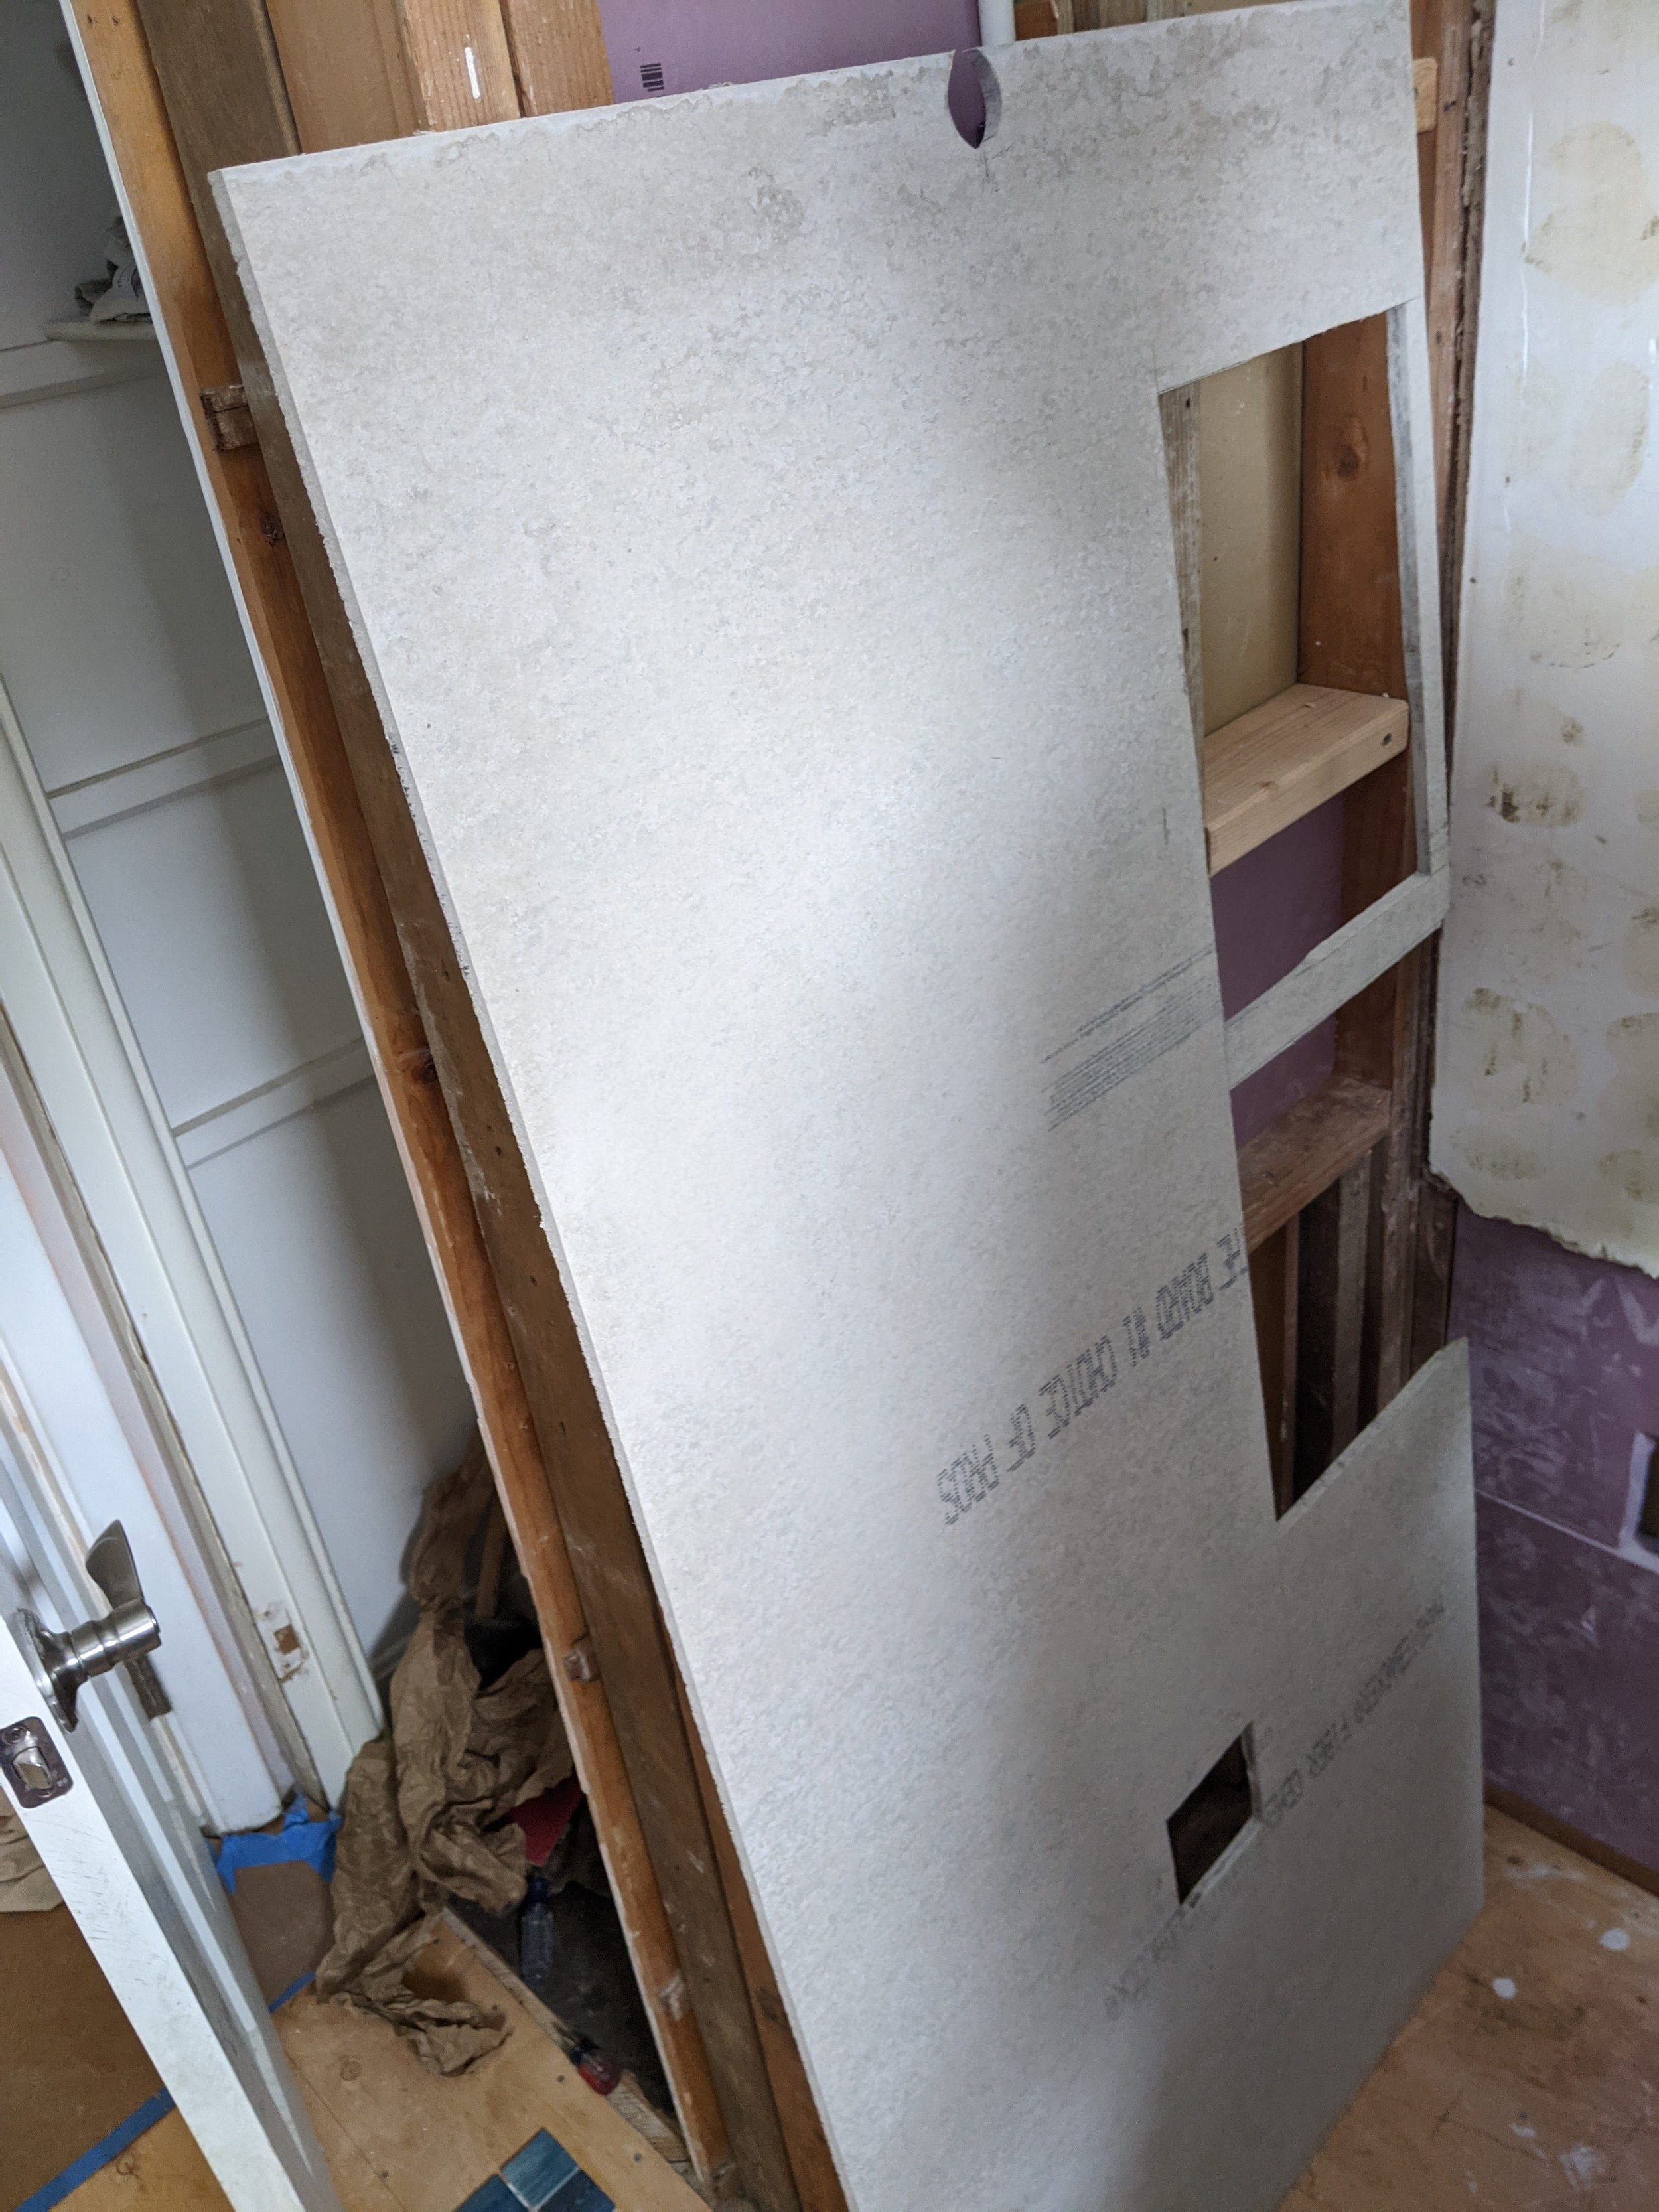
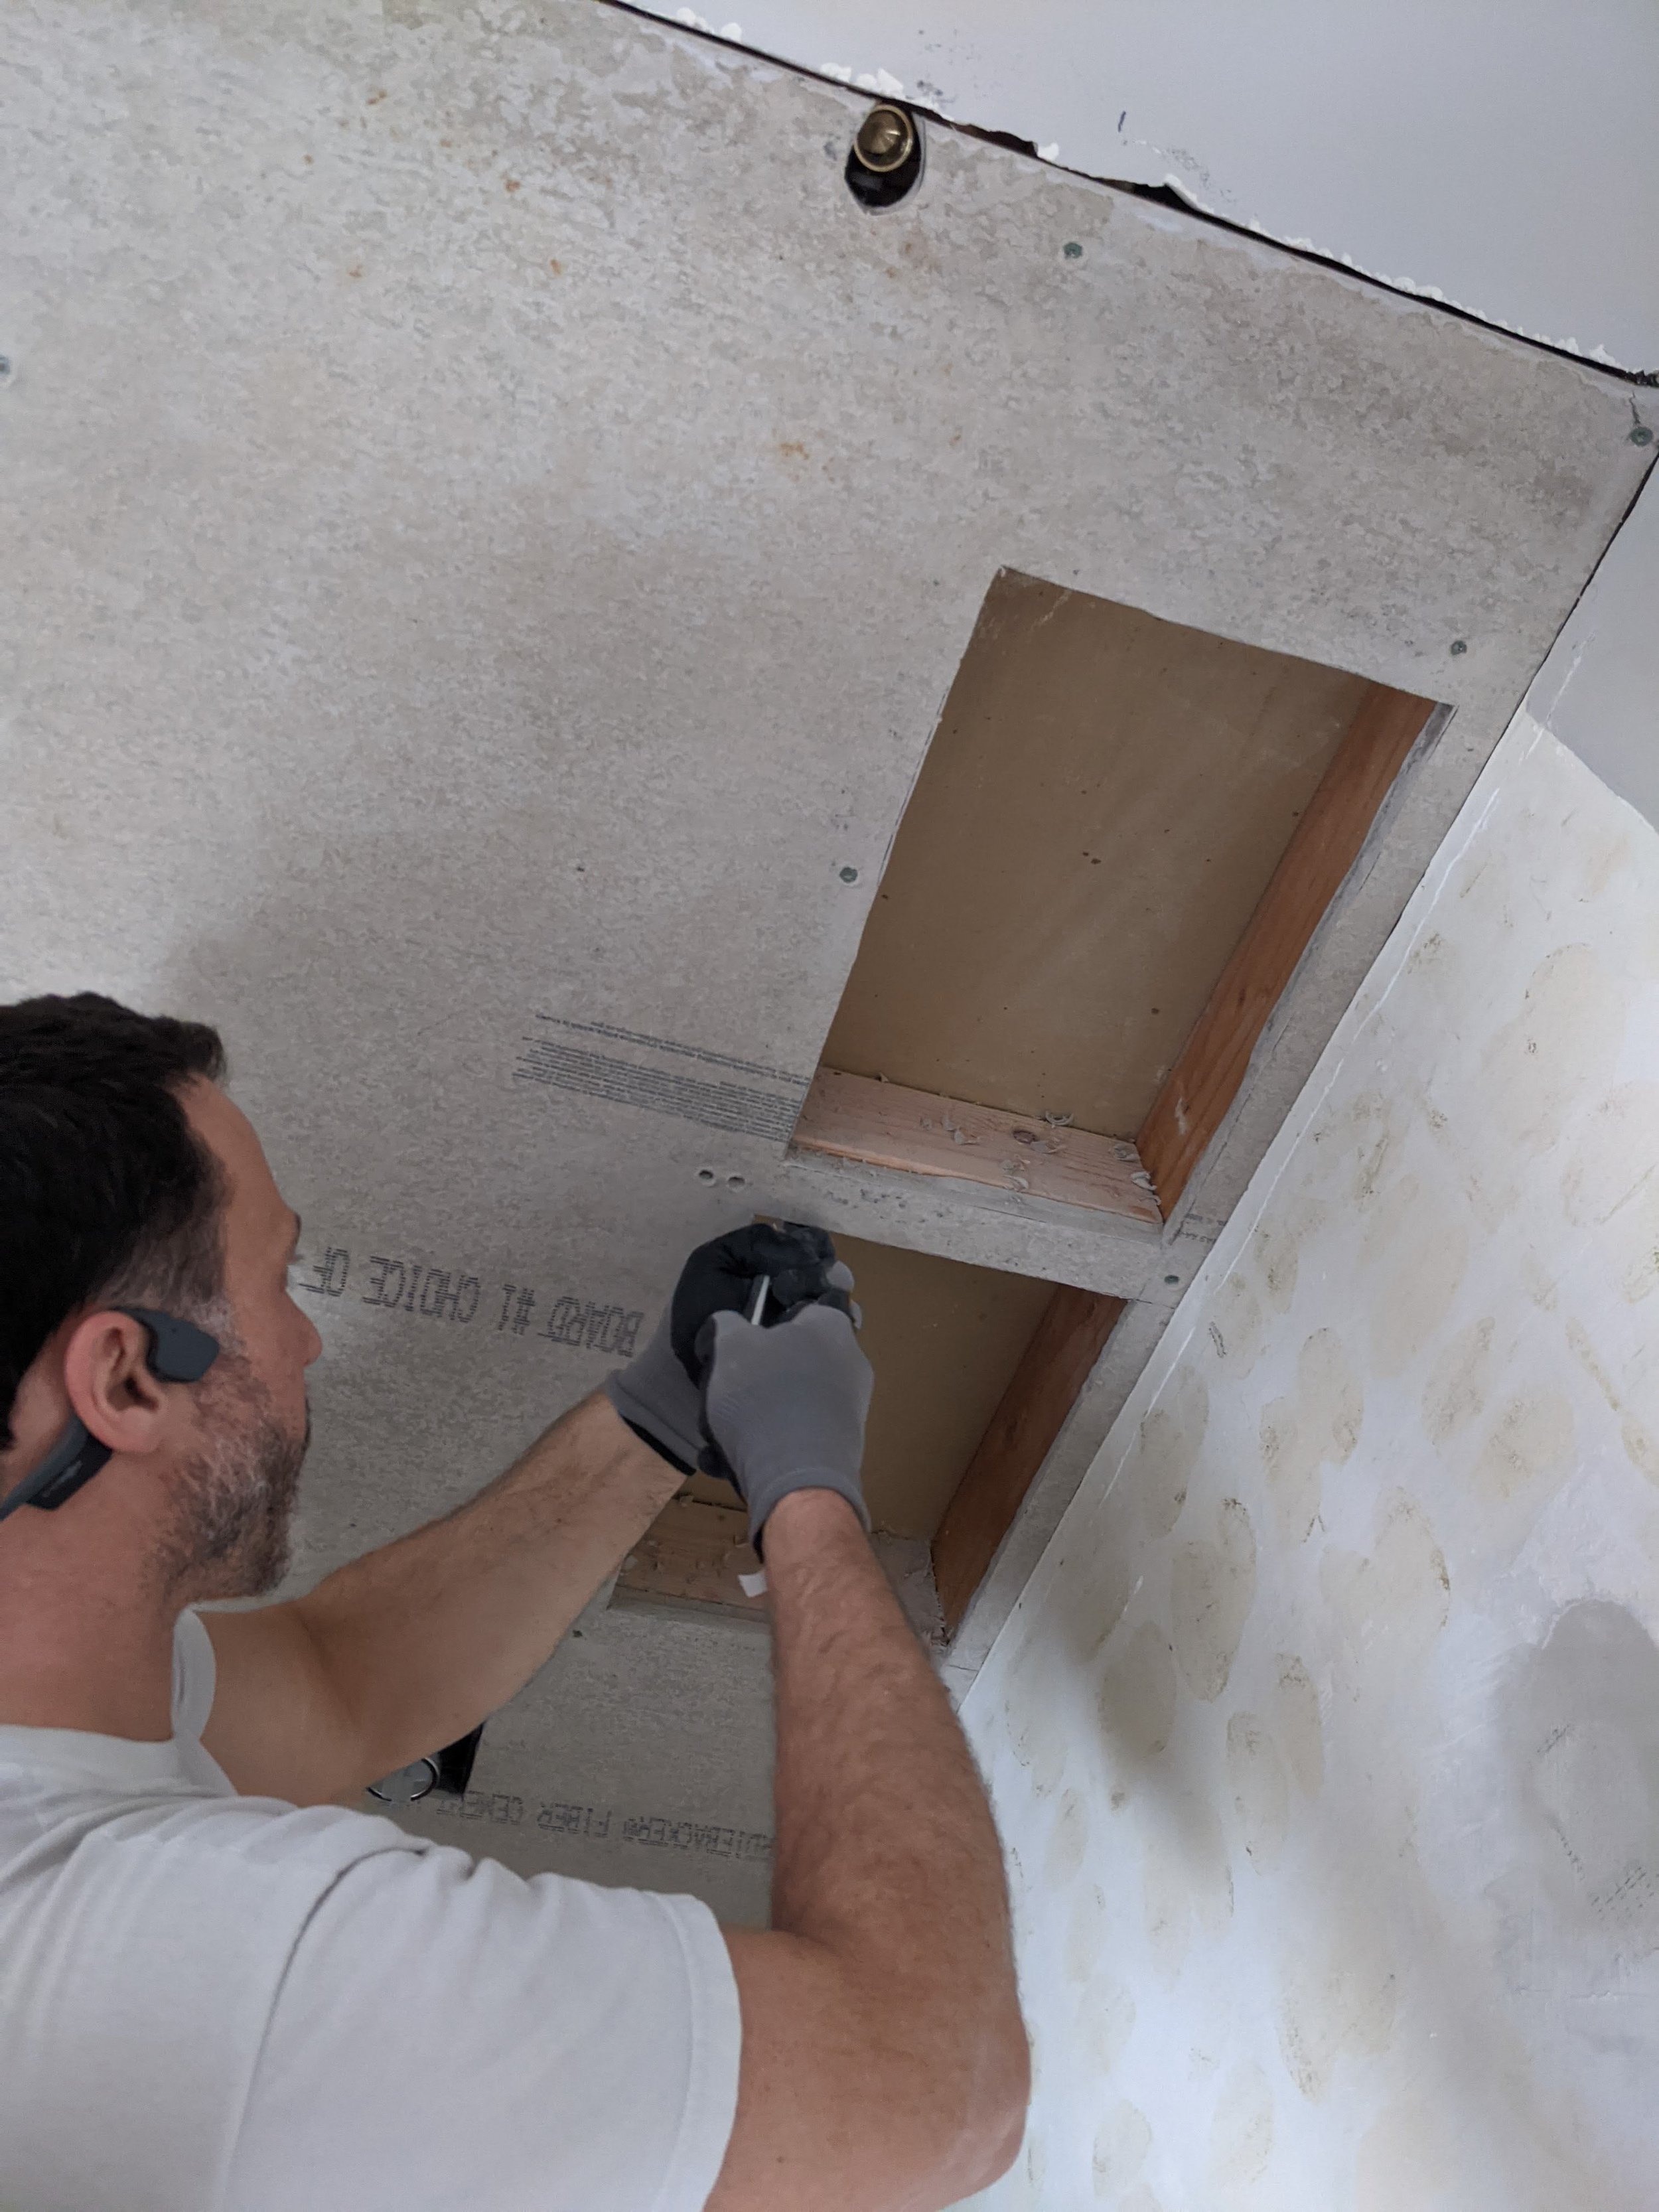
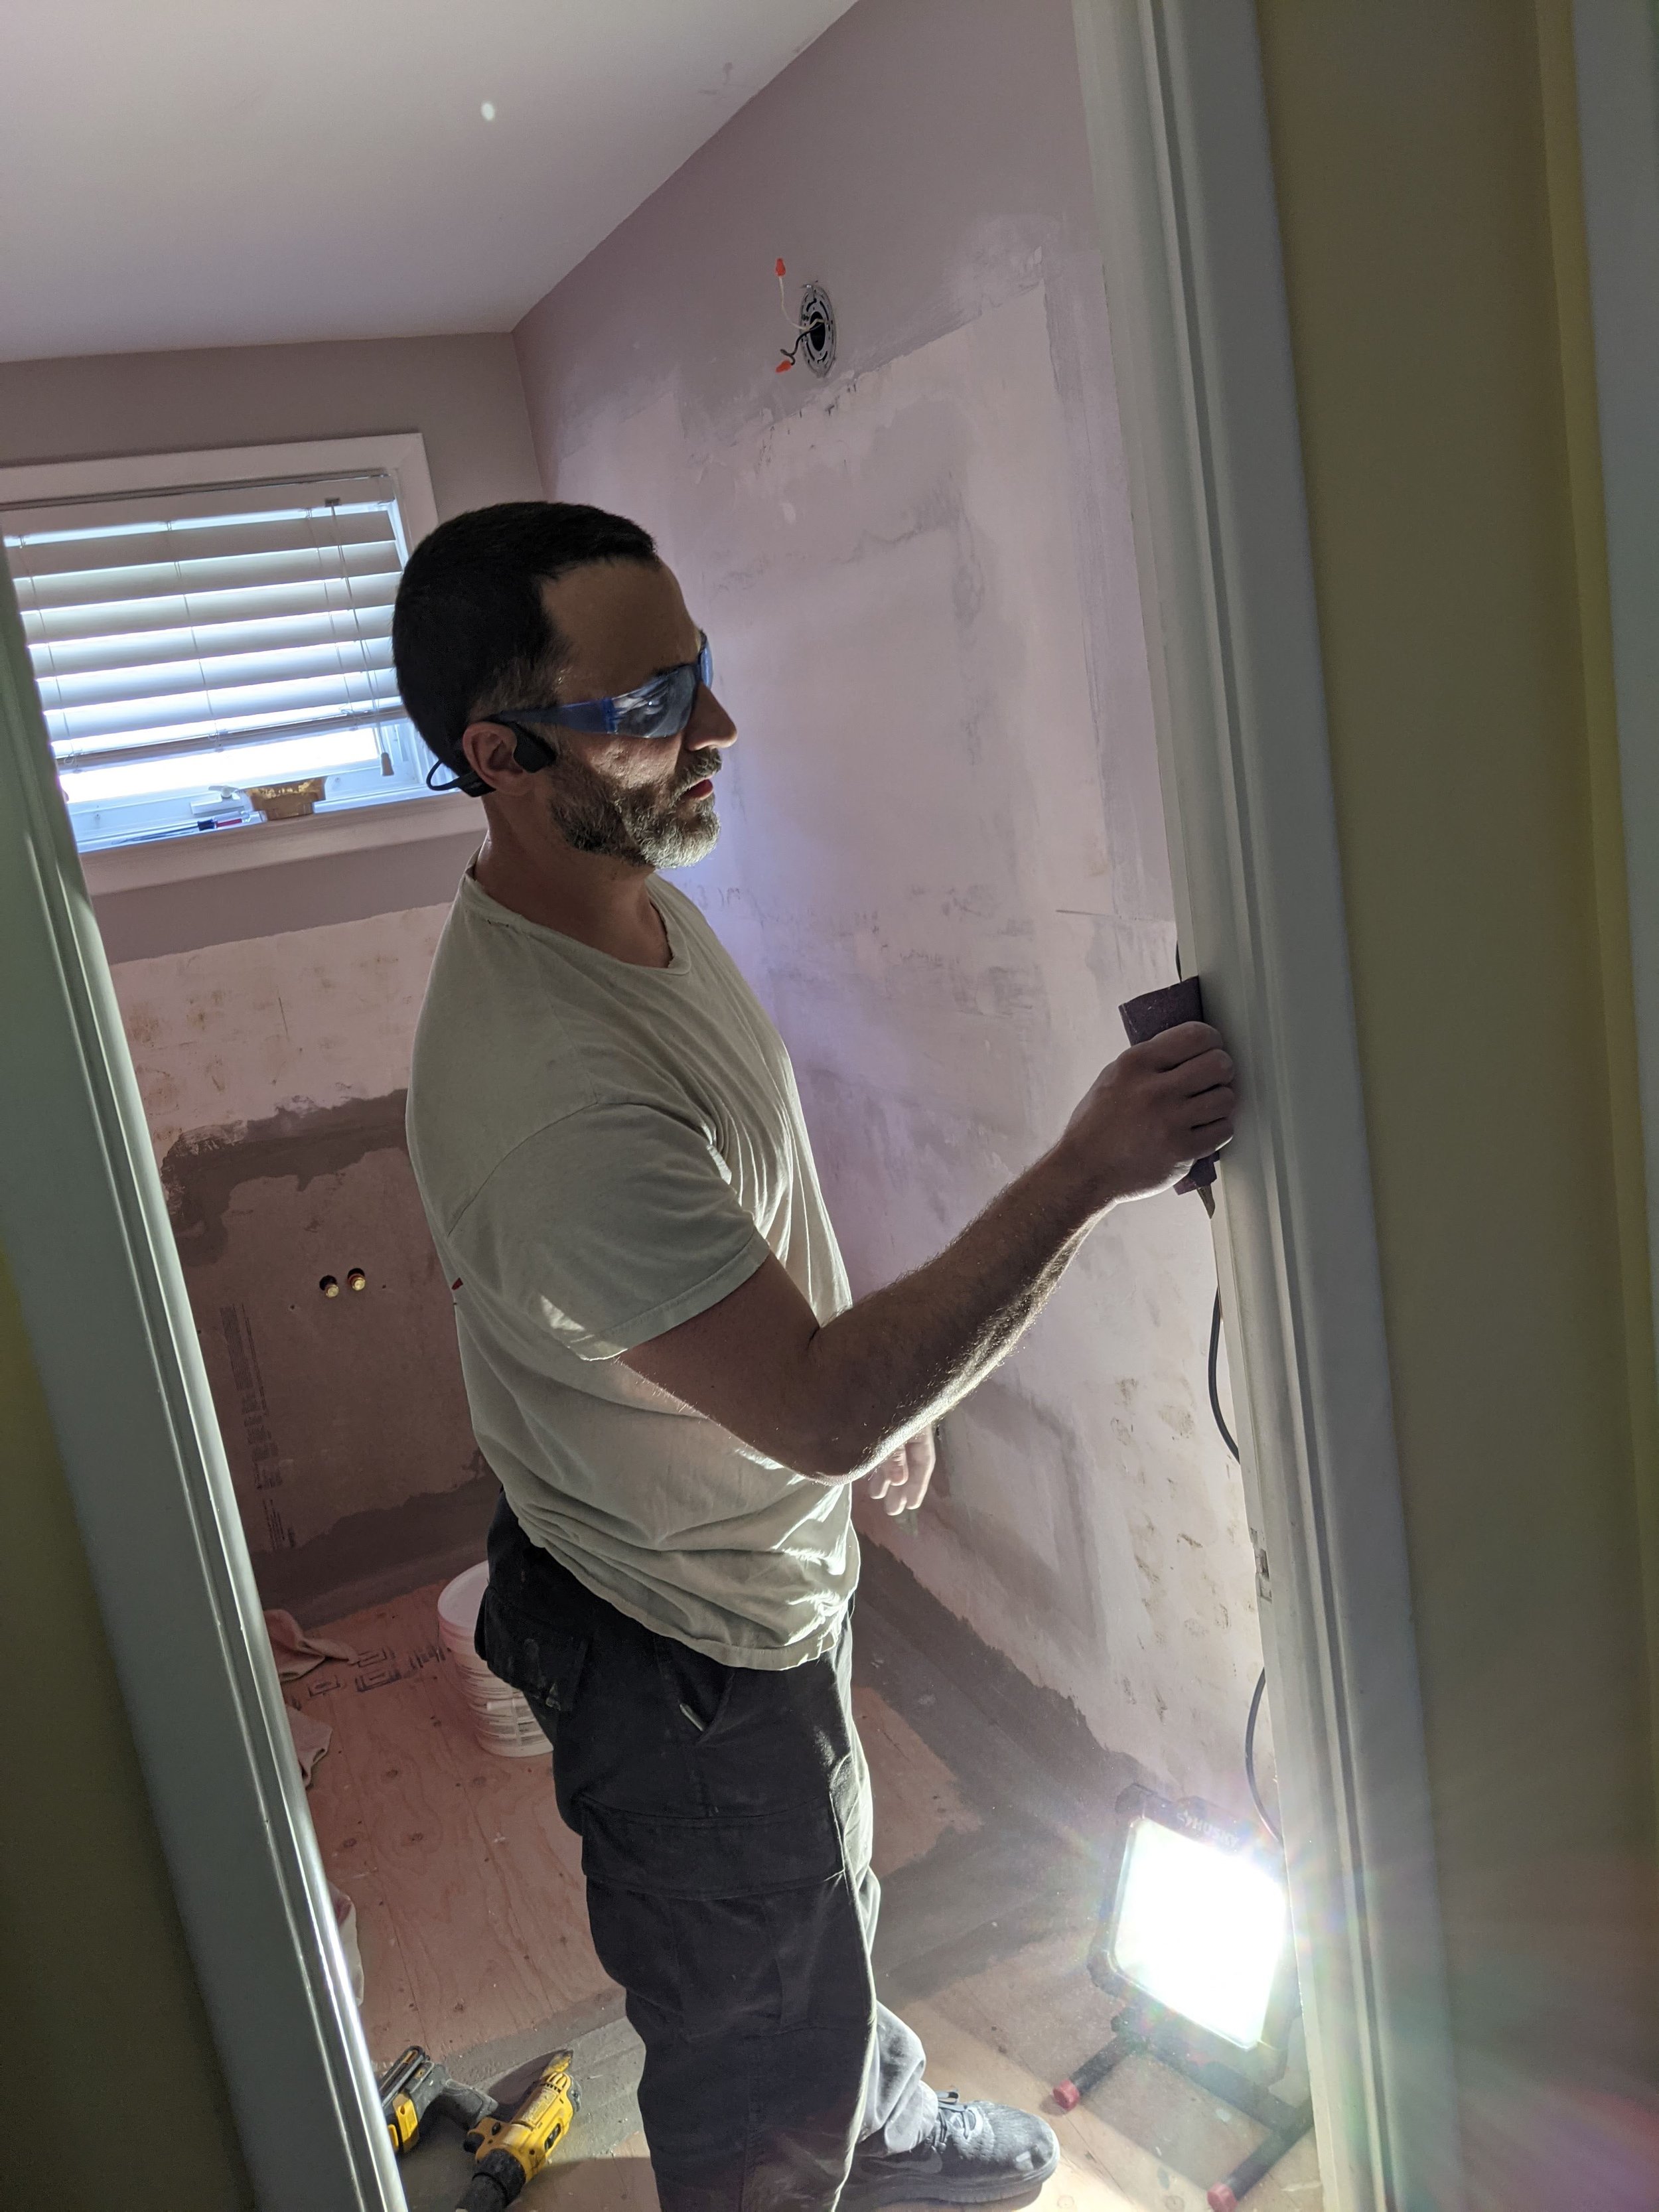
Once the “guts” were all in place, there was a lot of measuring, followed by drywall and concrete board cutting. Then there’s a lot of awkward lifting and grunting while you get them into place. Attach, then you seal and sand and seal and sand until you’re old and grey and Hubs will still say it isn’t 100% perfect so you’ll bicker that 46 coats is really the perfect number…
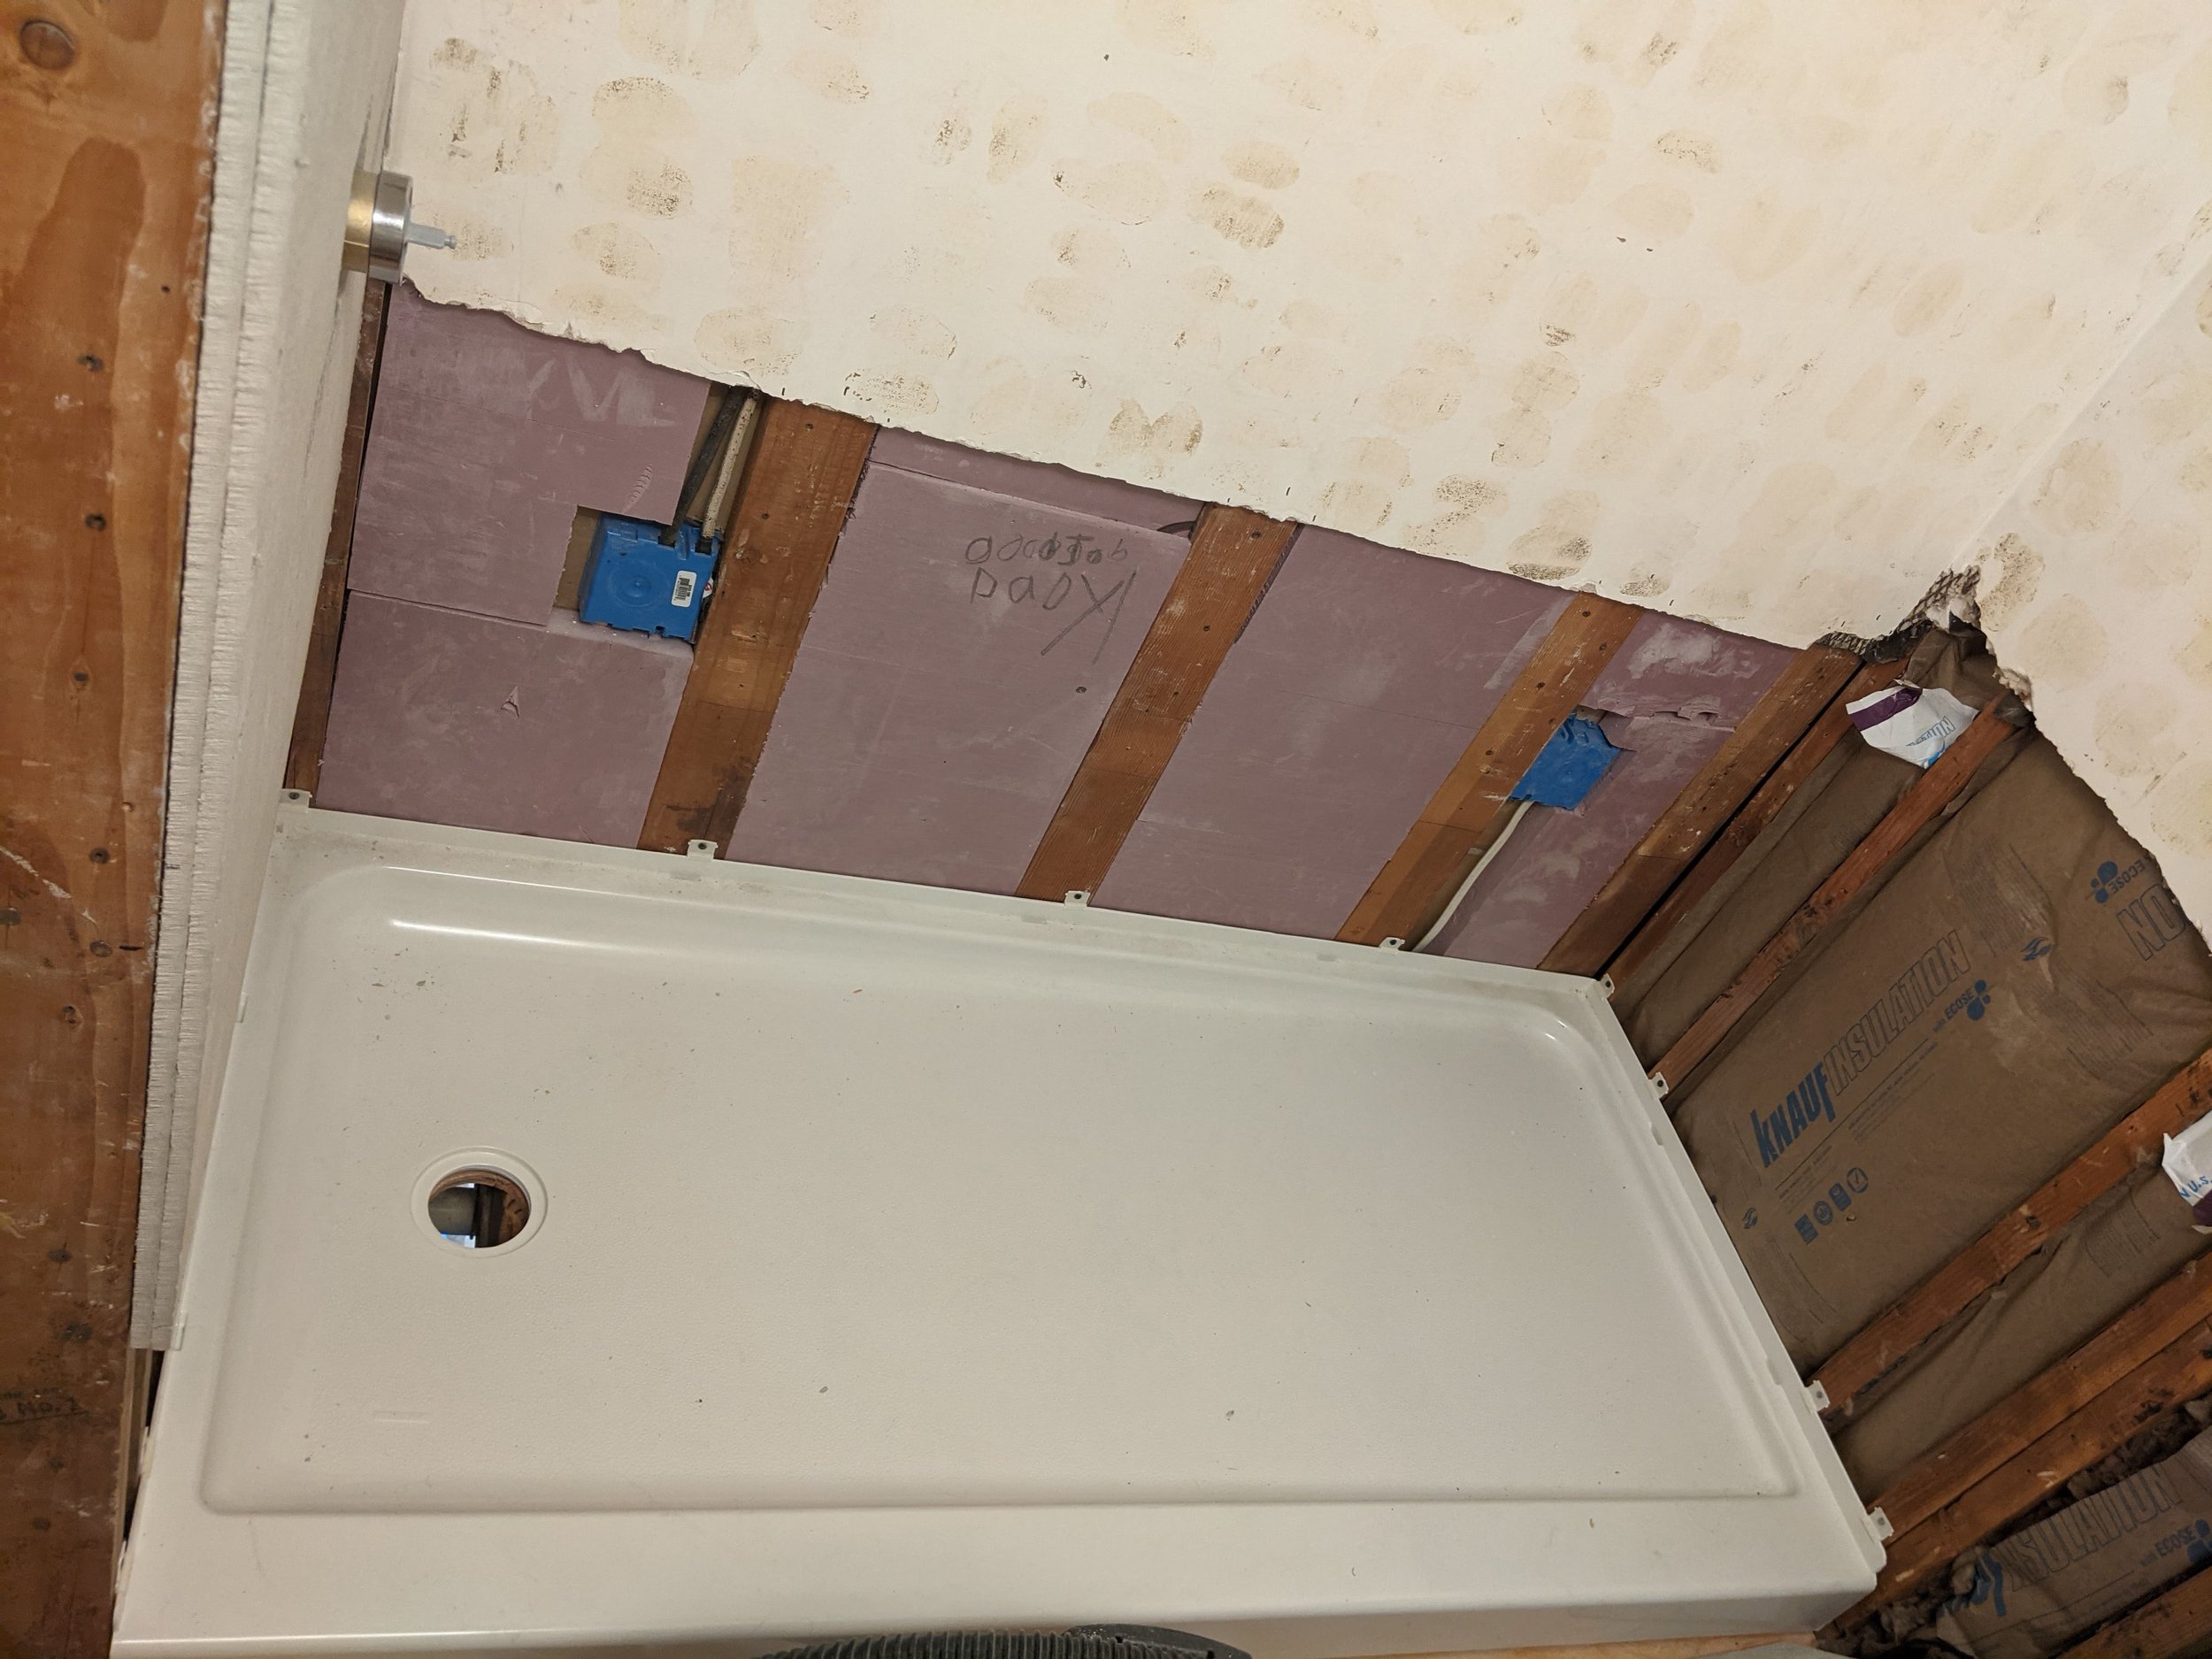
Once all the walls are in place, the shower pan can go in. We got lucky that the tub we removed was a standard size, so this was an easy find at Home Depot.
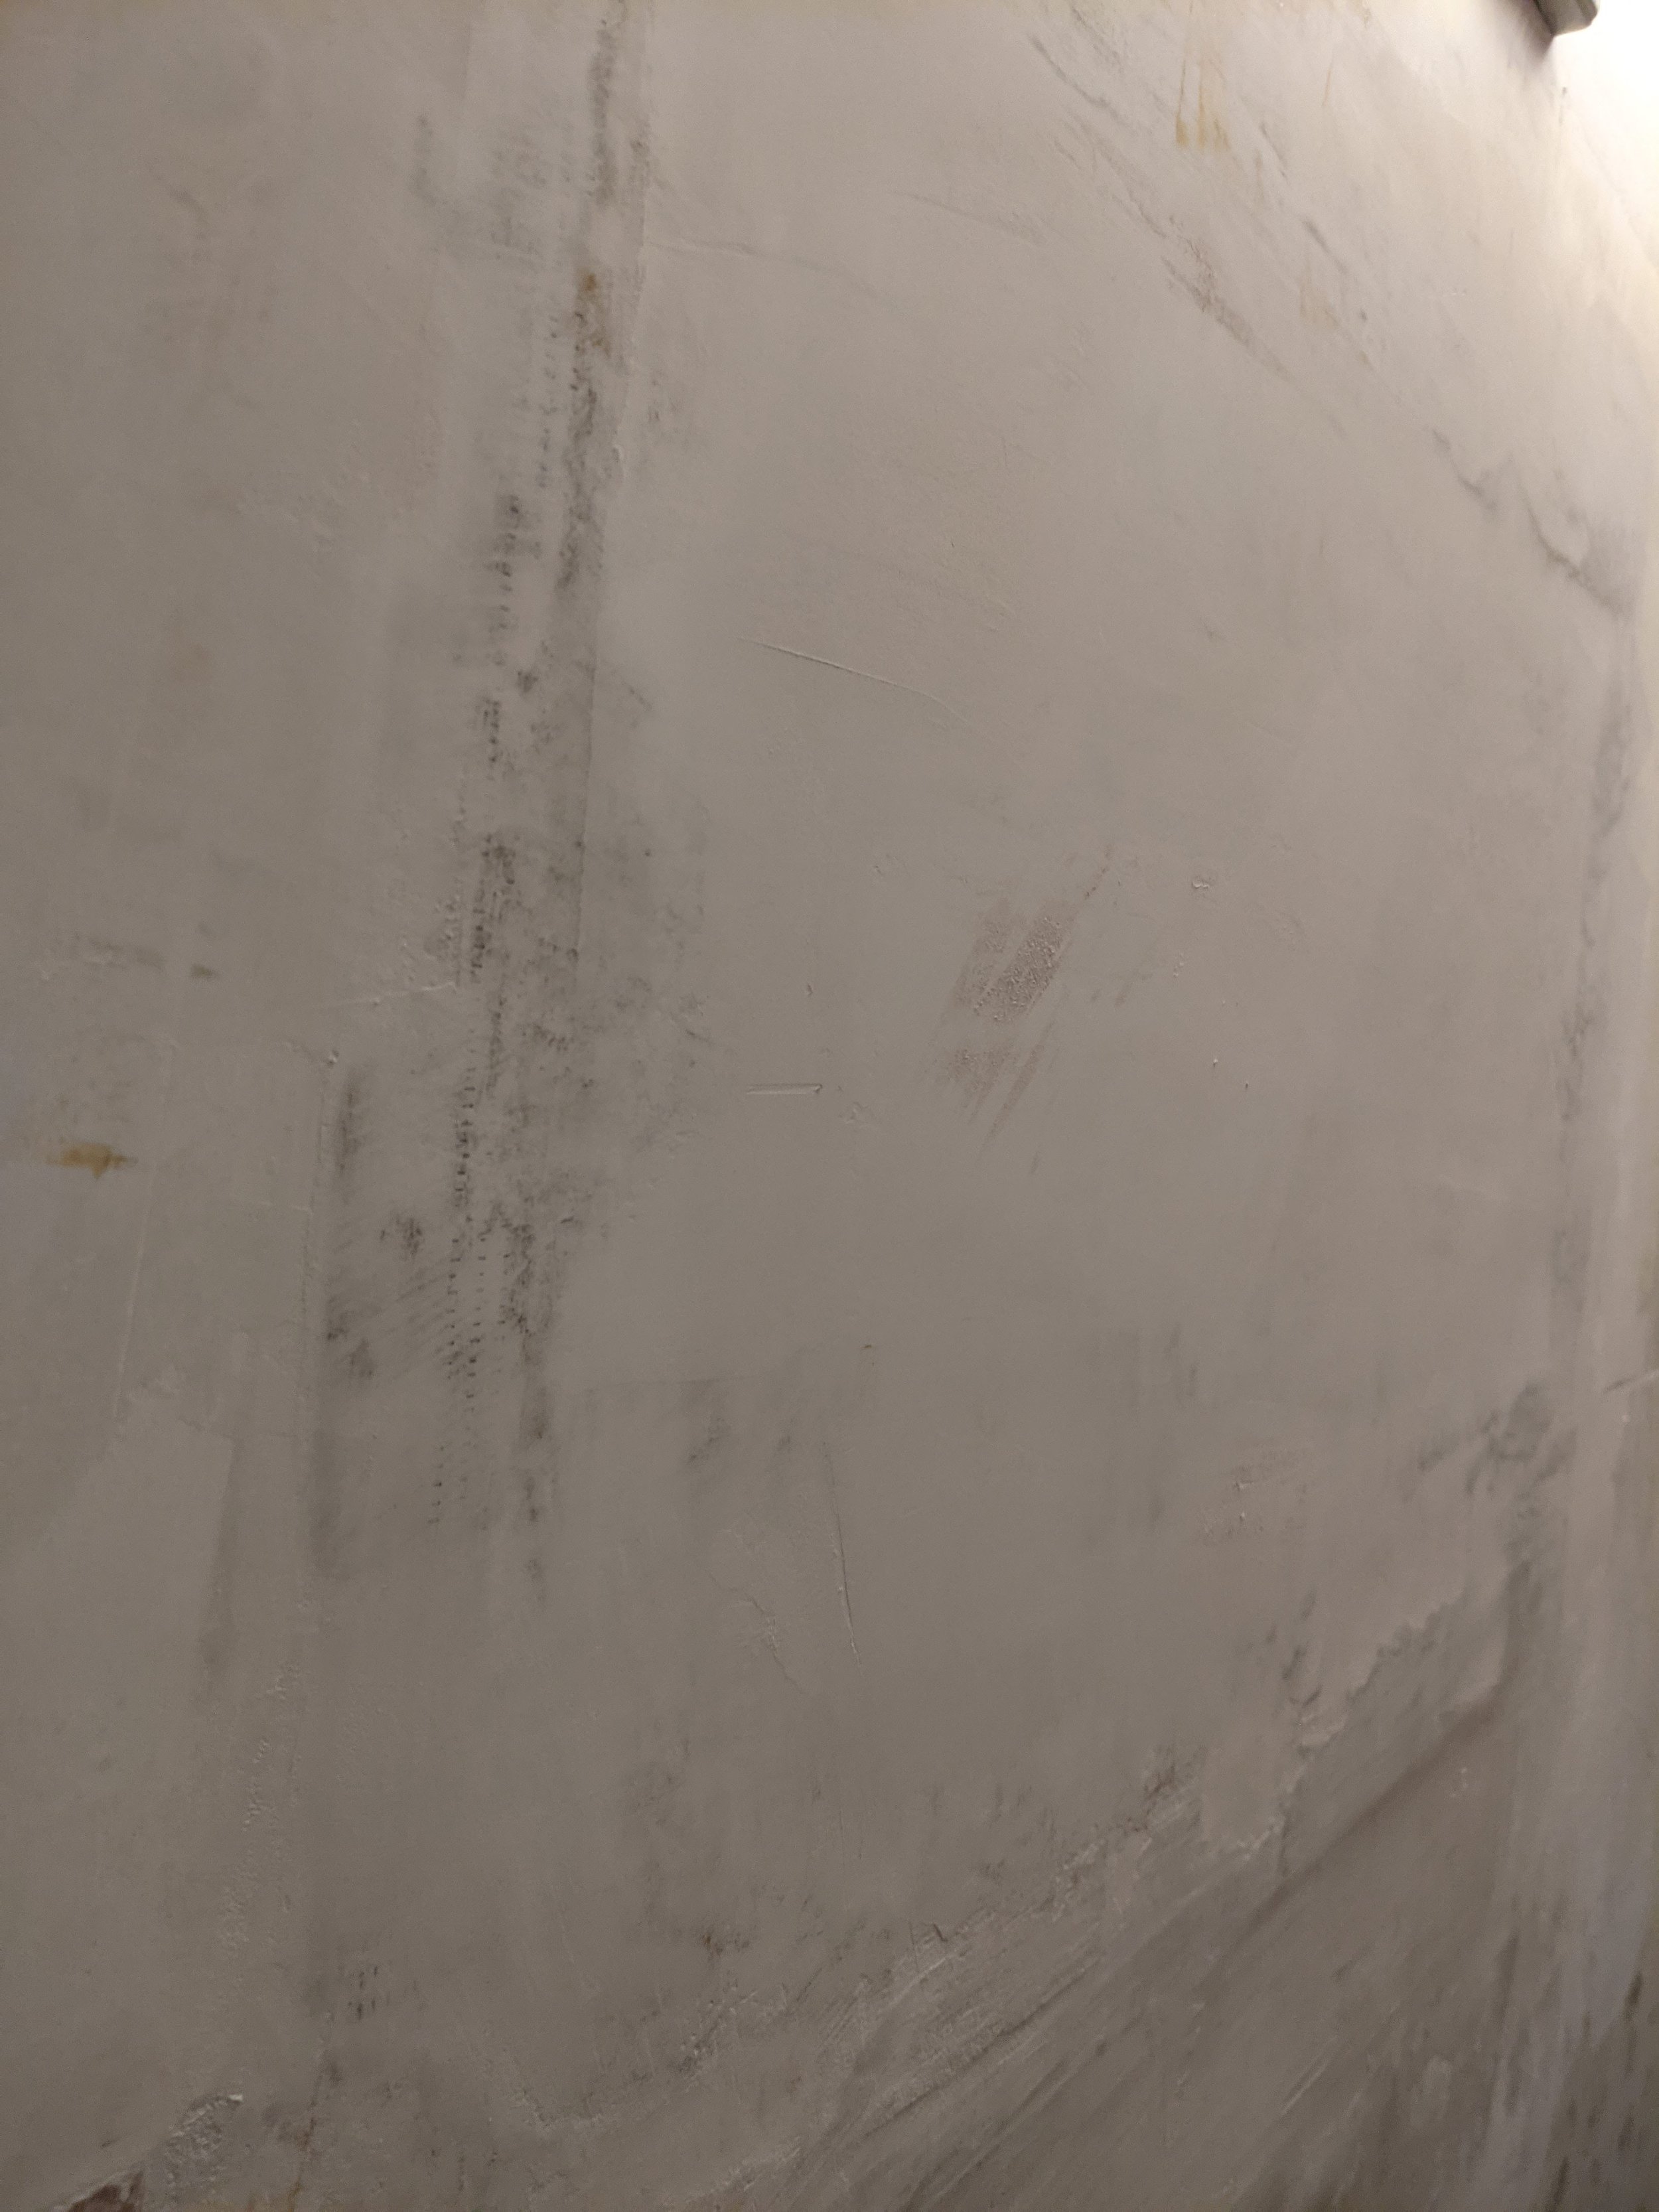
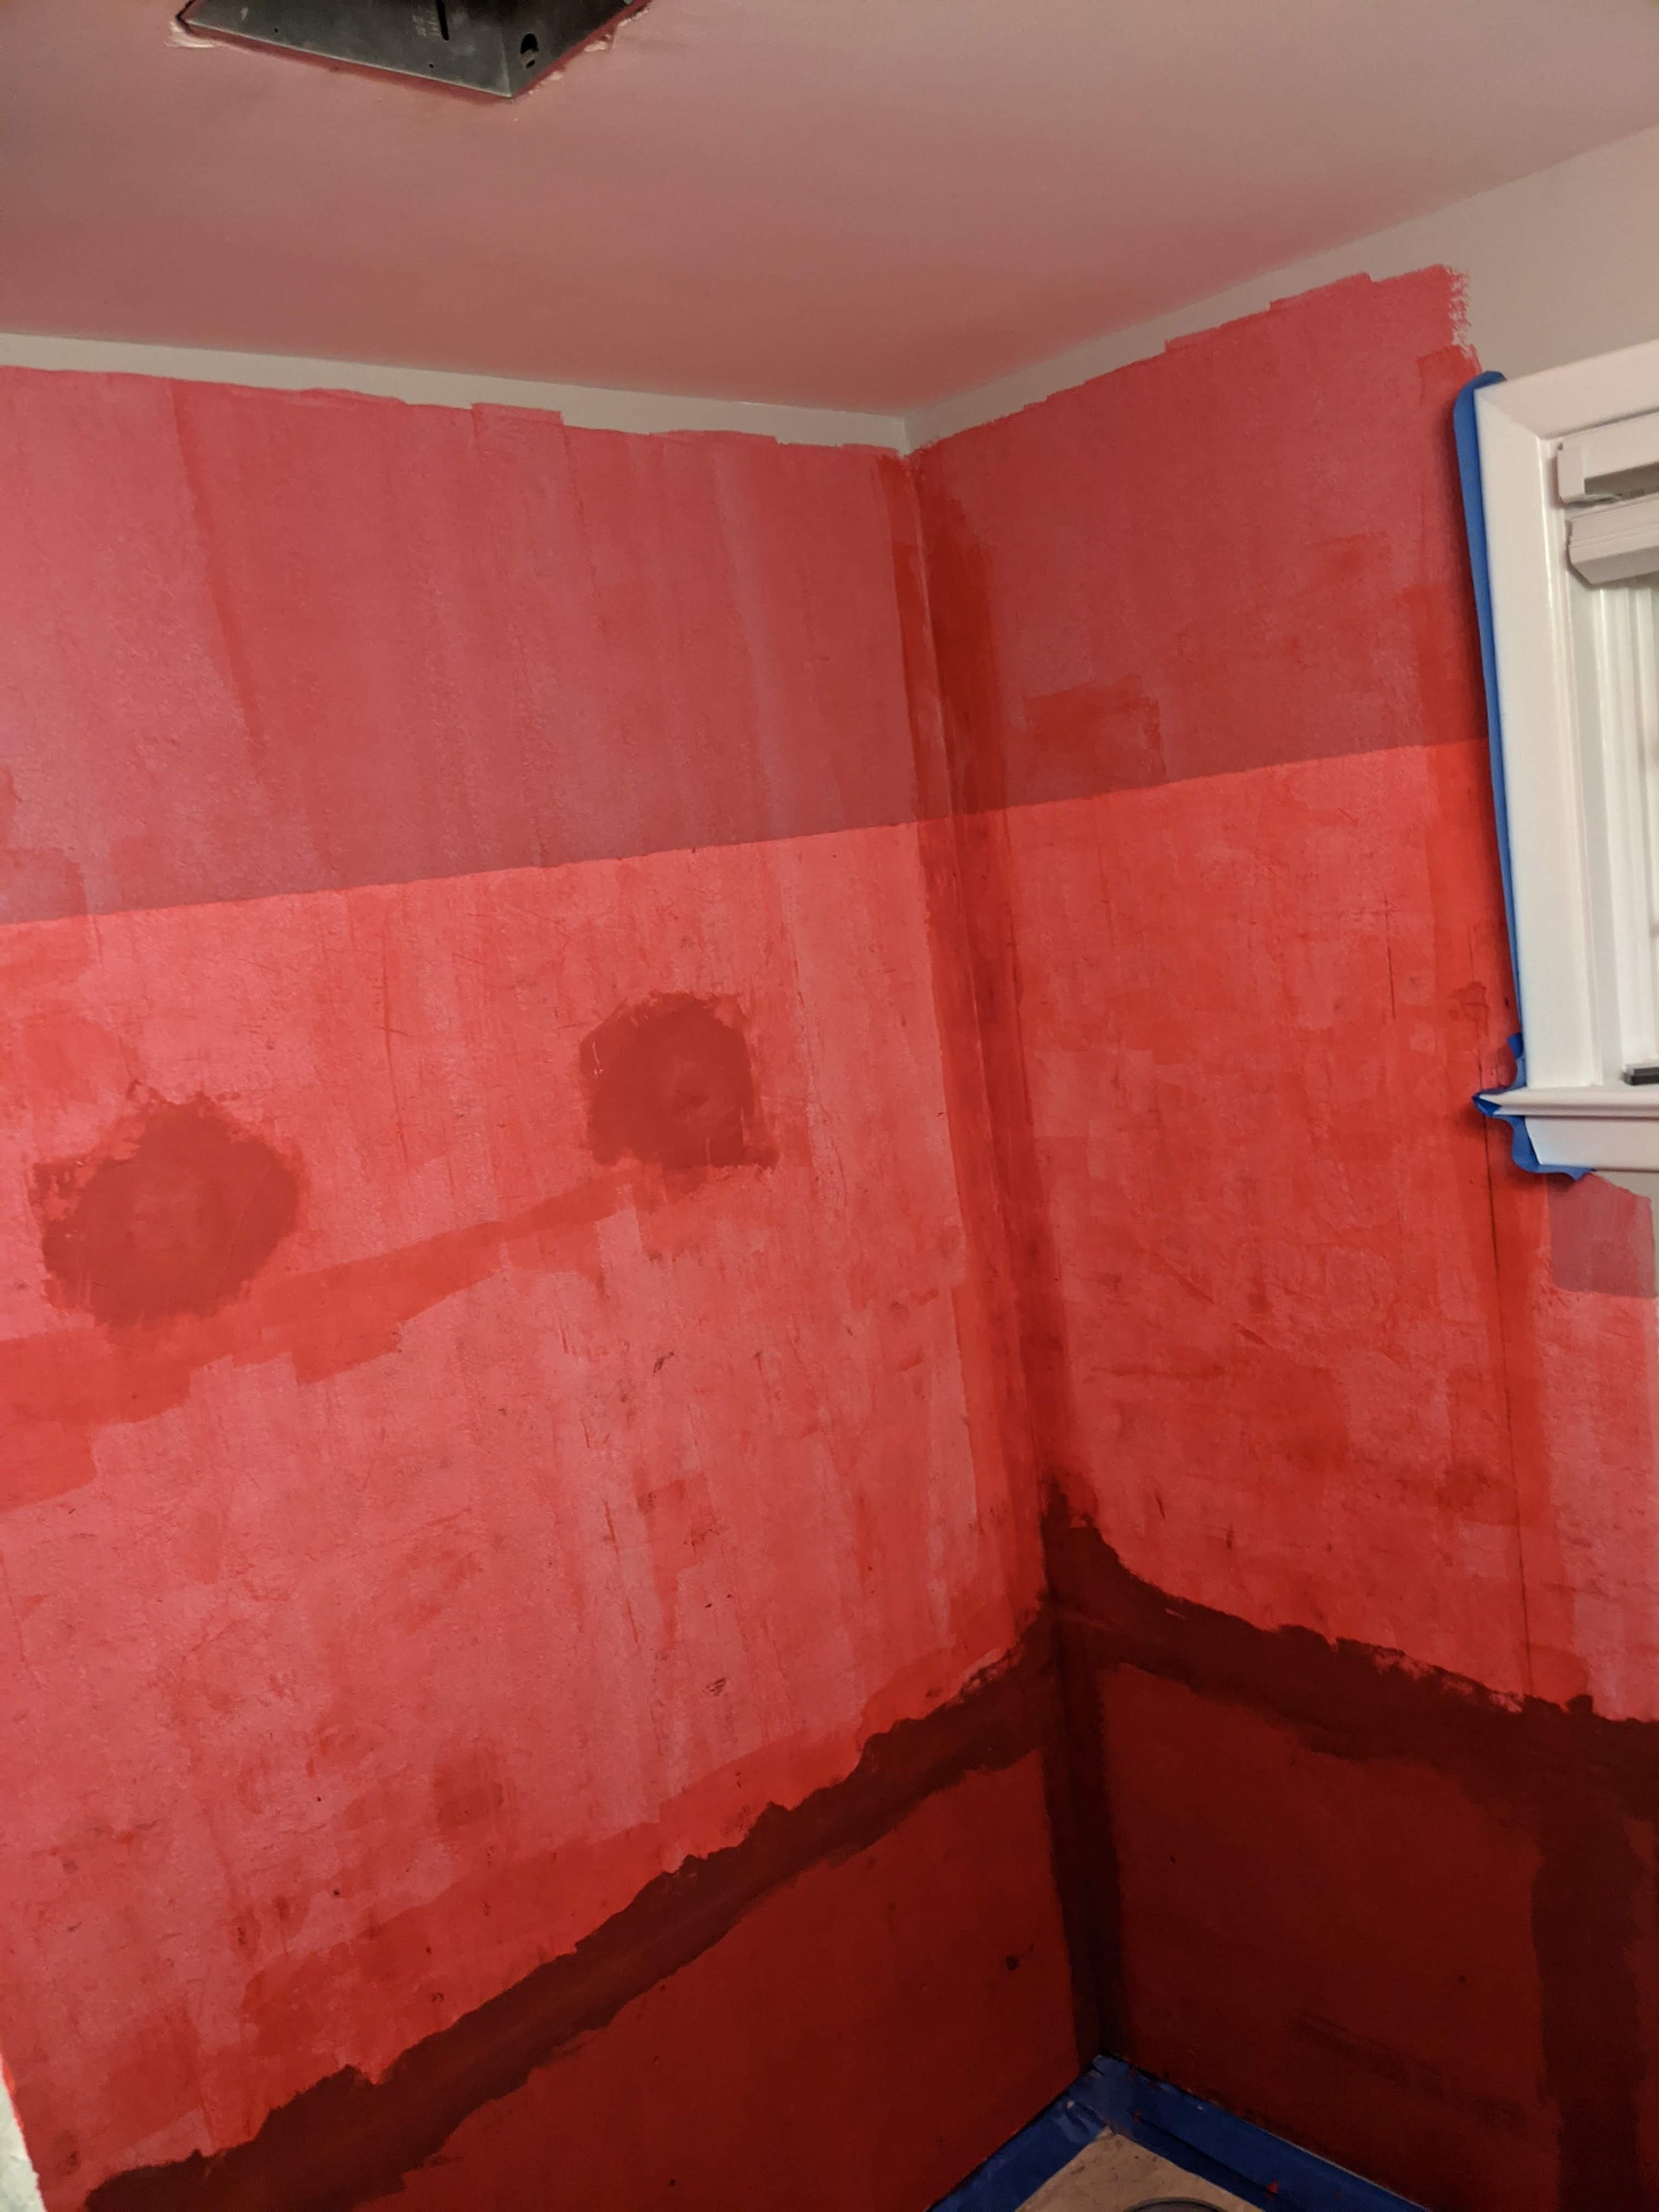
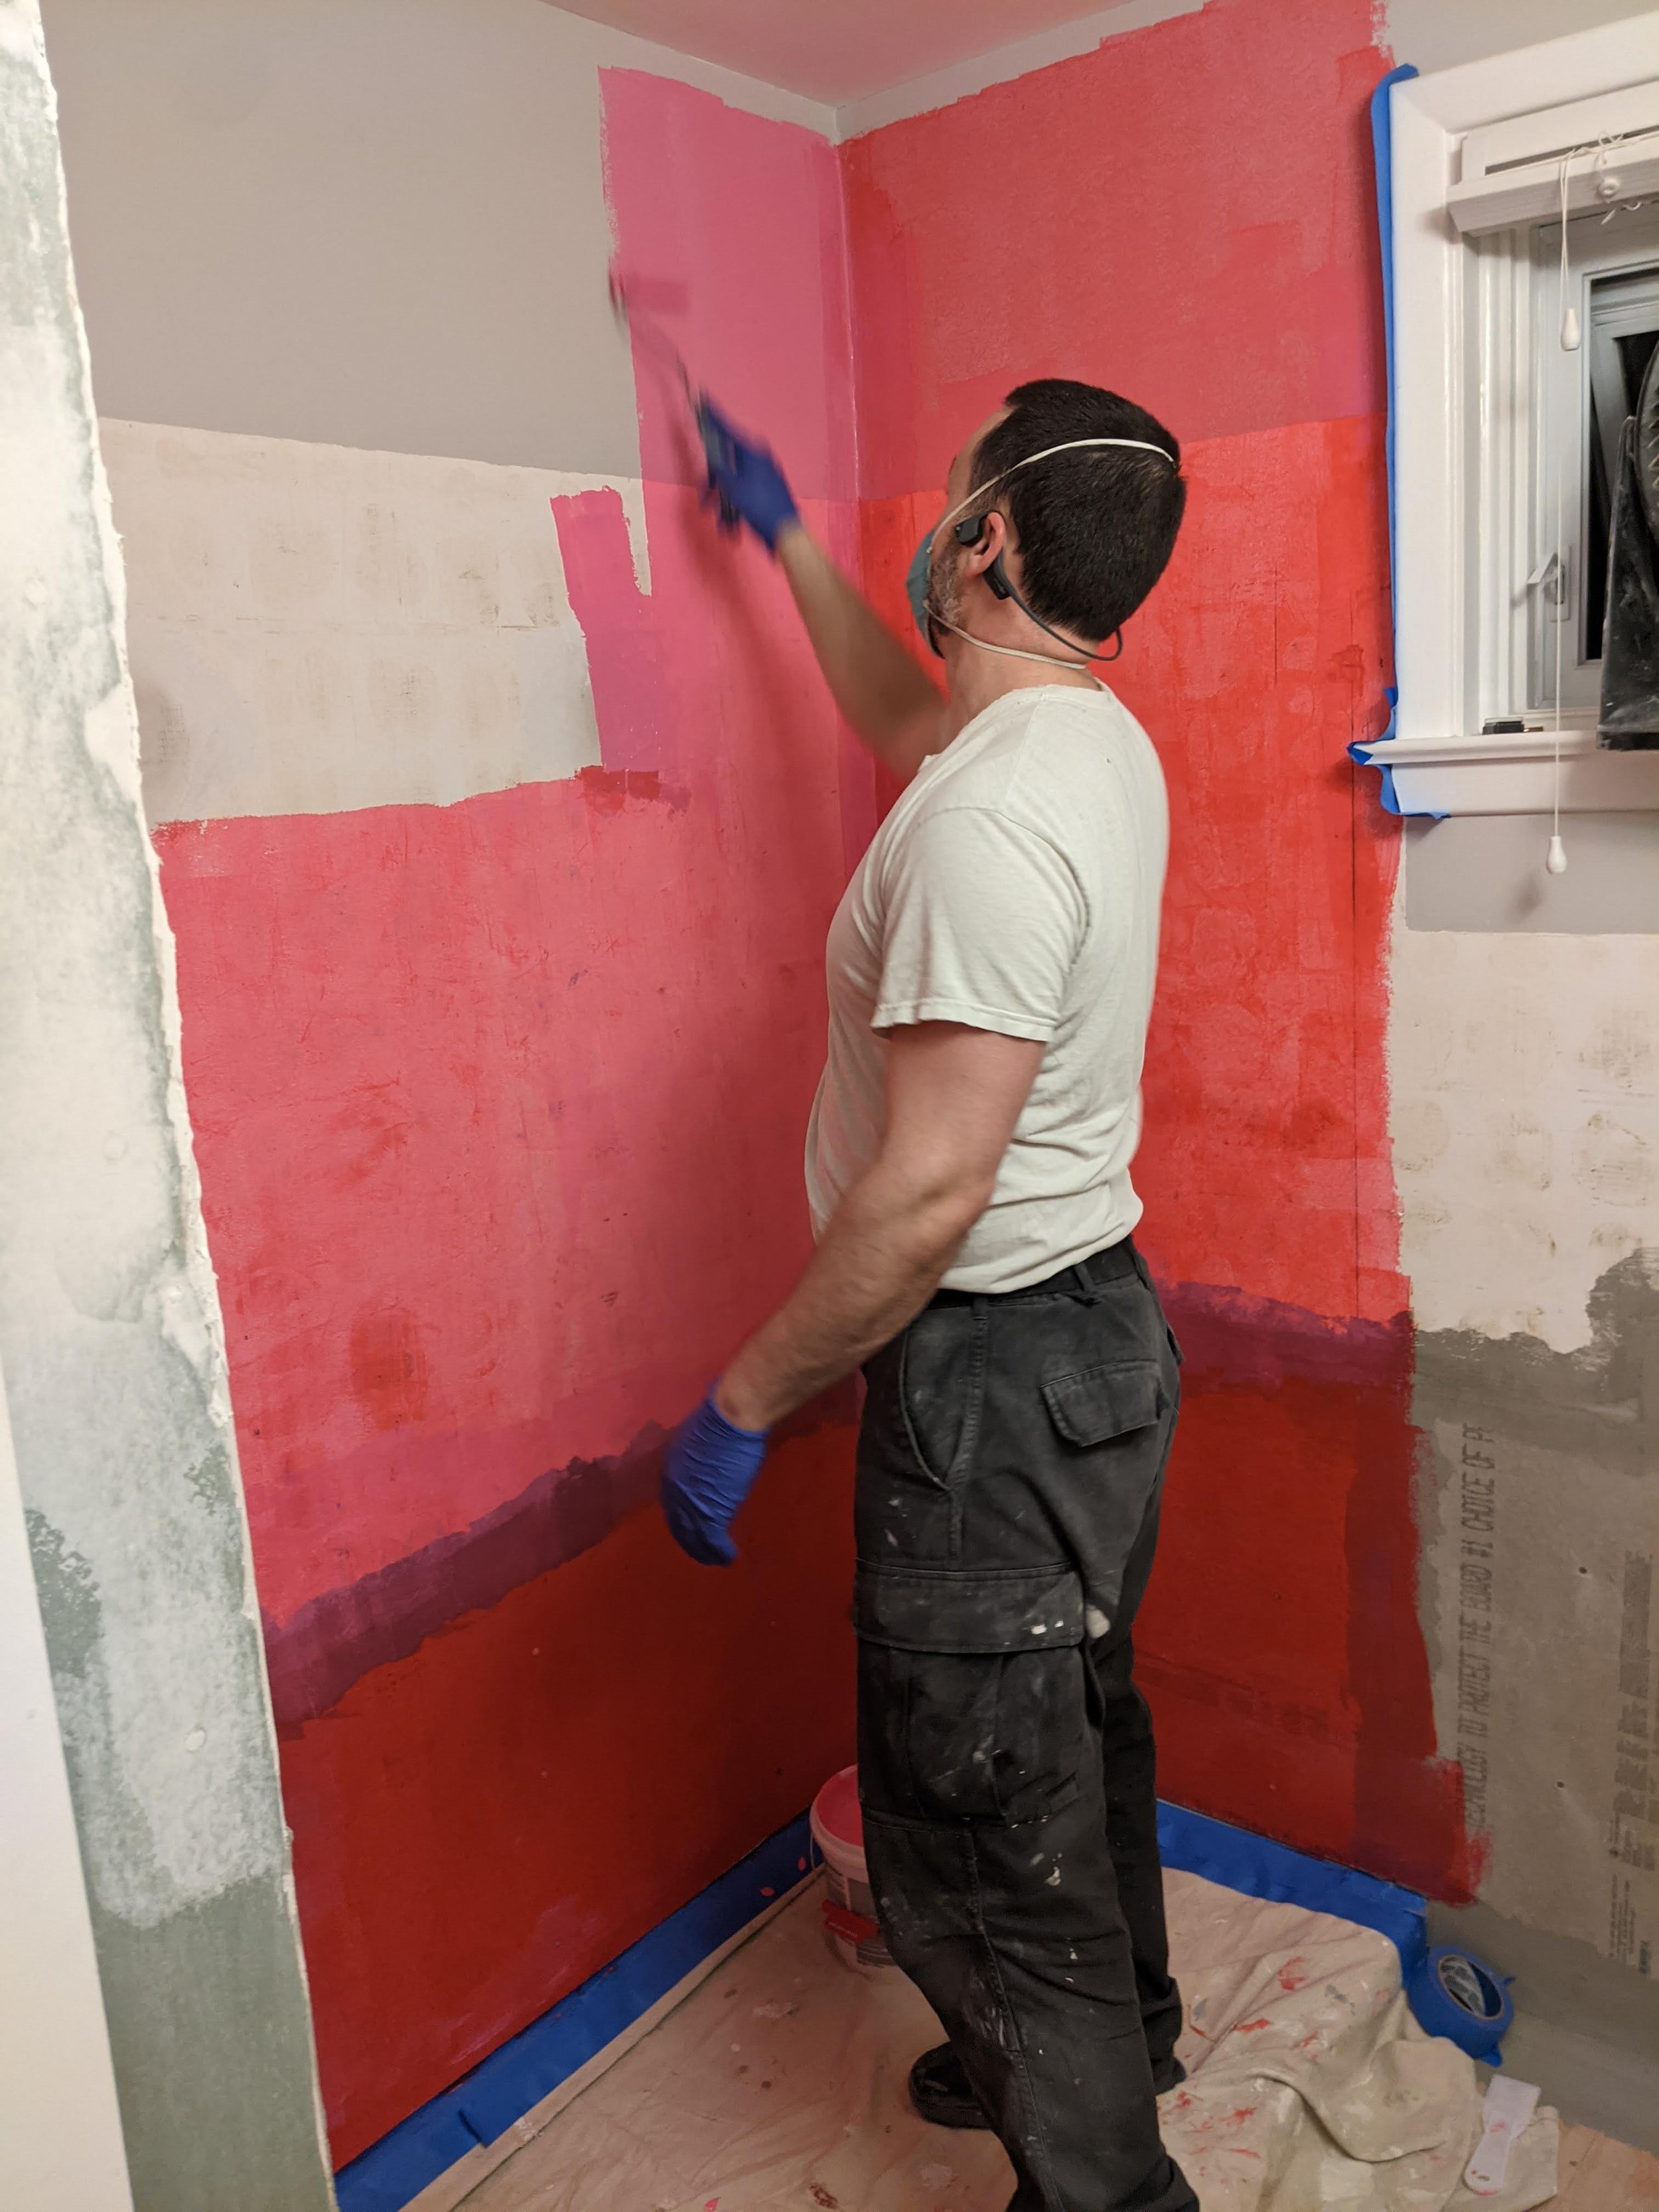
Once the pan was installed correctly, it was time to begin the waterproofing. Now, waterproofing (as we learned in our upstairs bathroom reno) is a smelly and very pink process. It involves cutting and shaping the waterproof edge tape (we used Kurdy tape) around corner after corner, snipping and measuring until everything’s covered and you can move on to the waterproof application. It goes on like paint, and smells way worse. Vent-i-late, my friends.

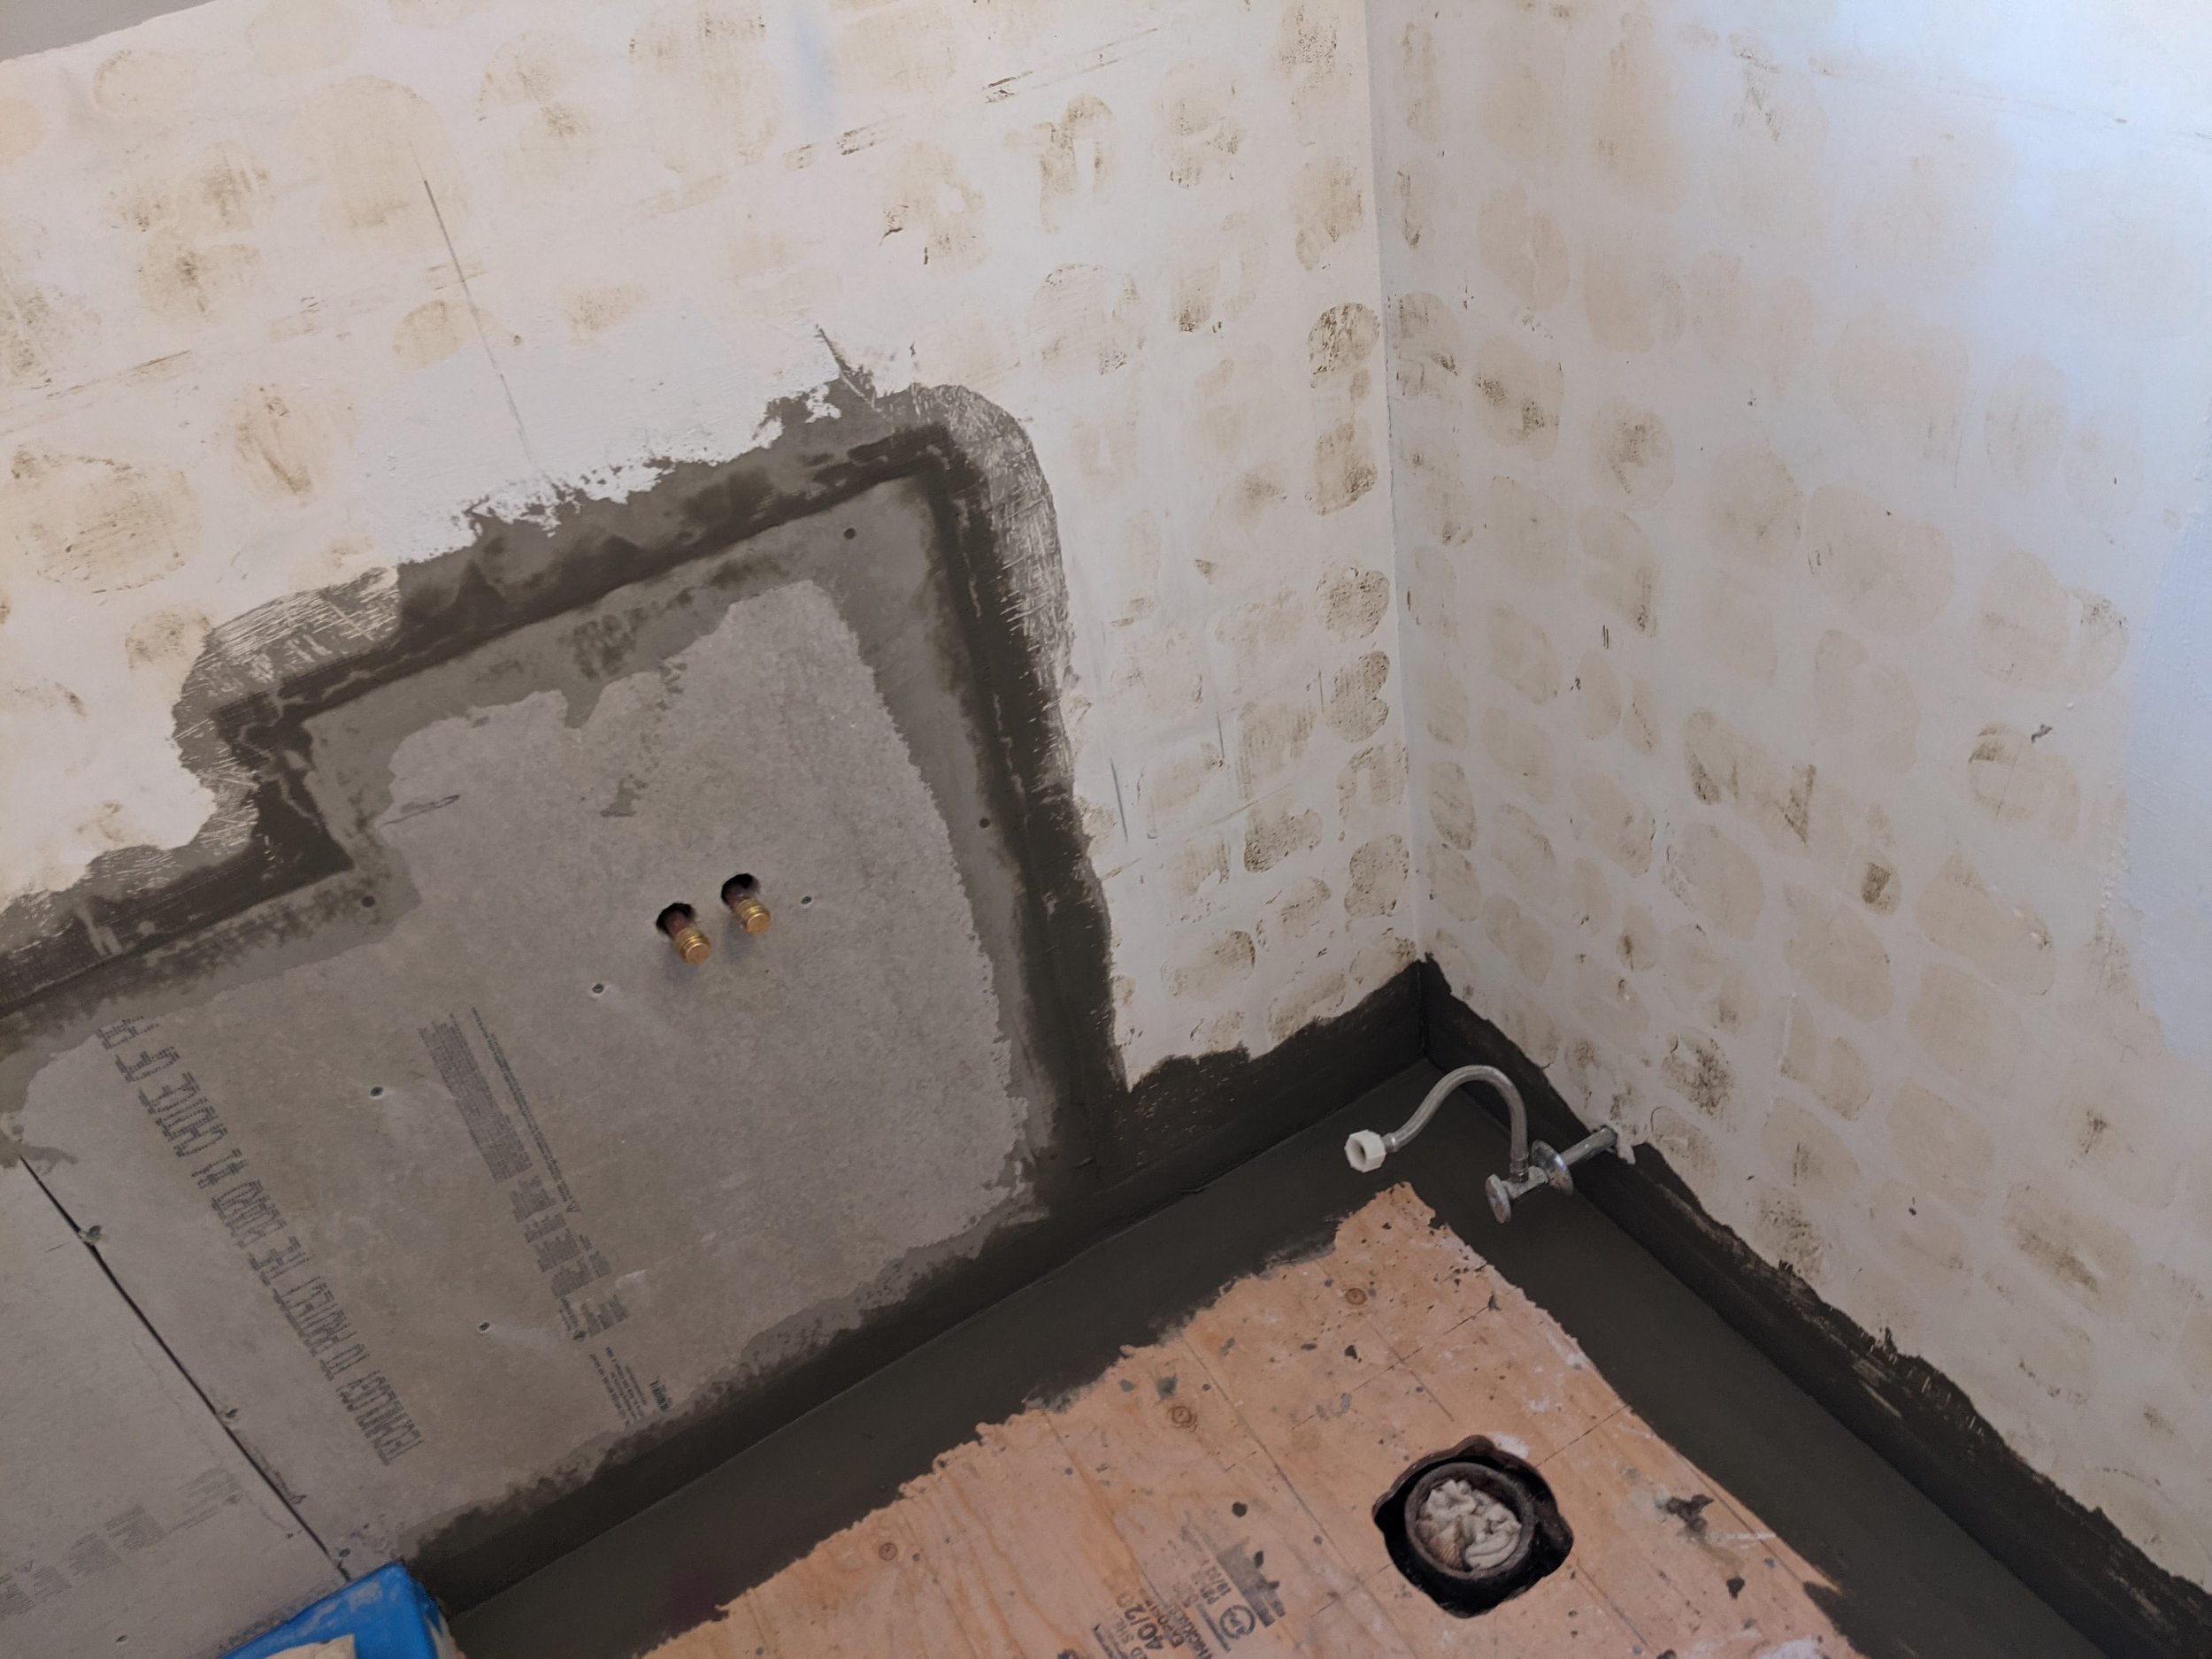
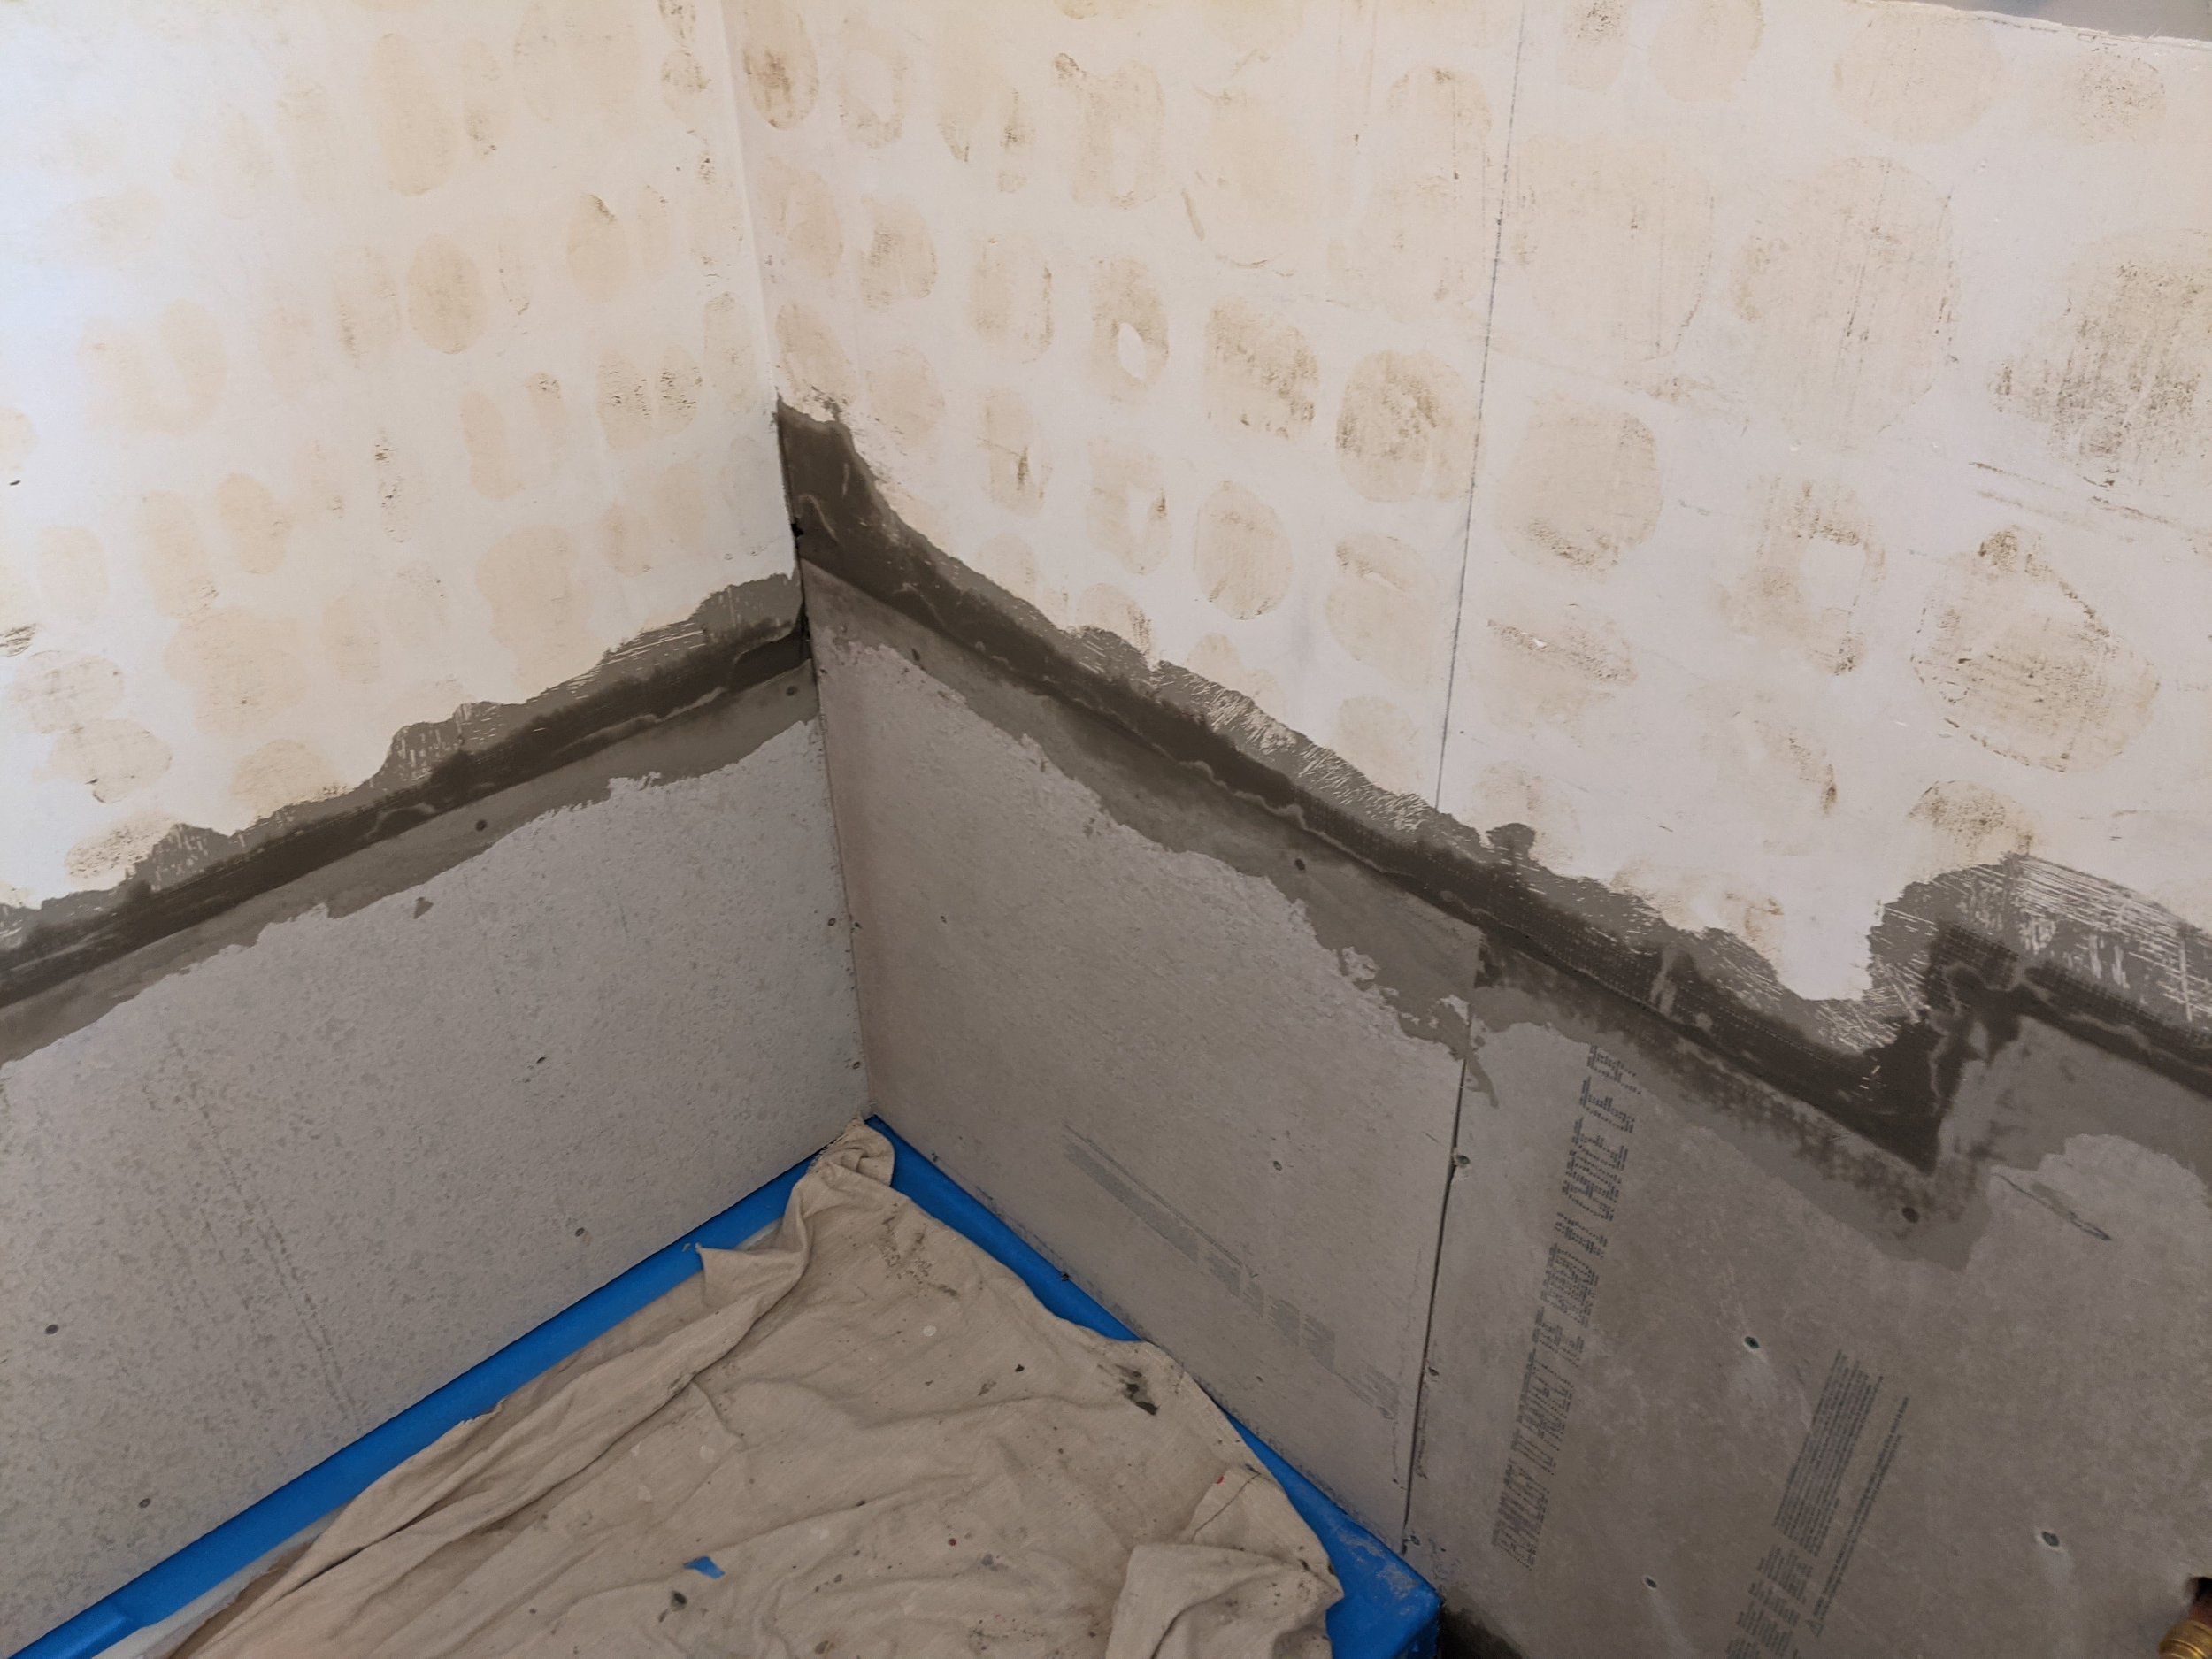
For the parts of the bathroom that weren’t in the shower, we sealed the seams and edges with more Kurdy tape and thinset. Lastly, we installed the guts of the ceiling light/fan but kept the cover off while we repainted the ceiling.

Next step…. let the tiling begin!! You’ve never seen such fantastic subway tile…


