Bathroom renovation is more than knocking down the old tiles and putting up new ones. There are a lot of unexciting steps in between that have to be done right. You know the old adage, build your house on a solid foundation…
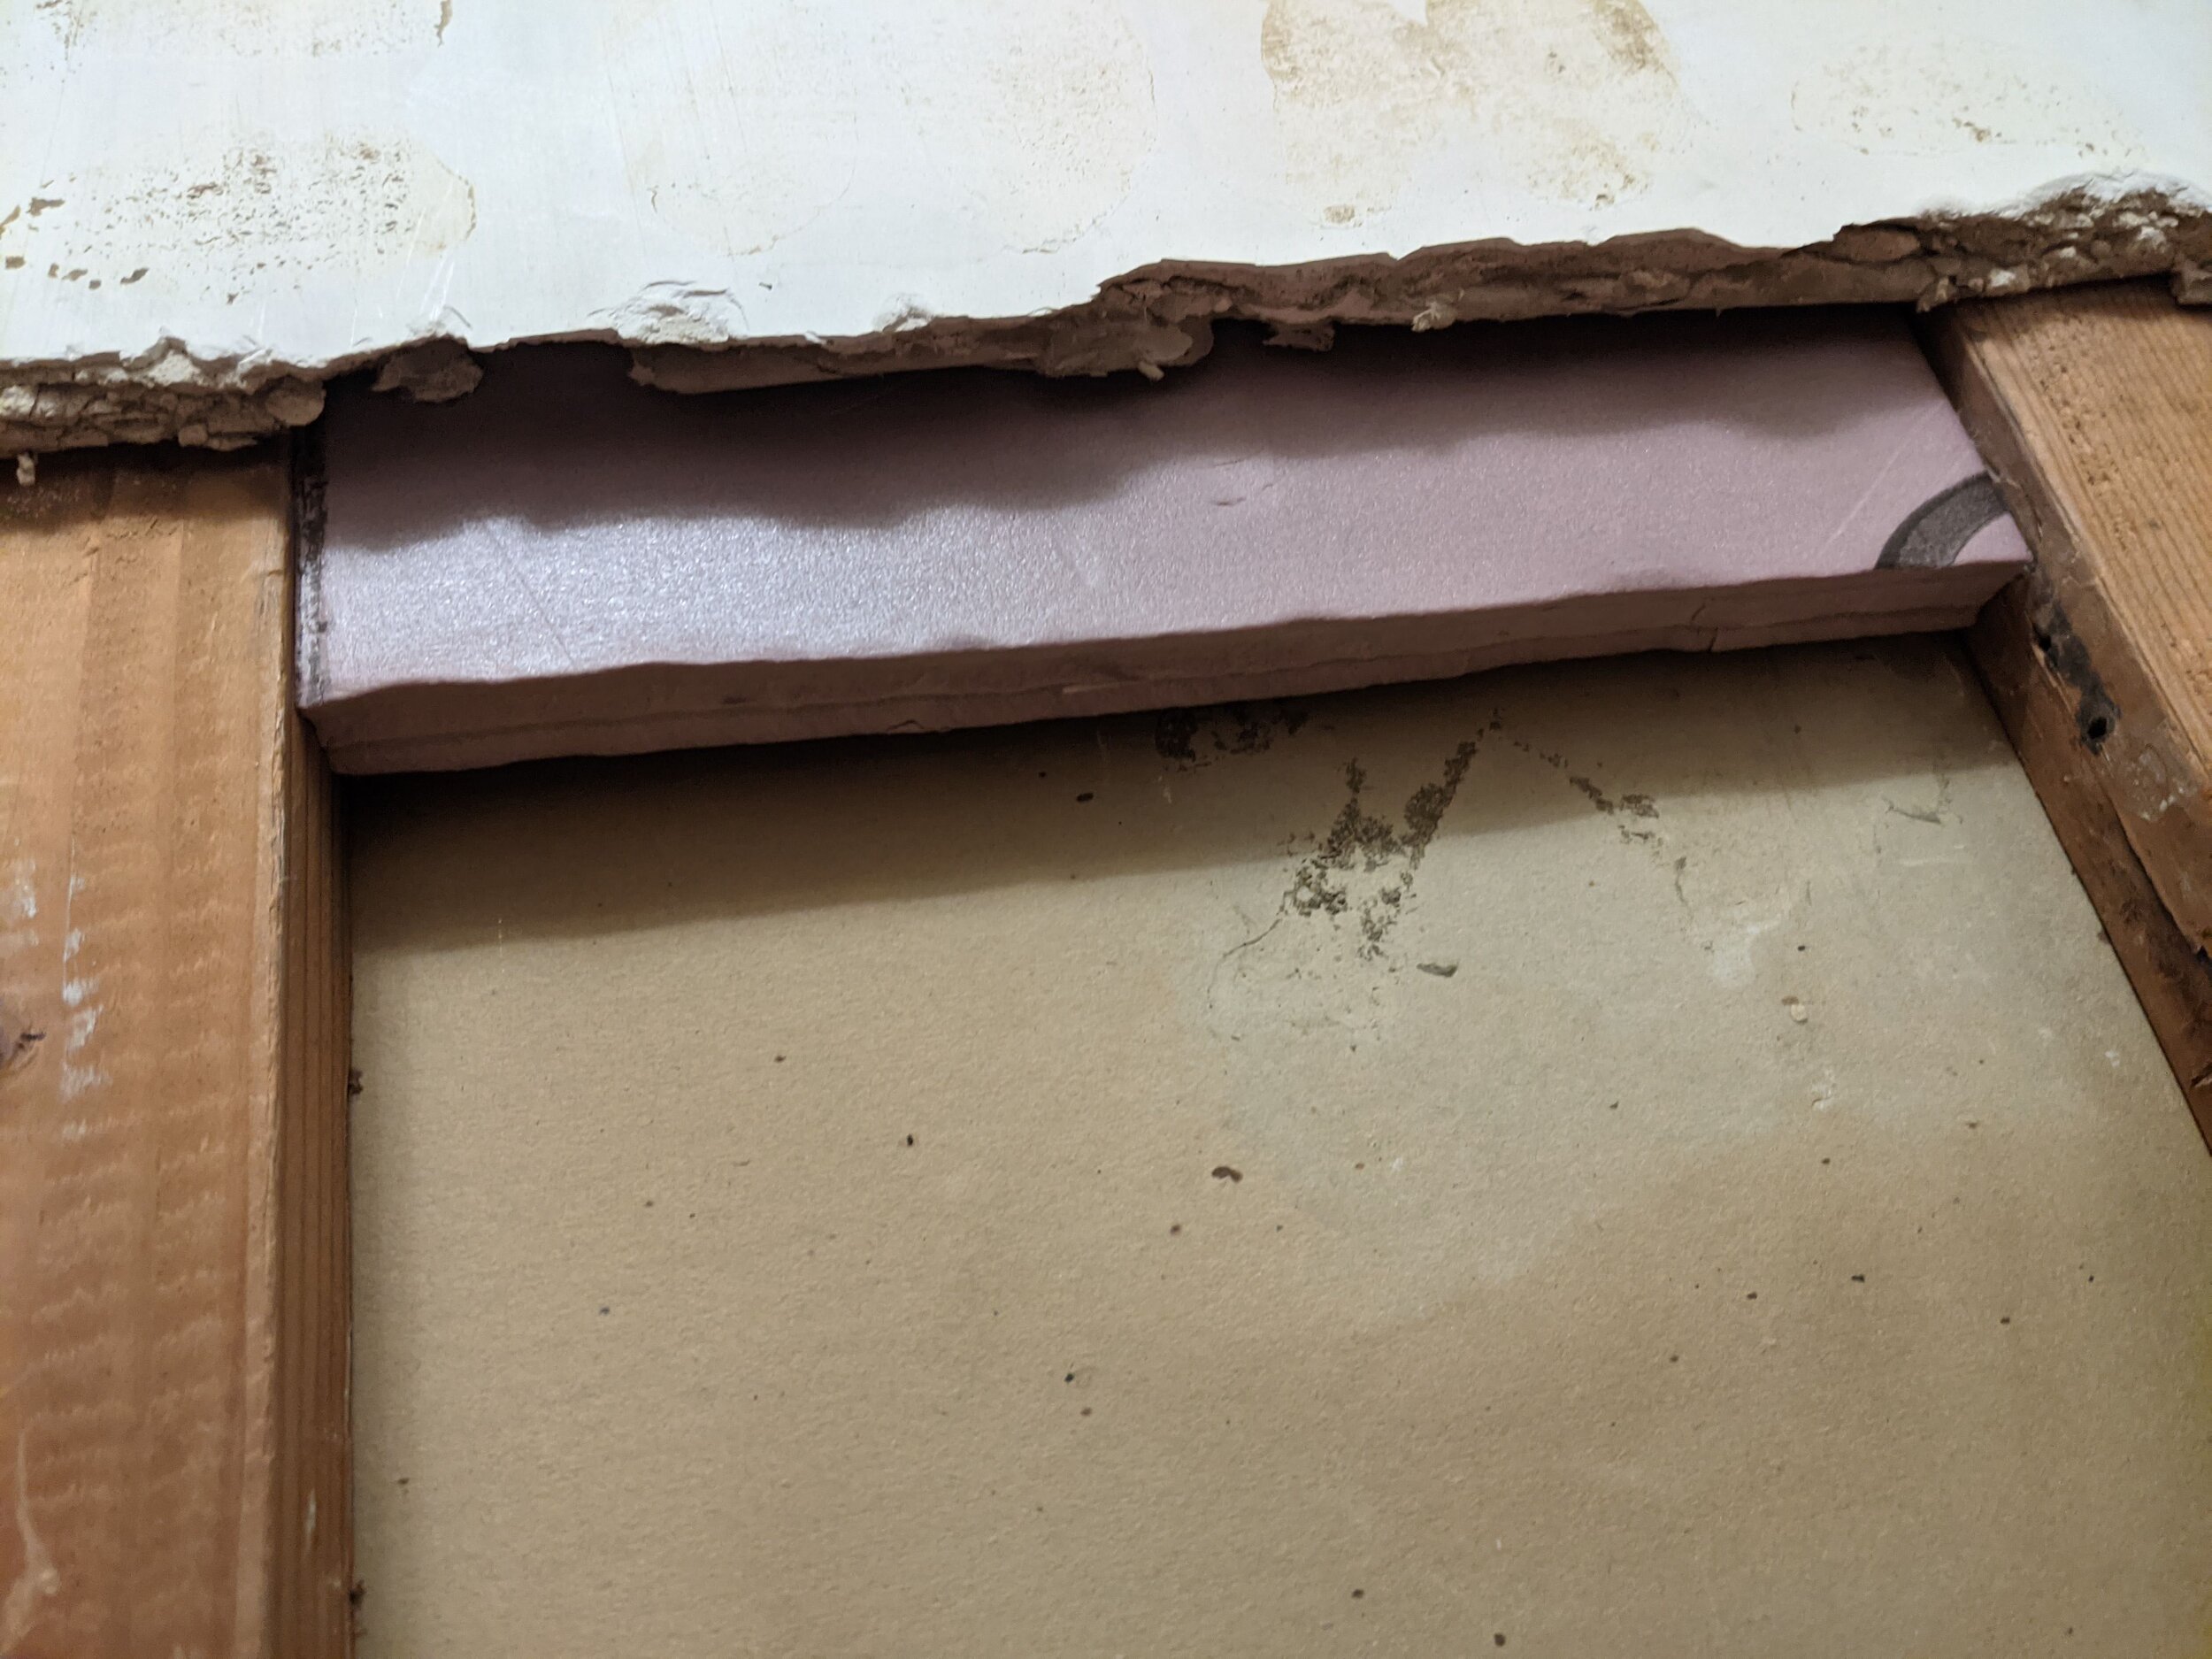
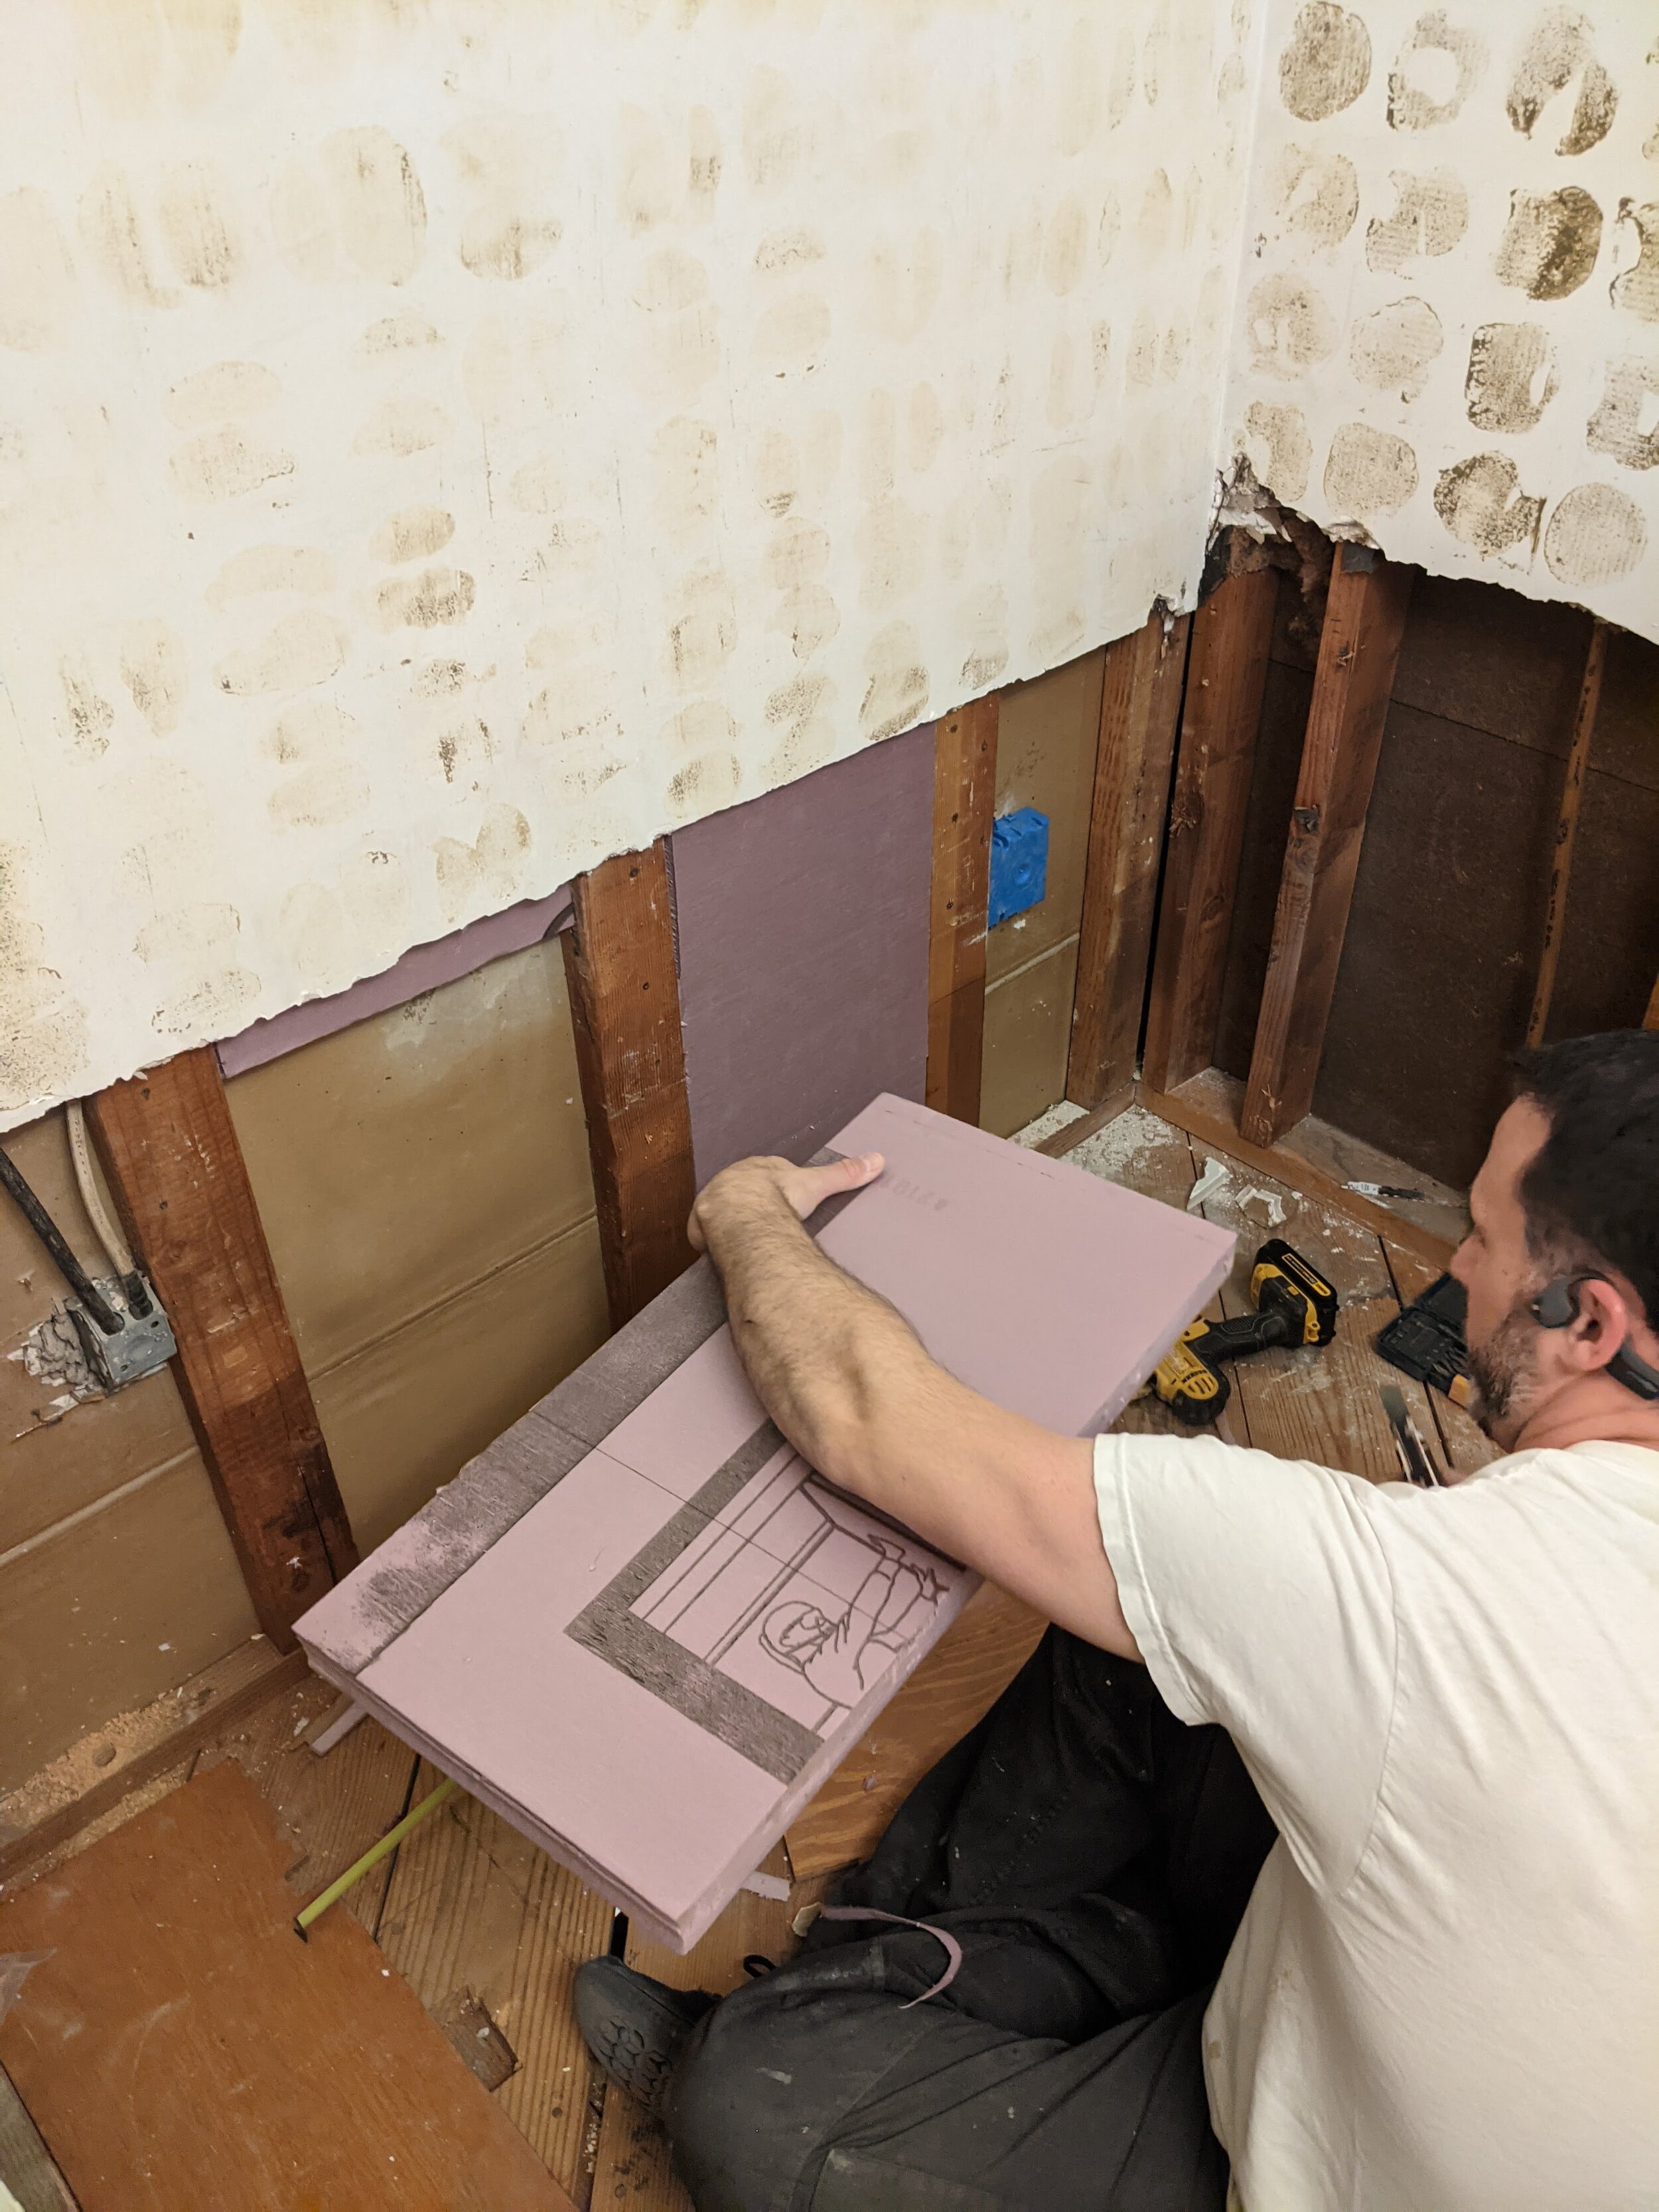
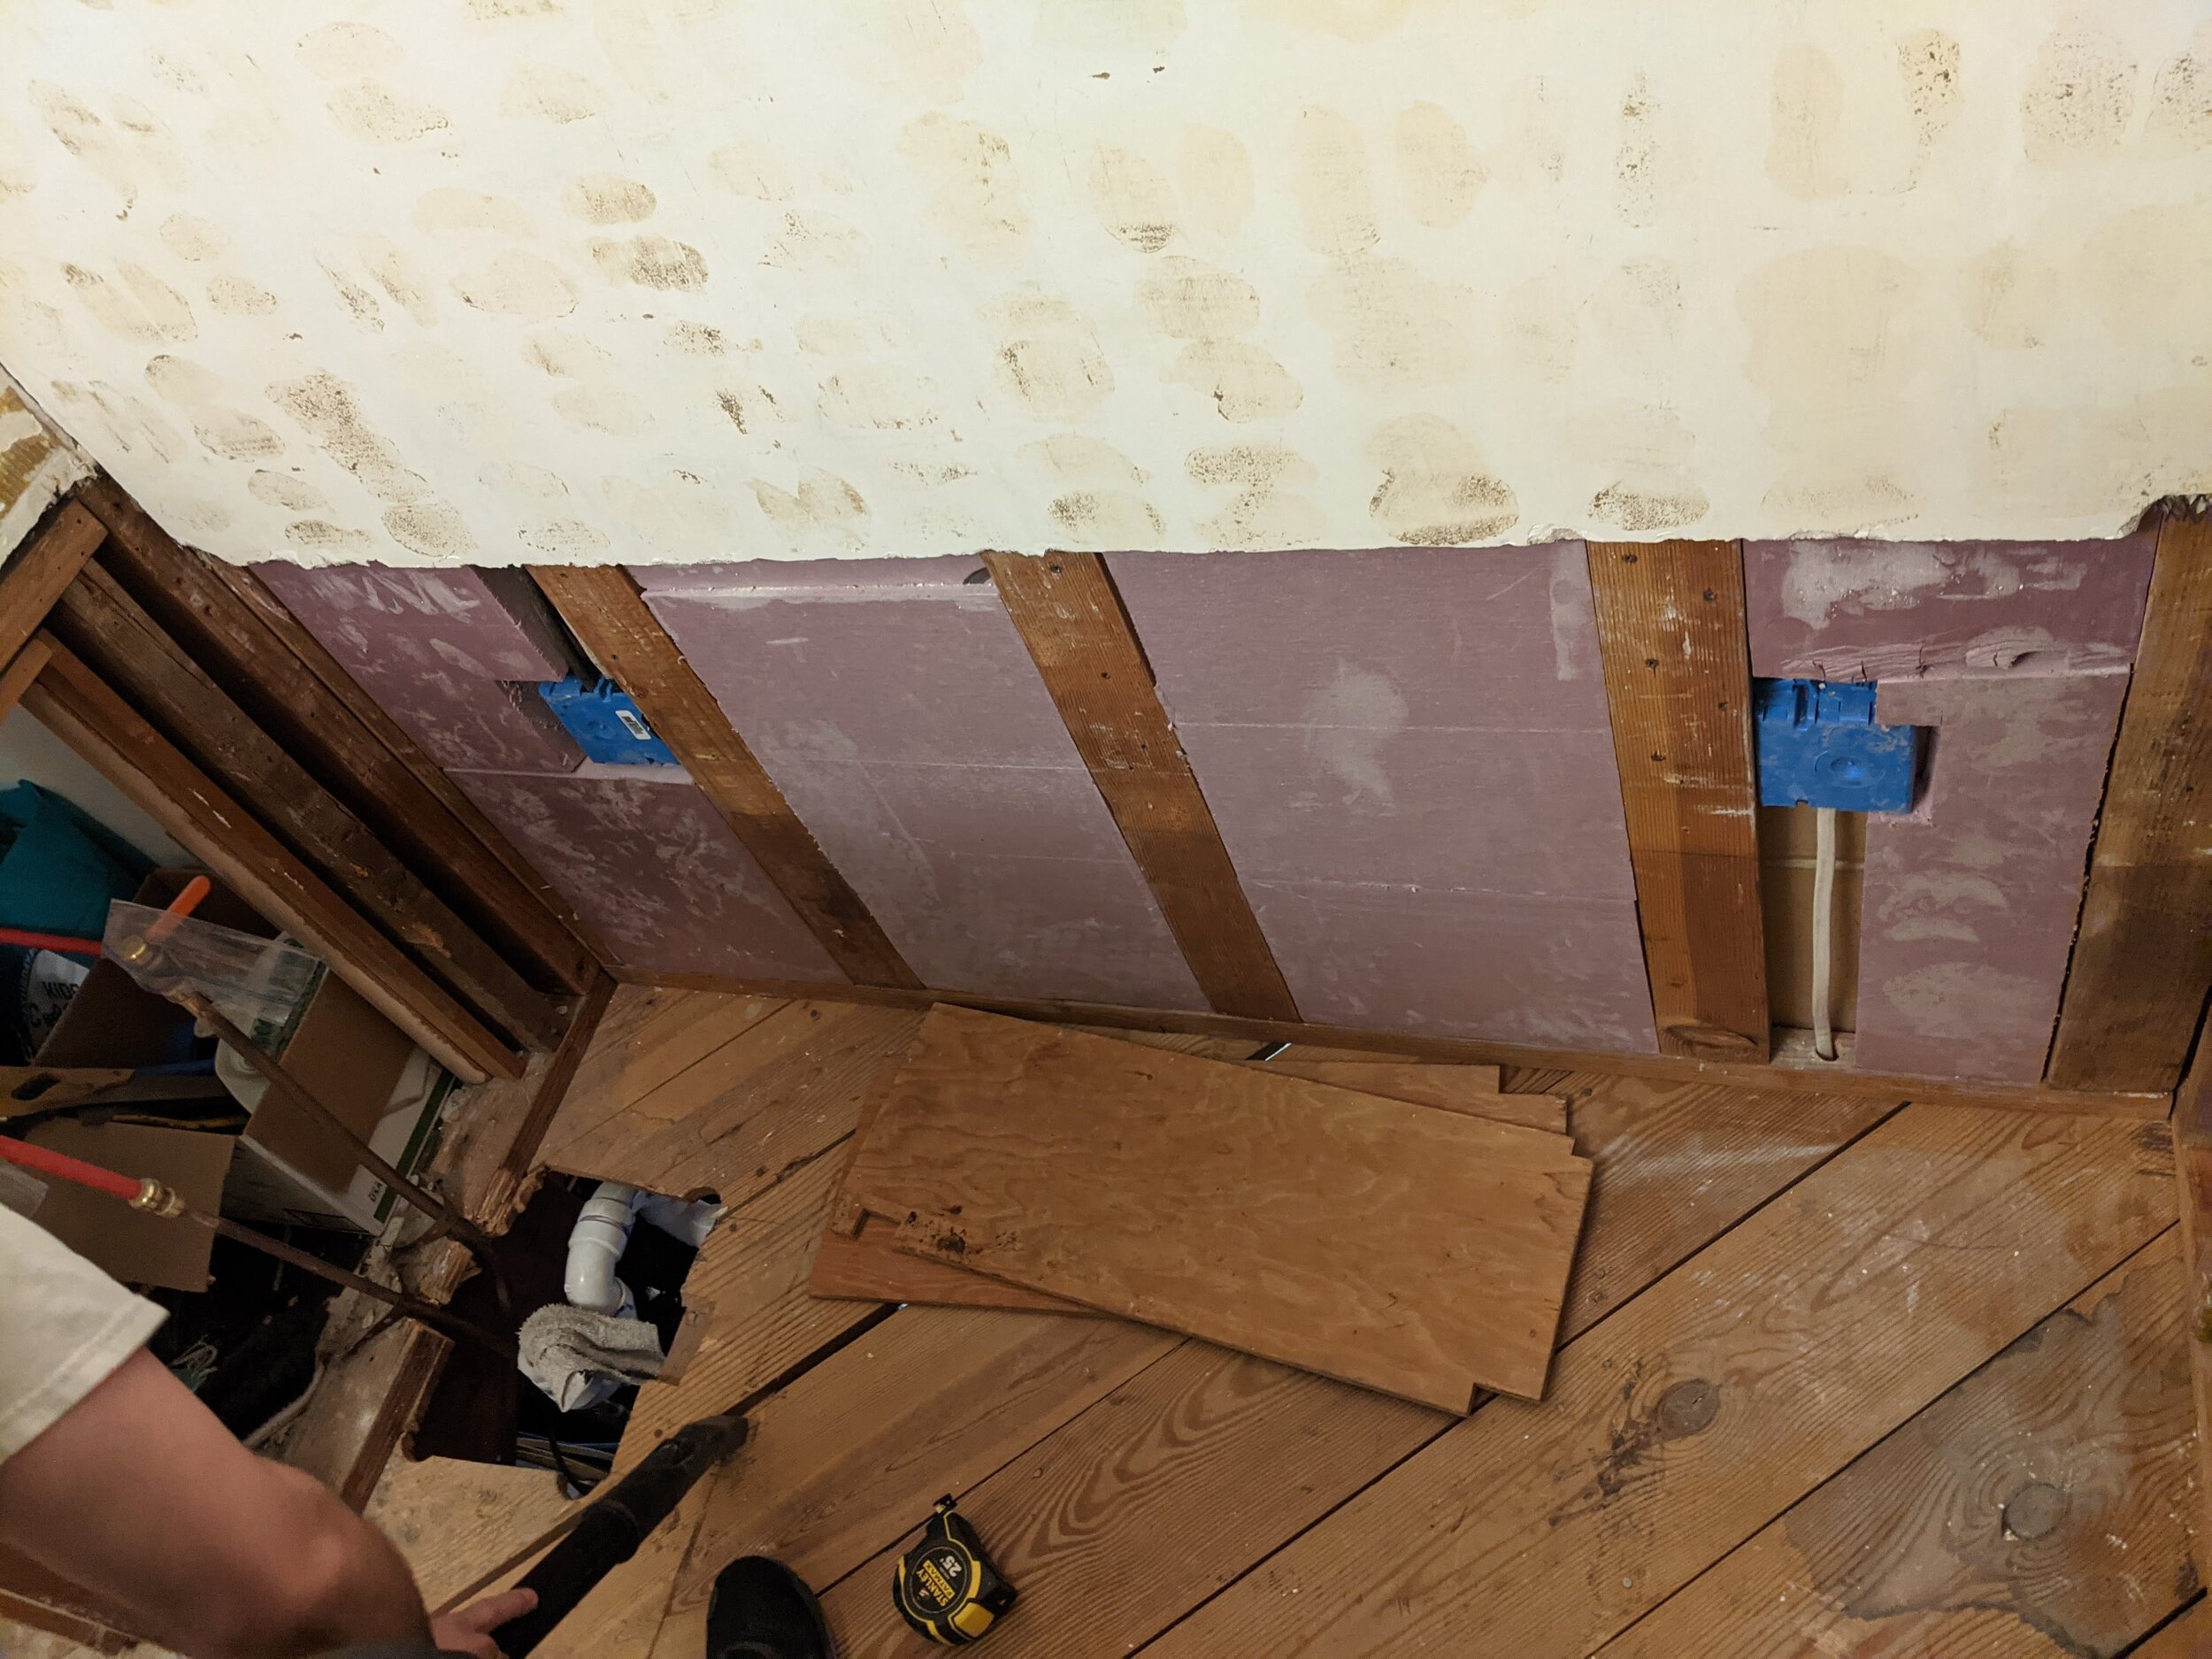
Insulation is important for many reasons - temperature control and noise reduction being prime benefits. In our case, it also helped shore up a thin wall to give the concrete board something to press against to create the very solid backing we wanted for our new tiles.
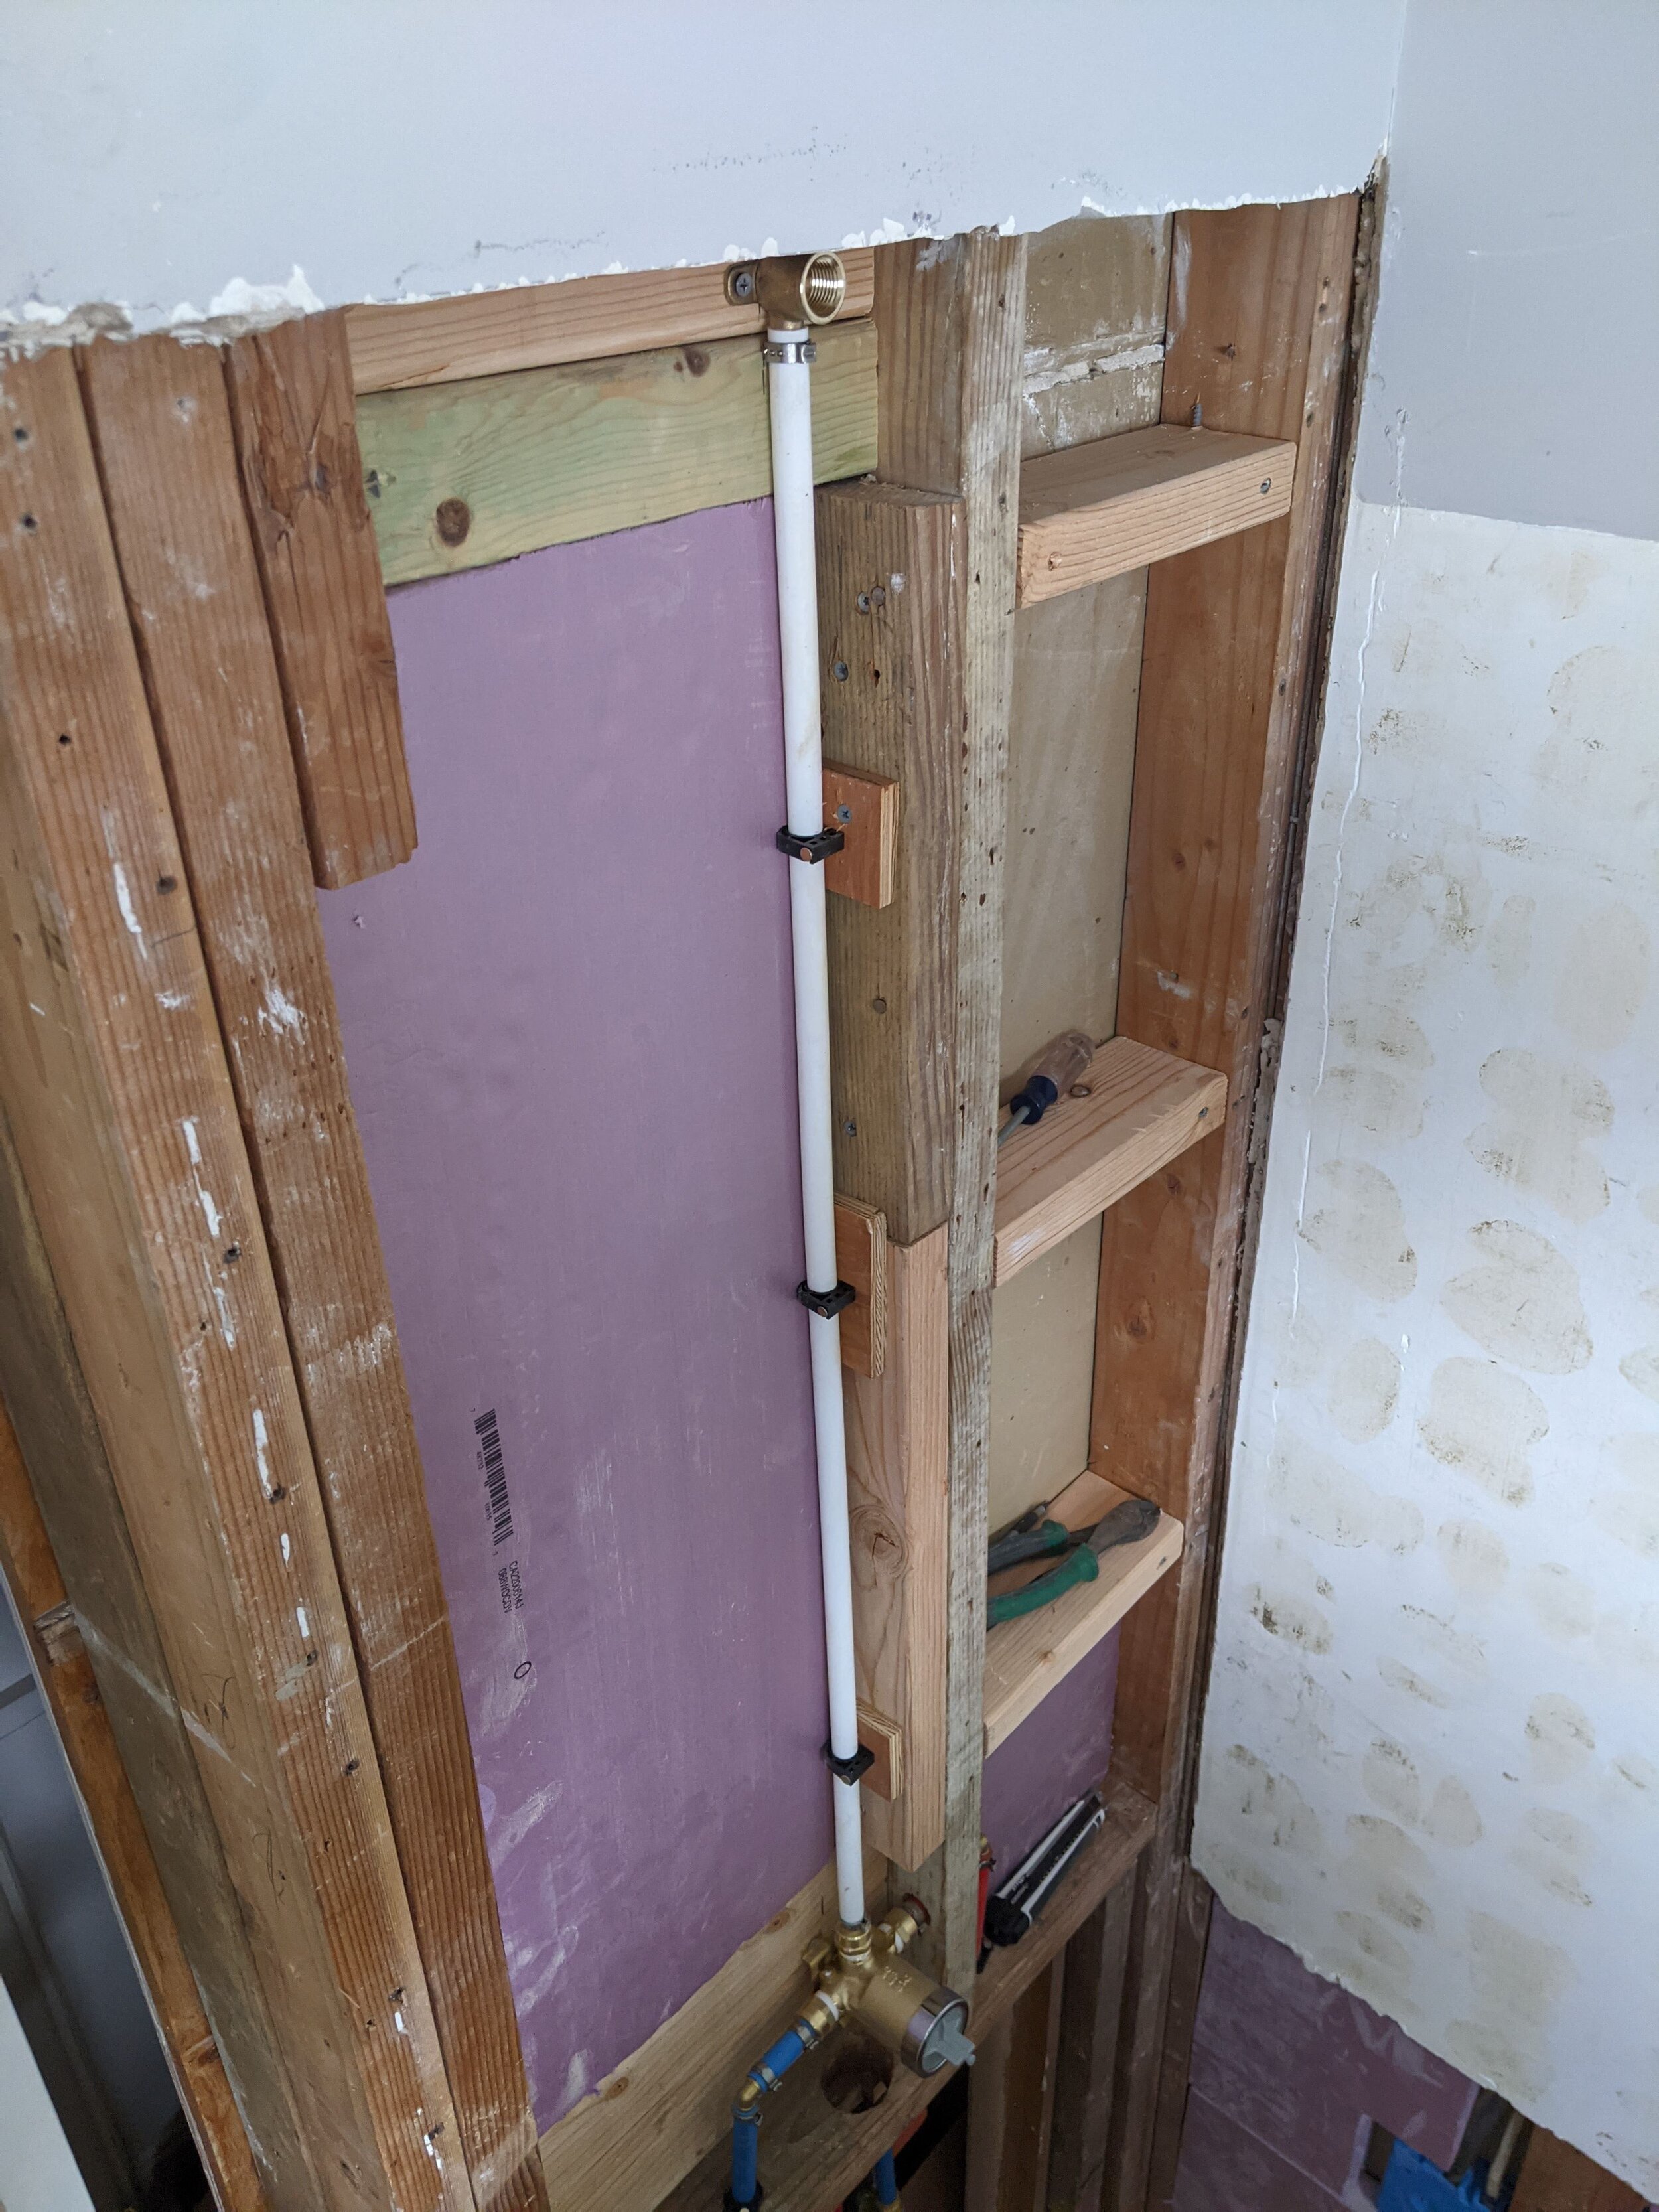
We used solid purple foam insulation that we slid up the gaps between the studs as far as possible in small increments. We toyed with tearing down all the plaster, but it was in such good shape, we decided to keep it. Plus, we were lucky and that’s an interior wall. So our bedroom on the other side is fully temperature controlled so a little co-mingling of temps would be a-ok.
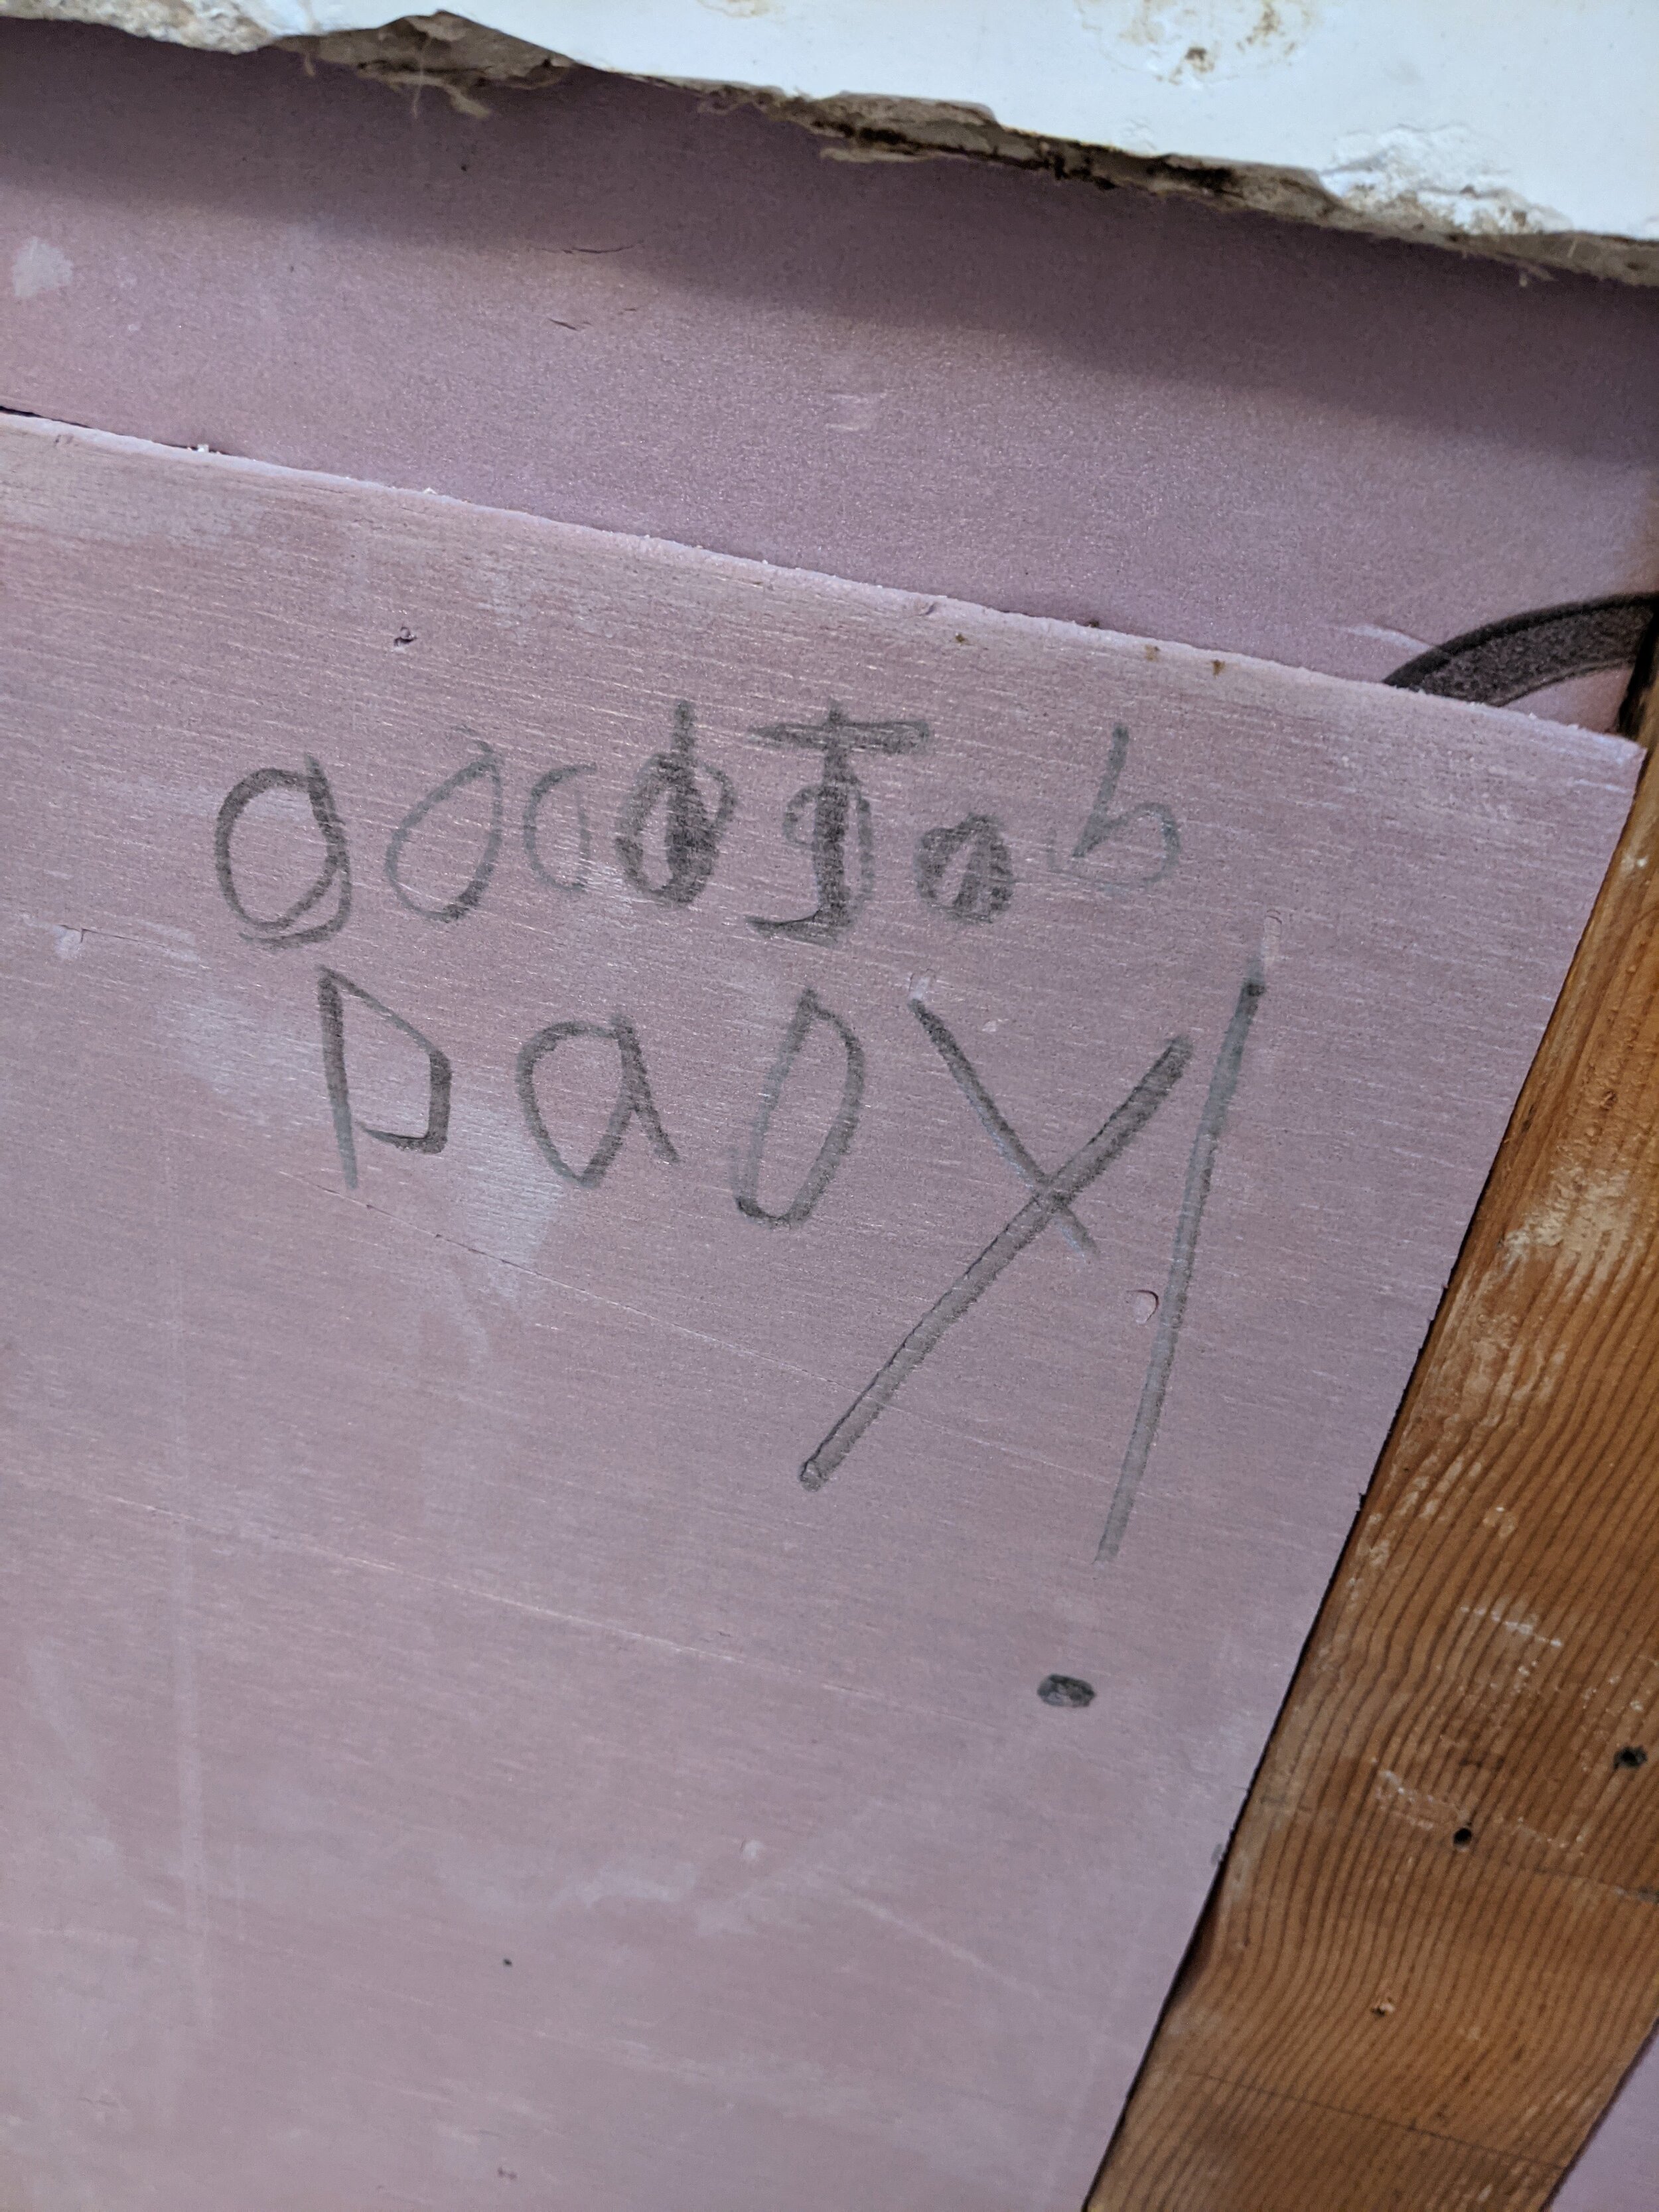
Also — our son thinks Dady did a gOOd joB!
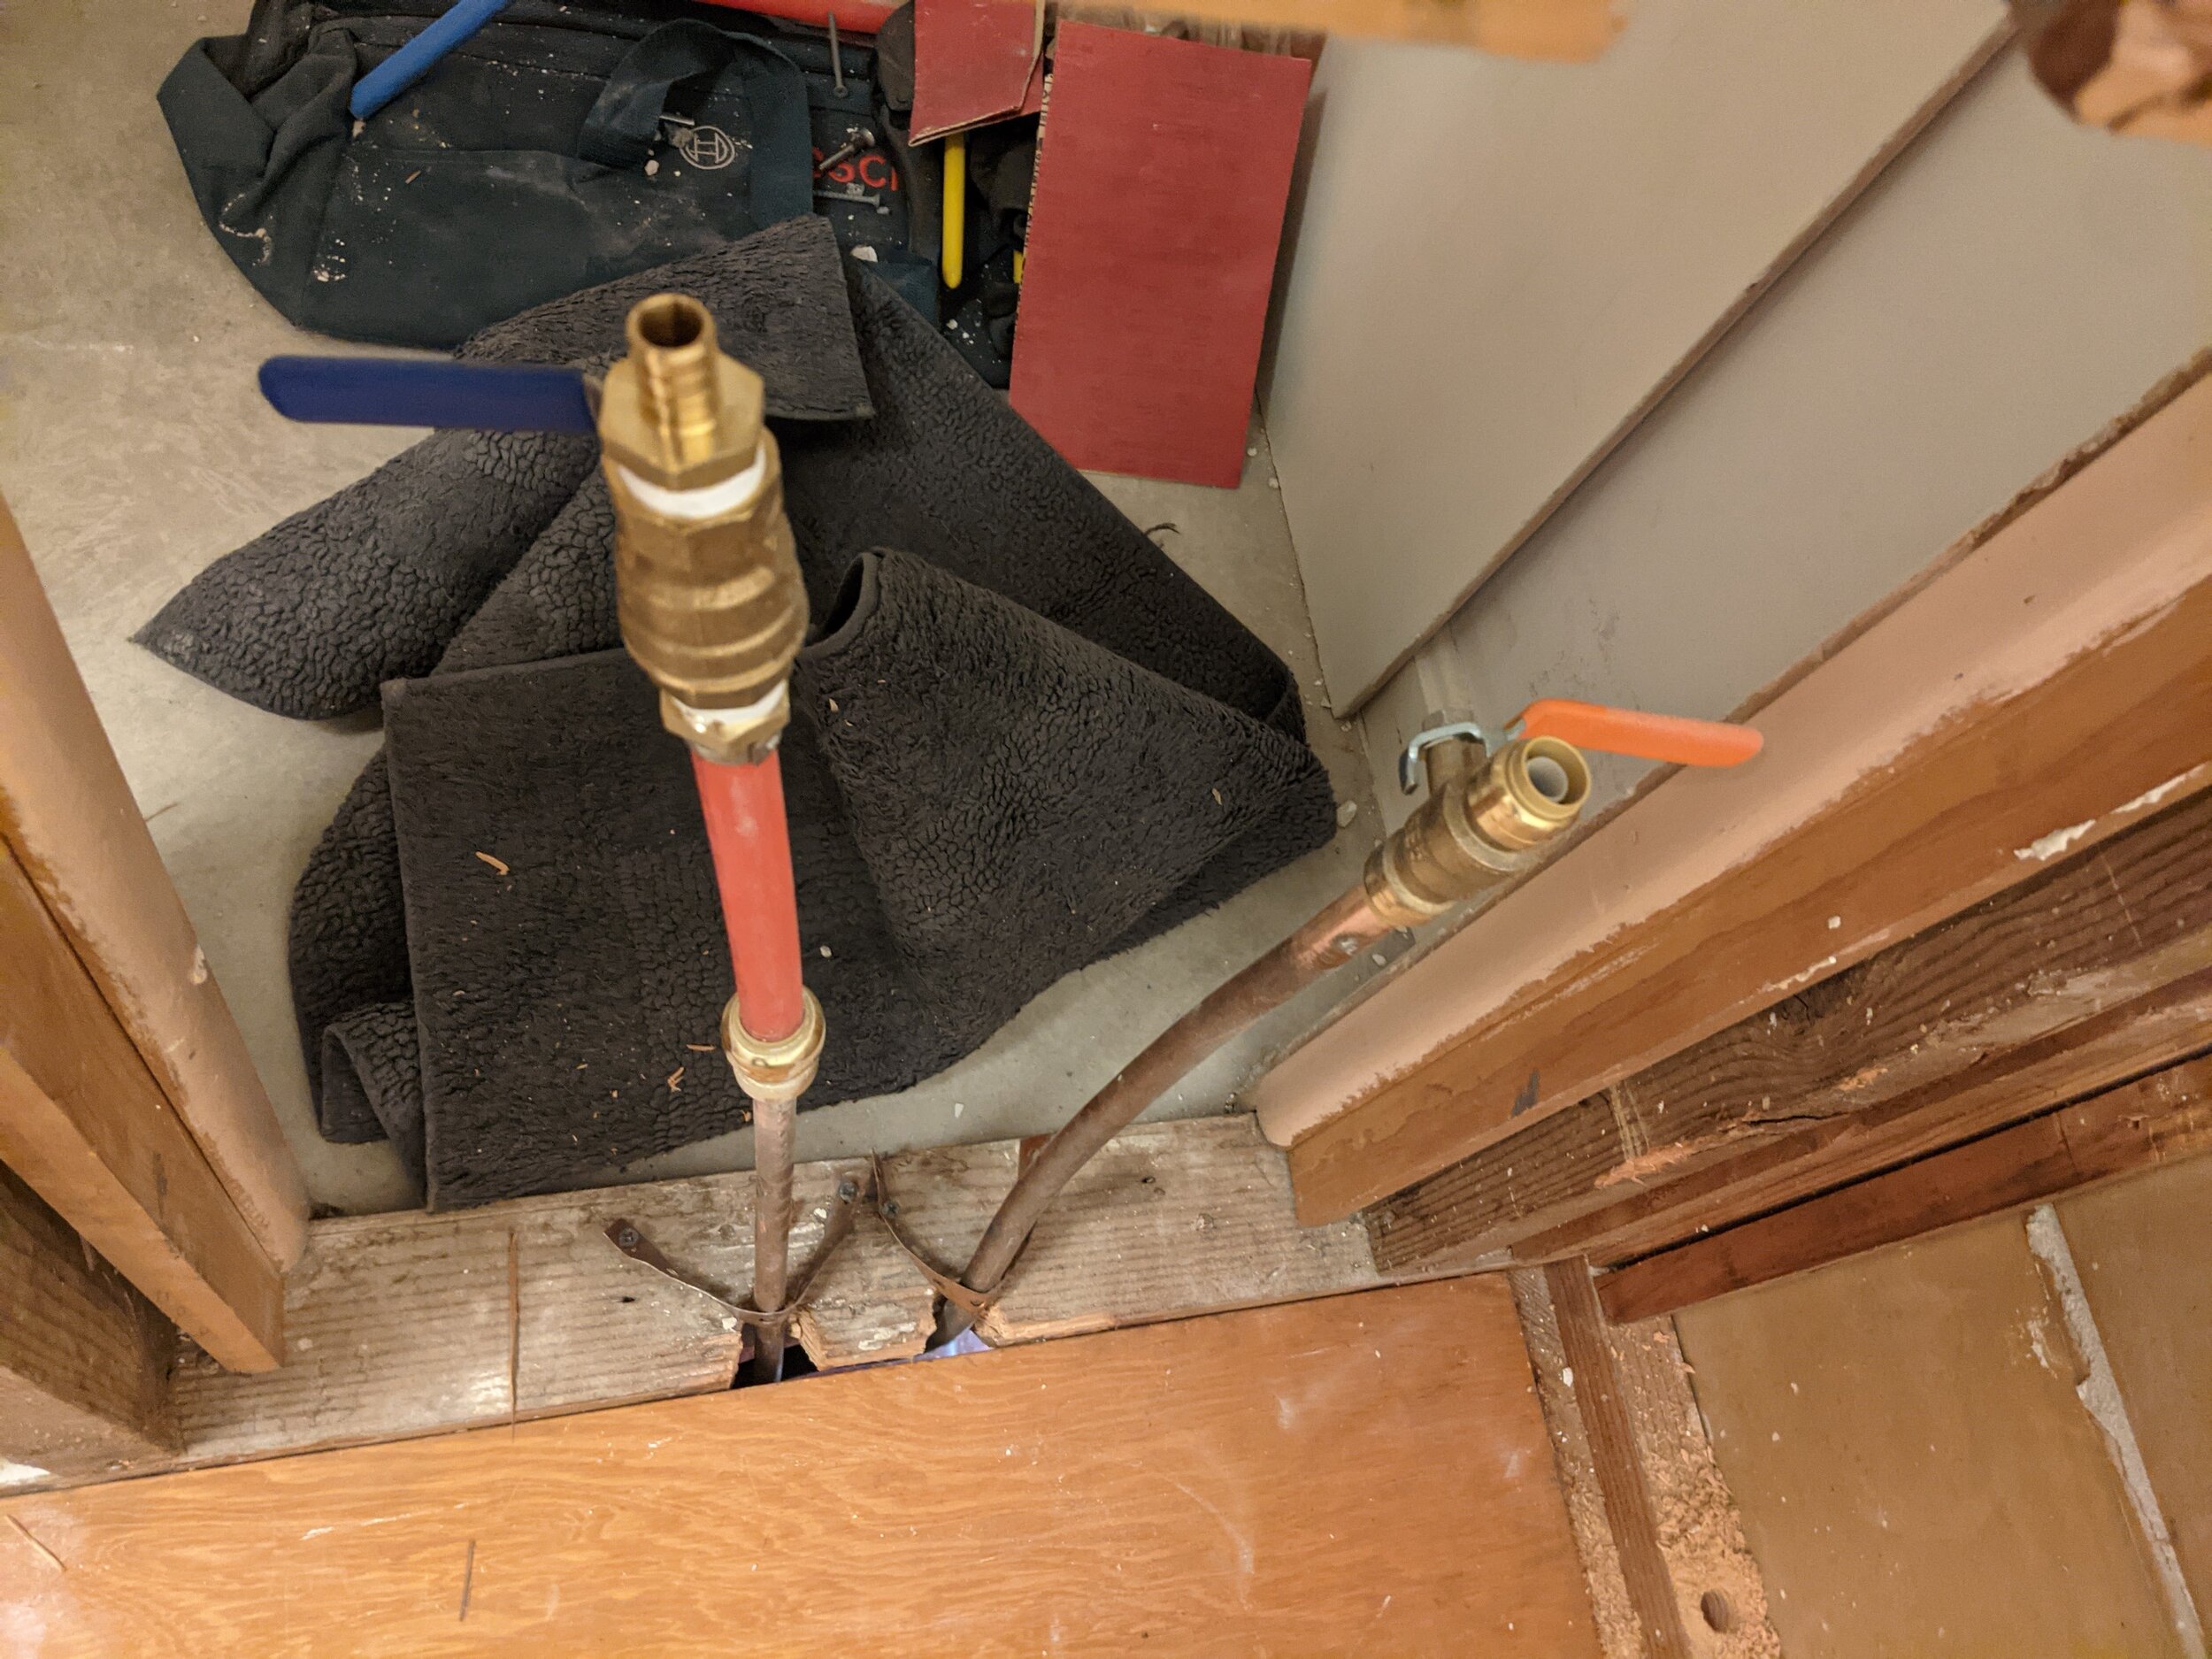
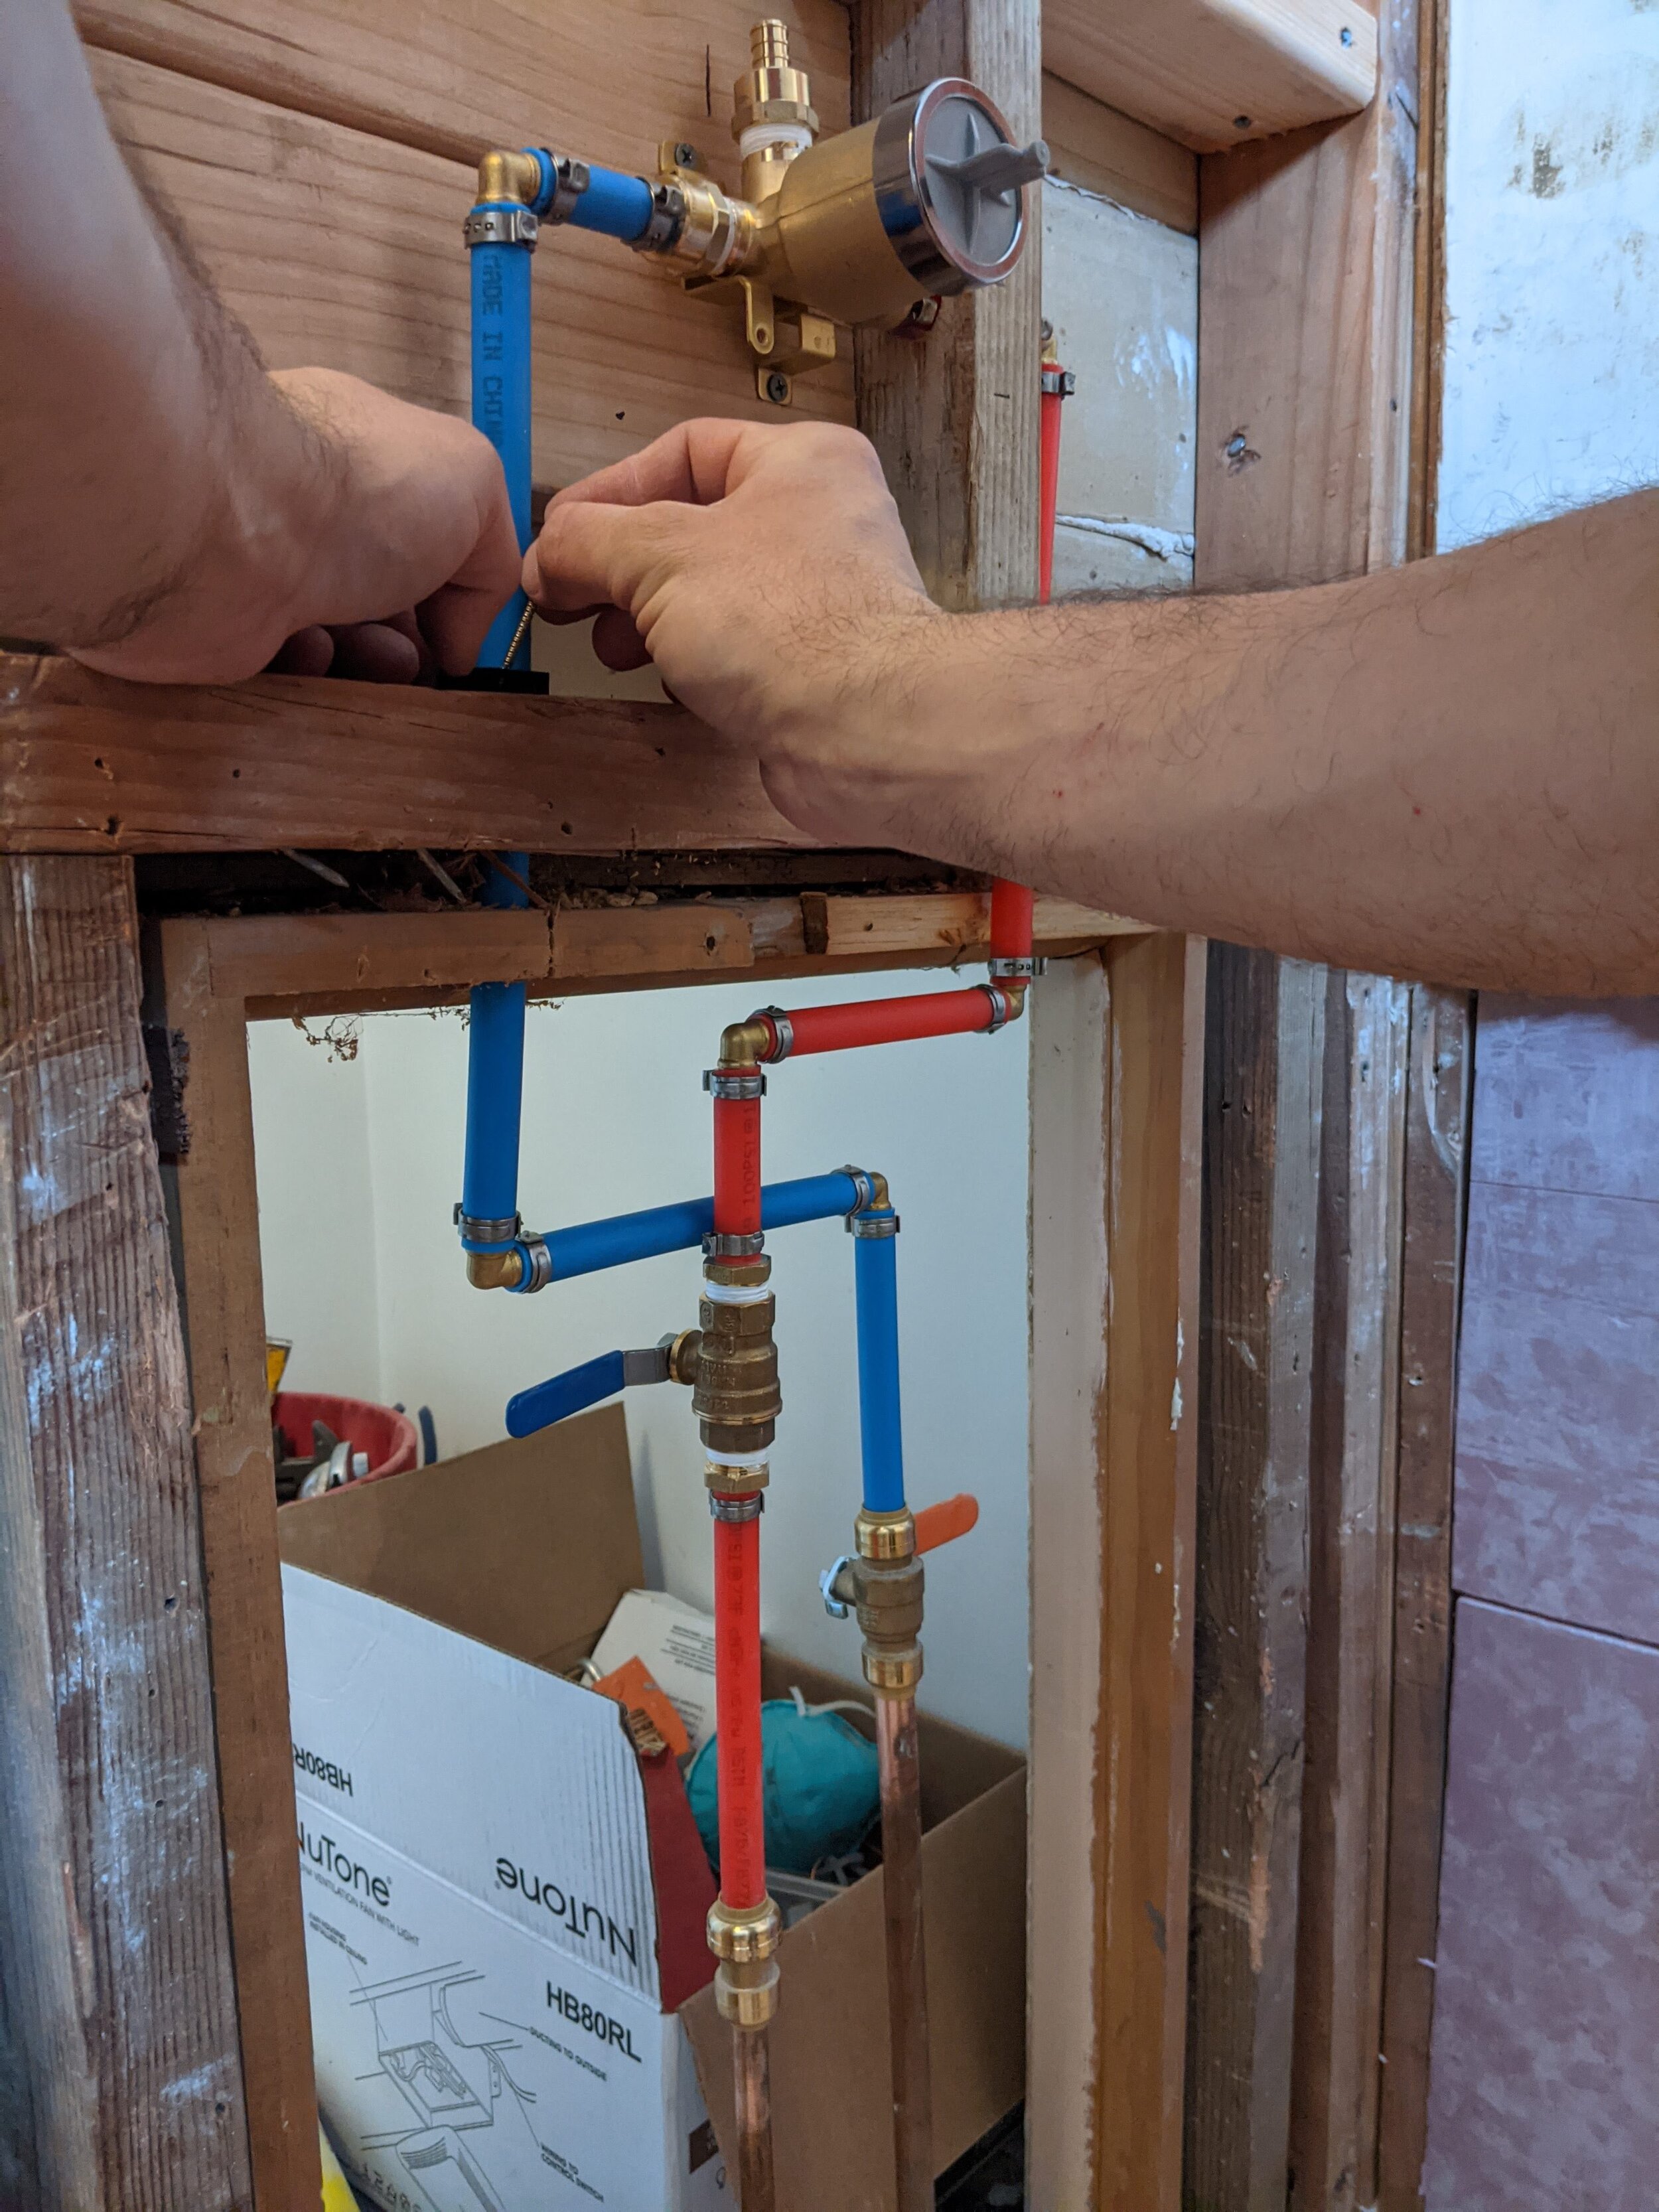
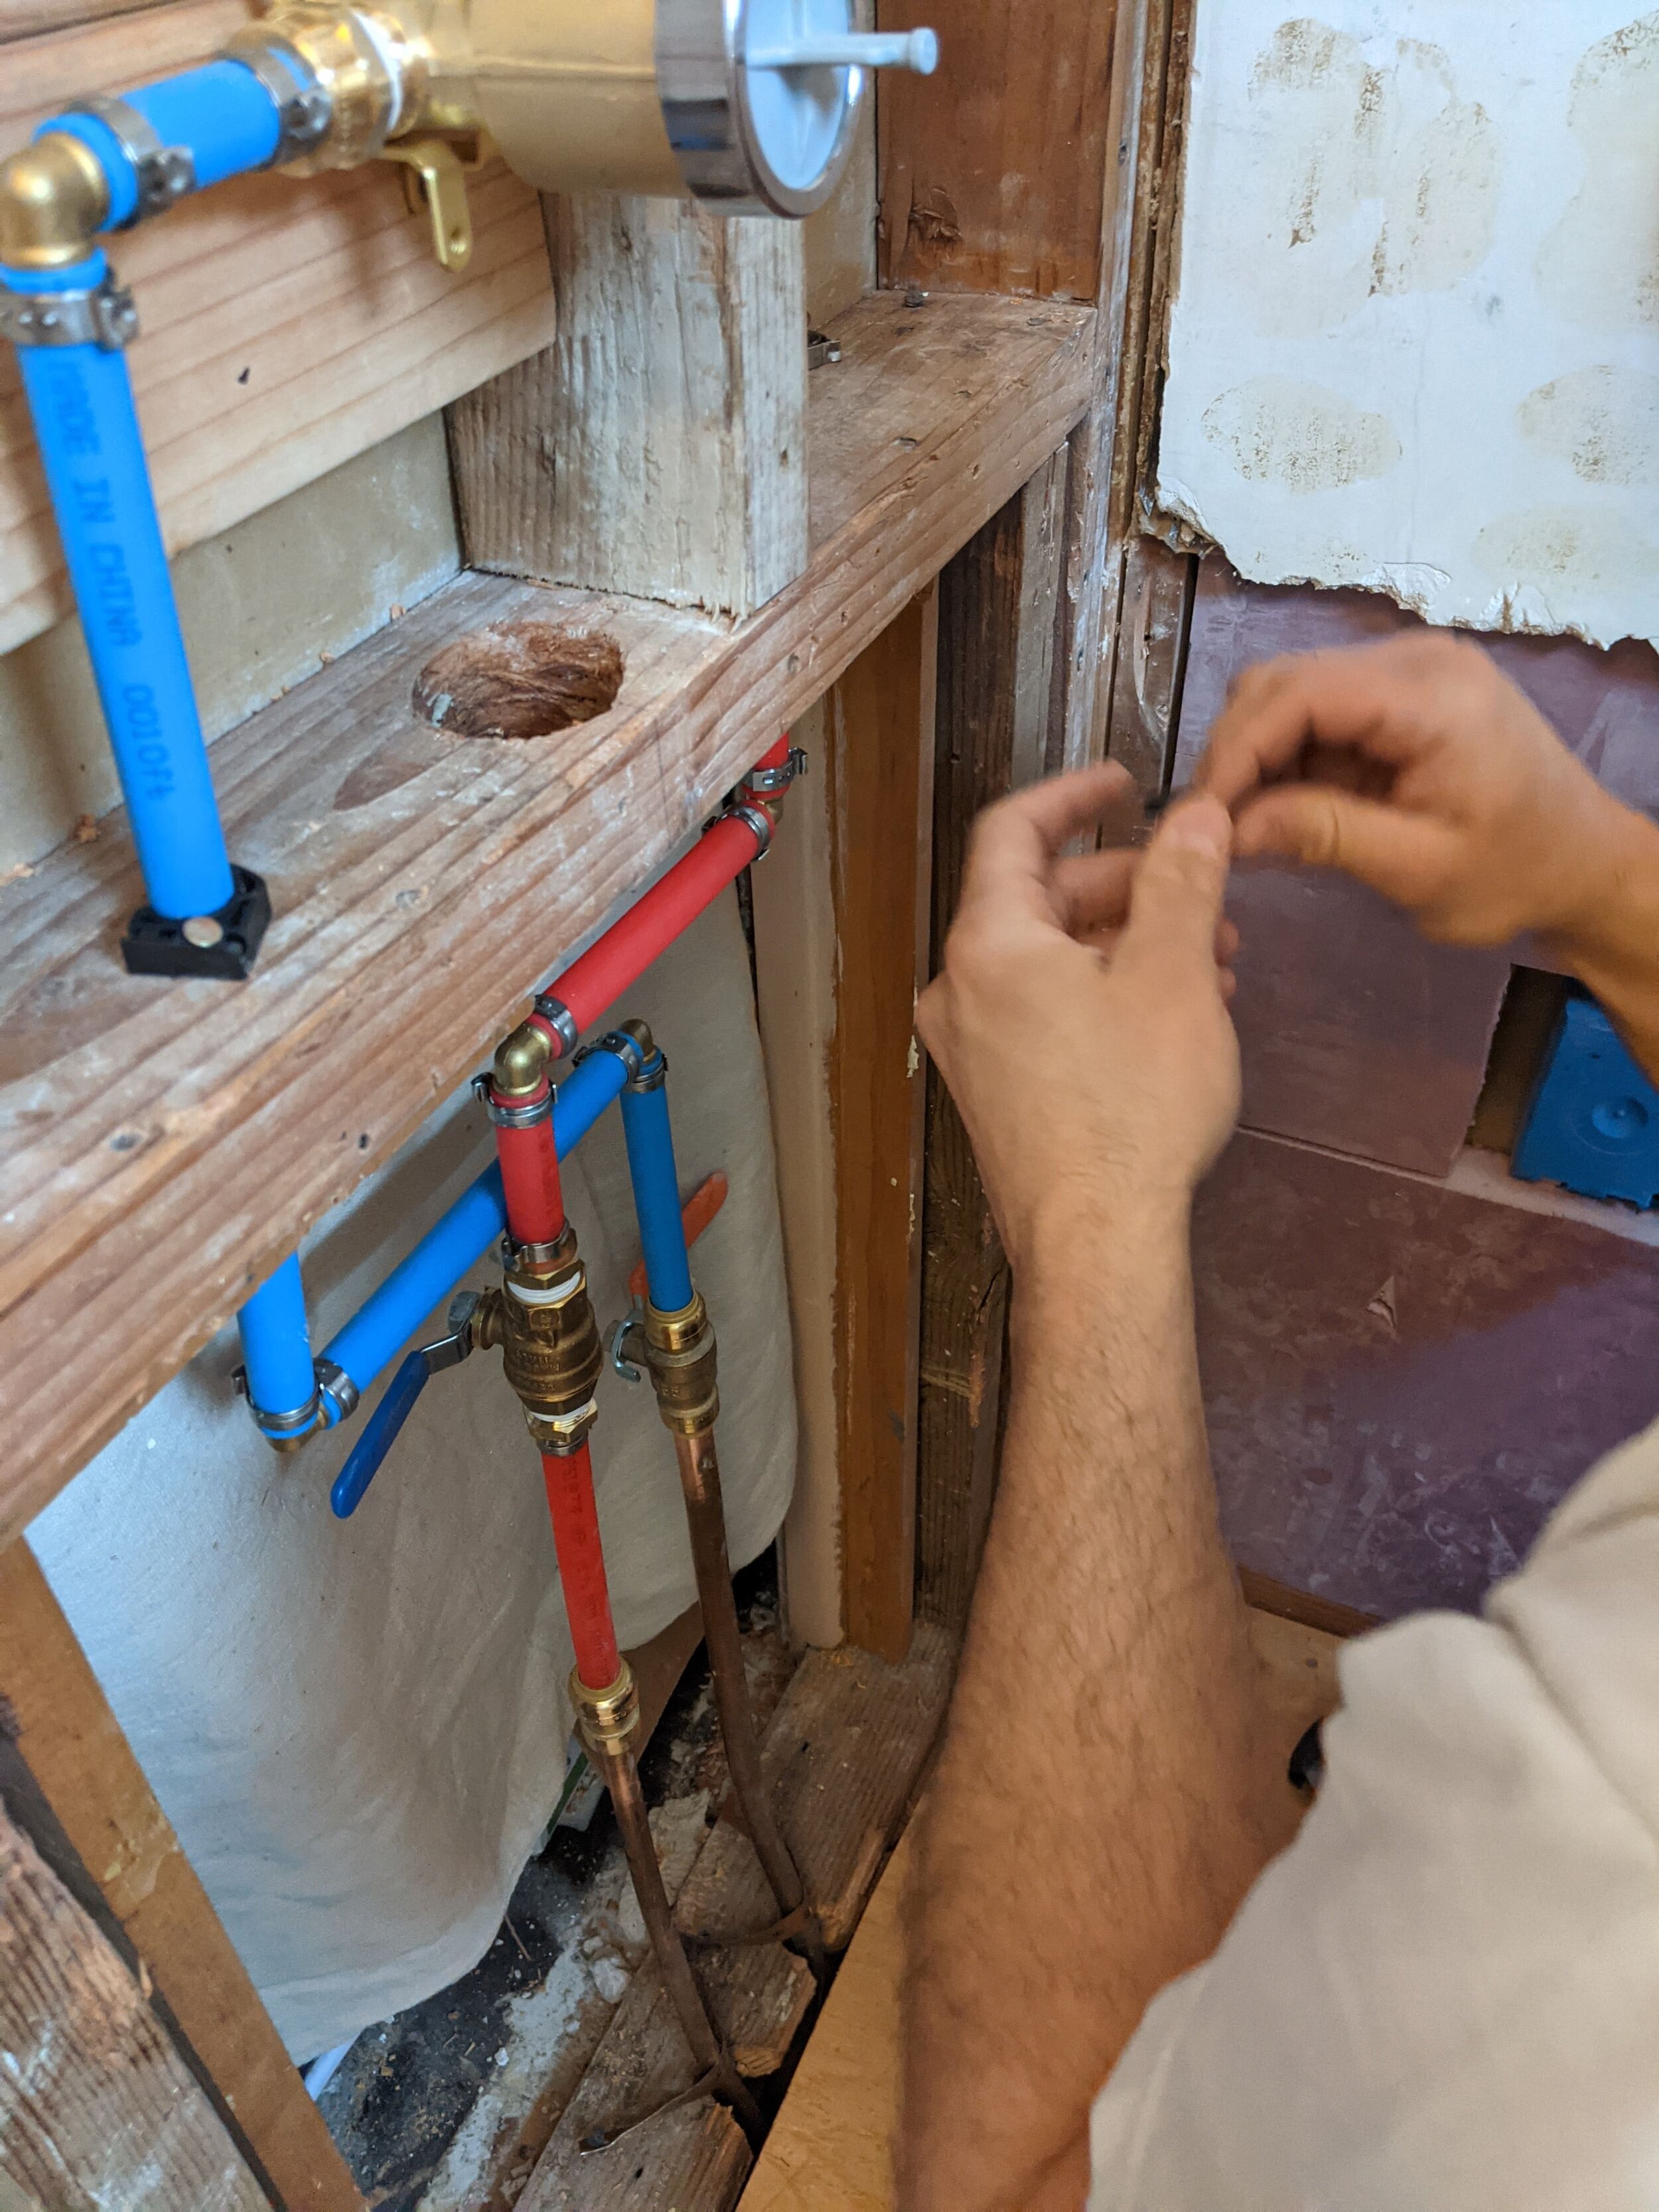
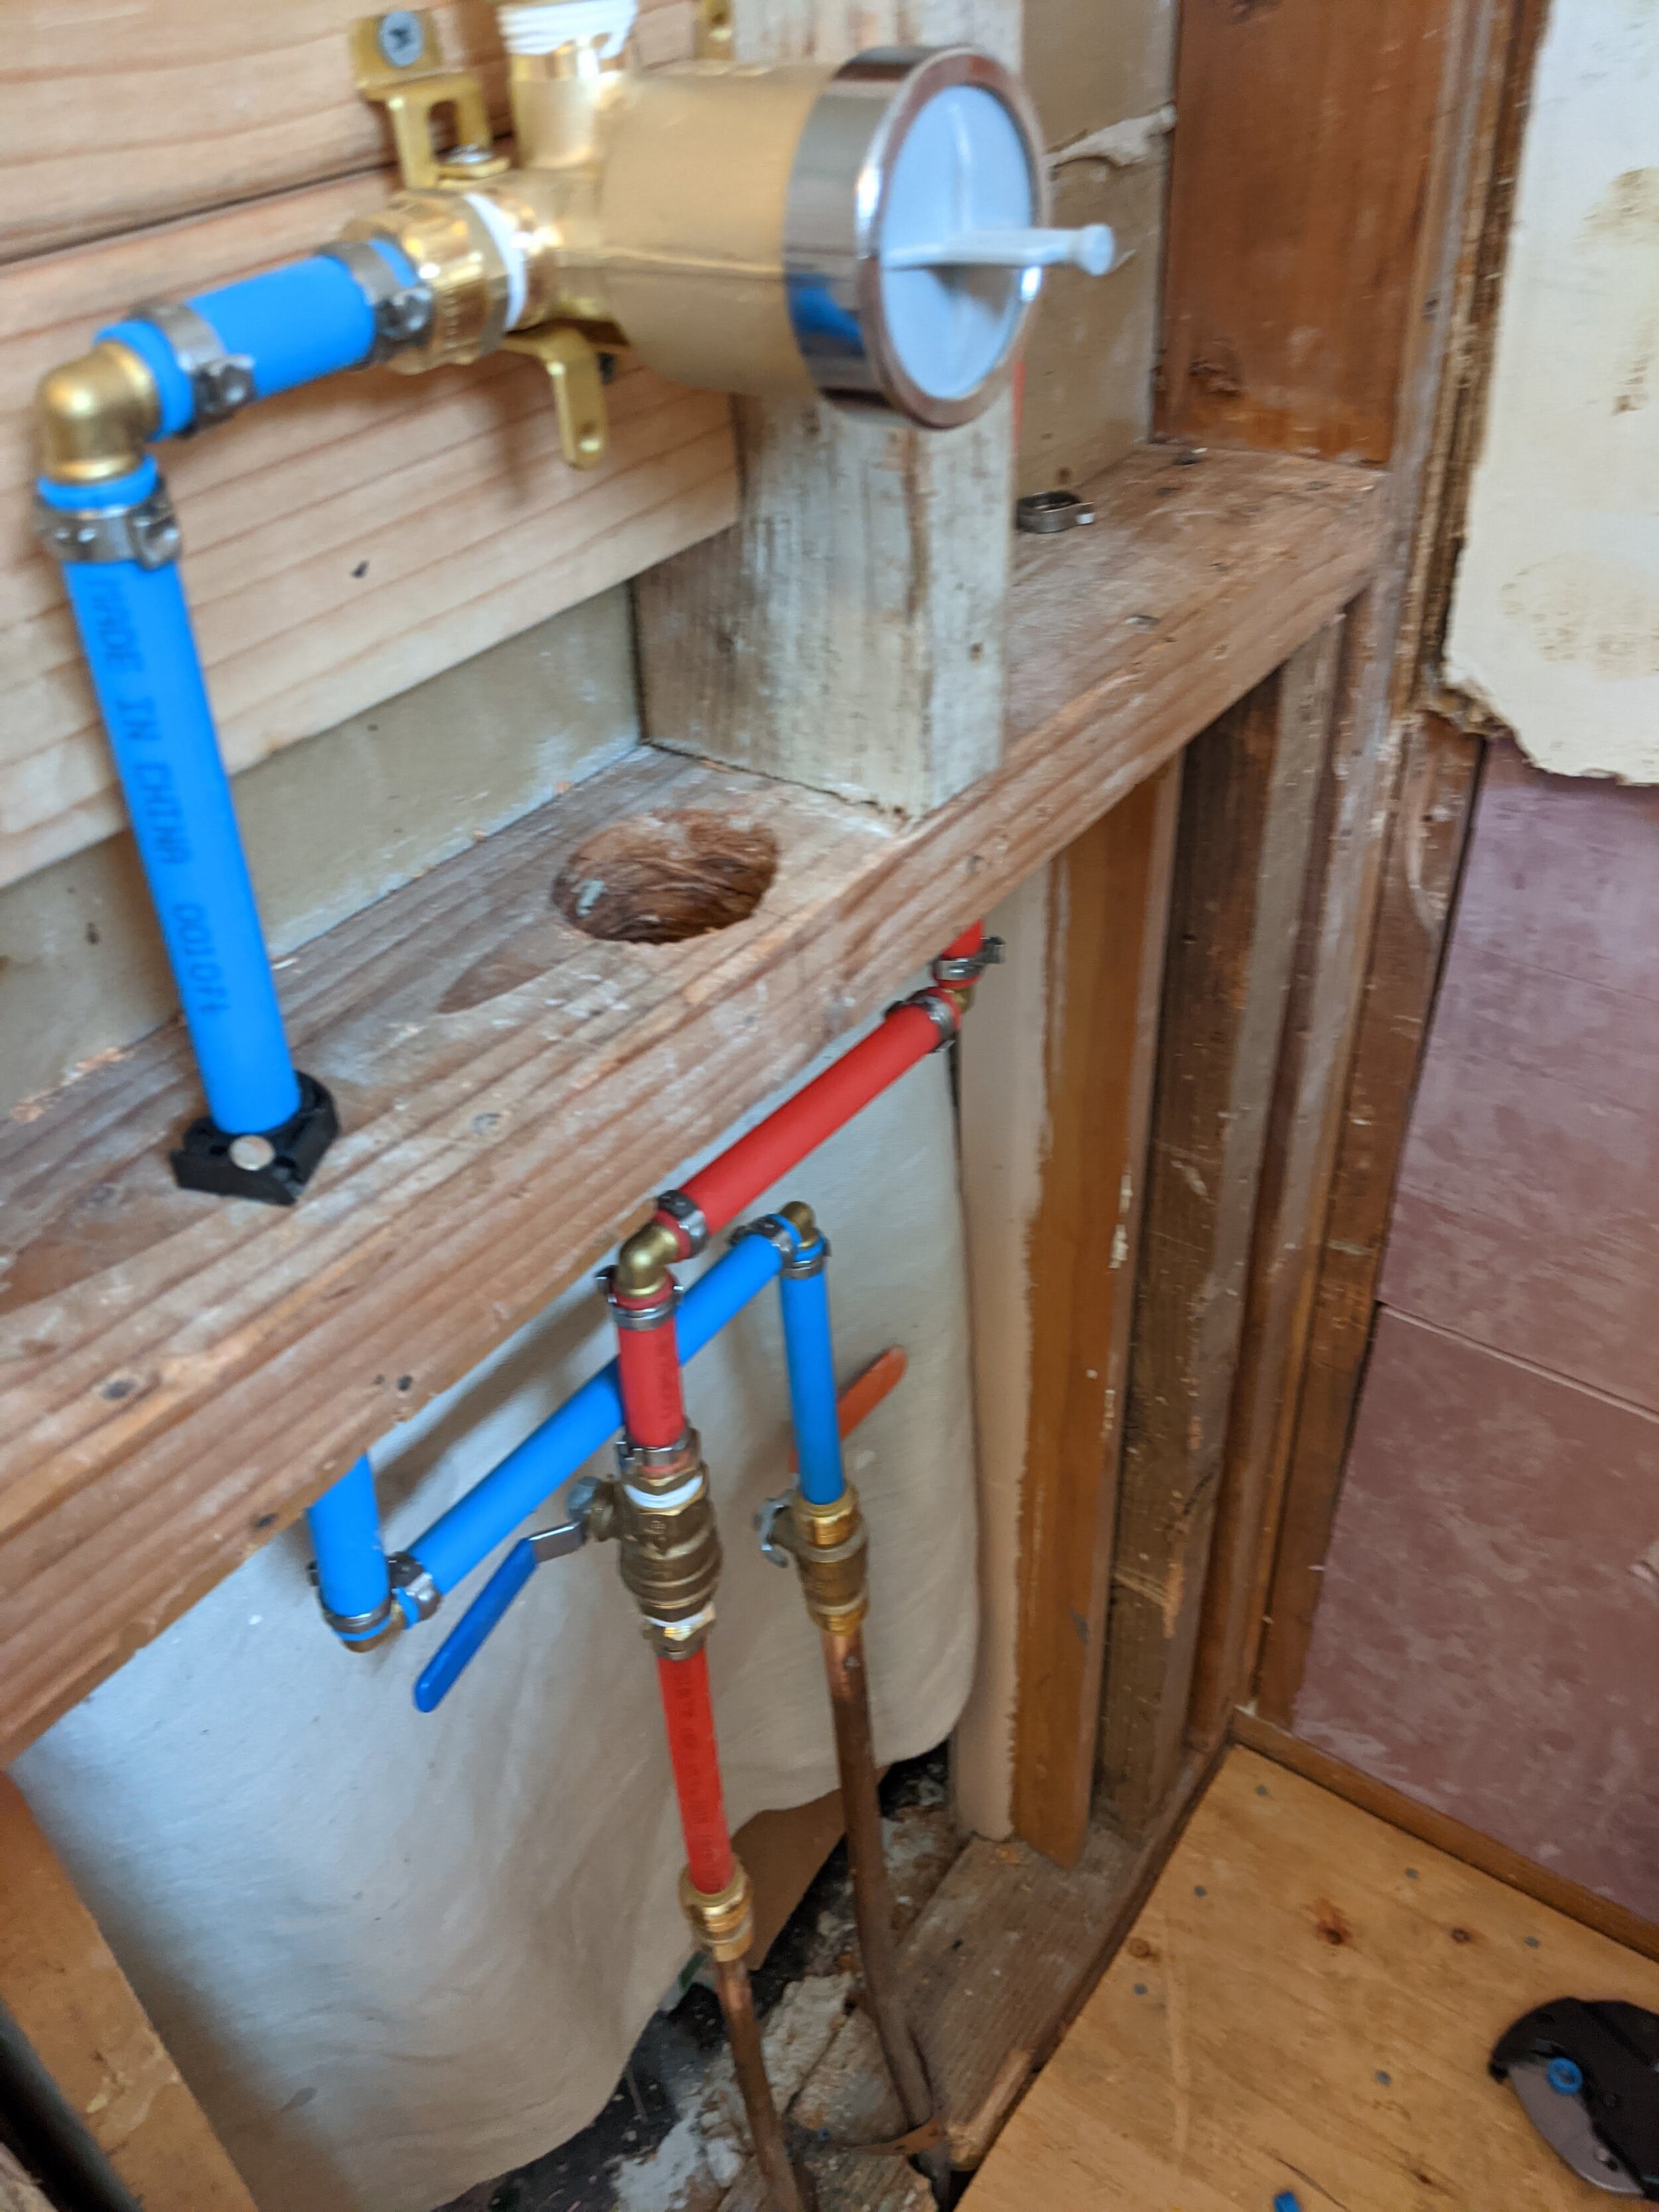
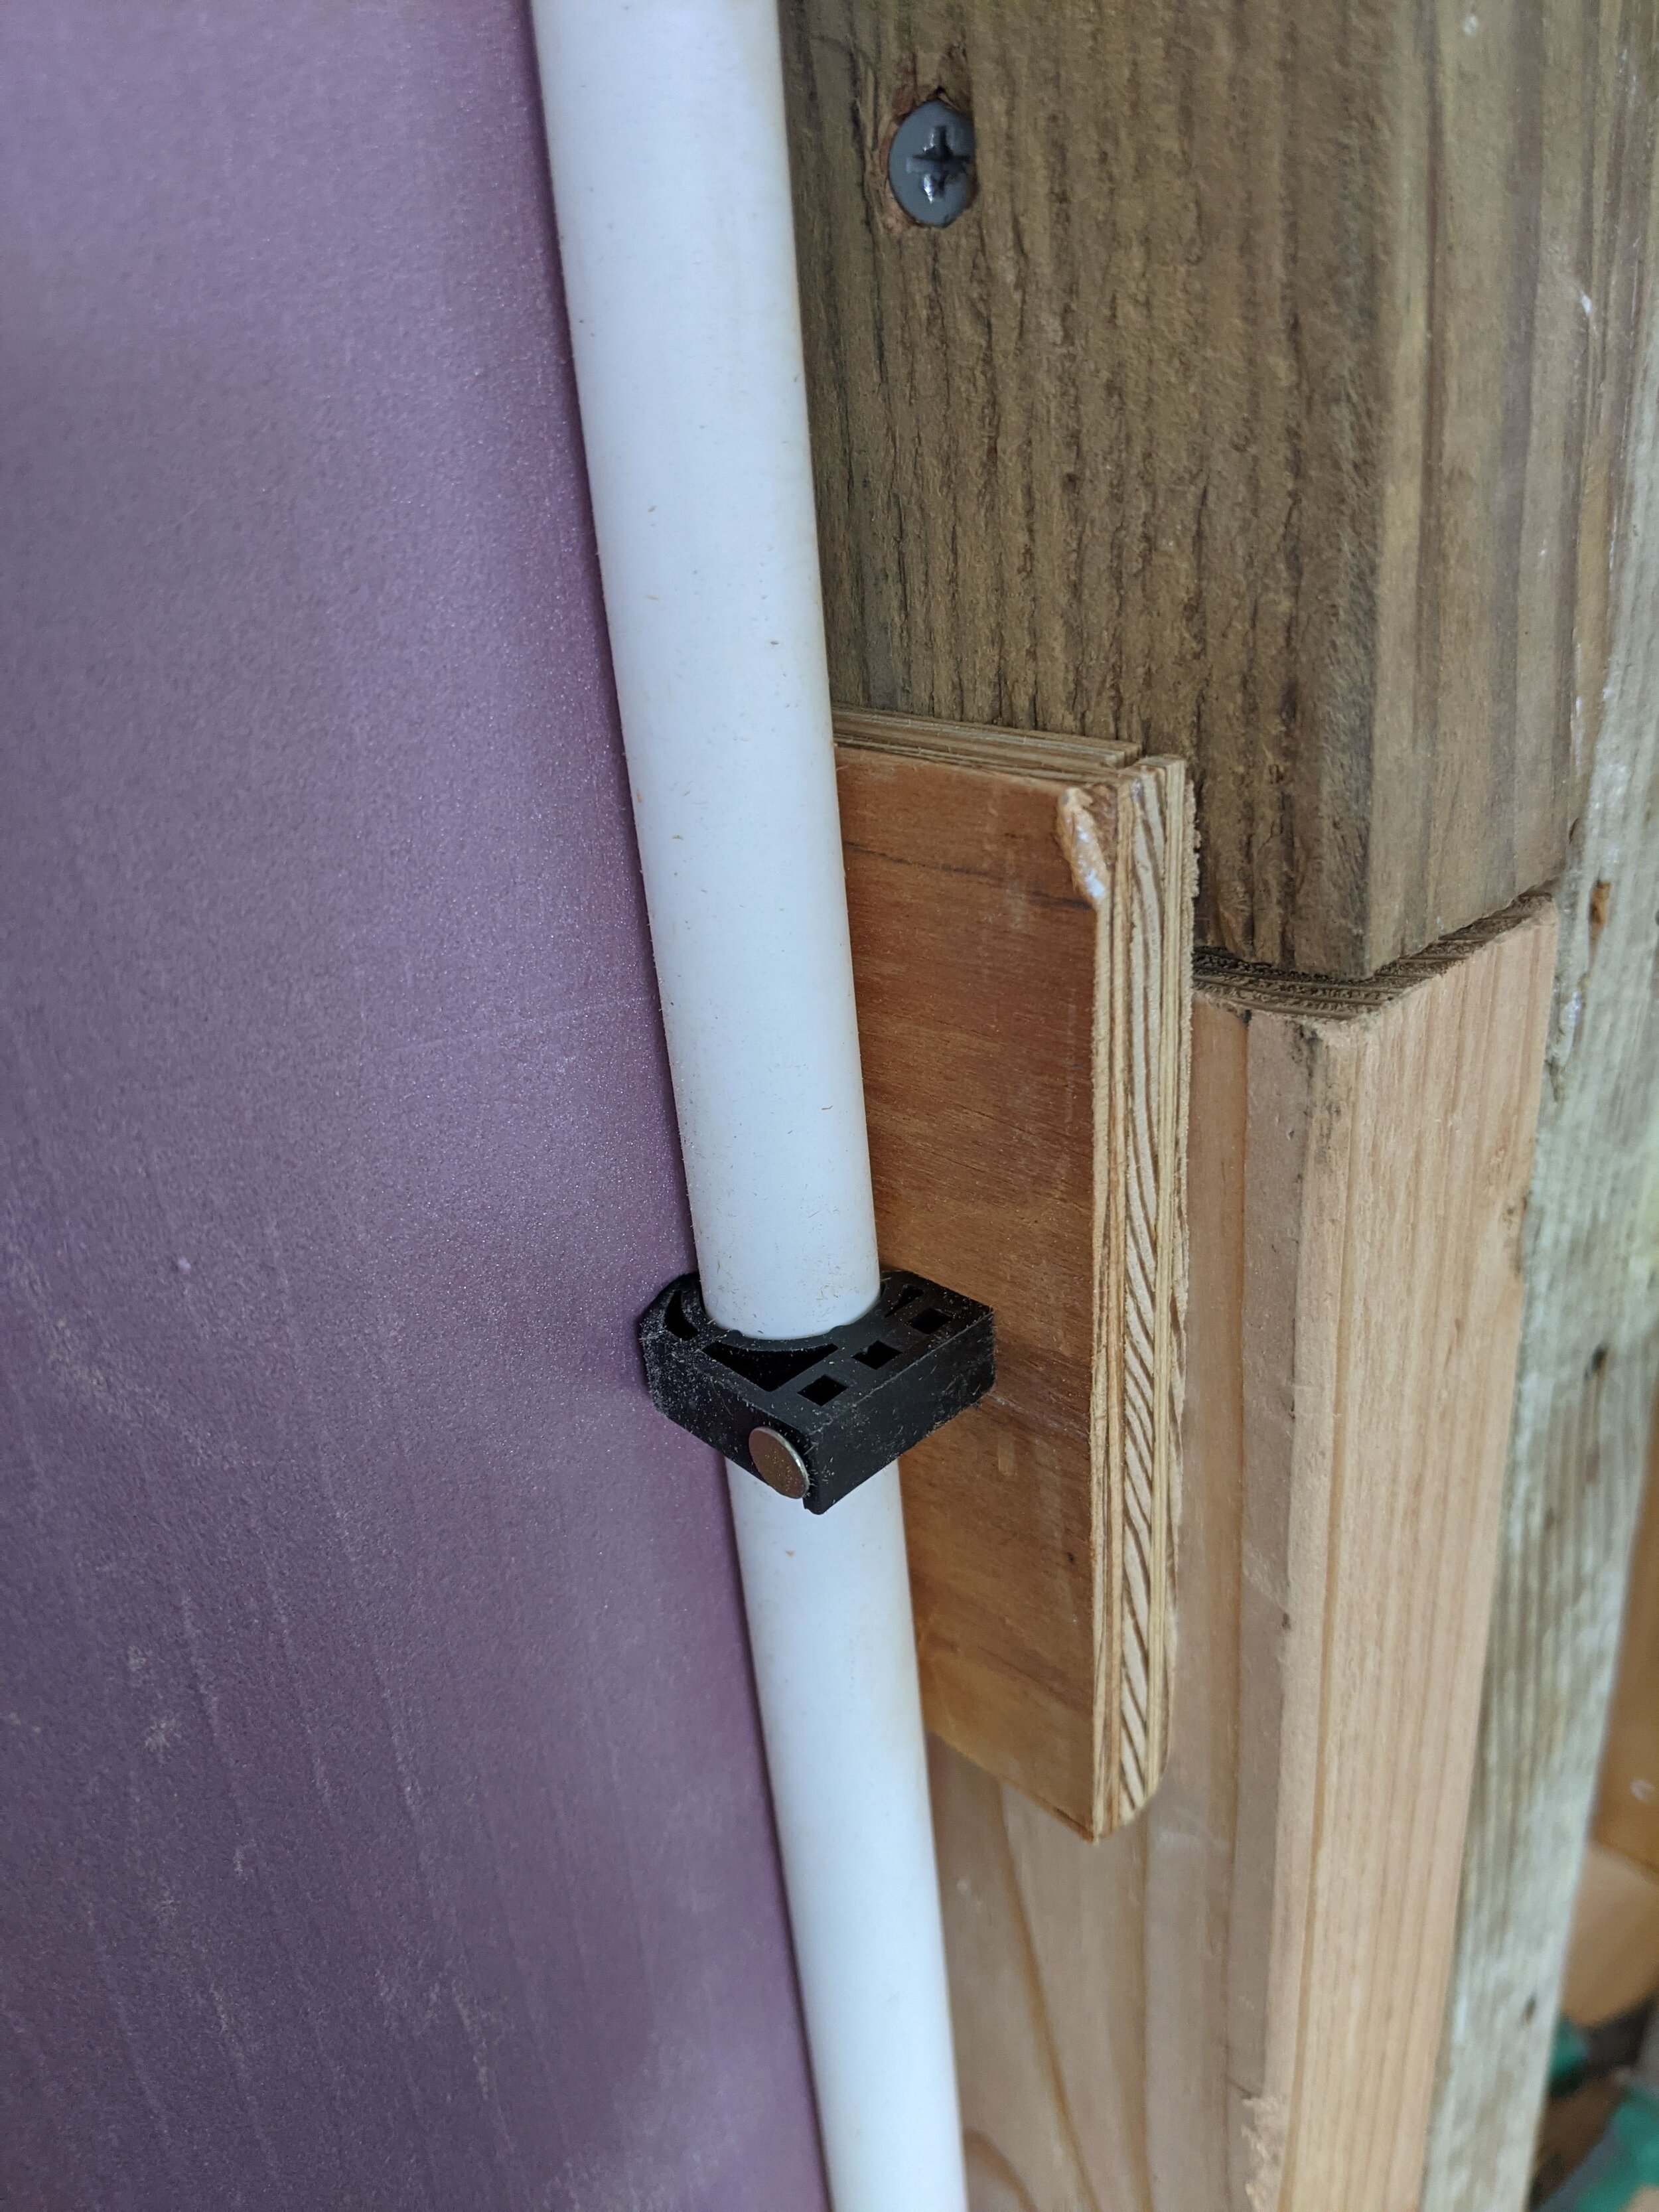
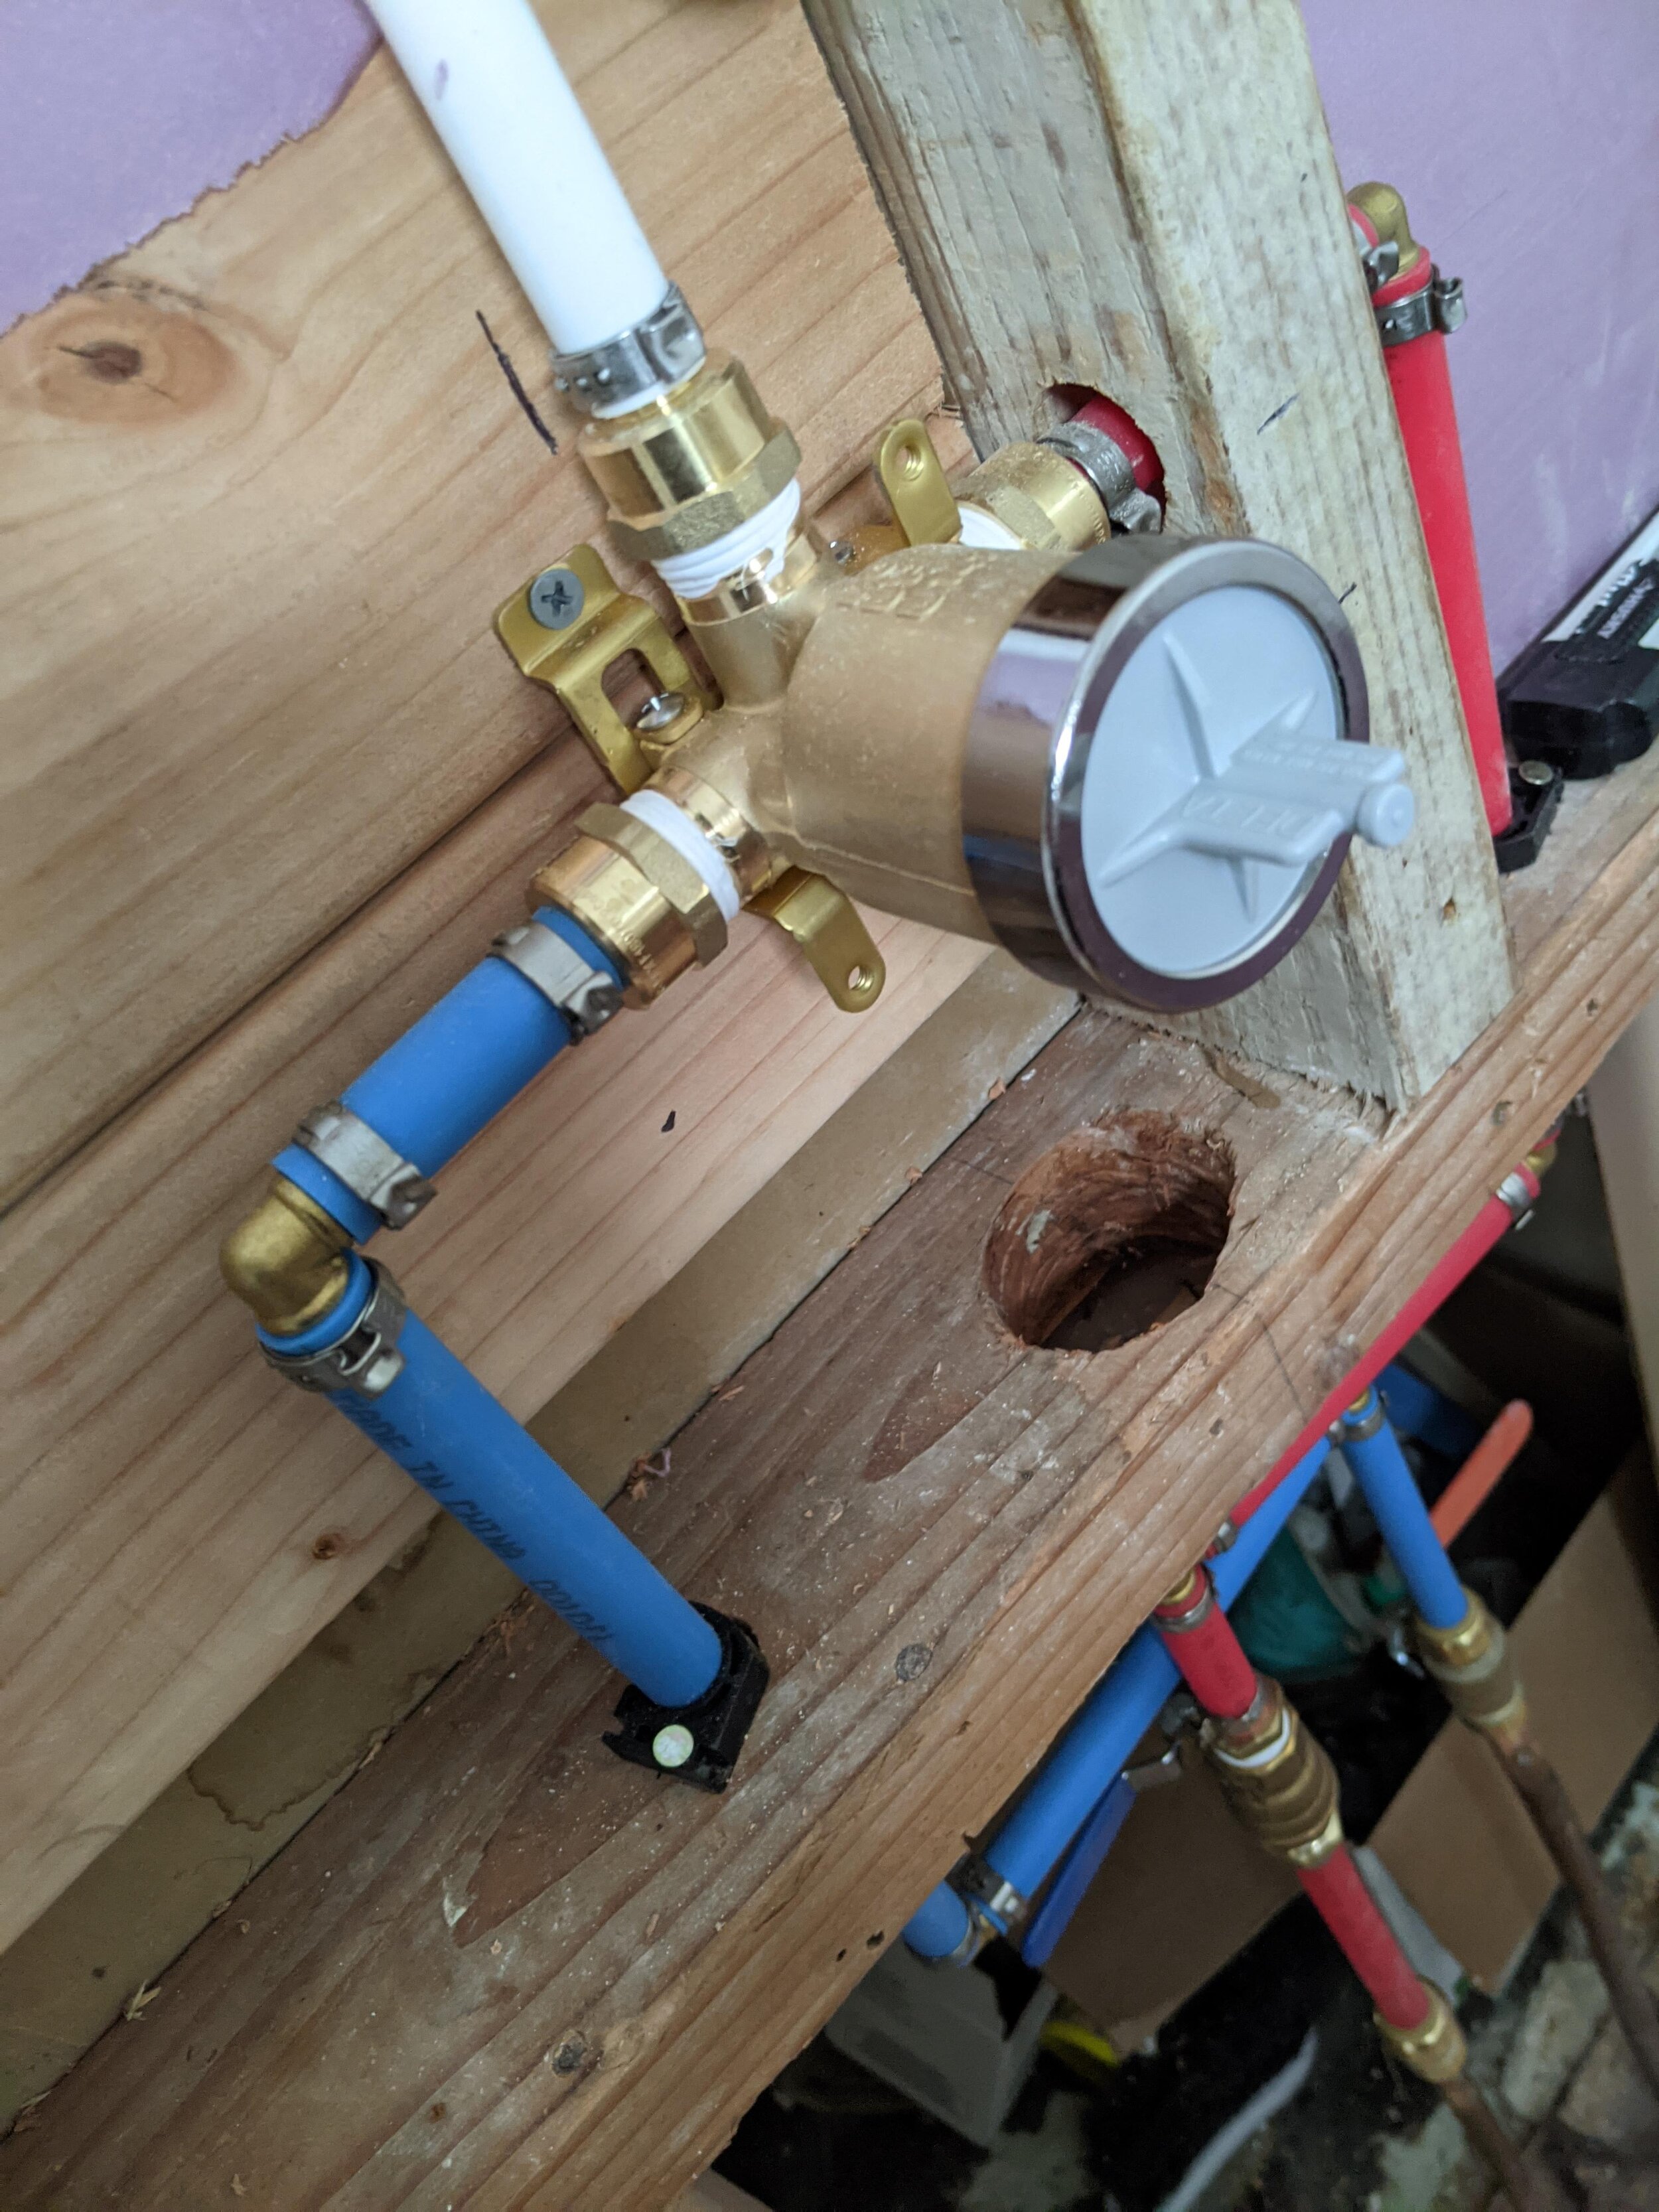
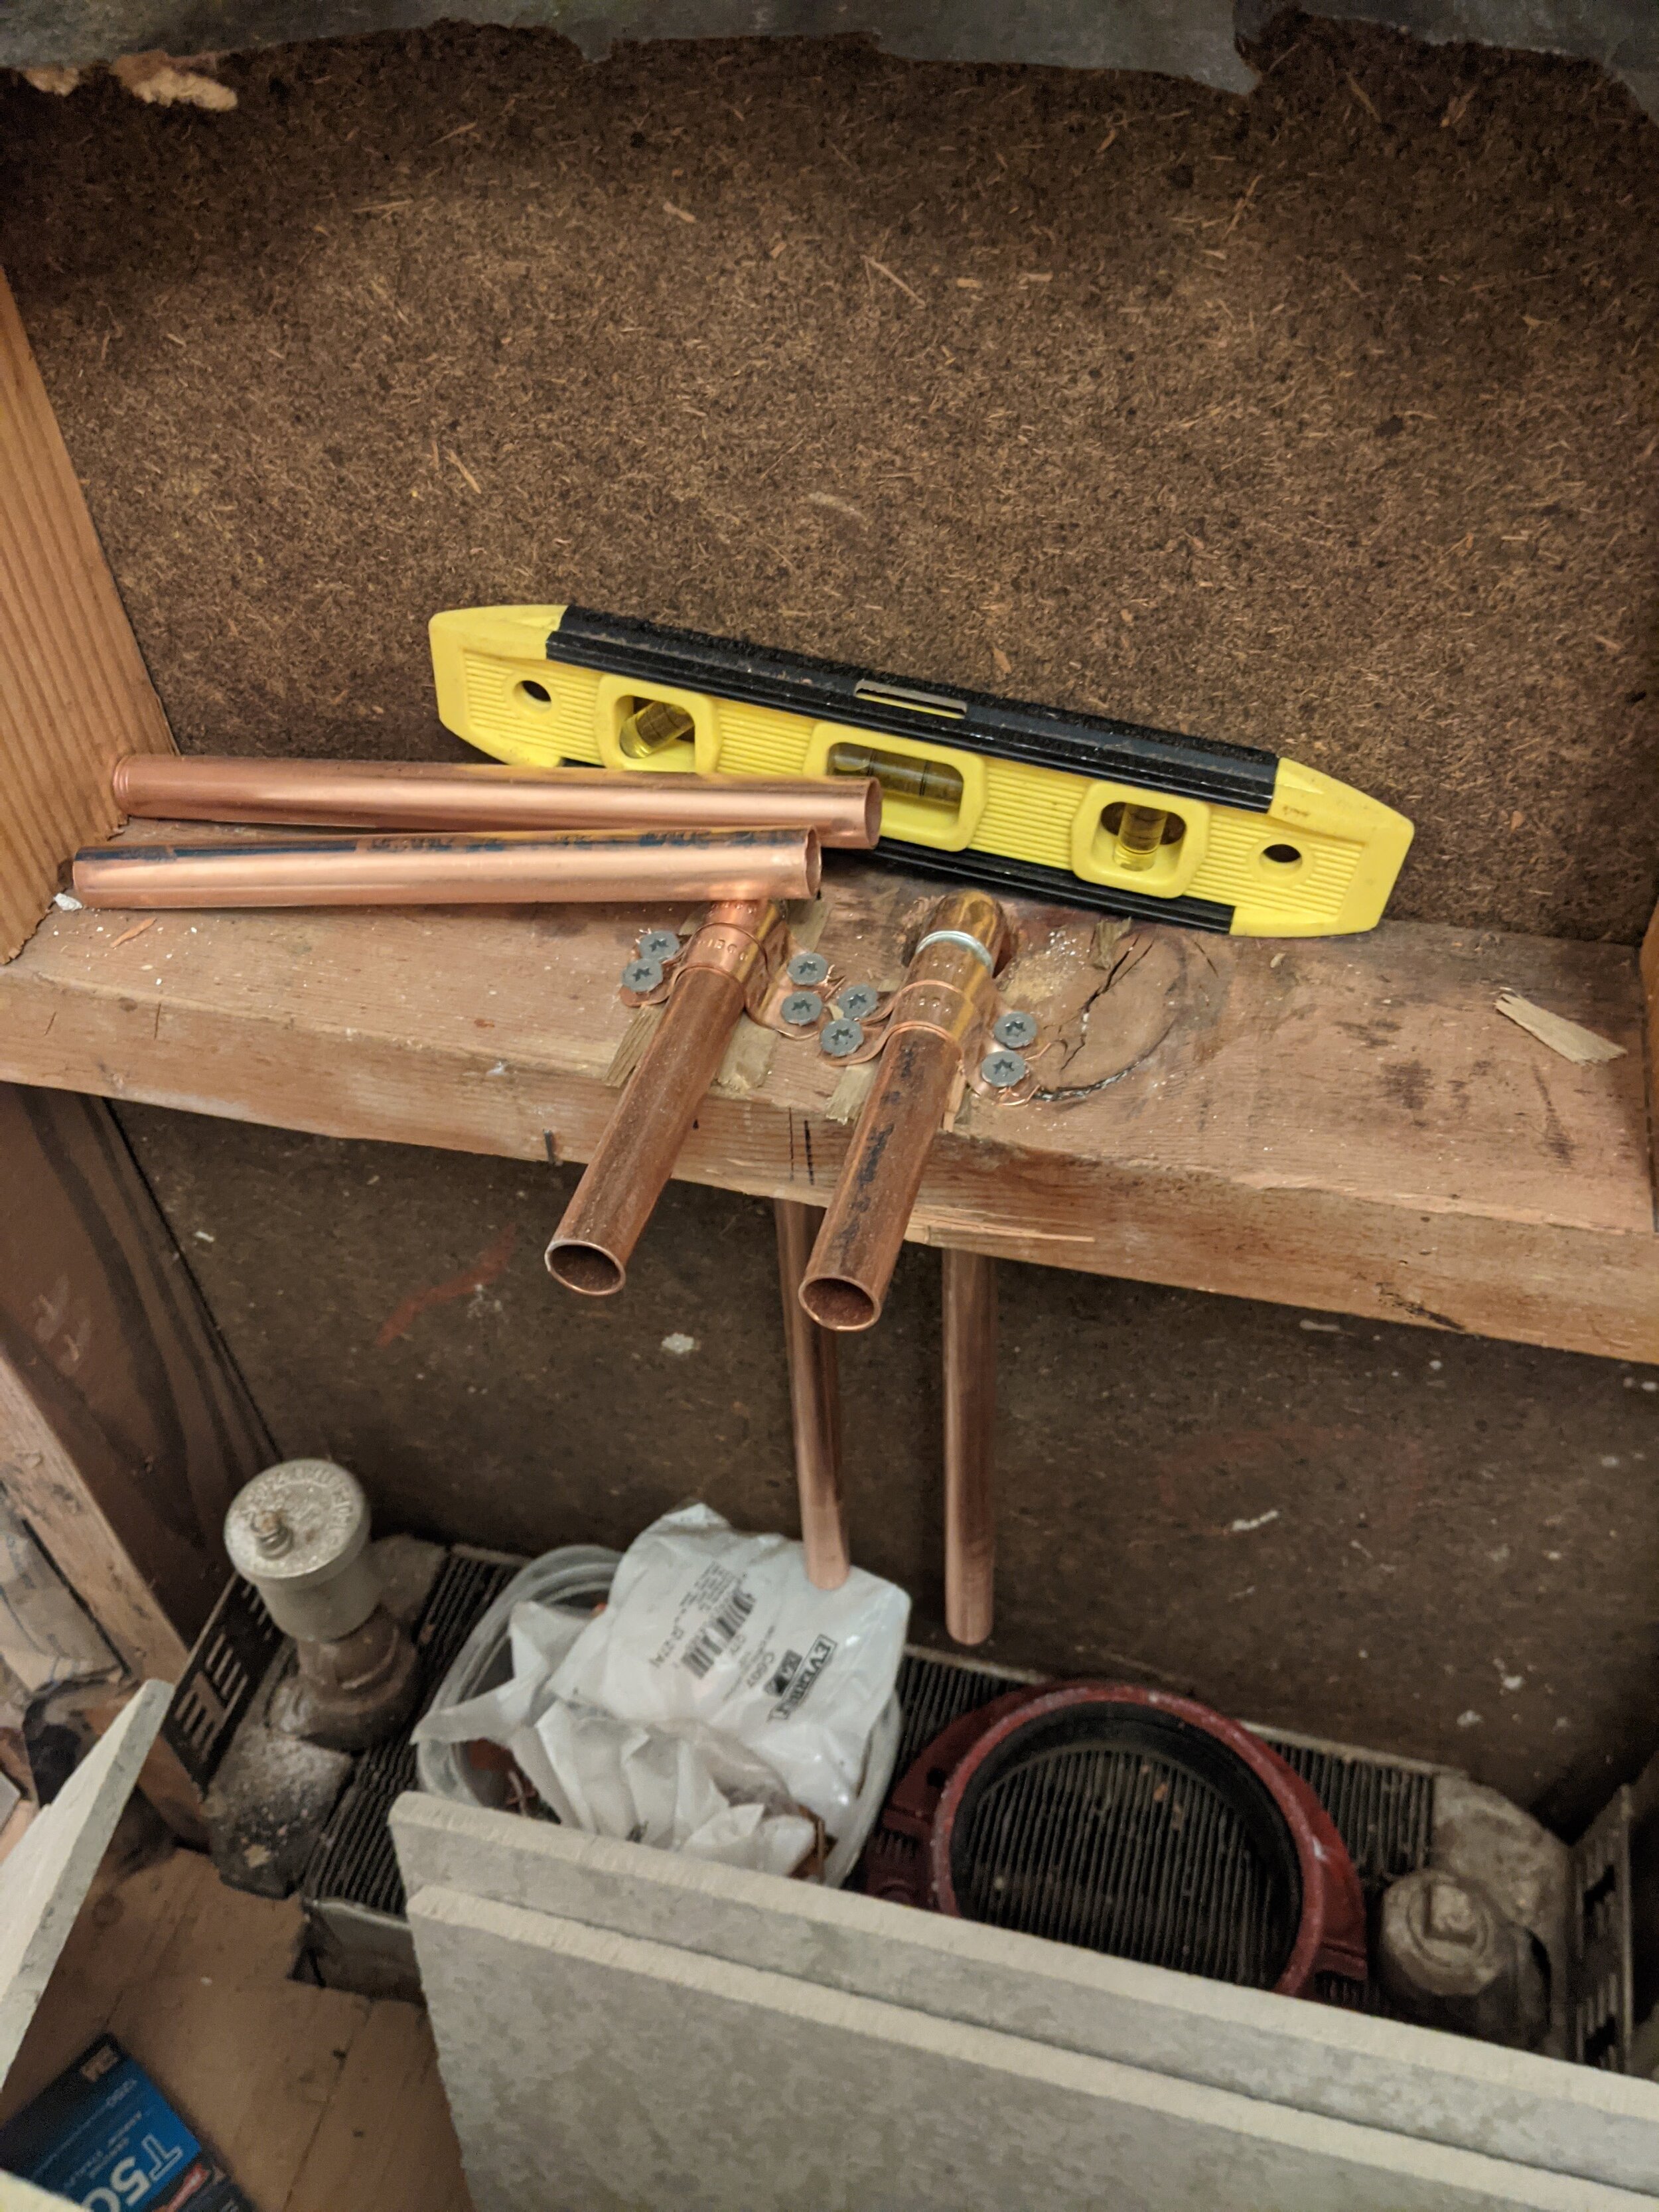
After the insulation was installed, it was time for some rough plumbing. This is the part where you measure everything to ensure your fixes are going to fit. It was an opportunity for us to attach things more effectively so there was less pipe banging and thwacking when you turn on the water.
The toilet and sink positioning were fine from before, so we left those. We ran new plumbing for the shower because we were changing to a different style of faucet in there. Additionally, since we were switching to a radiator, the job of adjusting the water lines was substantial.
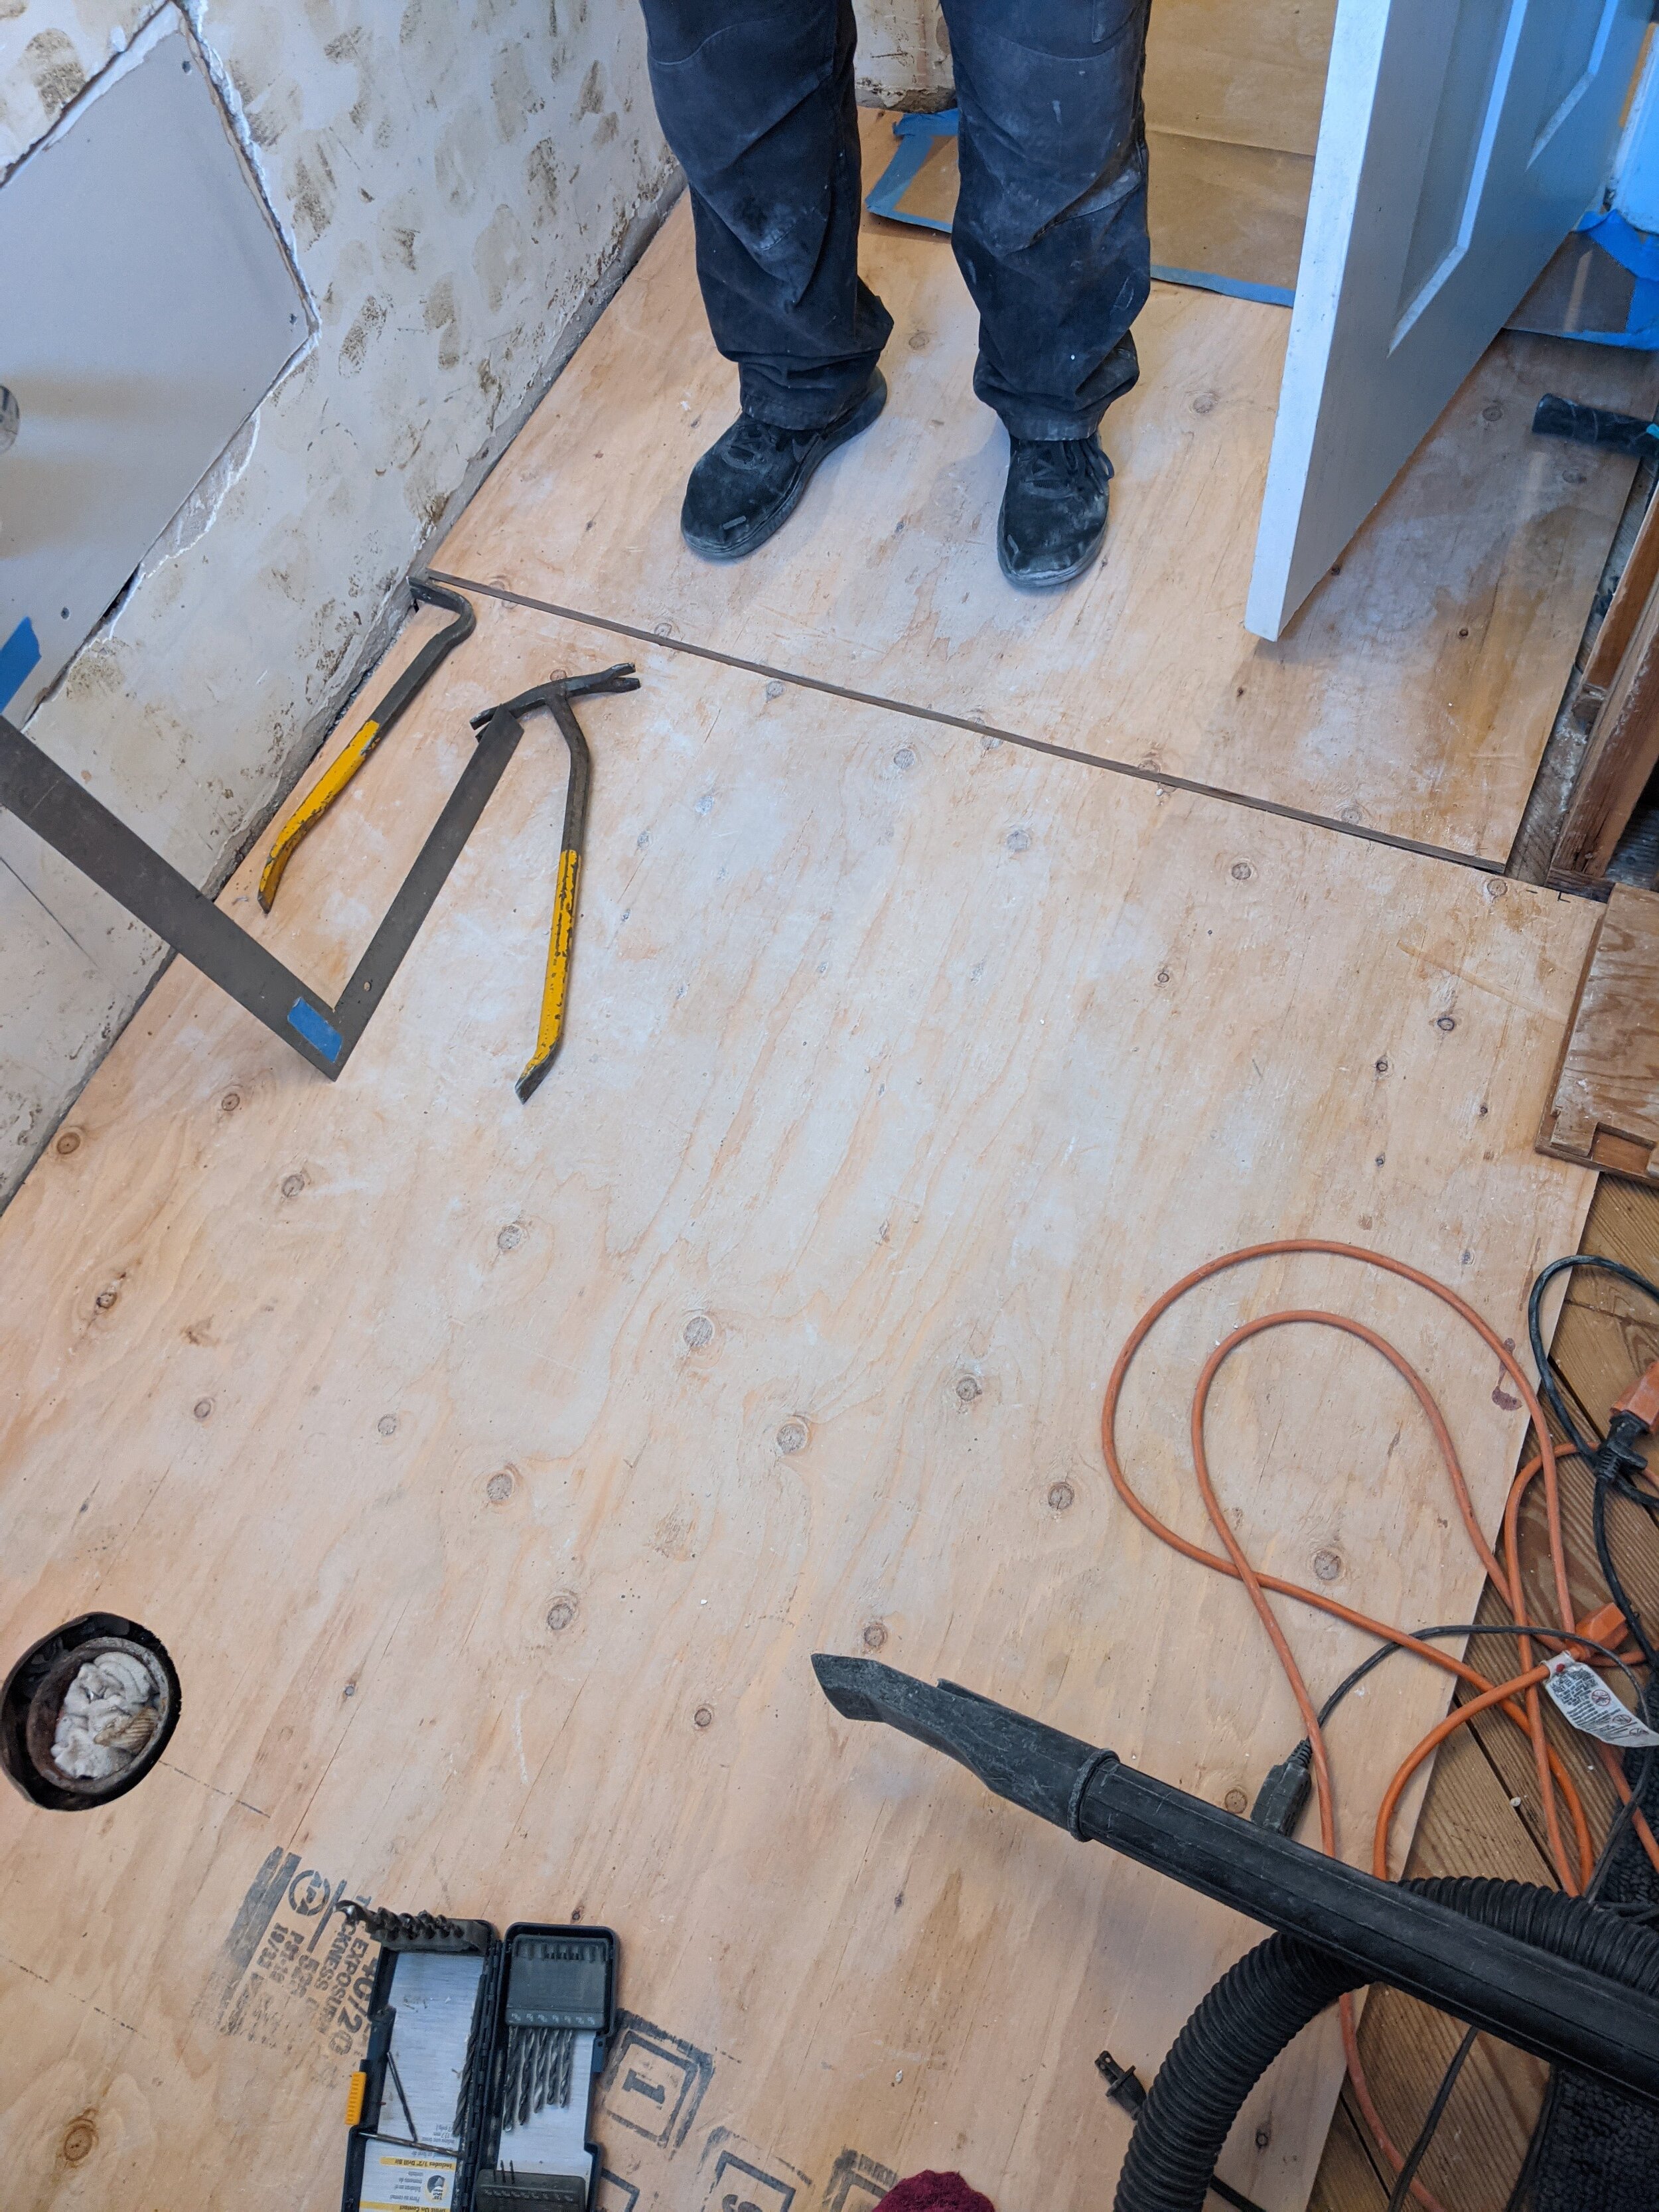
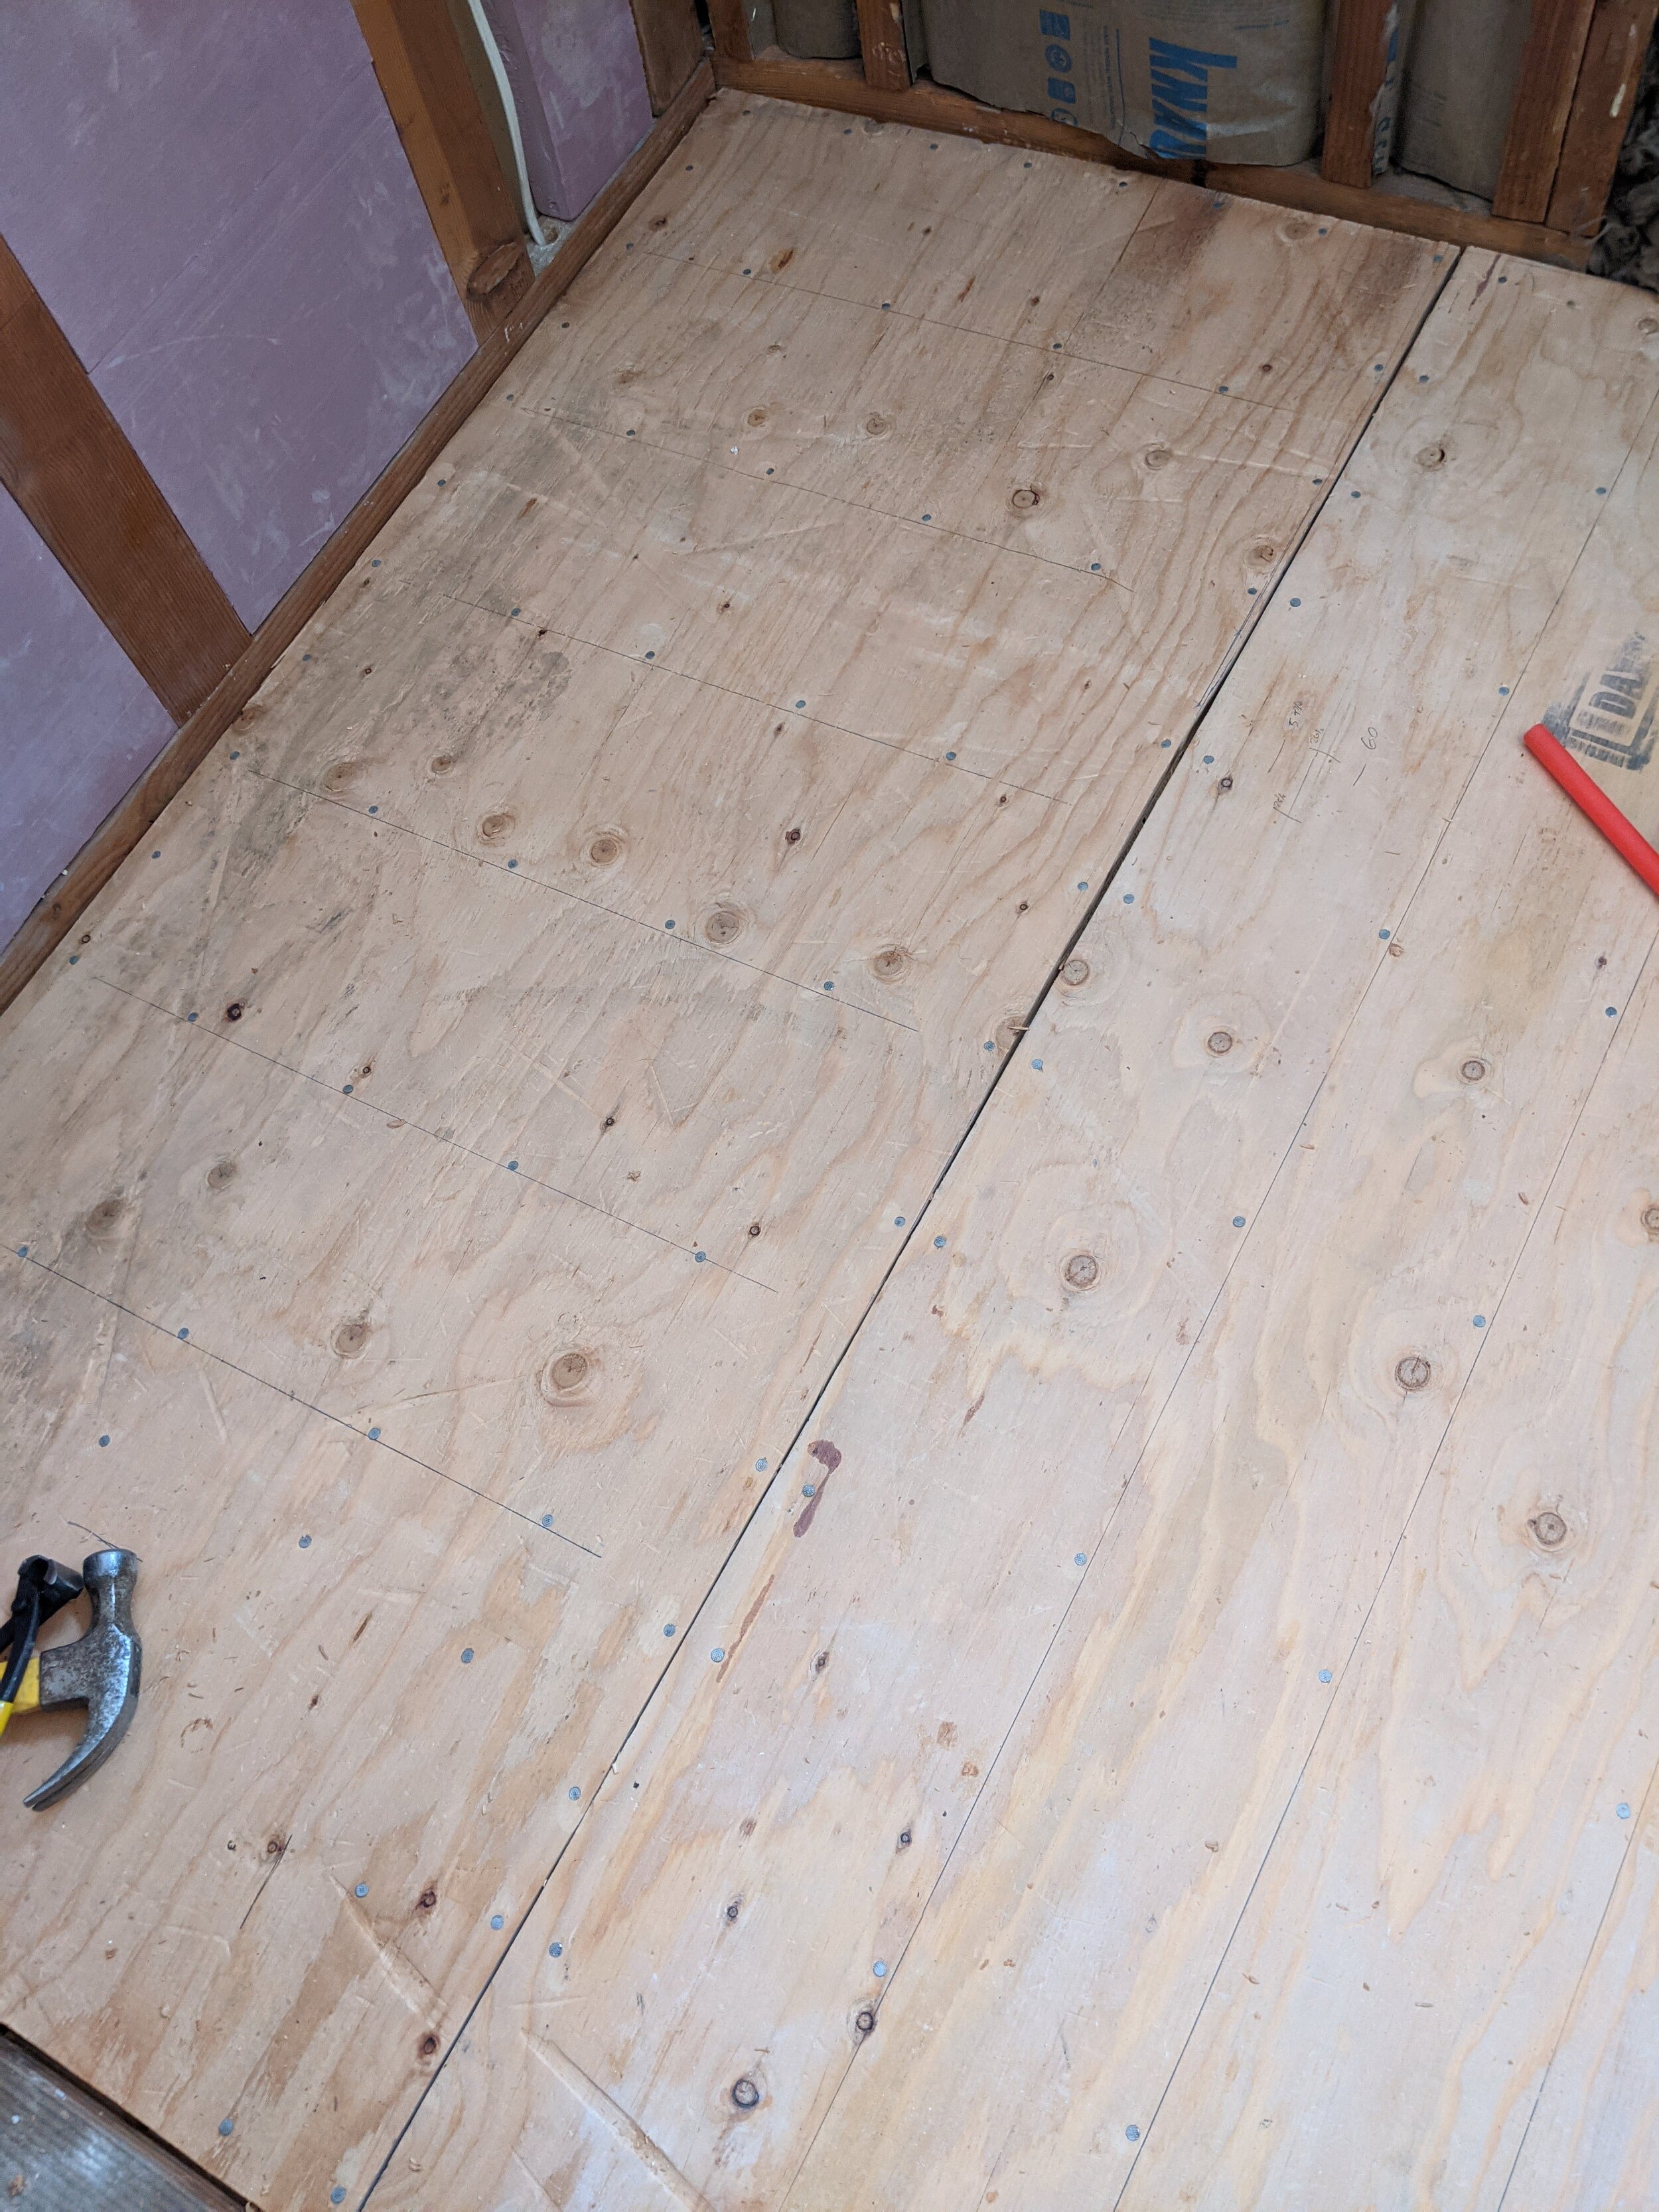
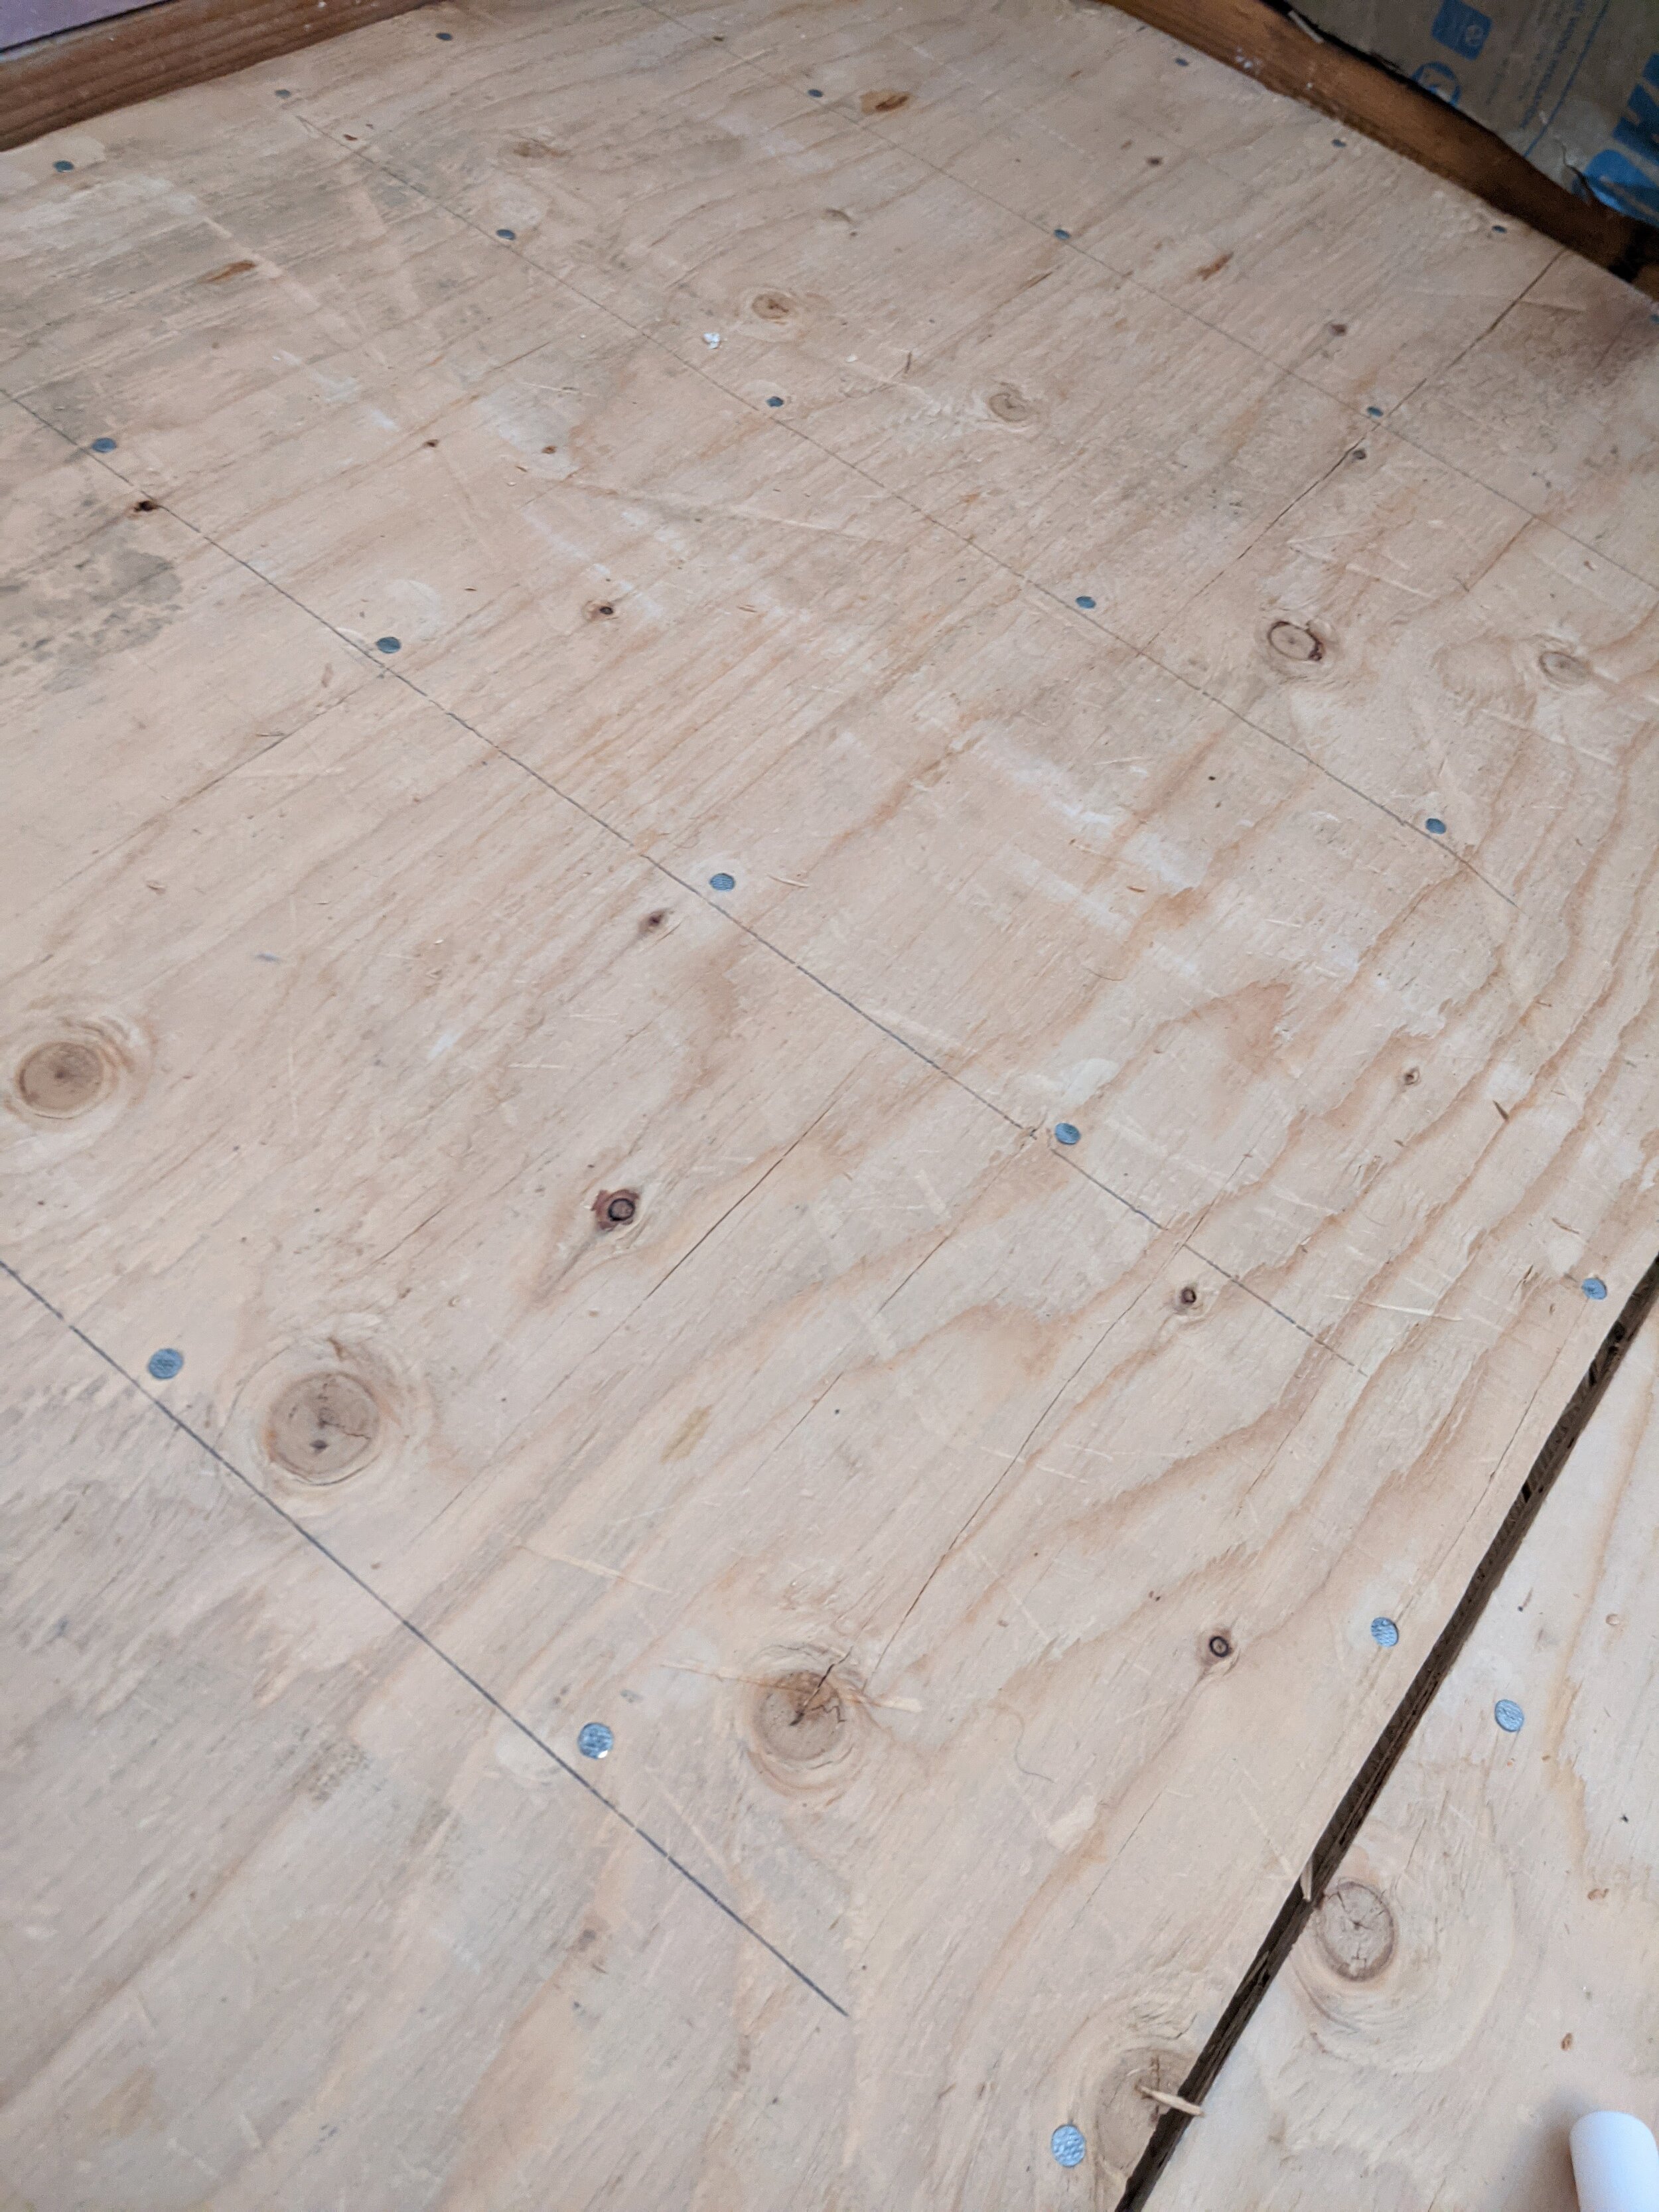
We moved on to the new subfloor next. We needed the height to match the floor in the rest of the house so there wasn’t a tripping hazard at the threshold. The jigsaw puzzle of getting all the holes right isn’t the complex part the way you’d think. We got the toilet hole right the first step. The trick was how uneven the walls were. So even when we had the angle right, we were running into small arching sections that managed to look visually straight and somehow weren’t. OYE. We finally got it, though, and fixed that baby to the floor TIGHT to reduce squeaking. We are very anti-floor-squeak in this house!
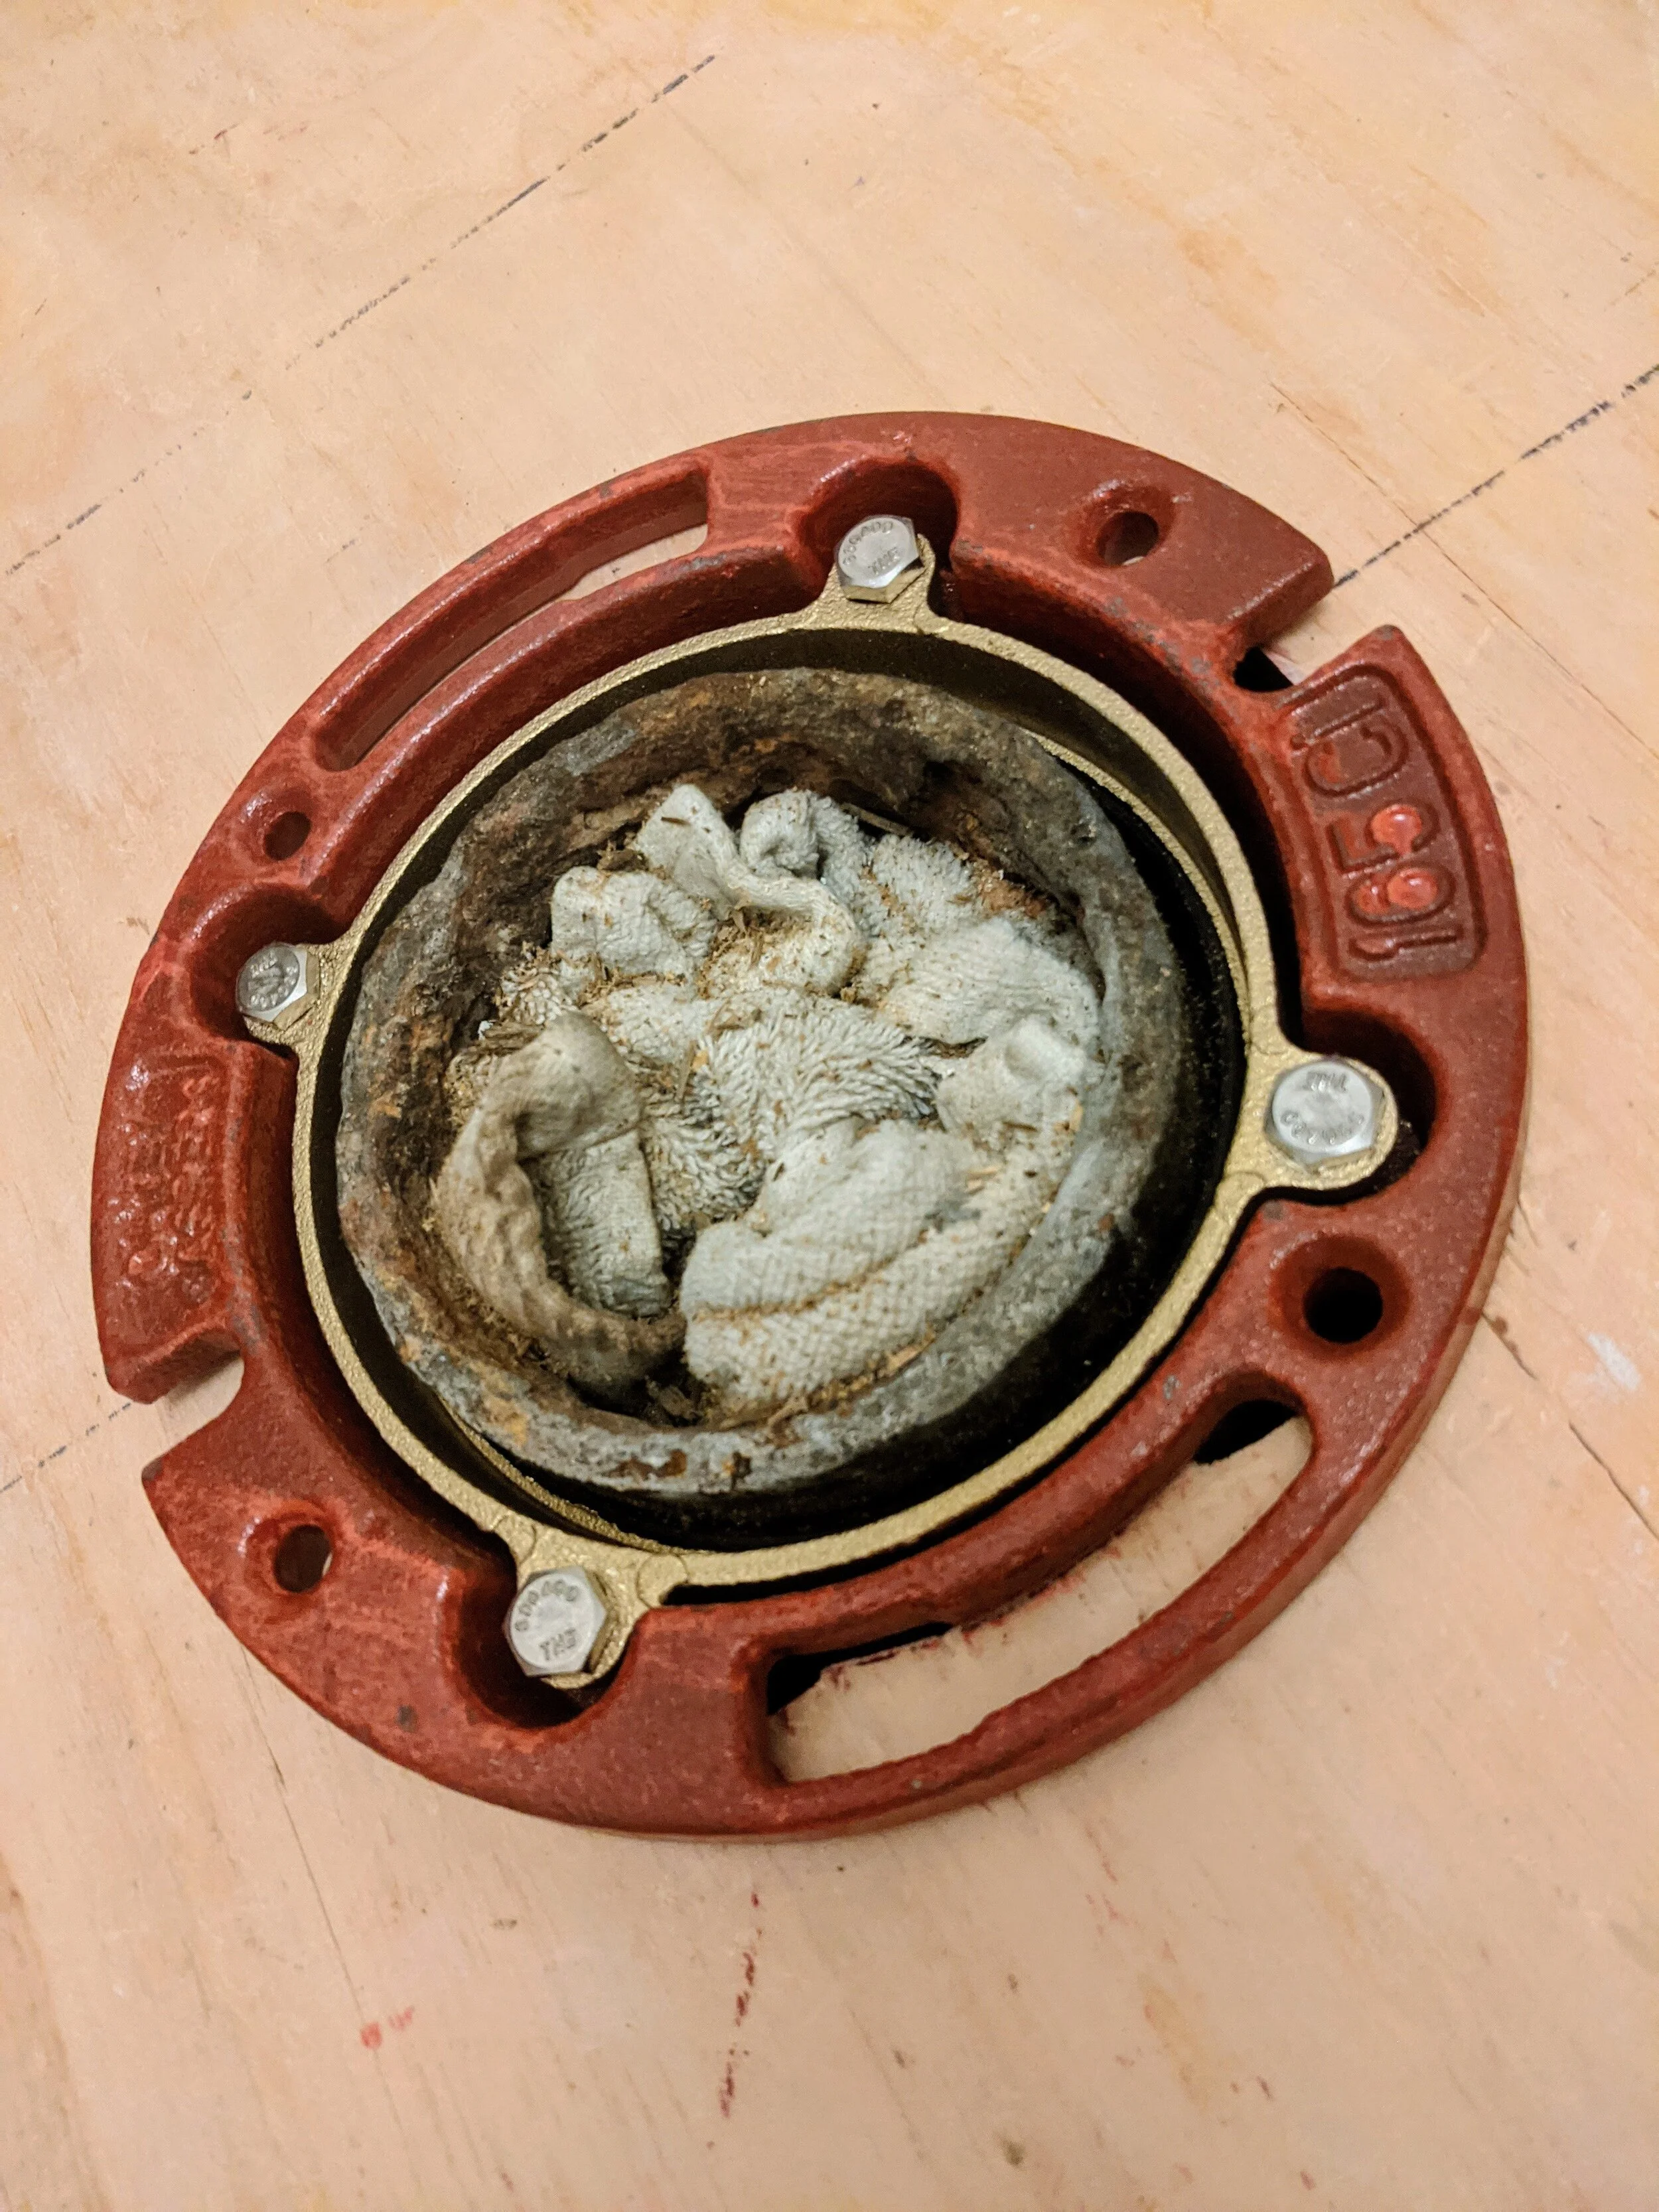
We also prepped the sewer pipe for the toilet with a new flange that 100000% looks like Iron Man’s arc reactor.
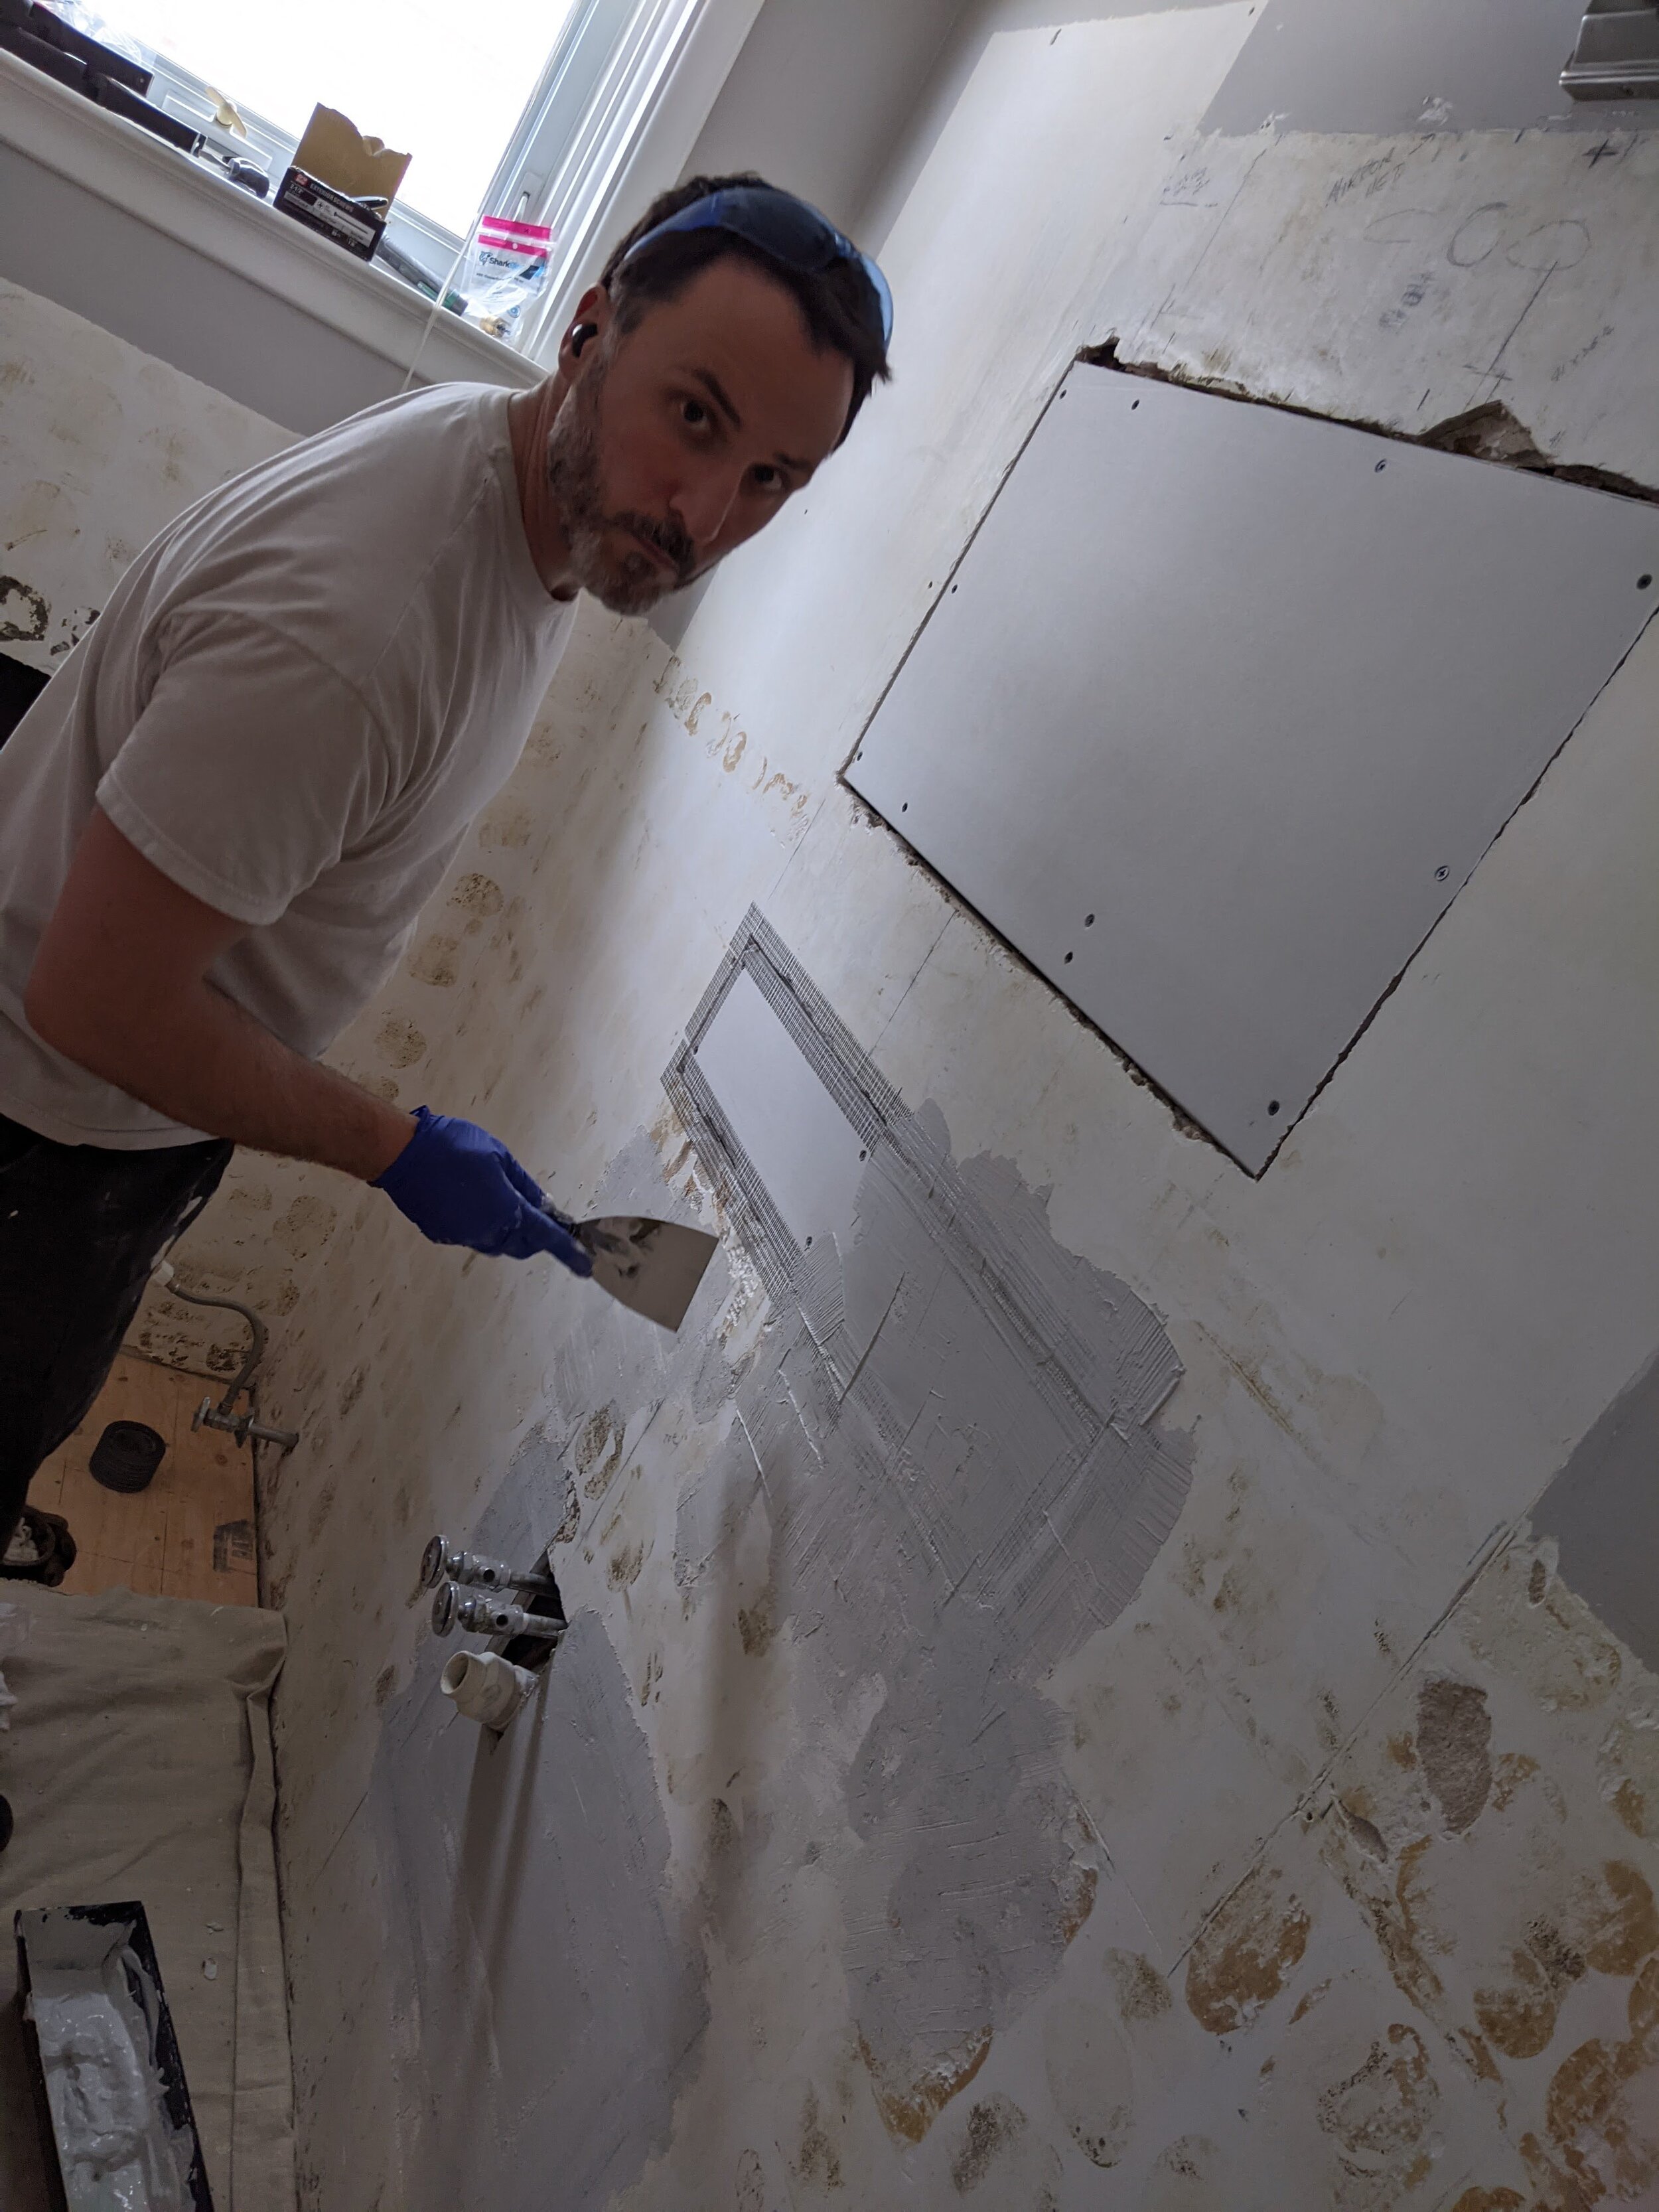
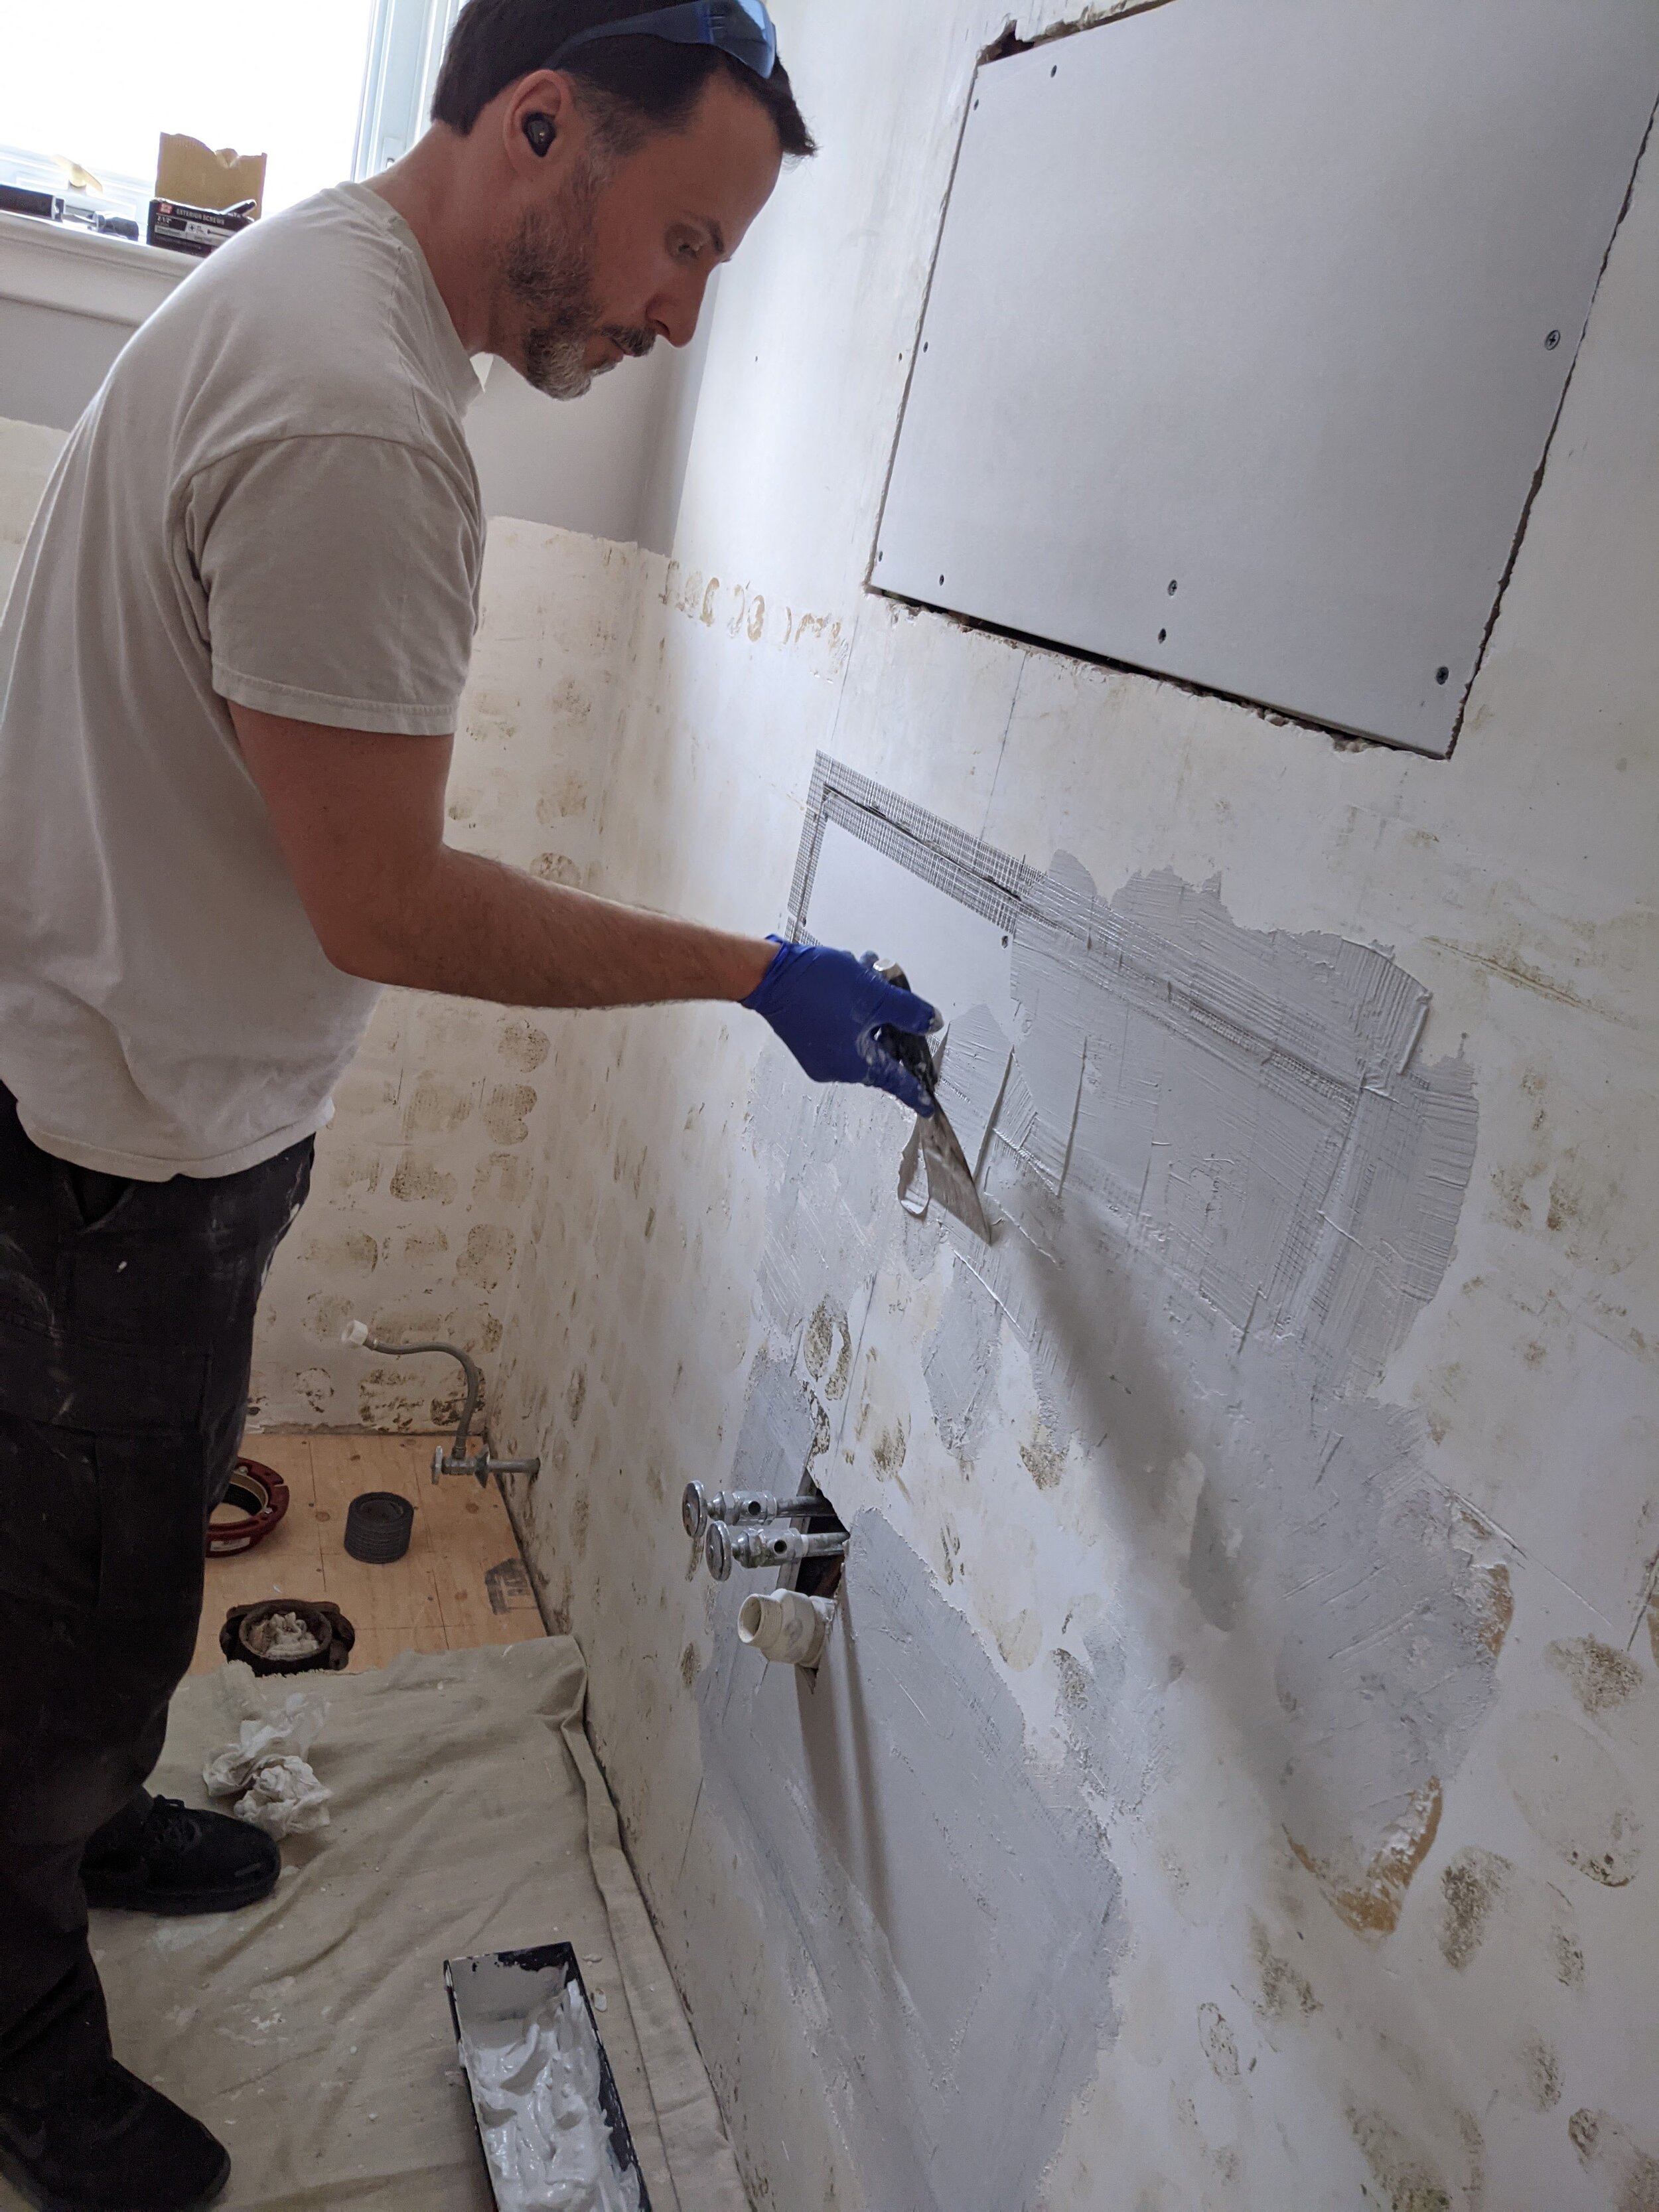
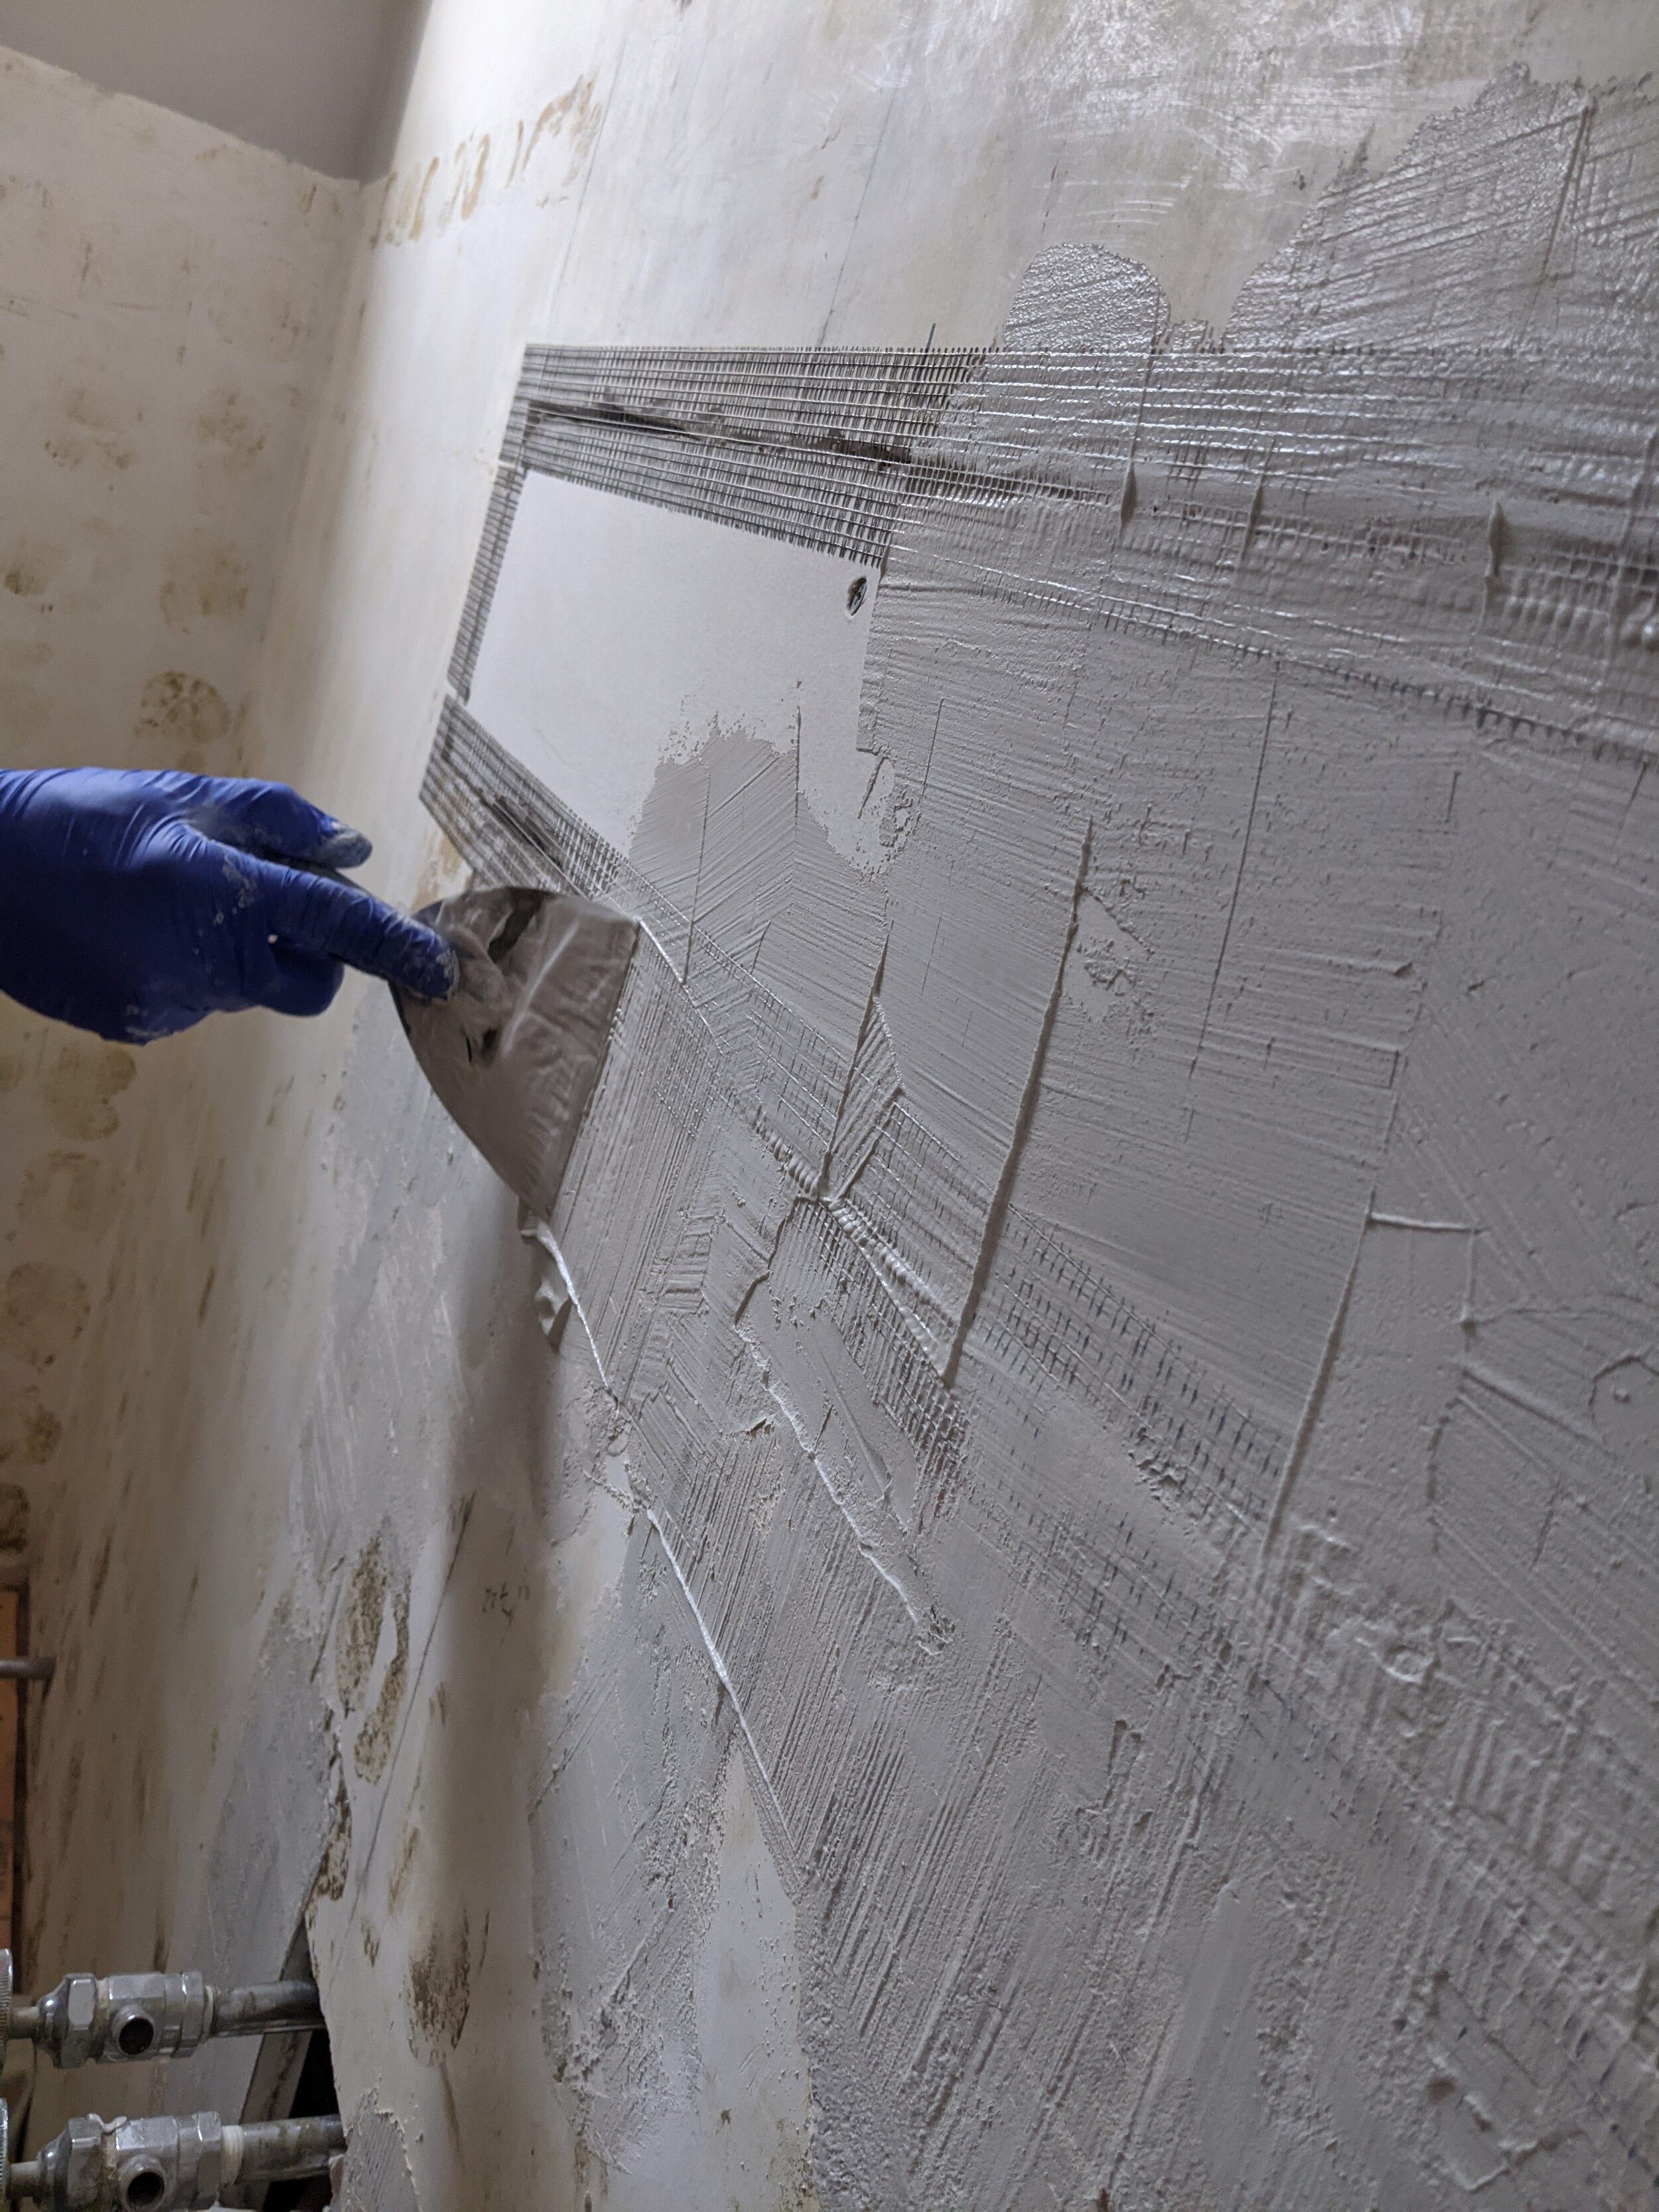
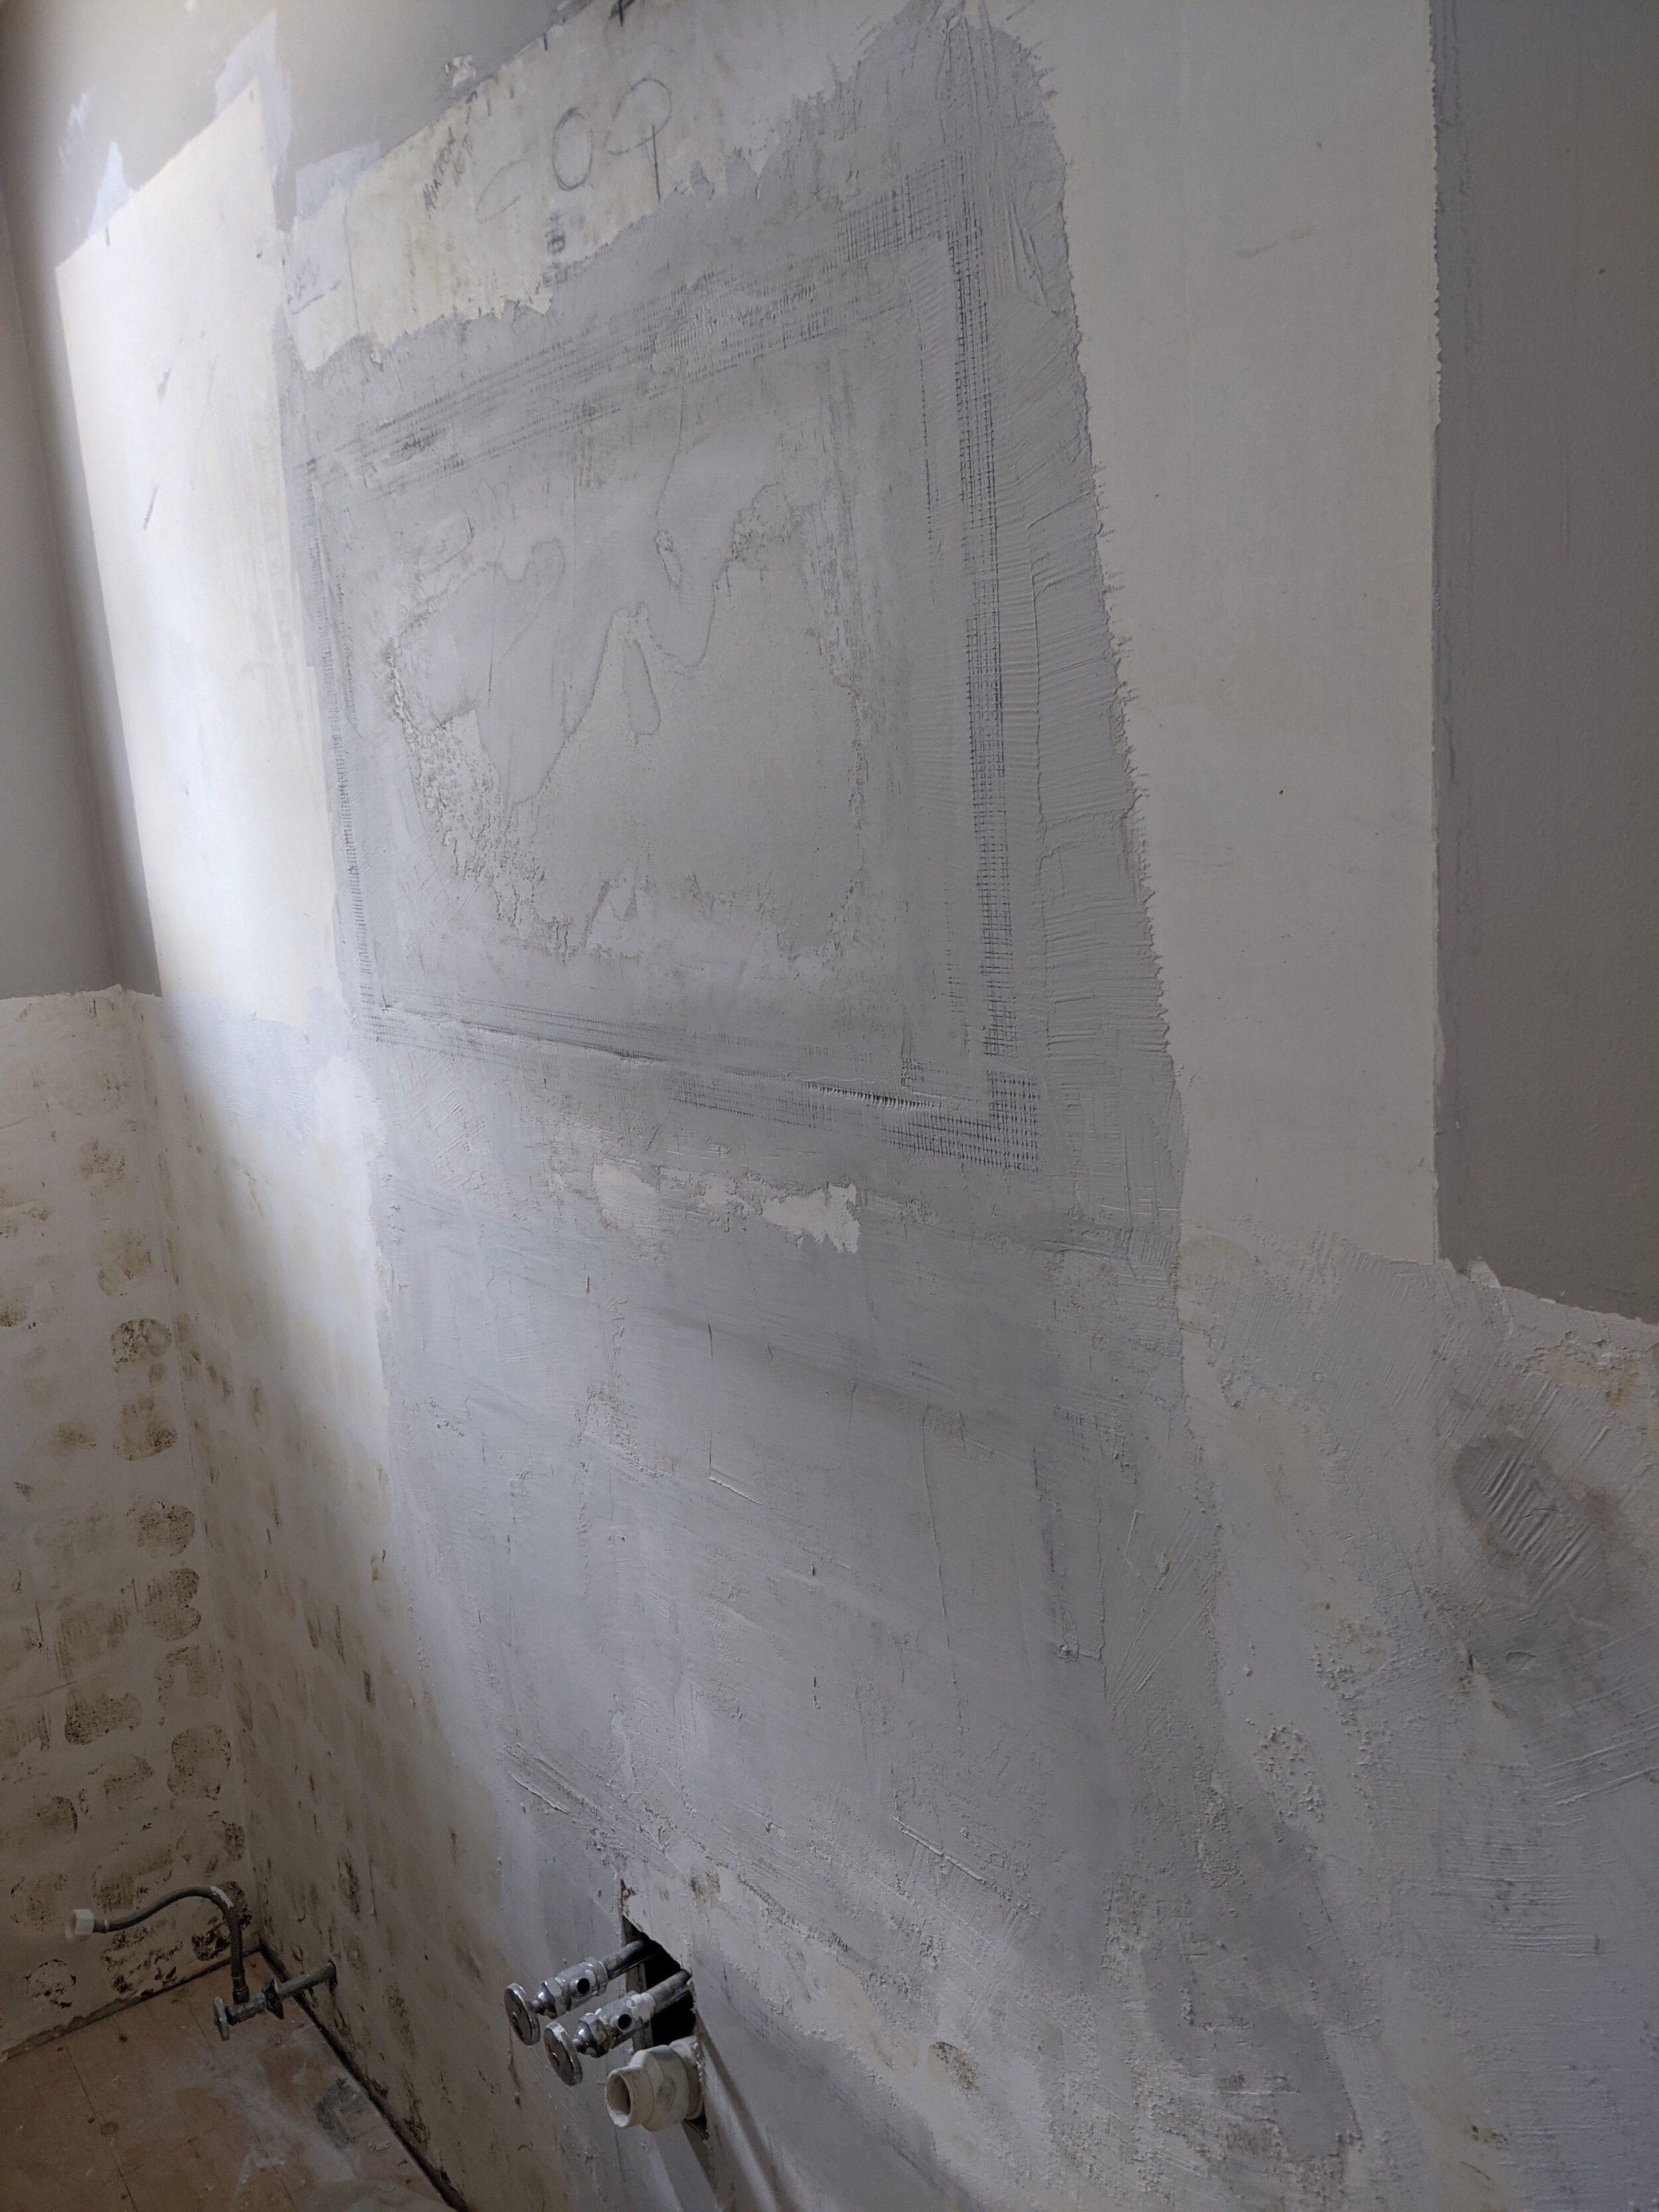
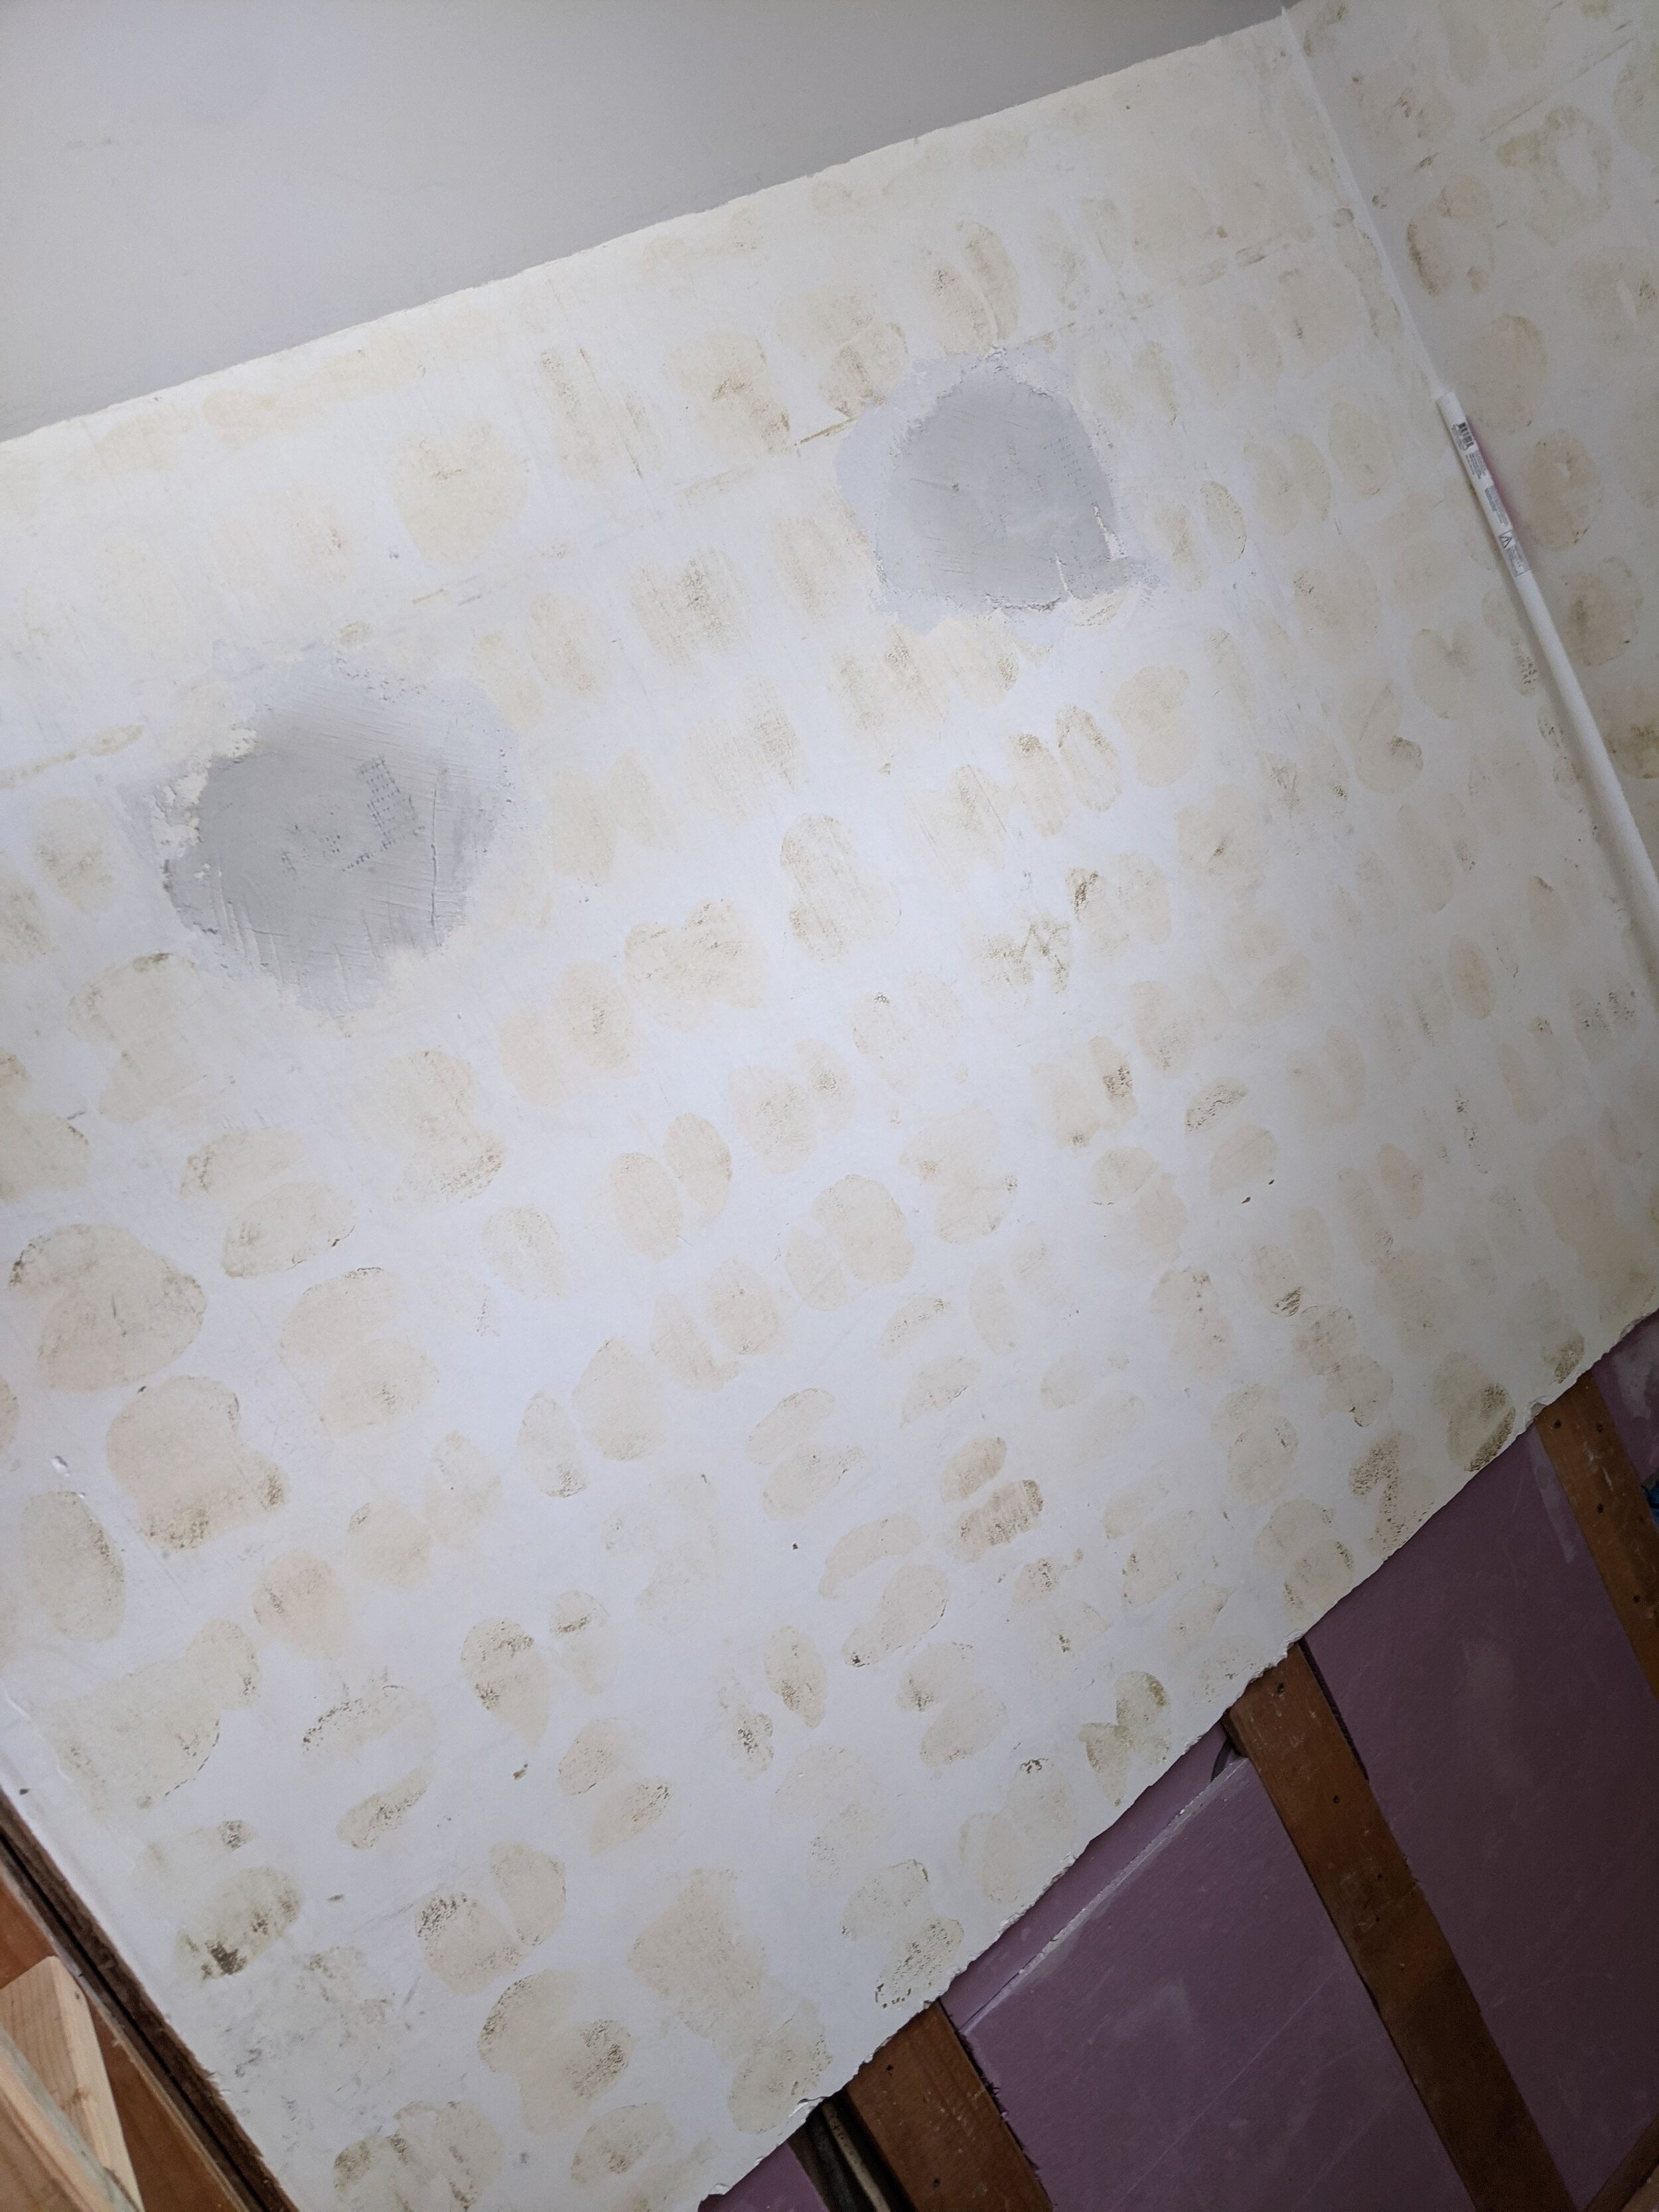
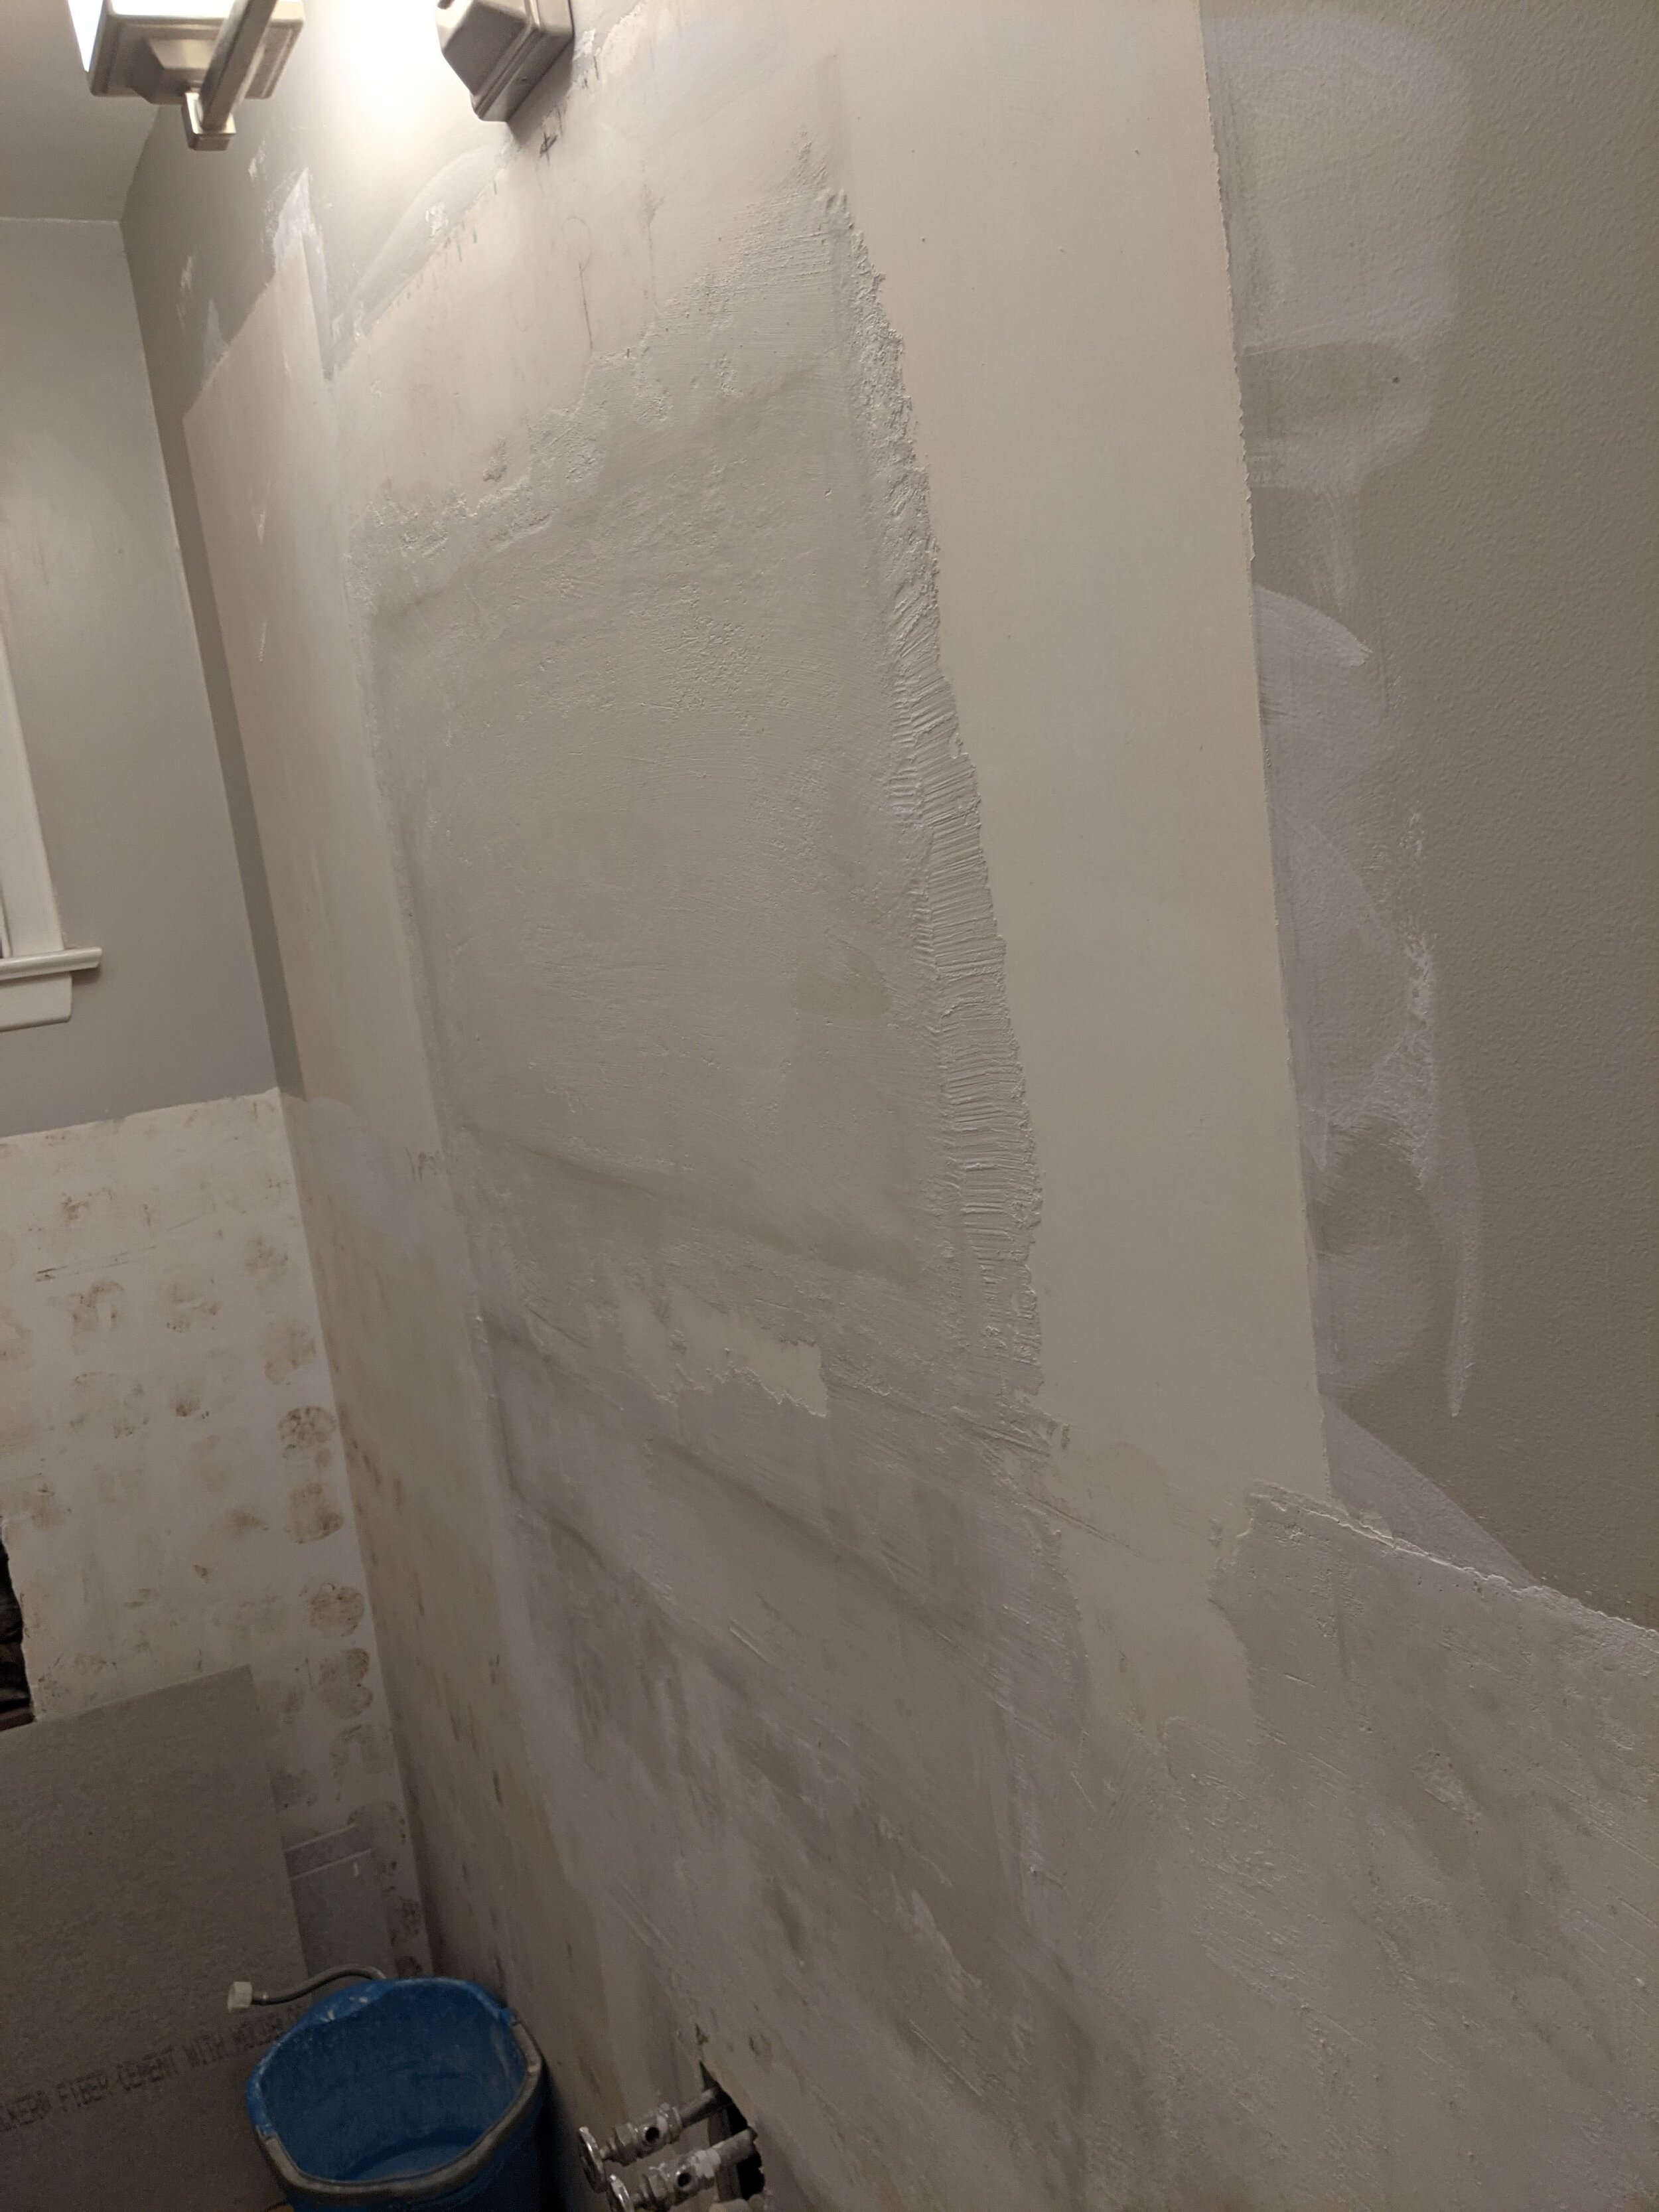
Once we’d murdered our fingers scraping off the remaining tile glue, it was time to fix the wall up. There were holes from the plumbing work that we’d just made, but there were also large holes that had previously been behind the large mirror from an old medicine cabinet and toothbrush holder. There were also two holes from a towel bar that had been in the shower, over the tub.
Plaster patches are not very fun. There are a lot of steps to get it right. We’ve all seen lumpy walls… terrible. Paint can’t hide that. So it’s mud and sand and mud and sand and mud and sand and mud and sand and mud and sand and then you repeat…
Stay tuned next time for the exciting start of work on the shower!!

