
Metallic. Naked. Baby Angels. Oh my goodness. You never know what you are going to discover with home demolition — we’re found mouse graveyards galore — but this wallpaper takes the cake. The funniest part is how this is ALMOST so hideous that it’s really cute again. In fact, I posted it on my personal FB wall and a bunch of friends said they loved it.
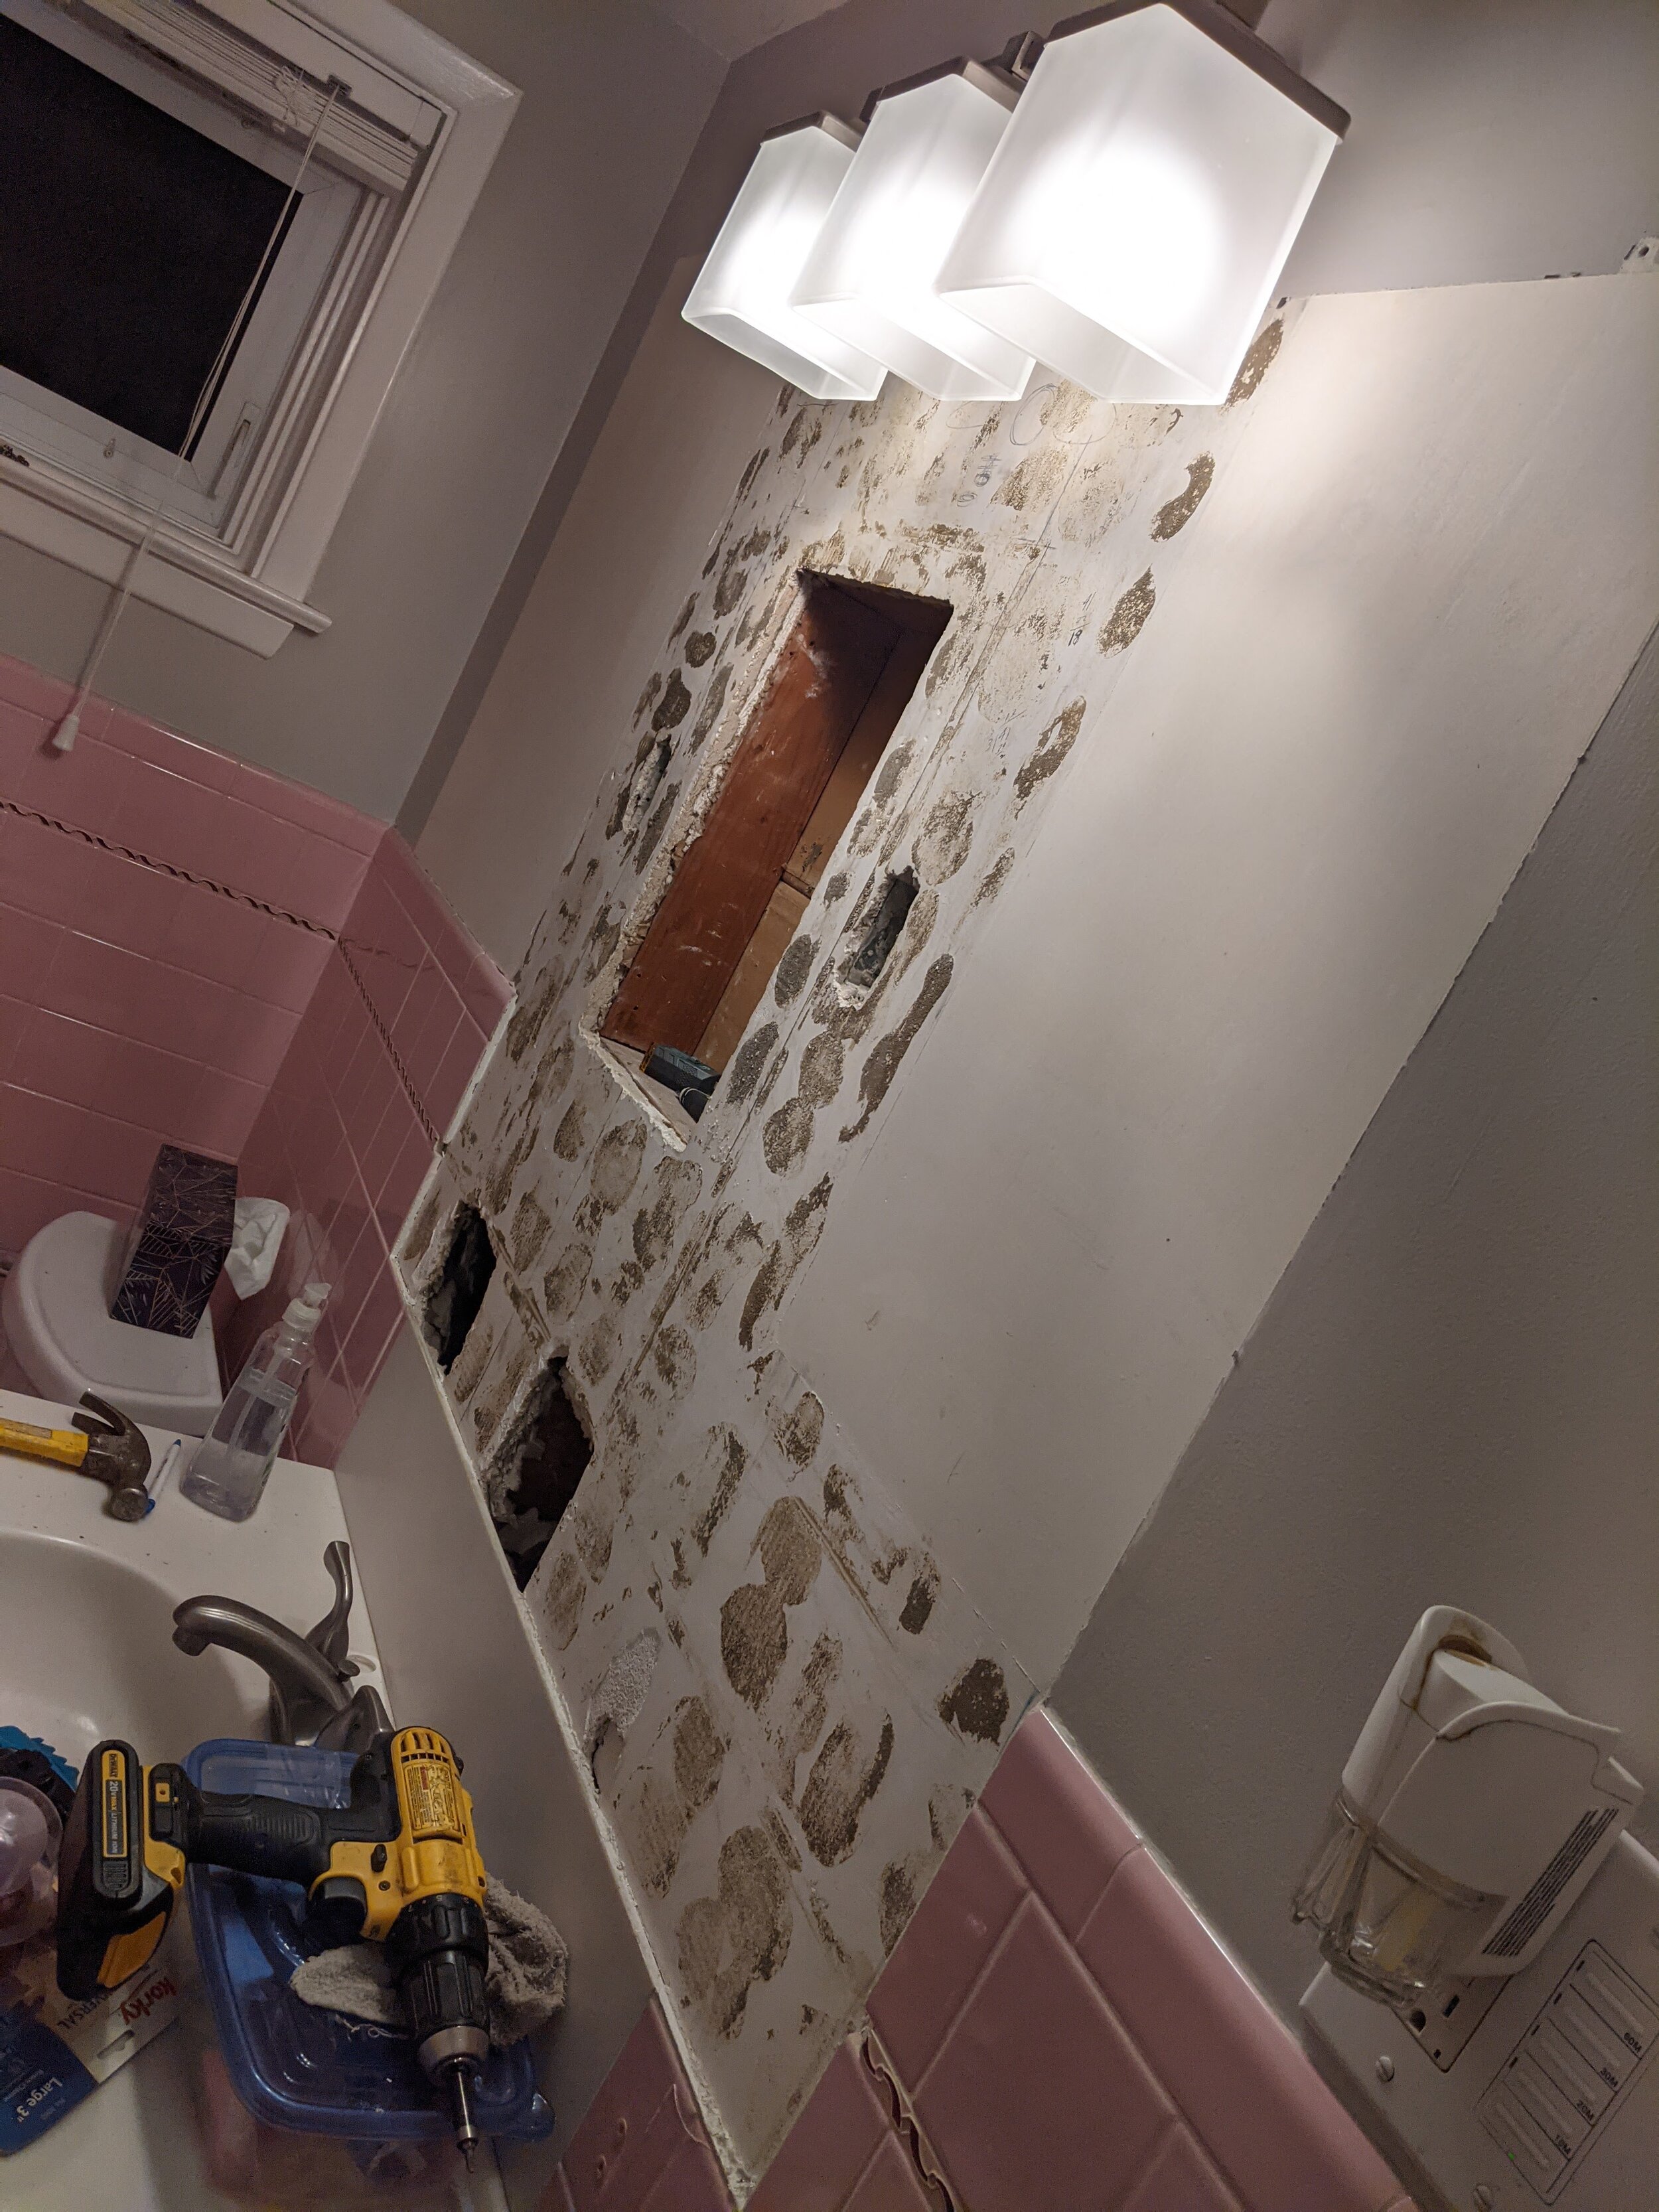
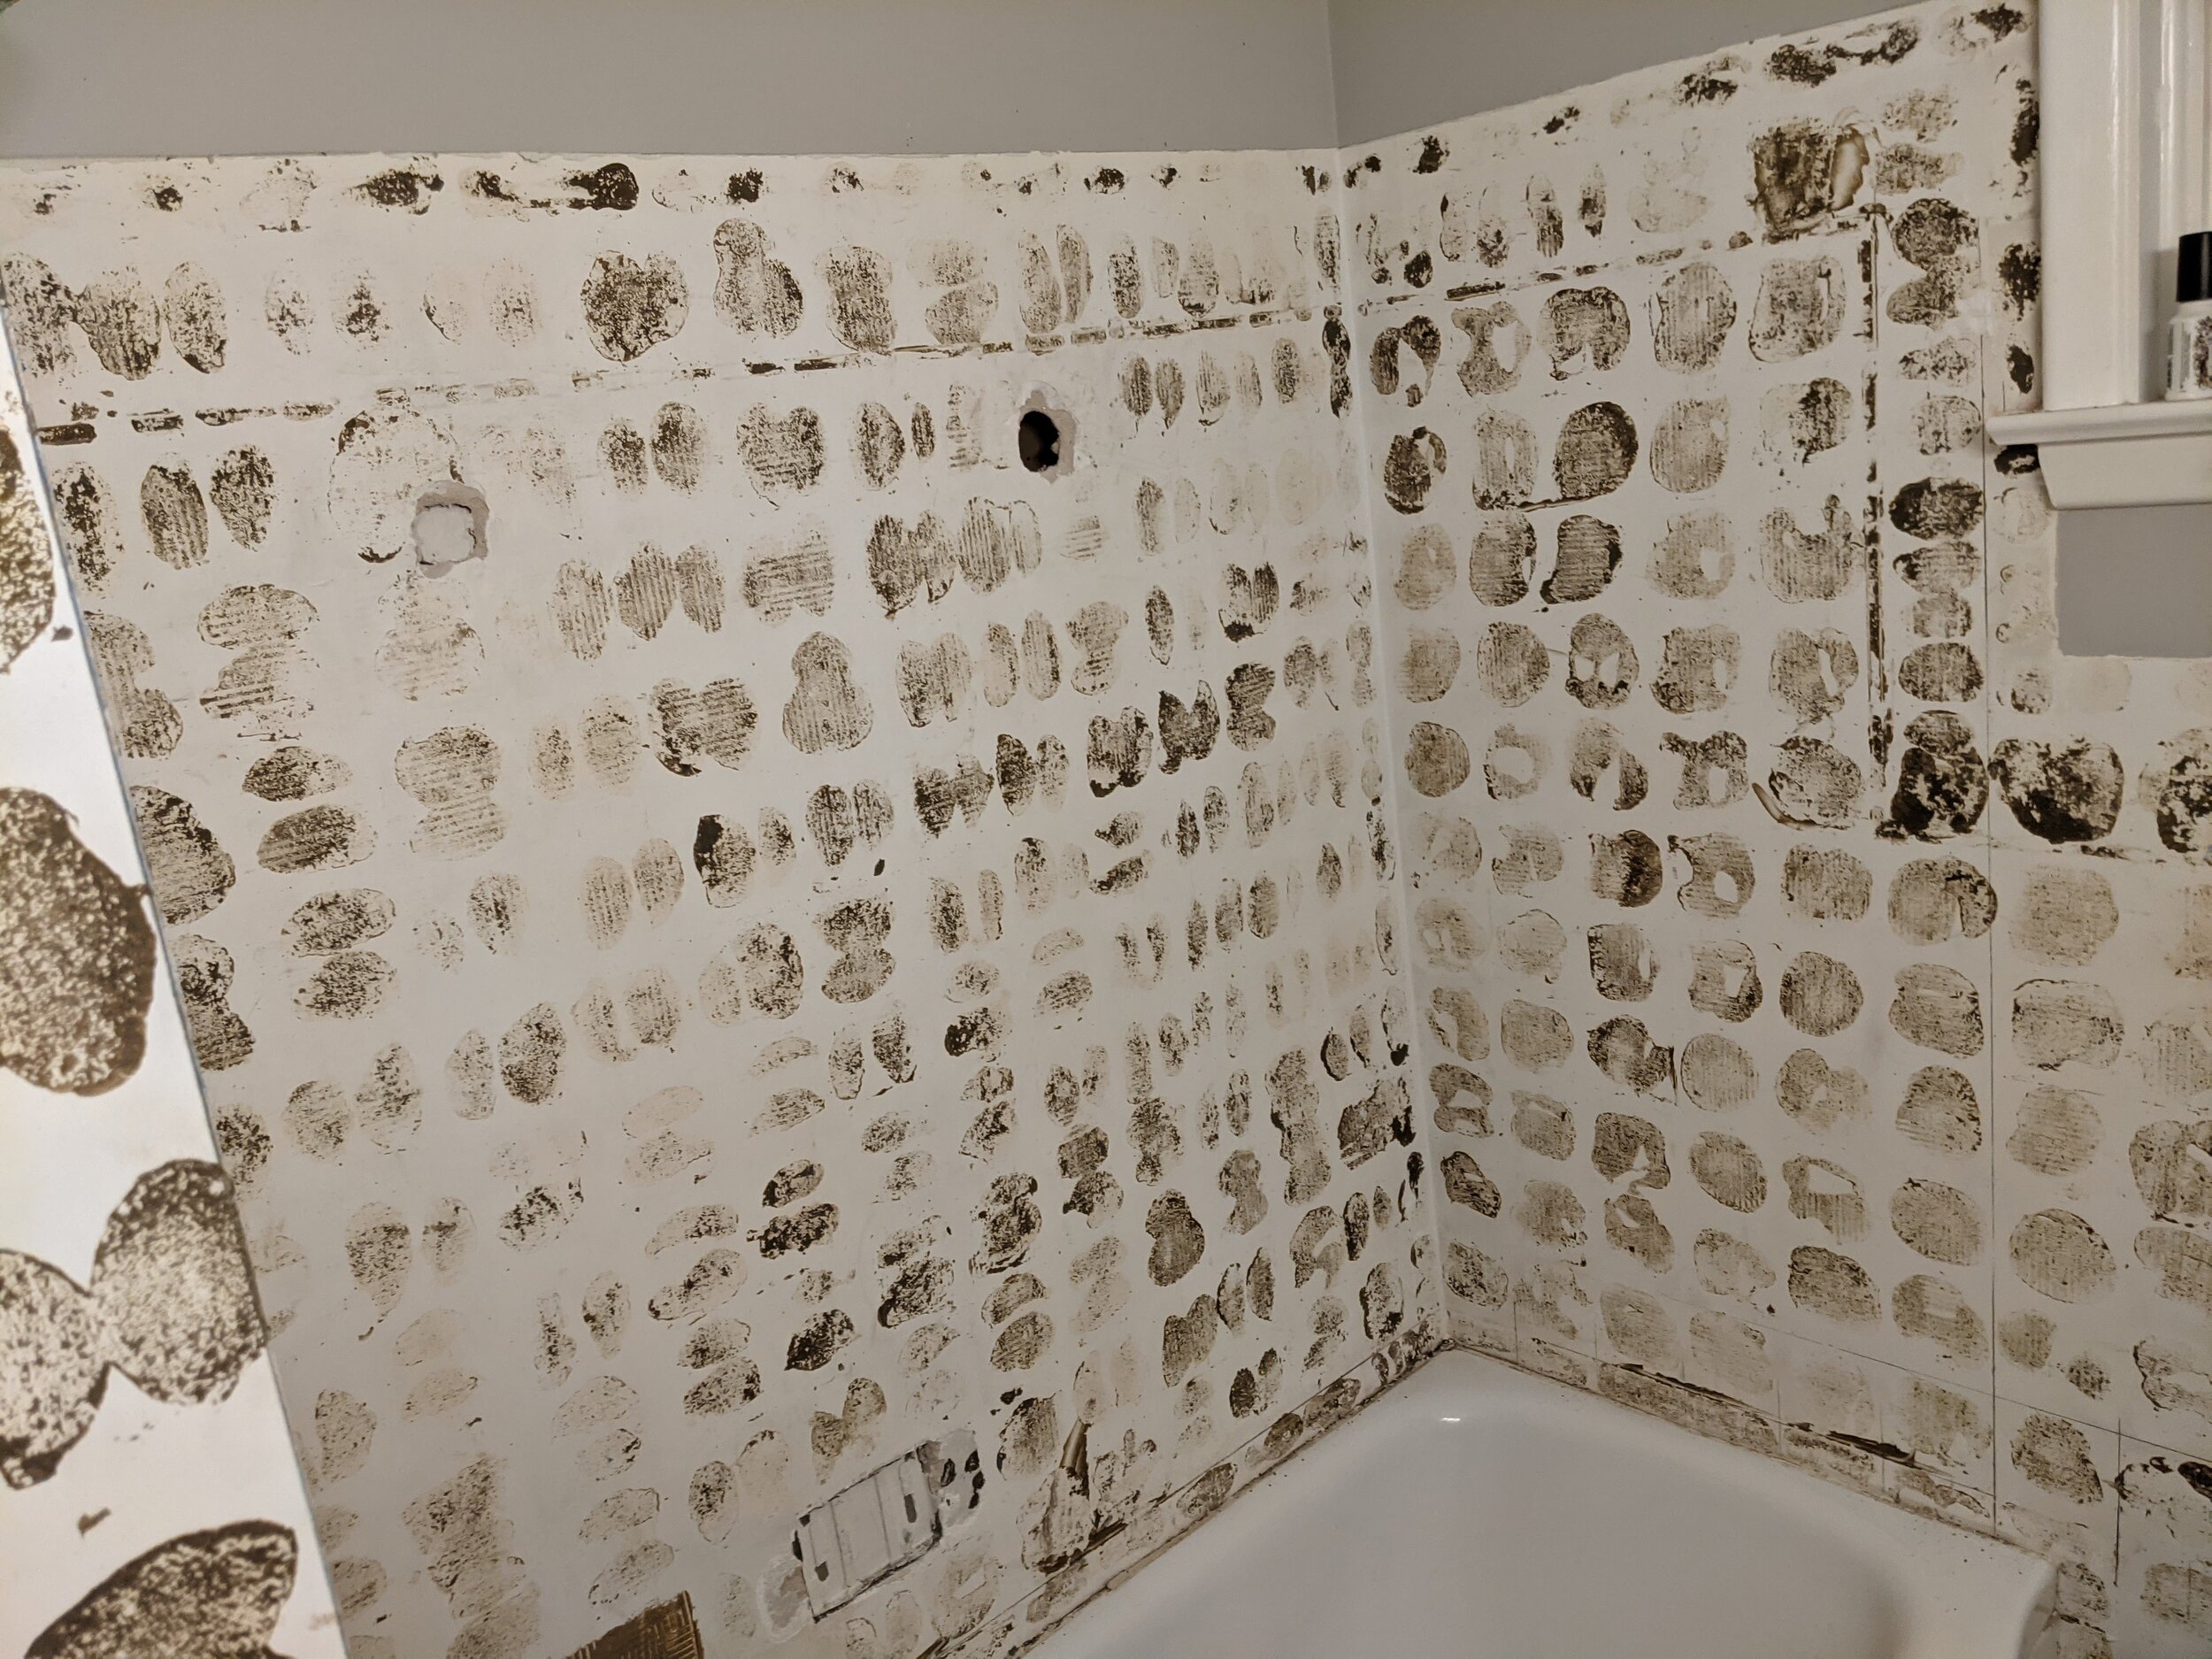
We did a quick mini-reno of this bathroom when we bought the house and took down metallic flowered wallpaper from the exposed walls, but behind the mirror was this glorious previous iteration:
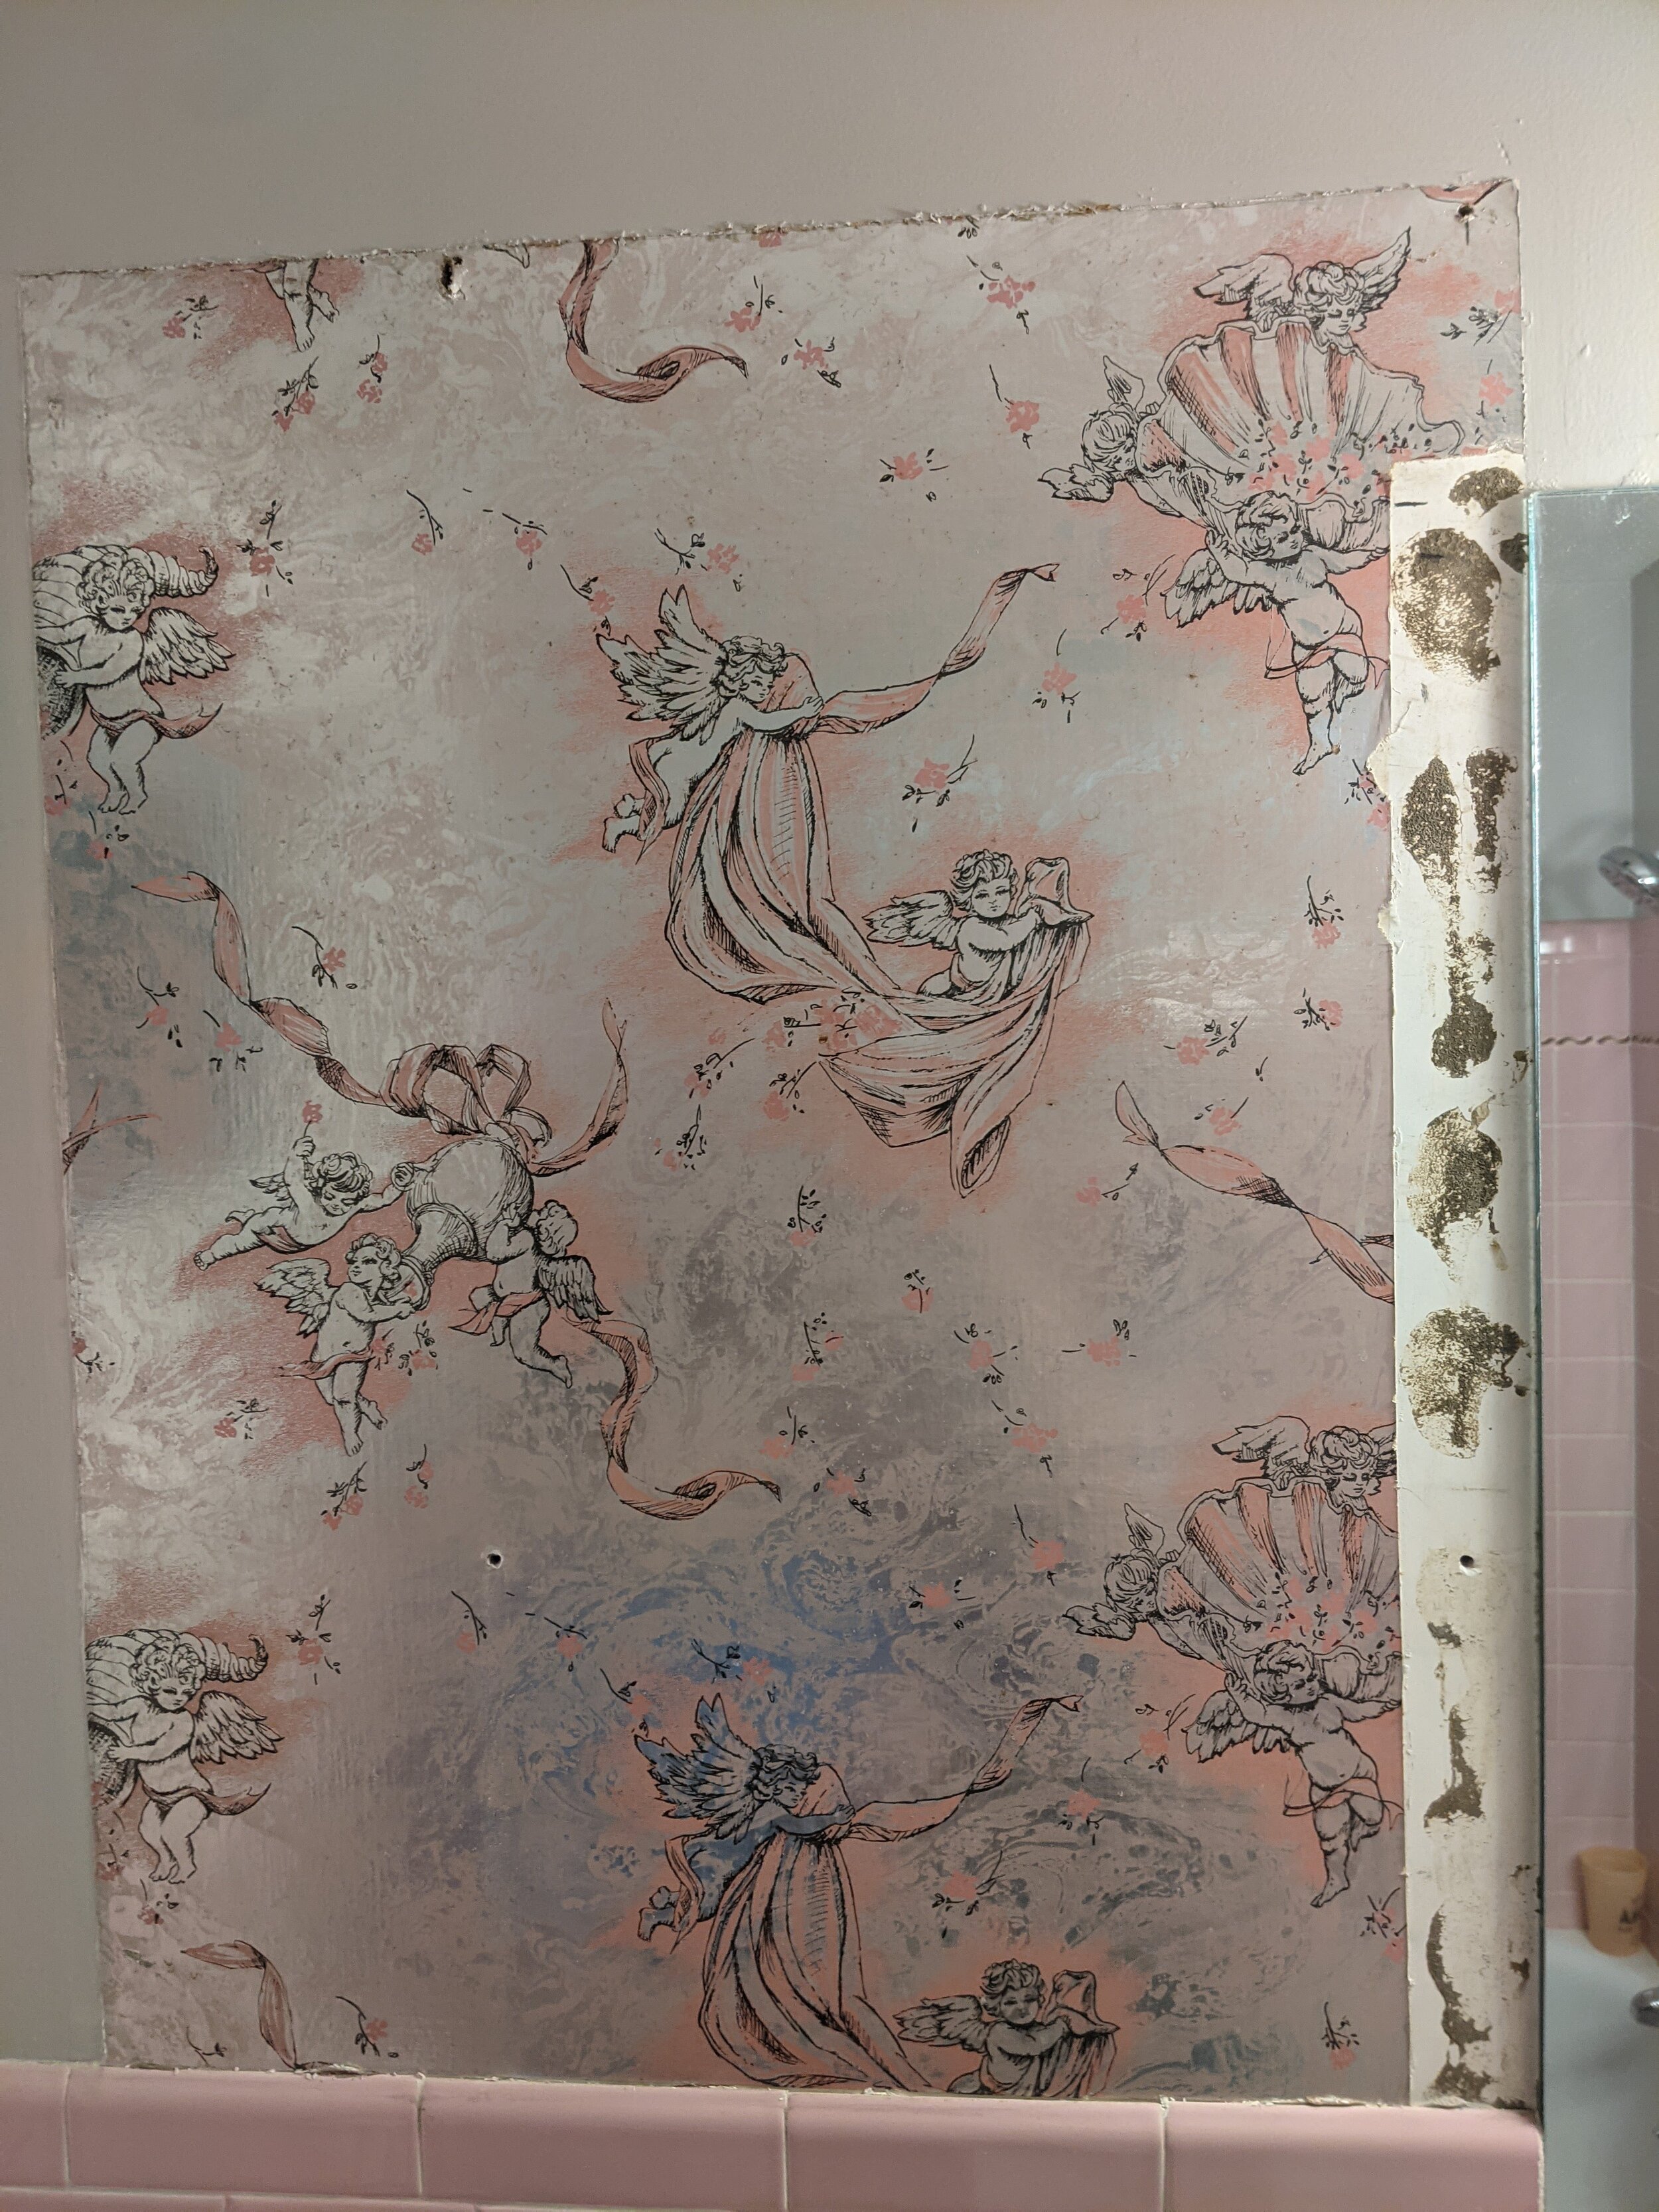
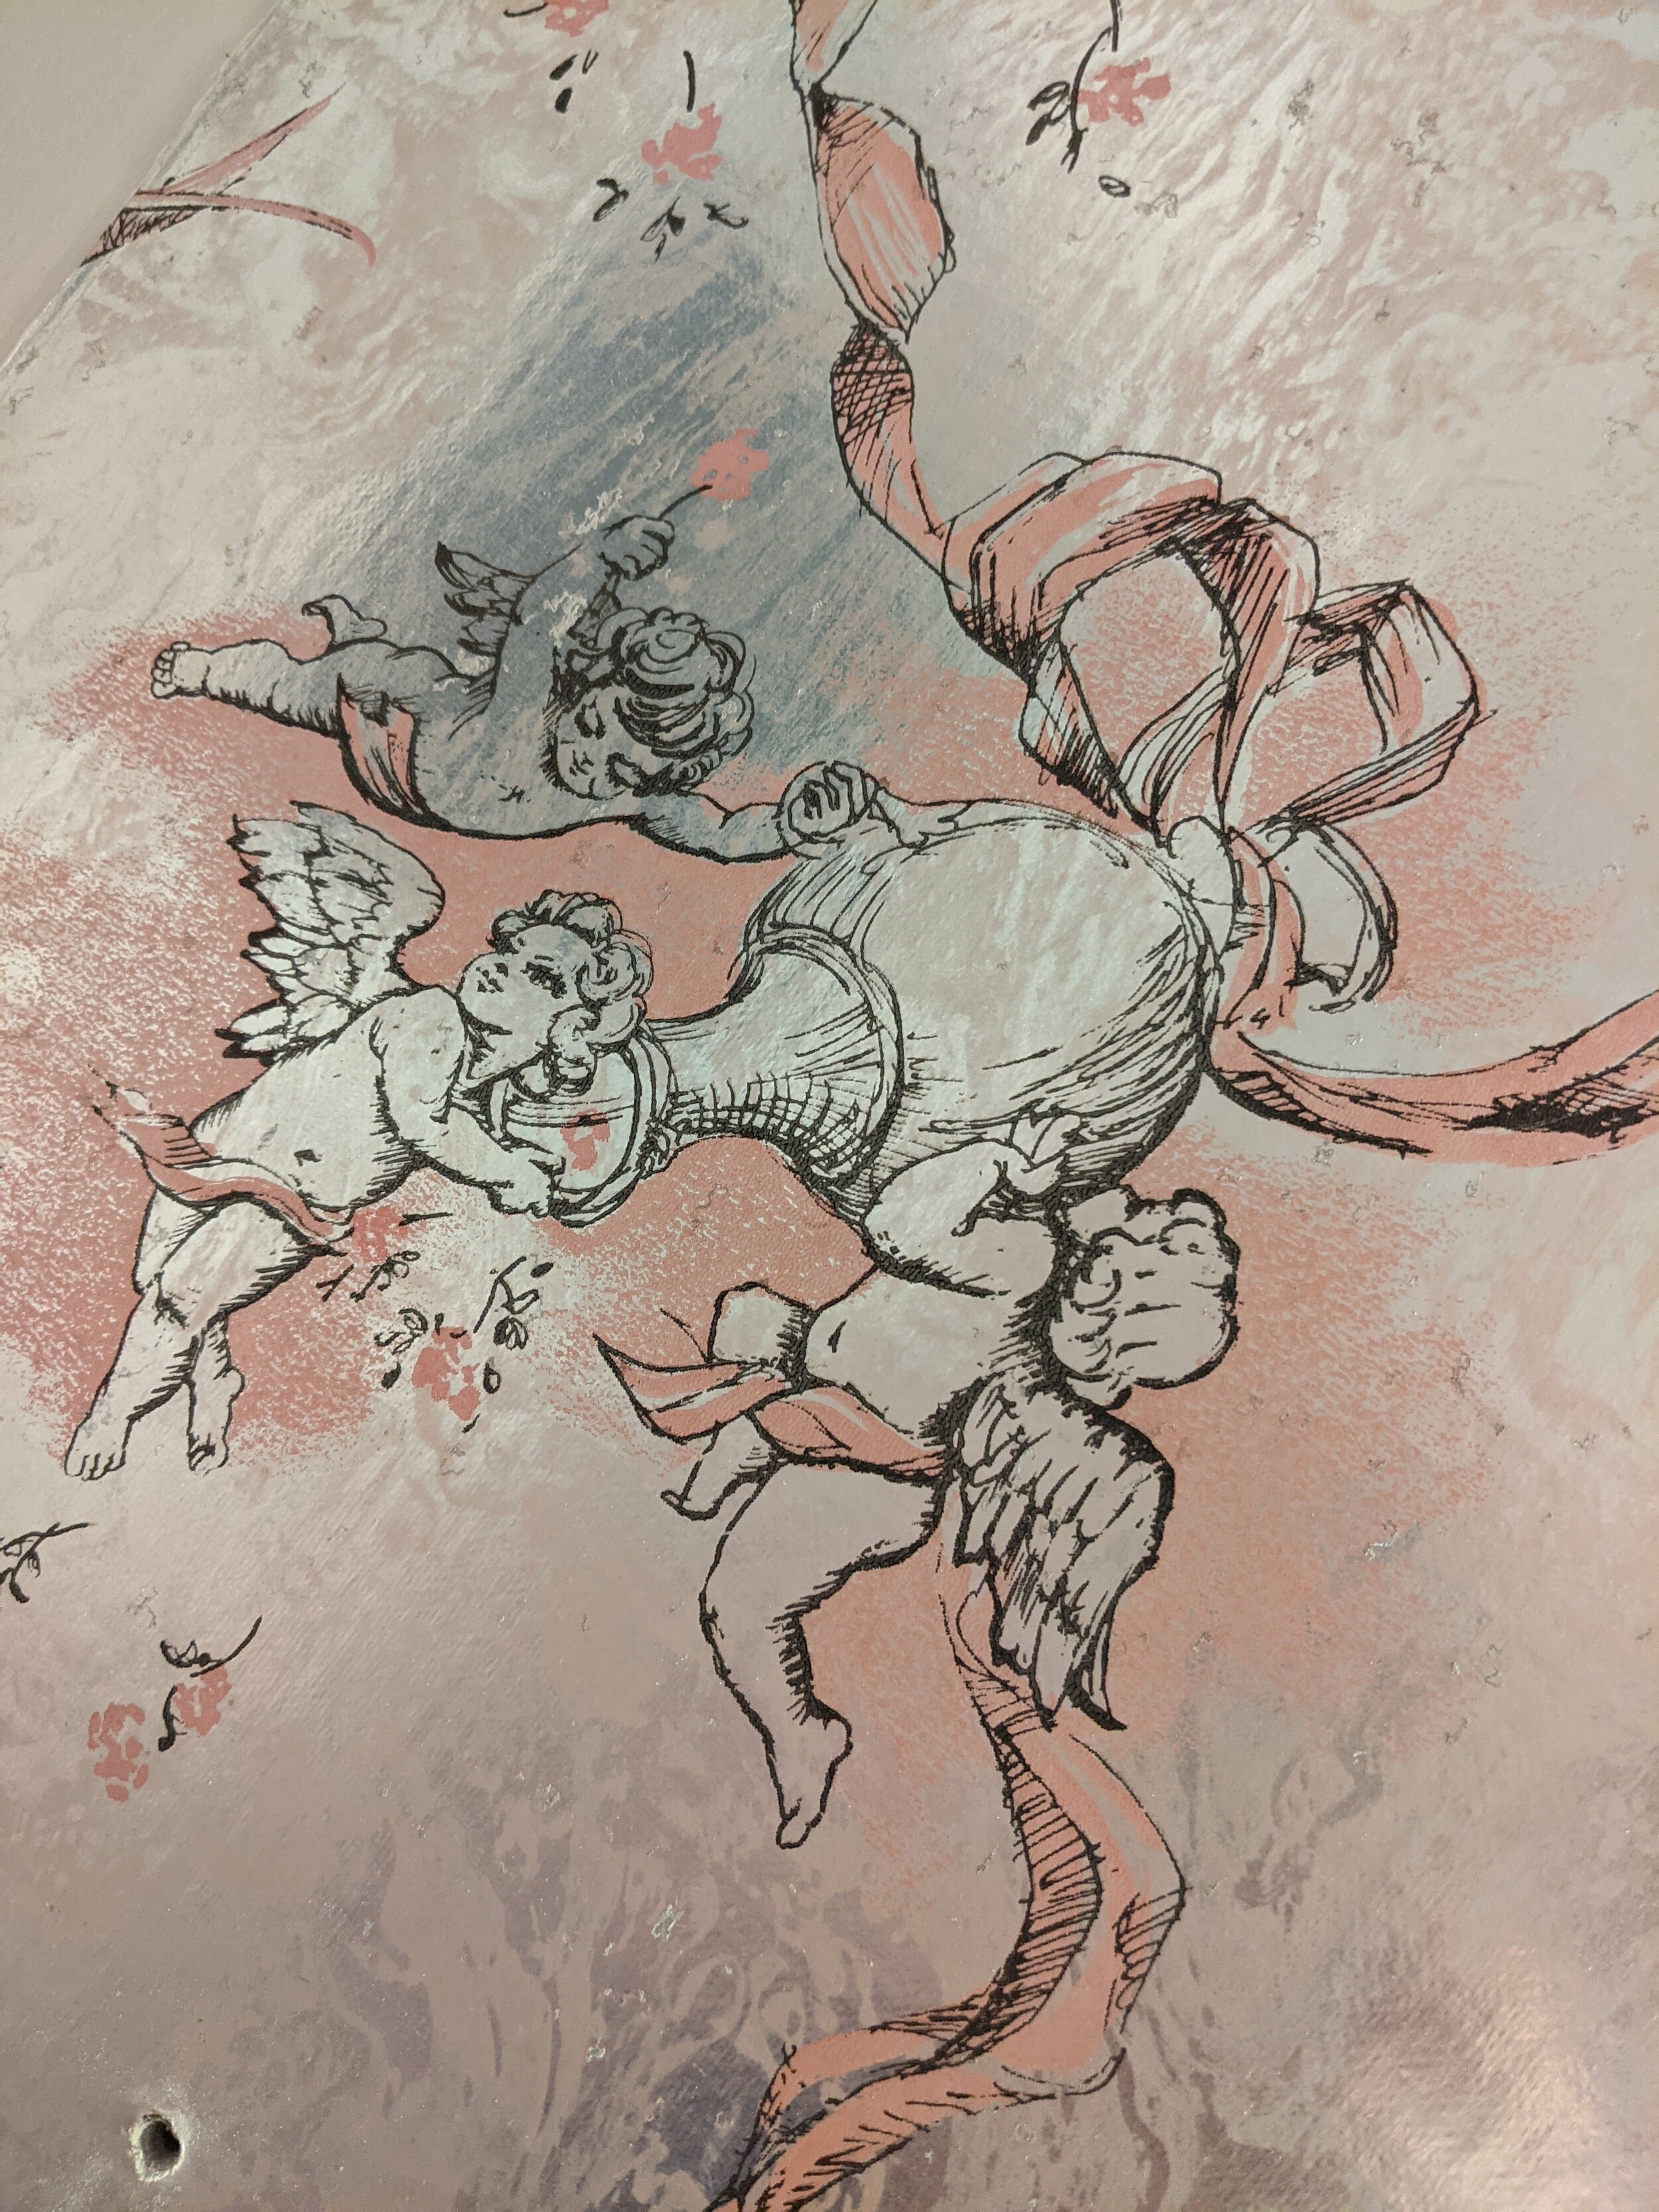
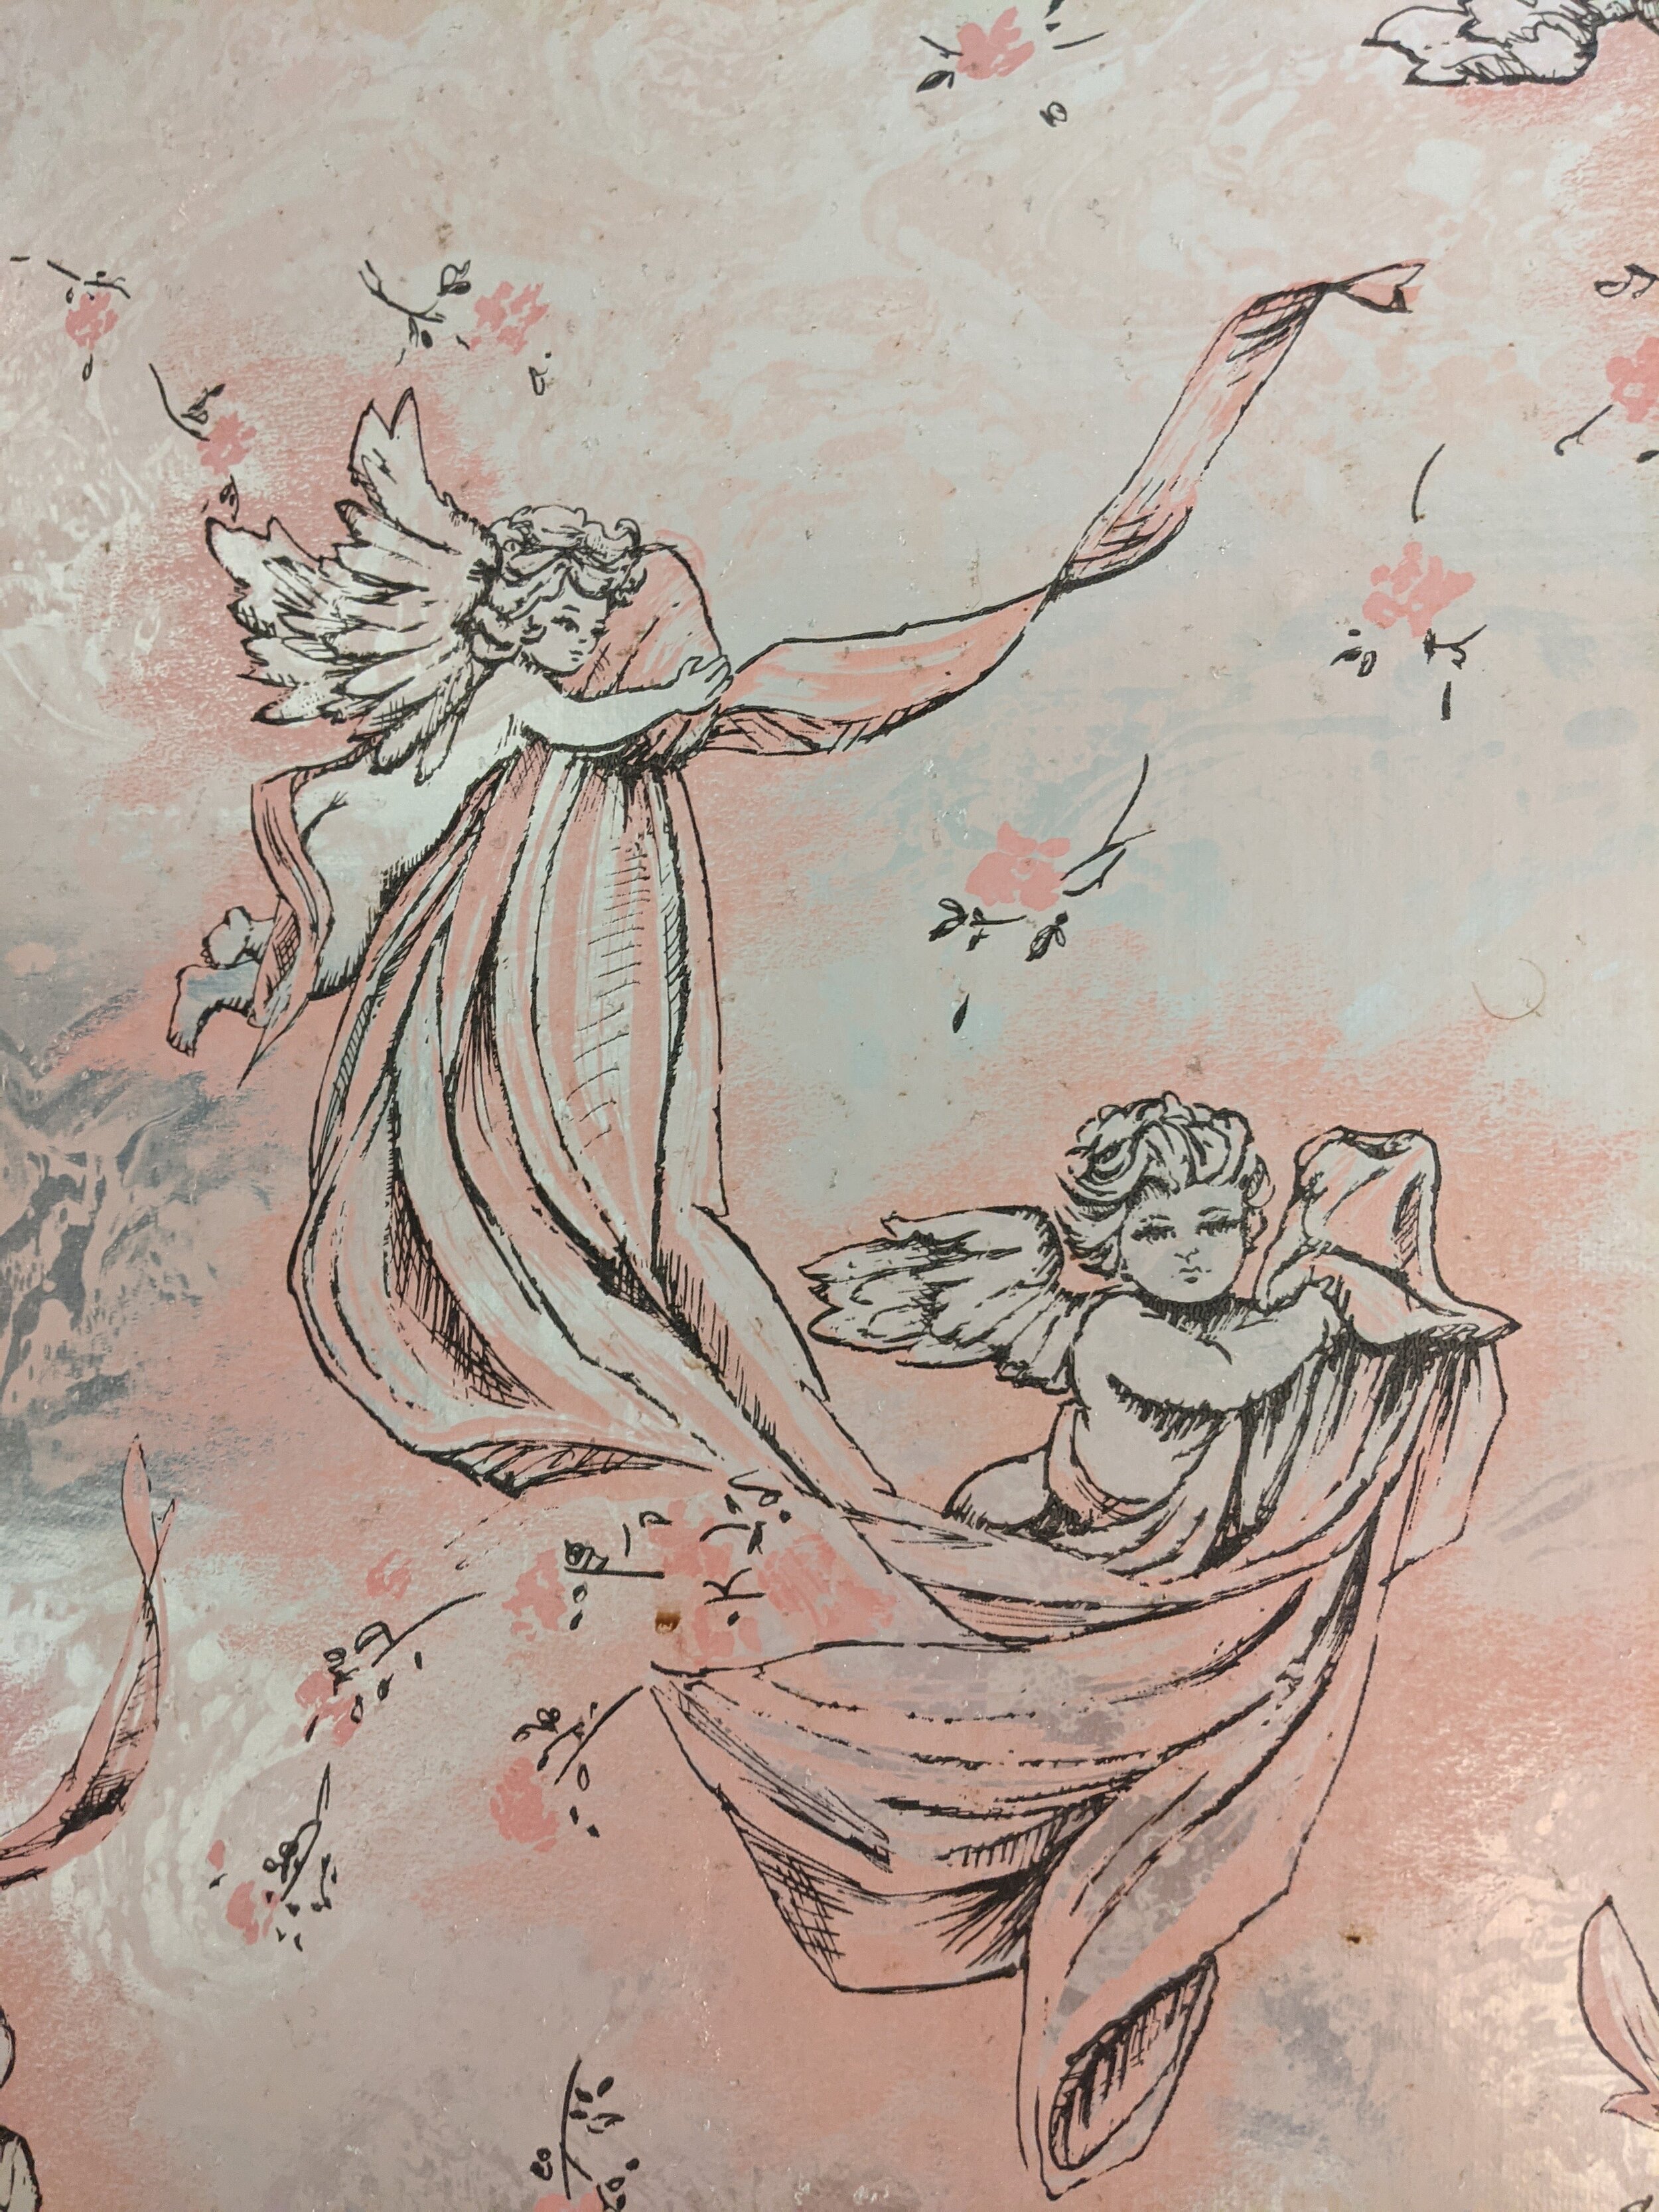
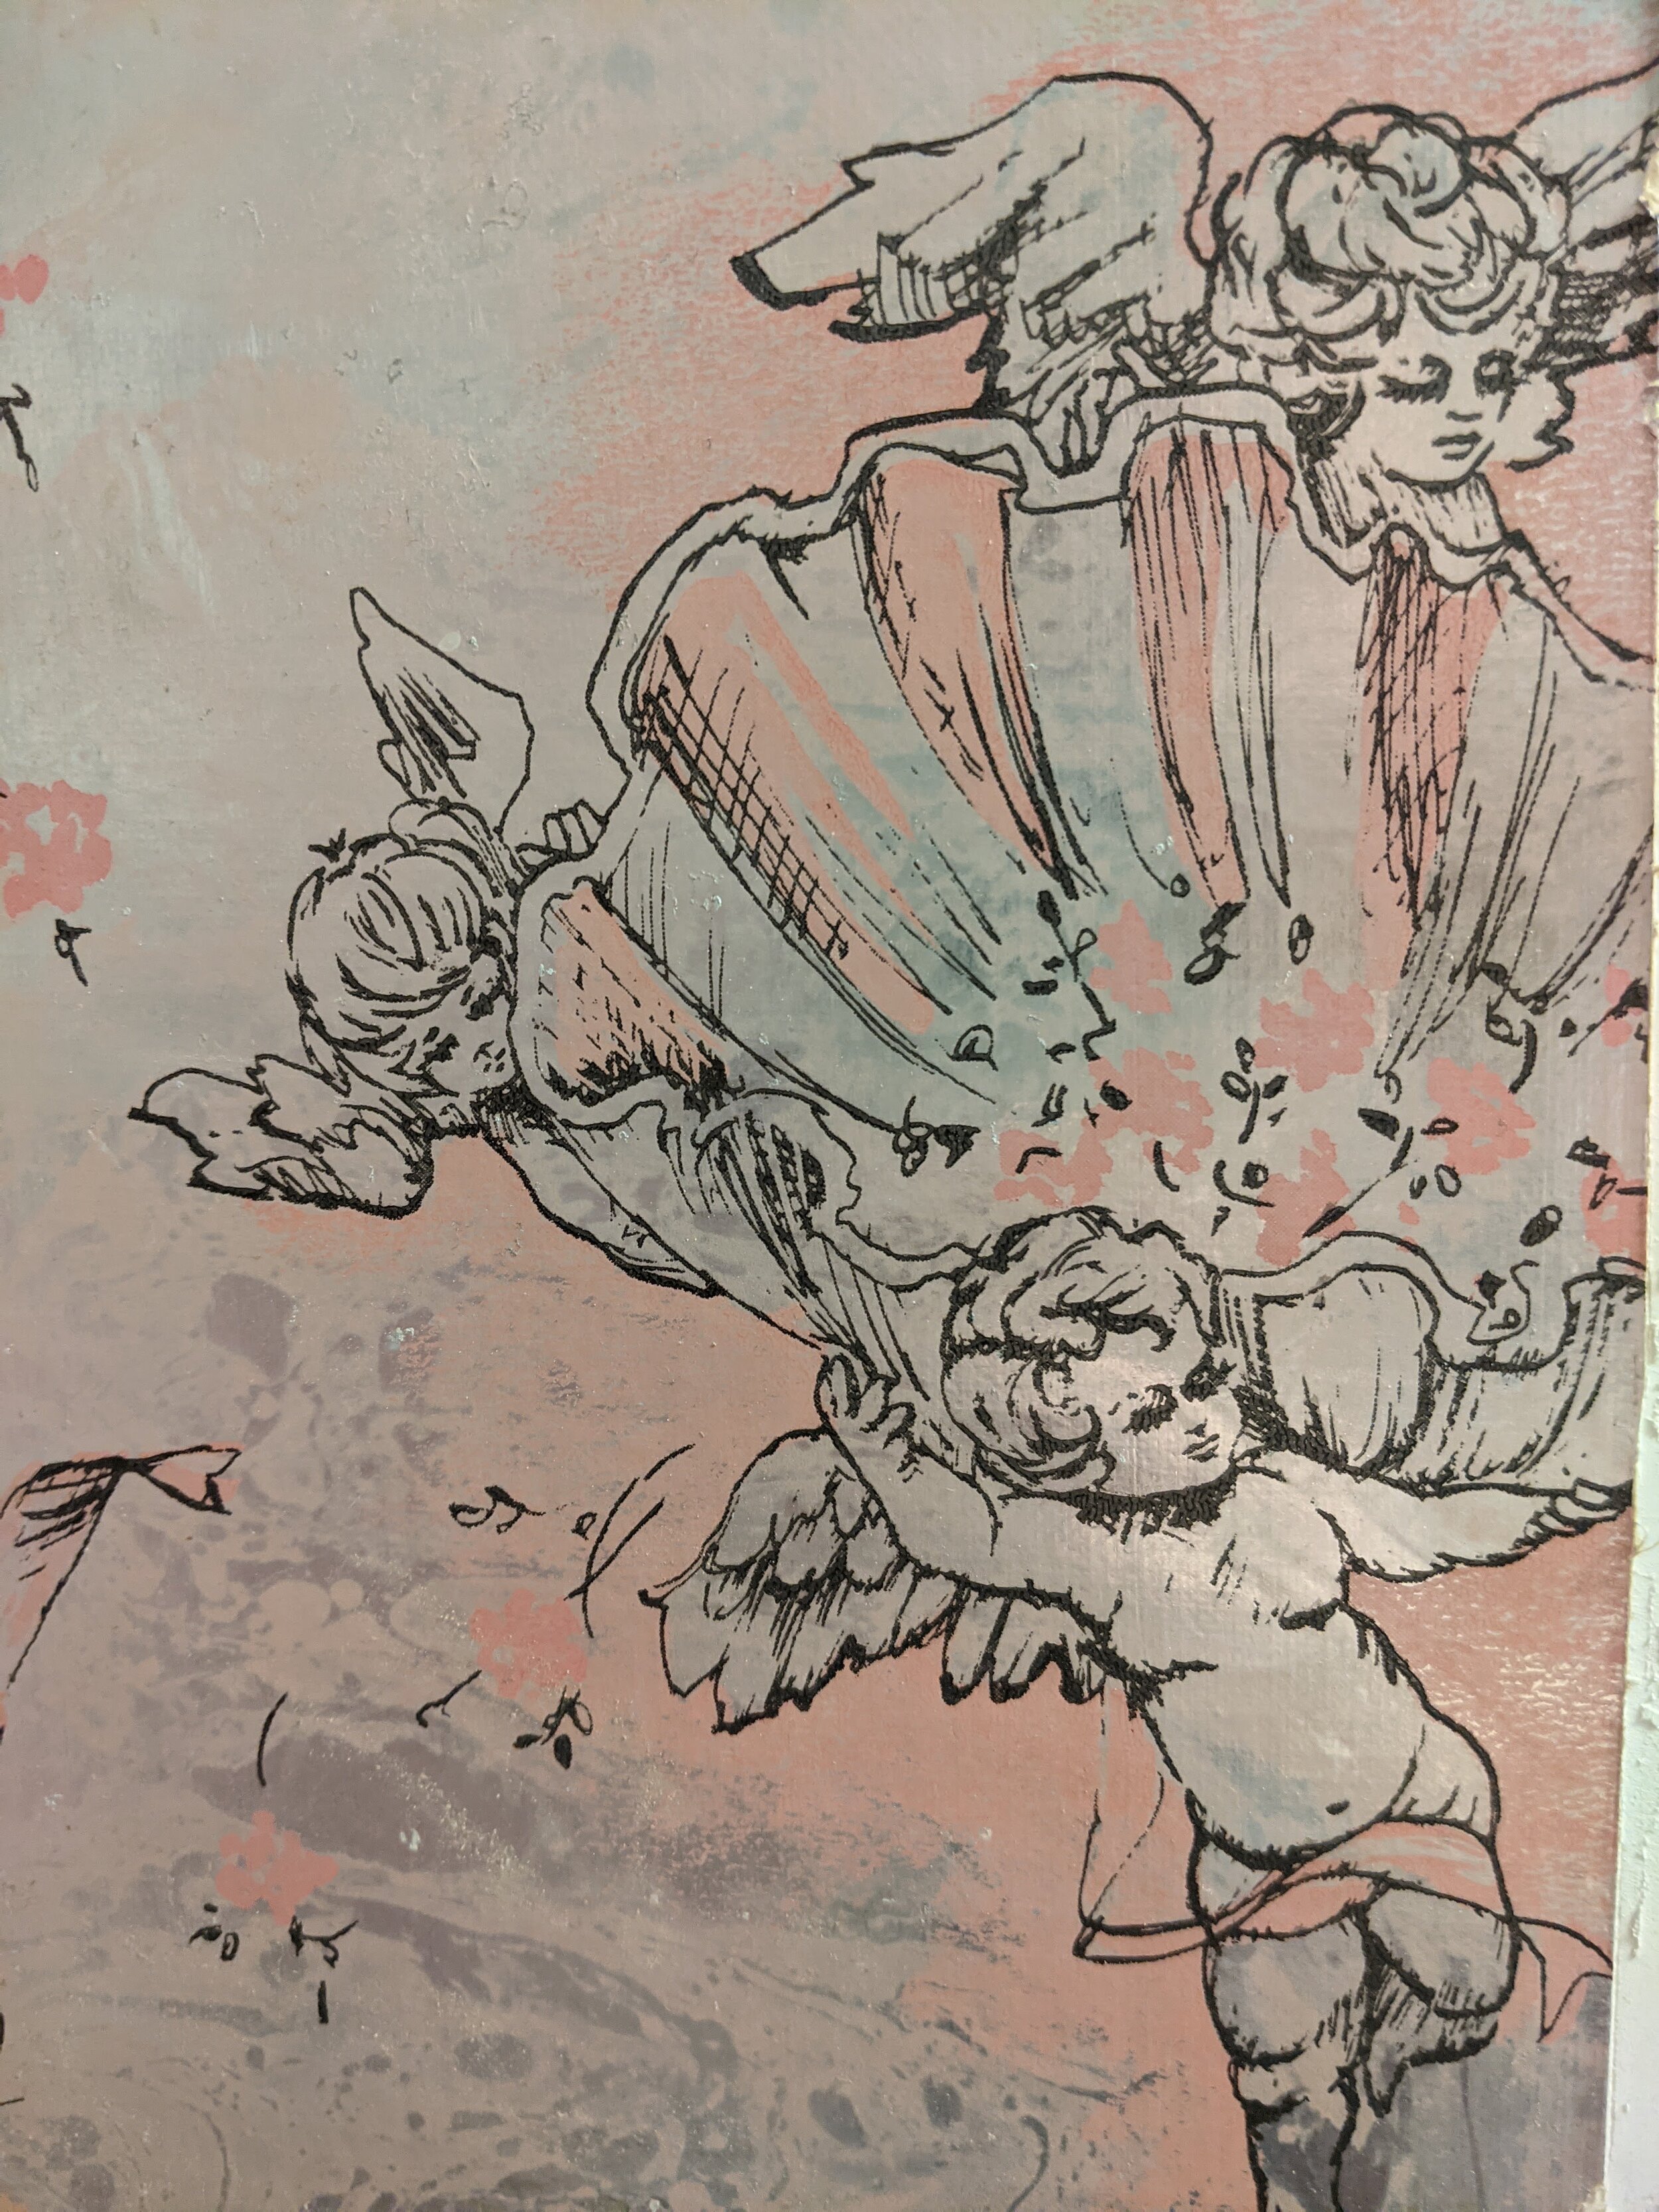
I asked my husband (at the end of the project) if the previous homeowner was as excited about her angel butts as I am about my trendy blues and whites, ad he said yes. So future generations can think I have hilarious taste, congrats. You’ll probably knock down my blue and white subway tiles to hang up olive green hyena footprints or something.
Whatever. I hope you love it, future homeowner.
Our process was:
Rent a dumpster
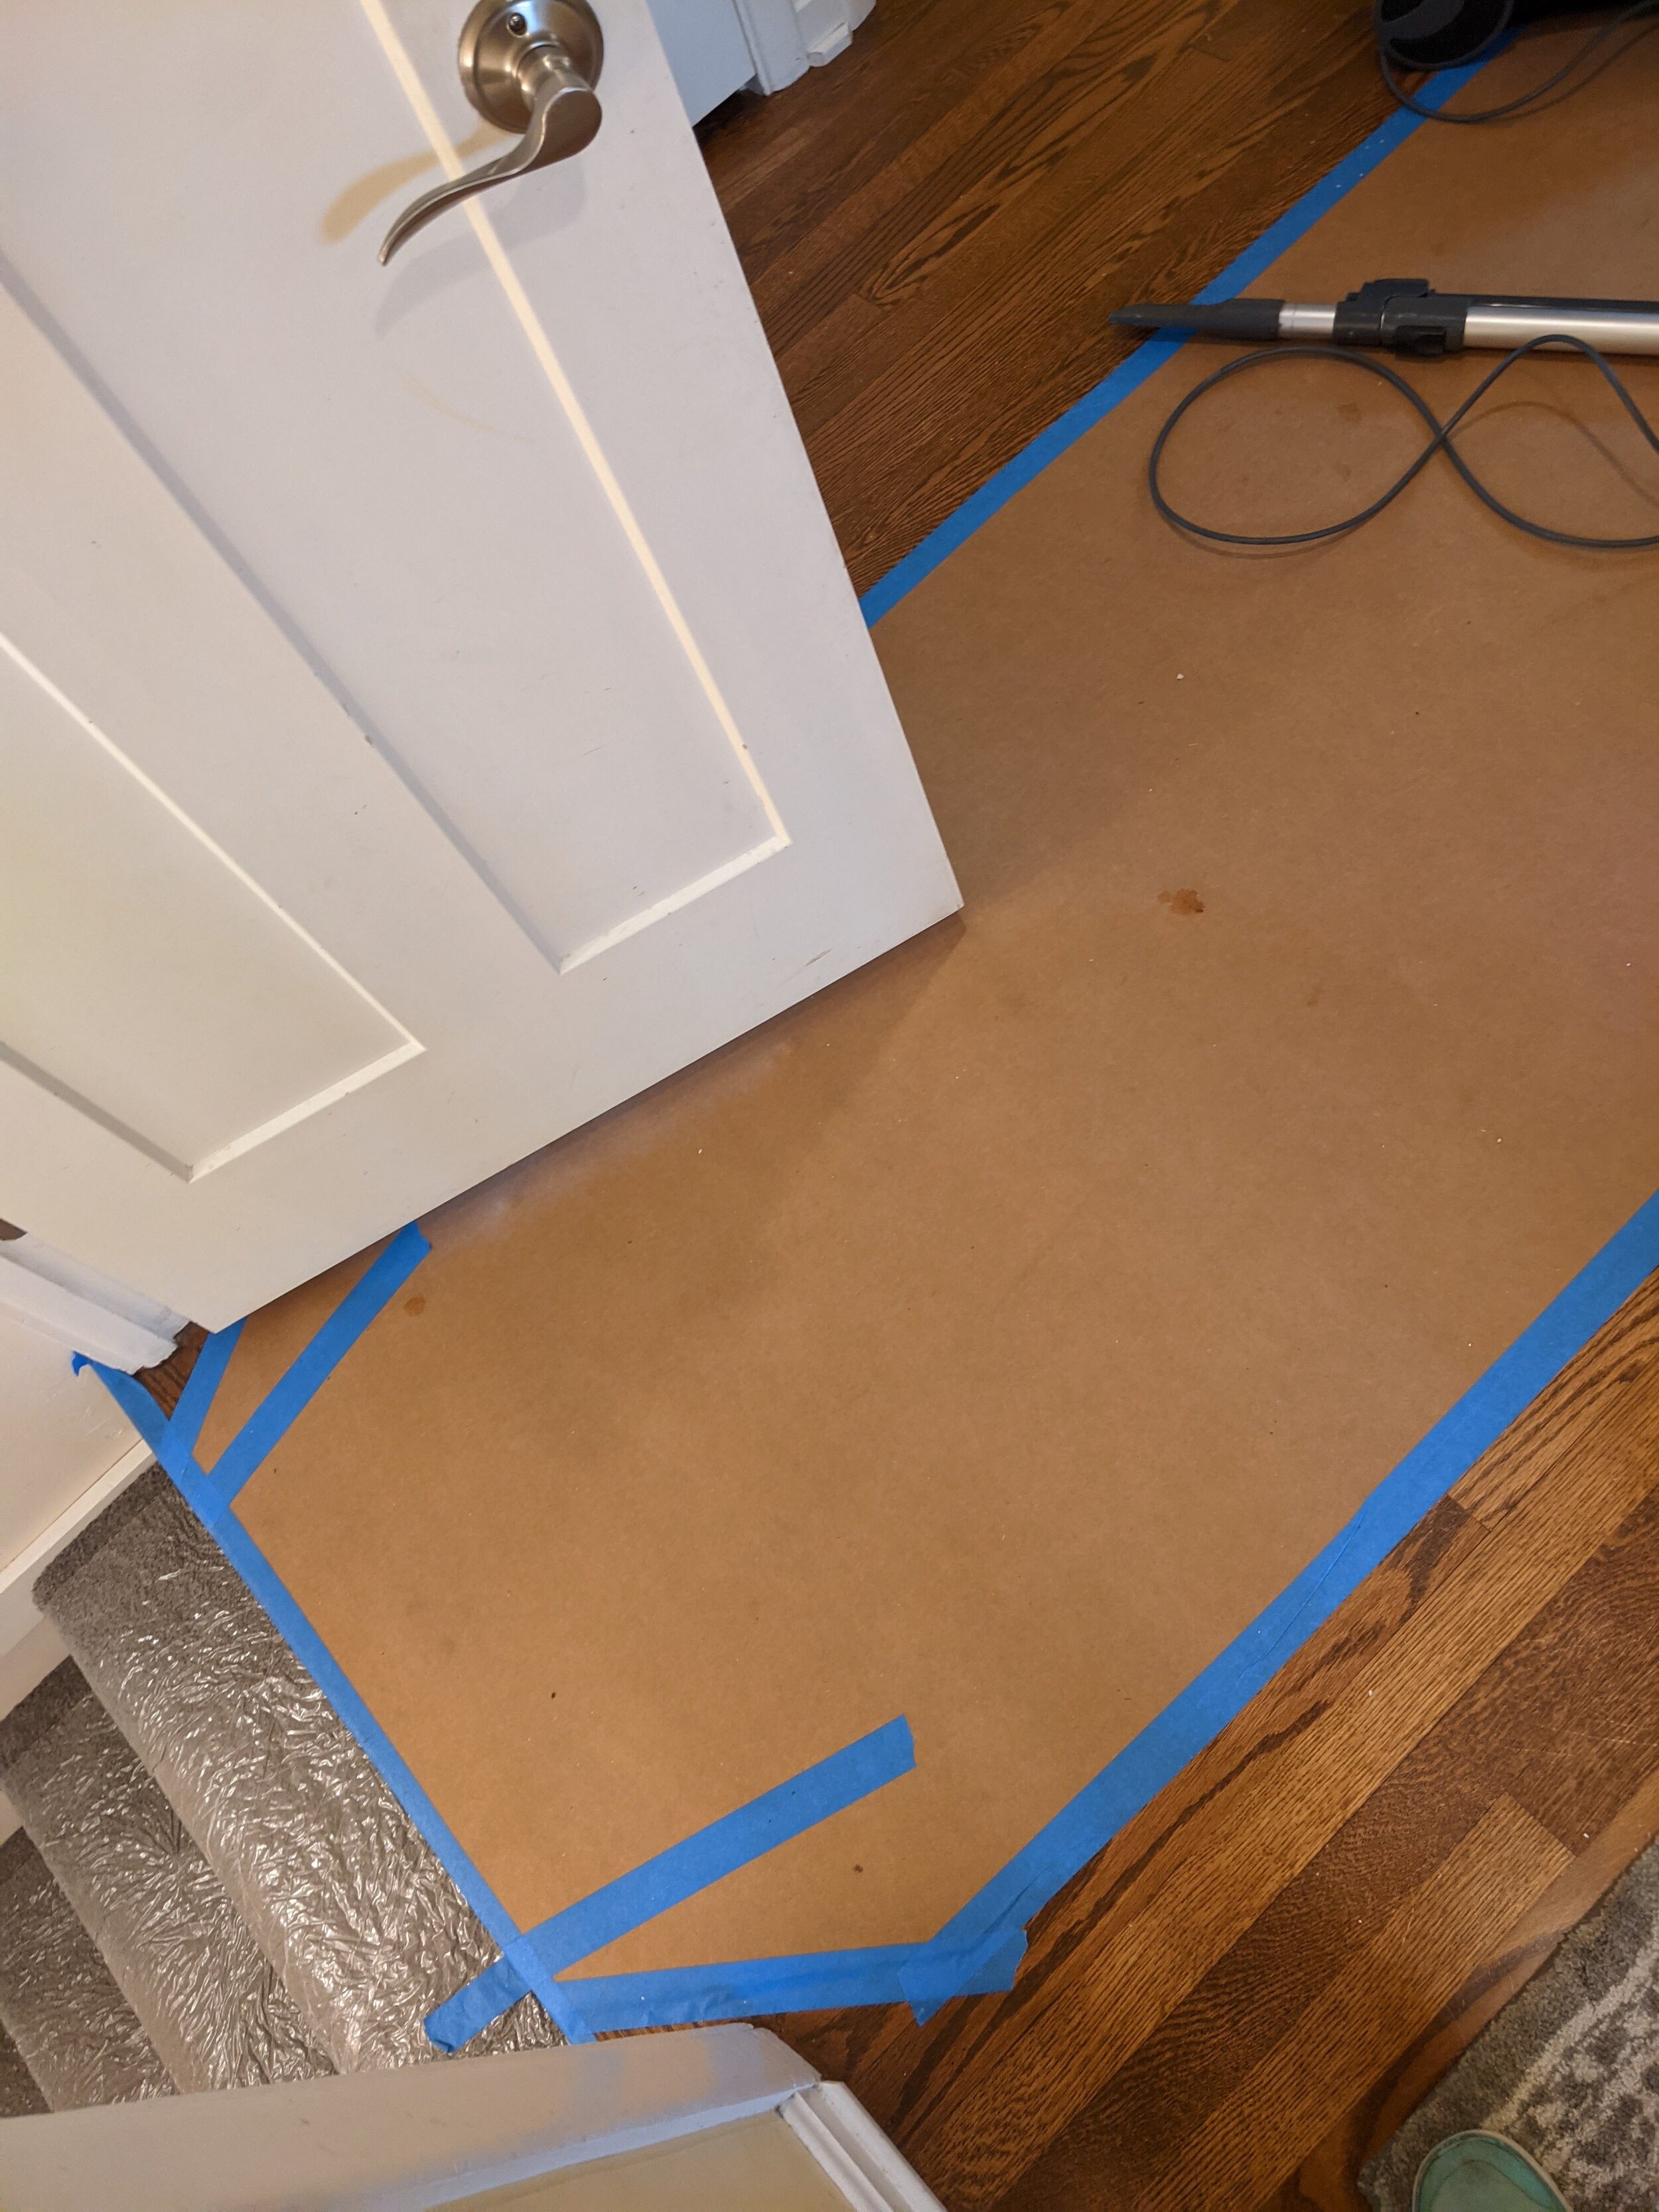
Put down floor protection (really cannot emphasize how critical this is — tiles get stuck into your shoes and will DESTROY your flooring)
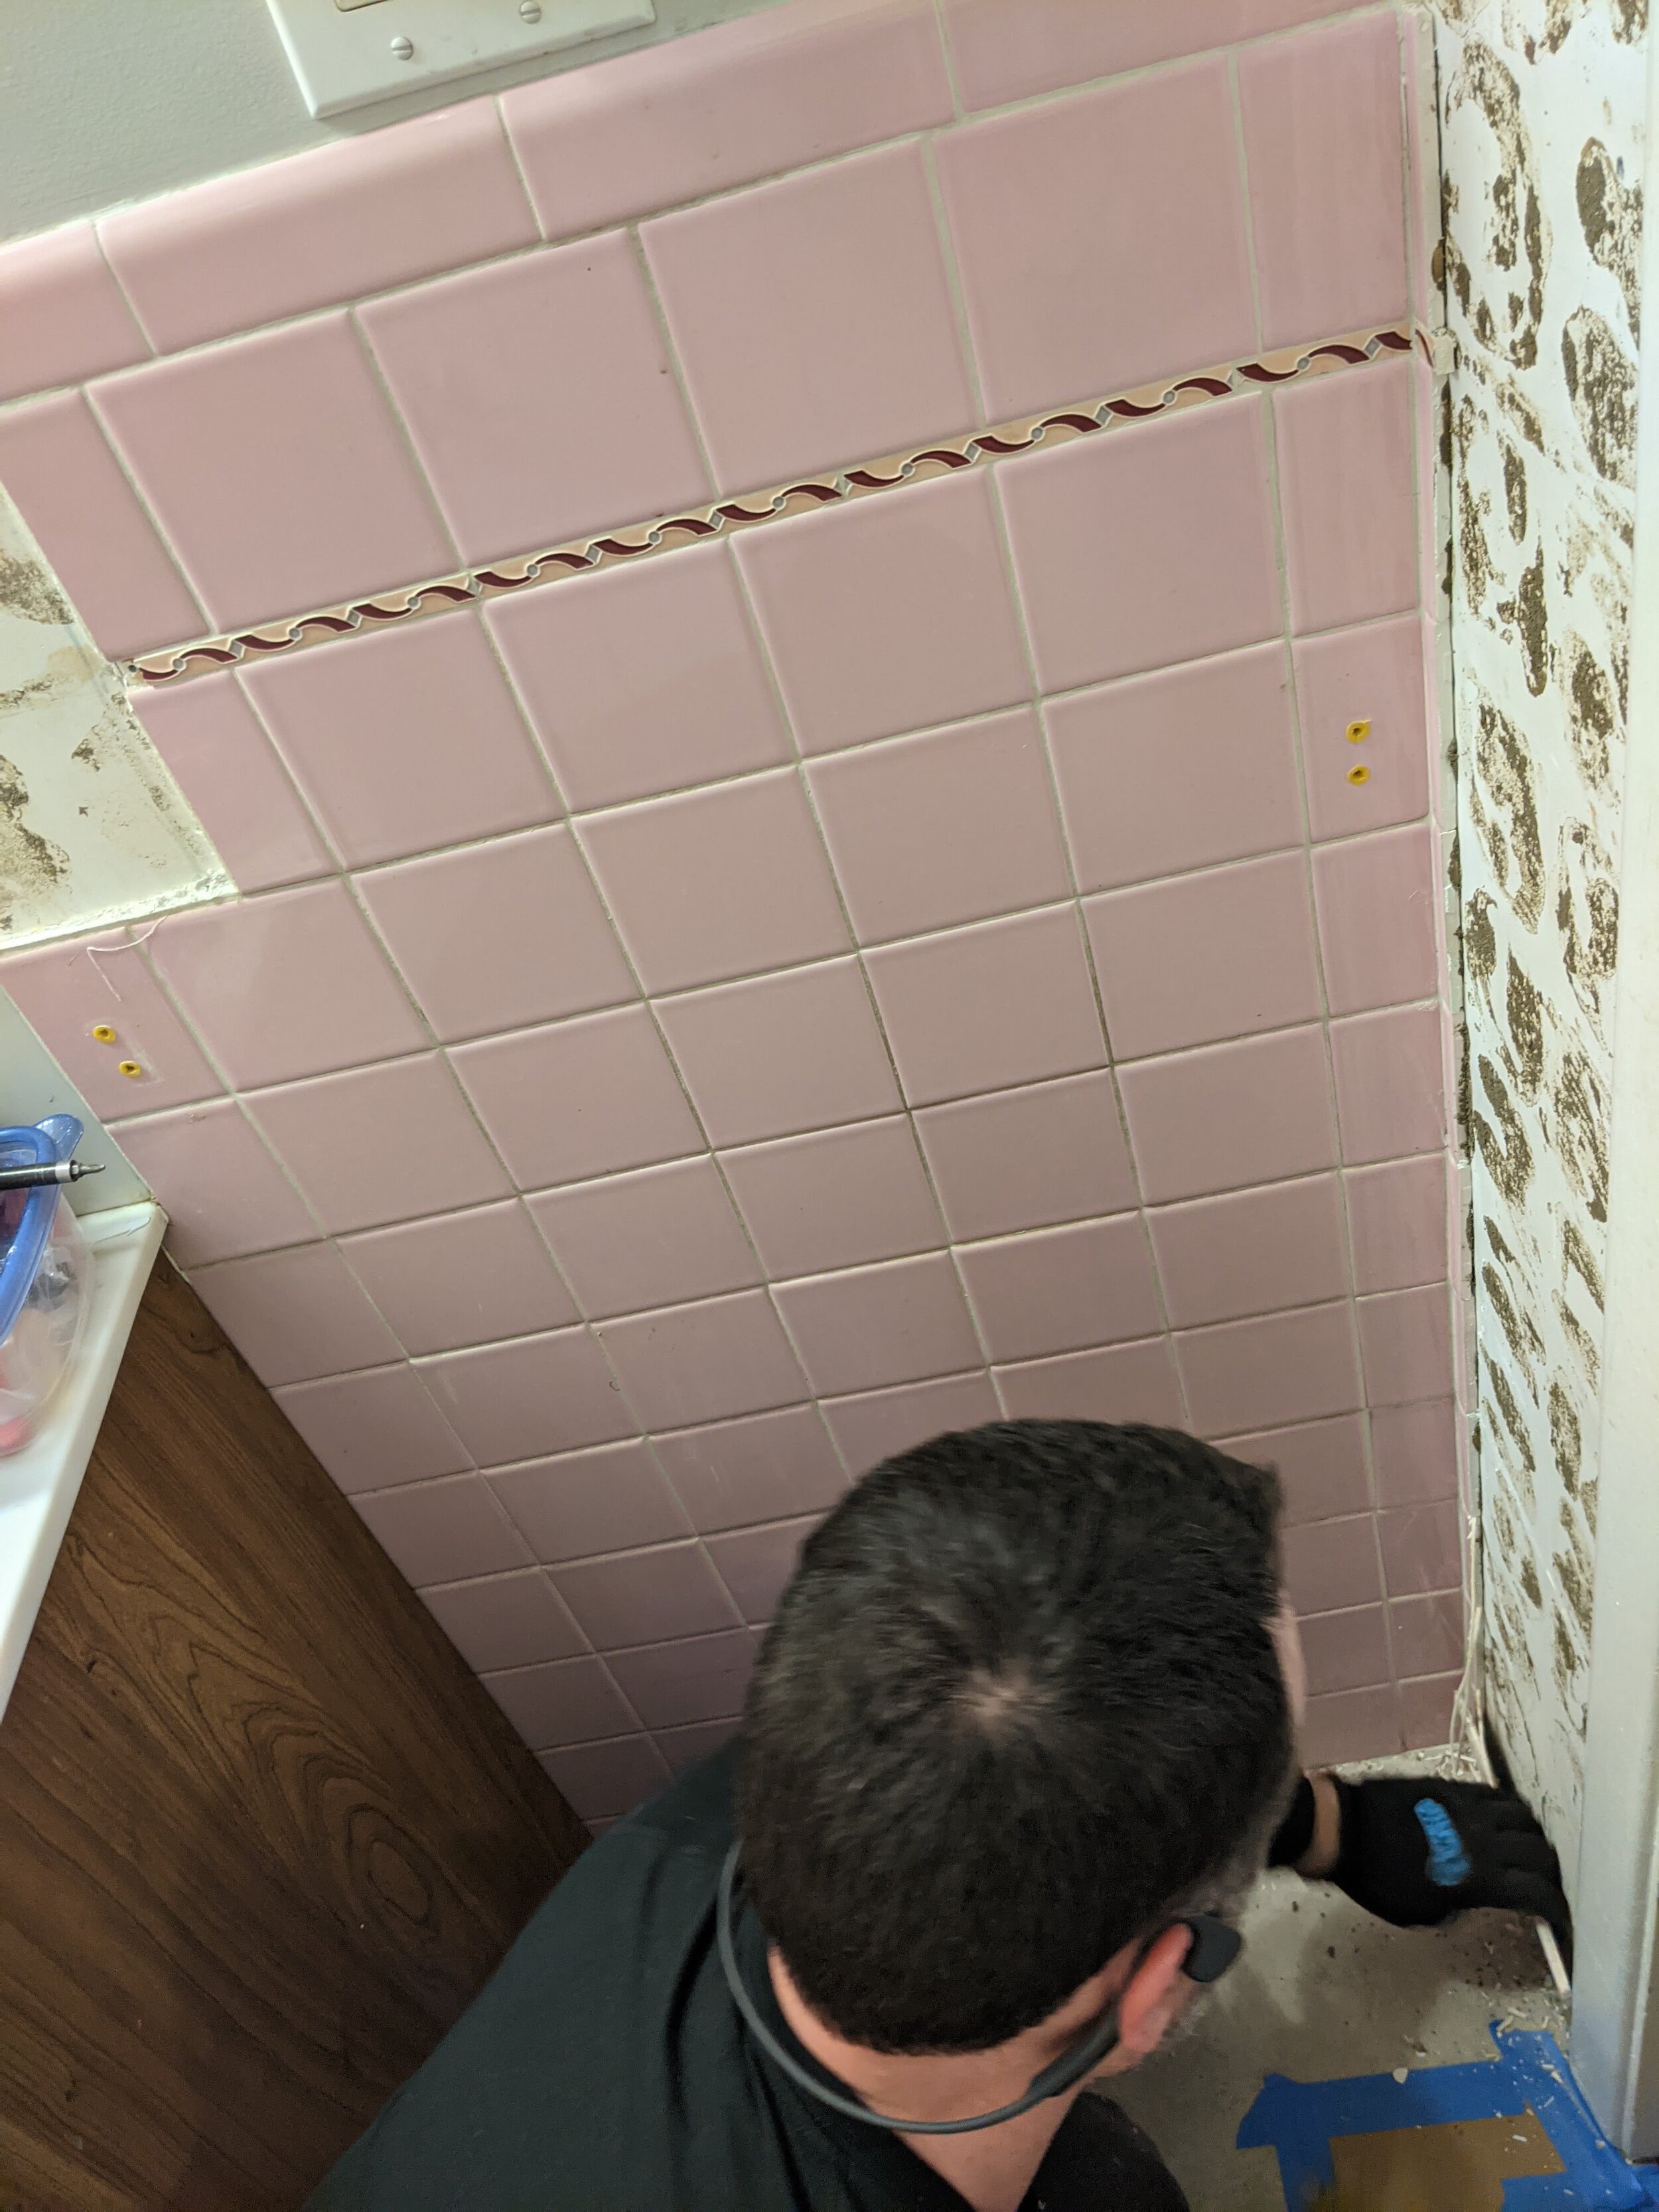
Knock off the tiles and carry them to the dumpster
Still knocking off tiles
Still carrying more tiles
How are we not done yet?
Why are there so many tiles?
Take down the mirror
Peel off the remaining (hilarious) wallpaper
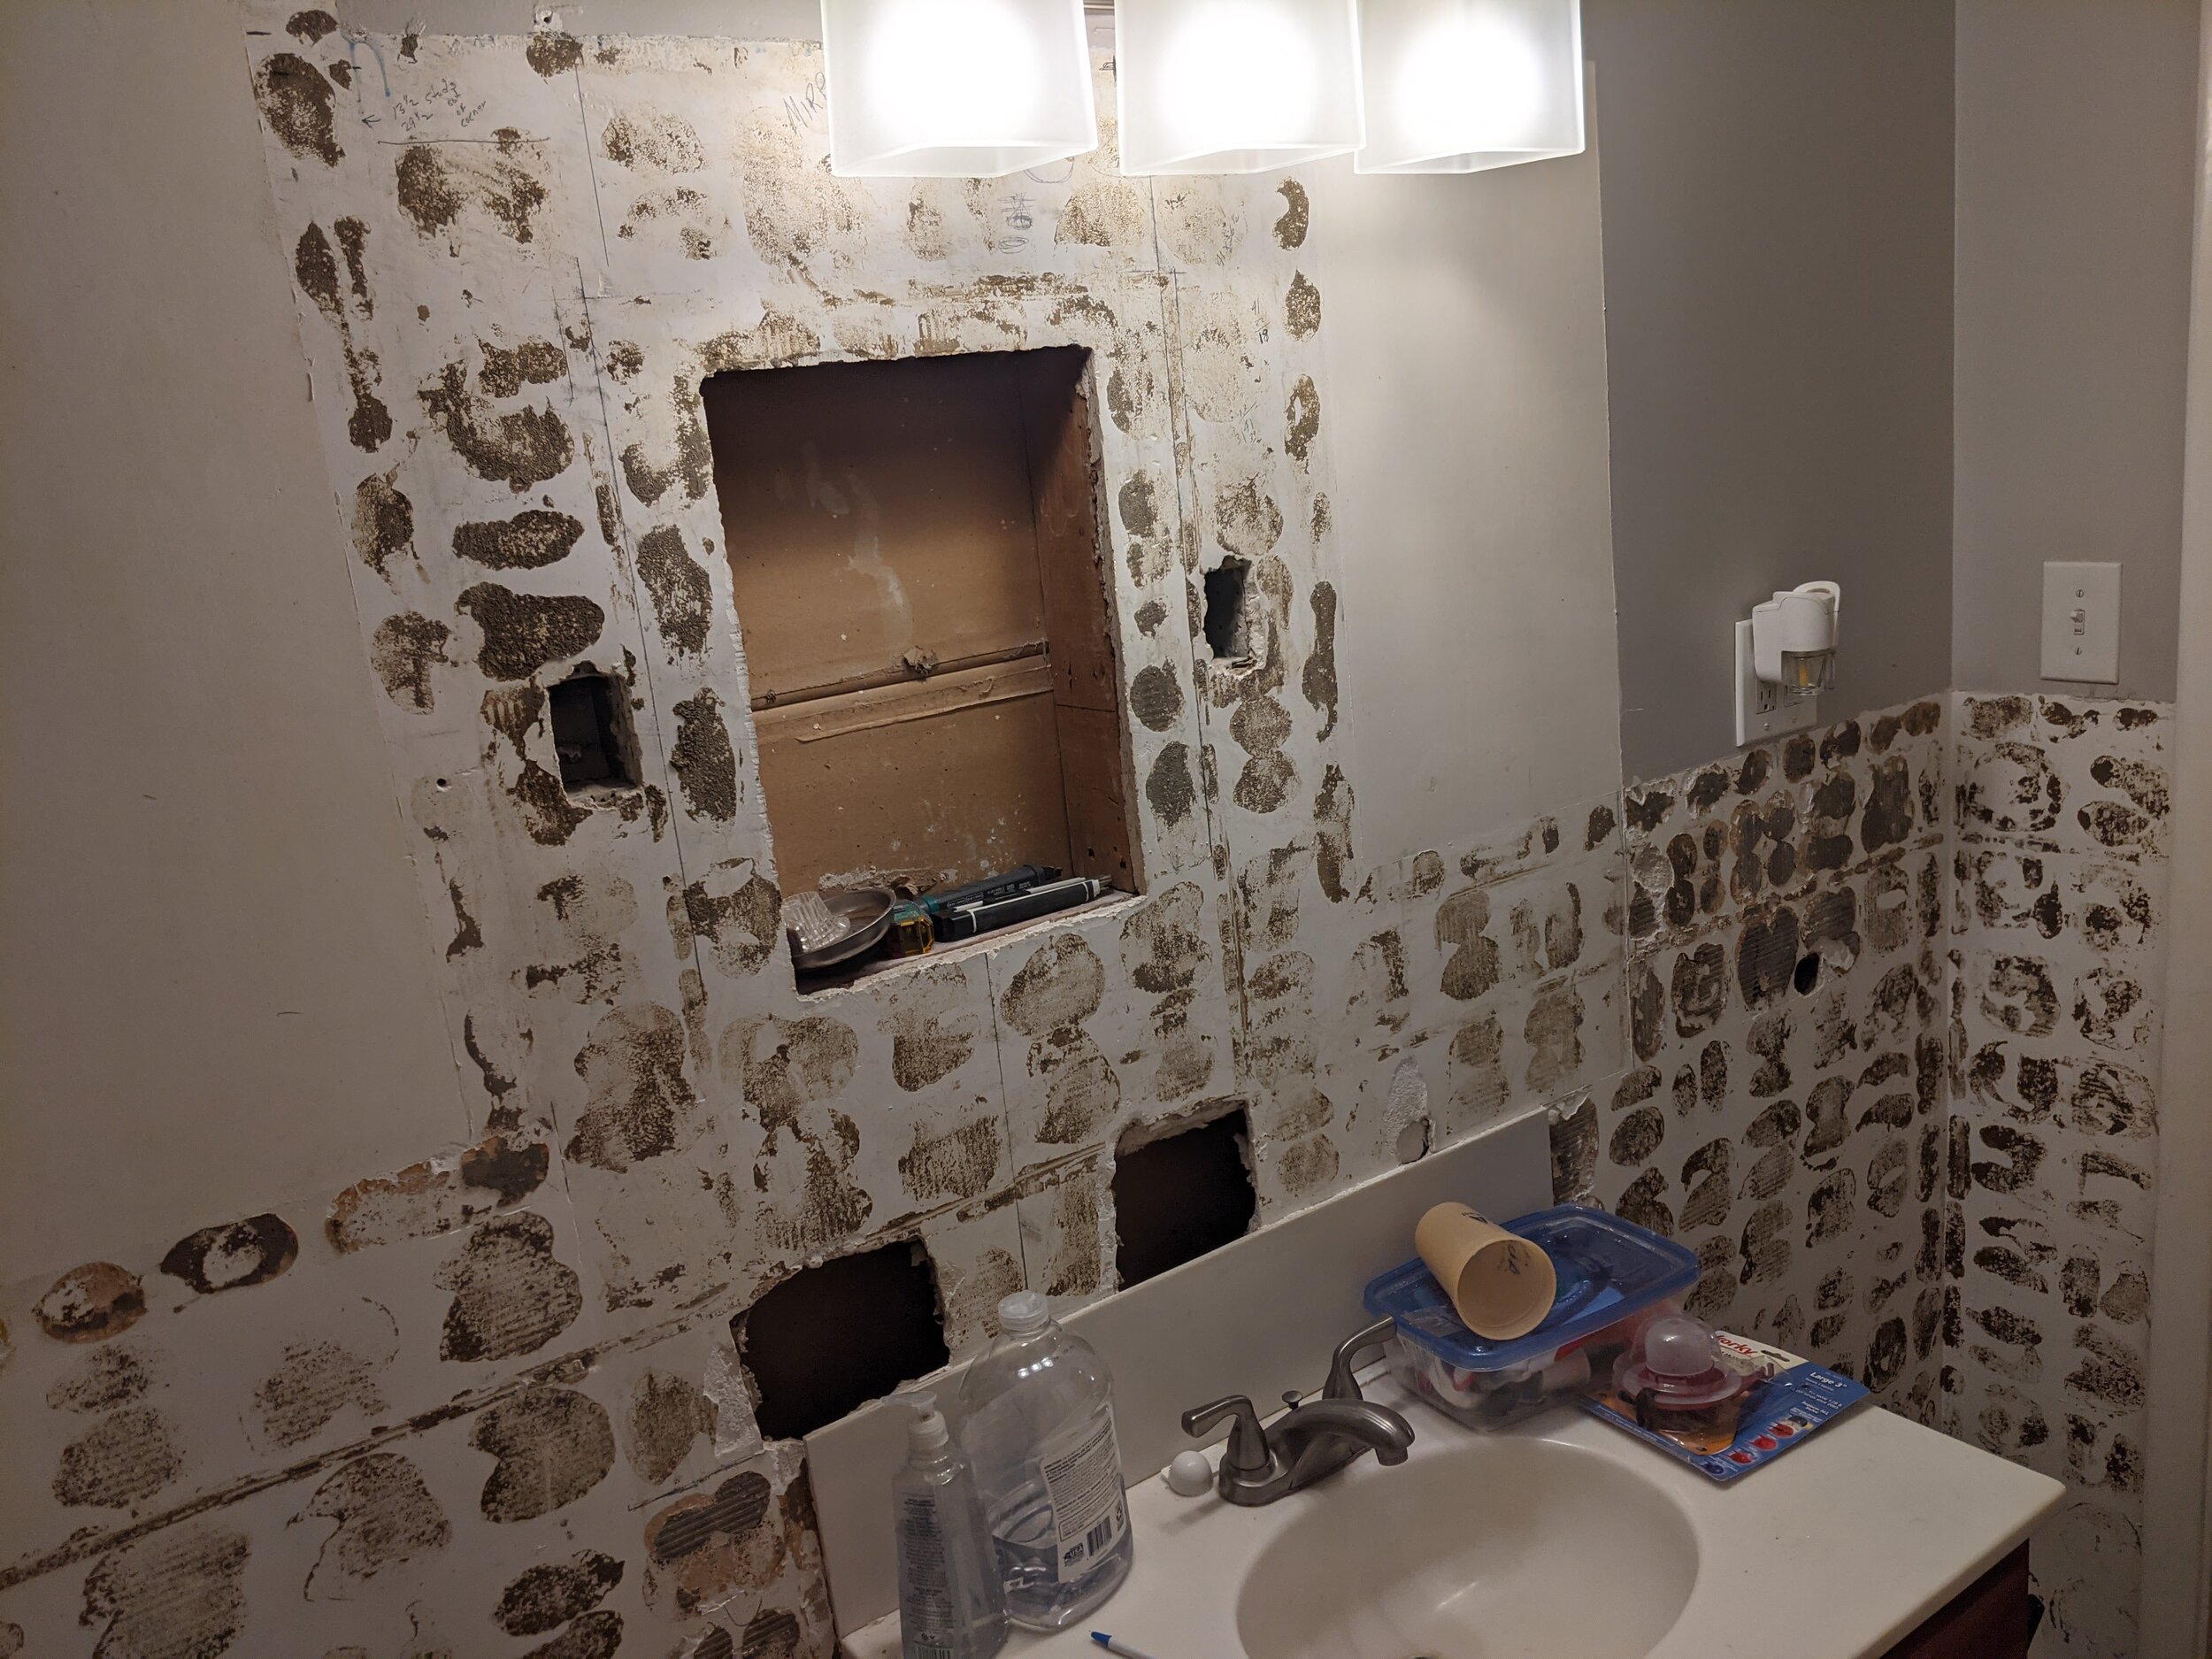
Discover that the mirror was hung over large, unfilled holes in the wall from an old medicine cabinet and soap dishes/toothbrush holders
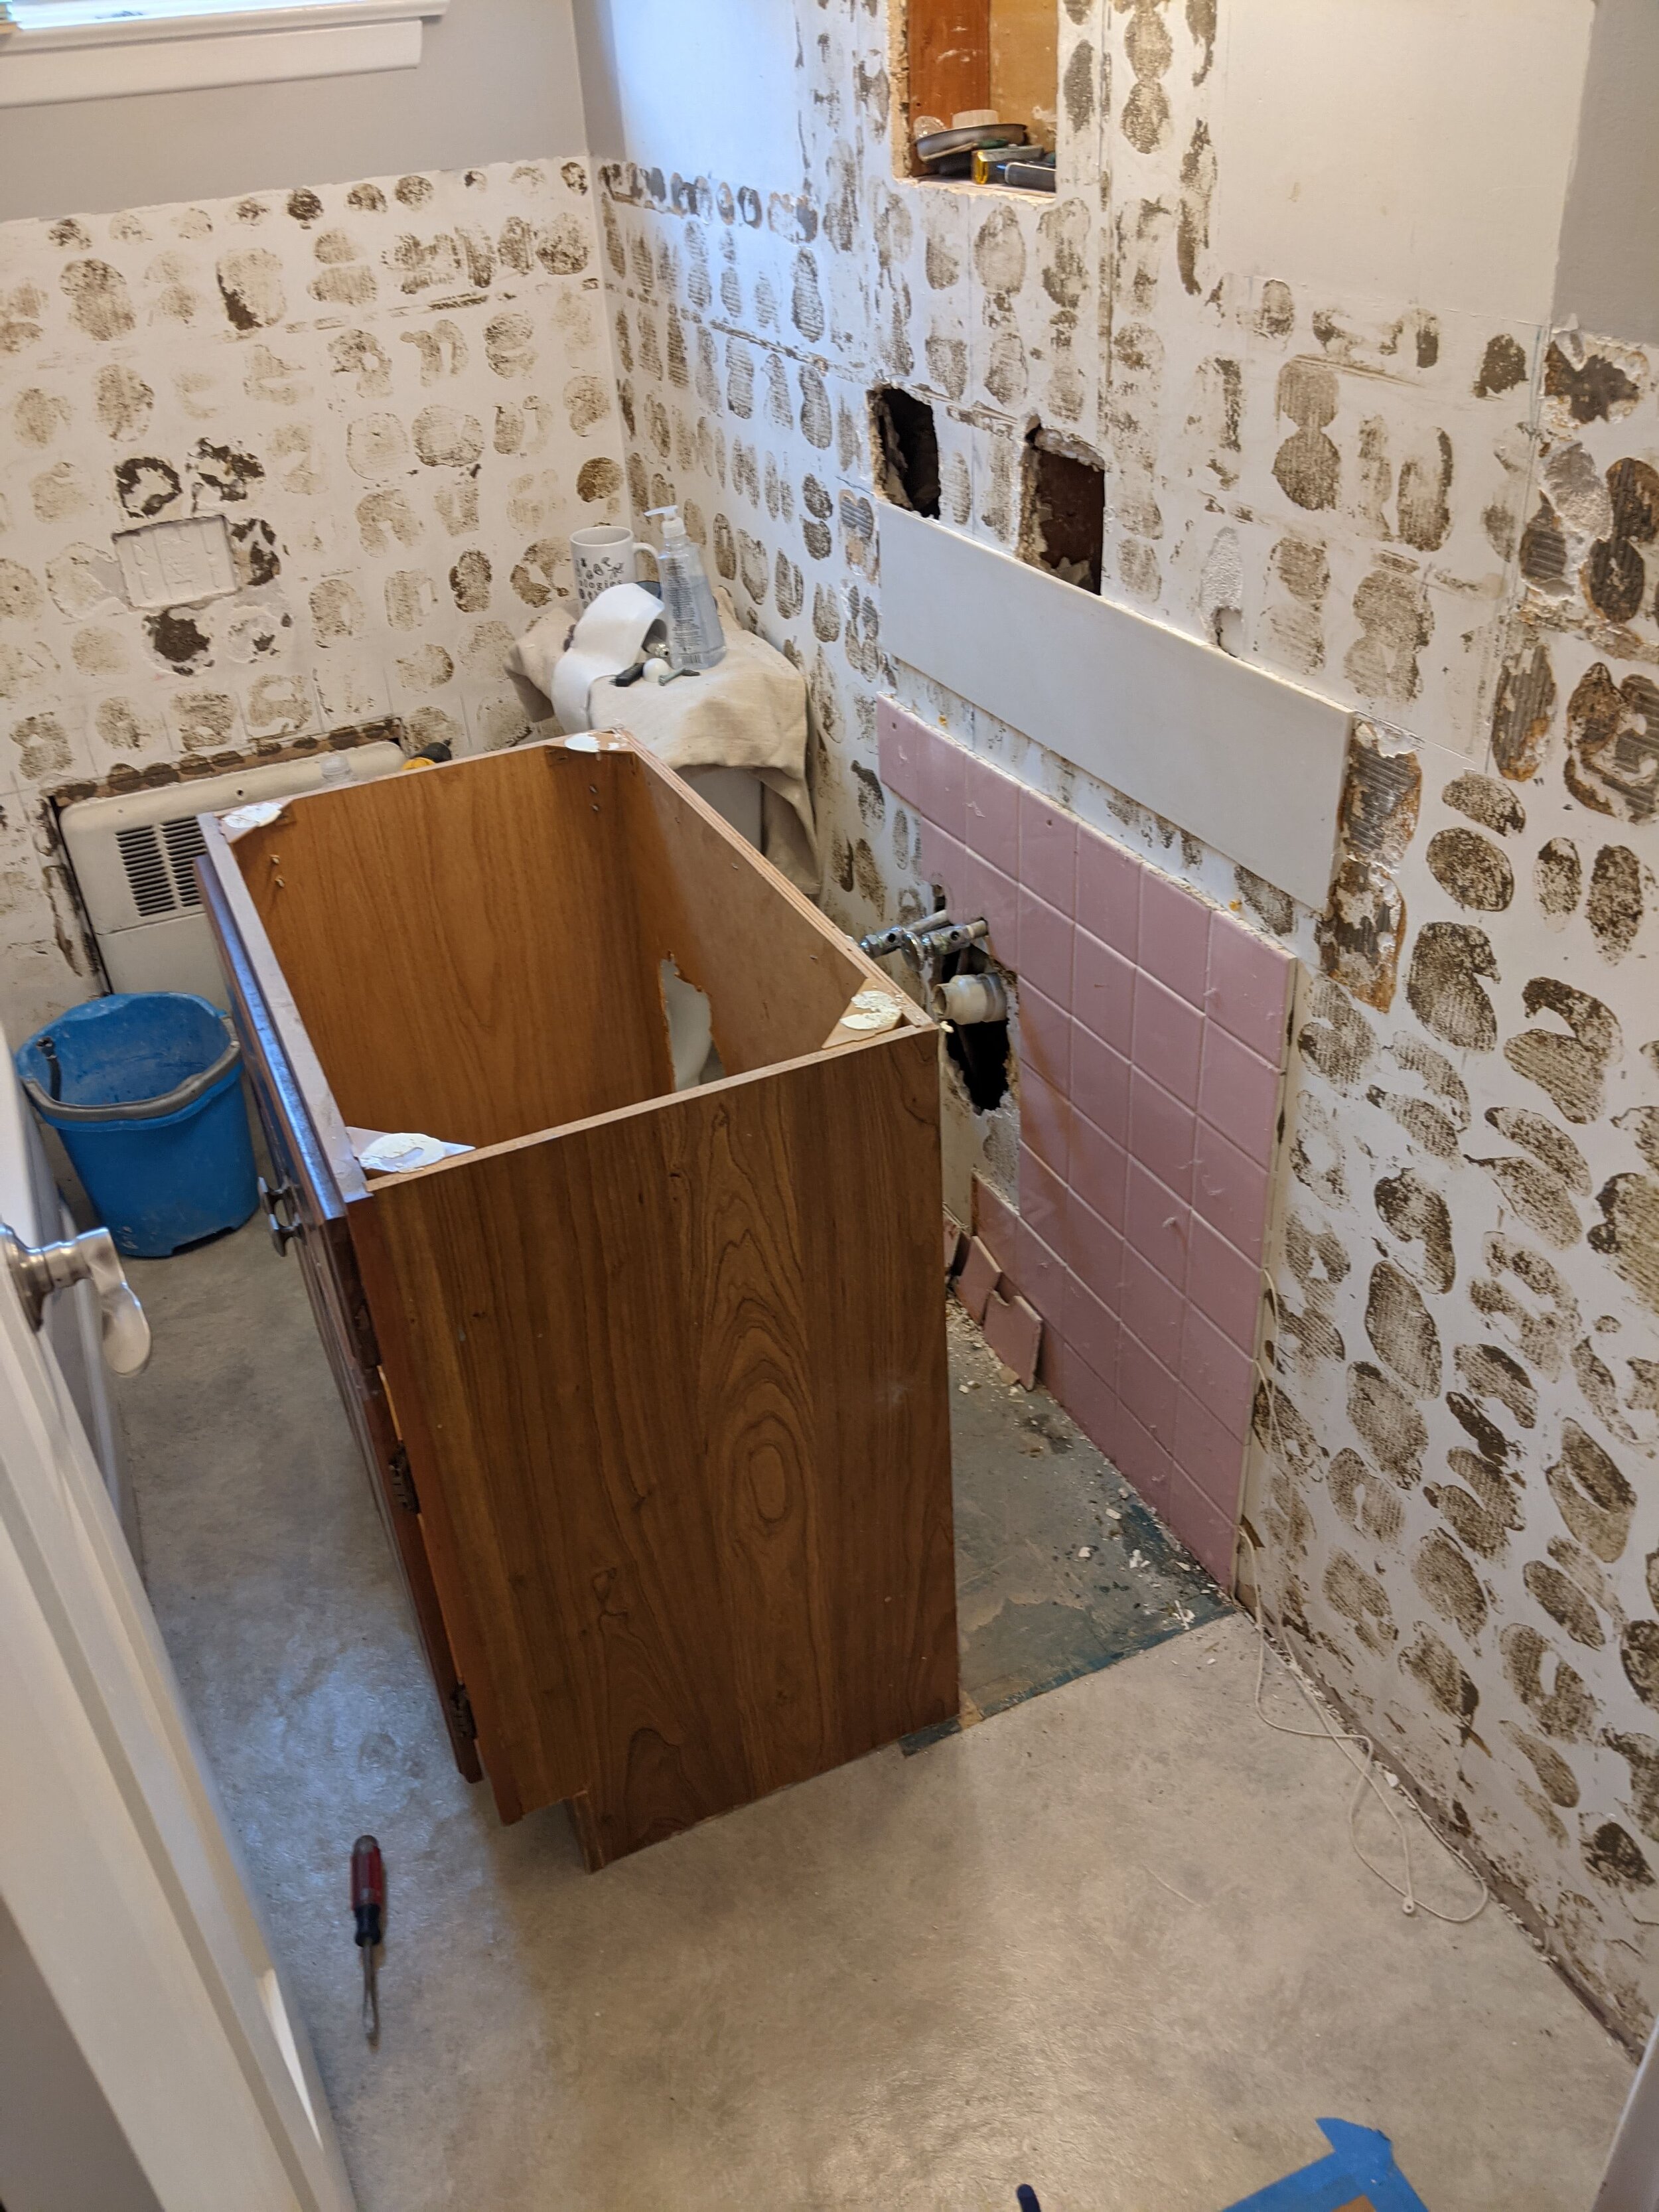
Remove the vanity
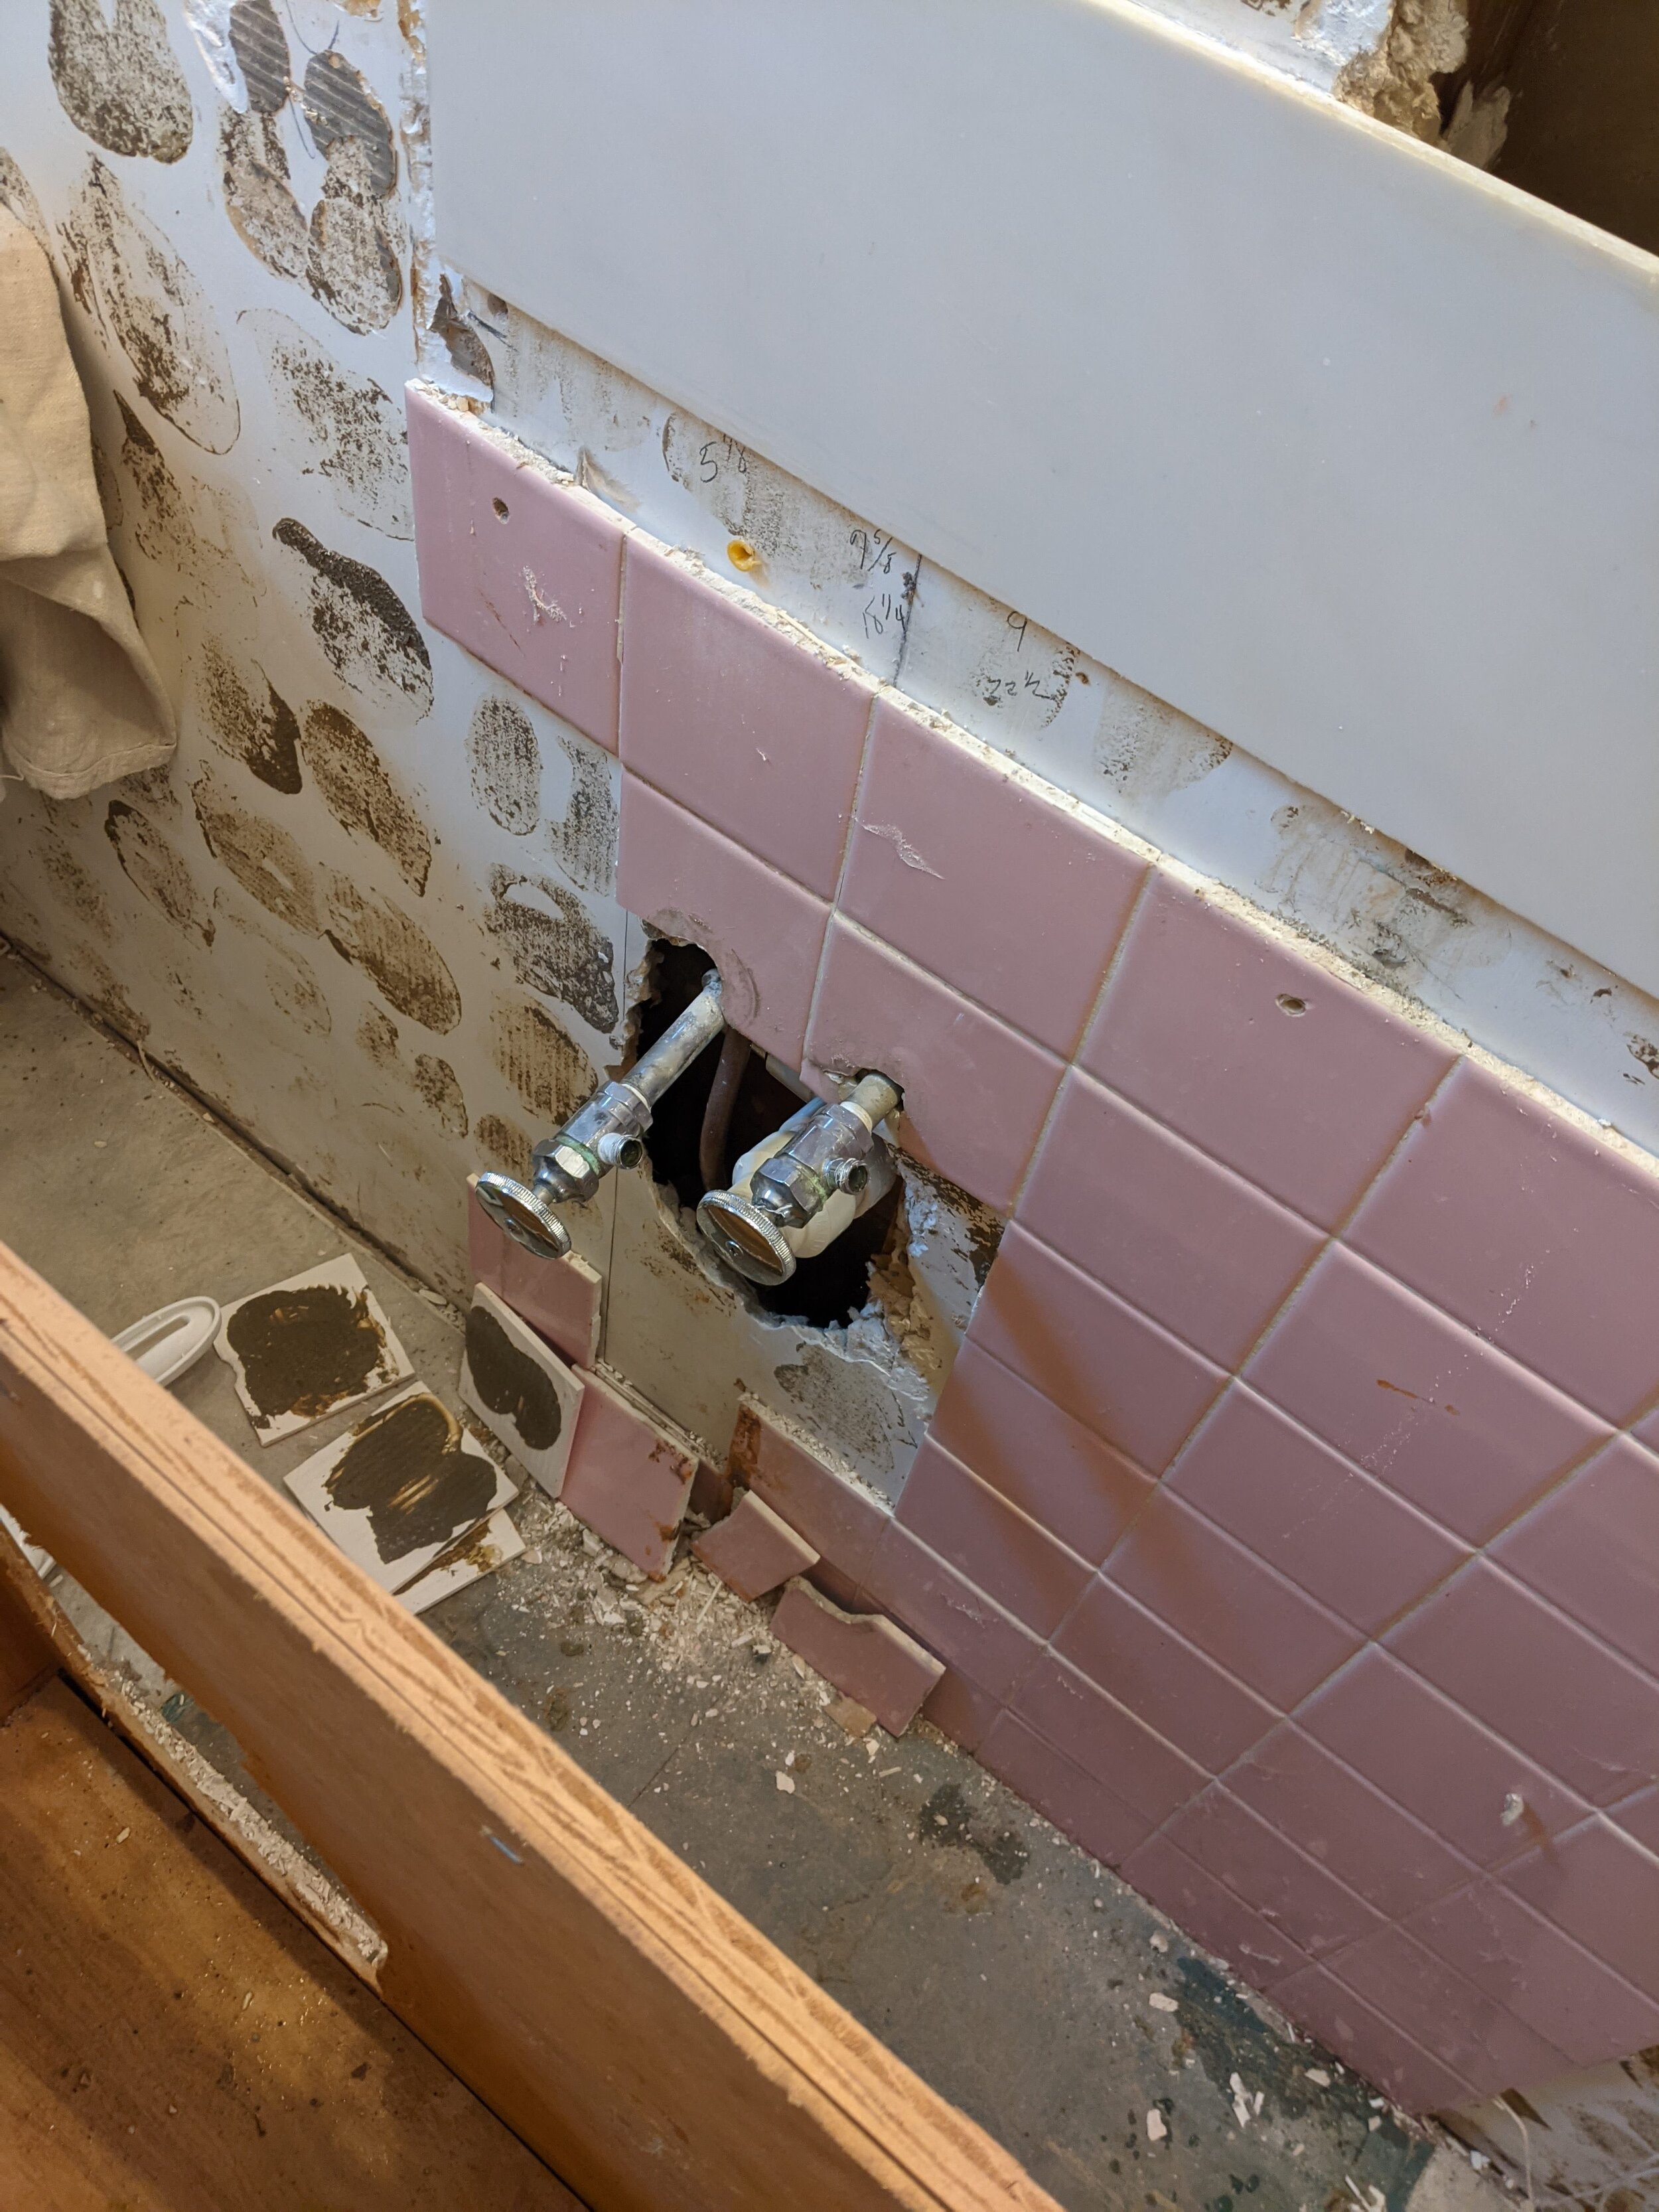
Remove the tub and plumbing
Pull up the flooring
Remove the toilet
Step One: Prep
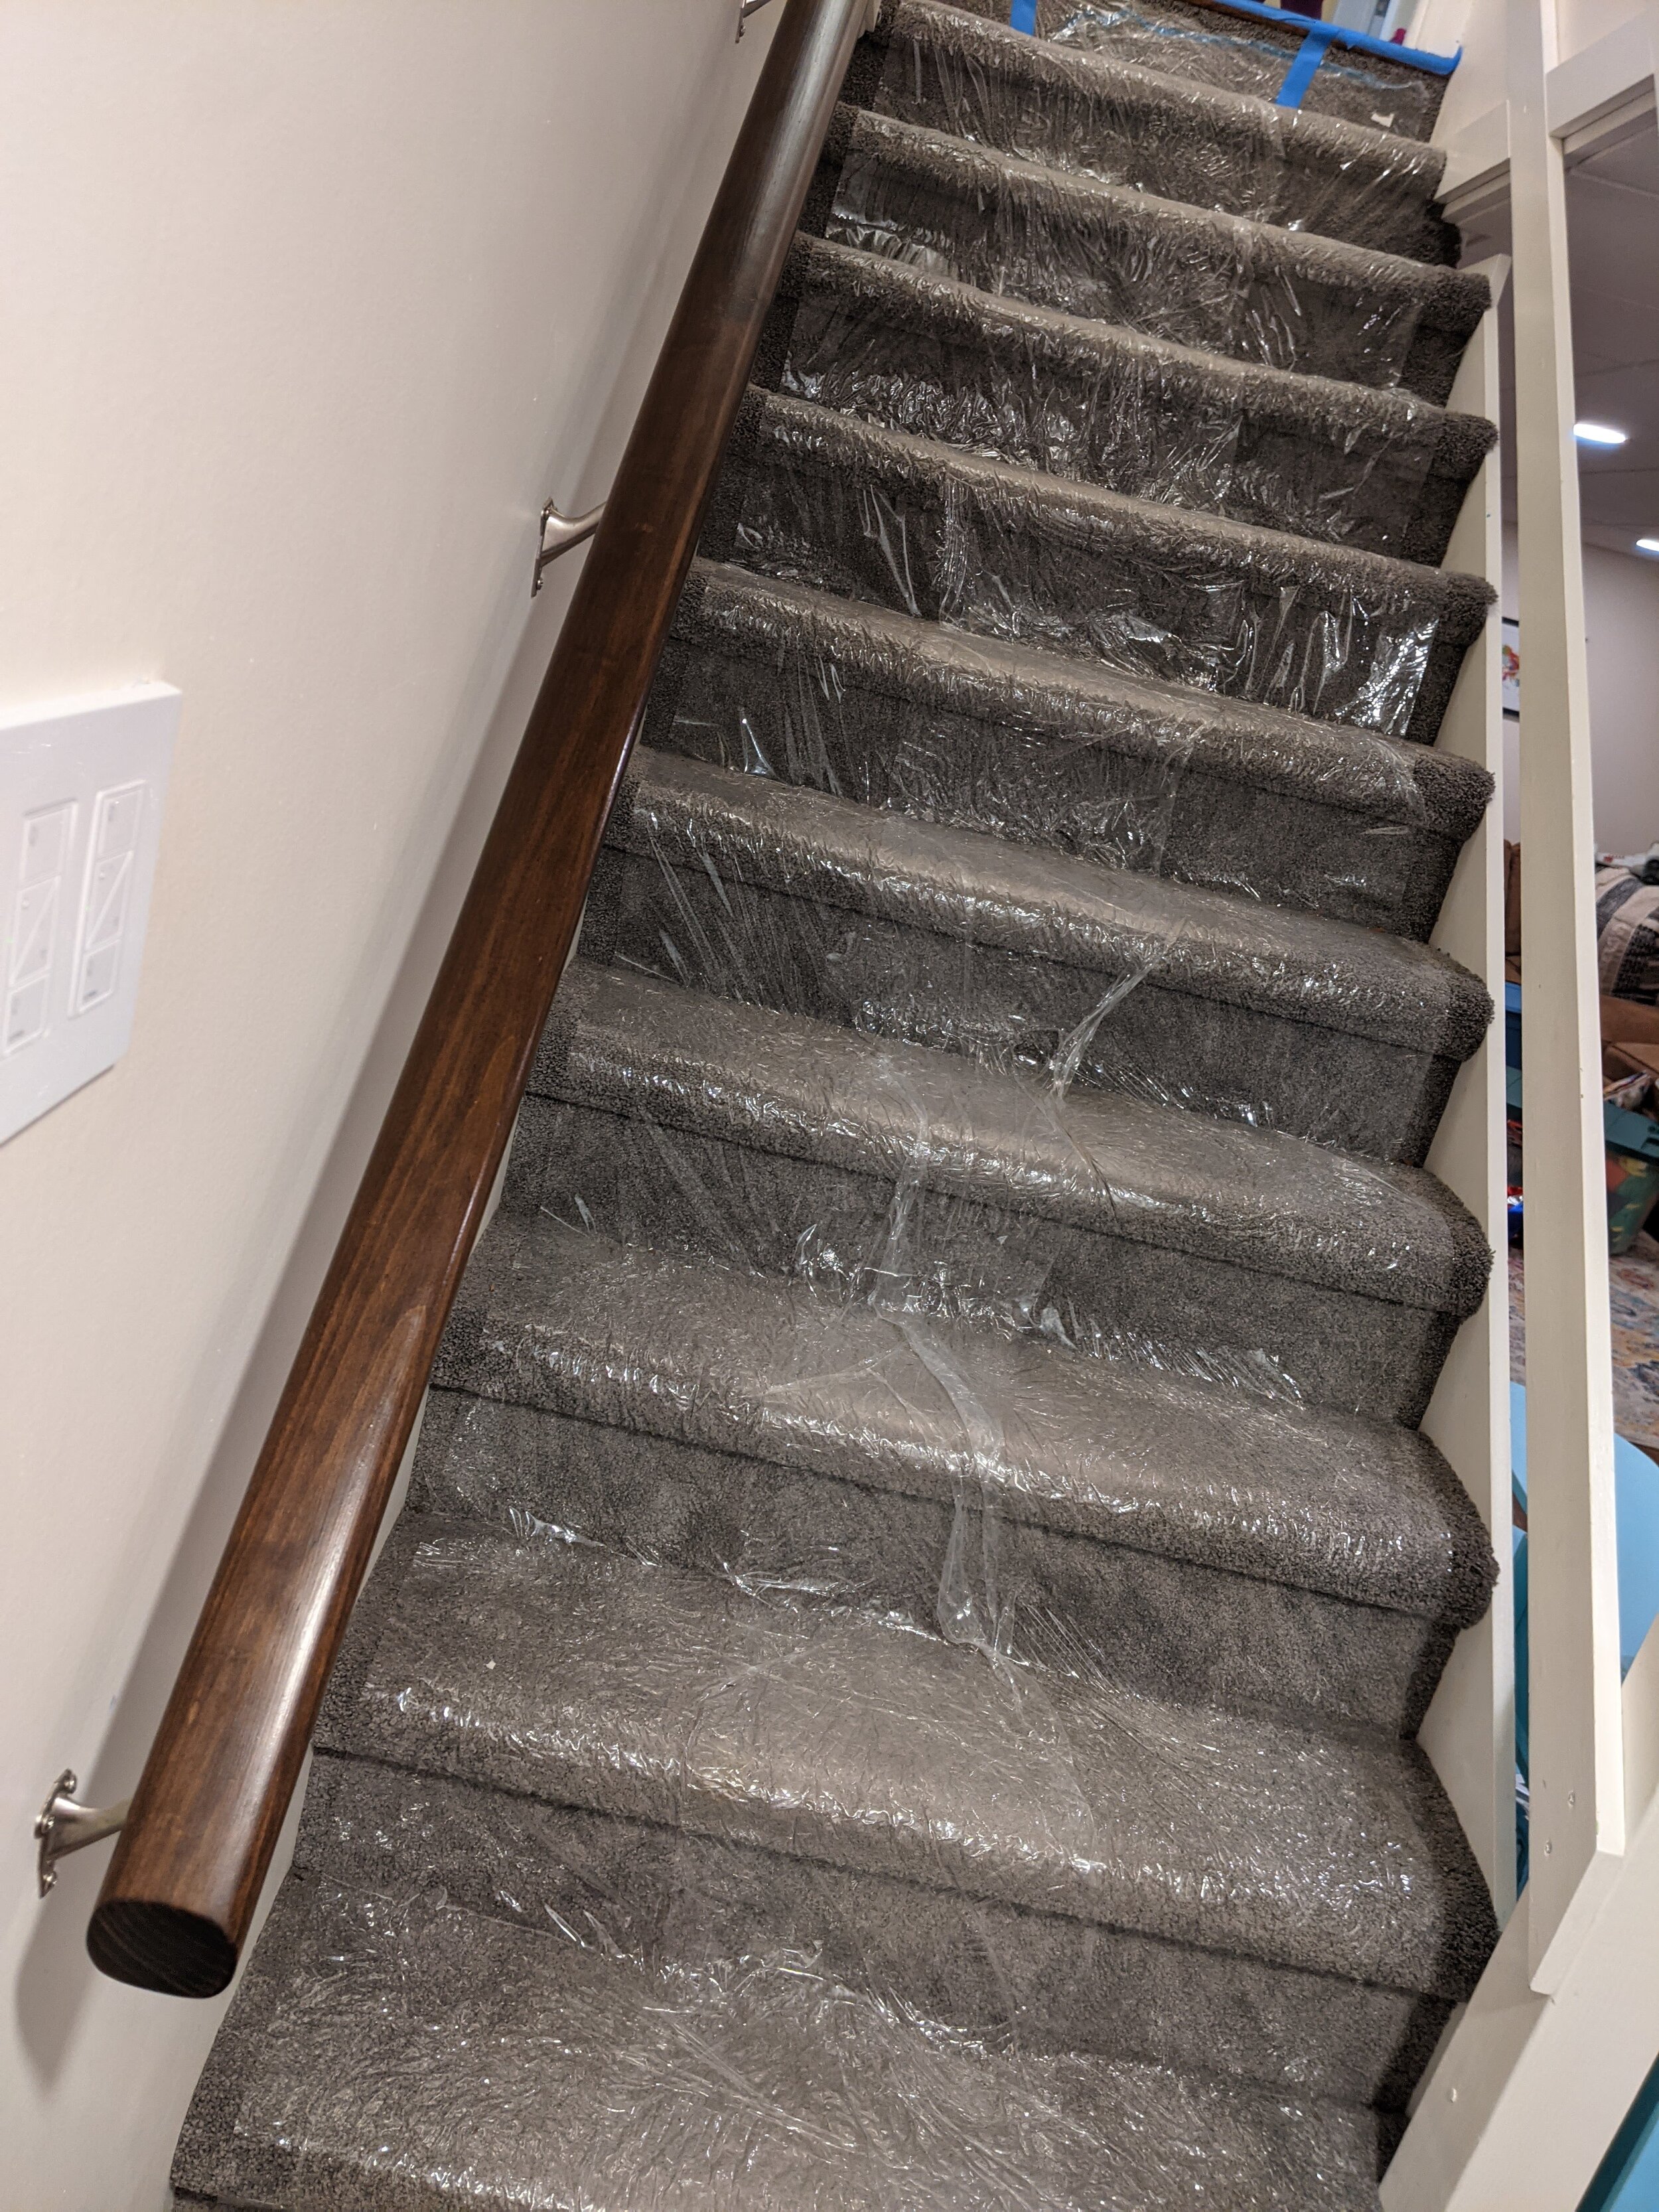
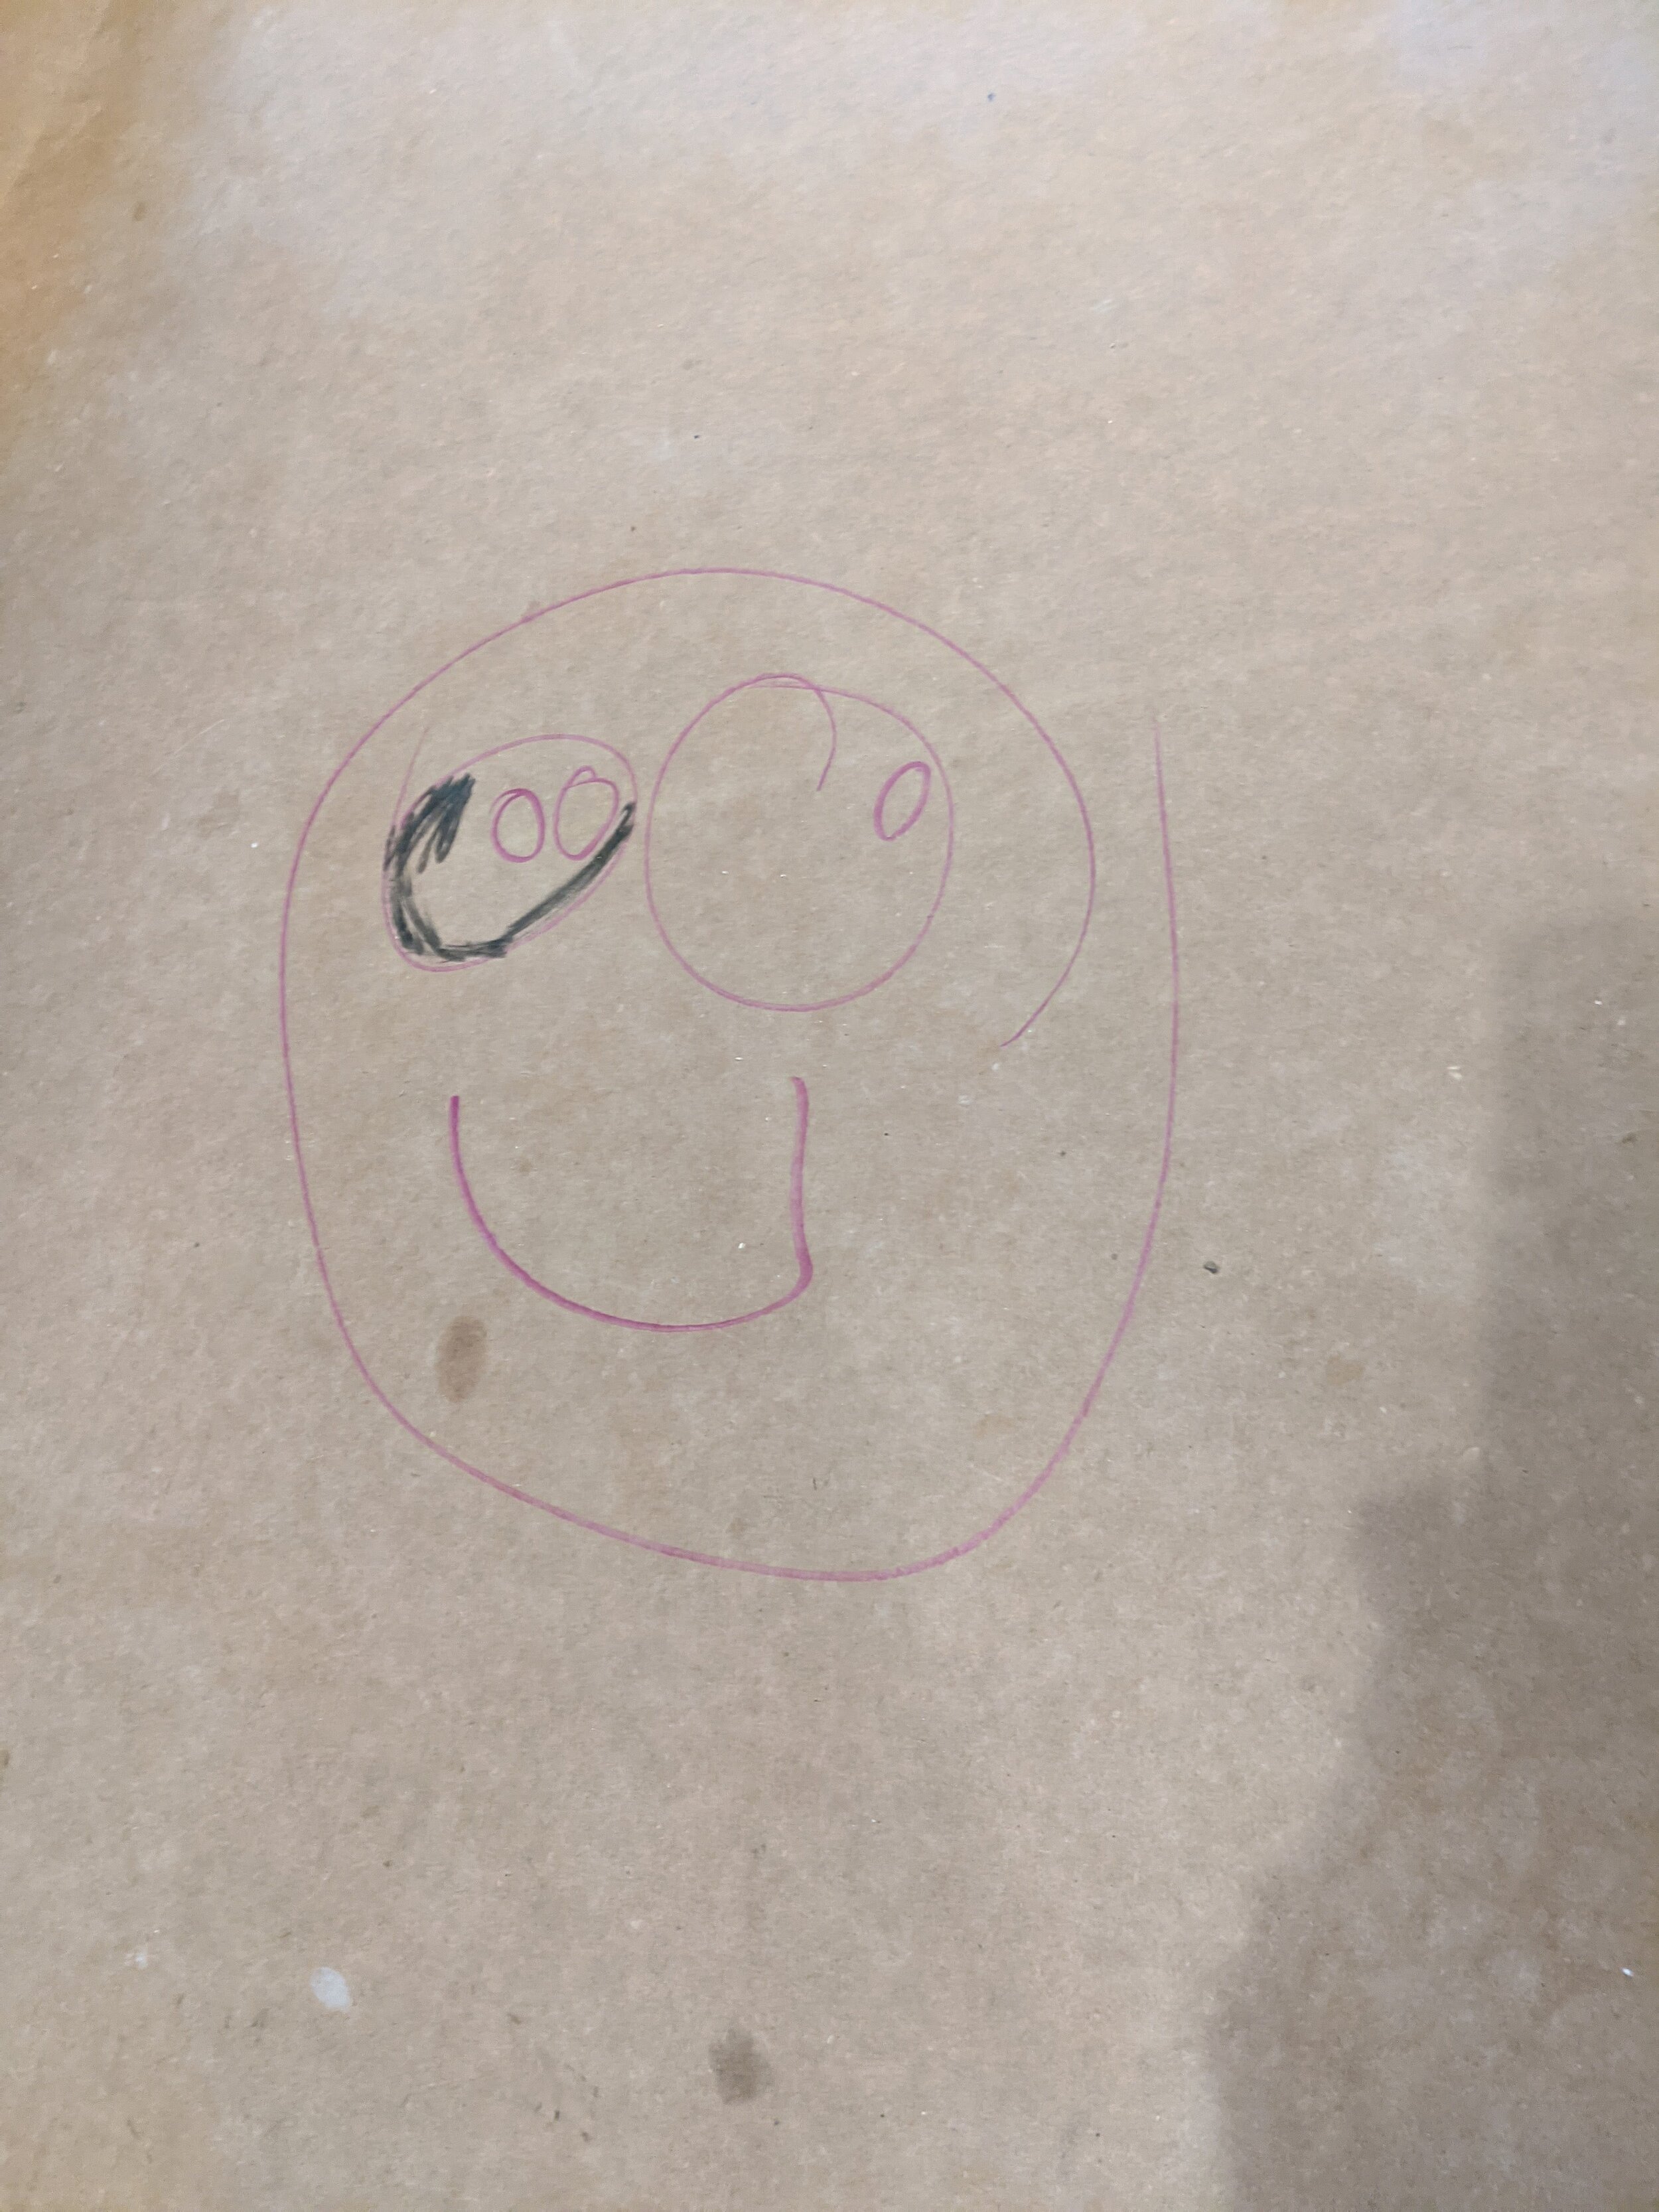
Protect. Your. Floor. if you’re carrying demo-ed materials through your house. It’s the best $30 you’ll spend. We used sticky plastic down the steps and thick parchment paper stuck on the floor with painter’s tape. Make sure your 8yo draws a winky smiley face on it to bring you good luck. This is a critical step.
Step Two: Kill the Old Tile
Demolition begins with knocking down tiles one at a time with a hammer and chisel, then moves on to the removal of furniture and appliances, then the ripping up of the floor. Do it slowly so you don’t damage anything (especially plumbing). If the wall is in good shape, avoid making holes that you’ll have to repair later.
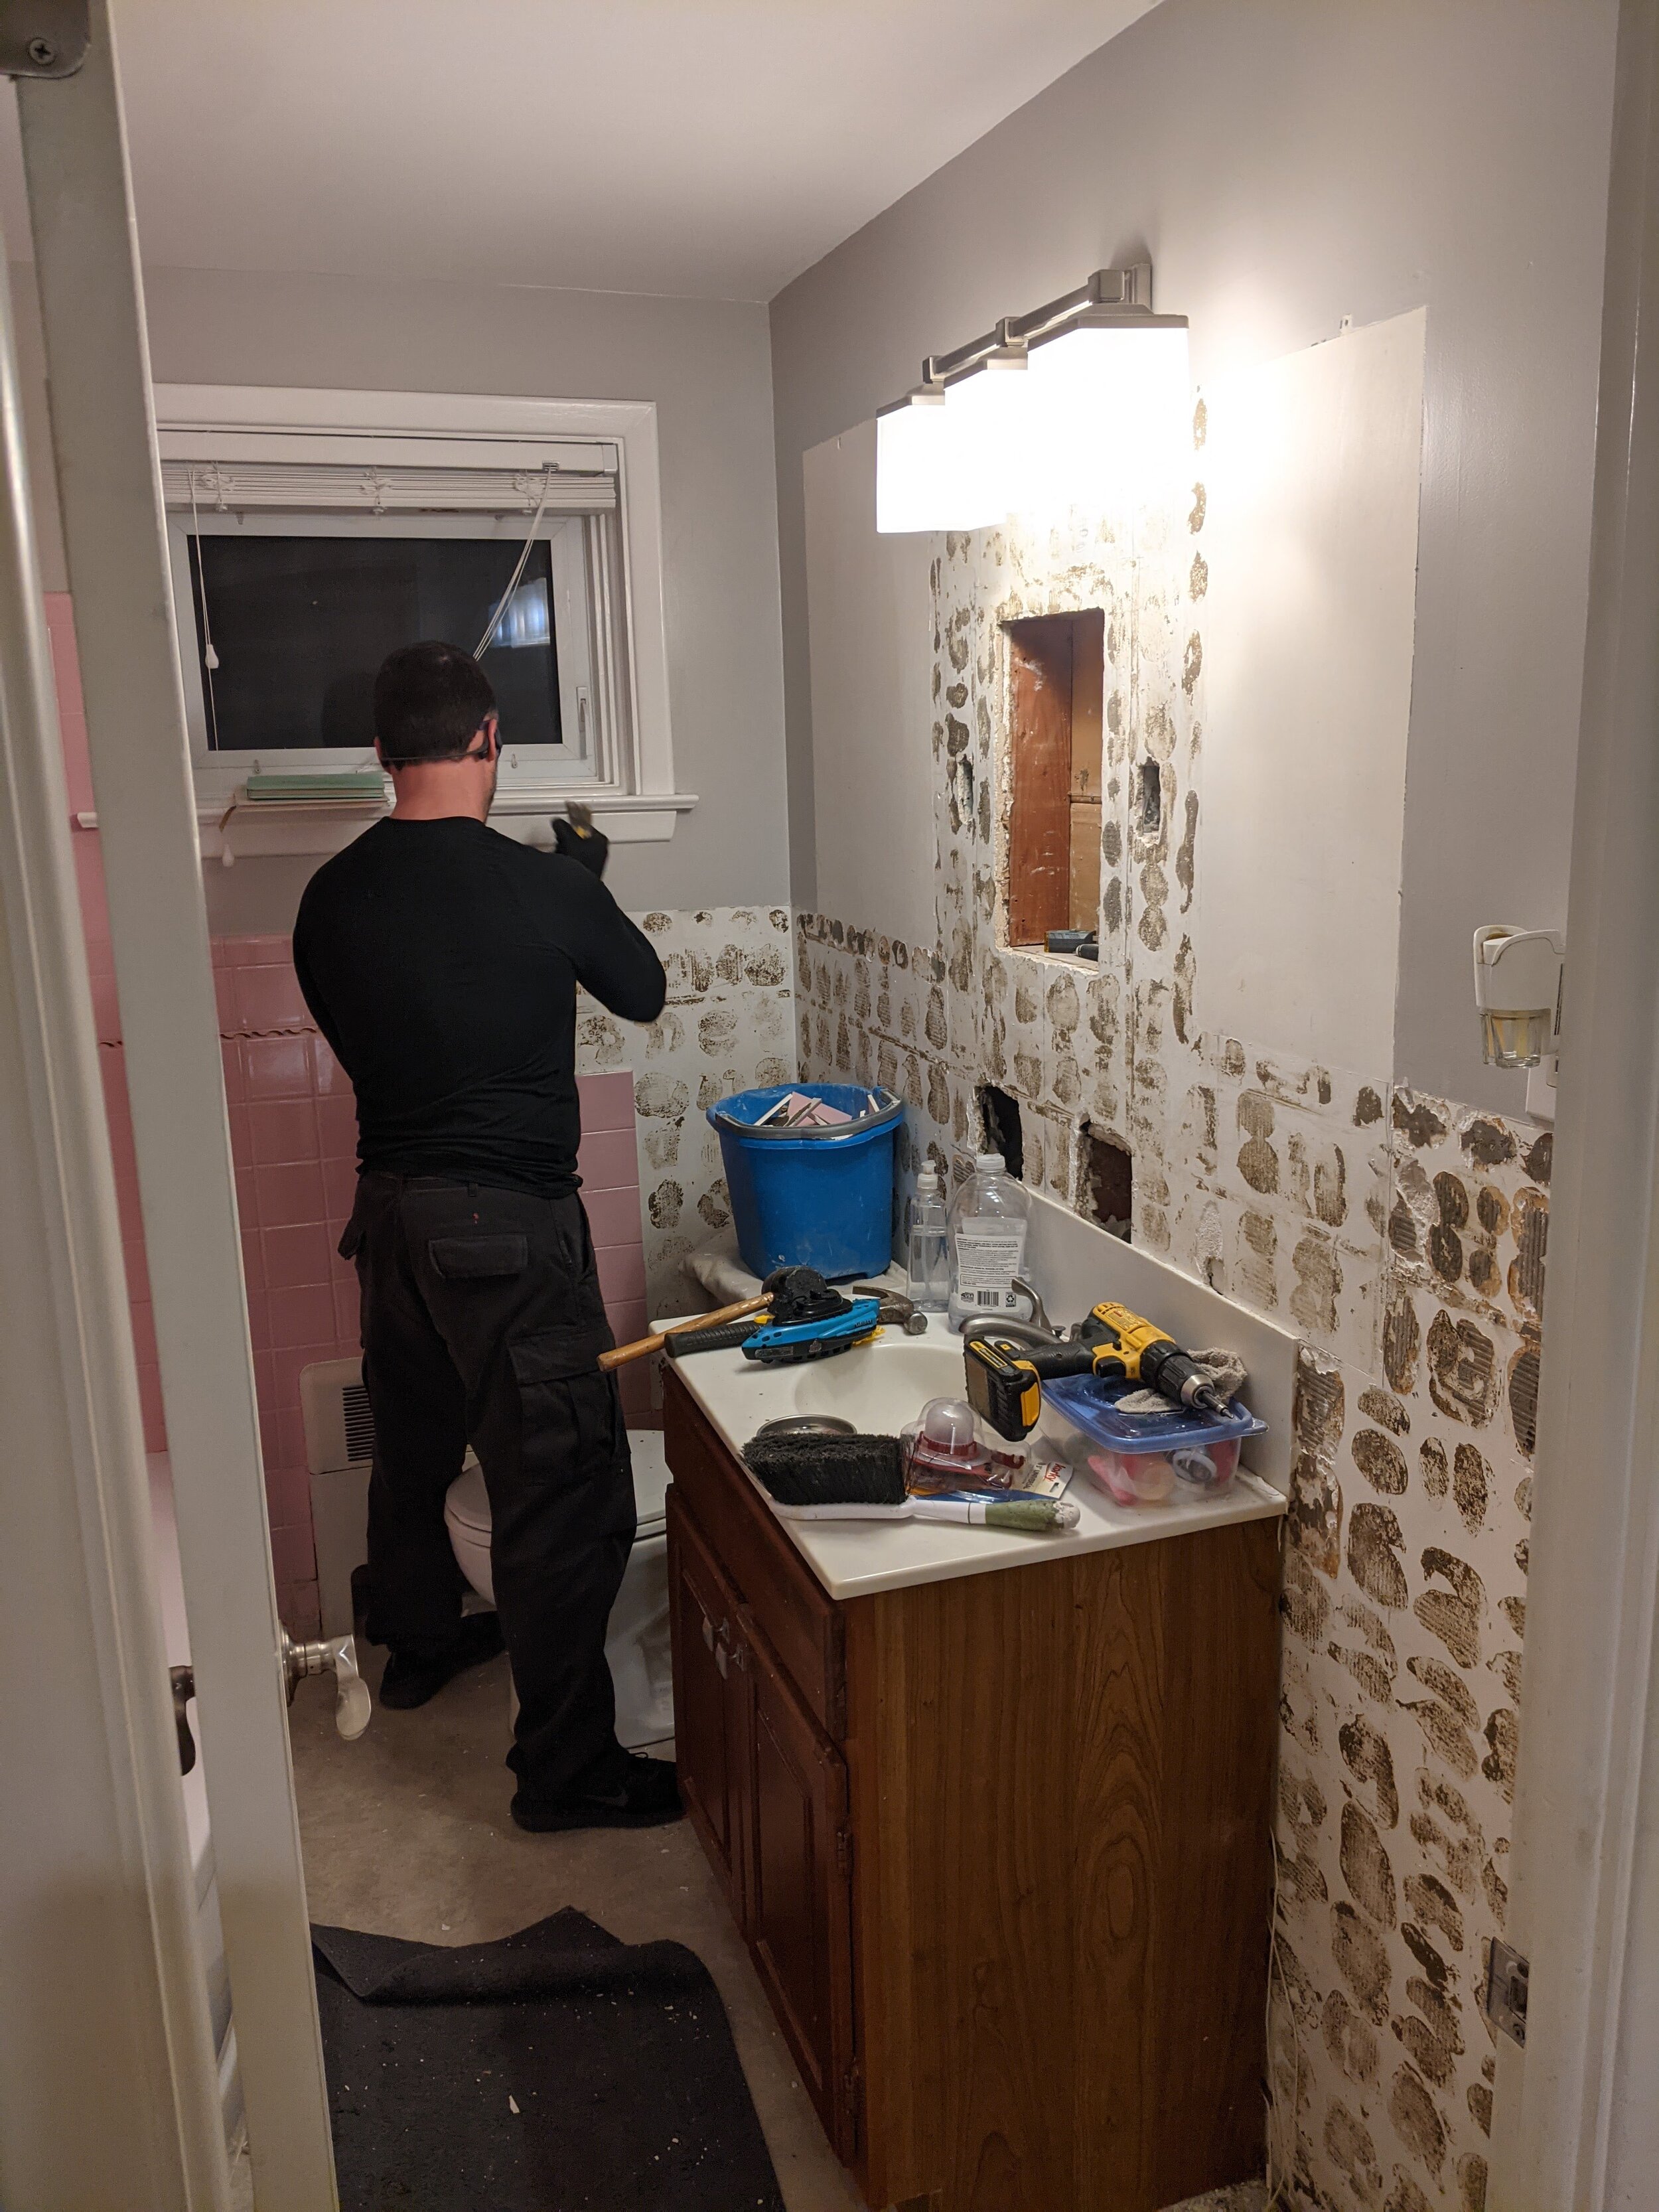
Step Three: Remove the Large Items
Disconnect the plumbing and pull out the vanity. Discover more tiles. Cry briefly.
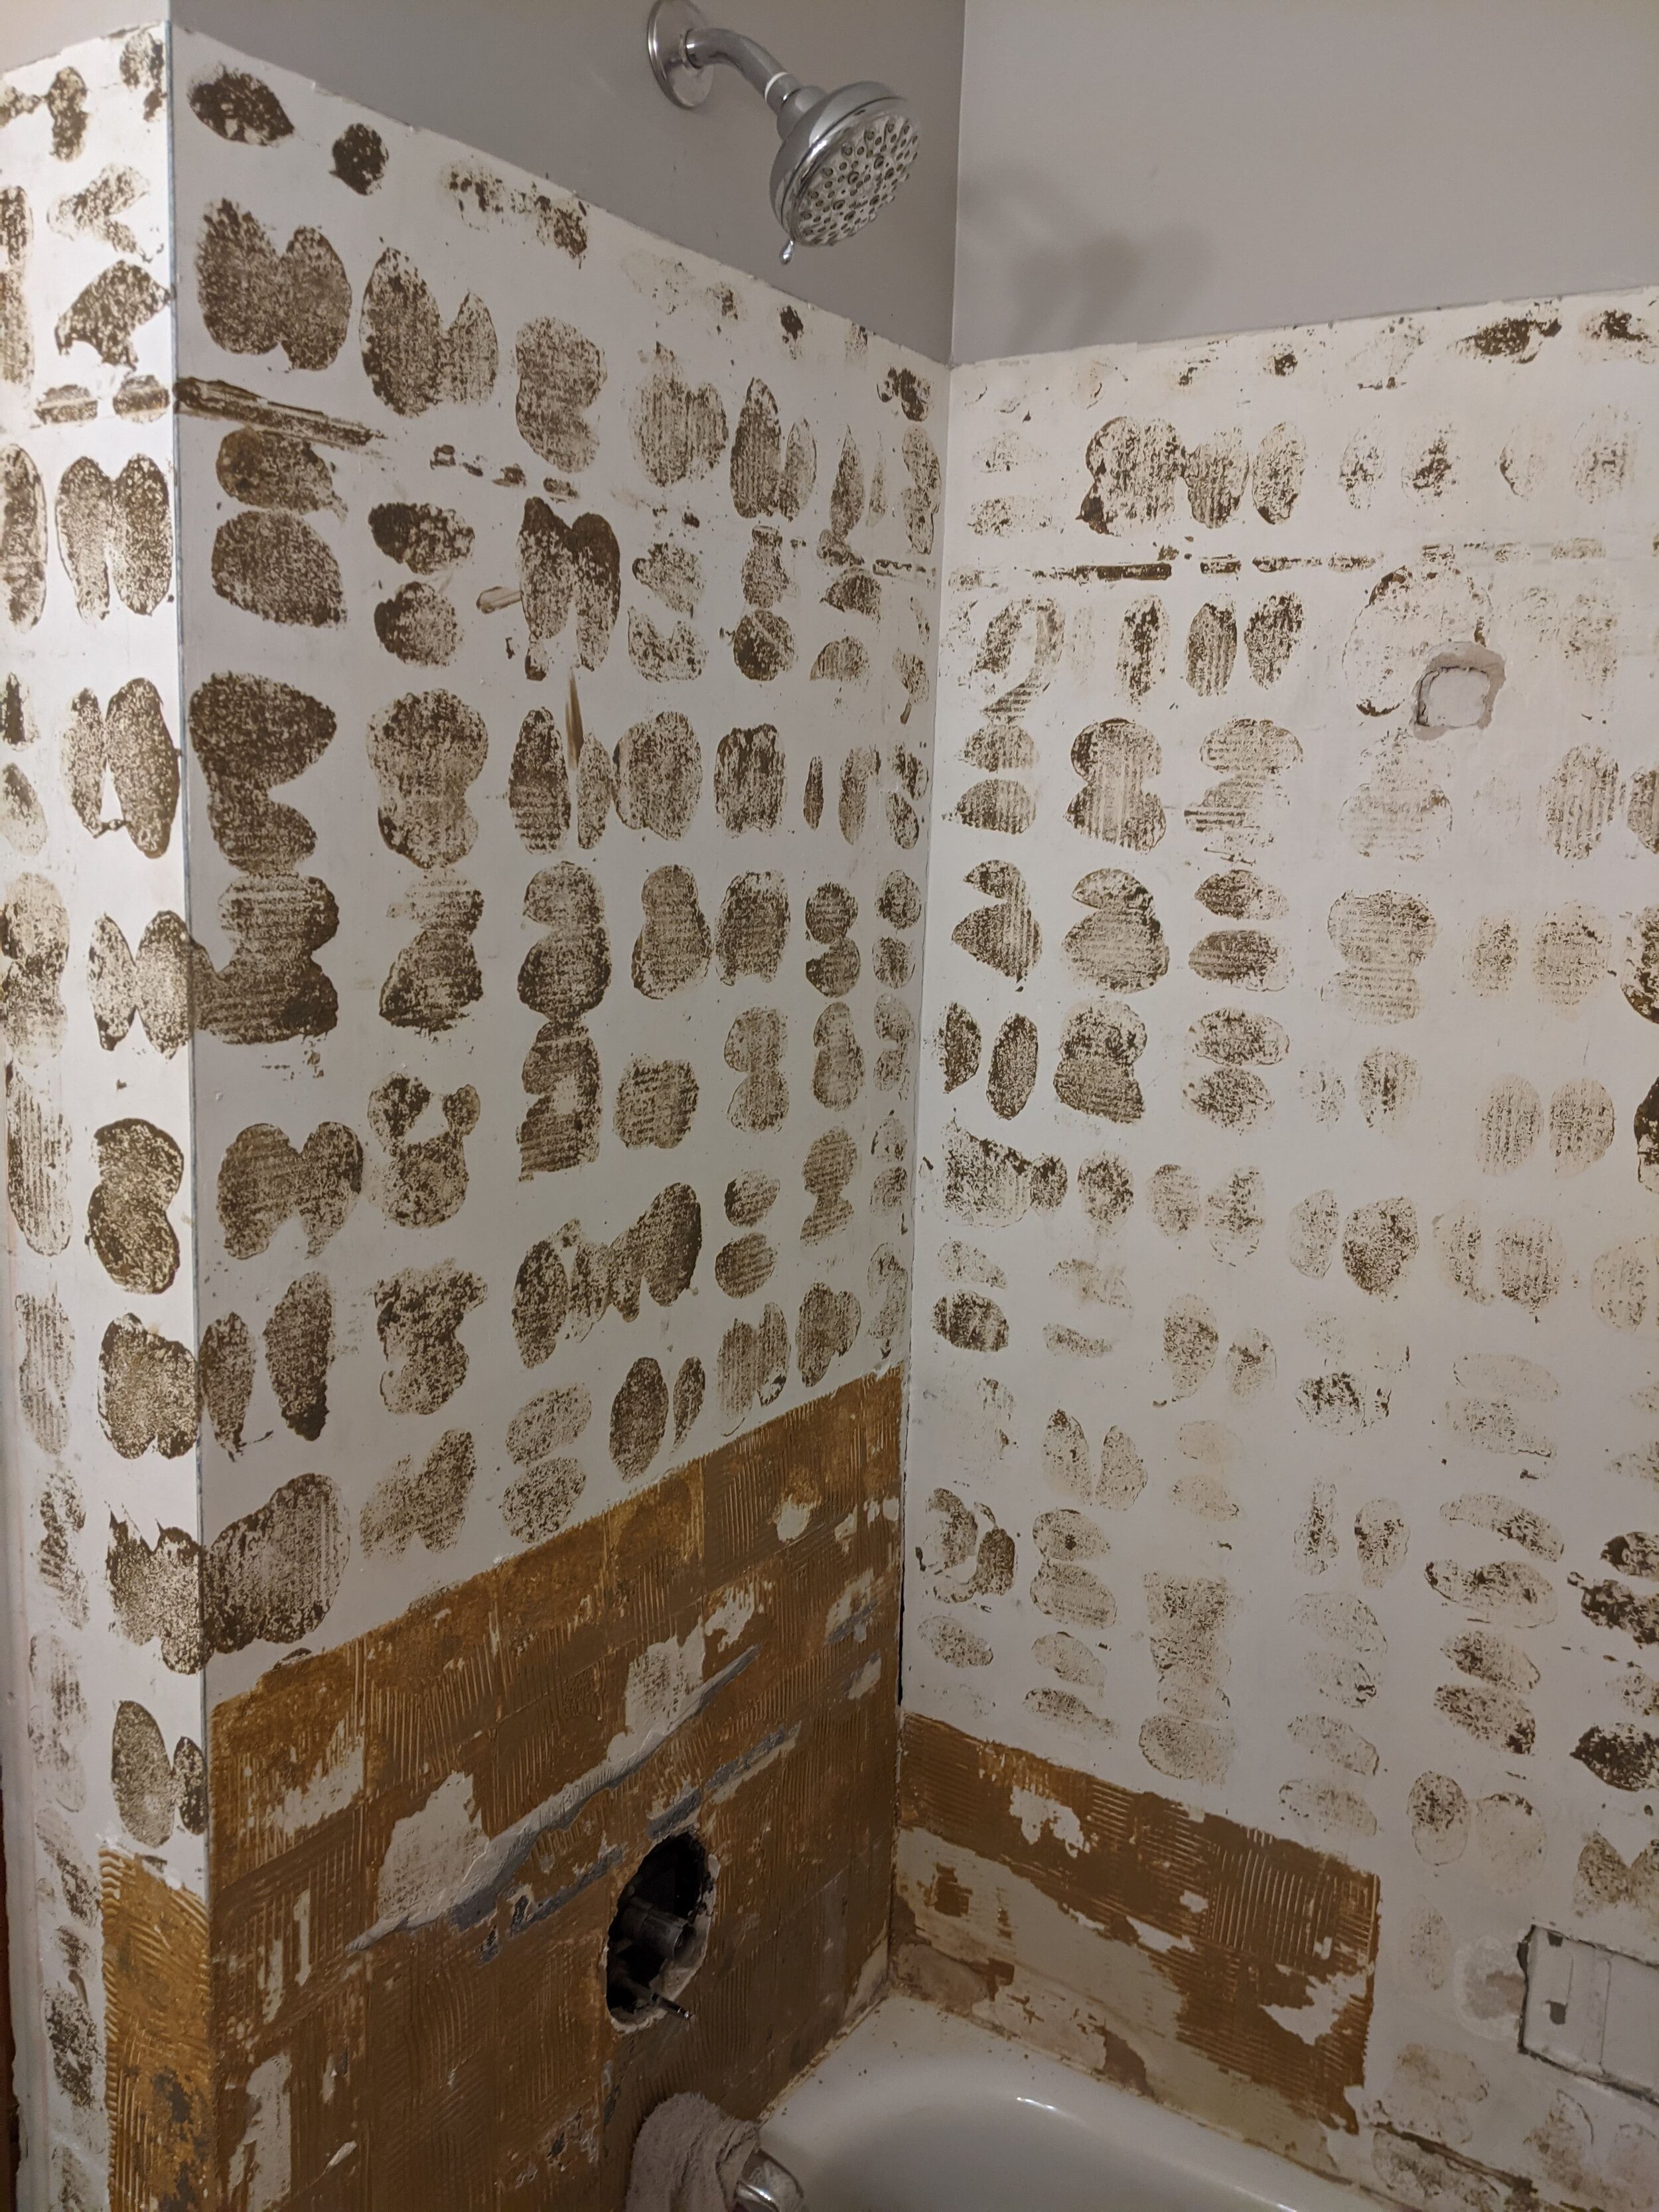
Step Four: Remove the Tub
After disconnecting the plumbing, we solicited neighbor help and lifted out this behemoth. The house has three full baths with a tub upstairs, so we didn’t need a tub here. We are converting to a shower stall. Unfortunately, the tub was chipping so it wasn’t really salvageable.
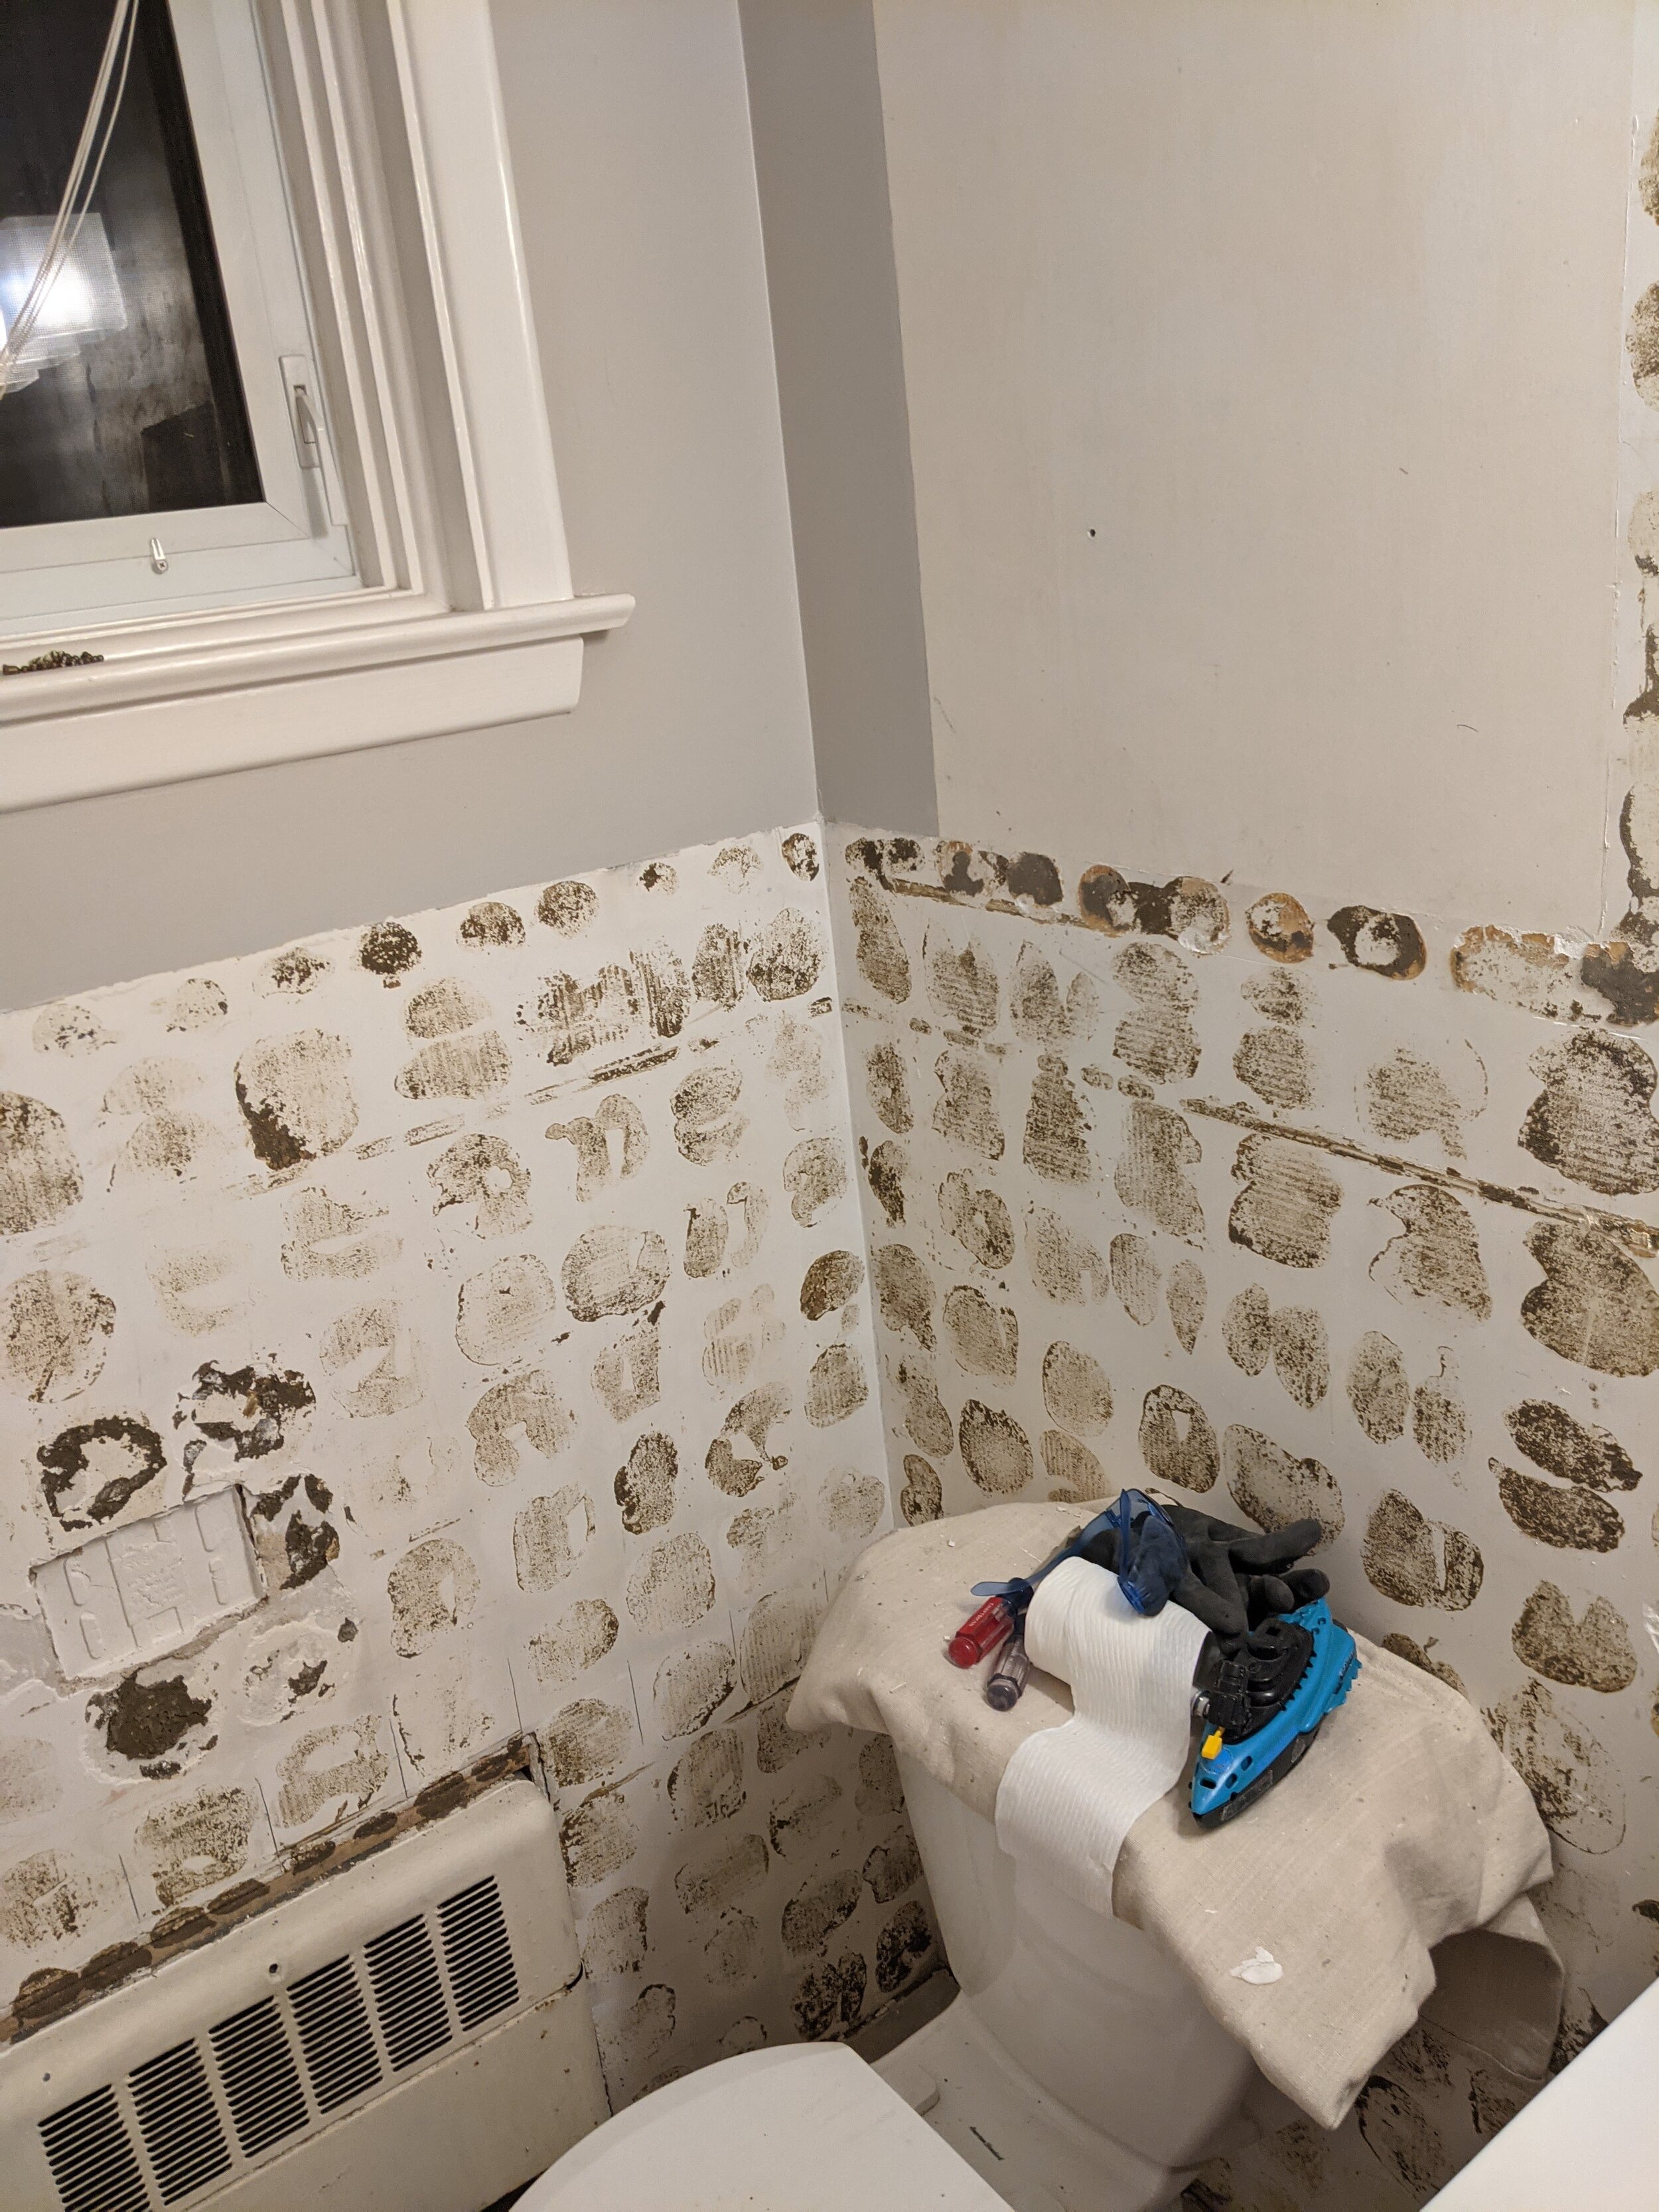
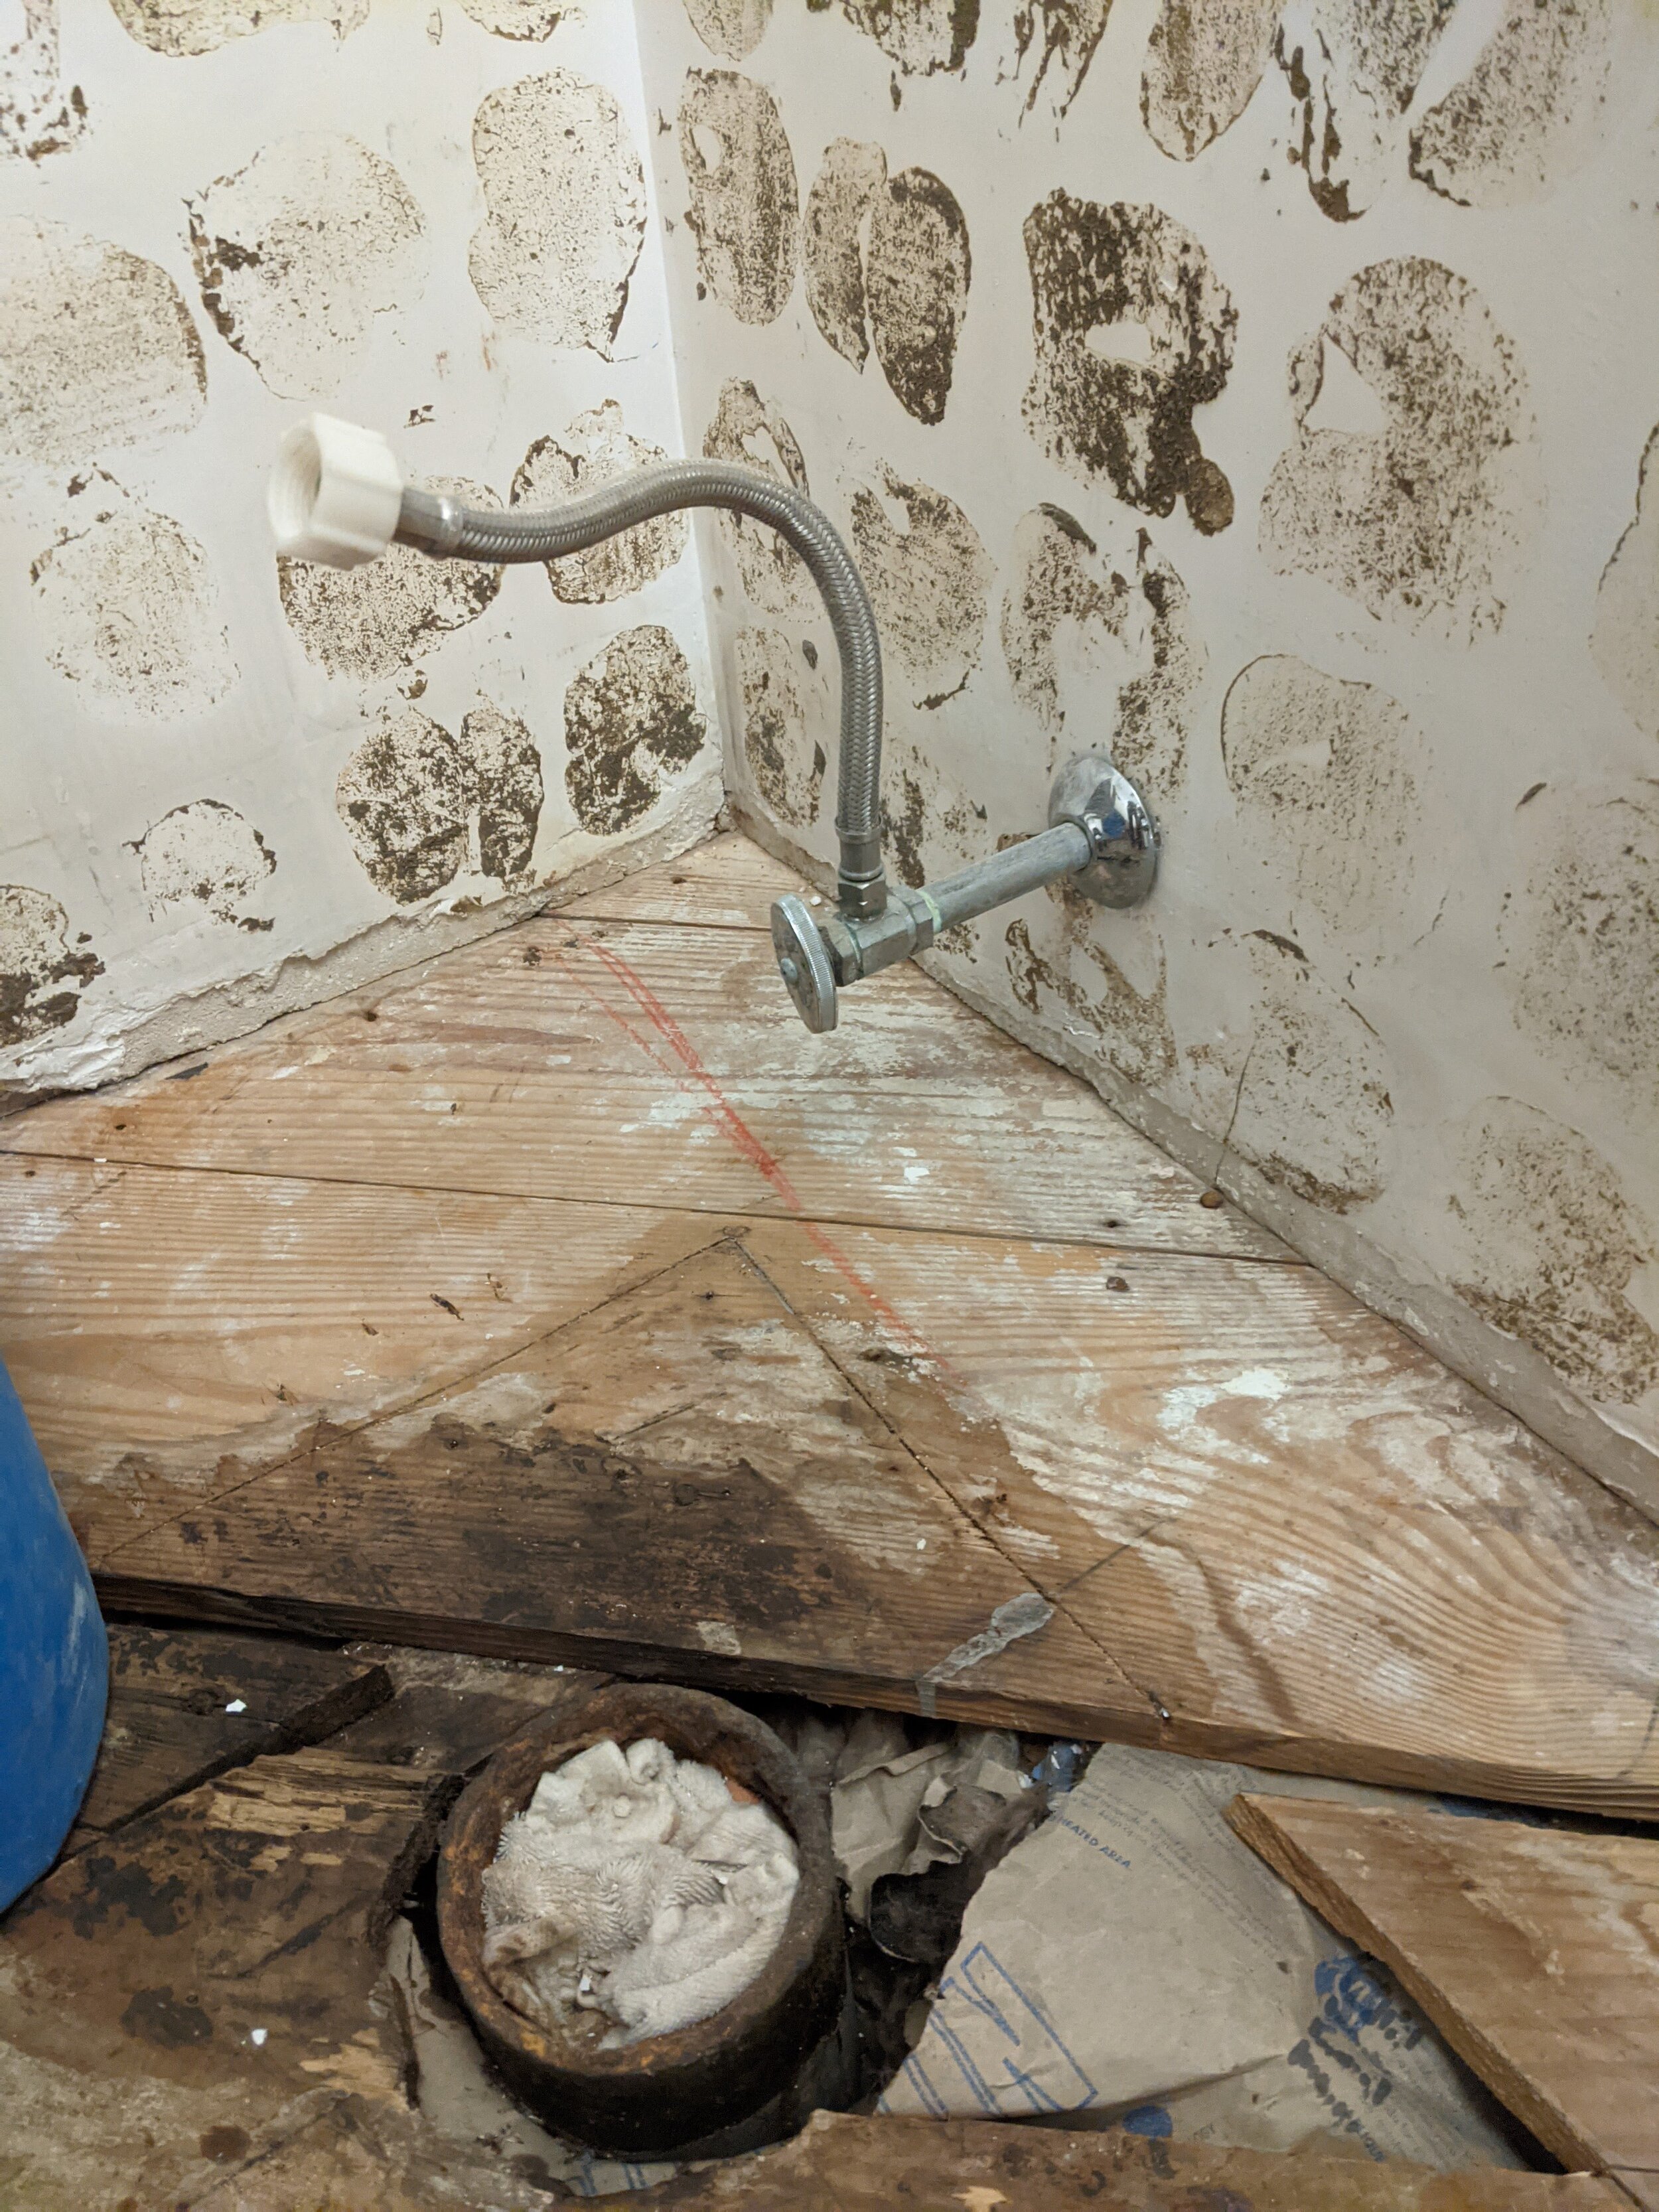
Step Five: Remove the Toilet
Again, disconnect the plumbing and remove the toilet. PLUG THE HOLE, PLUG THE HOLE, PLUG THE HOLE. That smell. Stick a towel in that the moment you pull it. I did not take a picture of this. (You’re welcome.)
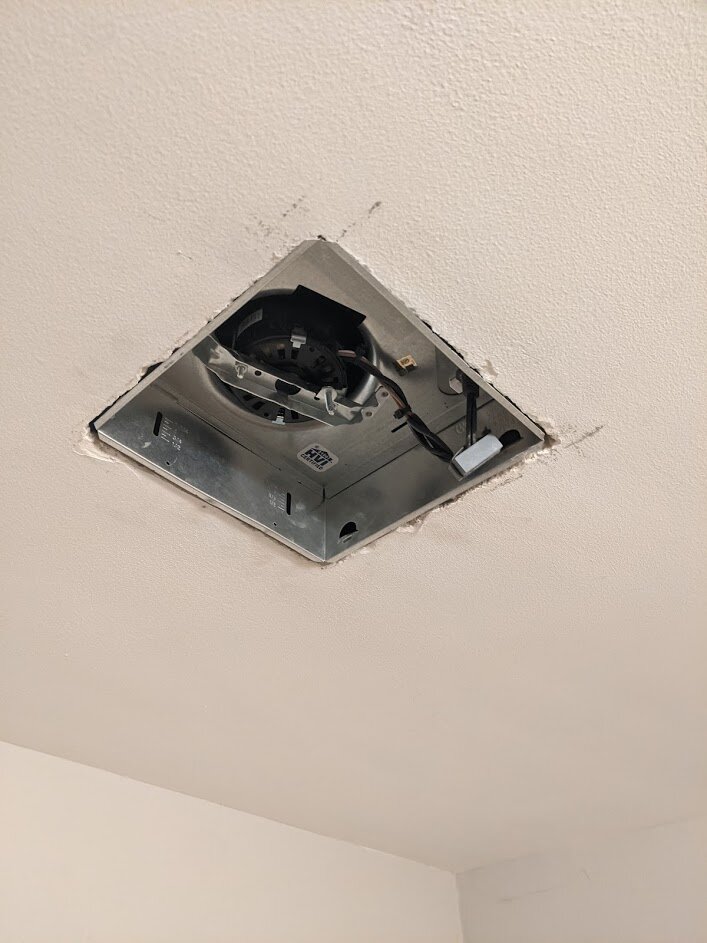
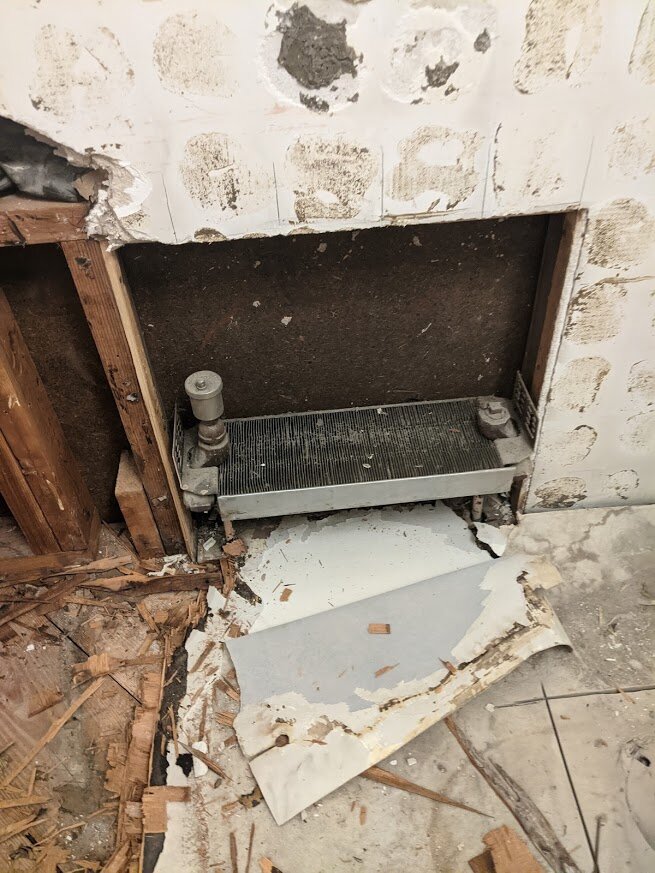
Mini Step
Our ceiling was ok, so we added the guts for an awesome light and vent fan (done at this stage because it would help clear out smells from our work). We also removed the wall heater at this point. More on the heater later.

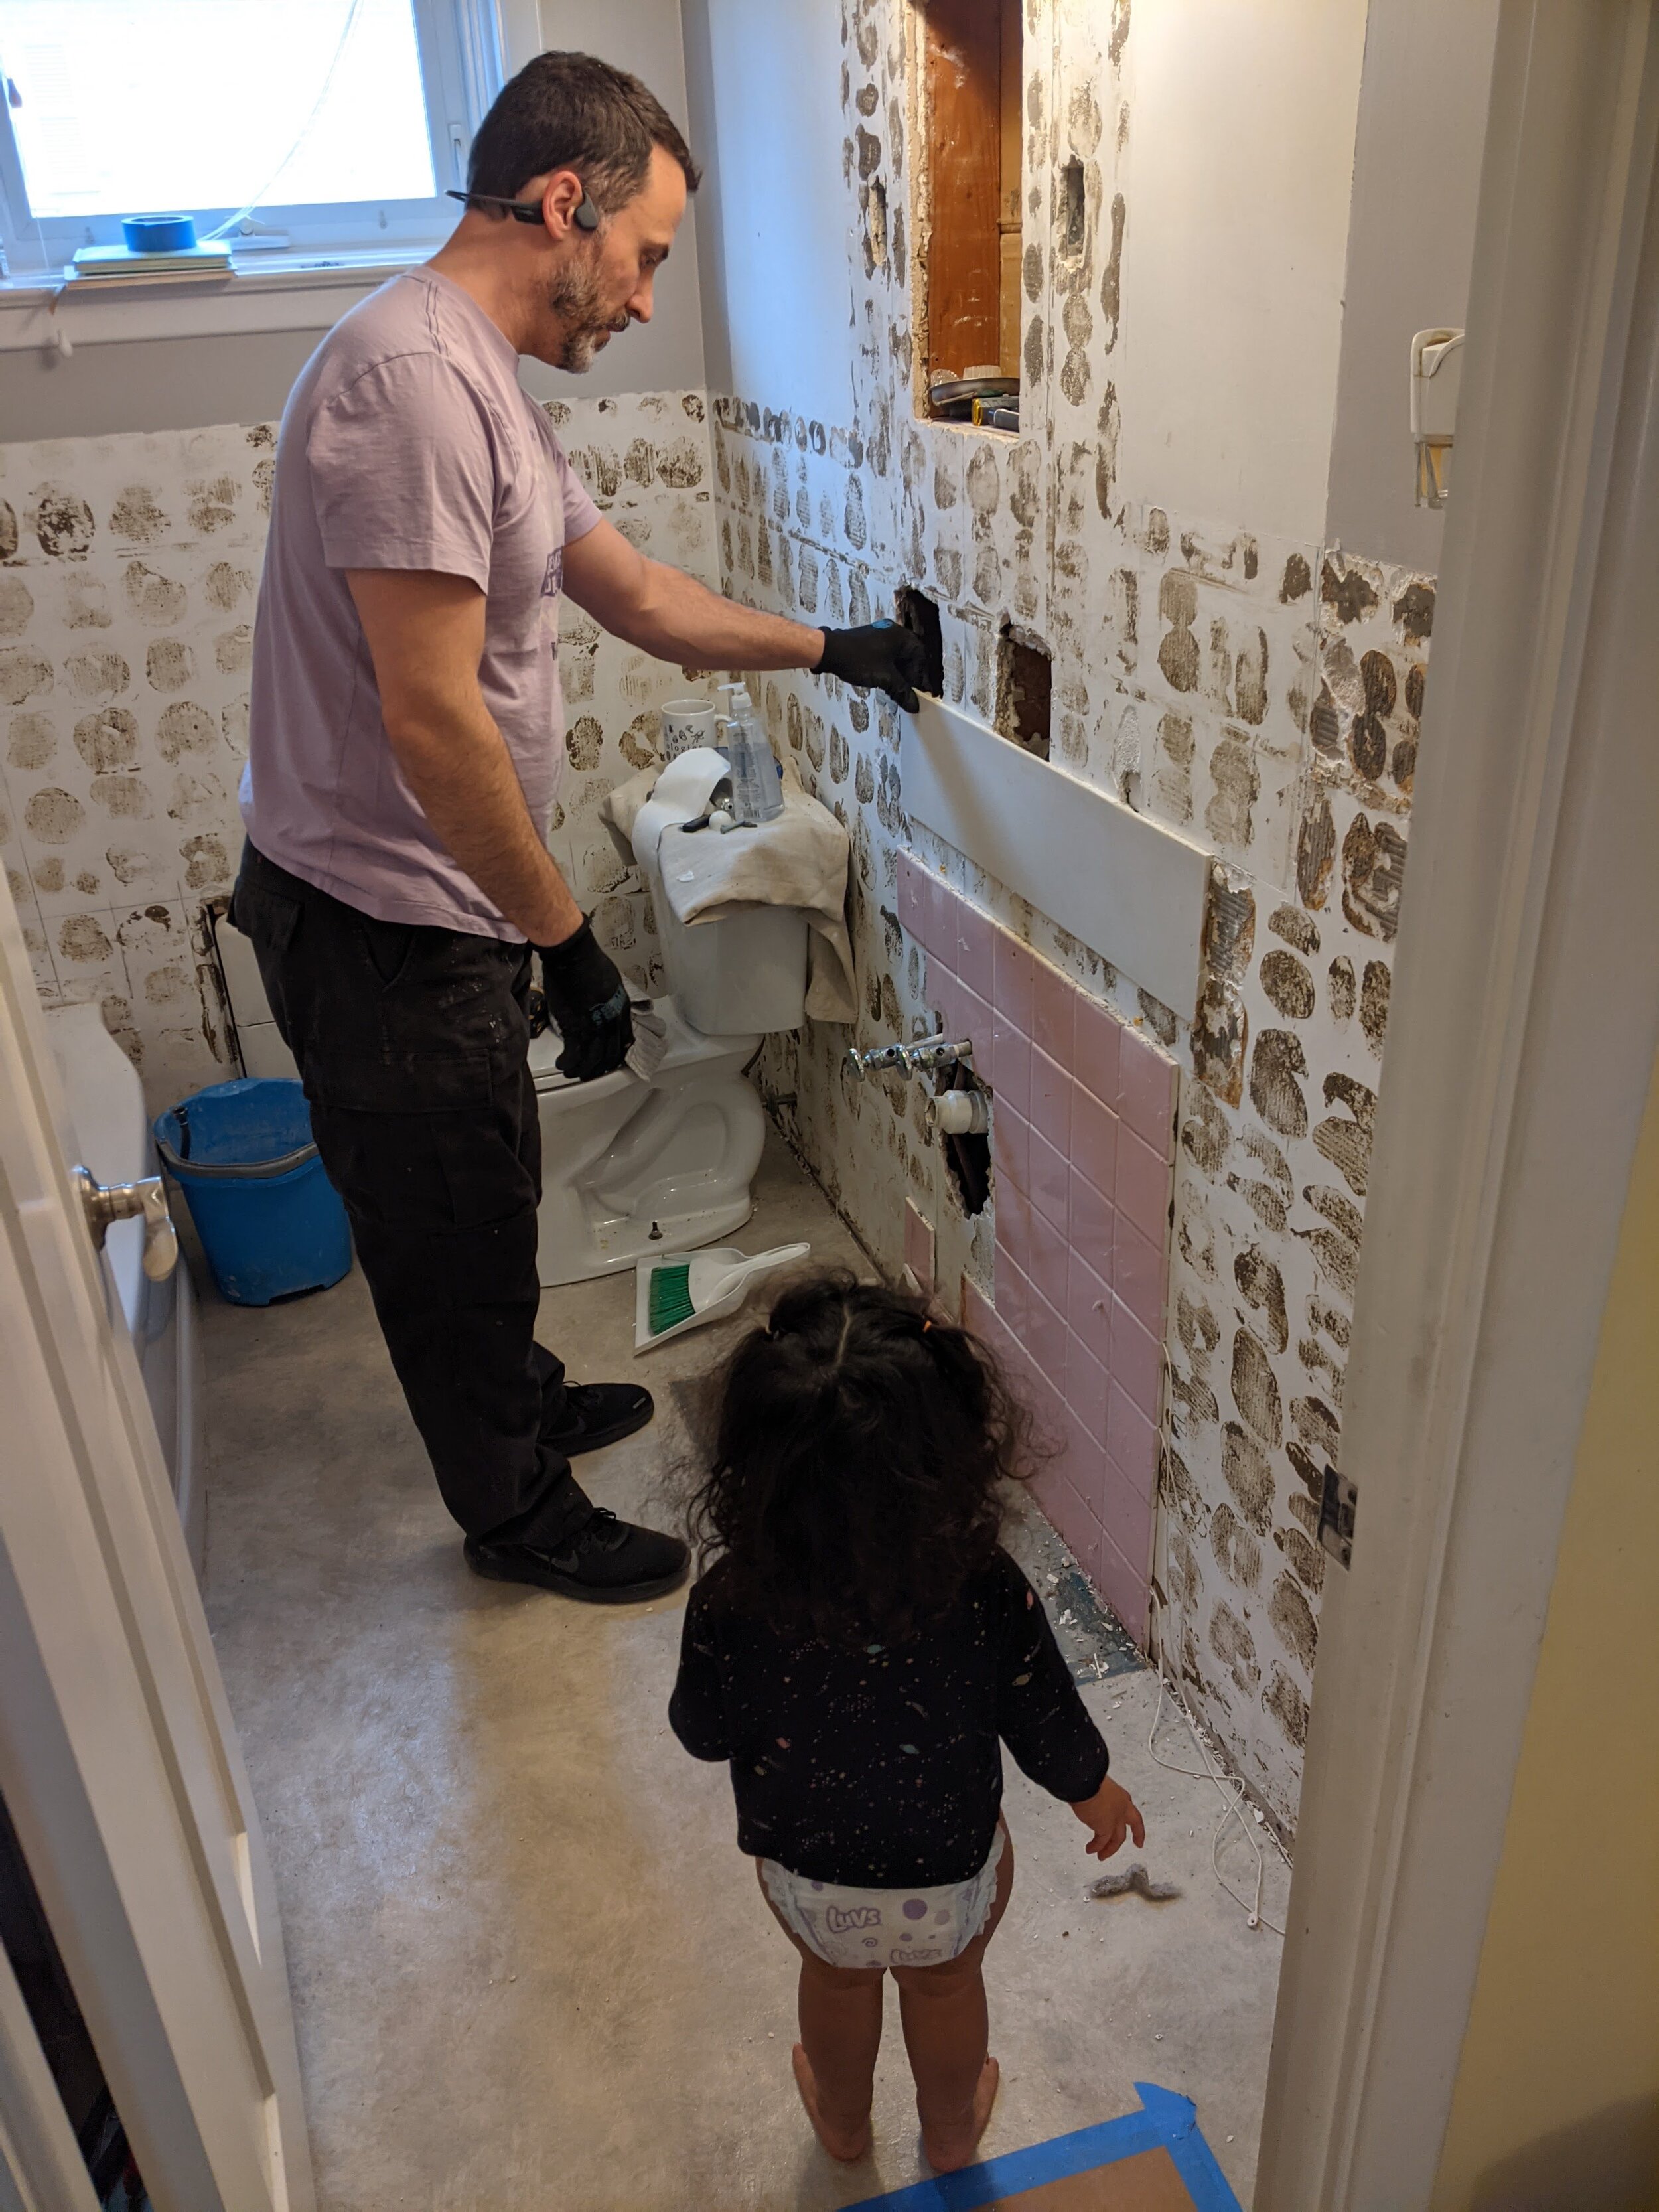
Step Six: Scrape the gunk off the wall until your fingers cramp into giant clams forever
Ok, maybe not forever, but we did include the kids in this process since it was so labor-intensive. Surface prep is critical. You want the tiles to adhere effectively and you want the paint to look smooth. Our oldest is 11 years old and a really dedicated worker and likes spending time with Hubs. Notice the ear protection, and of course his eyes are covered by his glasses. Hubs’ are on his head. (D’oh.)
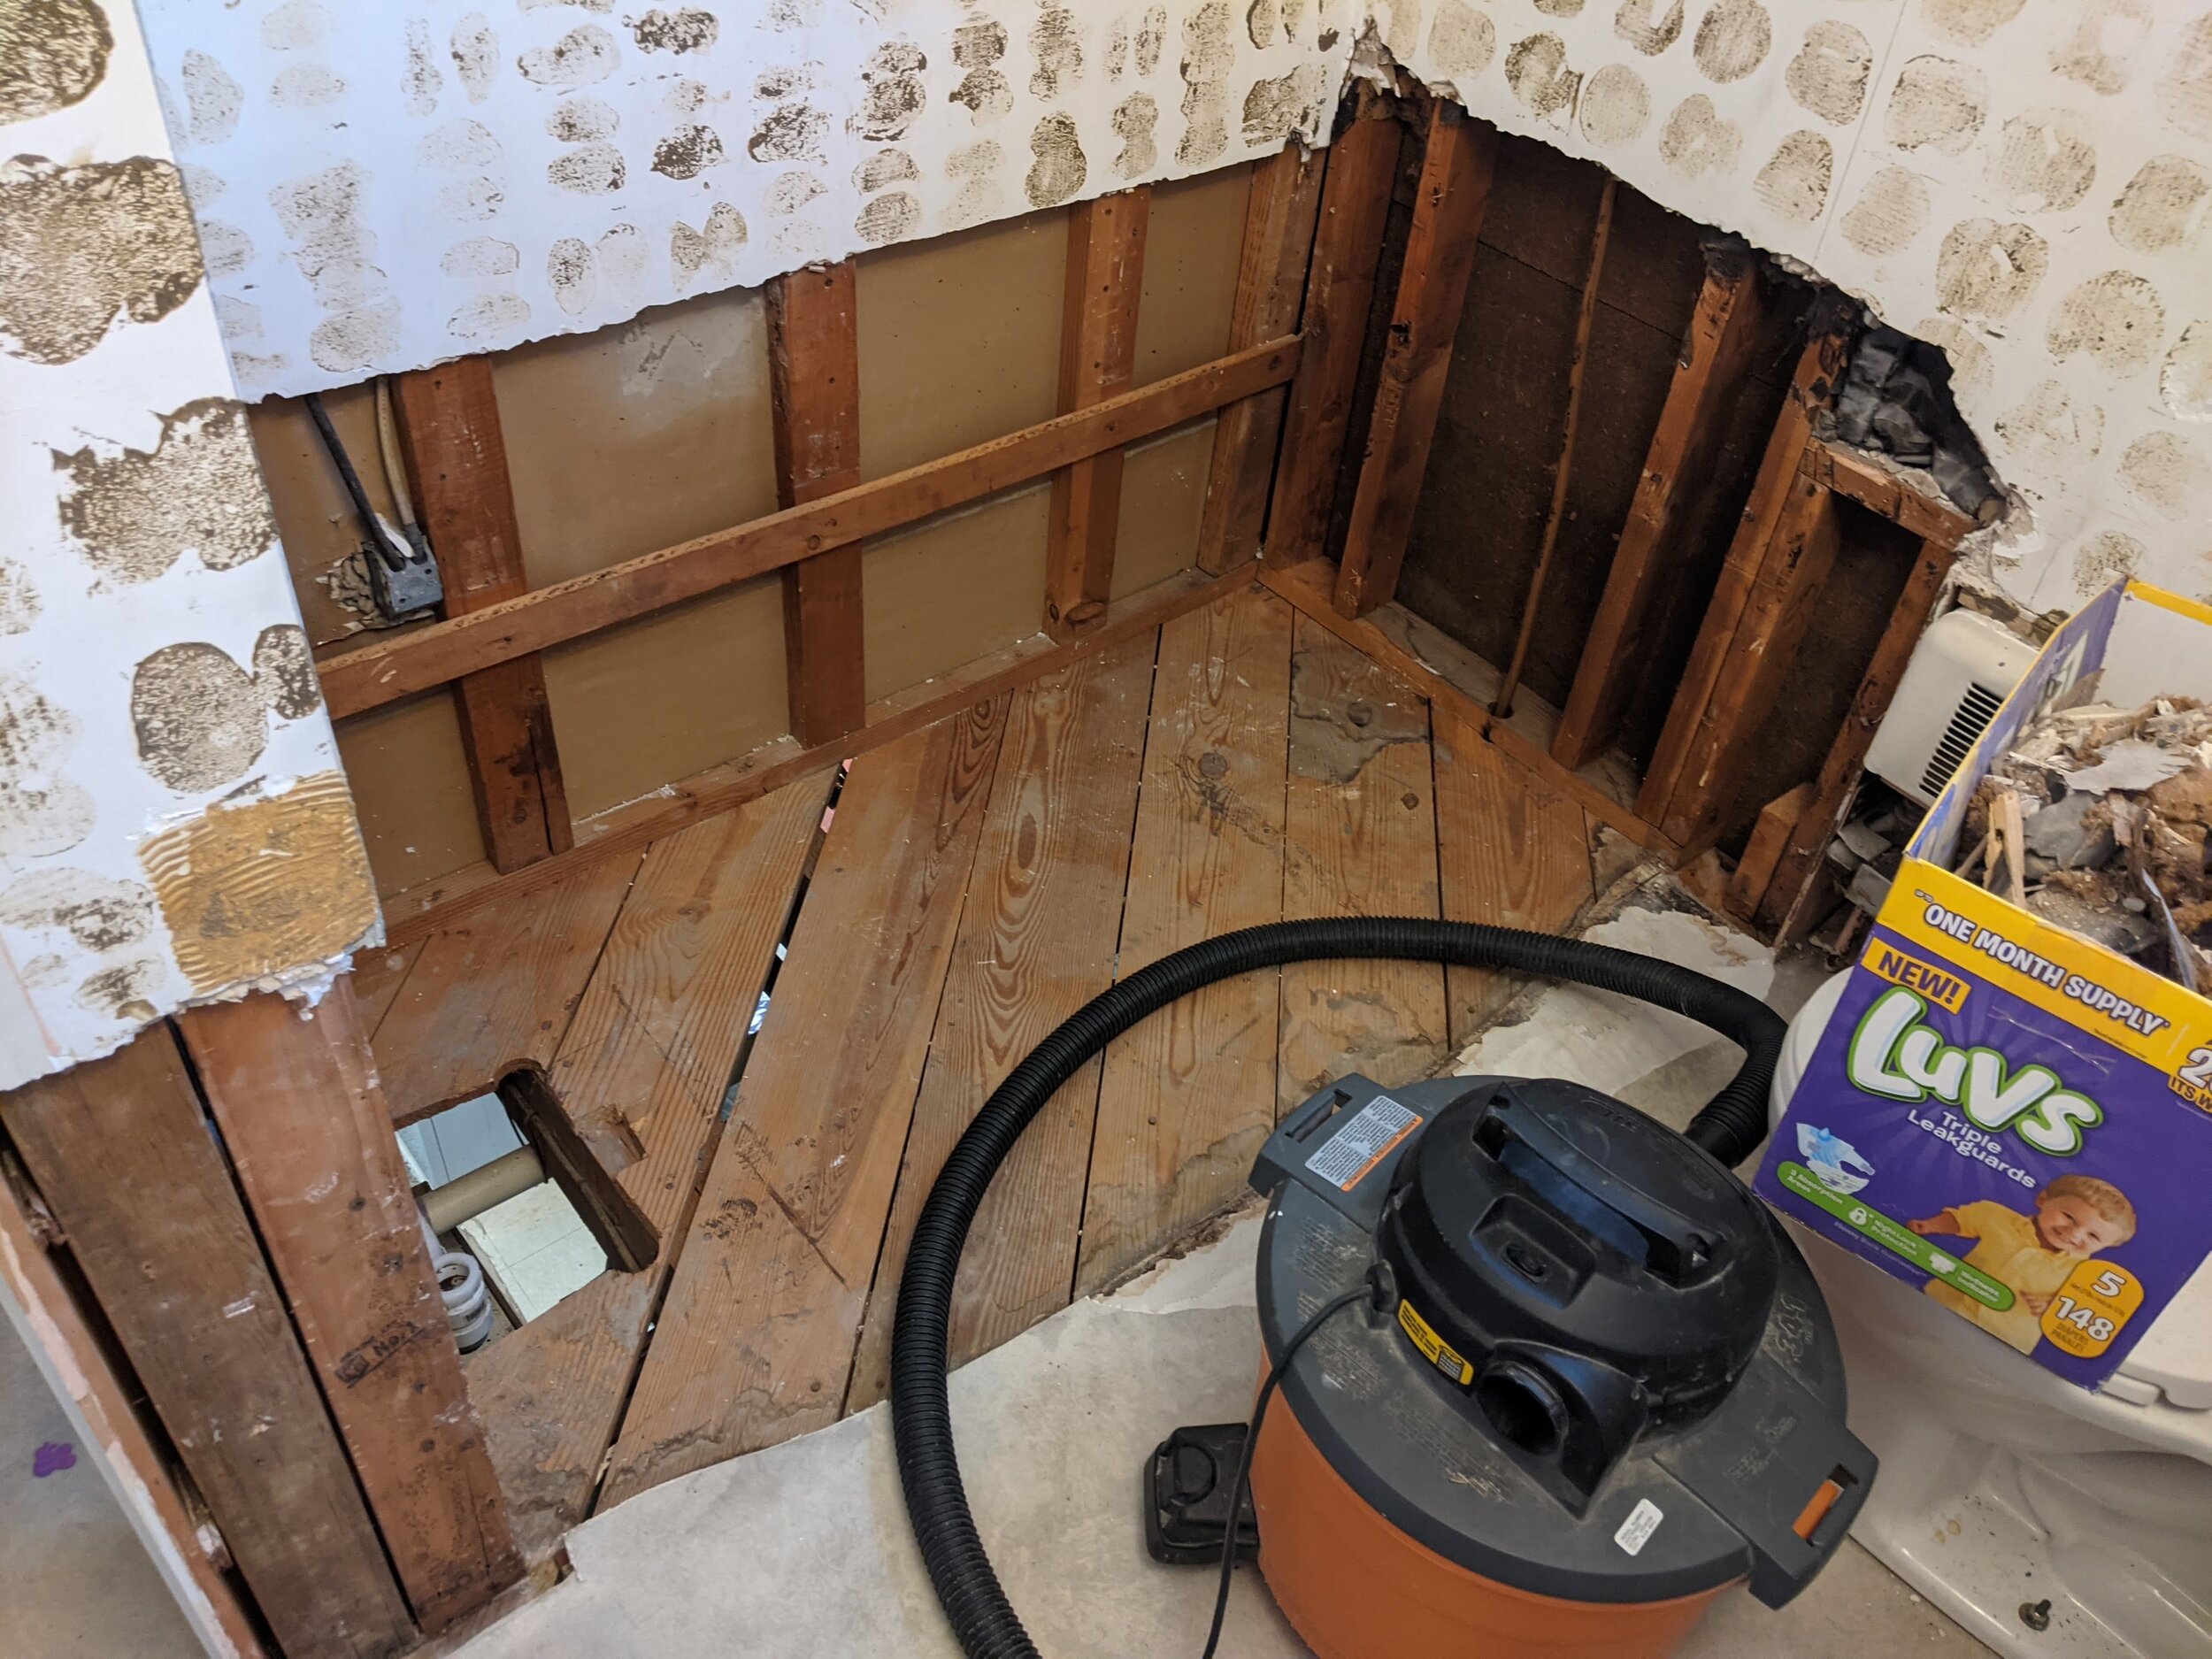
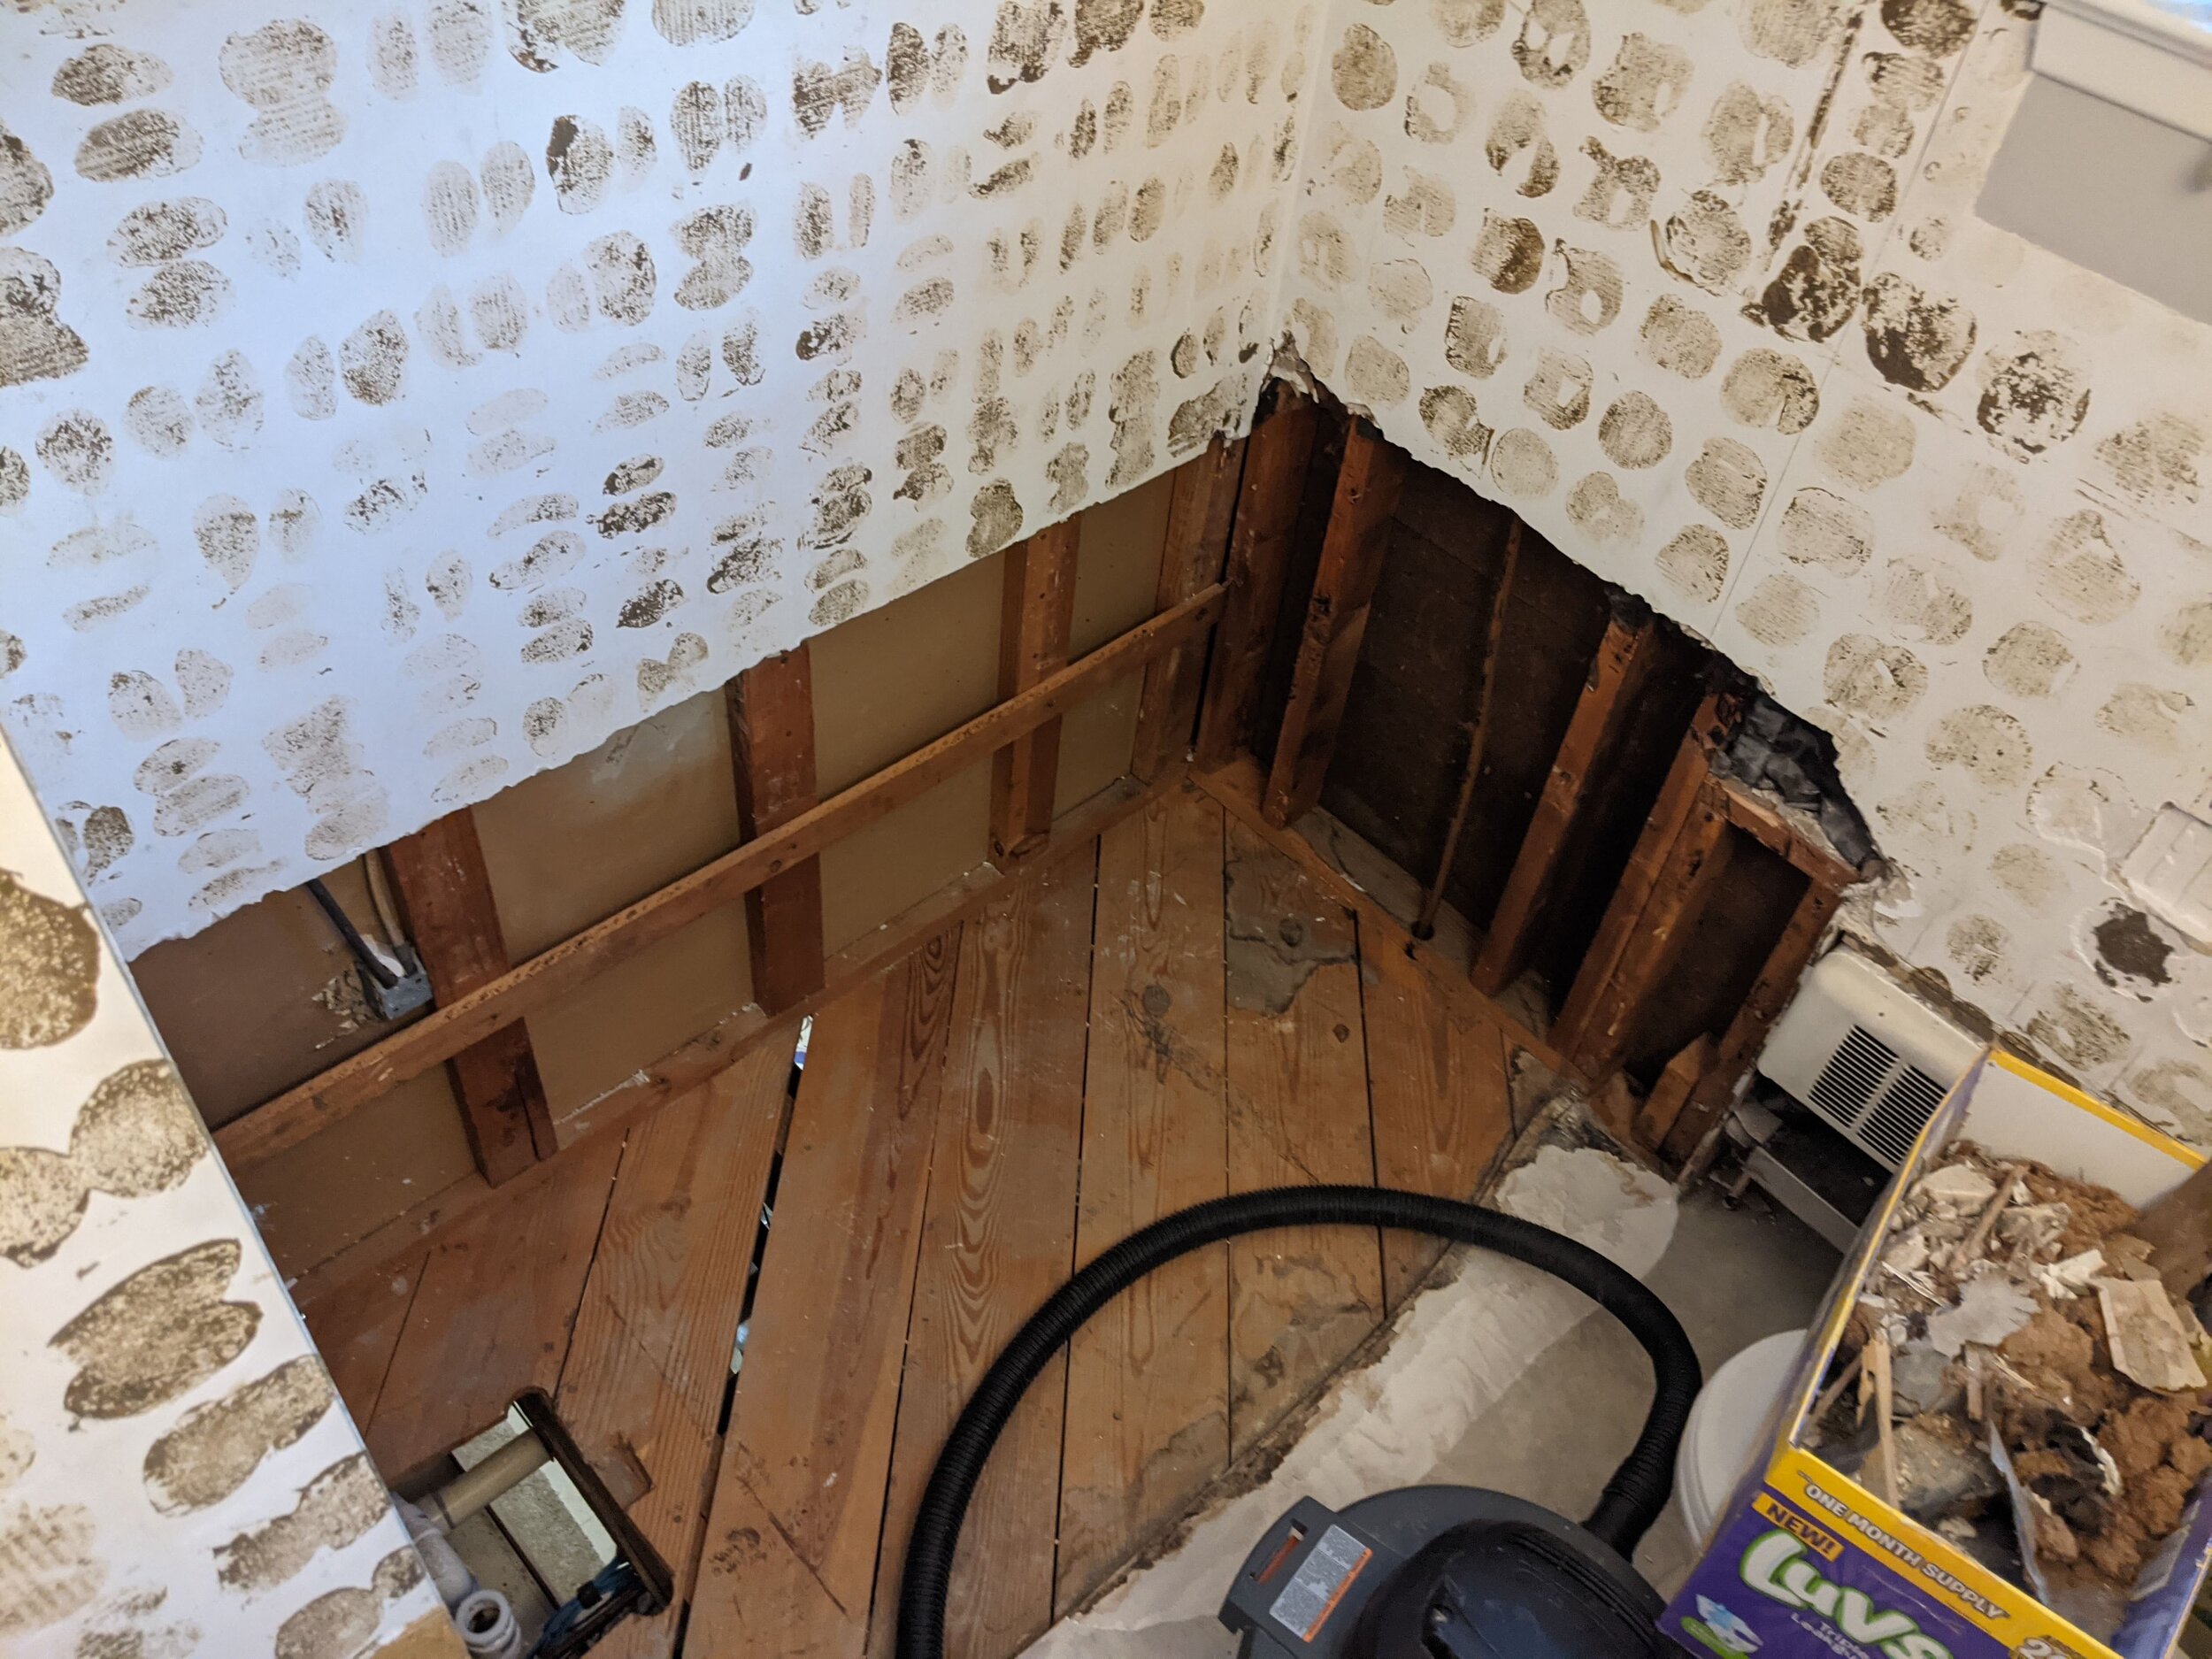
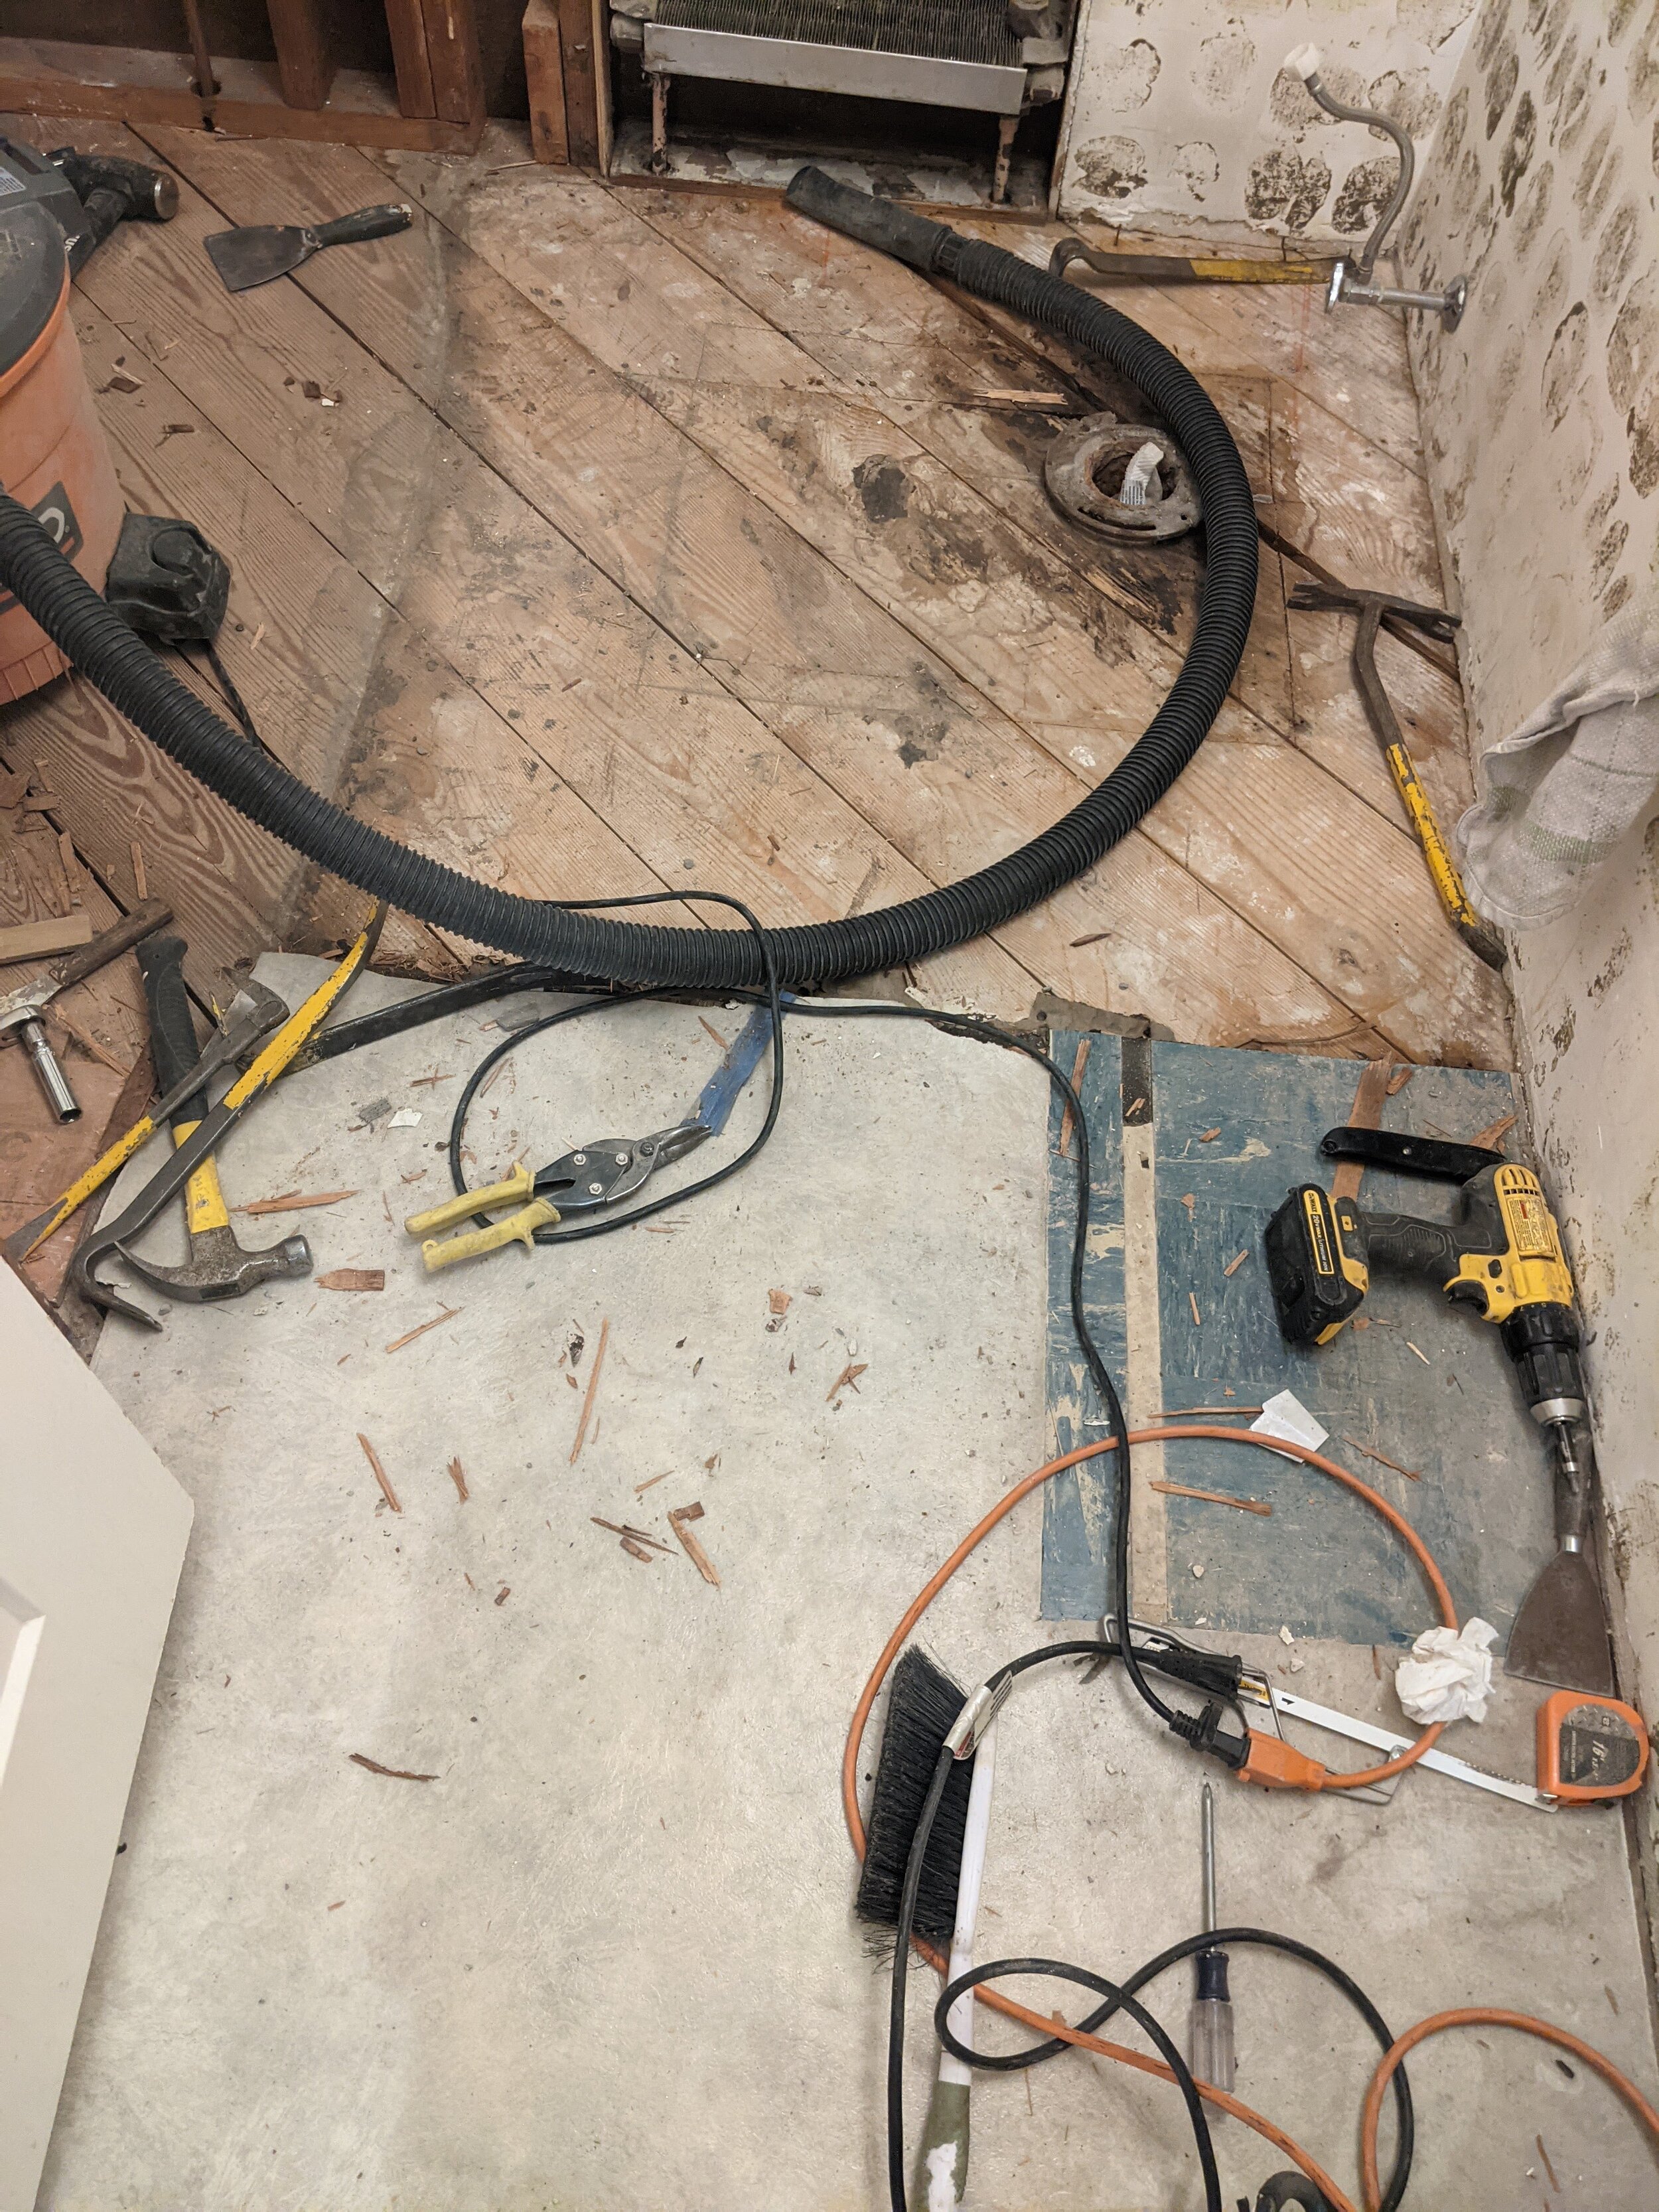
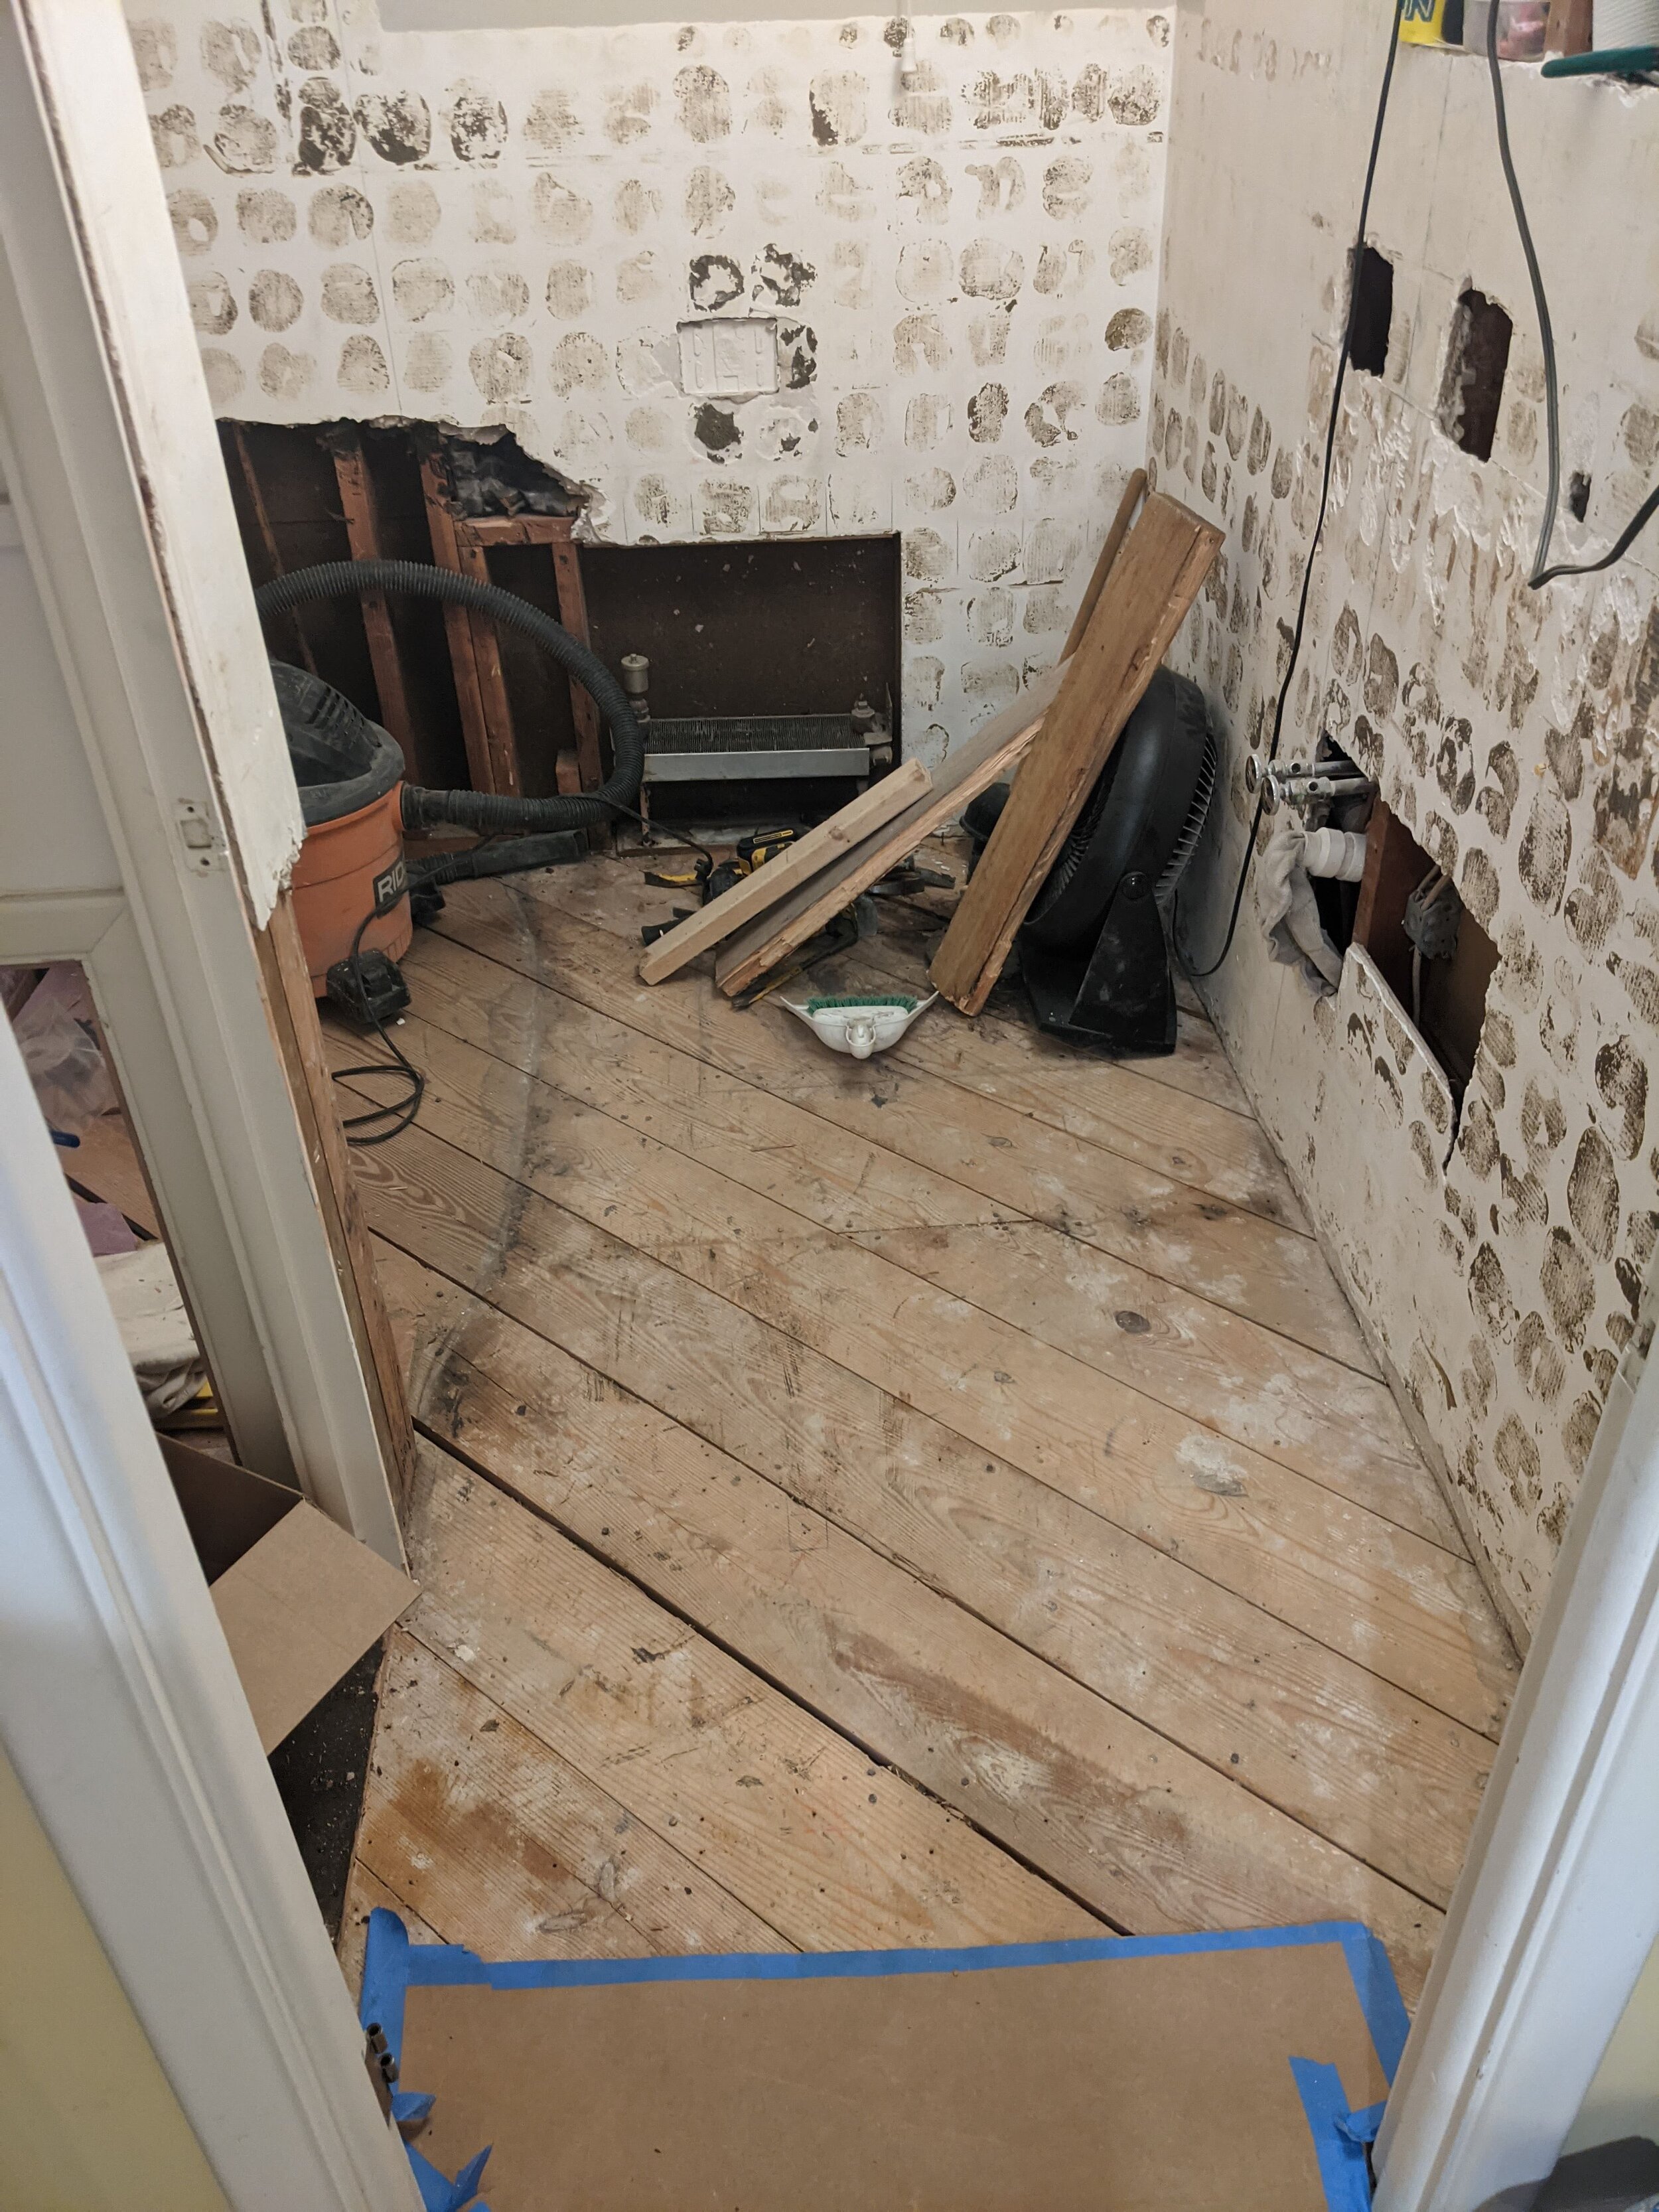
Step Seven: Pull up the Flooring
We’re almost to a blank canvas! We knew this floor was lightly glued linoleum, because we’d laid it ourselves in a stopgap mini-renovation a few years before. But the top layer of subfloor had to come out, too, to ensure it was a flat and non-squeaky surface to tile.
This was a HUGE part of the process. It took a really long time, but this is one of the boring, unsexy steps that can take your bathroom from ‘oh you upgraded your bathroom’ to ‘I’m sorry, you did this yoUrSelVEs?’ Surface prep, can’t stress it enough. You can’t just put lipstick on a pig. All the tutorials that say ‘paint your XYZ with zero prep’ are just fast ways to hate what you’ve done a month later. Do it right or pay the price.

Demo done!
One the floor is out, we’re officially at the end of demolition in my book, because things (mostly) stopped LEAVING the room and started coming INTO the room.
Next step — see where we started with the actual construction.


