book review: long way gone

long-way-gone.jfif

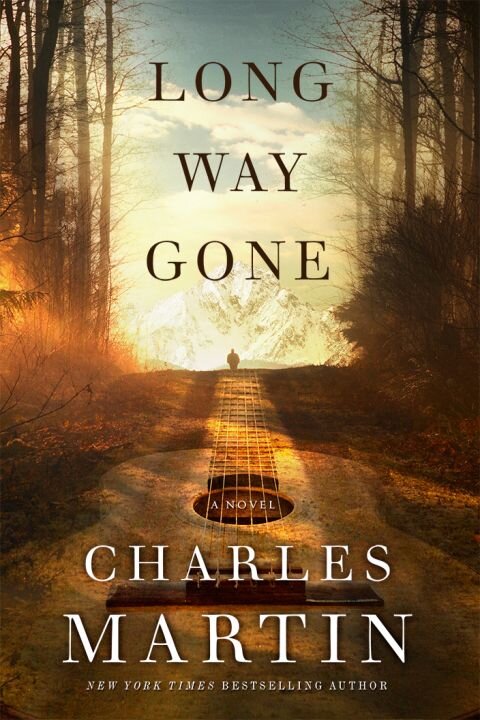
Amazon says Long Way Gone by Charles Martin is a modern retelling of the parable of the prodigal son. It’s not. However, aside from that being a ridiculous description, the book was a fun read. There were too many deus ex machina moments for me to say it was a great read — specifically, three highly over-contrived moments that stood out — but I still enjoyed the story.

In summary: Cooper grows up as the musical side of his pastor-father’s tent revivals. But he longs to be a songwriter and flees to Nashville where he falls in love with a singer named Daley. A scheming manager and terrible injury destroy their relationship. Years later, Cooper returns to his hometown, and Daley passes through to sing at his club. They rekindle their relationship and help each other learn about faith and forgiveness.

I’m not super musical, but I’m music literate. So I enjoyed much of the concept of the musician being trained in dozens of styles standing out among professionals who only know their own thing. I also enjoyed hearing about beautiful Music City as well as getting a new grasp on the shorthand professionals use to annotate music. Fun glimpses.

In a sweet moment between the two main characters, the protagonist (the male) observes that his girlfriend often touches him without realizing it or looking over, almost like she’s sending out a sonar ping to see how close he is and make sure he is still within proximity. I chuckled because I think I do that to my husband, and the idea of sonar ping makes me feel like we are submarines. But I think it was mostly that most of the book analogies are auditory due to the musical story.

One thing jumped out that probably isn’t new to many people but the protag also makes the observation that what sets a great musician apart from a good musician isn’t how many notes s/he can play, but knowing which notes to leave out. That is a profound statement, as I believe the same is true for writers (or aspiring ones, like me). It isn’t the length of the sentence or the paragraph or the novel, it’s choosing the right words and not adding anything unnecessary.

I also don’t personally enjoy angels appearing and talking to people in books — I find that distracting — and that happens on several occasions.

Reasons this is not at all the parable of the prodigal son:

  • There is no older son - a HUGE element to the lesson of this parable

  • The father dies before the son returns so WHAT and HOW. Just no. I mean that is literally the point.

  • The son hits rock bottom but then becomes wildly successful in his chosen field.


Click Here to View the Full Blog Archive.      


basement renovation process: start to finish

The basement had a host of problems, and we only found MORE as we did the renovation. Fortunately, I’m married to a resilient, handy genius who solves anything.

Demolition

Here’s where we discovered all the giant sewer pipes the shelves were hiding. That’s why they were so shallow! We decided to just move up the entire wall and add a crawl space accessible from the garage. You can hardly tell a difference from inside the room. (We also discovered a mouse cemetery. Super gross.)

Electrical, Waterproofing Sealer, Insulation

New Framing

Around the pipes, adding the crawl space (accessible from the garage side)

Moving the Door

(primarily to confuse the dog) Actually, Boomer ended up LOVING his dog door. He prefers it even when we have the human door open.

Drywall

Flooring, Ceiling Tracks, Heater

Painting and Lights

Stairs, Stair rail and Storage Space

Furnishing… and Done!

You can read about the process for my awesome blue chest here. The couch was a Facebook marketplace find, as was the bookshelf. The fantastic nerd art watercolor paintings were a birthday gift for Hubs, custom by InstantGoodVibes on Etsy.


Click Here to View the Full Blog Archive.      


basement renovation process

Our basement needed more than new lights, more than drywall. It needed everything from the (literal) ground up. The ceiling panels had started to come loose as other projects took precedence, but one day, I’d really had it with the lack of lighting. My sewing desk had TWO table top lights, and the few remaining ceiling lights were turned on and I still felt like I simply couldn’t see to get my stitches straight. The oppressive dark paneling seemed to suck up the light like a black hole.

I begged my husband, “PLEASE can you install a new light fixture? I CAN’T SEE!” and then started dinner.

Next thing I knew, loud hammering. I went to check and part of the wall was gone.

That’s basically how every project at our house begins….

Here are some shots of the basement:

  • BRIGHT fuscia carpet on the stairs.

  • Old, crumbling ceiling tiles.

  • Two old track lights with (combined) only three working fixtures.

  • Dark paneling on the wall.

  • Carpet over concrete on the floor.

  • No railing on the stairs.

  • Terribly placed door (90 degrees off the bottom stair, opening directly into the car you’ve parked in the garage).

  • Little to no insulation so you could always smell car exhaust from parking.

  • Weird shelving built in, um, everywhere but no usable storage.

  • Giant wasted space under the stairs.

  • Few electrical outlets.

  • Weird closet with water softener built in the middle of a wall instead of in a corner.

And here’s the “after”… keep reading to see how we got from there to here! Also, bonus if you’re a sc-fi nerd and you can identify all the ships we used as wall art!


Click Here to View the Full Blog Archive.      


full scale kitchen reno: steps start to finish

full-scale (2).png

You saw my list of kitchen issues on the last post, so here are our steps, start to finish.

We knew when we bought our house, built in 1955, that the kitchen was far less than ideal. The grand plans for it took a few years to bear fruit, but it’s been worth it. By my estimation, the steps of kitchen renovation are as follows:

  1. I’m just glad our new house in a great neighborhood. The kitchen will be fine for a few years.

  2. Boy, this space was planned poorly. You can only have one thing open at a time. And I can’t carry a 9x13 tray length-wise through these narrow doorways.

  3. Your. Mom. Put. A. Diaper. In. The. Garbage. Compactor. WHO HAS A GARBAGE COMPACTOR

  4. Nothing ever looks clean in here! ARGHHHHHHHHHH

  5. I can’t stand being cut off from everyone inside this cave with its tiny, skinny doorways. And I smashed my toe AGAIN on the one-inch height difference between the floors.

  6. Finally reach our (first) savings goal, and plan a kitchen with very trendy styles. Decide that’s not what you want.

  7. Wait until the next year to actually build the new kitchen and be very pleased with the results.

Before (where we started)

DSCN3528.JPG

And here are the steps to “After”…

Demolition

Open the Walls

New Framing

Electrical and Insulation

Drywall

Floor (redo old, seam in new)

Cabinets

Countertops

Backsplash

Appliances

Finished!


Click Here to View the Full Blog Archive.      


full-scale kitchen renovation

full-scale.png

I love our house, and the neighborhood is great, but the kitchen was silly. List of issues:

  • Very small

  • Closed off from everything (two EXTRAORDINARILY skinny doorways at opposite ends)

  • Nothing could open at the same time. The cabinets and drawers all smashed into each other, going the wrong ways.

  • Drawers weren’t actually drawers (with slides) so when you opened them, you had to hold the pull in your hand the whole time so it wouldn’t just fall out

  • Garbage compactor was a huge waste of space

  • Old counters made of mismatching material, seamed together with long metal strips

  • Floor was randomly 1” taller than the rest of the house (CONSTANT TRIPPING)

  • Shallow pantry (appx 1 can deep and not a large can)

  • Weird mismatched walls like corkboard, tile, and wallpaper with lots of holes

When it came to planning a renovation, it’s important to know that the stairs are in the exact center of our home. So to the two dozen people who knocked and said “why don’t you take out this wall” — while knocking on our stairs…facepalm.

We actually did look into bumping out of the front of the house to add a few dozen square feet but that was cost prohibitive because that would change the foundation and there’s a hill. Generally not worth it. Certainly did not turn out to be needed!

I neglected to take a really effective “before” picture but here are a few for contrast.

And here’s where we ended up… keep reading to see how we got there!

IMG_20170530_234034397.jpg
IMG_20170530_234416387.jpg

Click Here to View the Full Blog Archive.      


upgrading that old, yucky deck: Stair Rail and Fascia

h-upgrading-deck-stair-rail-fascia-h.jpg

The stair fascia and rail really give this deck both a beautifully finished look and an extra notch of safety. Due to the weird construction of our old deck, there wasn’t a stair rail — just the back of the bench to grab if necessary.

This is all the finishing touches!

  • Small leftover railing pieces to connect the end of the deck railing with the top of the stair rail (you might notice this is one of the plain caps on the stair stair top pillar, but we replaced that with a solar light)

  • Back stair treads and front fascia

  • Stair kickboard fascia

  • Stair handrail

You can see we still had two pillars to sleeve at this point (and the lattice to add), but he’s covered the front beam and the side of the stairs.

Here’s our final BEFORE and AFTER!

 
upgrading-deck-stair-rail-fascia.jpg


Click Here to View the Full Blog Archive.