

These are not the sexy, appealing steps of a home renovation, but they are the things that can set your work on the level of ‘great new bathroom’ instead of ‘oh wow, you did this yourself.’ Trust me, there are orders of magnitude in the difference these small steps can make. DIY-ers want to skip to the fun part of picking out paint and laying out tile, but taking the time early on makes everything 100% better.
NOTE: Skip back if you want to see an overview (including “the before”) , phase 1 which is doing demolition right, or skip ahead if you’re looking for a different step in the process.

Be safe.
Don’t mess with insulation without goggles, gloves, and a mask. Read the product labels and follow the instructions. They are there for your protection. Also, make sure you read the labels so you know which way the paper on the roll-out insulation should be facing. Also, make sure you fluff that stuff up a bit before you install since it comes heavily compressed for easier transport.
Cutting insulation can be a pain. We used a combination of an electric knife, heavy duty scissors, a serrated knife, and an exacto blade. Be careful using sharp stuff, as well as insulation, and don’t leave little pieces laying around for kids or pets to find.
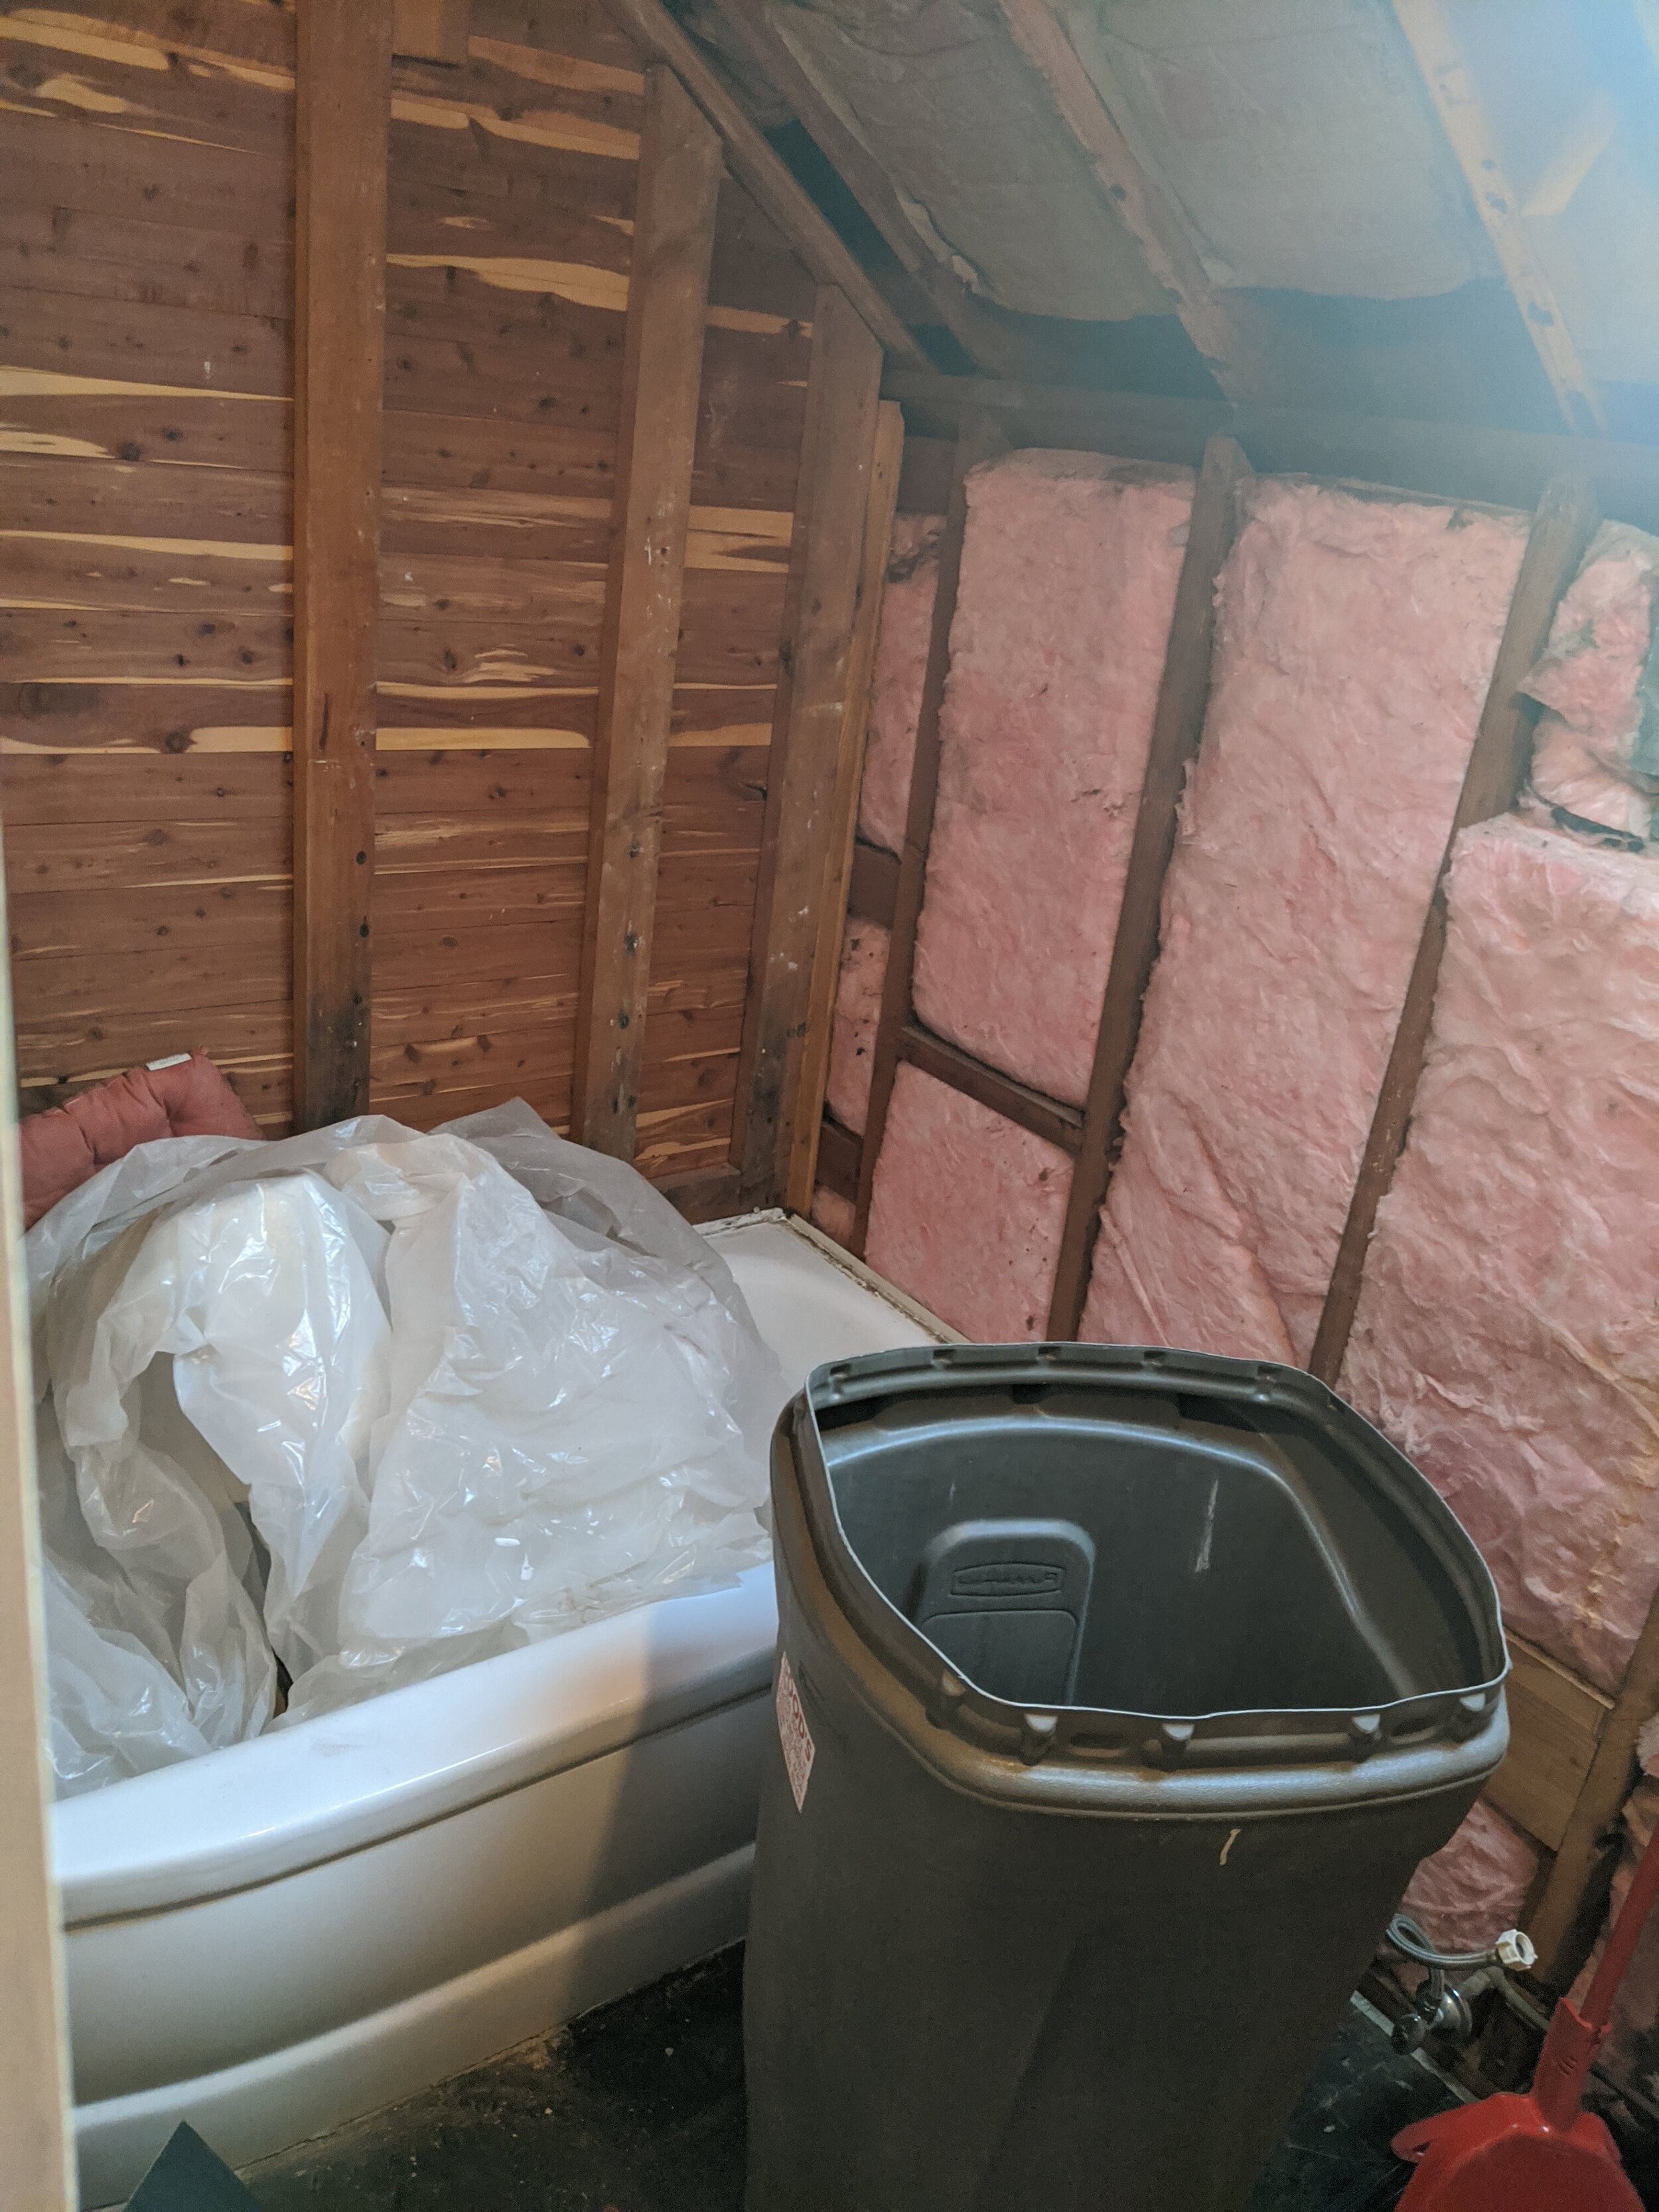
STEP 4: INSULATION
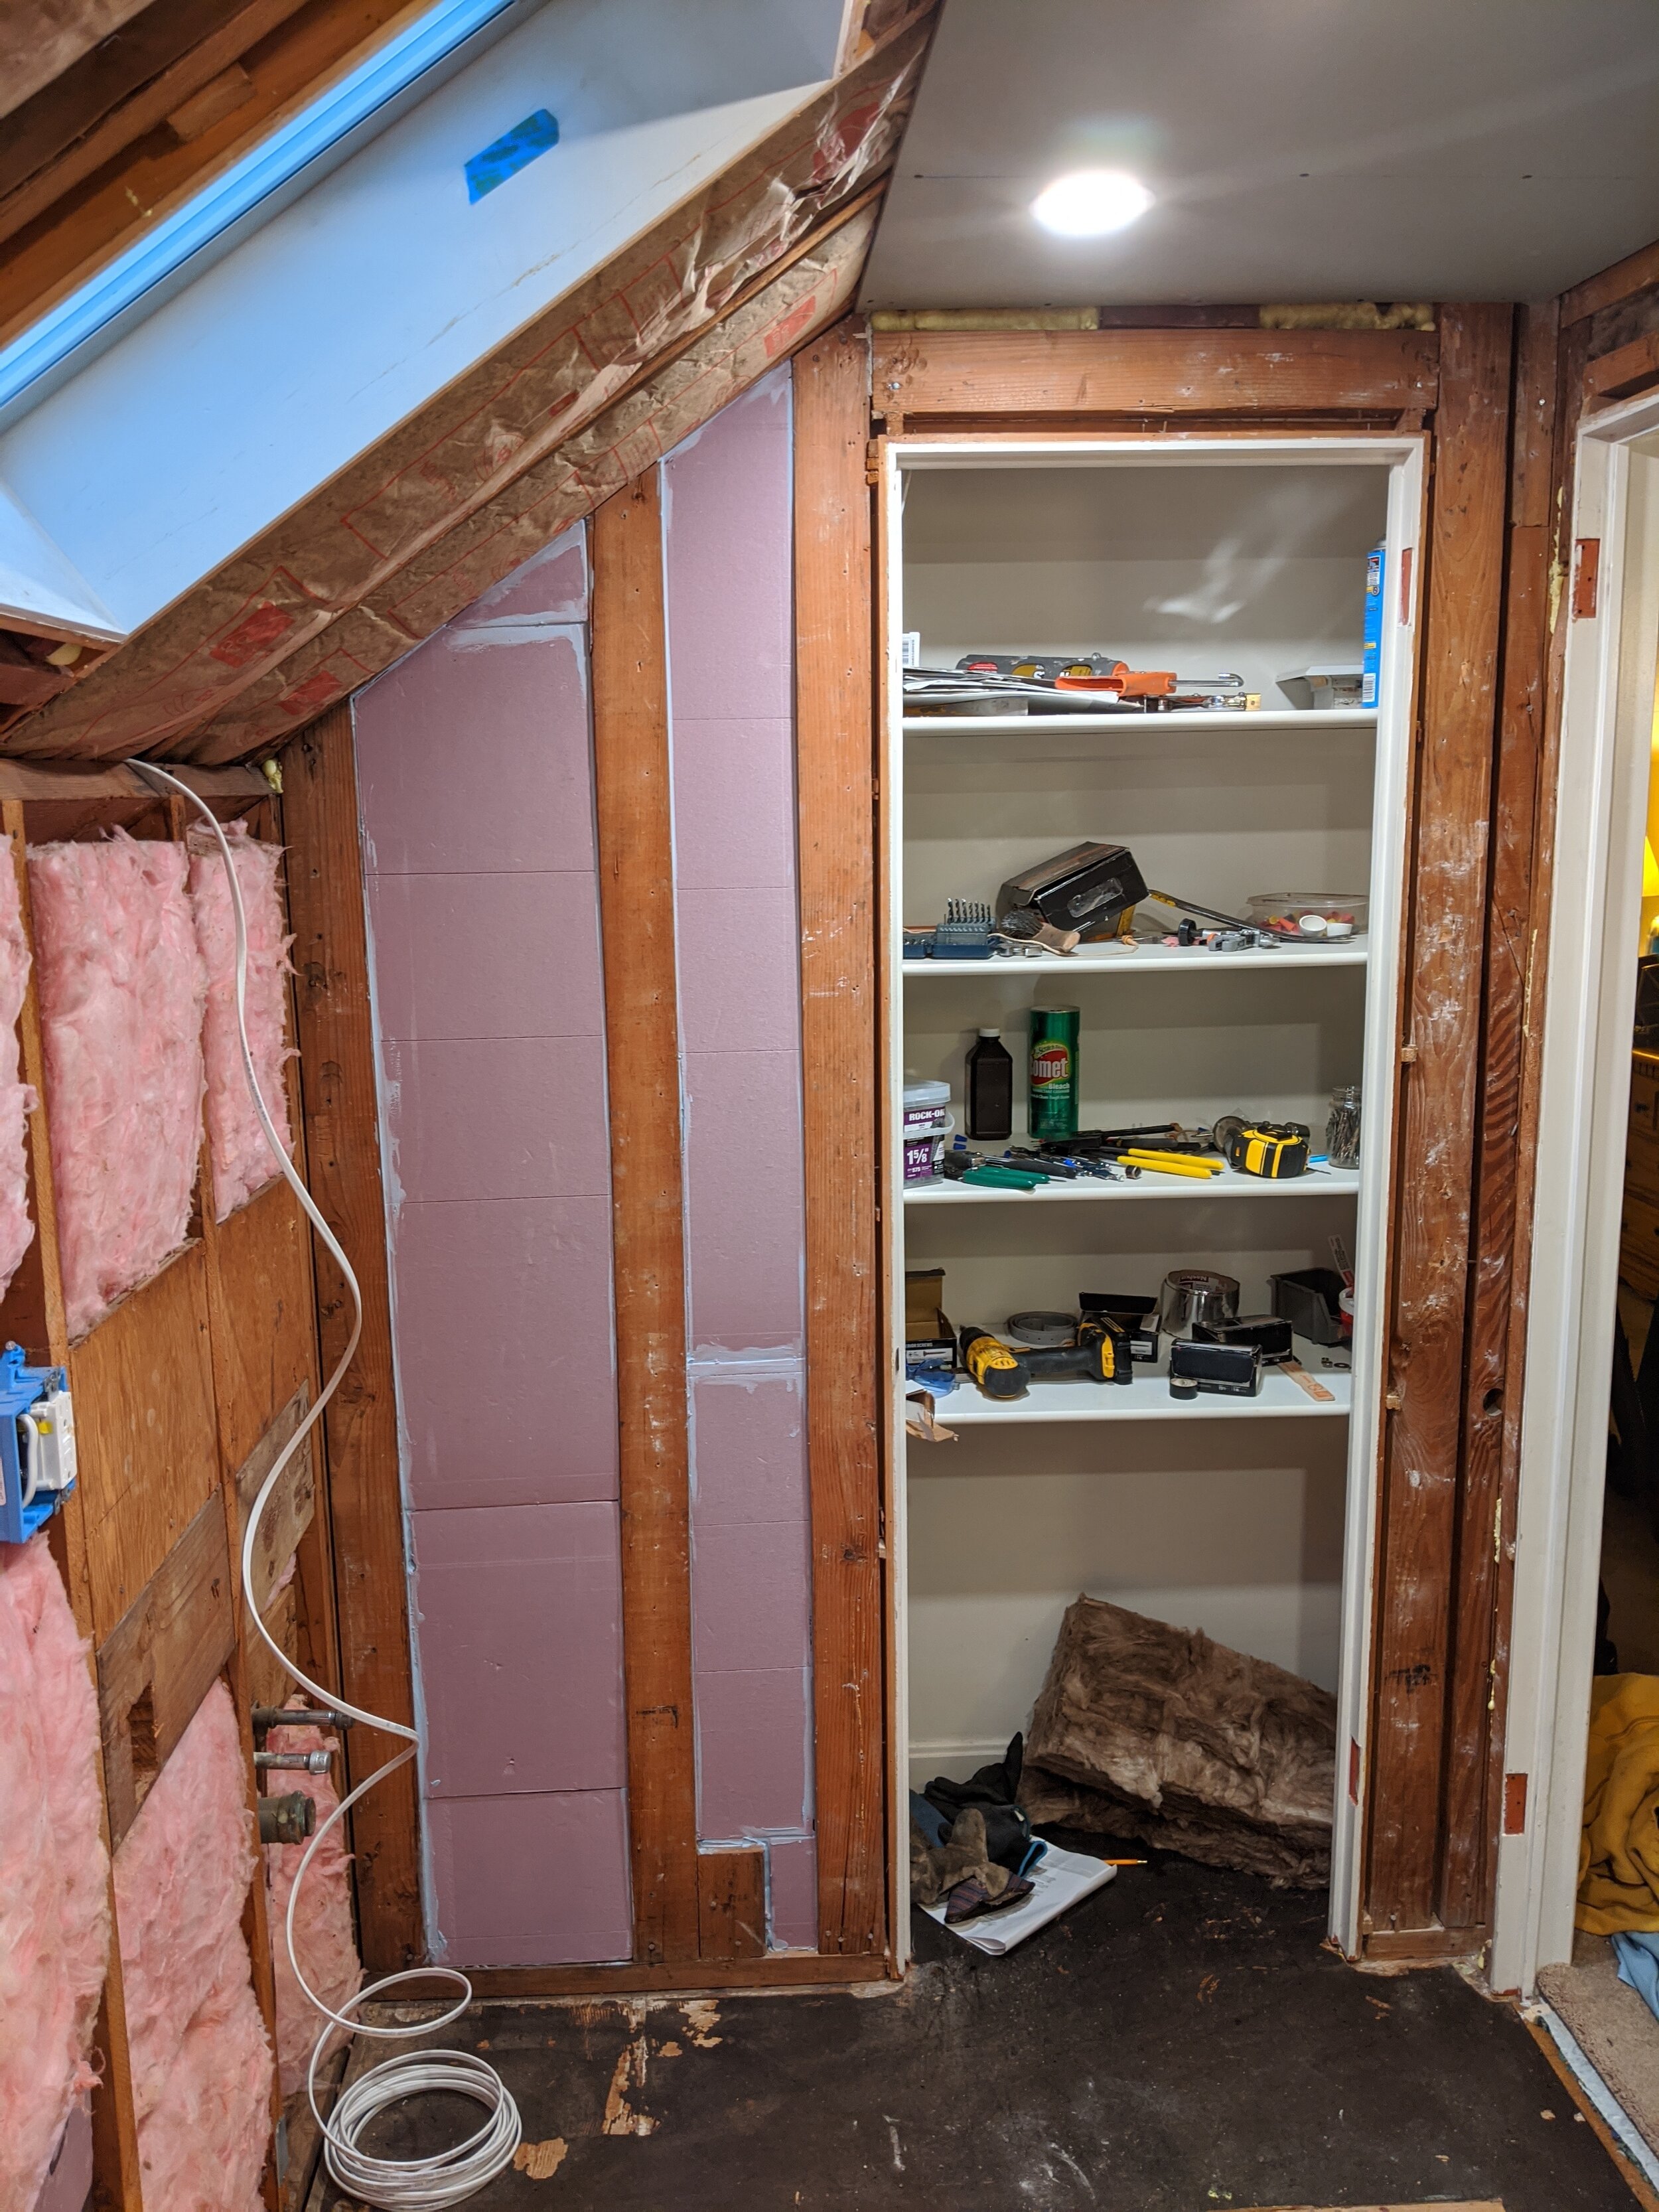
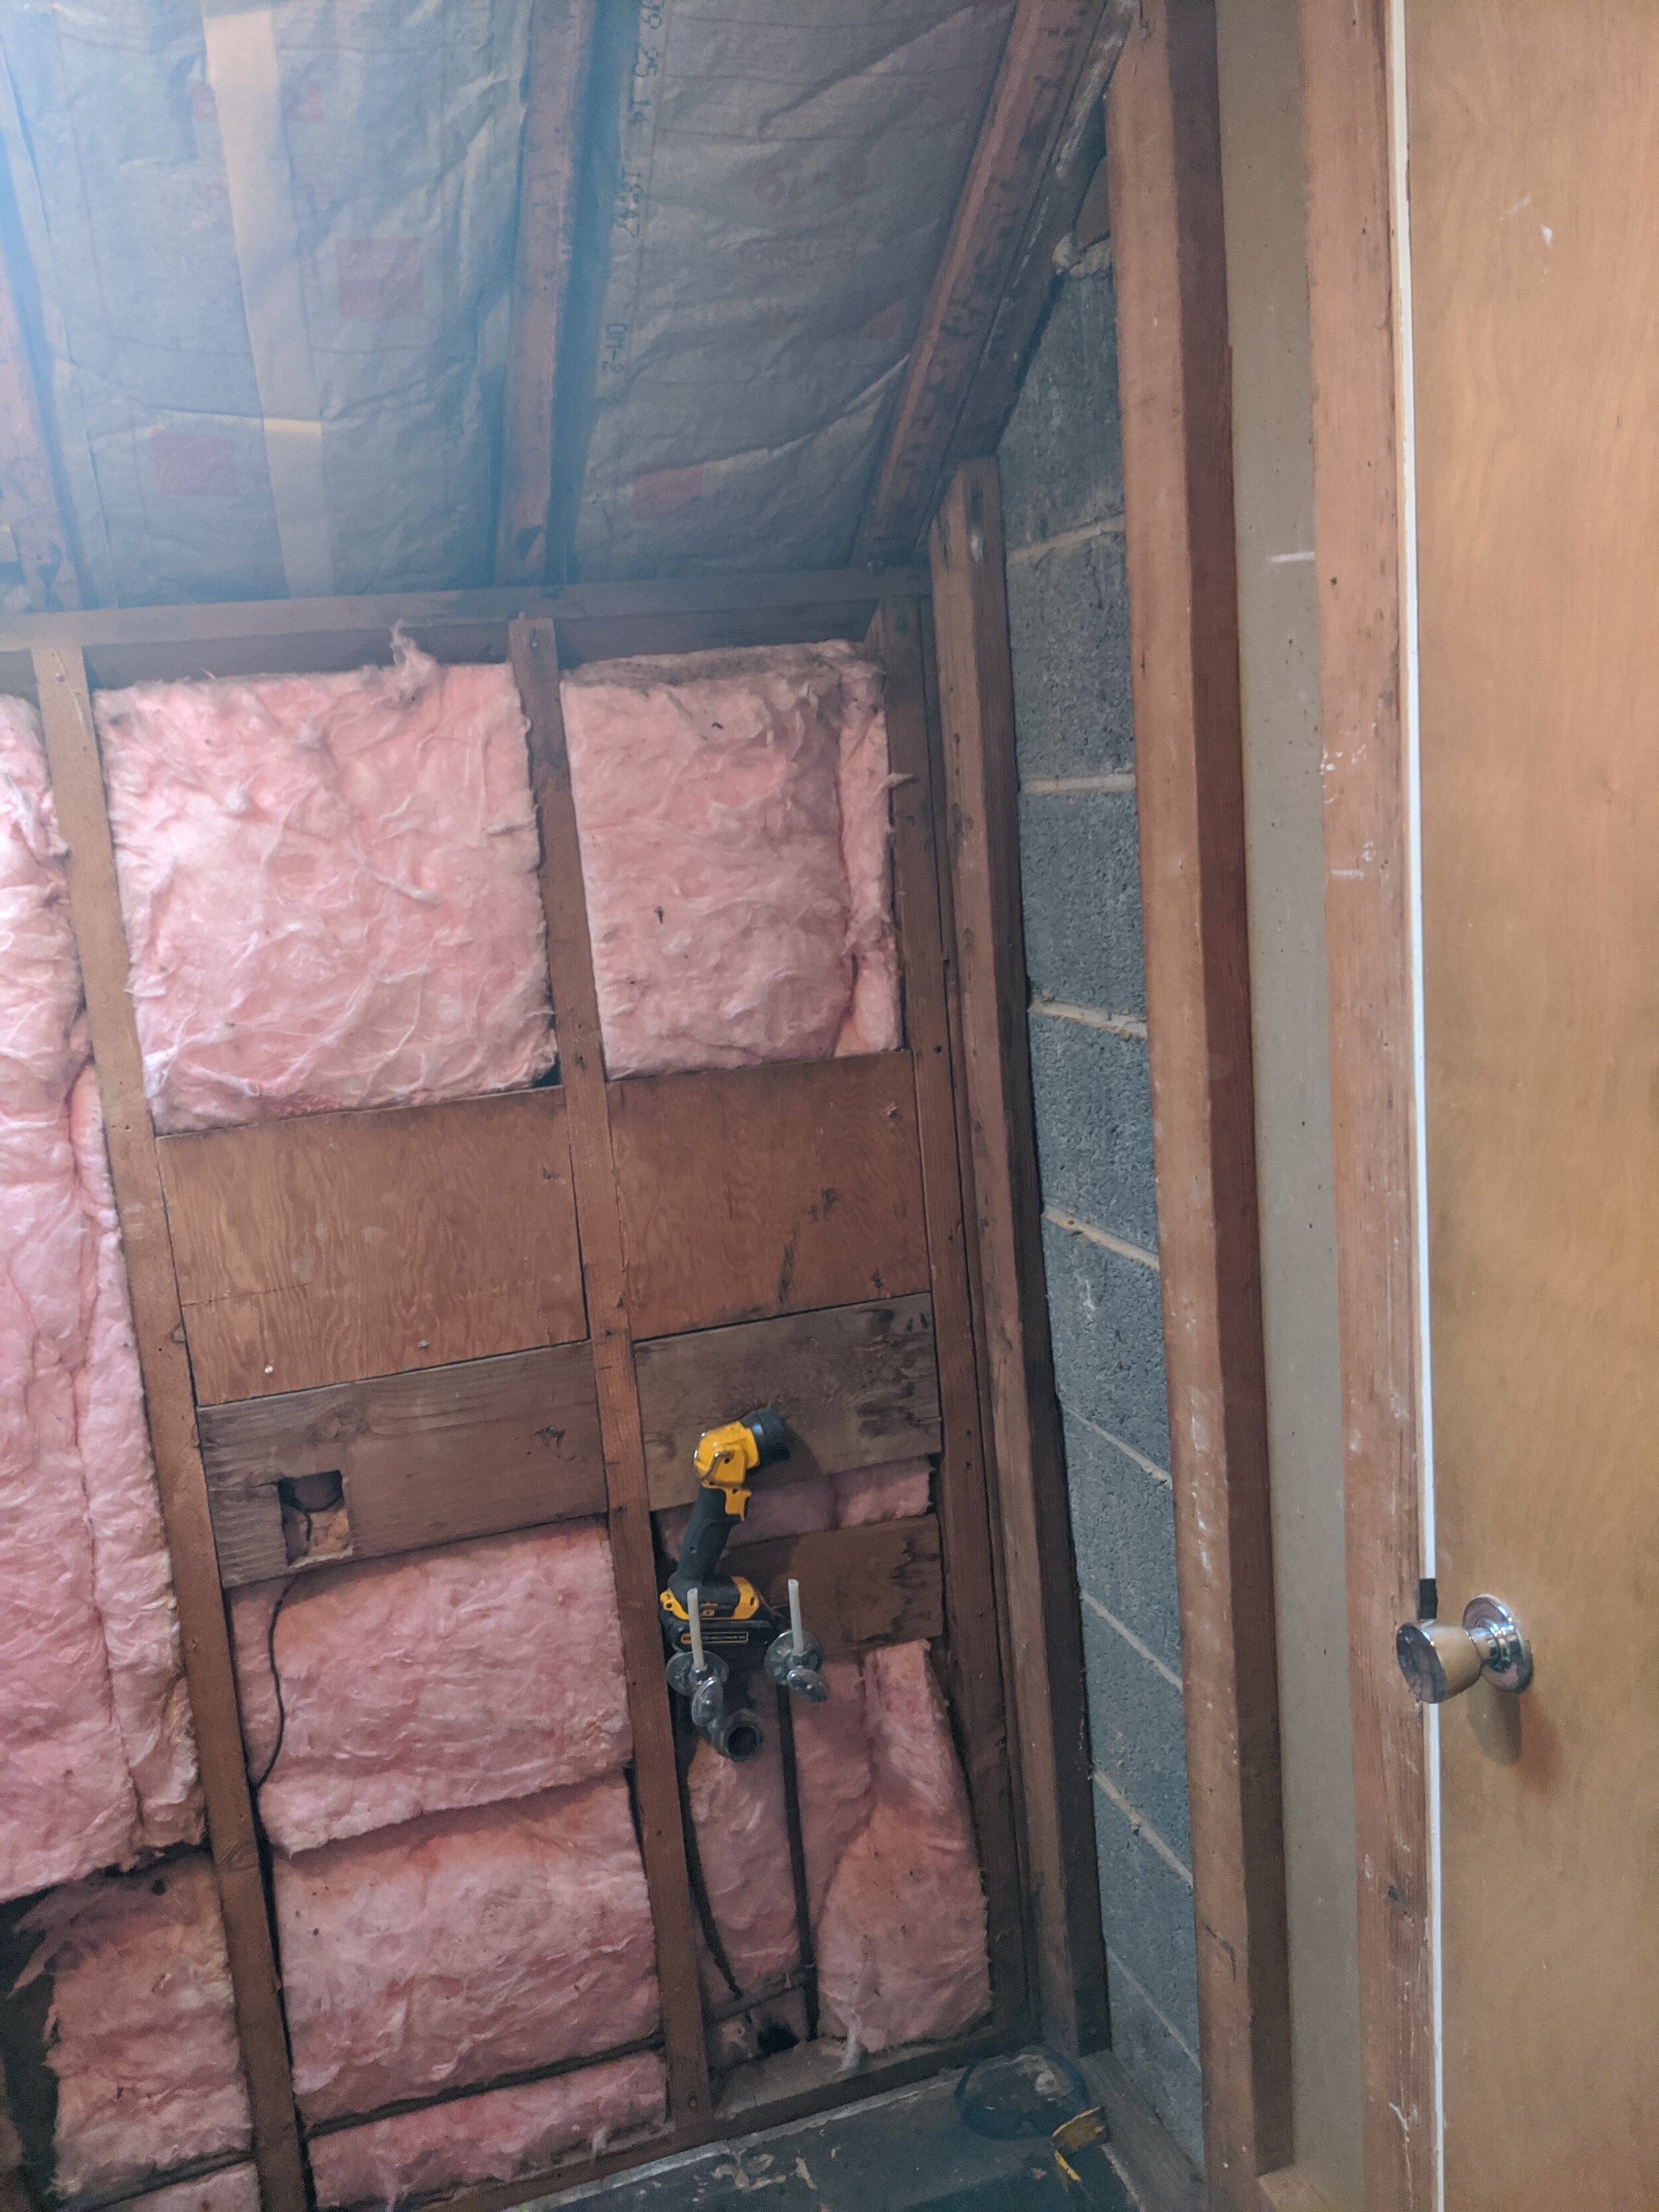
Insulation is boring, but if you’re serious about both comfort and money savings, you gotta do it right. Install the correct type of insulation for each wall or ceiling, based on its position in your home and your climate. If you don’t know, use the professionals at a good home store to help. You will thank me when it’s winter and your bathroom is still warm when you step out of the shower! (And you aren’t paying out the wazoo to run your heat as the warmth escapes through the walls and ceiling.)
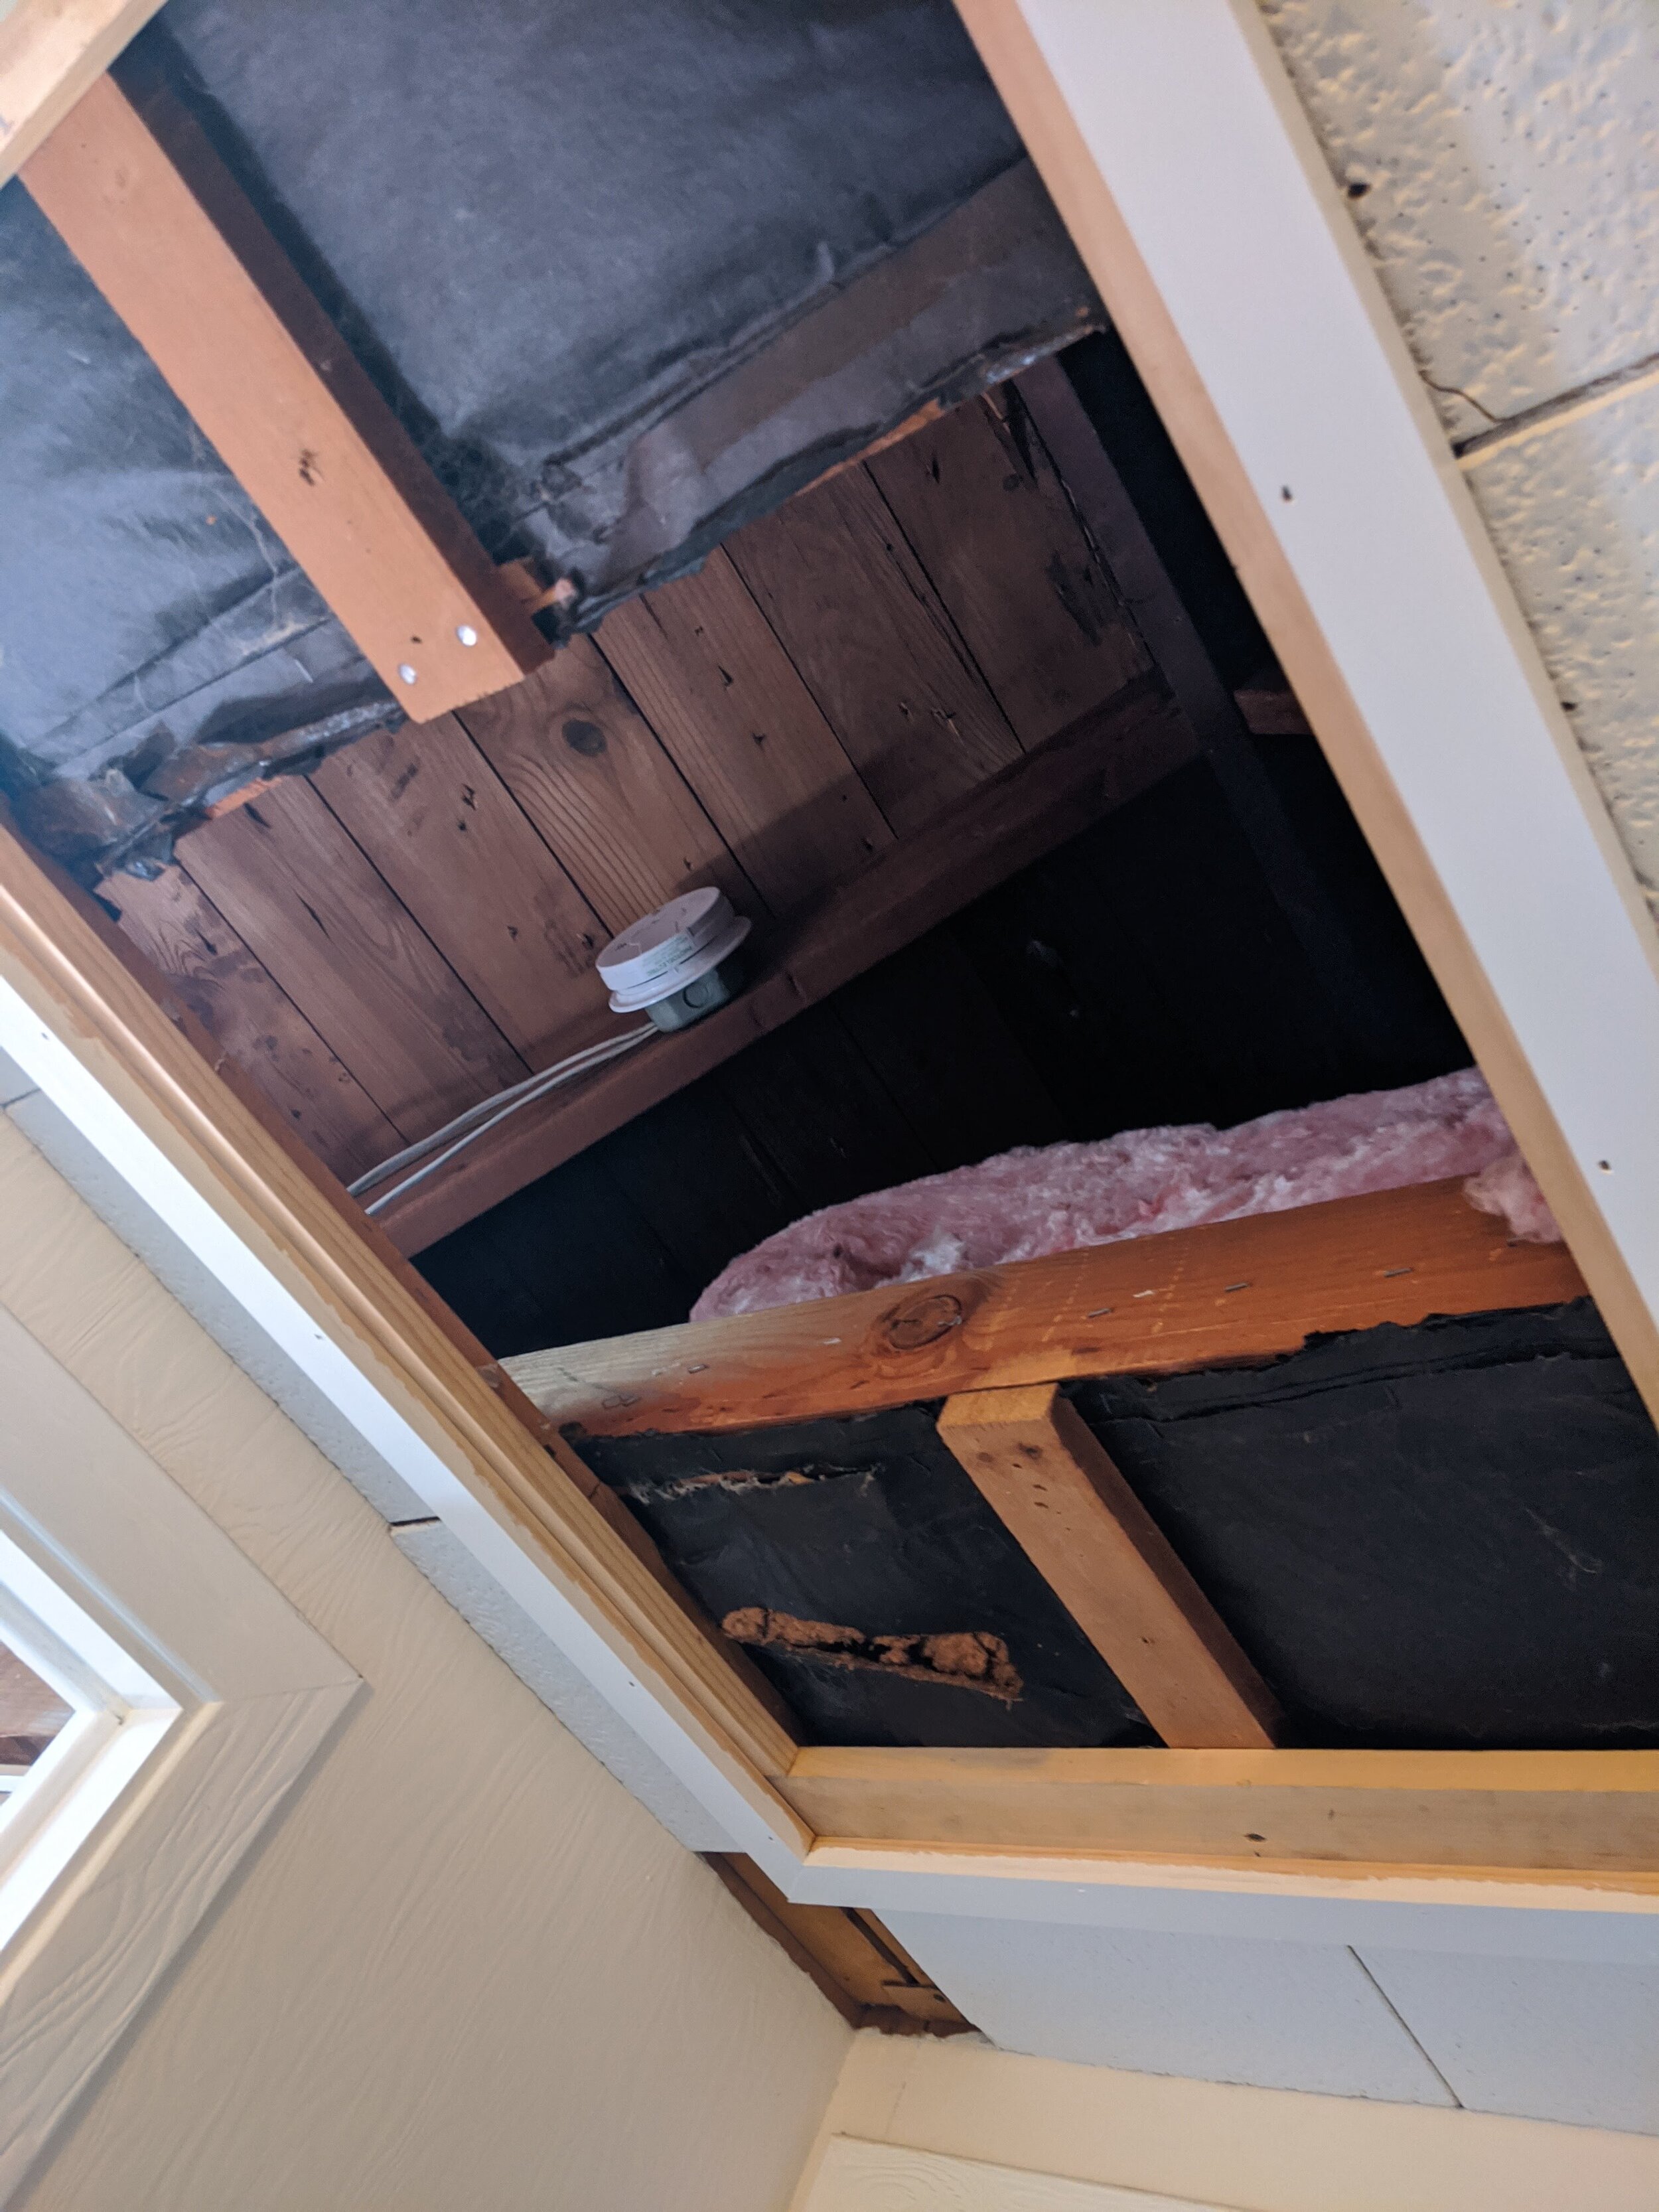
In our case, we took the opportunity to fix some attic insulation that was a problem, as well as wire in a smoke detector so we didn’t have to worry about battery beeps. (Yes, it has a battery backup to still function in an outage.) More about electrical later.
For our project, we installed the classic roll-out pink insulation for the walls and ceiling, then stiff styro for some of the walls with less horizontal depth.
STEP 5: DEMO THE FLOOR
Why is this listed as a separate step? Good question. Two reasons: as previously stated, I hate the squeaky squeaks. No thank you to creaking when my kids walk around! So a new sub-floor was helpful in adding the sound of silence. But also, we discovered water damage we wouldn’t have seen if we’d just decided to add a layer (on top of the THREE that were already there). So we’re glad we took the time to do it right. This also helped us hugely at the later step of tiling because the sub-floor was all new, it was level and flat. Laying attractive tile on an uneven surface is essentially impossible.
Final note: if you pull the toilet at this stage like we did, PLUG THE PIPE with a wadded towel. That stank will not leave if you let it waft up. (I don’t speak from experience, because the Hubs thinks ahead.)


