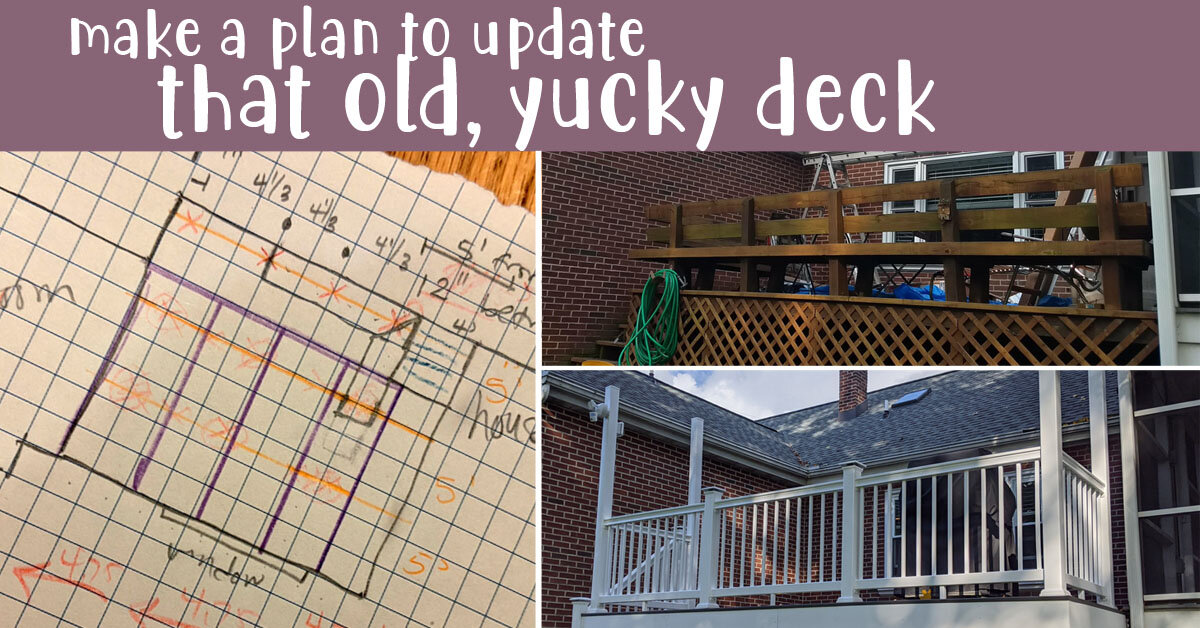
make a plan to upgrade that old, yucky deck

10 (21).png
make-a-plan-to-update-old-deck-hor.jpg

If the hardest part of writing is getting past that first blank page, the hardest part of a home project is the same thing. (By the way—fun fact—when I write my books, I usually start with chapter 2 or even somewhere in the middle and then come back to the beginning later.)

WHERE WE STARTED

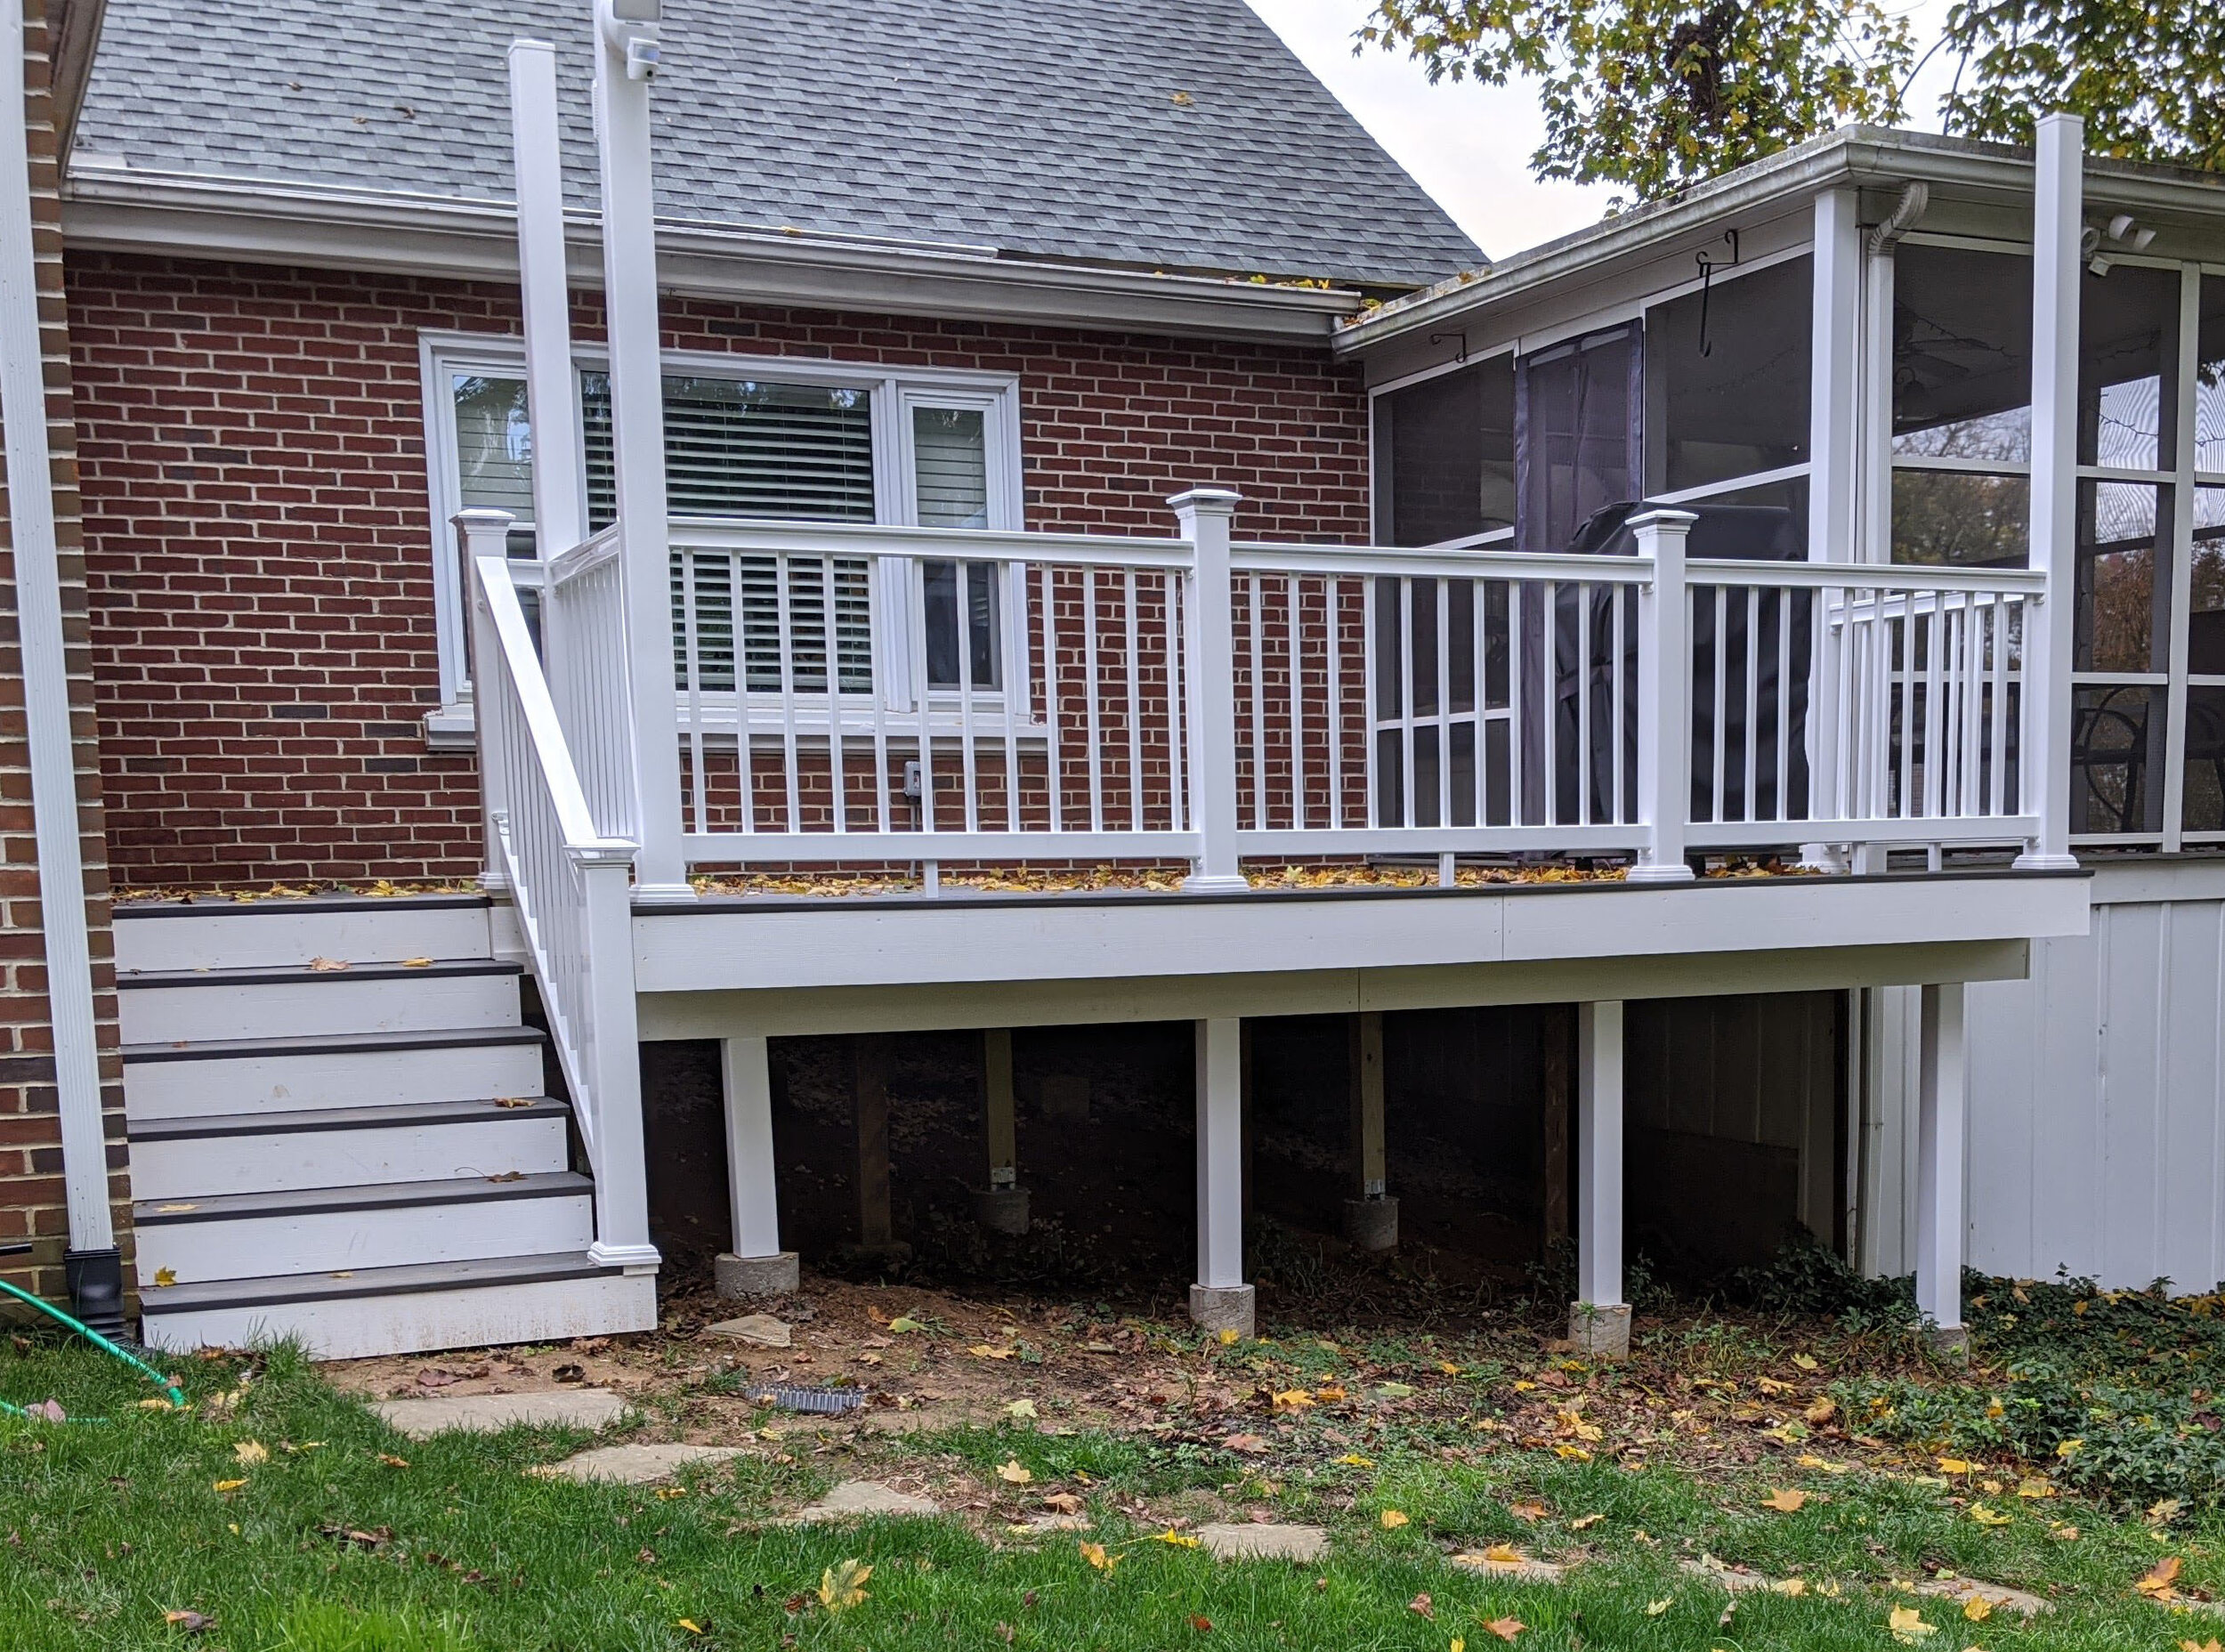
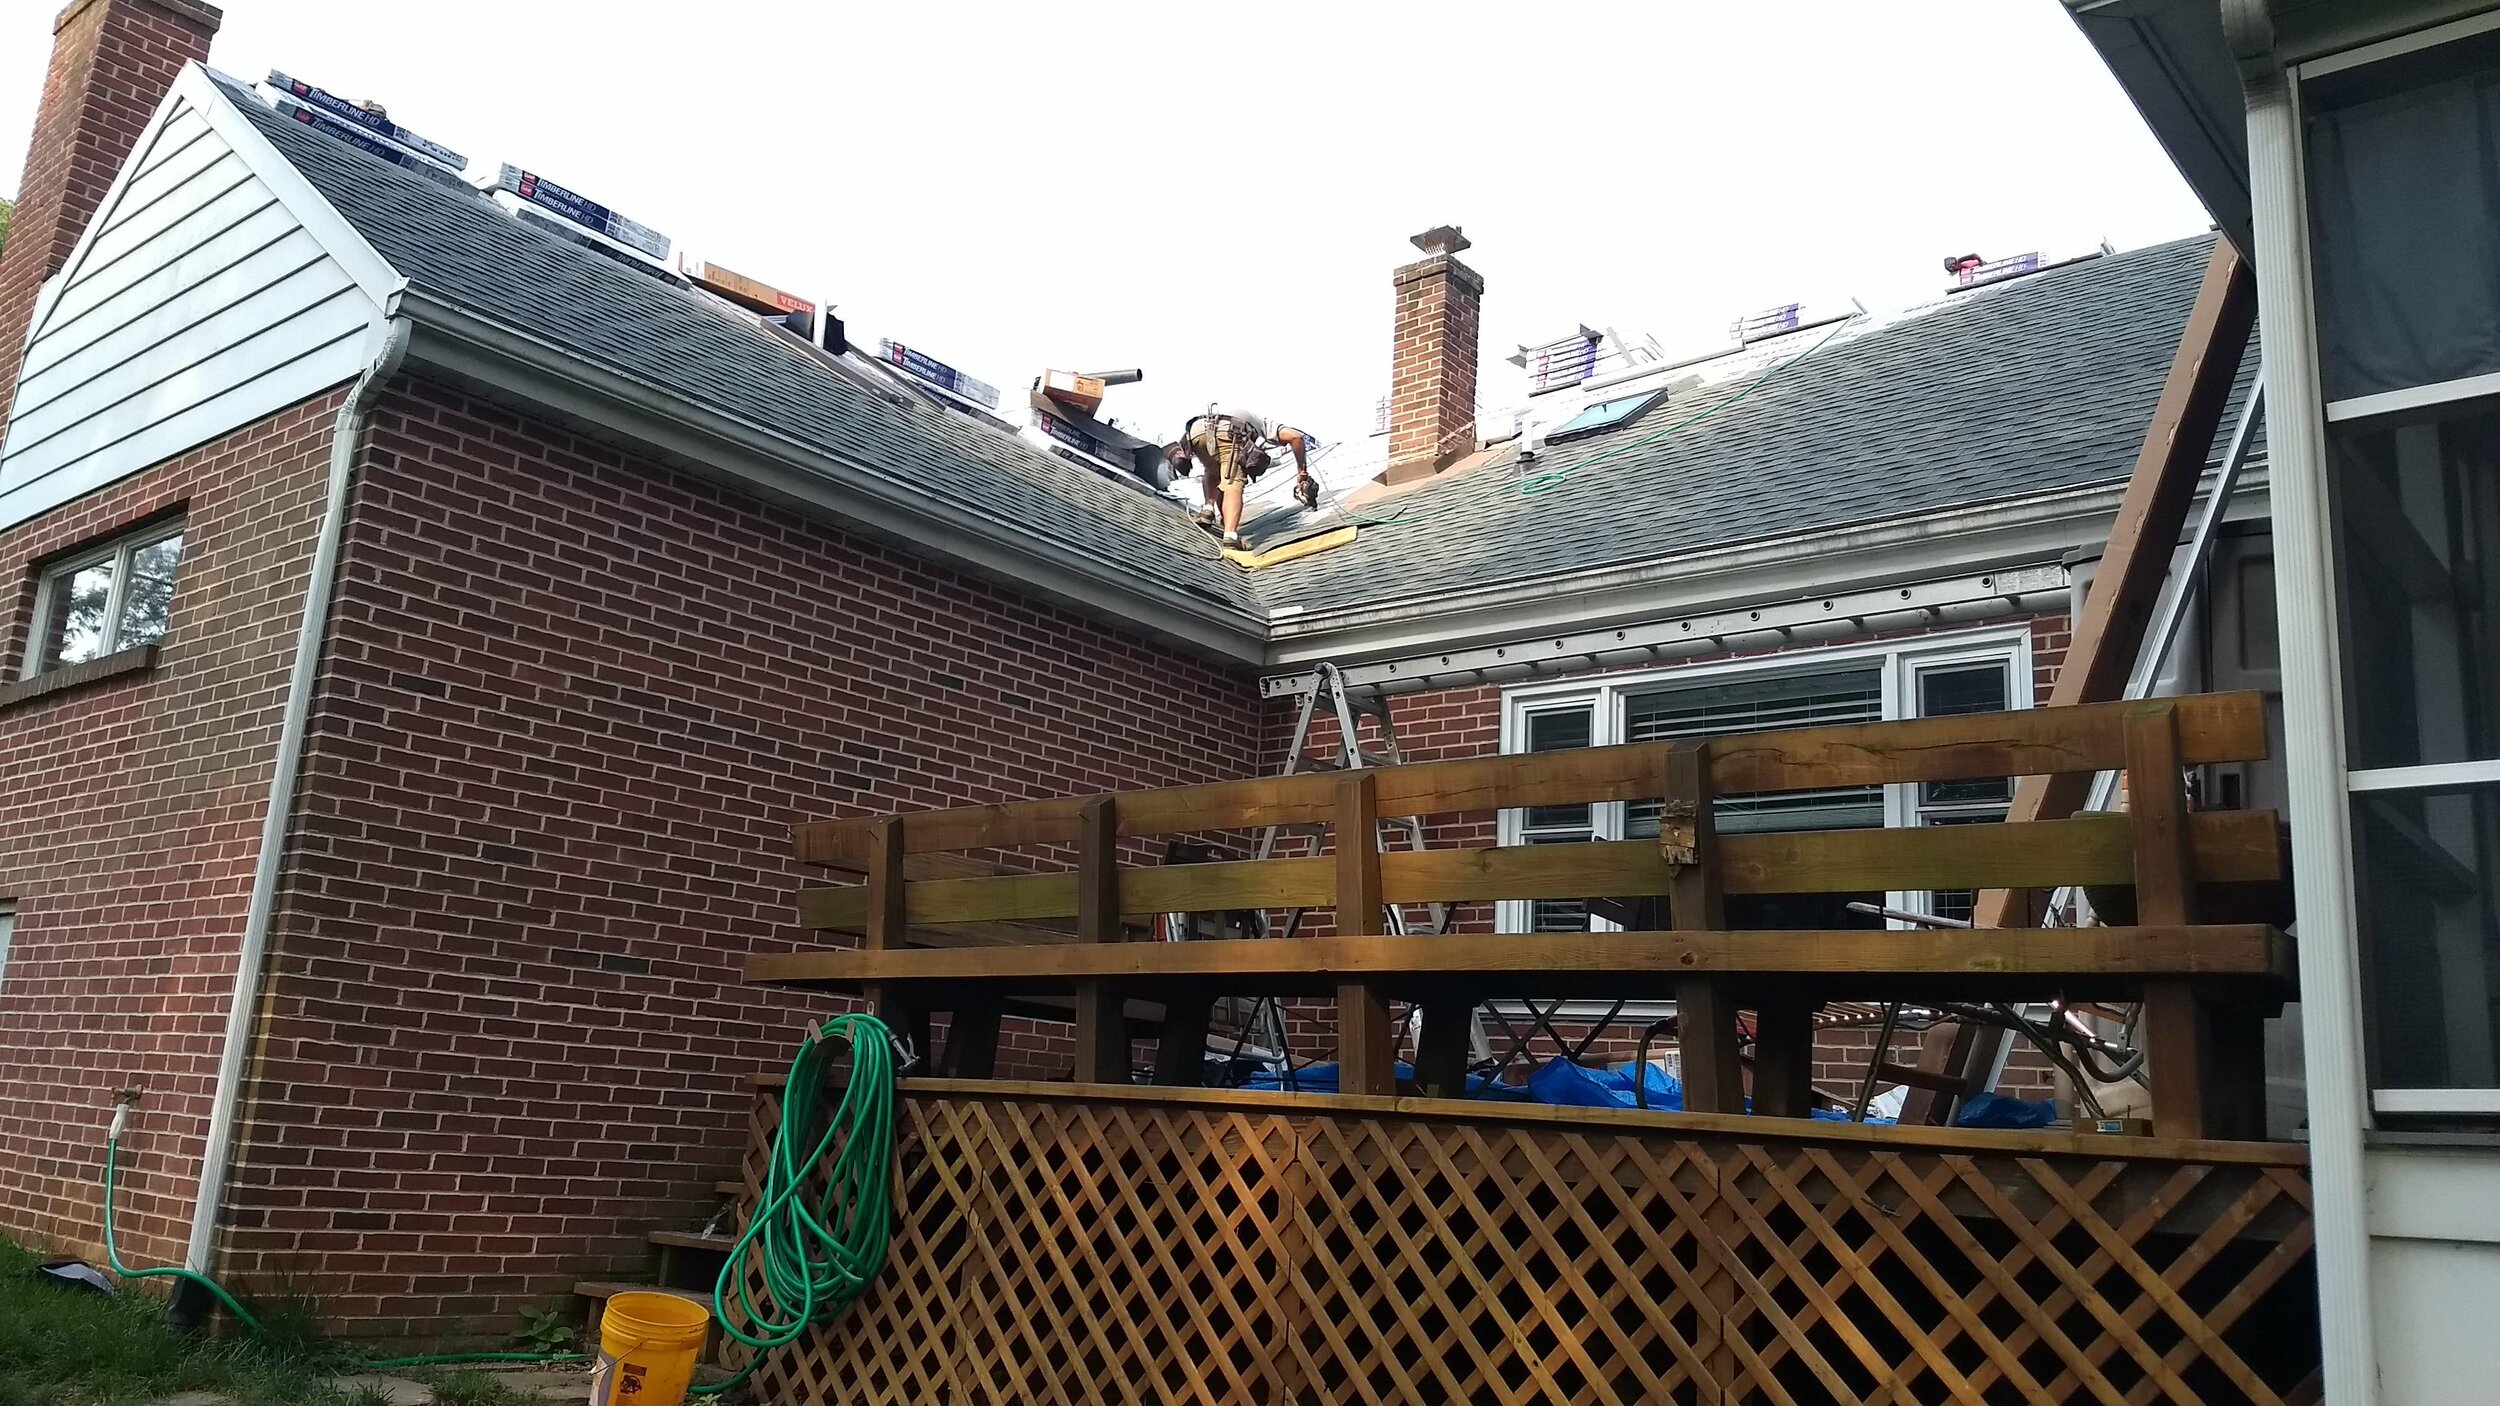
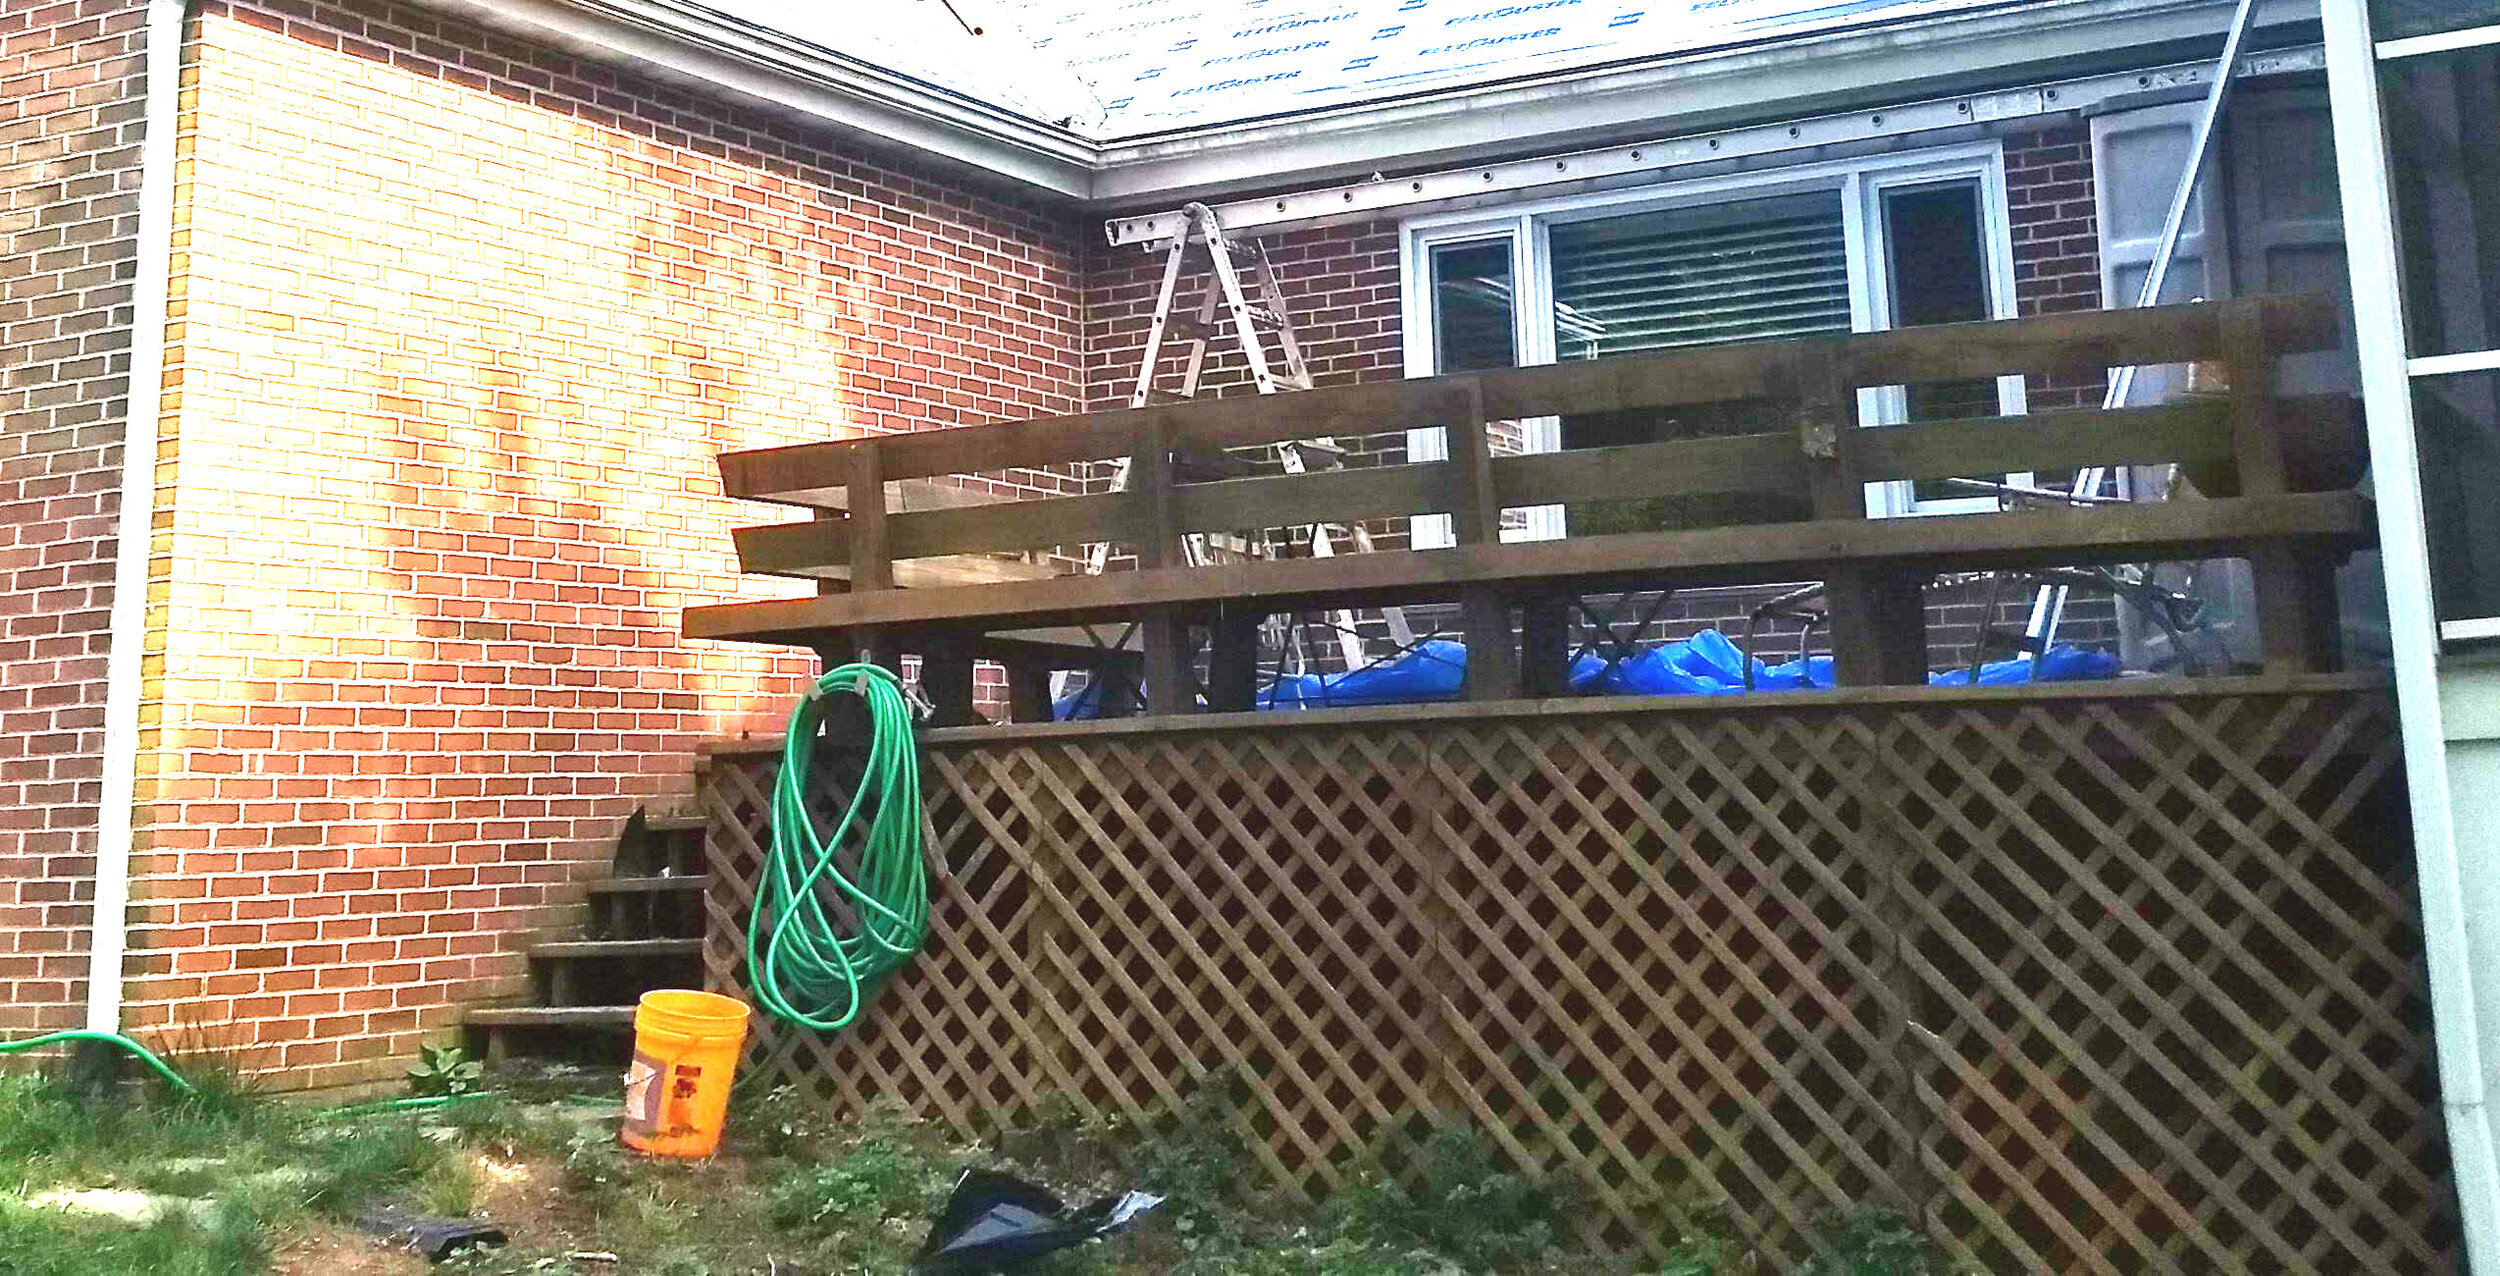
Our deck was old and prone to giving splinters. A few of the boards were going bad. There was a built-in bench around the whole front side and corner, which meant there was no place to put the grill without block a bench. The lattice was breaking. And once we got underneath, we found out it was borderline dangerous as many of the supports weren’t properly attached. (Oye.)

These pictures are from when we redid our roof a few years ago because I NEVER remember to take ‘before’ pictures.
WHY WE STARTED

We had a large family event coming up, and I suggested Hubs should replace “either that board or the whole deck.”

Don’t think I didn’t know which one he’d choose!

WHERE WE ARE NOW

I don’t blog as we go because I want to make sure if we mess something up, we have the benefit of hindsight to warn you. (You’re welcome.)

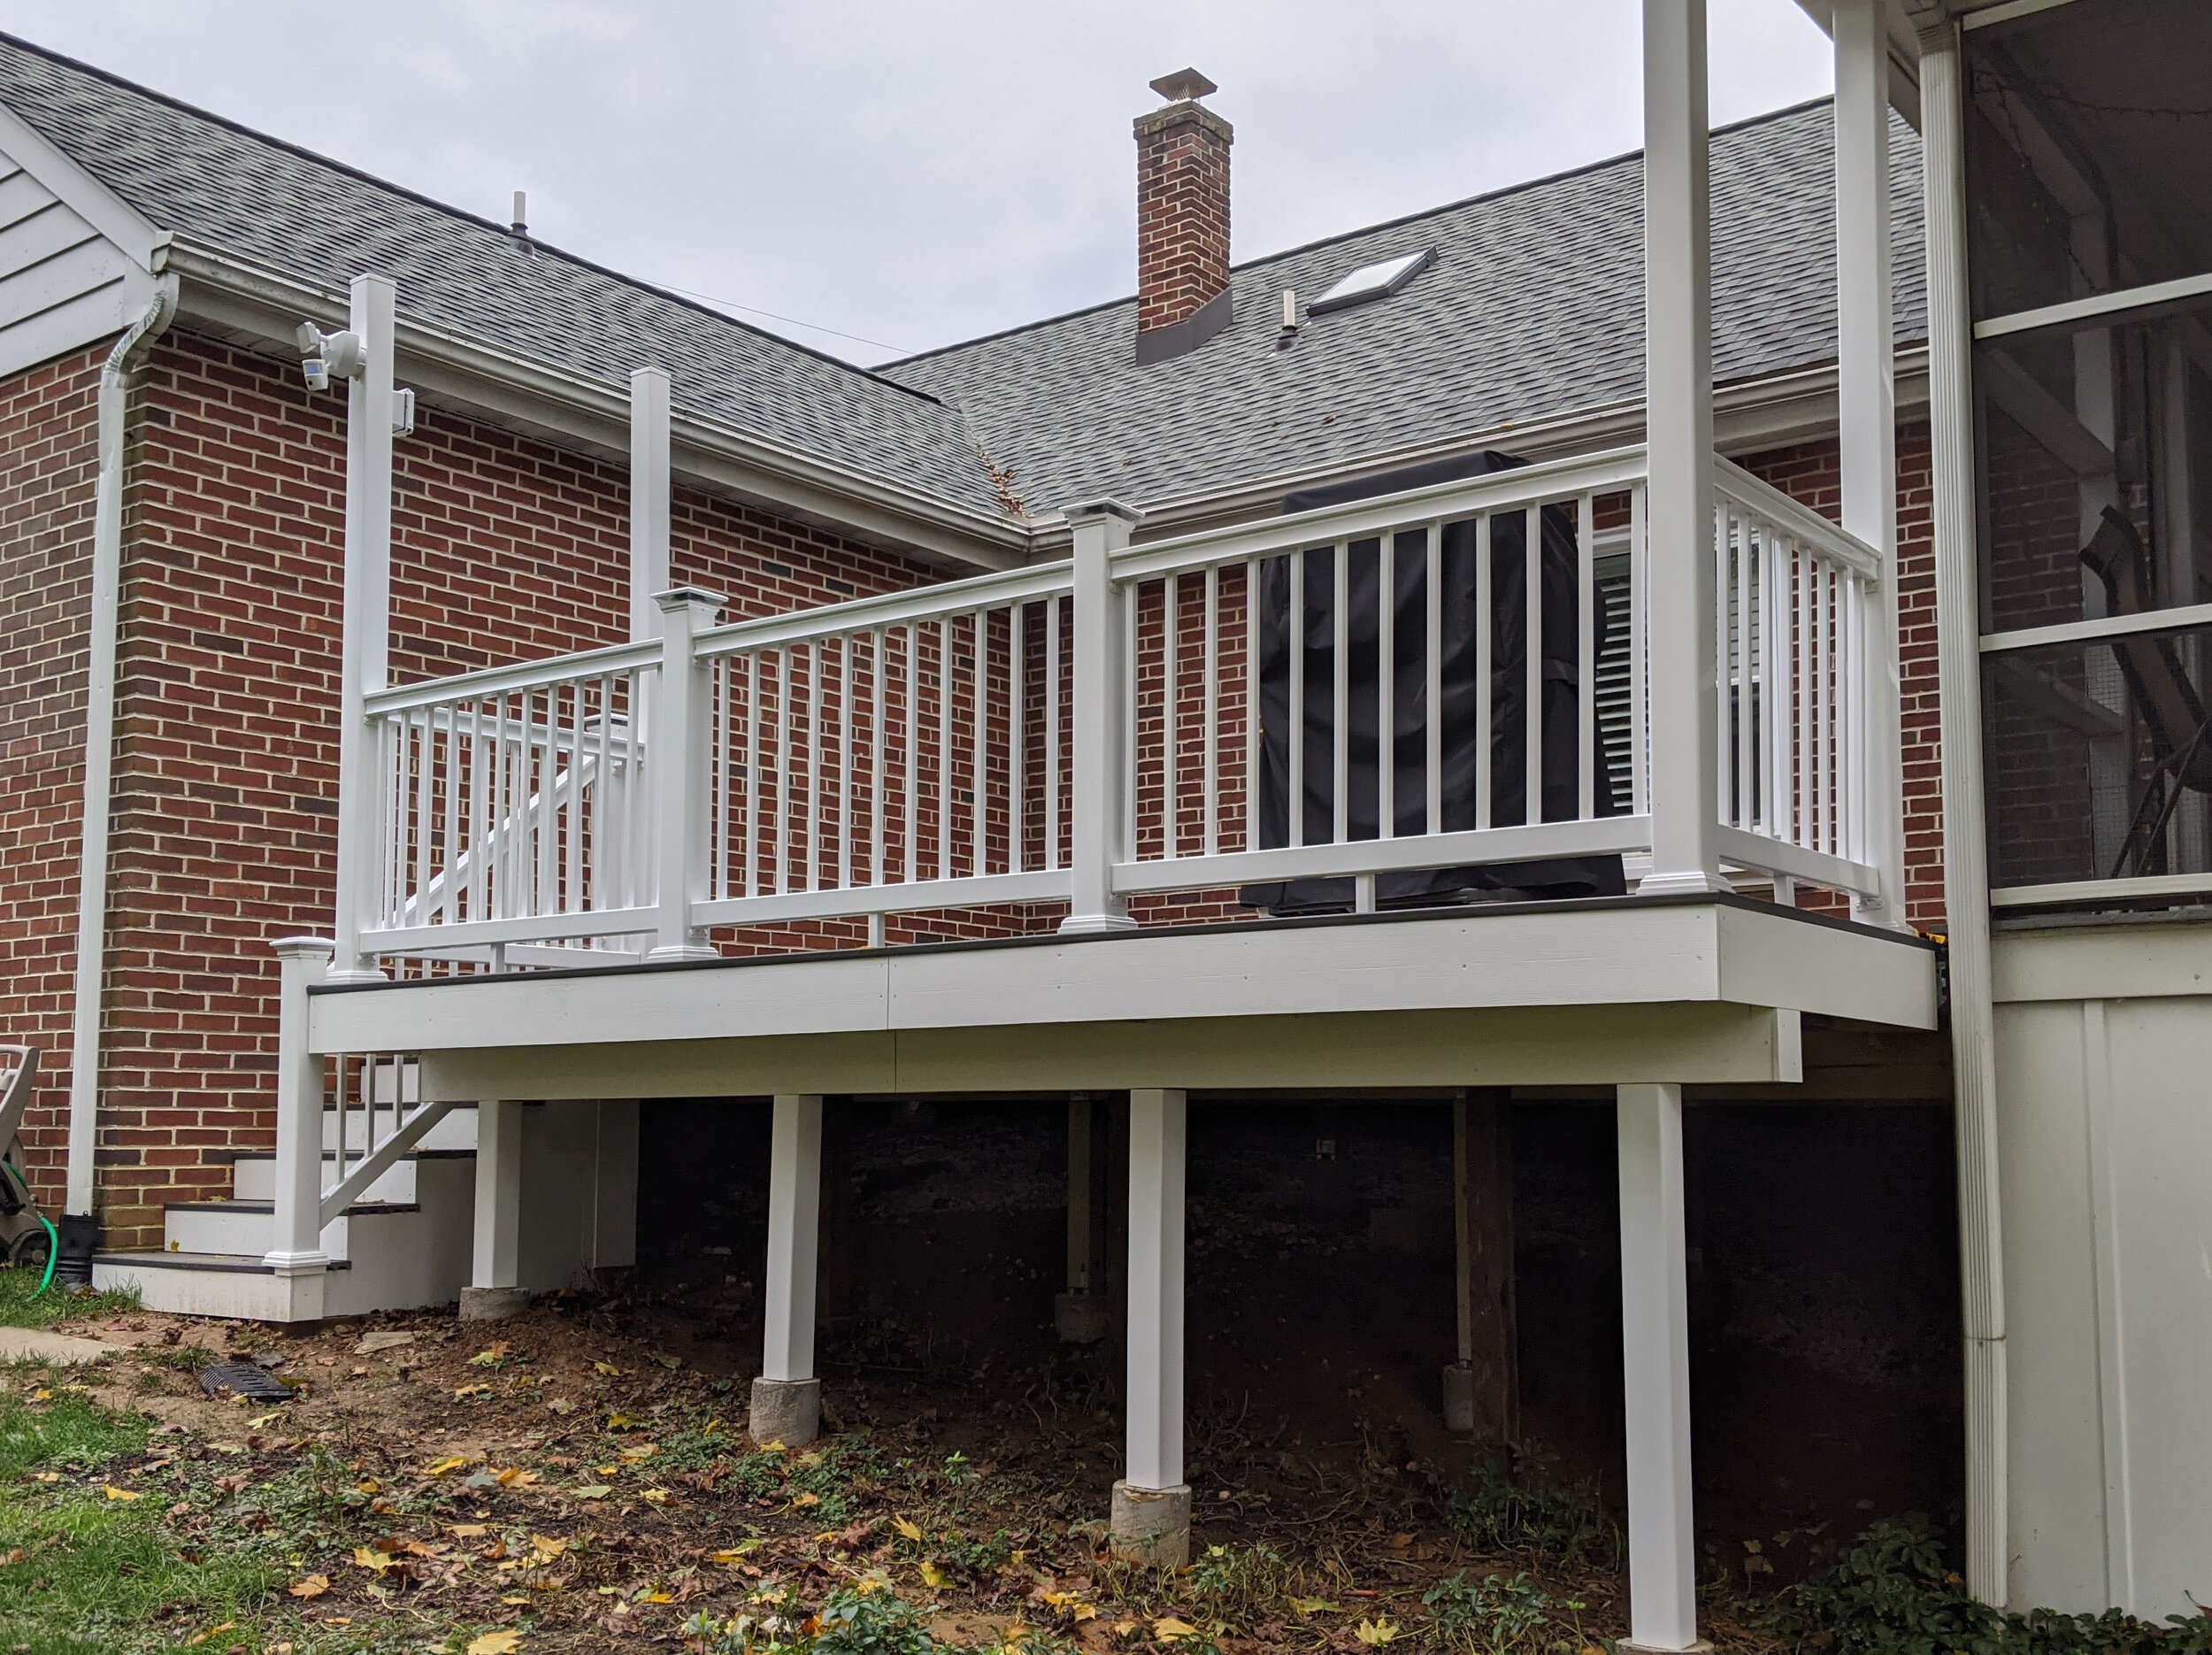
So NOW, we have a new deck… and Hubs has built it with plans for a Phase 2 pergola. But first — it’s going to be cold in PA soon, which probably means I get my next bathroom done. (YAY!)

For now, the deck was fantastically useable for our family event (celebrating my daughter’s baptism). We’ve also been grilling and playing on it. Mostly just walking on it in bare feet without getting splinters—that’s already a huge improvement.

Here’s an overview of our process, and as I blog each step over the weeks ahead, you’ll get to see how everything came together! We had so much help from my father, my father in law, and good friends. Thank you all!

THE PLAN TO UPDATE THAT OLD, YUCKY DECK

  1. Make a killer, to-scale, color-coded plan that impresses the guy at Home Depot

  2. Demolition (obviously) and Deck Support Footers (auger digging, concrete, connection hardware)

  3. Expansion of Old Frame (in our case, we could keep some of the skeleton) and Grading/Adding Stones to the Ground beneath

  4. Trusses and Supports (the pieces that go end-to-end, and the shorter pieces that go across to keep things from twisting)

  5. Stairs (if you don’t know what stairs are, you need more than this blog.)

  6. Pillars (the vertical pieces that you can lean on without falling off the deck)

  7. Deck Boards (the stuff you walk on and its invisible connectors)

  8. Electrical (to hang lights and a new security camera)

  9. Railings (what attaches to the pillars)

  10. Stair Fascia and Rail (because this is a little different than the other stuff since it’s all at angles) plus Fascia (the non-weight-bearing decorative covers for ugly things to add the finishing touches)

    Future Phase 2: Pergola Top (because Hubs says there’s too much light coming in our living room window)


Our first step was to make the plan, so click next to keep reading…
 
make-a-plan-to-update-old-deck.jpg
 

Click Here to View the Full Blog Archive.      


mixed metallics for your fall kitchen

mixed-metallics-for-fall-kitchen-vert.jpg

Gold and silver never used to be friends. Now they’re in a club singing songs and holding hands with bronze, platinum, copper, rose gold, and anything else that shimmers and shines. Mixed metallics are soooo pretty for a fall kitchen. Can’t get enough time staring at this pretty cabinet!

This set up is my perfect fall combination — Gold Rose by Sango , delicate etched glasses from Susquehanna Glass that belonged to my grandmother, and Franconia’s Silver Thistle that was my mother’s. Very shortly, my wintery Christmas decor will come out, adding overtones of copper to the mix. Can’t wait!

I knew I wanted my china cabinet to show off the dishes that had the most meaning for me. This Gold Rose set belonged to my beloved aunt (she is very much alive and well, just downsized some of her dishes when she moved). The glasses were my grandmother’s, and the Silver Thistle was my mother’s. When she inherited several sets from both her mother and mother-in-law, my sisters and I were each given the choice of a set. Amazingly, we each wanted different ones — so we all got our first choice! How’s that for family dynamics.

I am hugely blessed to have this wonderful and beautiful memento of women who love me.


Click Here to View the Full Blog Archive.      


rocking halloween costumes for a family on the cheap

My kids love dressing up each year. We’ve had a grand time picking what we’re going to be — but I’m not dropping $400 on costumes just because there’s 5 of us. Here are some great costumes we’ve done and the ways I made it work inexpensively.

halloweek-family-cheap.jpg

PIRATE

This little pirate was simple but fun! Black pants he already owned, paired with a black shirt he already owned. I walked into a thrift store and searched quickly for something black and white stiped in the shirt section — easy to find! Then I grabbed a red t-shirt to slice off sleeves for the tie accents. I cut the v-neck and small slits to lace the neck. For the hat and eye patch, I used single pieces of $1 felt from WalMart. The eye patch needed elastic, and I cut the skull & crossbones out of another sheet of felt.

TOTAL SPENT

B/W shirt - $2 thrift

T shirt - $1 thrift

Felt - $3 (2 black, 1 white)

Elastic - had this, you could also use a slice of t-shirt

IMG_20759413493124.jpg
 
justice league.jpg
antiope.jpg

I LOVED MY COSTUME. My tiara was also a cut-up milk carton that I attached sticky foam to. My dress was a $2 thrift find accented by gold leather from a $1 thrift store handbag plus a $1 leather belt.

(Unrelated — my husband was Snake Plisskon.)

JUSTICE LEAGUE

Superheroes are really popular costumes which means they are EXPENSIVE. Ugh. And the worst part is, the garment is total crap. Nasty, itchy and see-through for $29.99. I hate that. Plus, Halloween (here at least) is cold and my kids get stuck wearing it over a sweatshirt! My solution was $10 sweatsuits from WalMart that we converted.

Batman was a solid black sweatsuit with a $1 Dollar Tree mask that I cut out $1 sheets of felt for the logo.

Cyborg was a grey sweatsuit with $1 sheets of felt glued in place for the shapes. The arm cannon was a cut up, taped, and spray painted Amazon box. The mask, believe it or not, is the bottom of a milk carton, sliced in half diagonally, and spray painted! It gave the perfect too-square appearance to the robot side of his face.

Superman I used $1 sheets of felt and use the leftover red to add accents to a robe I found at a thrift store.

TOTAL SPENT

They wore the sweat shirts and sweat pants afterwards as clothes, so not sure that counts as a costume. But still…

Robe $2

Sweatsuits - $10 each

Felt - grey, black, yellow, red, blue, grey, black $7

Mask - $1

Already had the spray paint

Milk carton

Now, my nephew (not pictured) was the Flash, and my niece was Wonder Woman. To round out the crew my sister (Wonder Woman’s mom) was Hippolyta and I was Antiope (Robin Wright’s character from the movie, Wonder Woman’s aunt.)

You’ll see Snake Plisskon reused the pirate’s eye patch…

TOTAL SPENT

Belt $1

Dress $2

Handbag $1

Sticky foam $3

Milk carton


OLD MEN

This was a hilarious and easy idea. The wig was a big splurge for me - $10. White spray-in hair dye would have been cheaper but he had a buzz cut at the time. It came with the moustache so we split it between the two kids — count it as $5 each.

We borrowed the cane, built the walker from PVC pipes and corners I got at Home Depot for $6, and picked the clothes and glasses at a thrift store.

The PVC turned out to be really fun. I cut it into pieces and used various ends to make the shape. They were so cheap! Although I got some weird looks in the plumbing section…

TOTAL SPENT

Vest $1

Suspenders $1

Socks $1

Pants $1

Walker from PVC $6

Hat $1

We already had the bow tie and I drew wrinkles on with brown eye pencil

IMG_20181031_175750010.jpg
IMG_20181031_175824874.jpg
 

Lion

Look at this handsome lion. What a good boy. I bought this, as I also bought my rainbow wig, but they get used year after year. The law of averages, you know… the more we wear them, the cheaper they become!


BACK TO THE FUTURE

Doc Brown was another $10 WalMart sweatsuit — this time in white. The accents were a sheet of $1 felt. We used work goggles we already had and repurosed last year’s old man wig. The giant remote control was a dowel rod (89 cents from WalMart) and a small spray painted Amazon box.

Marty McFly was layers of collared shirts (thank you, 1985) and red puffer vest I already owned. All we needed was a skateboard and he was instantly recognizable with his partner.

The Flux Capacitor was too little to eat candy, so we just used puffy paint on a plain white onesie we already had that ** might ** have had some unmentionable stains up the back…

TOTAL SPENT

White sweatsuit $10

Red Felt $1

Dowel rod $1

Skateboard (which they now use ALL the time) $20

Puffy paint $3

IMG_20191101_175459.jpg
IMG_20191101_175414.jpg
 
 
halloweek-family-cheap-ho.jpg
 

Click Here to View the Full Blog Archive.      


amazing wreaths for fall

amazing-wreaths-for-fall.jpg

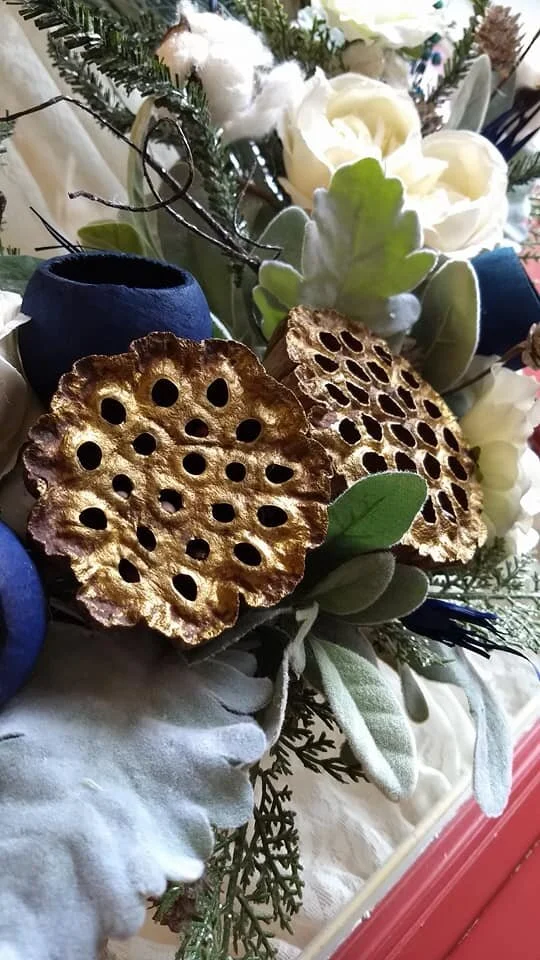
My cousin is the amazing Erinn Rowe, and I am slowly acquiring one of her unparalleled wreath designs for each month. Because, as you can see, can you really just pick ONE wreath when they are this diverse and gorgeous??

As you can see, the wreaths are made from synthetic materials so they can be reused year to year. But the range of materials is HUGE and part of what makes these so unique.

  • Stuffed/soft pumpkins

  • Hard/plastic pumpkins

  • Wooden letters

  • Faux peppers

  • Faux ANTLERS!!!

  • Silk flowers

  • Silk leaves

  • Artificial wheat

  • Lemon LOLLIPOPS!!!

  • Faux blueberries

  • Feathers

  • Seed pods

  • Faux cotton plants

You’ll see that with my red door, I prefer lighter colors for the wreath itself.

 
amazing-wreaths-for-fall-vert.jpg
 

Click Here to View the Full Blog Archive.      


475 days: worth the wait

475 days in foster care. Considering we’ve seen the far, far side of 1,200 days, this almost feels fast.

Join us in celebrating this adoption, knowing the bittersweet journey our daughter’s life has already taken. While we are full of joy for our family, the knowledge of what she's lost is heavy and real. We would be honored if you join with us in praying for her future.

V, may you be strong, kind, smart, generous, and brave. I have and will continue to pray every day for you and your brothers to know and serve our King.

Love,

Mommy

World, meet Curly Girl: Olivia Marie.

Photos by Laurie Christine Creative

 
Waller-7352.jpg
 

Click Here to View the Full Blog Archive.      


DIY BATHROOM RENO, PHASE 9 - final touches and we're done

bathroom-renovation-p9-hor.png

We’ve done it! The bathroom is complete. My husband just walks around twiddling his thumbs all day long now. (Just kidding, I already have a whole series planned around our amazing backyard deck renovation.)

NOTE: Skip back if you want to see an overview (including “the before”) or previous steps we’ve already completed. This is our last step in the process!

STEP 16: Final Touches

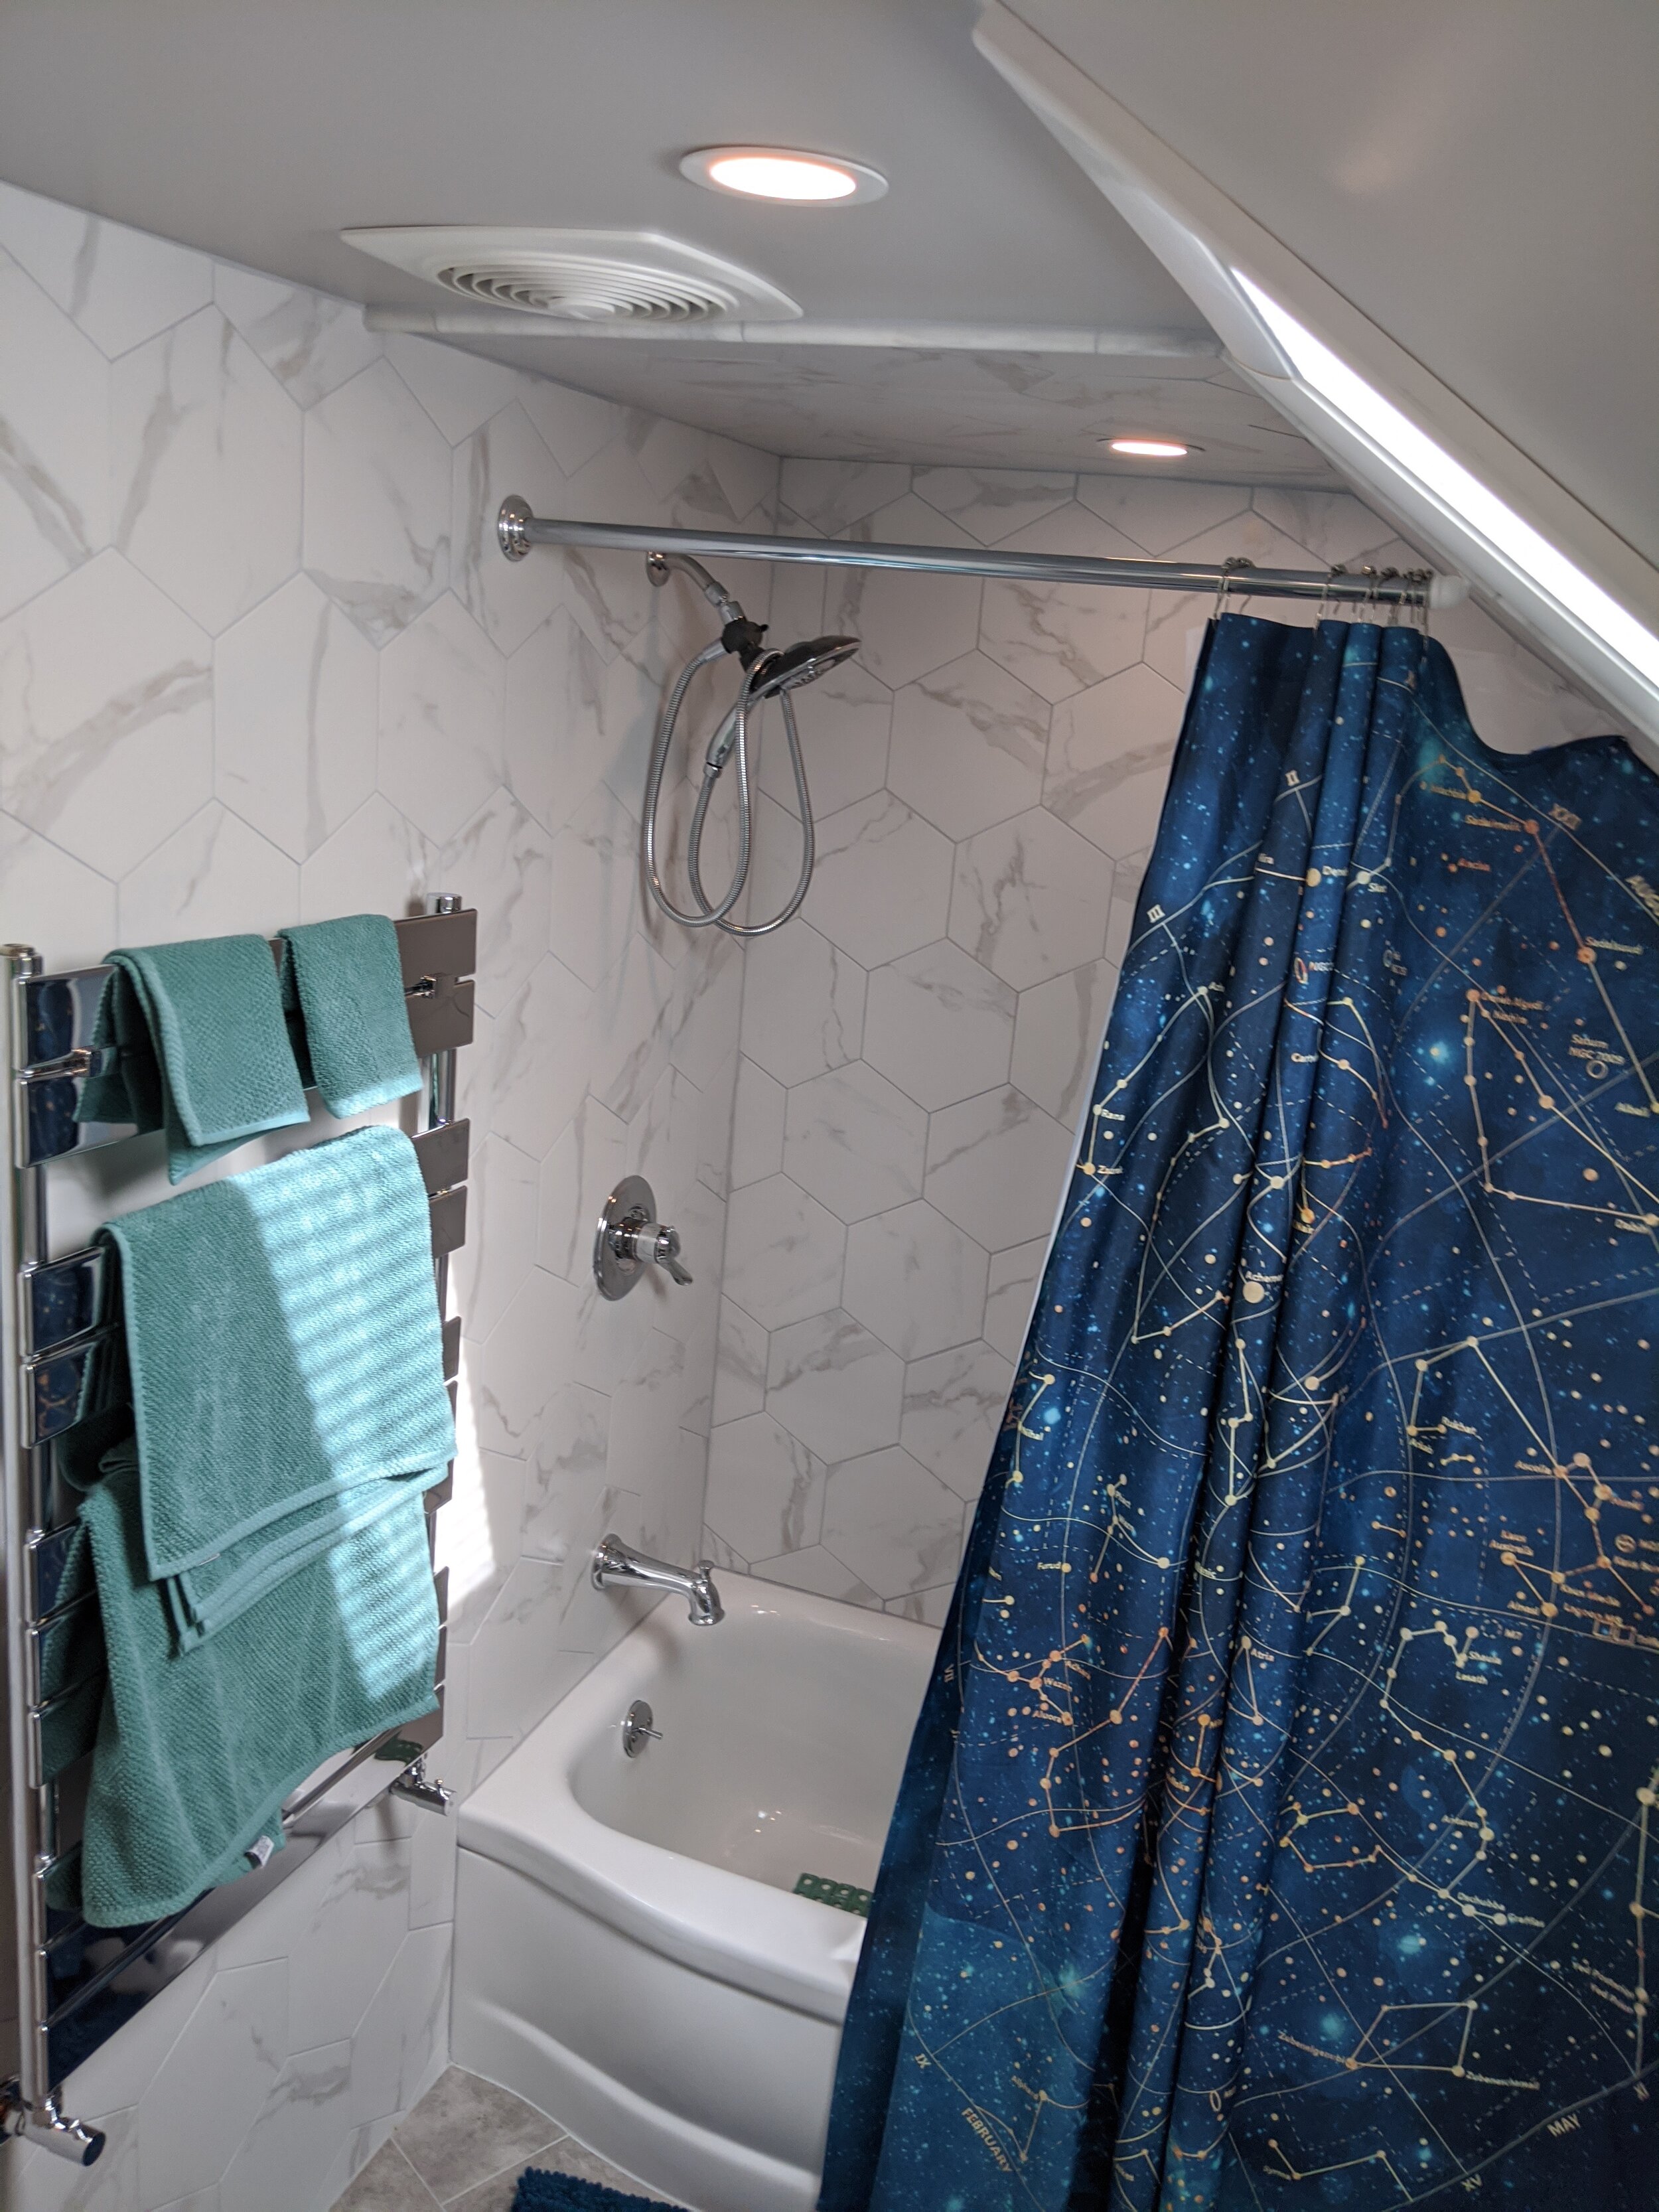
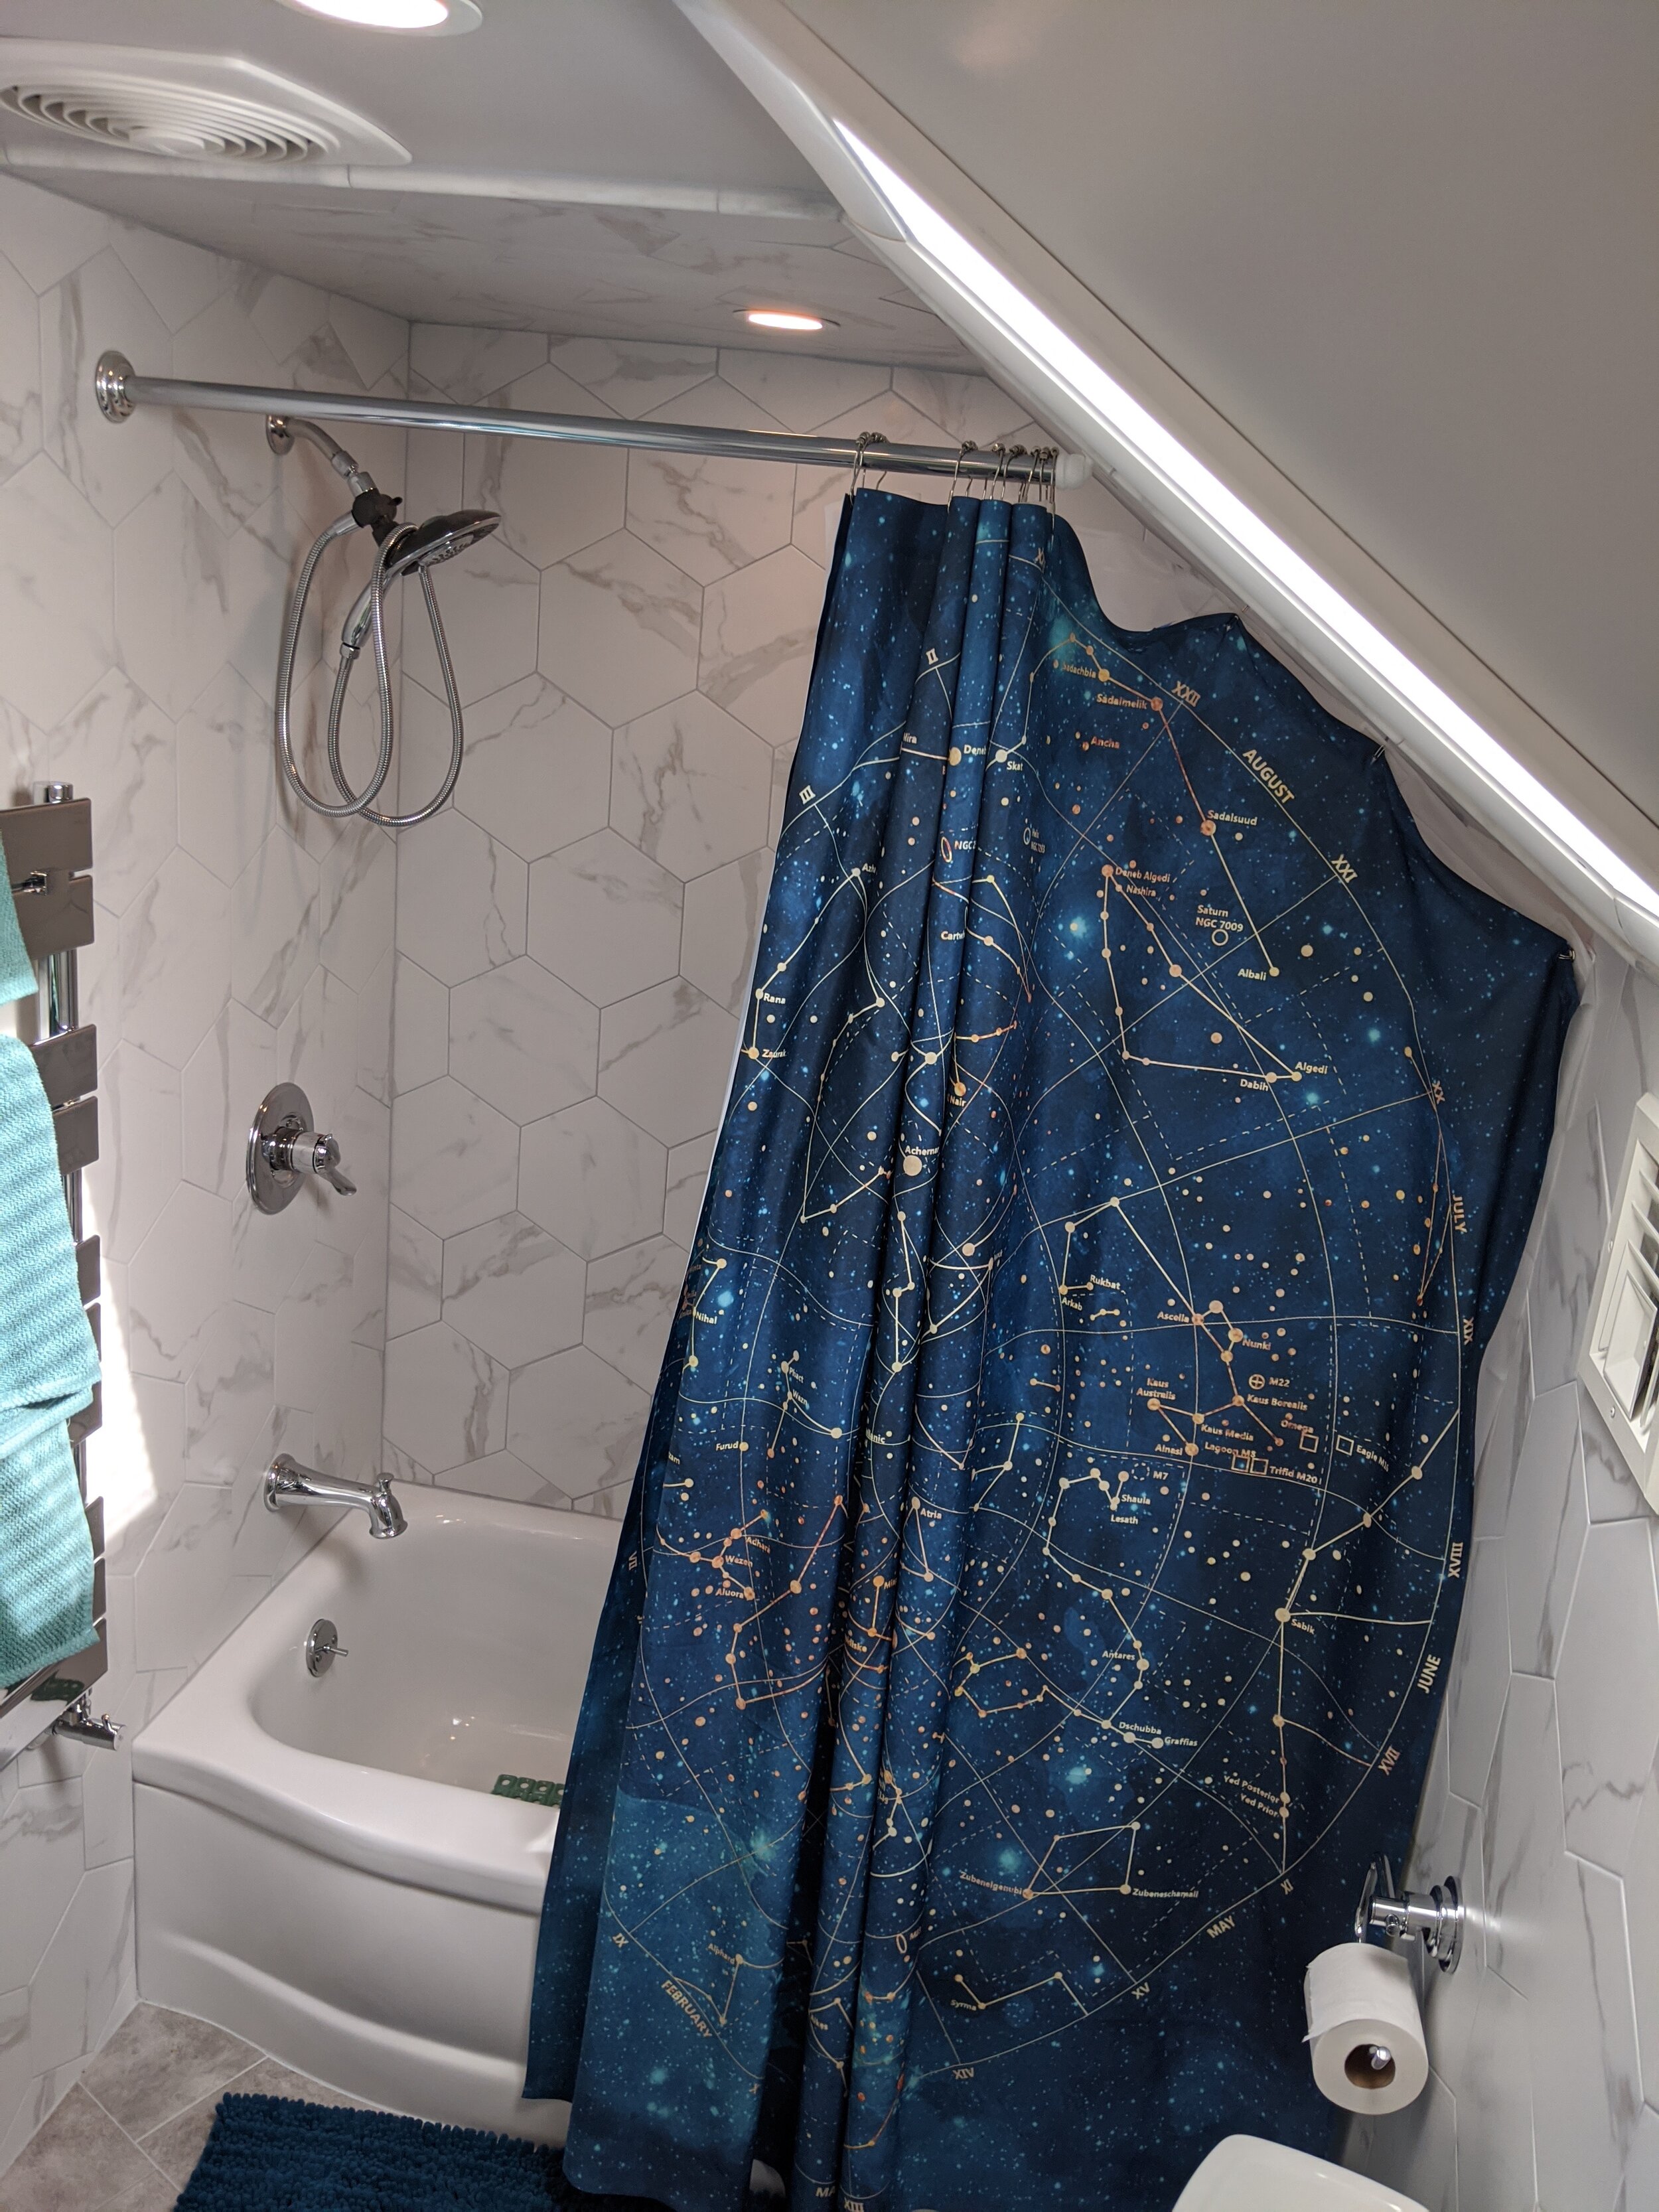
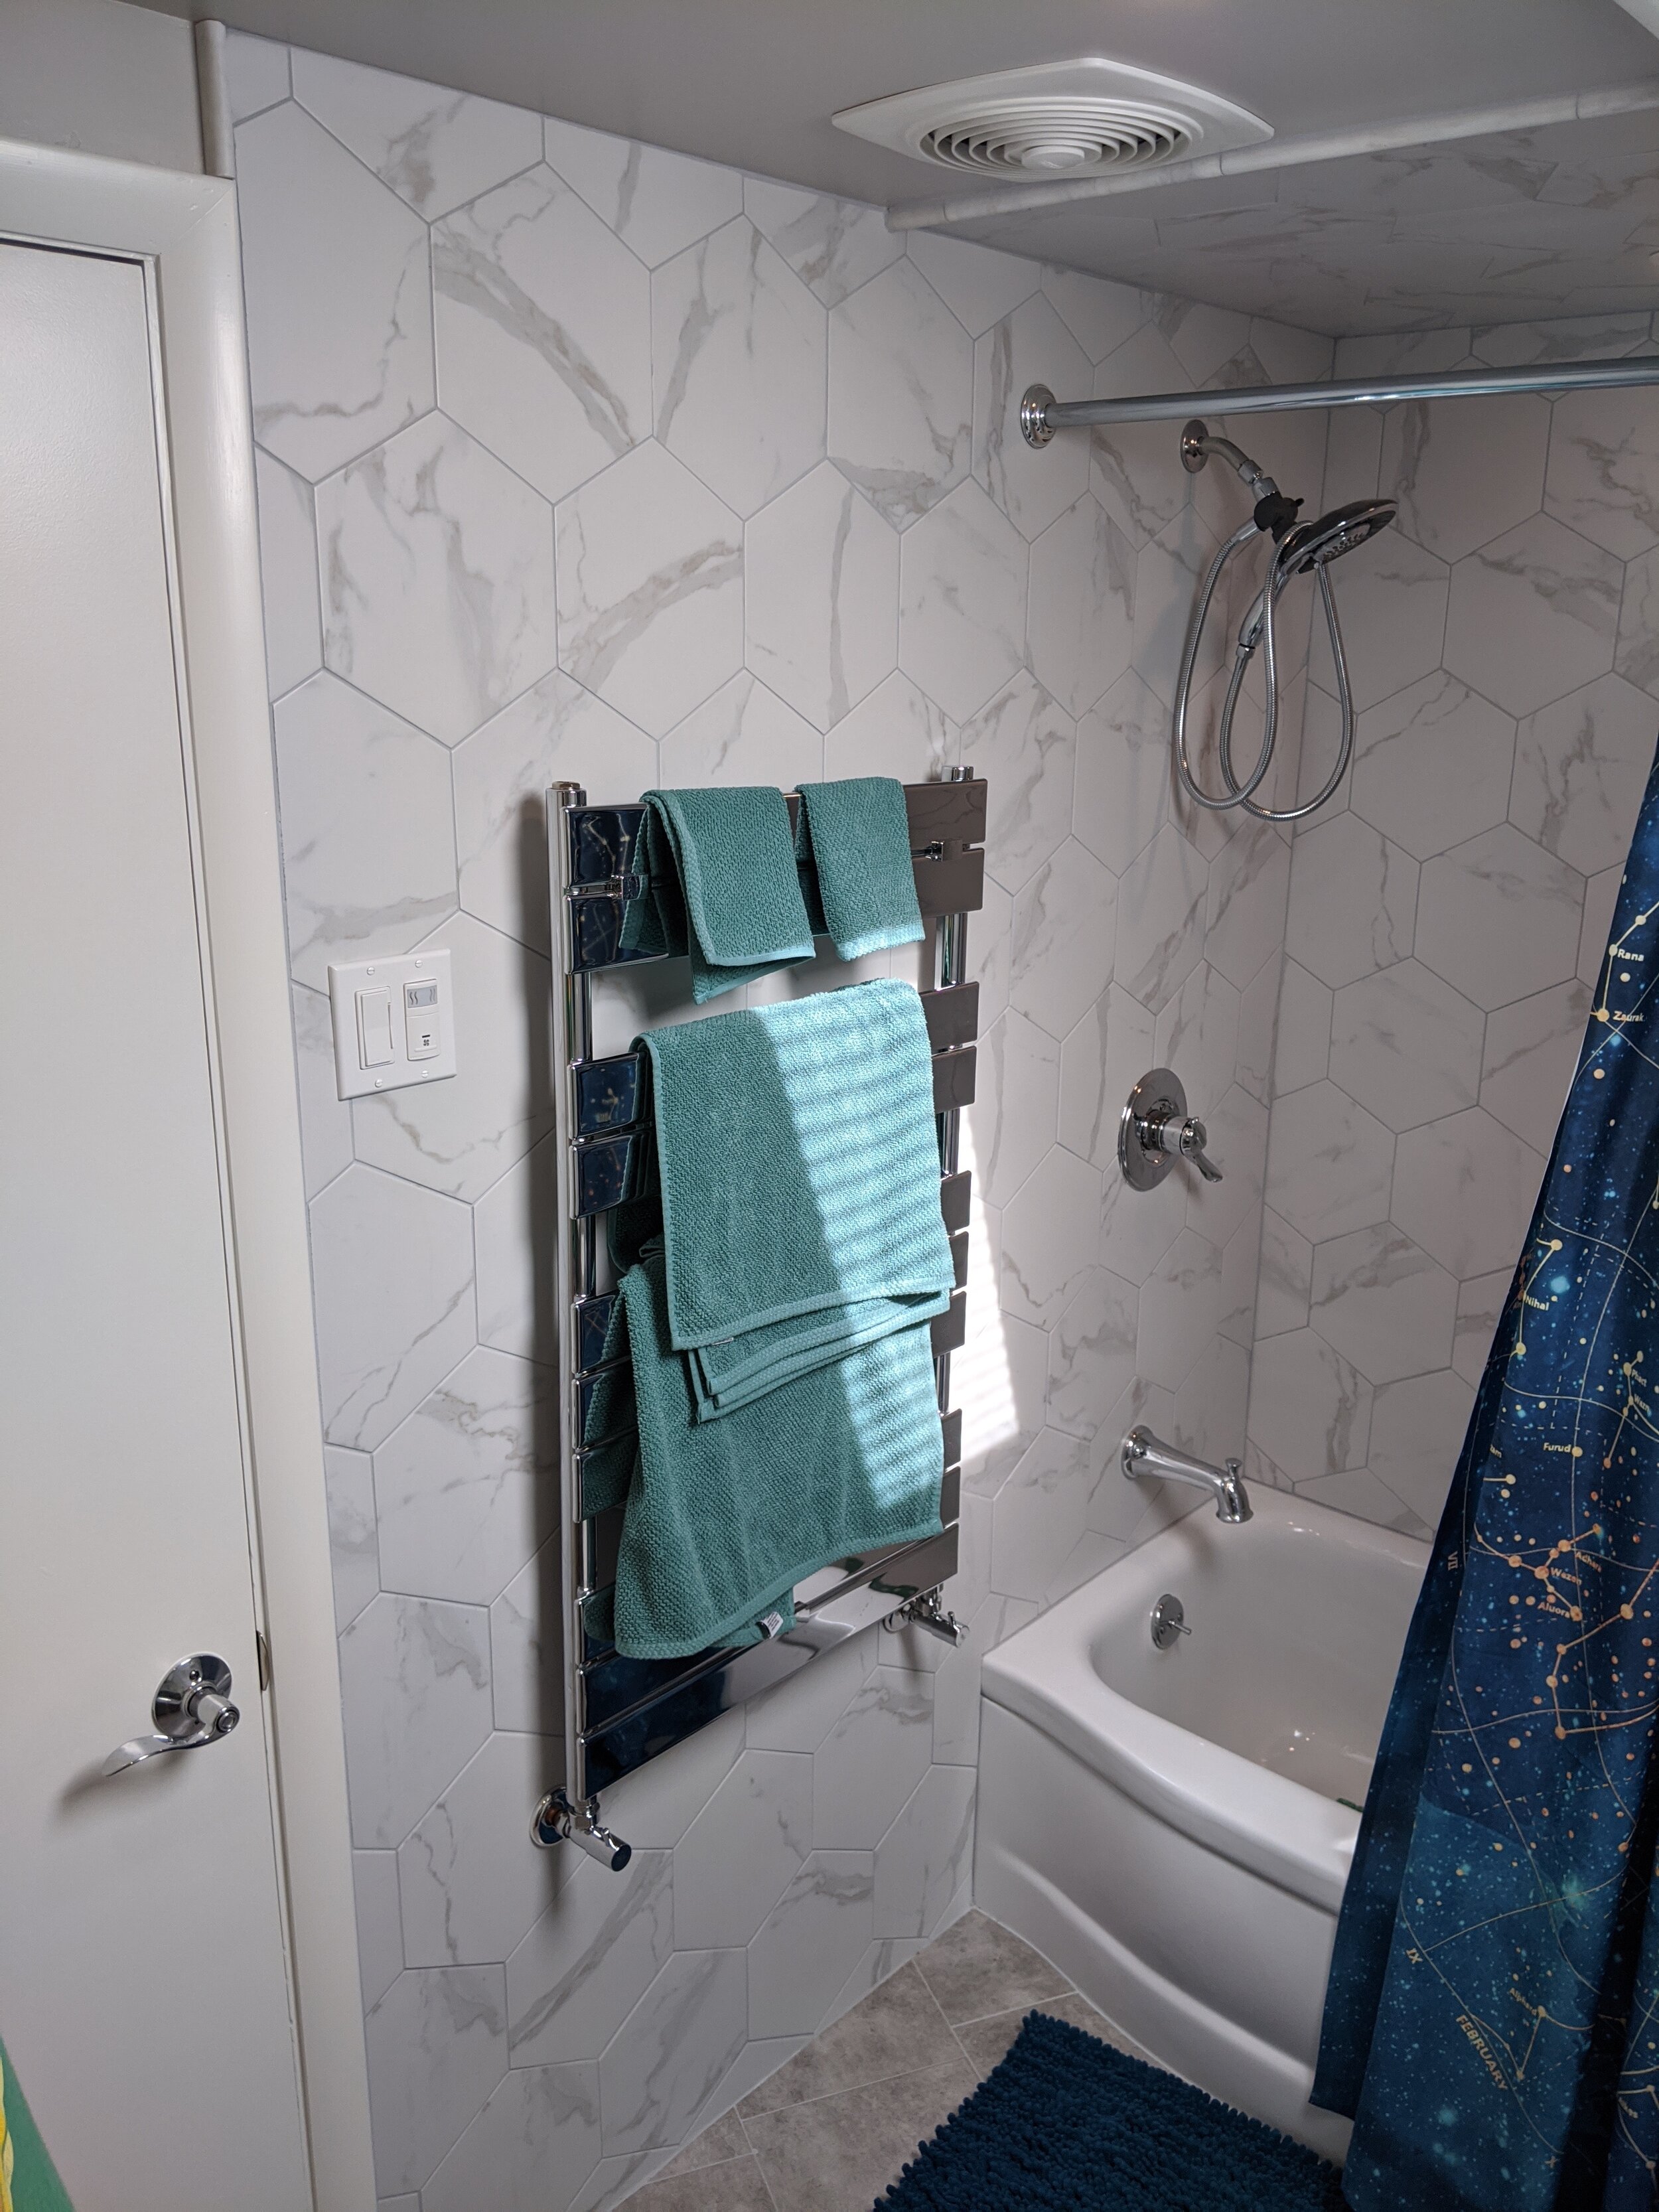
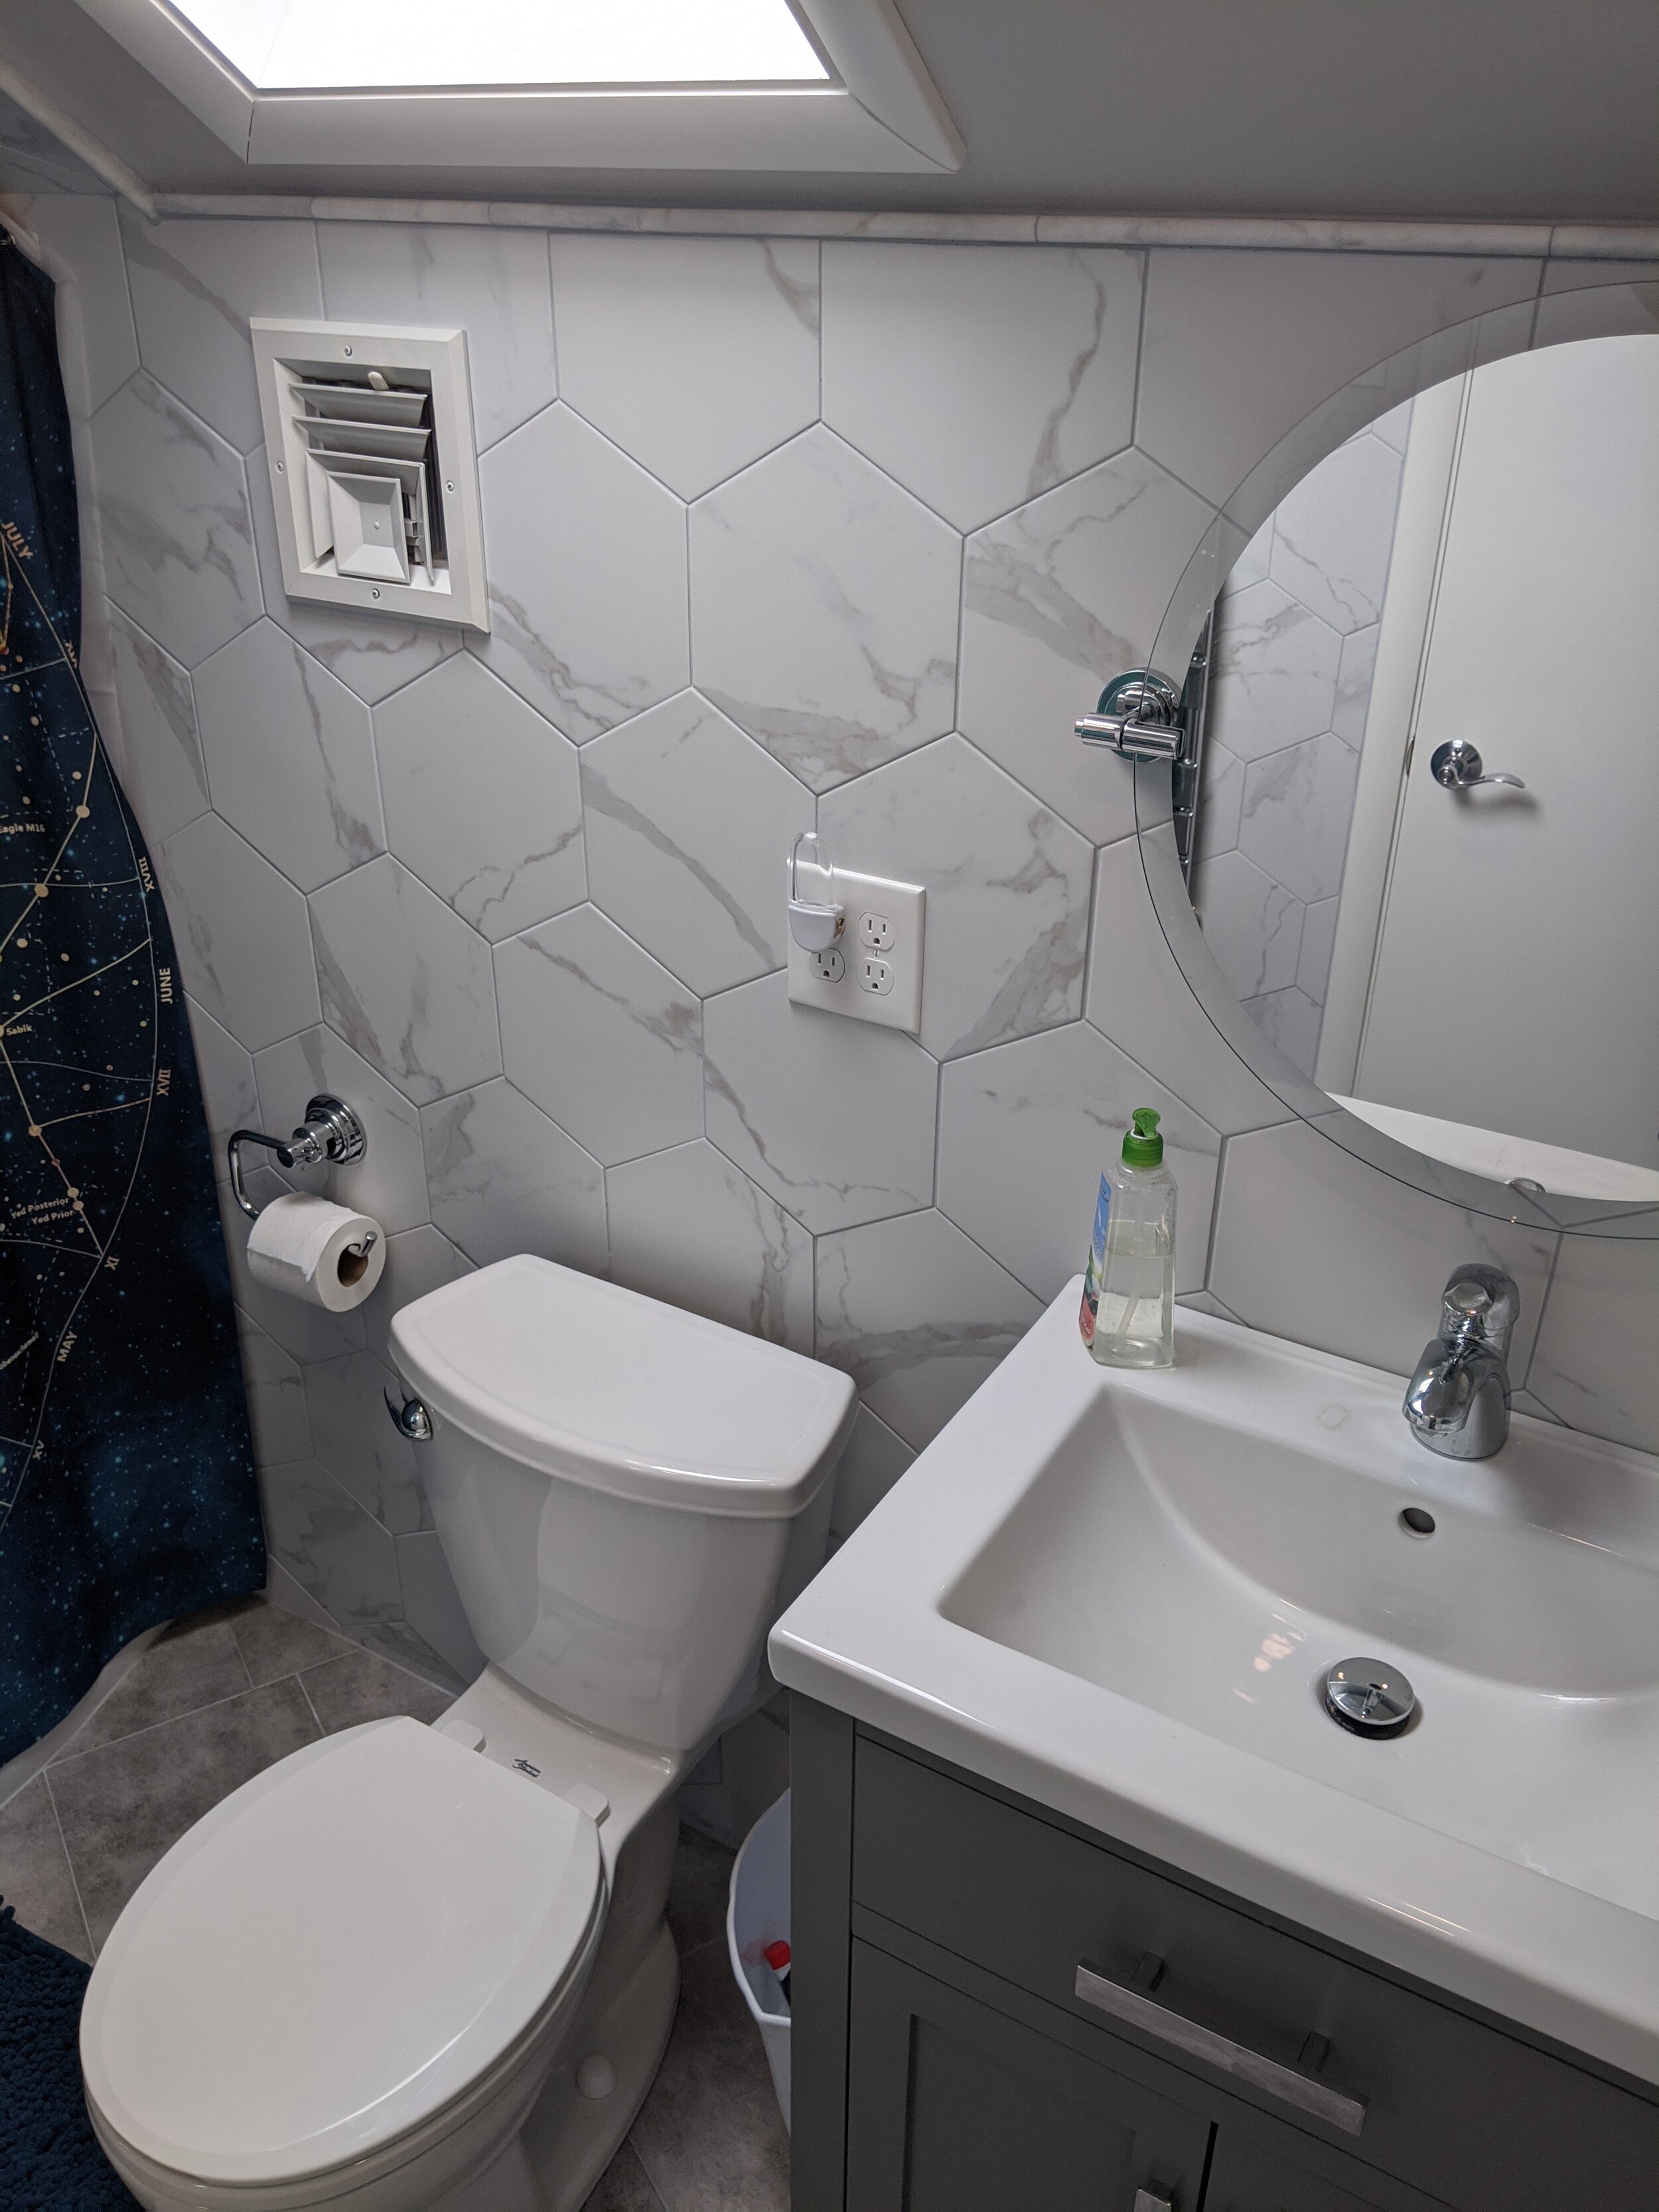
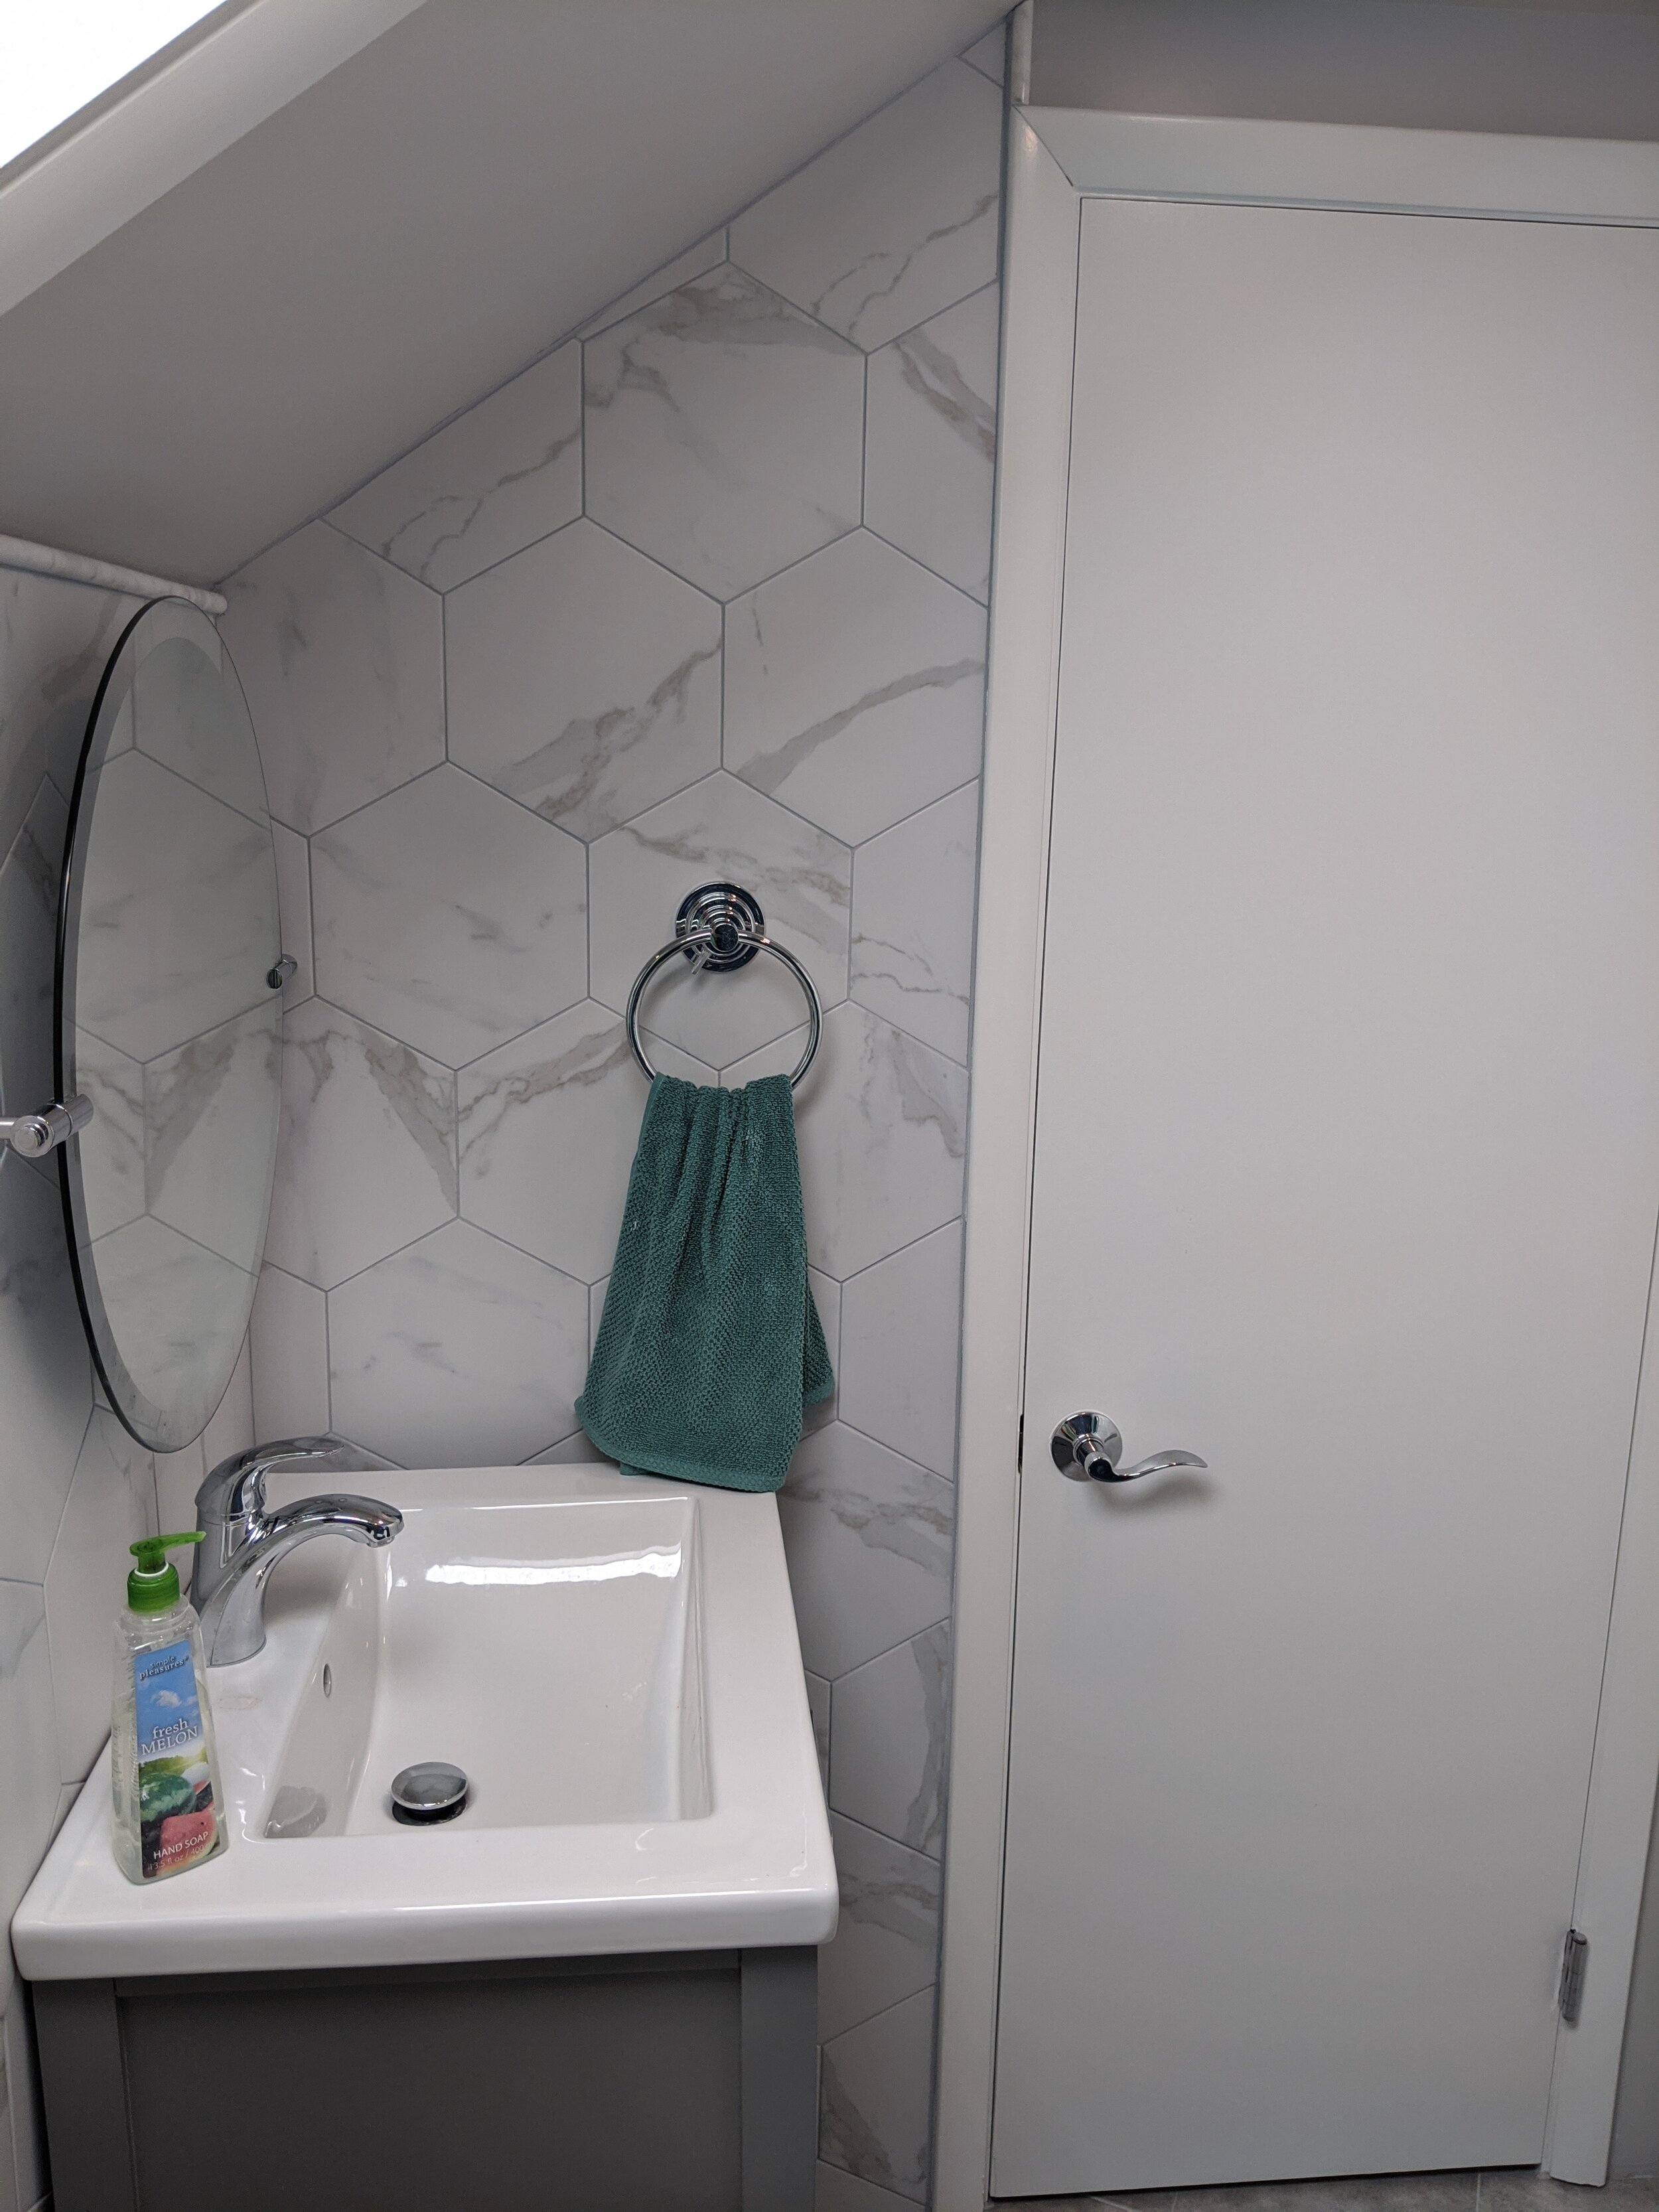
Final touches in a bathroom are mostly the shower curtain, the bath mat, the rug, and the towels. Wish I had gotten the bathmat earlier actually. My 7yo was so excited to be the first one in the shower that he used it the first night it was done (and Amazon needed the full 24 hours to get us the no-slip mat) and he WHOOSHED into the side of the tub with his head. So sad! He’s made a full recovery and we now have a safety mat in the tub.

SHOWER CURTAIN

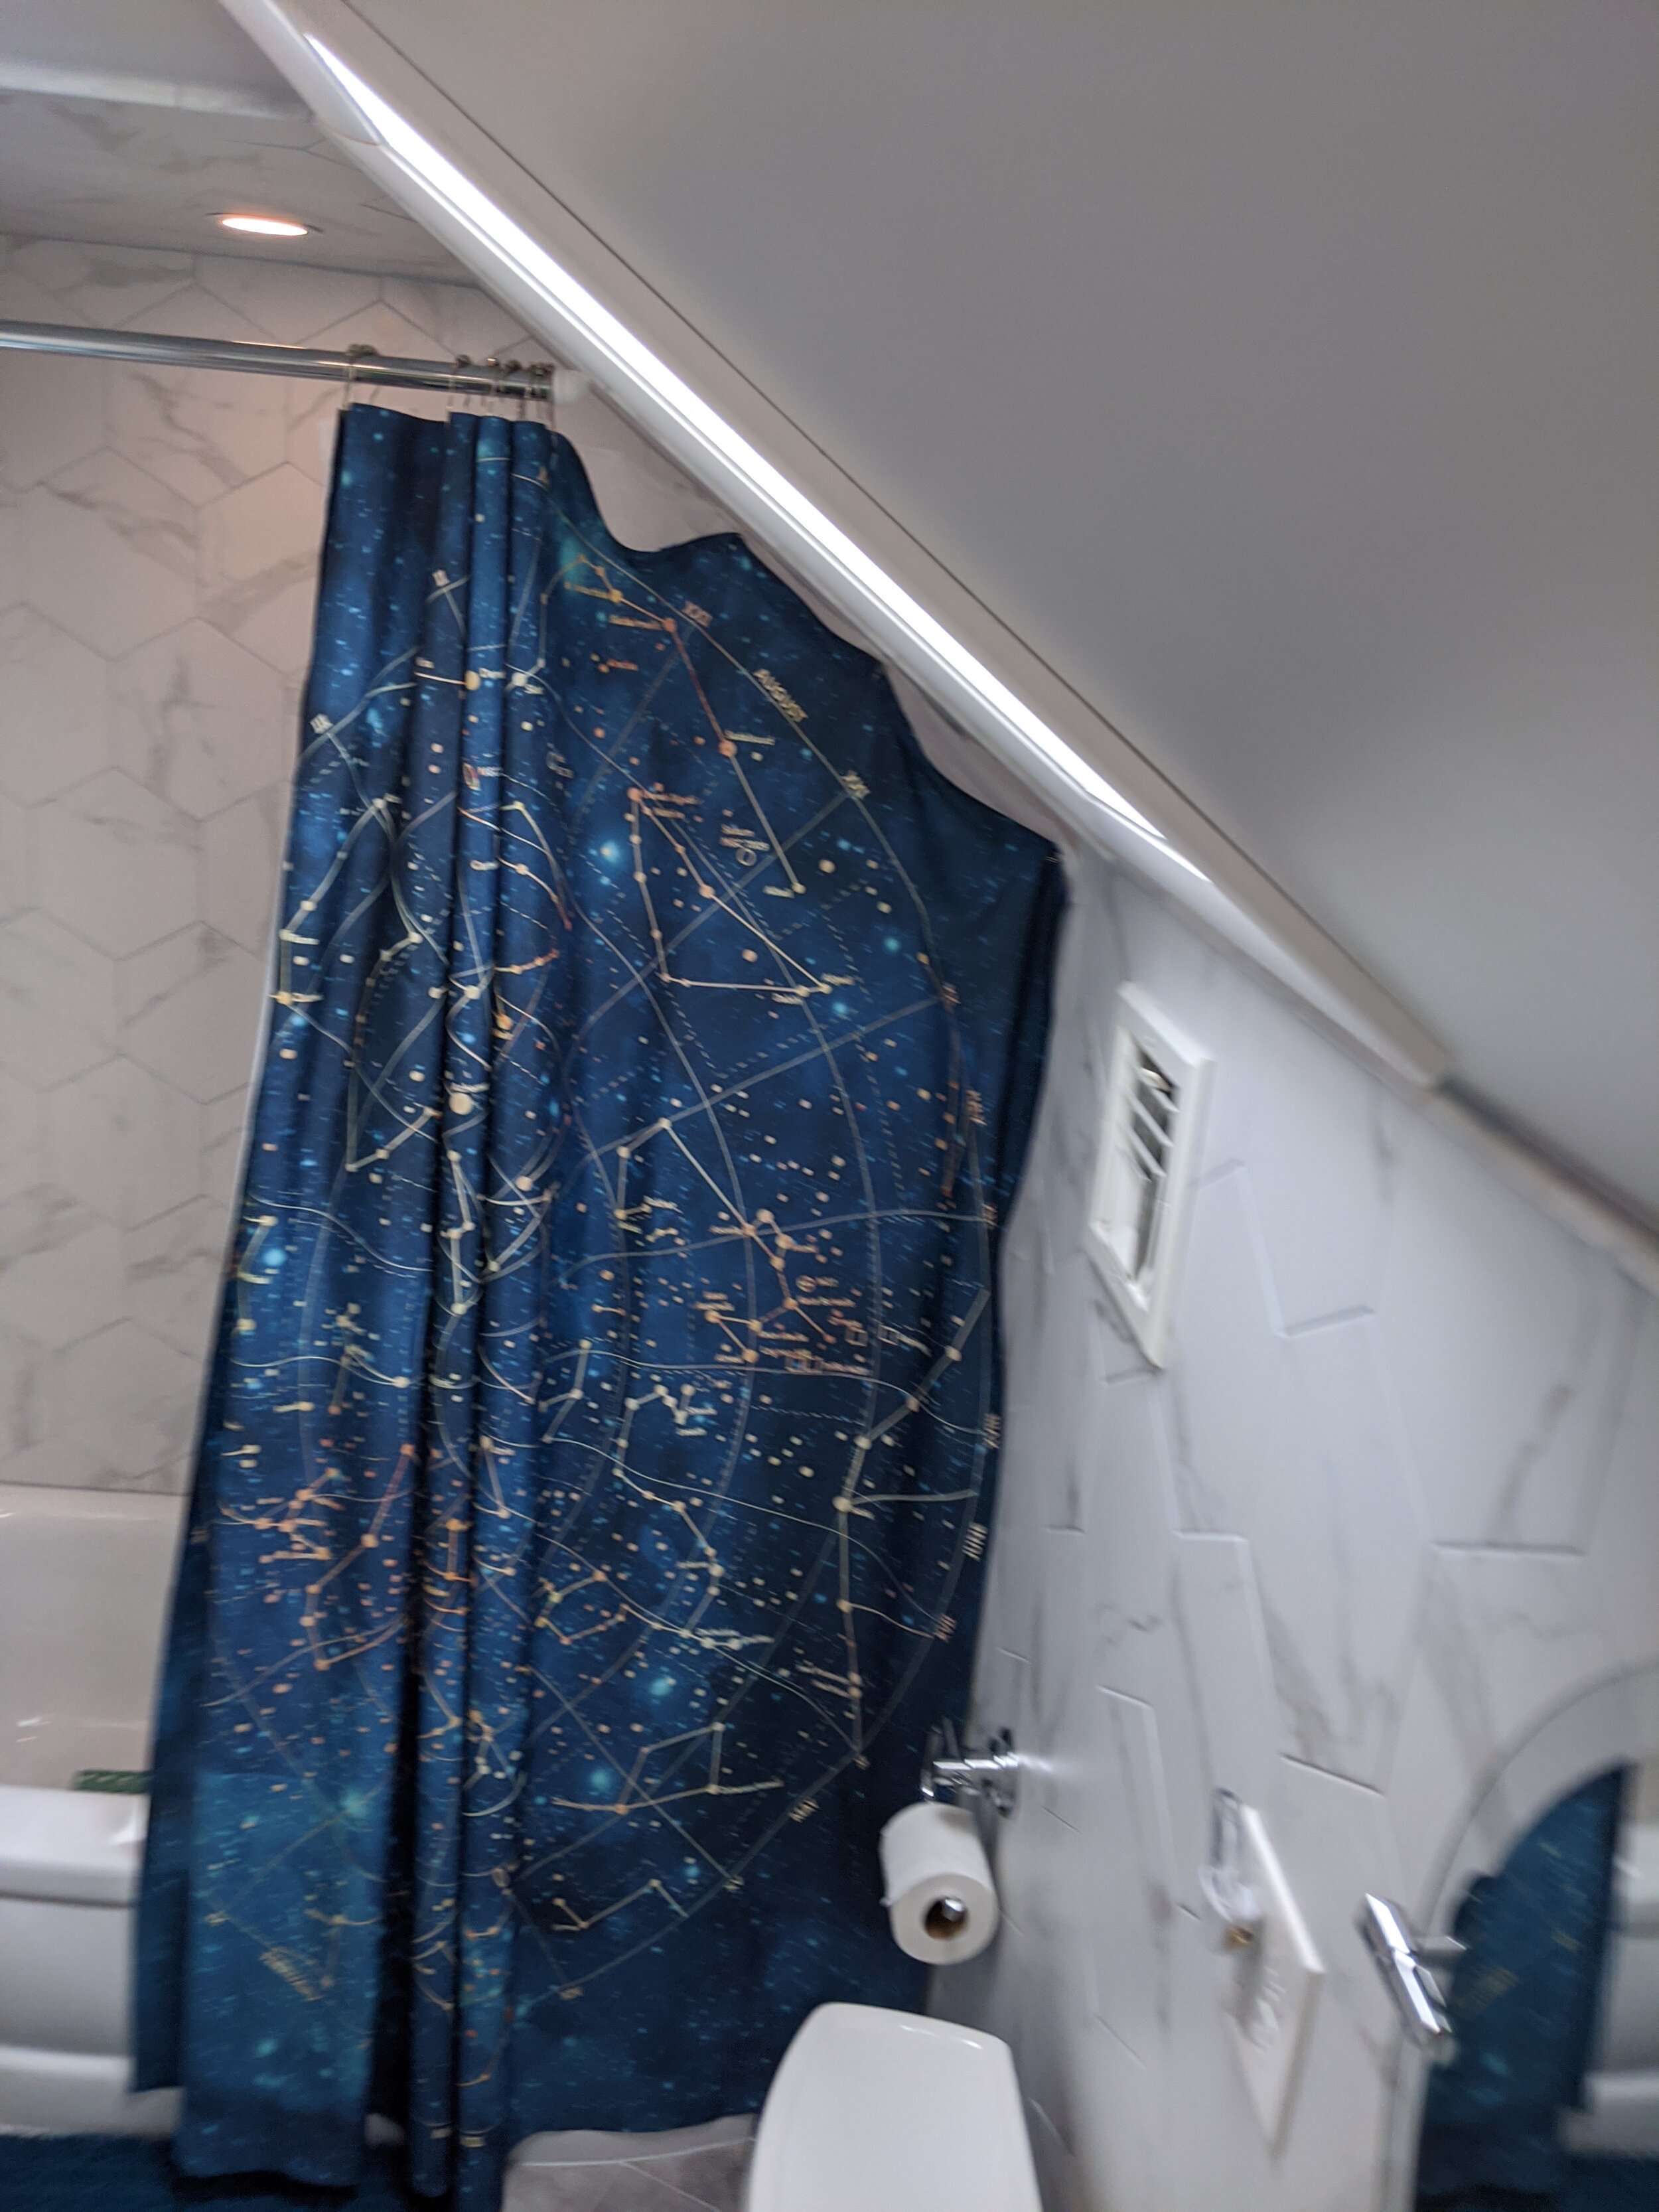
Normal people probably don’t have this kind of stress over a shower curtain, but I was determined to find a cool Star Wars shower curtain that was unique. Unfortunately, by the time I found one I loved, it was out of stock. BOO! Then, we looked at a ton of other options such as a really cool Kracken one and some with boats. We settled on this amazing constellation one that we all love.

For towels and the bathmat, we used the teal green from the curtain, and for the floor mat, we stuck with the navy.

Overall, couldn’t be happier with the results! Great work, Matt!

IMG_20200922_141425.jpg
 
bathroom-renovation-p8.png
 

Click Here to View the Full Blog Archive.