My cousin is the amazing Erinn Rowe, and I am slowly acquiring one of her unparalleled wreath designs for each month. Because, as you can see, can you really just pick ONE wreath when they are this diverse and gorgeous??

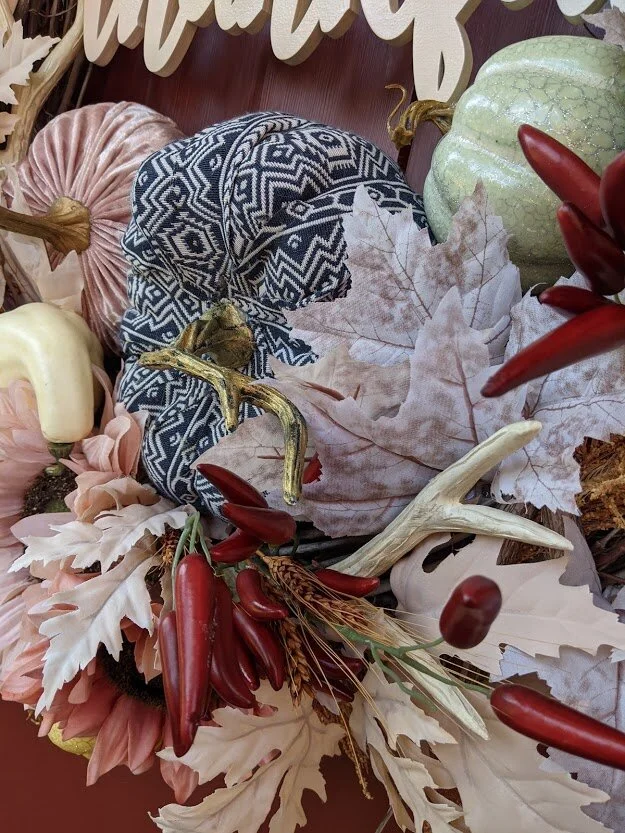


As you can see, the wreaths are made from synthetic materials so they can be reused year to year. But the range of materials is HUGE and part of what makes these so unique.
Stuffed/soft pumpkins
Hard/plastic pumpkins
Wooden letters
Faux peppers
Faux ANTLERS!!!
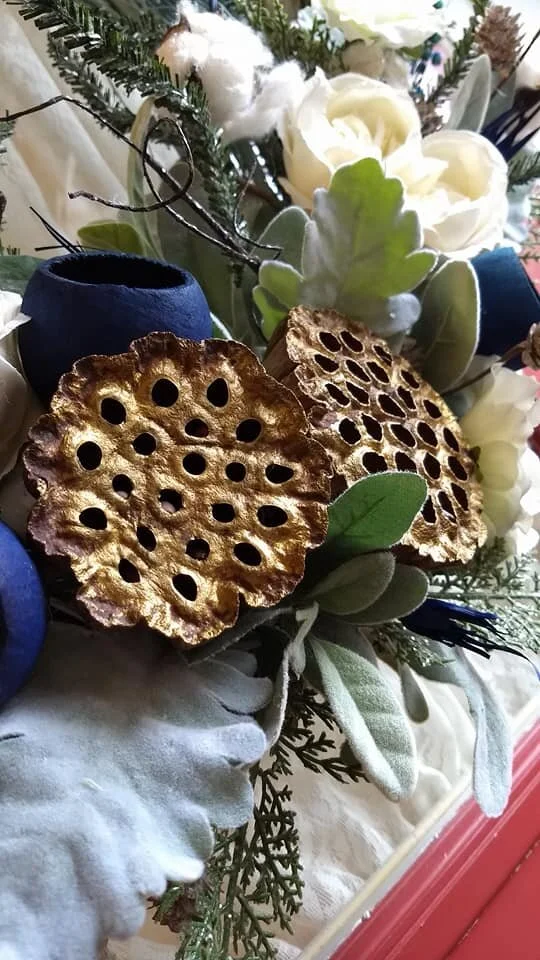
Silk flowers
Silk leaves
Artificial wheat
Lemon LOLLIPOPS!!!
Faux blueberries
Feathers
Seed pods
Faux cotton plants
You’ll see that with my red door, I prefer lighter colors for the wreath itself.